

AWD EJ2 Build

Thread Starter
Honda-Tech Member
Joined: Nov 2006
Posts: 573
Likes: 0
From: Preston, Lancashire, United Kingdom
Thanks mate!
Same as me.. I know it sounds stupid, but the one thing thats better than having made custom stuff, and done it to the best of your ability, is being able to hide it or not make a big deal about it.. Kinda classy...
Im glad you approve mate!
Same as me.. I know it sounds stupid, but the one thing thats better than having made custom stuff, and done it to the best of your ability, is being able to hide it or not make a big deal about it.. Kinda classy...
Im glad you approve mate!
Honda-Tech Member
Joined: Jul 2005
Posts: 232
Likes: 0
From: tampa, fl, usa
Its pretty rare to see someone who is both mechanically inclined and electrically inclined. I cant tell you how many Mechanical Engineers ive met who like to say "wiring/sparky stuff is all black magic."
Awesome work man, keep it up.
Thread Starter
Honda-Tech Member
Joined: Nov 2006
Posts: 573
Likes: 0
From: Preston, Lancashire, United Kingdom
Thanks mate, and youre correct.
Its a bit of a break in convention for a car of its age, but the MOSFETs are switching the ground side of the fans. There is also a backup relay on each fan which closes when the OEM thermoswitch trips (just incase my circuit fails).
Yeh youre right, it does seem to be rare to find someone into both mechanical and electrical.. Just normal for me, i dont have ANY mates into either lol non of my mates are even a little bit into cars...

Thread Starter
Honda-Tech Member
Joined: Nov 2006
Posts: 573
Likes: 0
From: Preston, Lancashire, United Kingdom
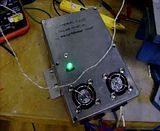
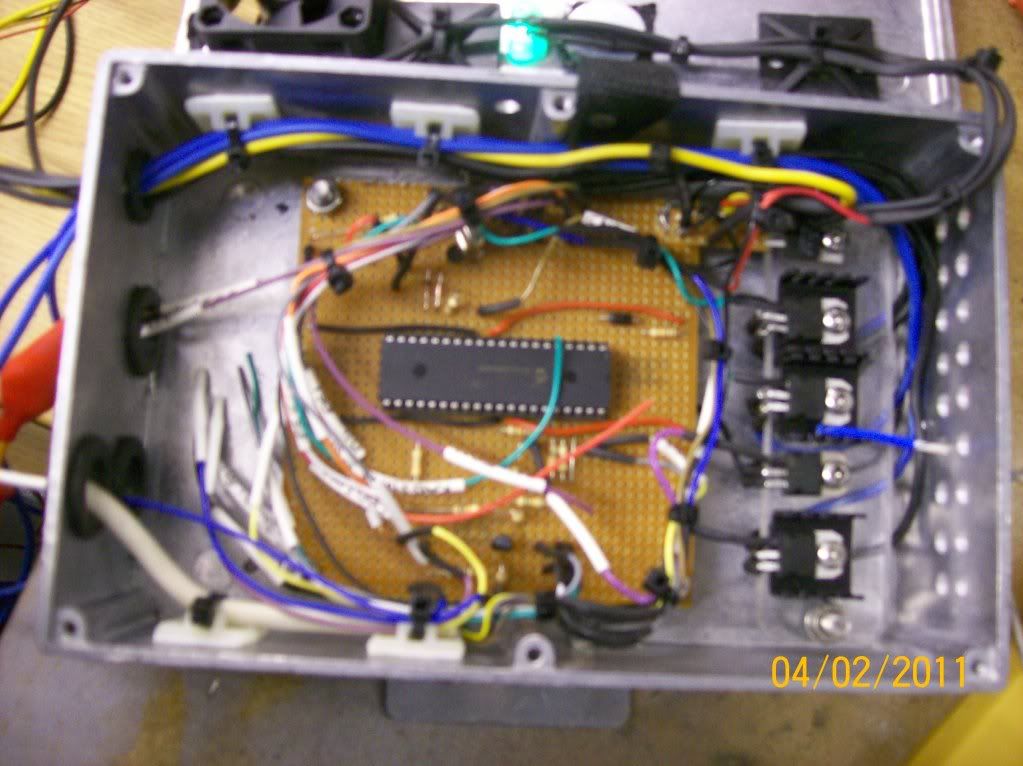
This evening ive put the final finishing touches on both the fan controller and the anti lag. I was having some problems when i previously finished the anti lag, when i tested it- the rpm scale would change. This is because the capacitor i used was sensitive to temperature.
When the new stuff arrived, so did a 0.01uF tantalanum capacitor, which did the trick, its scaled correctly and bang on. It works in temperatures way below zero (put it in the freezer lol) and under the heat gun..
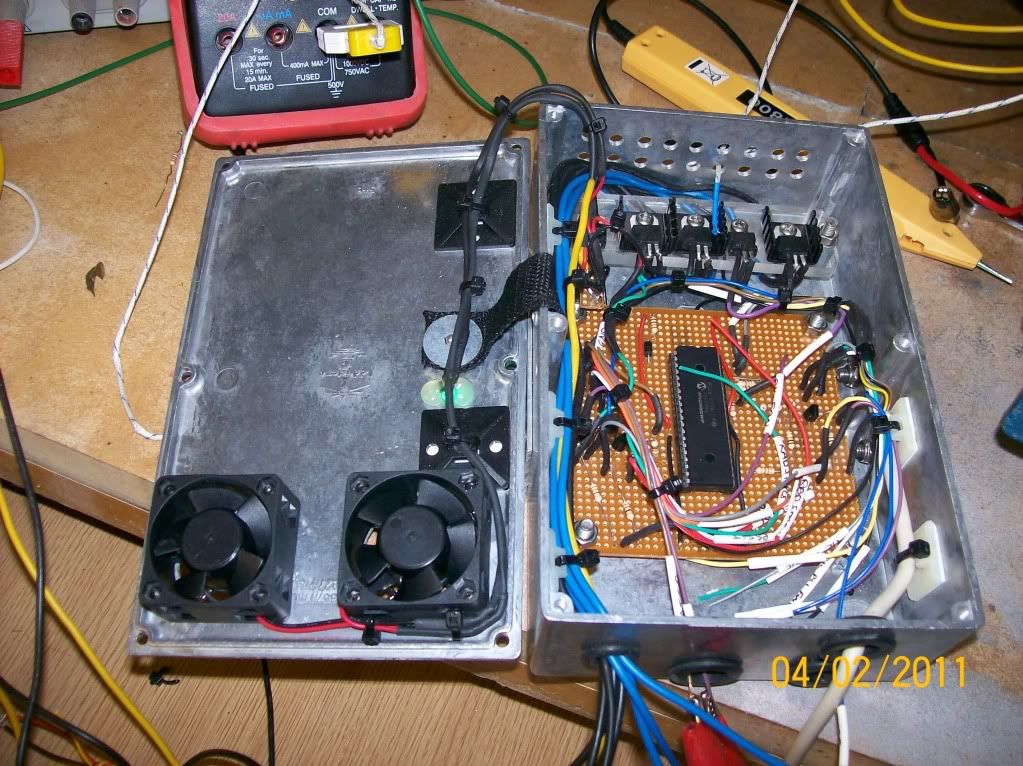
Ive added a little pic of the finished units together (some may notice ive also added a slim line cooling fan to the anti lag - just to keep check on the psu and mosfets..

i wont be doing any more with these until its installed in the car, then its a matter of fine tuning and setting up.. Fingers crossed its all software from now on though...
On another note- ive finished installing the rear firewall today. All bolted in and contoured. It simply needs some rubber seals around it. Its looking like to get the dual 3" hoses past it, i need to cut a small slither out of the plastic rear door cards, you wont see it, but itll allow the hoses to pass slightly through the rear seat back rest..
When the new stuff arrived, so did a 0.01uF tantalanum capacitor, which did the trick, its scaled correctly and bang on. It works in temperatures way below zero (put it in the freezer lol) and under the heat gun..
Ive added a little pic of the finished units together (some may notice ive also added a slim line cooling fan to the anti lag - just to keep check on the psu and mosfets..
i wont be doing any more with these until its installed in the car, then its a matter of fine tuning and setting up.. Fingers crossed its all software from now on though...
On another note- ive finished installing the rear firewall today. All bolted in and contoured. It simply needs some rubber seals around it. Its looking like to get the dual 3" hoses past it, i need to cut a small slither out of the plastic rear door cards, you wont see it, but itll allow the hoses to pass slightly through the rear seat back rest..
Thread Starter
Honda-Tech Member
Joined: Nov 2006
Posts: 573
Likes: 0
From: Preston, Lancashire, United Kingdom
Small update today..
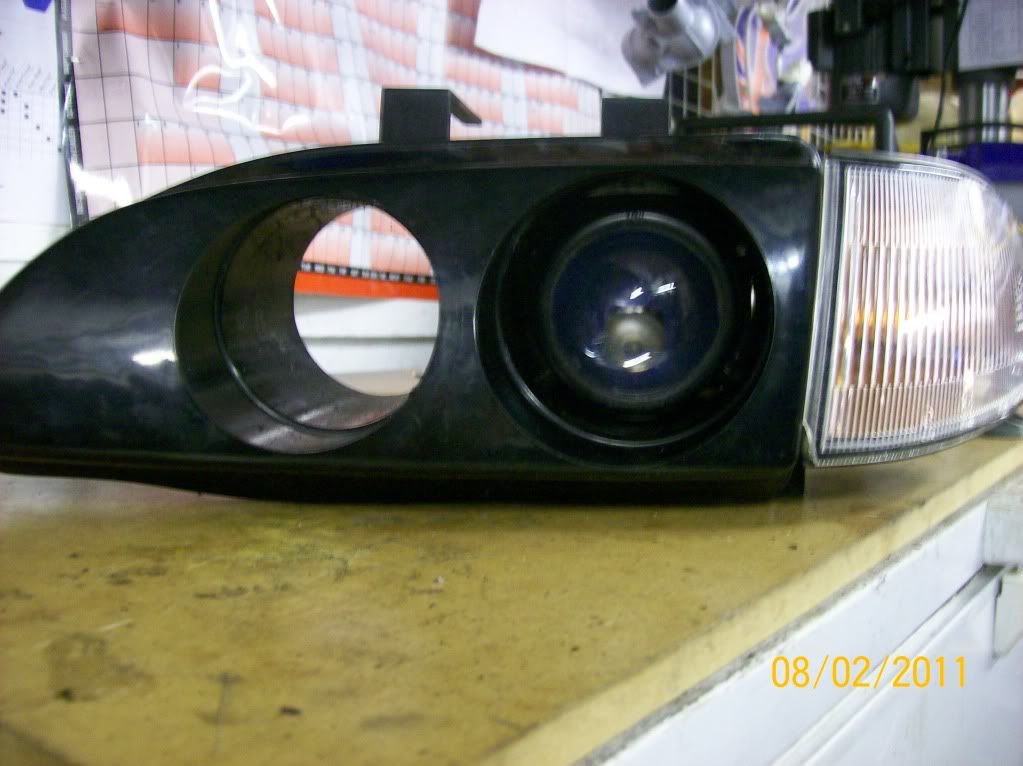
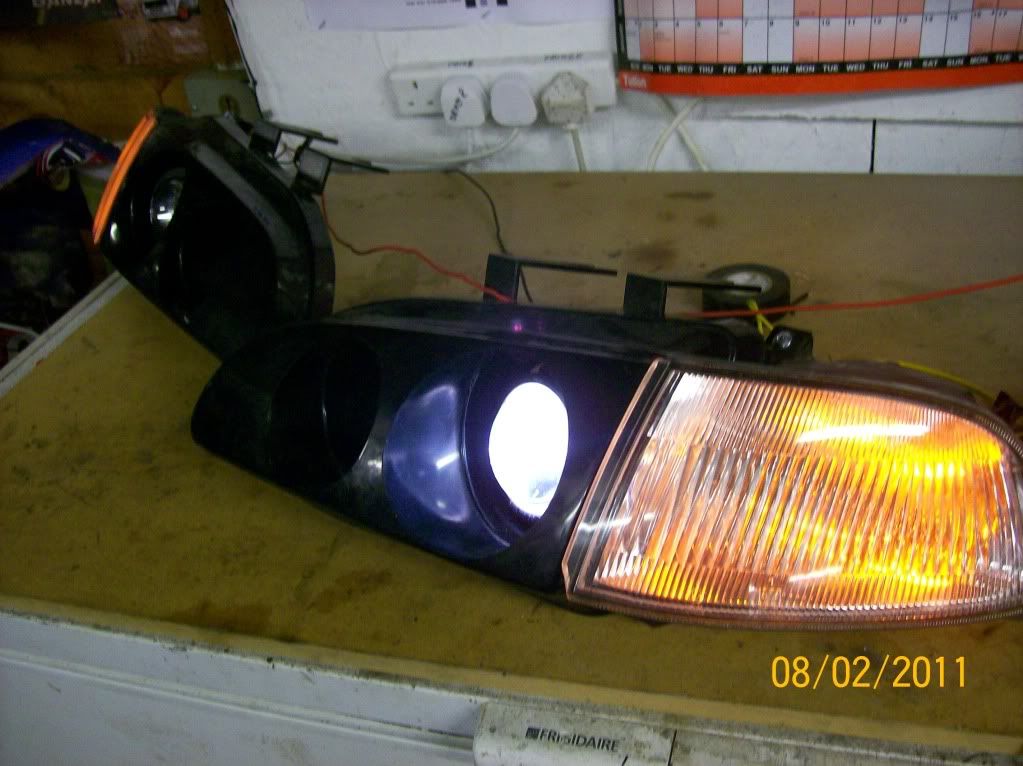
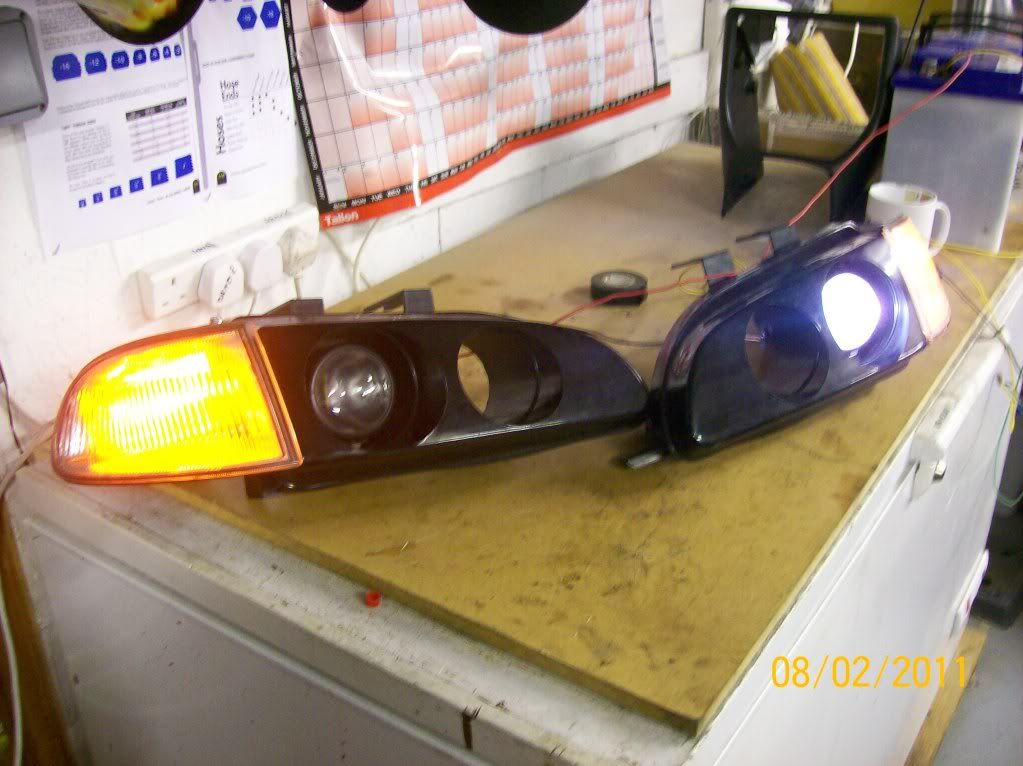
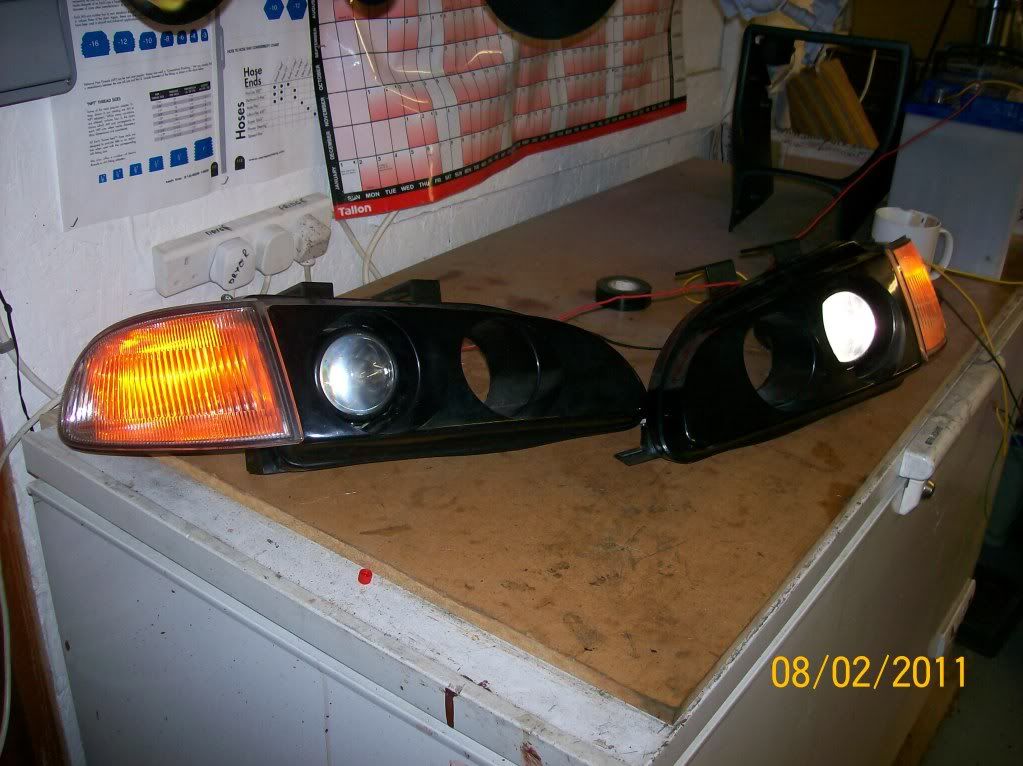
The quad headlights that have been on the car for some time, have had a little treatment..
I have removed the inner lights in order to have them as vents, like the escort cosworth's (mainly for looks). Which meant that the outer lights needed modifying to give them dipped and high beam..
I had some projector lamps off a really tacky front end my wife's trike came with, so i have modified them to receive H4 (dipped/high) bulbs and fitted the whole assembly to the head lights. Im just waiting for some plastic solvent to come to finish it.. Im going to be using some of the mesh i bought for the rear radiator outlet (number plate surround) and trimming it just to dress off around the projectors.
Secondly, i want to make my centre console, with all of its controls, as standard looking as possible. So my plan is to use a clear acrylic, sand blast the rear, and silk screen print black paint on the front. Leaving text and graphics for the controls.
For this i make a jig, out of ali, following the exact (almost) shape of the console fascia. I put the clear acrylic on it, with a g - clamp (on a bit i was going to trim off) and put it in the oven for 10 mins at 160 degC. Then so it doesnt harden, you turn the oven off and let it cool slowly.
Tomorrow im going to start trimming the acrylic to shape. Then i need to CAD the fascia and email that off to have the silk screen made..
I'm completely speechless .....This is prob. one of the best builds I have ever seen....I could only wish to have the knowledge you have. I think what your doing is great, and helps people like me who continue to do this type of thing regardless if it makes sense to others...good work and keep it going

Honda-Tech Member
Joined: Nov 2010
Posts: 493
Likes: 0
What do you mean when you say dipped headlights? I'm guessing it's lowbeams.
Every part of this is just awesome! I can only hope that down the road I could build something of this caliber.
Every part of this is just awesome! I can only hope that down the road I could build something of this caliber.
Thread Starter
Honda-Tech Member
Joined: Nov 2006
Posts: 573
Likes: 0
From: Preston, Lancashire, United Kingdom
Thanks very much chaps.. Its comments like those that make me continue with this.
Yes you're right mate, sorry about that, i meant High / Low beams.
Yes you're right mate, sorry about that, i meant High / Low beams.
Last edited by purplecivicturbo; Feb 11, 2011 at 05:06 PM.
Thread Starter
Honda-Tech Member
Joined: Nov 2006
Posts: 573
Likes: 0
From: Preston, Lancashire, United Kingdom
Designed the layout of the custom instrument / control panel..

I shall be looking into that screen printed over the next few weeks.
I shall be looking into that screen printed over the next few weeks.
Thread Starter
Honda-Tech Member
Joined: Nov 2006
Posts: 573
Likes: 0
From: Preston, Lancashire, United Kingdom
Jaker, well noticed.. Its the racelogic system. The 4wd is there for overall traction, but the traction control (according to racelogic) will assist with understeer which a setup like this is likely to have. Itll be set up (though the software) to work in tandem with the AWD.
Jaker, how are you feeding it with the abs signals.. Ive installed abs front hubs and put abs sensors in the rear arms... Just curious what youve done..
Jaker, how are you feeding it with the abs signals.. Ive installed abs front hubs and put abs sensors in the rear arms... Just curious what youve done..

Honda-Tech Member

Joined: May 2001
Posts: 3,820
Likes: 1
From: Surrey, BC, Canada
I am using the ABS toothed wheels from the 1996-00 Civics that had ABS. They are mounted to the outer joints that hold my front wheel bearings together. The joints themselves have been cut down substantially for weight reduction, but I'm now also considering having some lightweight alloy parts machined up with a Ti through bolt. My Chromoly front knuckles have some simple brackets welded to them to hold Honda ABS sensors in the appropriate location.
At the back, I did not have room in the hub area for the toothed wheel as I am running the same diameter out joints on my custom made axles as would be on the front of an Integra or Civic. The shop that made my axles (Drive Shaft Shop) incorporated the toothed wheel on the outer diameter of the inner joint. I need only to fab some little brackets that bolt under the diff housing bolts to hold the sensors.
I'm not rushing to install my Race Logic as I want to ensure that I have optimised the traction available from the rear wheels before masking the shortcomings with traction control.
Thread Starter
Honda-Tech Member
Joined: Nov 2006
Posts: 573
Likes: 0
From: Preston, Lancashire, United Kingdom
Ah cool.. I like what you did with the front bearings..
Its odd, my rear arms are from the 92-95 civic that had AWD, my front axles with abs rings seem to fit perfectly.
I know what you mean, its definitely best to set up the physical characteristics before cheating.. Im still thinking how im going to set mine up..
Its odd, my rear arms are from the 92-95 civic that had AWD, my front axles with abs rings seem to fit perfectly.
I know what you mean, its definitely best to set up the physical characteristics before cheating.. Im still thinking how im going to set mine up..
Thread Starter
Honda-Tech Member
Joined: Nov 2006
Posts: 573
Likes: 0
From: Preston, Lancashire, United Kingdom
Good evening chaps!
Small update for tonight..
Ive finished my mirrors, forgot to take a photo of them finished up and colour sanded / polished..
They look pretty sweet.. Considering the state they were in when i got them..

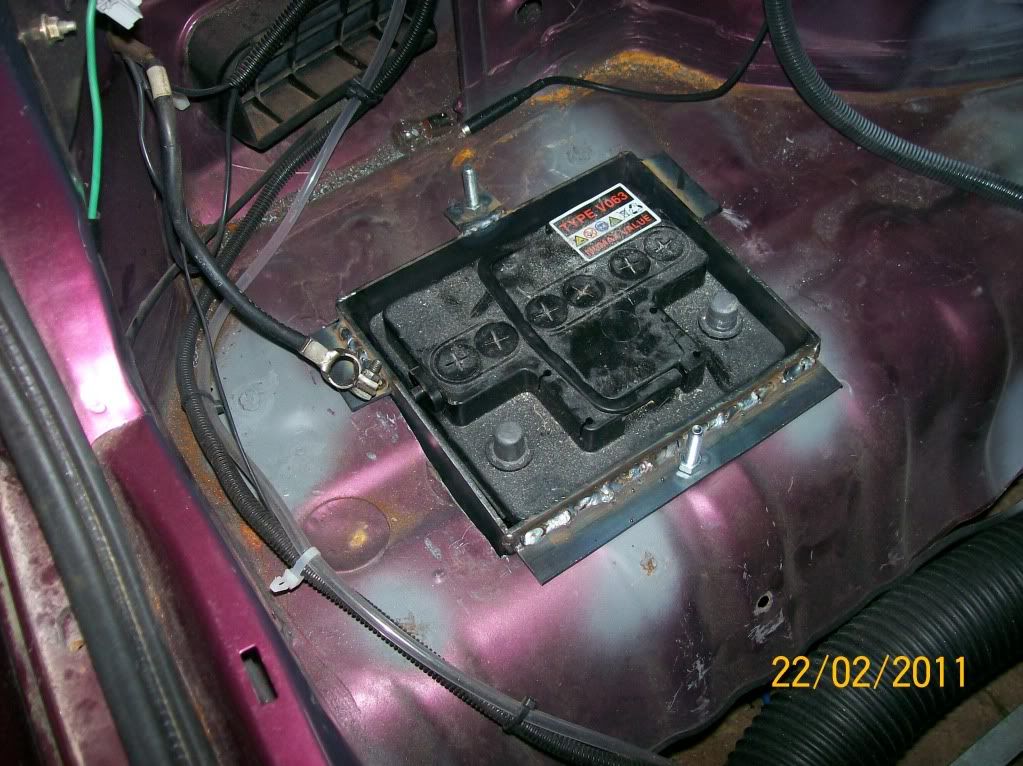
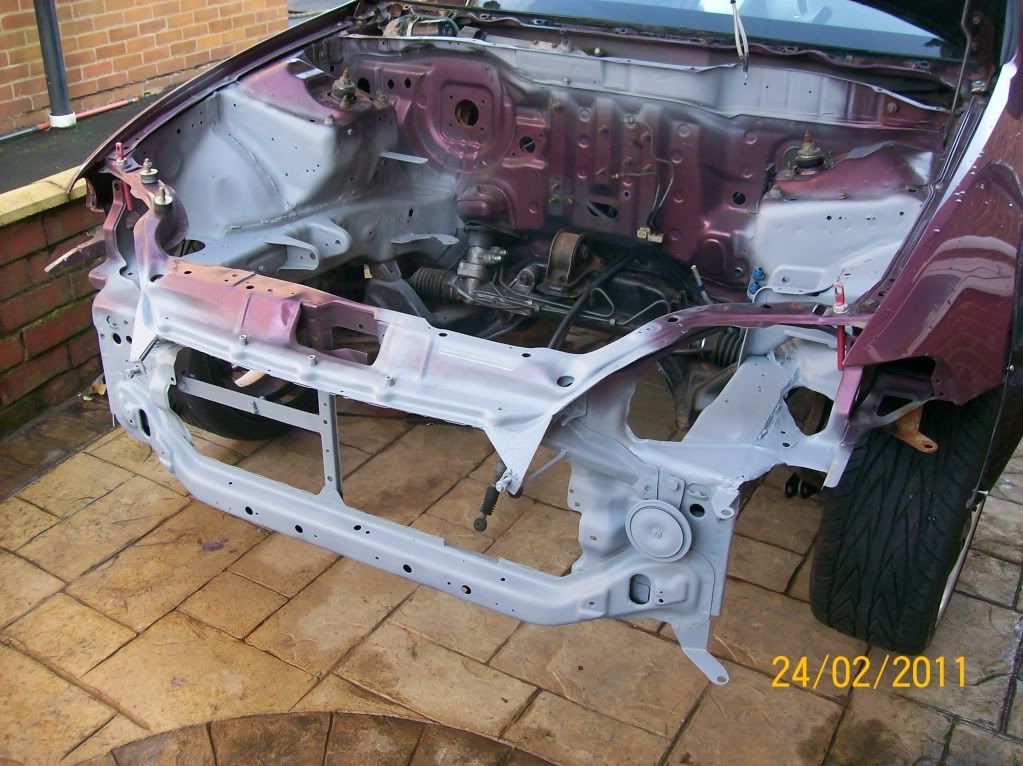
Tonights work, built a battery box for the boot.. I used to have the battery sitting on the boot floor but that was a bit too high. This time i wanted it as low as i could get away with,
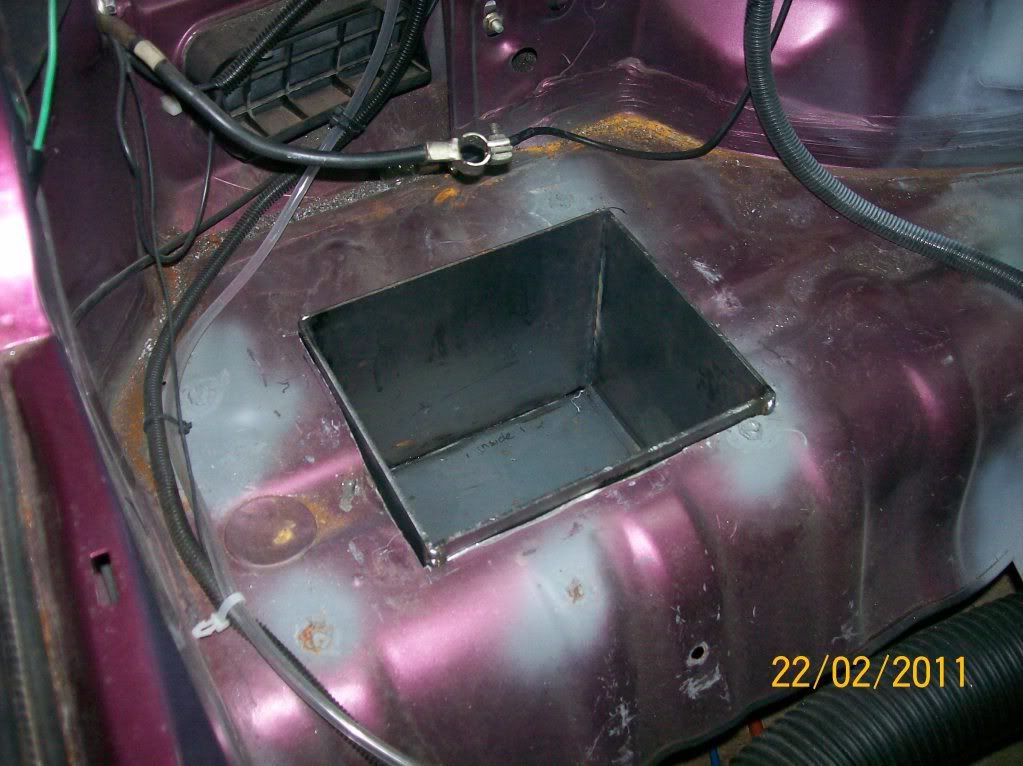
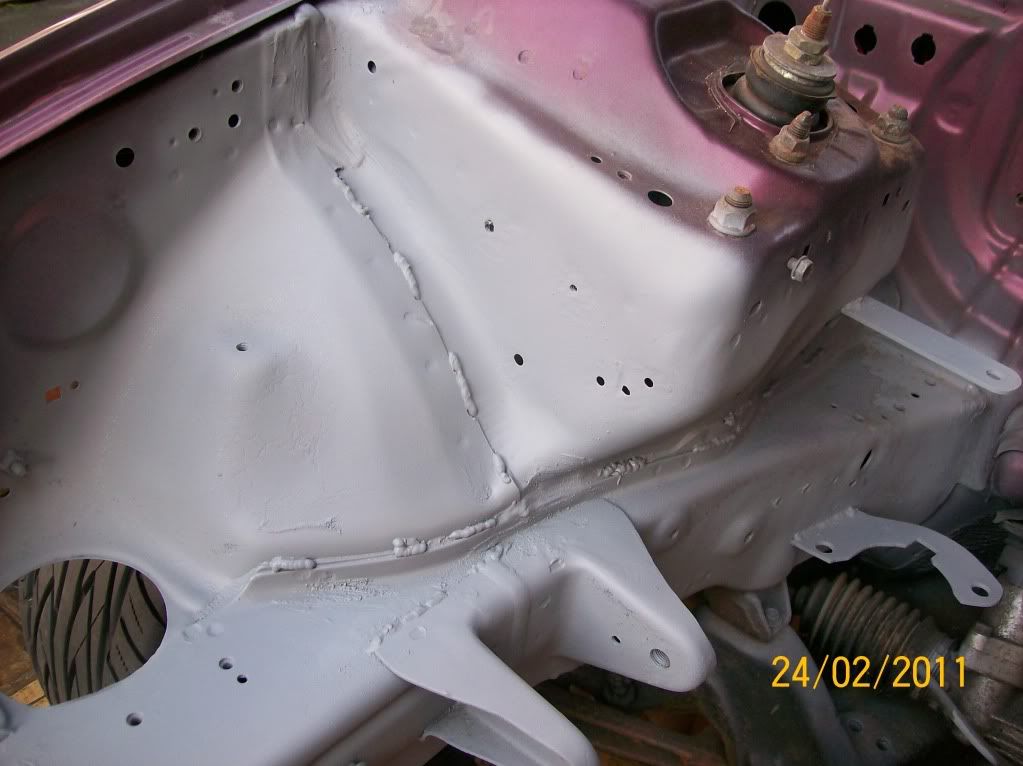
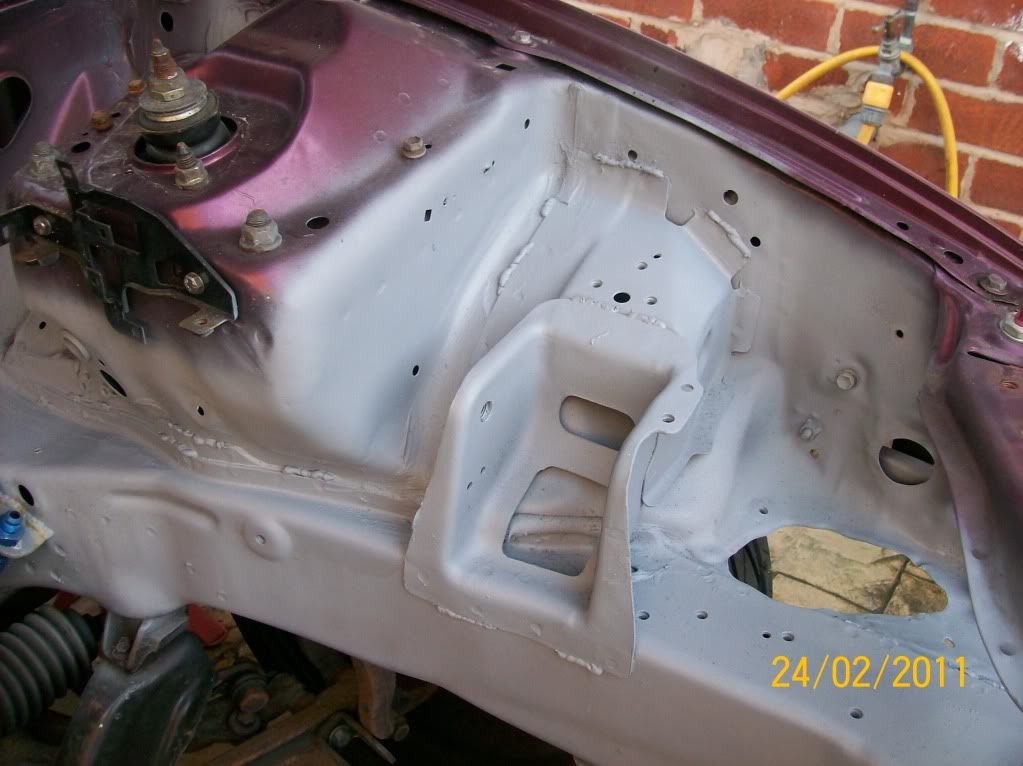
and from underneath the car

The small hole is to allow any water that ends up in it, run out, whilst the two large bolts are for a battery tie down im yet to make.. Pretty indestructible though
Small update for tonight..
Ive finished my mirrors, forgot to take a photo of them finished up and colour sanded / polished..
They look pretty sweet.. Considering the state they were in when i got them..
Tonights work, built a battery box for the boot.. I used to have the battery sitting on the boot floor but that was a bit too high. This time i wanted it as low as i could get away with,
and from underneath the car
The small hole is to allow any water that ends up in it, run out, whilst the two large bolts are for a battery tie down im yet to make.. Pretty indestructible though
Honda-Tech Member
Joined: May 2001
Posts: 3,820
Likes: 1
From: Surrey, BC, Canada
Will the battery box be fully welded into the chassis? I'd consider running some plate stock around the beam on the underside of the car and welding it all in. Then seal it all up with seam sealer. Nobody would be the wiser at that point.
Thread Starter
Honda-Tech Member
Joined: Nov 2006
Posts: 573
Likes: 0
From: Preston, Lancashire, United Kingdom
im not sure mate, i could weld it in, but i think it would just be for aesthetics.. ive put flanges on so the weight is spread- i was going to bolt it in, ill give it some thought...


Thread Starter
Honda-Tech Member
Joined: Nov 2006
Posts: 573
Likes: 0
From: Preston, Lancashire, United Kingdom
Thread Starter
Honda-Tech Member
Joined: Nov 2006
Posts: 573
Likes: 0
From: Preston, Lancashire, United Kingdom
Had the day off for some more work on my tattoo, so i thought id do a bit of car stuff..
decided t add a couple of stringers to the intercooler mounts for rigidity

Thread Starter
Honda-Tech Member
Joined: Nov 2006
Posts: 573
Likes: 0
From: Preston, Lancashire, United Kingdom
On another note- if anyone is interested, my wife told me i should post this up.

Its todays addition to my tattoo, not sure if you can see the feint outline, but in a month or two itll span all the way up my arm to my back... The next bit is a b16a2 cylinder head.. 10 points if you can name the car that transmission is from lol (its not a honda)
Its todays addition to my tattoo, not sure if you can see the feint outline, but in a month or two itll span all the way up my arm to my back... The next bit is a b16a2 cylinder head.. 10 points if you can name the car that transmission is from lol (its not a honda)