

Beginning of A Failure Part 1

Thread Starter
Honda-Tech Member
Joined: Nov 2007
Posts: 512
Likes: 0
From: MD
UPDATE: 12/15/08
-Pneumatic Fittings & Install
Today i went to work and well, we had nothing to do, so i turned around and came back home.
Decided to be productive so i went and bought the T fitting i needed to run the boost signal lines to the wg and boost controller.
Now back home i needed a vacuum source for the BOV. I drilled the manifold, yes , on the car, with a 11/32" drill bit, wheel bearing grease, and an 1/8" x 28 NPT Tap. After pilot drilling the hole with a smaller bit, i went up to the 11/32" drill bit and then i noticed that the bit was bent, oh wow, great. so i roll it on the garage floor and find out where the bend was, and whap, hammer that bitch straight..
So on to the drilling. I stuffed a rag through the throttle plate opening, coated the drill bit with wheel bearing grease, and drilled away. Ended up working fine, the rag caught all of the aluminum shavings and so did the wheel bearing grease on the drill bit.
Proceeded to tap the hole, coated it in grease as well. end result is as pictured.

and the fitting on the wg

and this is for sale if anyone would like to buy it to help pay for the build. hehe.
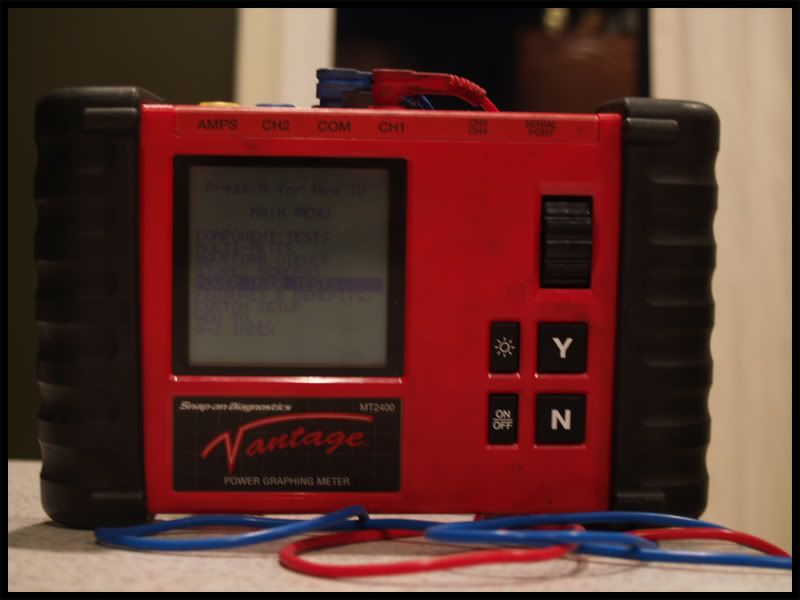
snap on graphing meter with 05-06 software. great for diagnosis , wiring pinouts, colors, where to place leads etc.
-Pneumatic Fittings & Install
Today i went to work and well, we had nothing to do, so i turned around and came back home.
Decided to be productive so i went and bought the T fitting i needed to run the boost signal lines to the wg and boost controller.
Now back home i needed a vacuum source for the BOV. I drilled the manifold, yes , on the car, with a 11/32" drill bit, wheel bearing grease, and an 1/8" x 28 NPT Tap. After pilot drilling the hole with a smaller bit, i went up to the 11/32" drill bit and then i noticed that the bit was bent, oh wow, great. so i roll it on the garage floor and find out where the bend was, and whap, hammer that bitch straight..
So on to the drilling. I stuffed a rag through the throttle plate opening, coated the drill bit with wheel bearing grease, and drilled away. Ended up working fine, the rag caught all of the aluminum shavings and so did the wheel bearing grease on the drill bit.
Proceeded to tap the hole, coated it in grease as well. end result is as pictured.
and the fitting on the wg
and this is for sale if anyone would like to buy it to help pay for the build. hehe.
snap on graphing meter with 05-06 software. great for diagnosis , wiring pinouts, colors, where to place leads etc.
STAR
Joined: Mar 2005
Posts: 4,682
Likes: 0
From: Jamaica, MD
Thread Starter
Honda-Tech Member
Joined: Nov 2007
Posts: 512
Likes: 0
From: MD
no i am not planning to move it because i dont think it will break or crack because the heavier object is not mounted on the end of the T, hence the oil switch. i dont think i will have a problem.
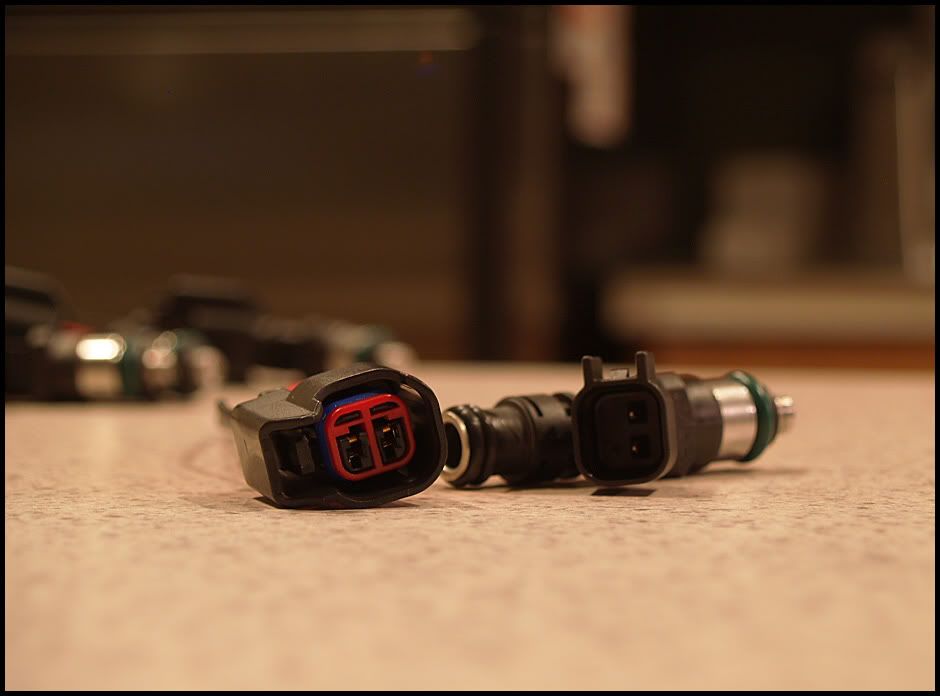
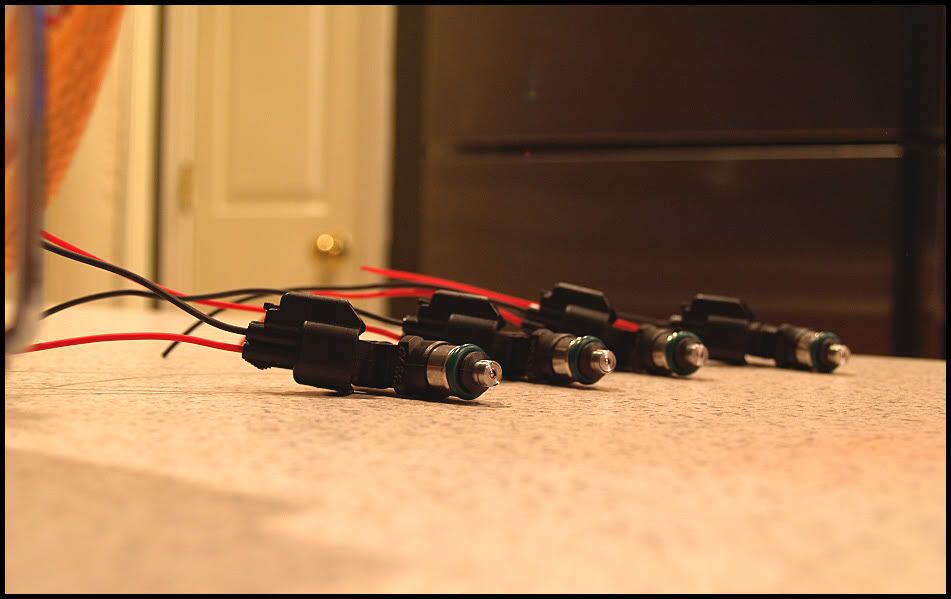
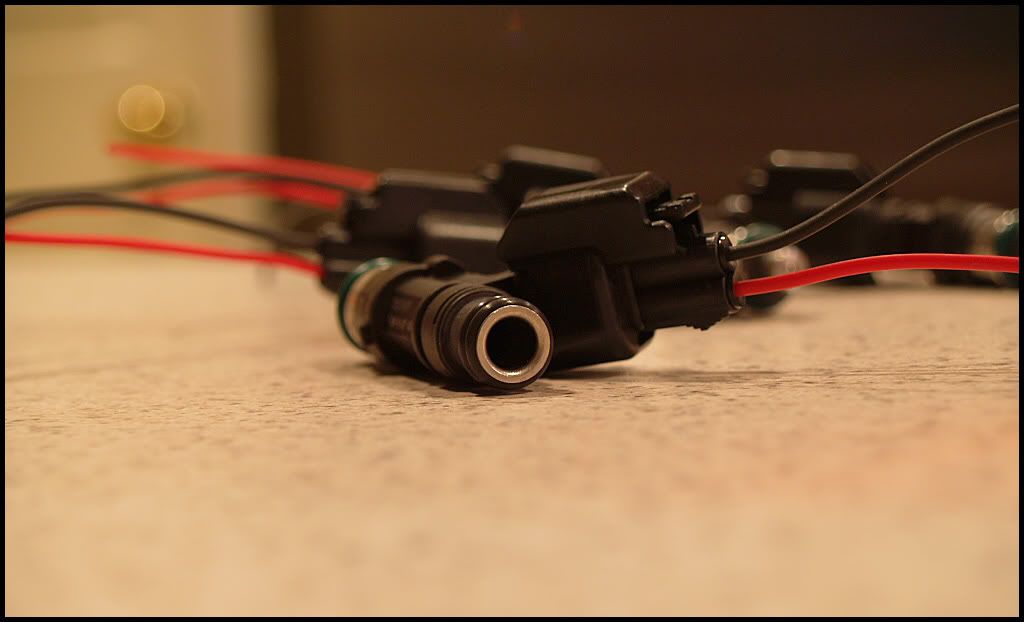
whenever i sell this snap on thing ill buy ic piping or some injectors.. i really want the bosch 1000's.
whenever i sell this snap on thing ill buy ic piping or some injectors.. i really want the bosch 1000's.

Thread Starter
Honda-Tech Member
Joined: Nov 2007
Posts: 512
Likes: 0
From: MD
Thread Starter
Honda-Tech Member
Joined: Nov 2007
Posts: 512
Likes: 0
From: MD
lolz
trying to find the mac series 36 solenoid. wonder if compressed air has it or maybe colliflower can order it. i refuse to pay aem 100 for it or ebay 60 for it when i can just get it close to 30$.
trying to find the mac series 36 solenoid. wonder if compressed air has it or maybe colliflower can order it. i refuse to pay aem 100 for it or ebay 60 for it when i can just get it close to 30$.


Honda-Tech Member
iTrader: (5)
Joined: May 2004
Posts: 8,697
Likes: 0
From: R.I.P Brian Arbogast...you will be missed, maryland, USA
Honda-Tech Member
Joined: Sep 2006
Posts: 932
Likes: 0
From: Falling Waters, WV/Hagerstown, MD
wooo finally the install for the scramble button. im in for the install. my 300 dollars worth of an fittings should be coming tomorrow along with my catch can.

Honda-Tech Member
Joined: Dec 2008
Posts: 304
Likes: 0