
DIY: In dash dimmer/cruise button gauge install!
 12-01-2008, 06:14 AM
#1
DIY: In dash gauge install
Tools needed:
- Stubby (preferred) 3/8 Phillips screwdriver
- Electrical tape and/or wire connectors
- Wire strippers
- 10 mm ratchet and socket
- a few feet of wire
- drill with grinding bit
---- If you wanna do it the ghetto way (The way I did it :S)
---- Knife
---- Drill with drill bit
Time needed:
- an hour or so.
Step 1: - Gather tools, your gauges and get ready to permanently mess up your dash!! jk
Step 2: - Remove the cruise button and dimmer switch. To do this, remove the gauge bezel and just push the cruise button out. For the dimmer, I believe you have to remove the coin tray panel and reinforcement bar to get to it. Just push it out. They don't come out too easy, but they'll come. Keep in mind that you HAVE to keep the dimmer hooked up in order for your gauges to light up. They won't with no dimmer switch. So you have to reconnect it and stick it back inside the dash somewhere out of the way.
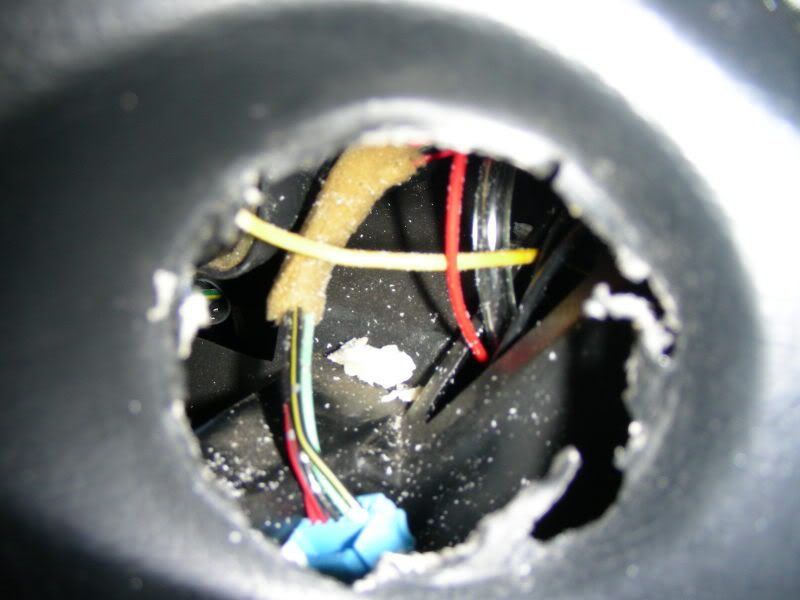
Here's what you end up with!

Step 3: - Now the fun part.. Take your drill and start removing the fiberglass type dash reinforcement from the holes. Or, take a knife and start cutting I had a grinding bit, but it fell out somehow and my dash ate it.. So I had no choice but to cut it with a knife. Just keep grinding and trying to push the gauge in and don't hit the outside of your dash and mess it up!
Here's what I did: Look dangerous?
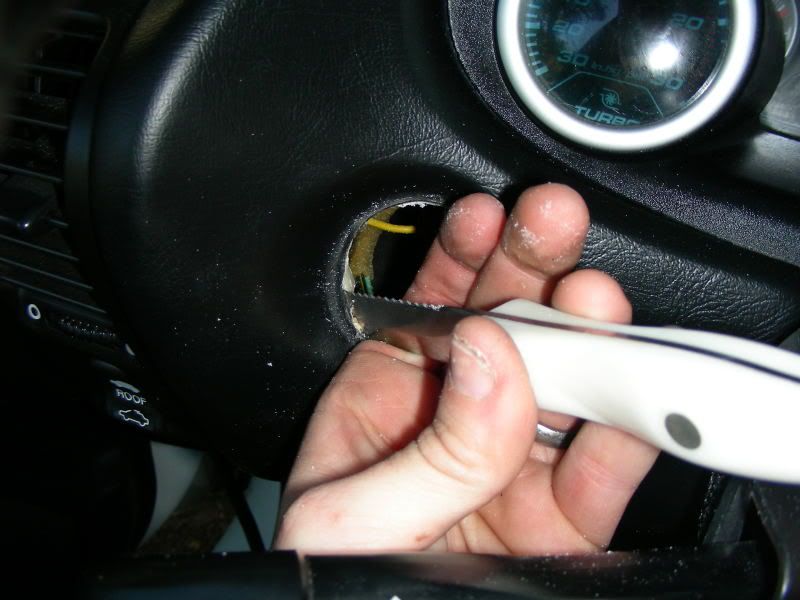
Yep, it was Just a lil cut, but if you wanna see it, clicky!
Here's what you shouldl end up with:
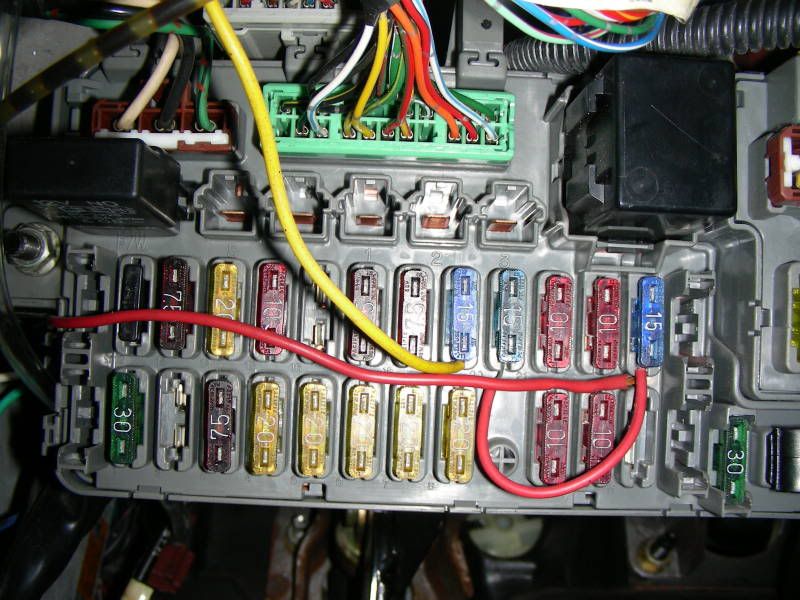
Step 4: - Wire up the lights/gauges. I already had gauges, so I just wired these new ones in, including the volt gauge. To wire the voltage gauge, simply tie it in with to a hot wire that comes on with the ignition OR wire it into the lights and run a ground. Only problem with wiring it into the lights, is for it to work, at least the parking lights need to be on for it to operate I always have em on, so it's no big deal for me.
The yellow wire is for the lights. Just run your hot wire there. Don't mind the red jumper wire: Thats so my turn signals work
Step 5: - Make sure your connections are good, that the gauges are in straight or at the angle you want them to be in... sit back and take a look at your hard work!
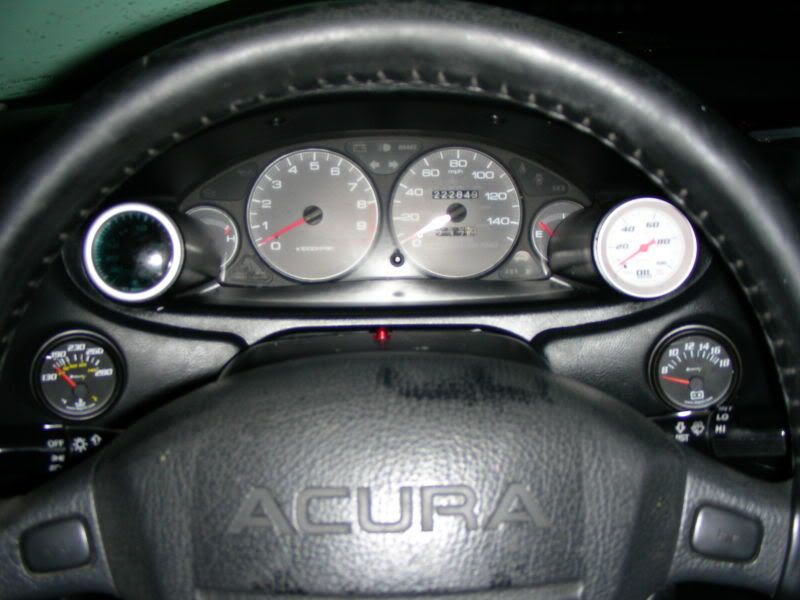
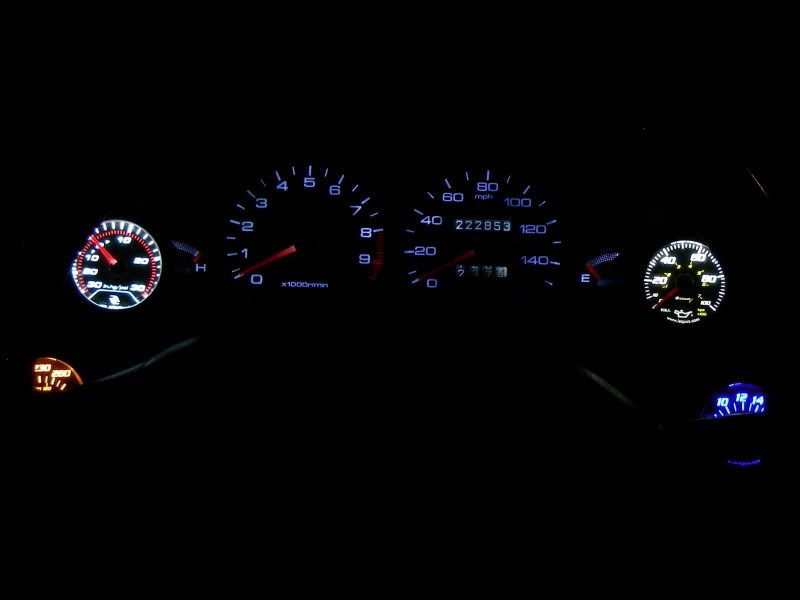
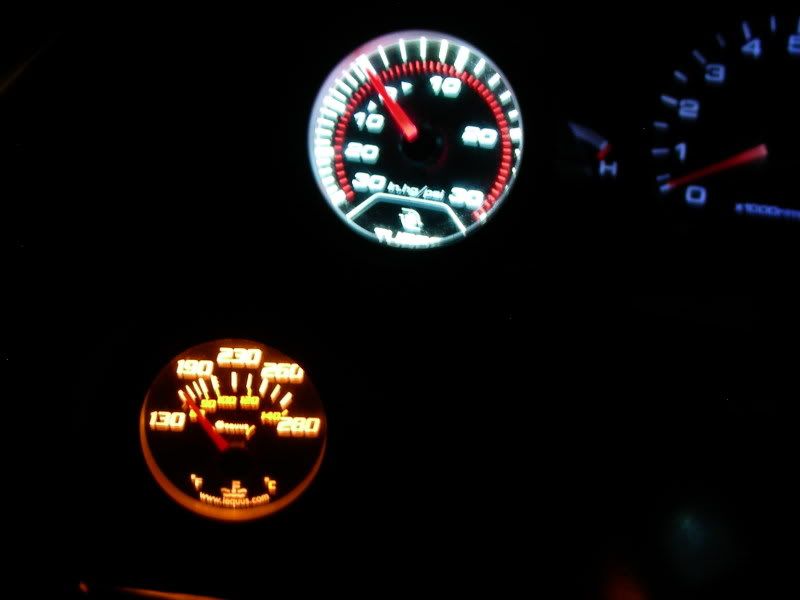
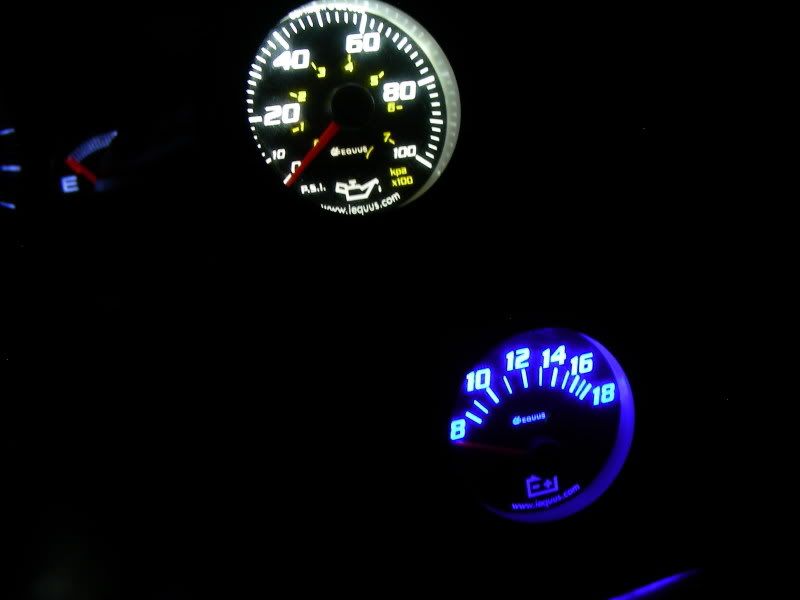
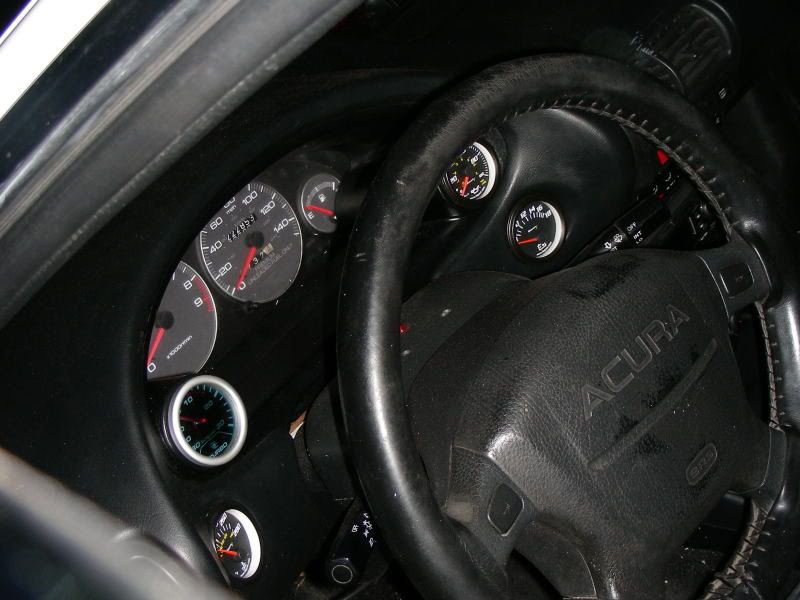
And a couple more pics...
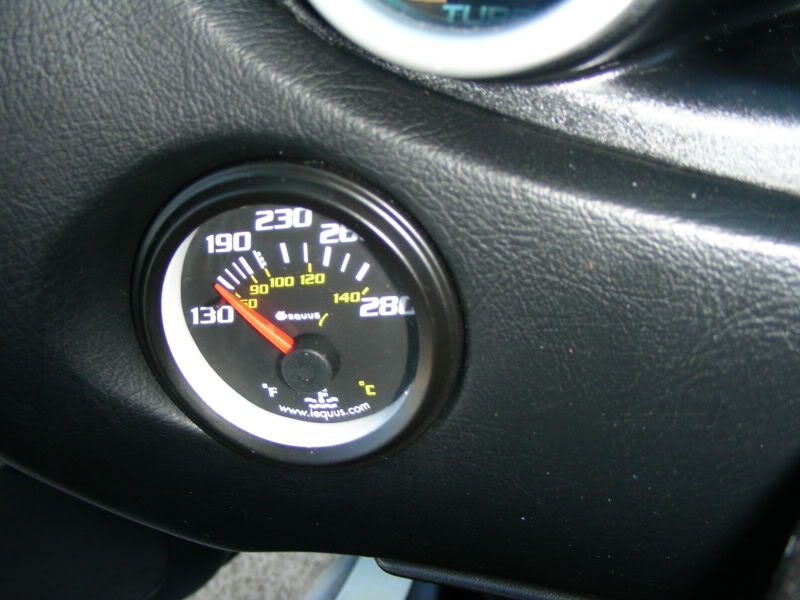
Obviously, I ran a water temp gauge, I'll do a install on that too. right now, I have it zip tied to my upper radiator hose <laughs>. Temporary untill I get my water neck adapter installed
Enj0y!
Tools needed:
- Stubby (preferred) 3/8 Phillips screwdriver
- Electrical tape and/or wire connectors
- Wire strippers
- 10 mm ratchet and socket
- a few feet of wire
- drill with grinding bit
---- If you wanna do it the ghetto way (The way I did it :S)
---- Knife
---- Drill with drill bit
Time needed:
- an hour or so.
Step 1: - Gather tools, your gauges and get ready to permanently mess up your dash!! jk
Step 2: - Remove the cruise button and dimmer switch. To do this, remove the gauge bezel and just push the cruise button out. For the dimmer, I believe you have to remove the coin tray panel and reinforcement bar to get to it. Just push it out. They don't come out too easy, but they'll come. Keep in mind that you HAVE to keep the dimmer hooked up in order for your gauges to light up. They won't with no dimmer switch. So you have to reconnect it and stick it back inside the dash somewhere out of the way.
Here's what you end up with!
Step 3: - Now the fun part.. Take your drill and start removing the fiberglass type dash reinforcement from the holes. Or, take a knife and start cutting
I had a grinding bit, but it fell out somehow and my dash ate it.. So I had no choice but to cut it with a knife. Just keep grinding and trying to push the gauge in and don't hit the outside of your dash and mess it up!Here's what I did: Look dangerous?
Yep, it was
Just a lil cut, but if you wanna see it, clicky!Here's what you shouldl end up with:
Step 4: - Wire up the lights/gauges. I already had gauges, so I just wired these new ones in, including the volt gauge. To wire the voltage gauge, simply tie it in with to a hot wire that comes on with the ignition OR wire it into the lights and run a ground. Only problem with wiring it into the lights, is for it to work, at least the parking lights need to be on for it to operate
I always have em on, so it's no big deal for me.The yellow wire is for the lights. Just run your hot wire there. Don't mind the red jumper wire: Thats so my turn signals work
Step 5: - Make sure your connections are good, that the gauges are in straight or at the angle you want them to be in... sit back and take a look at your hard work!
And a couple more pics...
Obviously, I ran a water temp gauge, I'll do a install on that too. right now, I have it zip tied to my upper radiator hose <laughs>. Temporary untill I get my water neck adapter installed
Enj0y!


Thread
Thread Starter
Forum
Replies
Last Post
BDogggUT34
Honda Civic / Del Sol (1992 - 2000)
16
01-27-2005 05:10 PM