

Double sided carbon fiber overlay and Dzus details


Thread Starter
Joined: Oct 2002
Posts: 1,708
Likes: 0
From: Eagle Mountain, UT, USA
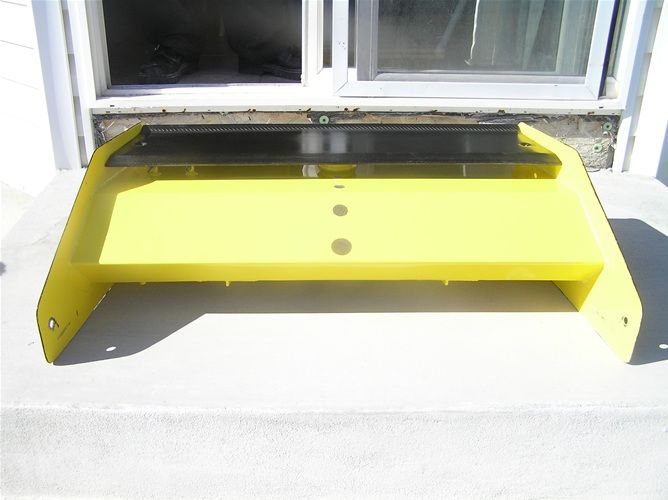
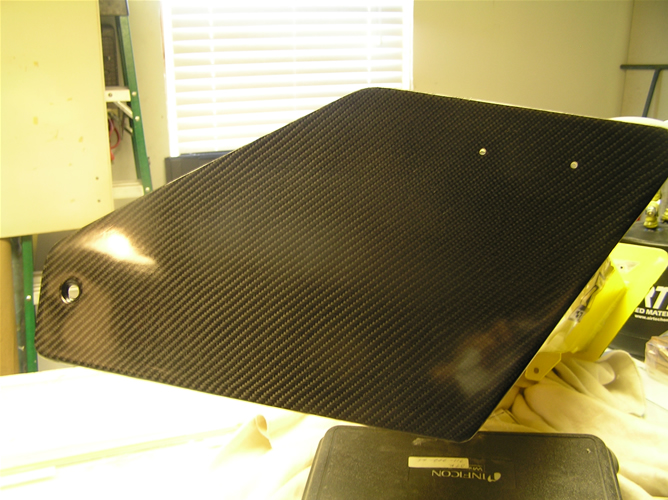
I thought I would post up a new project I finished for a customer. Just a cosmetic overlay on aluminum parts but I thought it might interest a few. The vehicle this wing assembly belongs to is a very fast sand rail wuth a punched out and Turboed Hyabusa motor! Everything you see here has been overlaid. One thing to note about this project is that it is double sides and has a few interesting details.
Front of wing
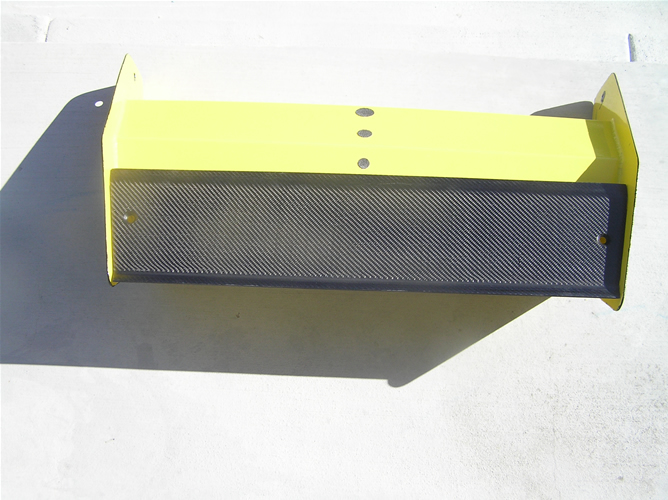
Top
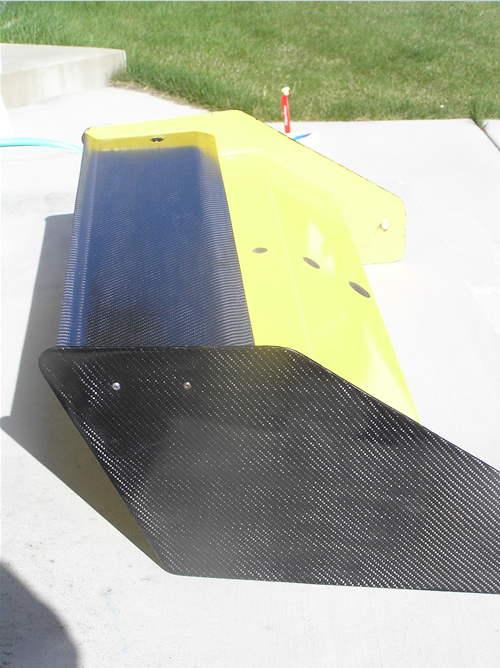
Side

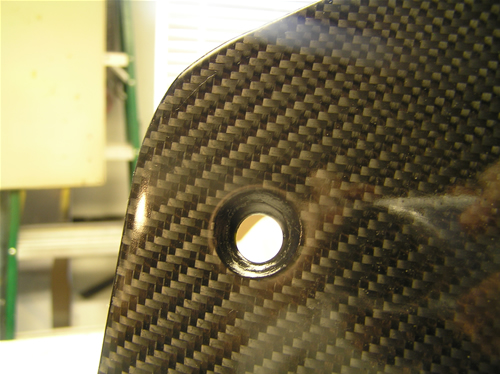
Here you can see where I had to make room for a Dzus fastener. I covered the Dzus spot with a round piece of tape and then started my overlay. I machined the space for the Dzus after I was finished. I also painted the spot black to make it look more clean.
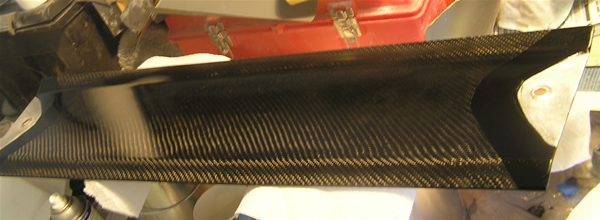
Another side view prior to mounting the top wing
Here is a top side view of the upper deck wing. This piece was overlayed front and back.
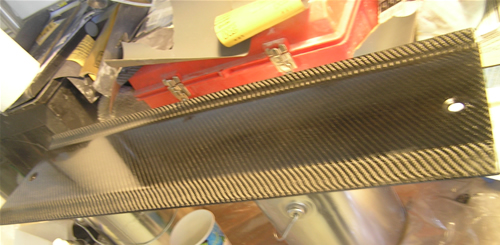
Another Dzus

I also overlaid the underside of this part. I had to avoid the area at the two ends to make room for the bracket this wing sits on. I painted a black stripe to avoid having an ugly fiber ends. I just masked everything off so i didn't get resin on the ends.
Anyway there are a few other pieces I am working on like side panels and a new roof (not overlay). I'll post them up soon.
Front of wing
Top
Side
Here you can see where I had to make room for a Dzus fastener. I covered the Dzus spot with a round piece of tape and then started my overlay. I machined the space for the Dzus after I was finished. I also painted the spot black to make it look more clean.
Another side view prior to mounting the top wing
Here is a top side view of the upper deck wing. This piece was overlayed front and back.
Another Dzus
I also overlaid the underside of this part. I had to avoid the area at the two ends to make room for the bracket this wing sits on. I painted a black stripe to avoid having an ugly fiber ends. I just masked everything off so i didn't get resin on the ends.
Anyway there are a few other pieces I am working on like side panels and a new roof (not overlay). I'll post them up soon.
Thread Starter
Joined: Oct 2002
Posts: 1,708
Likes: 0
From: Eagle Mountain, UT, USA
<TABLE WIDTH="90%" CELLSPACING=0 CELLPADDING=0 ALIGN=CENTER><TR><TD>Quote, originally posted by msmotorsports »</TD></TR><TR><TD CLASS="quote">Looks very nice! Way to pay attention to details. Now you have to work on a full non overlayed carbon wing 
 </TD></TR></TABLE>
Thanks, actually the amount of sanding and re-coating on these overlays might have taken more time than a fabricated part, LOL On the roof my customer is bringing me the original part to pull a mold off and I will vacuum infuse that part.
</TD></TR></TABLE>Thanks, actually the amount of sanding and re-coating on these overlays might have taken more time than a fabricated part, LOL On the roof my customer is bringing me the original part to pull a mold off and I will vacuum infuse that part.
Thread Starter
Joined: Oct 2002
Posts: 1,708
Likes: 0
From: Eagle Mountain, UT, USA
Just wanted to post a pic of the roof for this rail:
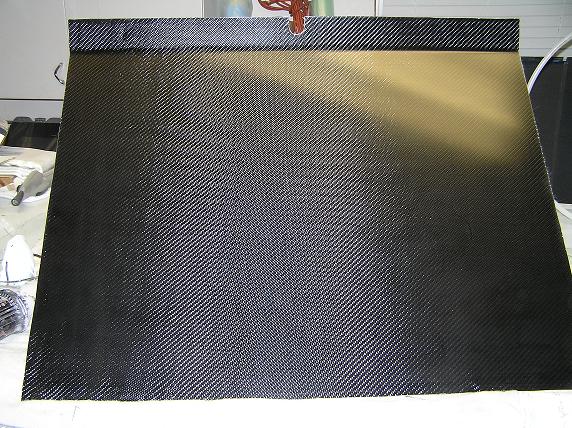
This part was not an overlay but popped from a piece of bent aluminum. Excuse the crappy yellow lighting in the upper right hand corner but it does show the matte finish. Taking pics of carbon with a flash mostly shows the fiber and not as much the texture of the part. Here is a pic of an untrimmed gloss part next to this part:
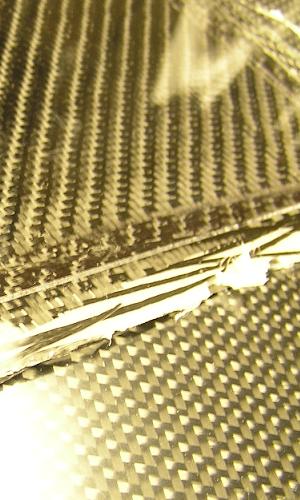
Sorry no flash this time but you get the idea. Customer wanted matte since it's going to get sandblasted regularly. THe mold surface itself is a P500 grit surface. This part was trimmed but since it's sitting on a blanket the bottom cut looks off but it's not. I still need to round some edges and drill some holes to mount to the cage but you get the idea. This layup is 2x2 twill outers and 10 oz. plain weave glass for the inner.
This part was not an overlay but popped from a piece of bent aluminum. Excuse the crappy yellow lighting in the upper right hand corner but it does show the matte finish. Taking pics of carbon with a flash mostly shows the fiber and not as much the texture of the part. Here is a pic of an untrimmed gloss part next to this part:
Sorry no flash this time but you get the idea. Customer wanted matte since it's going to get sandblasted regularly. THe mold surface itself is a P500 grit surface. This part was trimmed but since it's sitting on a blanket the bottom cut looks off but it's not. I still need to round some edges and drill some holes to mount to the cage but you get the idea. This layup is 2x2 twill outers and 10 oz. plain weave glass for the inner.
Thread Starter
Joined: Oct 2002
Posts: 1,708
Likes: 0
From: Eagle Mountain, UT, USA
Here are the last pieces of the setup, these are aluminum side panels covered in carbon. There were two of them but only grabbed a pic of one. Each of these were over 90" long tip to tail which makes them the longest overlays I've done so far. These are matte finish as well.
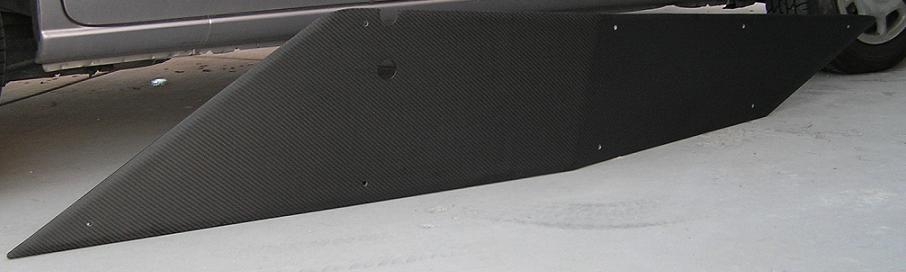
The owner is getting pics of everything installed on the vehicle which should be cool. I'll post those when I have them.
Modified by crx12 at 5:16 AM 5/25/2006
The owner is getting pics of everything installed on the vehicle which should be cool. I'll post those when I have them.
Modified by crx12 at 5:16 AM 5/25/2006
Trending Topics
Honda-Tech Member
Joined: Aug 2004
Posts: 1,447
Likes: 0
From: sik three oh, IL, usa
<TABLE WIDTH="90%" CELLSPACING=0 CELLPADDING=0 ALIGN=CENTER><TR><TD>Quote, originally posted by crx12 »</TD></TR><TR><TD CLASS="quote"> a punched out and Turboed Hyabusa motor!
</TD></TR></TABLE>

</TD></TR></TABLE>

Thread
Thread Starter
Forum
Replies
Last Post
EG-SIXV-TEC
Honda Civic / Del Sol (1992 - 2000)
7
Feb 16, 2013 07:57 AM