When you click on links to various merchants on this site and make a purchase, this can result in this site earning a commission. Affiliate programs and affiliations include, but are not limited to, the eBay Partner Network.
Re: Cgmiller8390's Complete "Frame-Up" Custom Car Progress Build Thread
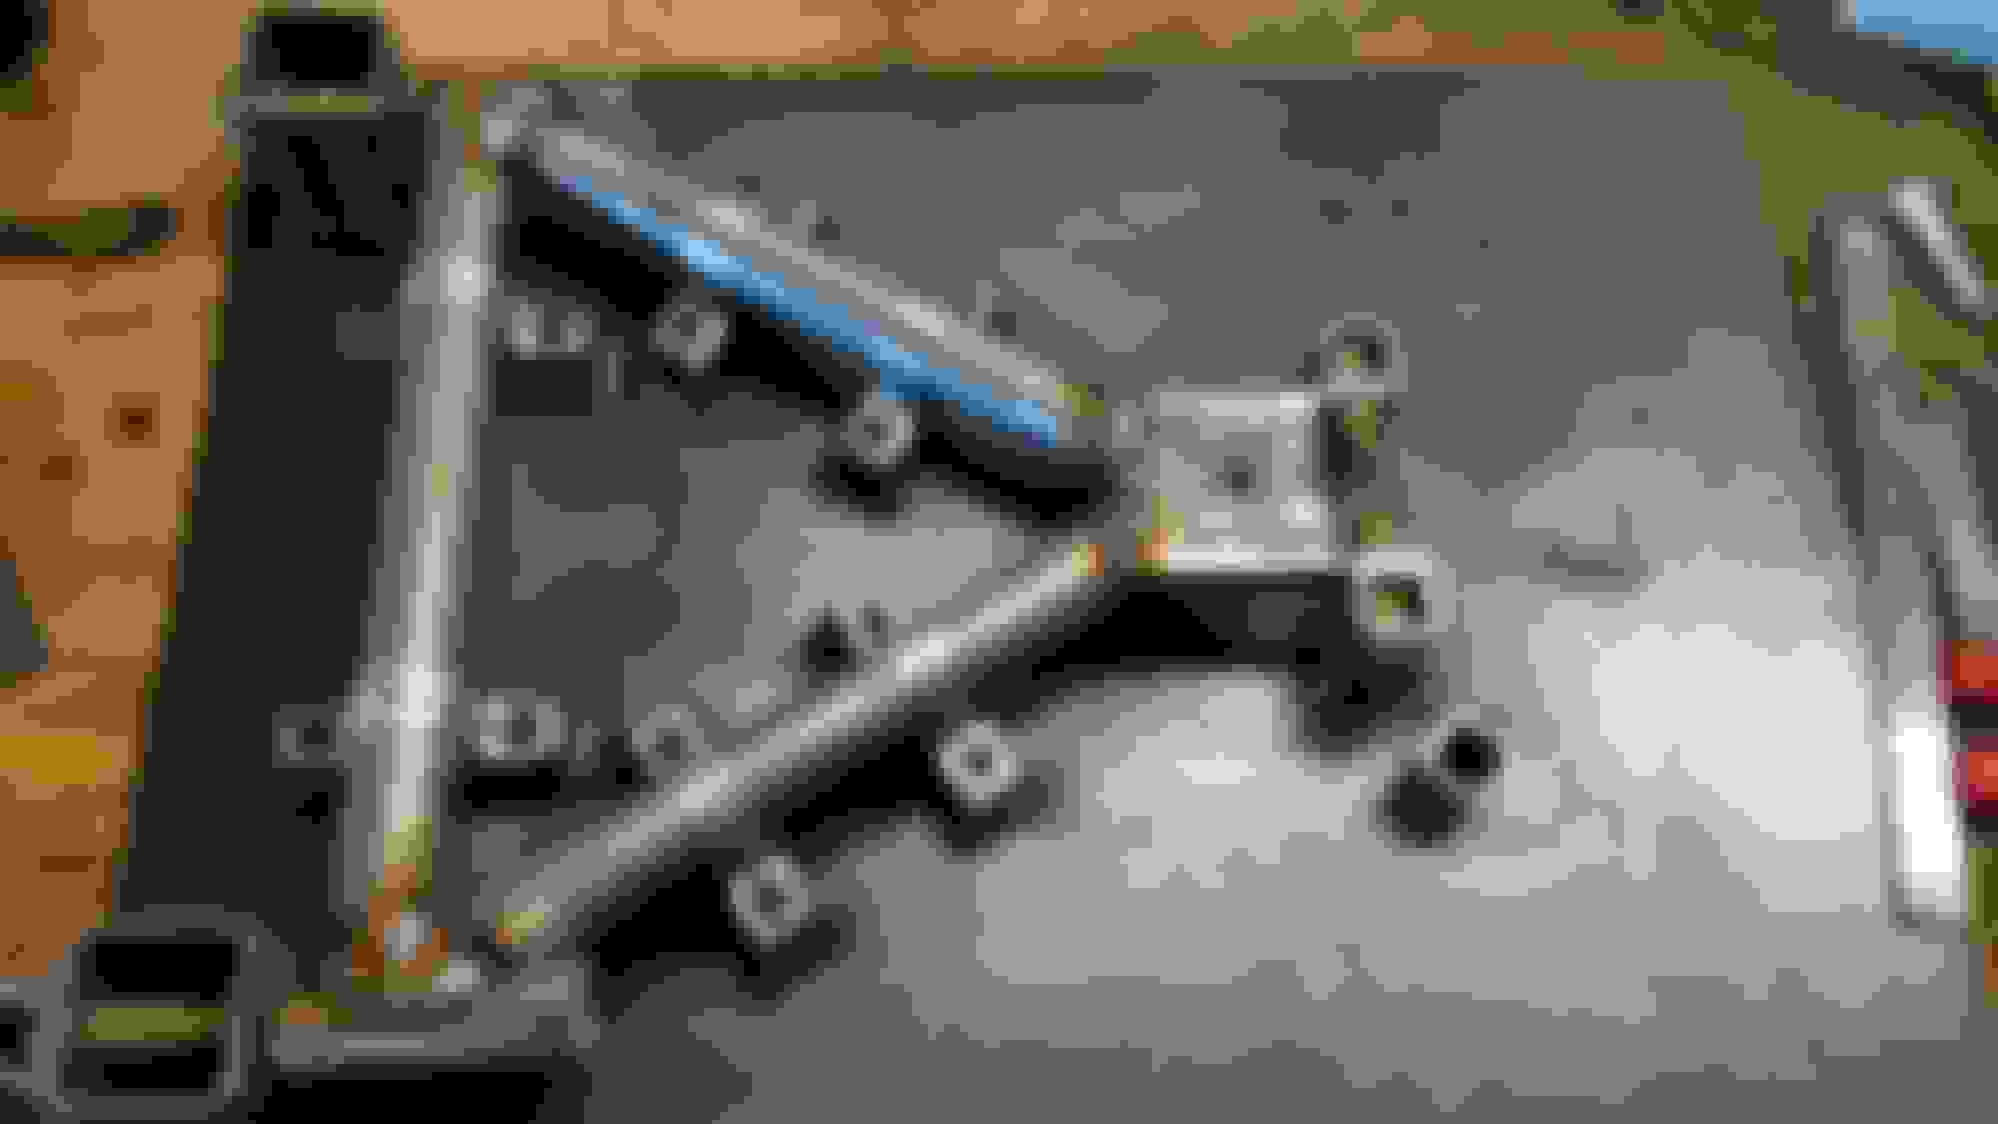
Tacked up a new upper control arm with the modified jig. Everything fits correctly and have allot of adjustments available. Now back is the jig to finished welding.
Arm back in the jig and have one side finished welded. Now it has to set and cool before I can flip its over.
Re: Cgmiller8390's Complete "Frame-Up" Custom Car Progress Build Thread
I haven't been able to do to much this week in the garage. I'm off this weekend, so the plan is to welded up the left rear control arms. If I have time, start the jigs for the front control arms.
Re: Cgmiller8390's Complete "Frame-Up" Custom Car Progress Build Thread
Back to working on the car again. Was trying to get some of my other projects finished up. Did some changes to the control arm joints. Going to replace the bushing joint to a type of johnny joint.
Imagine a bushing and spacer in the joint. This was the original planned camber adjustable joint. Since then has been changed out.
This is the new chromoly johnny joint. I'll be using different high misalignment spacers not in the picture. It's the same width as the original joint bushing joint with the spacers. I'll now have camber and toe adjustments on all the wheels.
Re: Cgmiller8390's Complete "Frame-Up" Custom Car Progress Build Thread
Started work on the front lower control arm jig. The arms are made to use a factory Mazda Miata lower ball joint. The picture is a computer design image of the arm, subject to change.
Re: Cgmiller8390's Complete "Frame-Up" Custom Car Progress Build Thread
Designing and making the jigs is getting easier the more I build. Marked the plate and welded the bracket to take the place of the joints. Bolt on welded bung for the joints. The bungs I used were purchased from Barnes4wd at a really good price. Most of the bung is inside the tube for maximum strength and are fully threaded.
Re: Cgmiller8390's Complete "Frame-Up" Custom Car Progress Build Thread
Cut the connecting tubes using the measurement from the computer design. Everything is fitting together great. Now have to cut the pushrod shock mount tube and reinforcement plate.
Re: Cgmiller8390's Complete "Frame-Up" Custom Car Progress Build Thread
Here's the front control arms all bolted up. Working on getting the ride level just right.
This is the first steering rack I was going to use. After getting the rack installed and all connected, uh. I used a rack off a car that original mounts the backside of the tires. Well when you connected it to the first side. Turn the wheel left and you go right. Really good security system but no such thing as GP steering.
Last edited by cgmiller8390; Sep 25, 2017 at 02:40 PM.
Re: Cgmiller8390's Complete "Frame-Up" Custom Car Progress Build Thread
Passenger front main tube angle.
Driver side main tube matches the passenger side. No clue why I took the picture parallel with tube and not the ground.
Front passenger shock linkage pivot point tacked in.
First pushrod linkage design. I made a change to it farther down.
Both pushrods in but no center mount done yet.
Here's the center mount all welded up. May have to add some pieces to keep any water staying in that area.
Radiator installed and you can get a better idea of what the front suspension looks like.
A steering rack that turns left when I turn left. I still have room for the electric fan to mount to the radiator. The steering rack is new and original for a 71-73 Mustang.
Re: Cgmiller8390's Complete "Frame-Up" Custom Car Progress Build Thread
Turbo mocked up to check for clearance. Going to change the 90 degree connector on the intercooler to a 45 degree. Going to make the intercooler tubing myself. Need to modify the fuel tank for the air inlet on the turbo. Almost ready to take the motor out to send to the machine shop.
Re: Cgmiller8390's Complete "Frame-Up" Custom Car Progress Build Thread
Here's the modification to the fuel tank. I'll have to wait until the 45 degree silicone connector comes in the mail to seal it back up. I also cut the corners off at the firewall for mounting clearance. I may need to trim them some more. Going to work on the fuel tank mounts over the next couple days. Yes that's a 4" inlet with anti-surge.
Re: Cgmiller8390's Complete "Frame-Up" Custom Car Progress Build Thread
Cut and welded in the lower frame brace for the fuel tank. Did a last check to make sure nothing else need to be moved or modified. OH Crap! I didn't take into account the starter. So know I have to find the old starter to bolt up and check. Will post my finding later tonight.