When you click on links to various merchants on this site and make a purchase, this can result in this site earning a commission. Affiliate programs and affiliations include, but are not limited to, the eBay Partner Network.
Once you finish the conversion with the sway, do you mind posting some pics? I'm trying to imagine how much clearance I'll have for future modifications to the rear end. Seeing a lot of people run into clearance issues with certain combos of arms, sways, and roll center correction hardware, I feel like a turndown muffler before the rear subframe or a side exit exhaust might be what I want.
I'm planning on building a 2.5" exhaust for the k-series once that is thrown in with the piping from the site below. Do you have a pre fabbed exhaust or was it something done in-house by a local shop?
You can dig through my thread, I put an EX sway on the rear of my hatch. Had to rework the exhaust which is a combo of local muffler shop 2.5" and A'Pexi WS2 muffler...
You can dig through my thread, I put an EX sway on the rear of my hatch. Had to rework the exhaust which is a combo of local muffler shop 2.5" and A'Pexi WS2 muffler...
Grabbed some complete E46 Bosch/AL headlight assemblies and started the teardown. ~$70 for both. The lens aren't glued to the housings, but simply clip together. I wish all headlights were like this.
These most certainly have some German engineering built into them. Torx screws everywhere philips would normally be used. 10-30% Glass fiber reinforced plastics in every single part. TE Connectivity AMP connectors used everywhere. No expenses spared anywhere in the assembly. Cool stuff.
From a bit of research, the ballast box doesn't have an ECM in it. The self-leveling system is also a separate part that's built into the housing so that's one less thing to take care of. The 2 pin conn has +12v and GND. The one for the solenoid is interesting and has three. Apparently, two of them are grounds with one for constant high beam and one for flash-to-pass. Not sure why they're separate. Anyways, it seems to work if you just feed 12v into one of the wires.
The wires for the ignitor are quite short. Not 100% certain where I'm going to be putting it.
This'll sit about an inch or two back from where it currently is. It takes up all the available real estate in the reflector. Will take a cut off wheel to the back of the housing to get it to fit. Then I'll either do a 3d printed bracket or just break out the JB weld if I'm feeling a bit lazy.
Now these are the older spec D headlights I got from the yard. If the plastic DNA motoring ones don't quite work out, I'll clean these up and start gutting them.
I got some Spec-D glass lens housings, but they look a little difference than yours (I don't think they say Spec D at the bottom).
Are the e46 lights HID low beam and halogen high? I thought they had 2 separate lights for low/high...
The bi-xenon bosch lights have a halogen high for flash-to-pass when the xenon low beam isn't on. Keeps the ignitor and bulb from burning out. When the low beam is on, it just uses the shutter in the xenon housing.
Pulled the new harness and started the process of stripping it down to the bare essentials. Looked up a ton of videos on how to remove the pins and none of them were super helpful, but did come across this TSB that was.
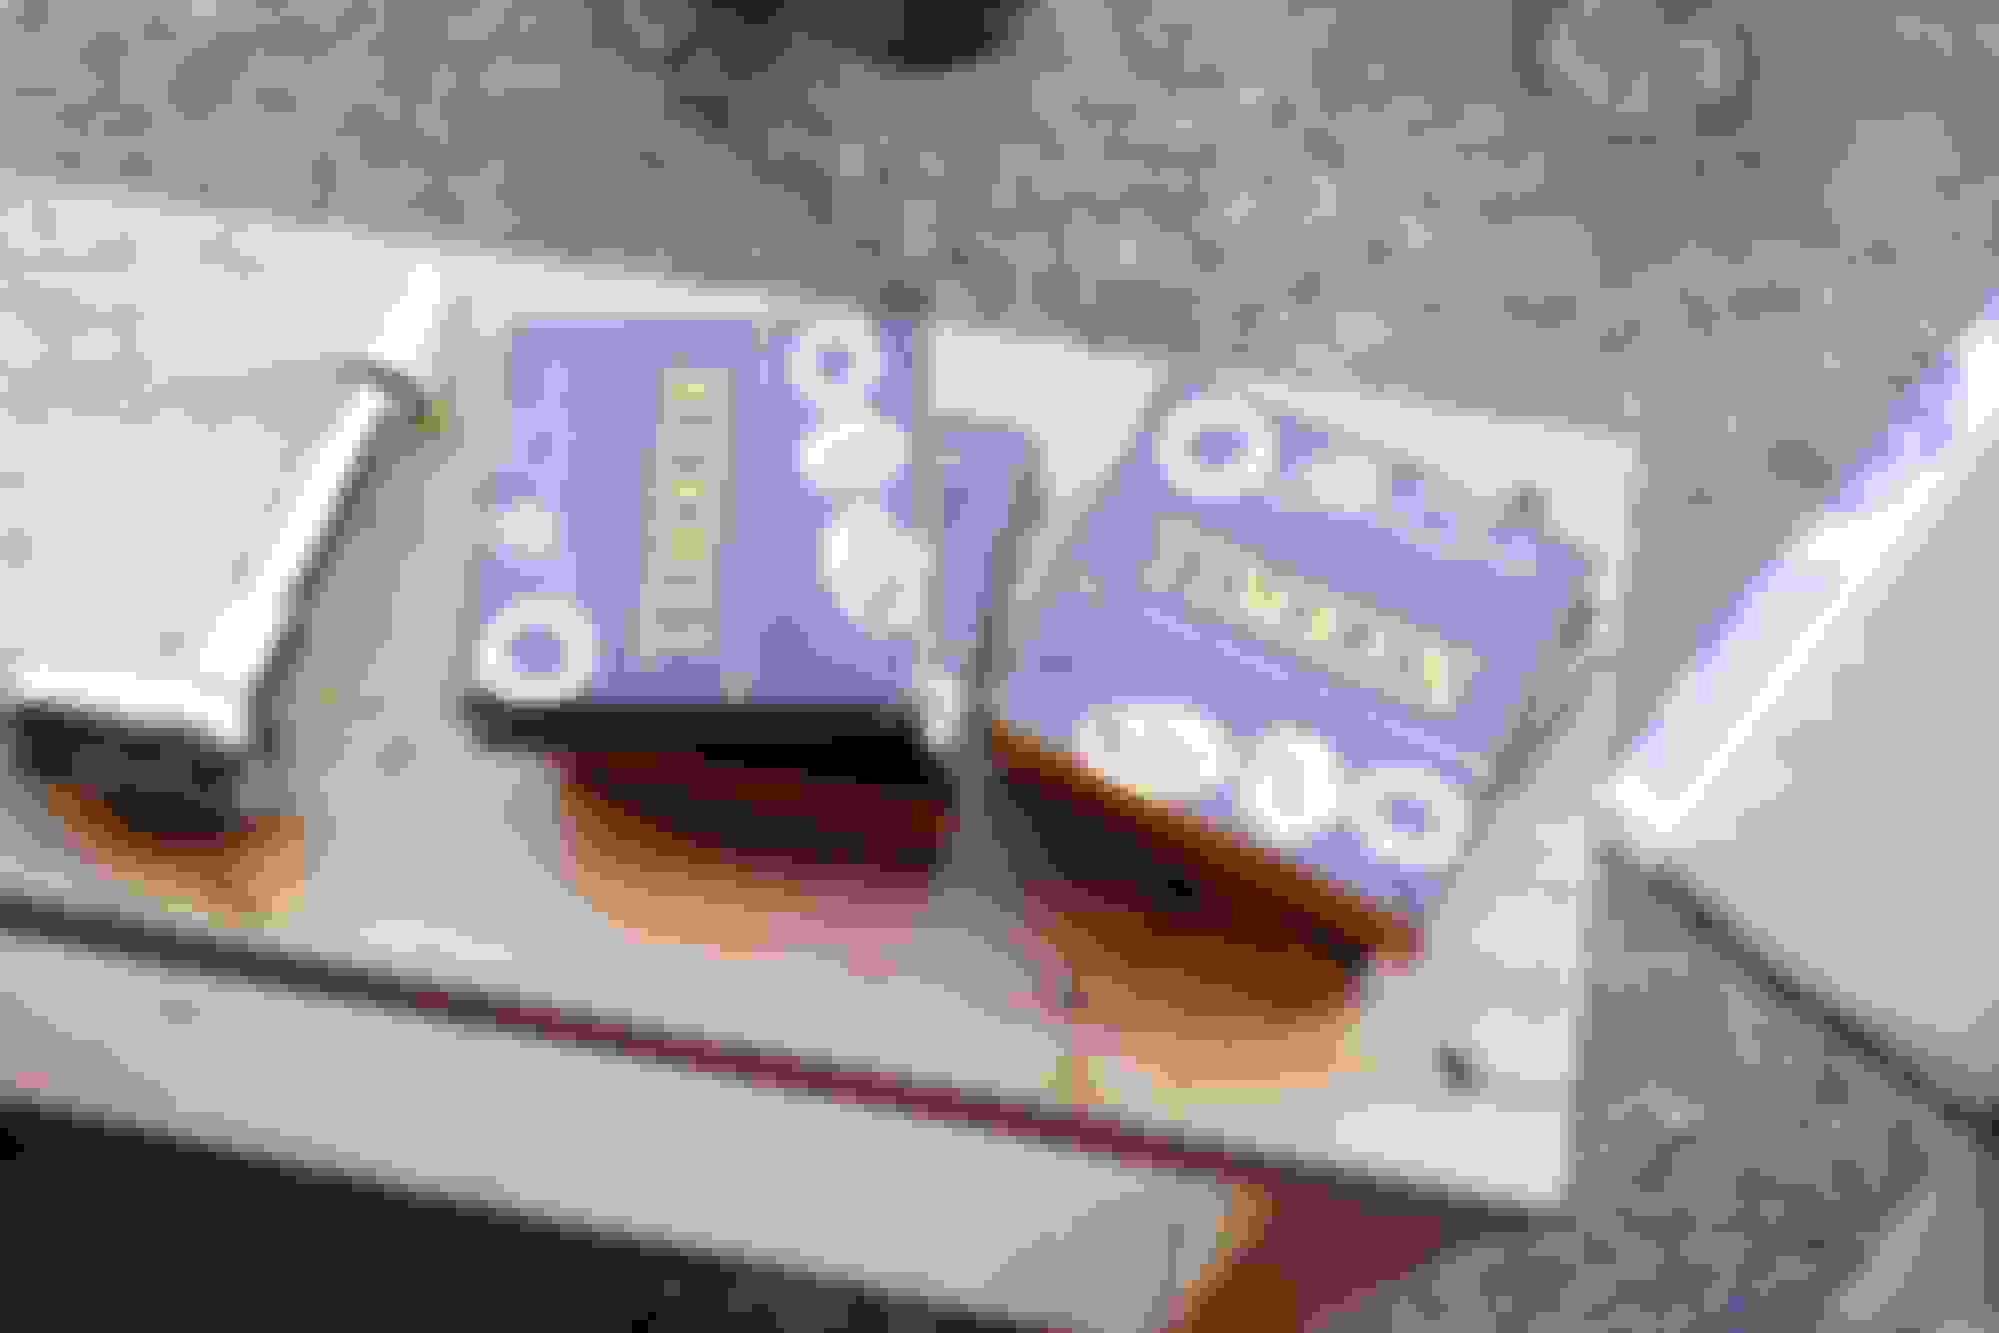
Did some reading last night and tracked down the pins needed to reterminate the cables. The connectors on the junction box side are super similar to the TE multilock, but are made by JAE. The rest of the connectors are the same sumitomo ones found on toyotas it seems.
The sumitomo conns are from their HD 090 series and use p/n SUMI.090U.A-SKT.
The JAE conns are from the IL-AG5 series and use p/n IL-AG5-C1-5000
The dimmer switch is gone so I'll be wiring the dimmer circuit to always on. A lot of repinning and retermination has to be done. A lot of the harness has 1-2 splices for common signals and power. The "loose connector" thing near the junction box end is also ties common signals together and can't be removed.
This'll sit about an inch or two back from where it currently is. It takes up all the available real estate in the reflector. Will take a cut off wheel to the back of the housing to get it to fit. Then I'll either do a 3d printed bracket or just break out the JB weld if I'm feeling a bit lazy.
Now these are the older spec D headlights I got from the yard. If the plastic DNA motoring ones don't quite work out, I'll clean these up and start gutting them.
Have you split the Spec D housings open yet? Wondering how much heat and for how long is needed to open the housings...
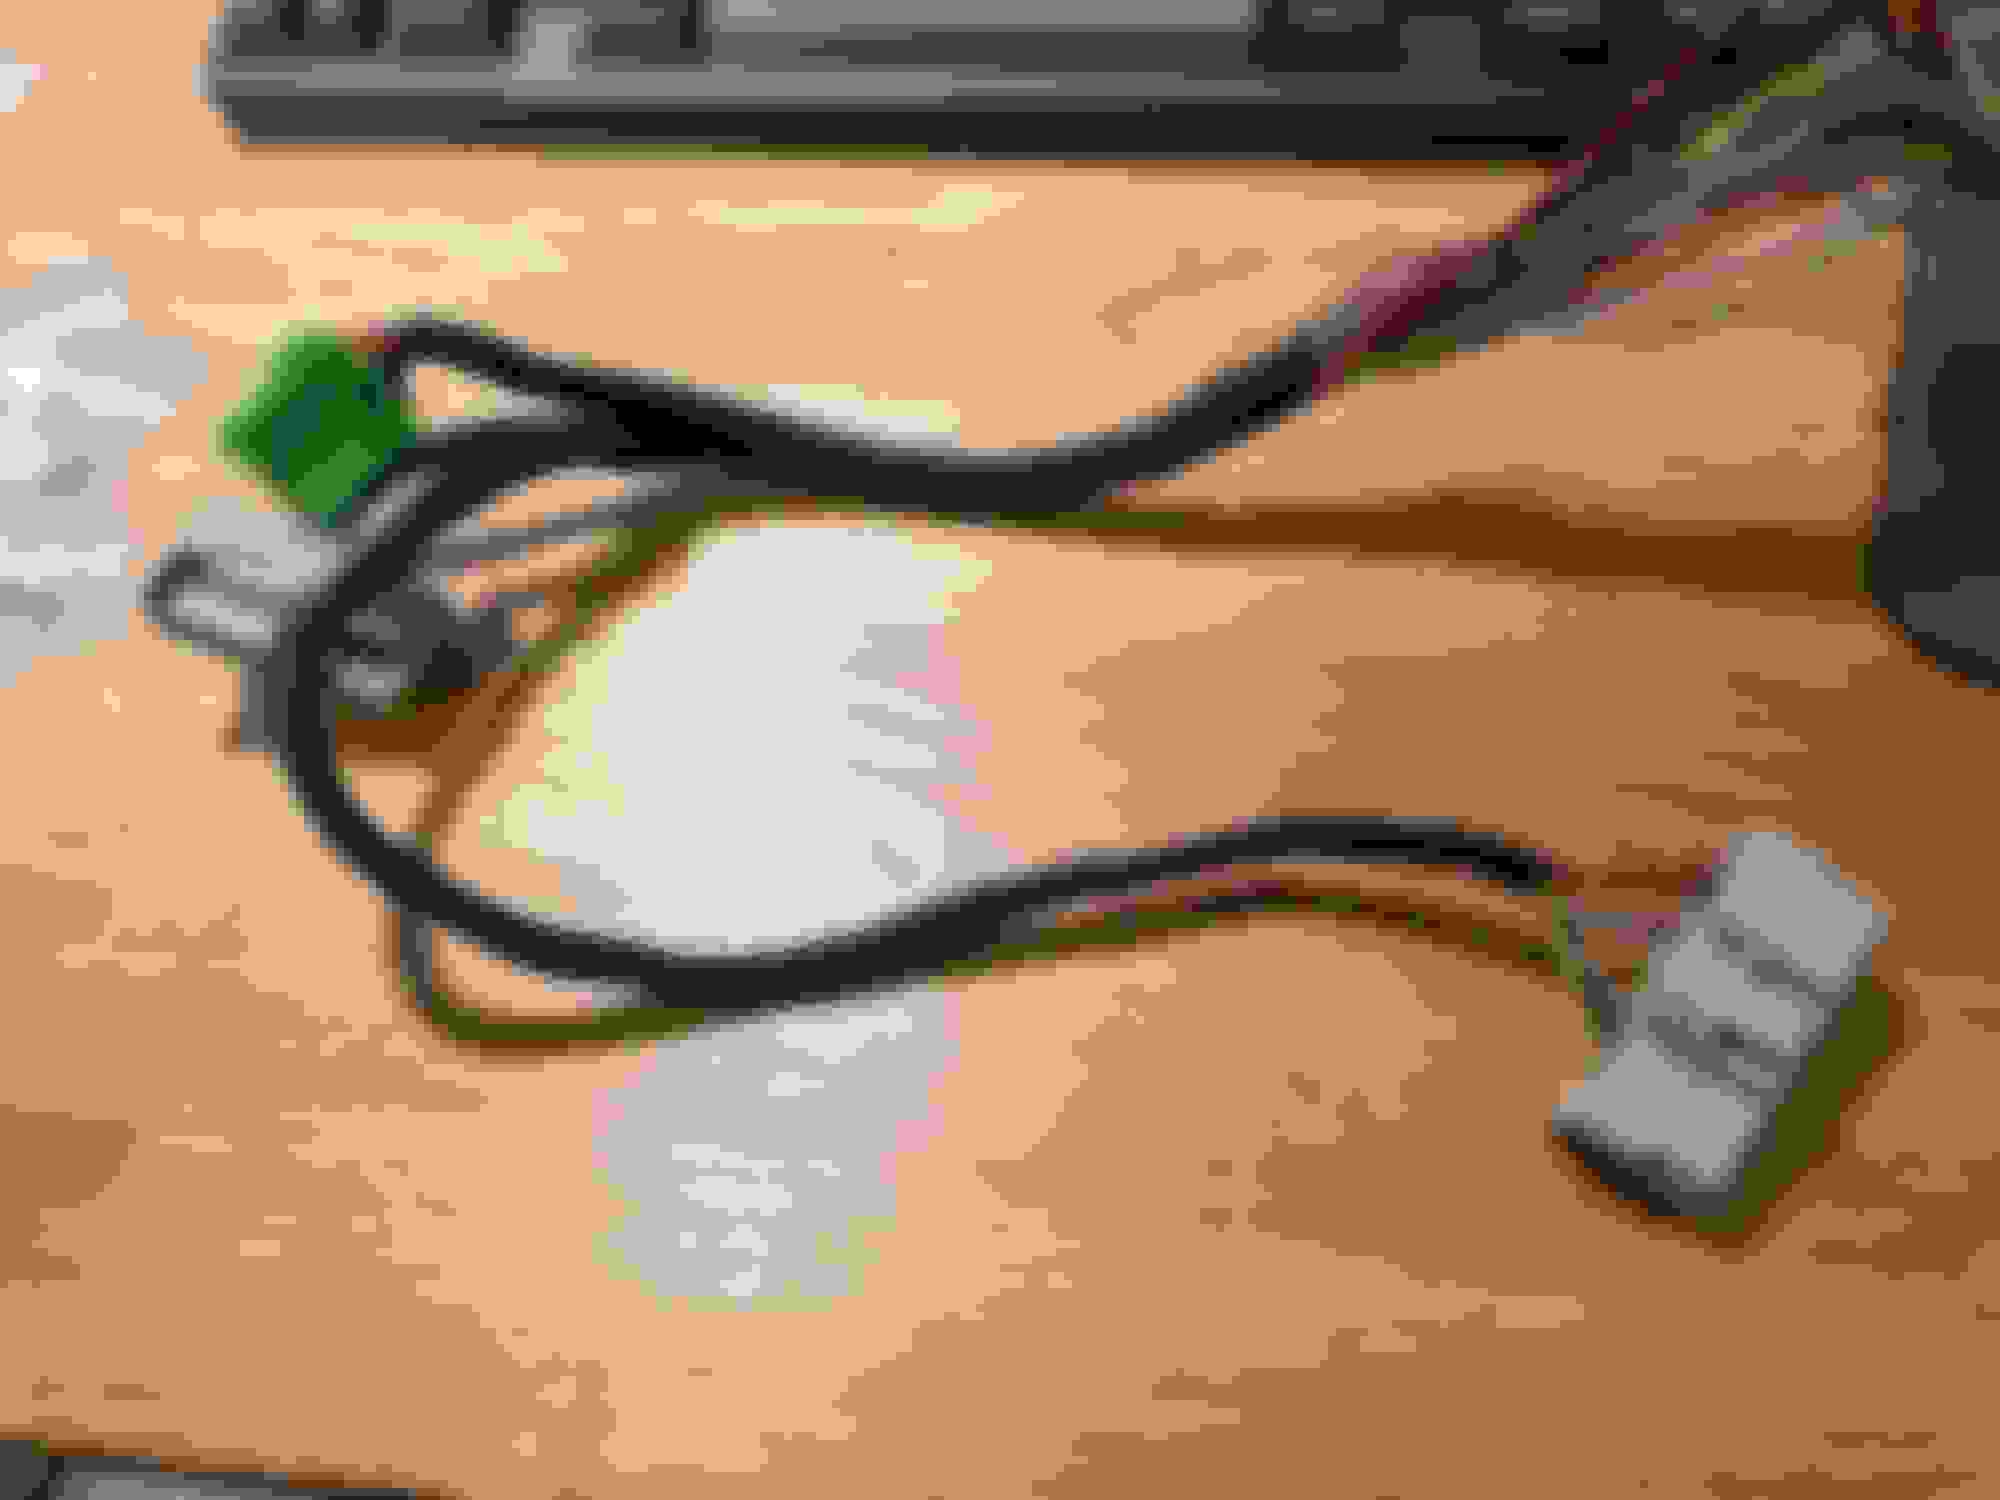
Some wiring supplies just came in on Friday. Tinkered around with it and all the unneeded connectors are now off the harness. The gauge side of the harness is done so I practiced wrapping on that bit first. The tape used is the high temp tape that's used in the engine bay for most manufacturers. It looks like panel mount zip ties are available from mcmaster in different sizes. I'll see what the holes on the chassis measure and order based on that since it seems that you only really need one size.
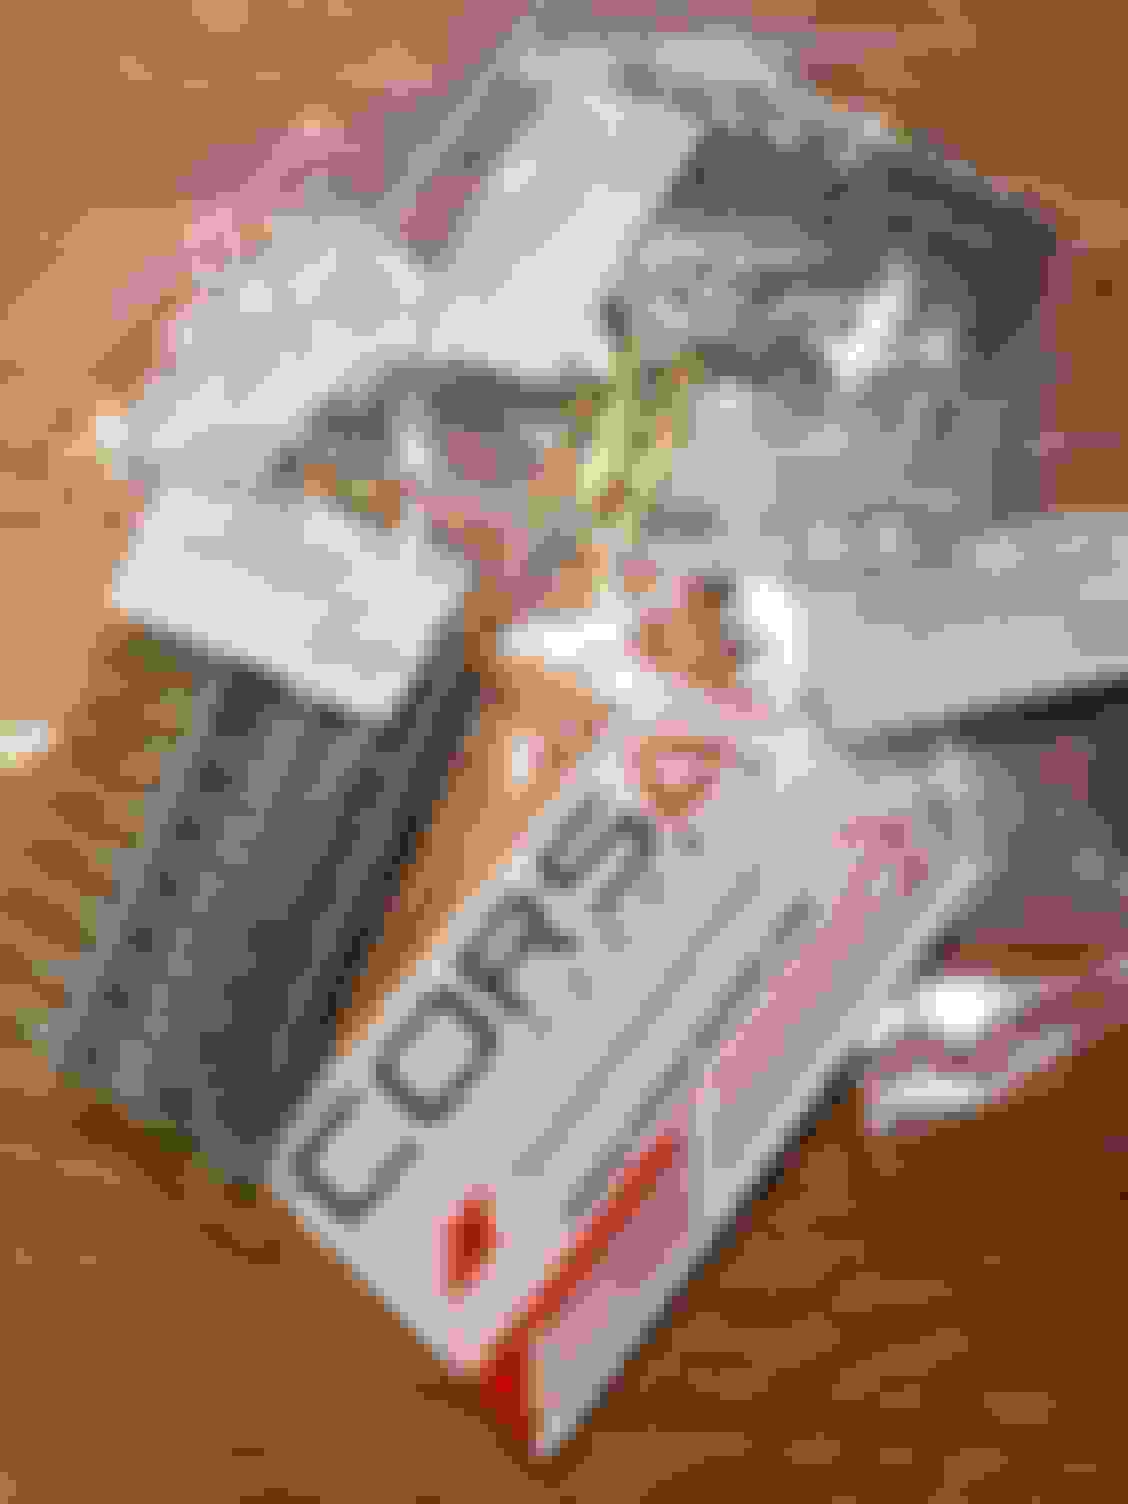
Connectors came in from Corsa Technic. Crimping tool should be here tomorrow so I can reterminate and crimp some of the signal wires together.
Once the under dash harness is done. I'll maybe tackle the rear harness that runs to the rear lights and fuel pump.
Any pointers on opening some brand new housings? Wondering what temp and for how long...
If they're full plastic like the DNA ones that I opened, not that much heat is needed. Think blow dryer temps on your heat gun.
The issue is the sealant. It seems to be regular silicone so you'll really be peeling at the stuff for a while. It's a pretty destructive process, especially if both halves are straight plastic, so have spares on hand
I wanted to get rid of this thing asap as you can tell from the fine craftsmanship put into this harness.
Took a Civic EX coupe harness and started cutting and trimming, then removed everything that I no longer needed. Replaced a couple wires that had crimp splices from the factory and wrapped it all up with engine loom tape.
Took the original label and laminated it for the hell of it. Neat to see the mark of someone's handiwork 25 years later.
Then took it out for a spin. Views were spectacular as usual. Also quite lively for a Thursday evening.
Any pointers on opening some brand new housings? Wondering what temp and for how long...
If you buy the DNA motoring lights, 250F, 10 minutes, face up in an oven. Pre-heat the oven. You can pull it apart with two hands after releasing the latches with a small slotted screwdriver.
Had a bit of a talk with the local cage builder and they seemed to be booked out til mid August. . Will just be doing a roll bar since it'll be driven on the street maybe 80% of the time. I've decided to go ahead and put a bit more money into the d-series powertrain as a stopgap measure for the time being. Shorter gear ratios and a cooling system that isn't pissing coolant everywhere might make it a bit nicer to drive. Depending on how soon its all ready, I should be able to get a couple days at the track in towards the end of summer; hopefully before fire season. This bit of the build should take care of everything needed so that it'll pass tech. The roll bar isnt' needed for tech anywhere with any groups but I'd feel far safer with it in the car.
- Front left wheel bearing replacement. Current has a bit of play
- ARP studs for front axle as both knuckles are being rebuilt
- Another valve cover gasket so that it doesn't leak oil
- New radiator and hoses to stop it from spewing coolant
- Replacement of coolant with just regular water
Old rad and all plumbing out of the car. Starter and clutch slave out of the way. Transmission is ready to drop.
Finally got my transmission back from my friend who cleaned it for me. Acidic parts cleaner is what it took to get all the grime off. It'll get a new clutch and seals all around before its put into the car. 75 bucks for a brand new cluch with all this work was a no-brainer.
Also double checked to make sure the trans I was dropping out of the car was a CX/DX with the A000 stamp. The fact that the block is a JDM d15b7 has me double checking all the things now.
Drained the old MTF out of the CX transmission. Really don't think it's supposed to be grey/black..
Picked up a BNIB alu rad for 15 bucks off craigslist. No brainer. Will be pairing it with that $30 ebay silicone hose kit.
Is it worth taking a cutting tool and porting this bit out? Its far from the water pump but I have no clue how fast water moves through a radiator.
Also pulled the front wheels for the bearing work. These RS4s are really hard wearing for how tacky they are. 6-800mi of hard driving later they still look decent. Its definitely time to rotate them front to rear though.
Separated the new NSK bearings and it looks like the ***** are all caged. Was planning on repacking it with some high temp grease but looks like I'll be skipping over that.
Are we talking grab the wheel at 12 and 6 and see if you can get movement?
How difficult is it to replace these? Do you have a fav DIY on EG wheel bearings?
Yes, its got play no matter which angle I grabbed it from. Did the same thing with the rotor and it's moving relative to the caliper so the bearing is going out. Other side seems to be fine, but extended studs need to go in anyways. Might as well do both sides at once.
Have never replaced them before but it seems straightforward enough. Have new hubs too so no need to pull the inner race off the old hub.
Also another note, but the dorman hubs (930-981 for integra '98+) seem to be just relabeled 930-980's. Not sure if there's any difference, but both hubs that were labeled -981 on the outside arrived as -980 etched onto the hub itself.
Alright. So popped the chinesium short shifter off the car since everything was already apart. My main issue with it was that upon install, I was lazy and just used the included hex keys which weren't exactly precision instruments. Those, coupled with the soft screws meant that I damaged some of them. Later on, they loosened up and started backing out due to vibration and I lost one so I bought a couple better ones from mcmaster when I placed an order for some other non related stuff.
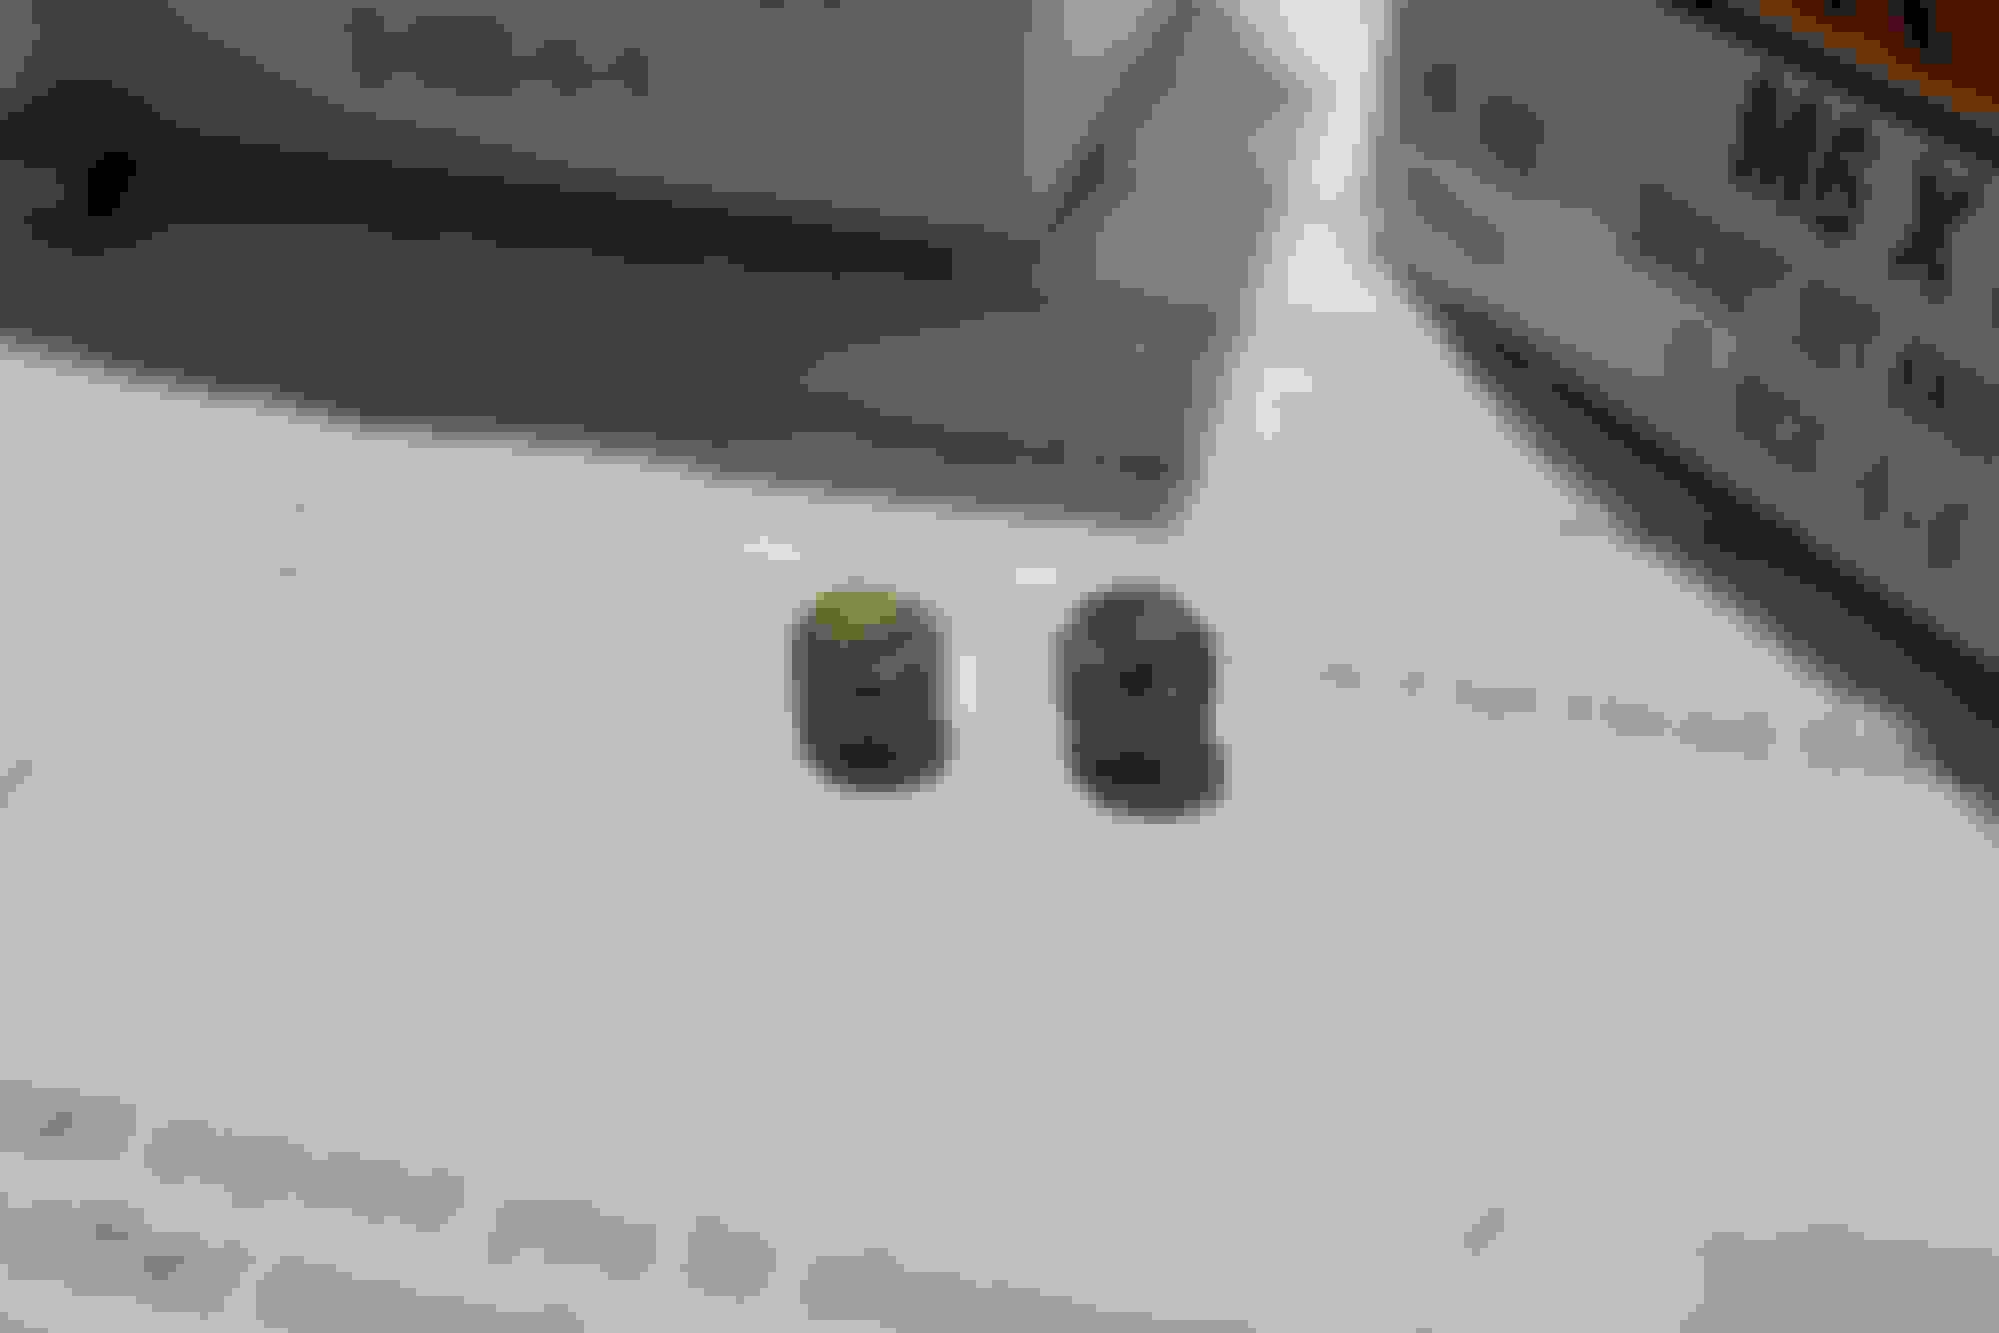
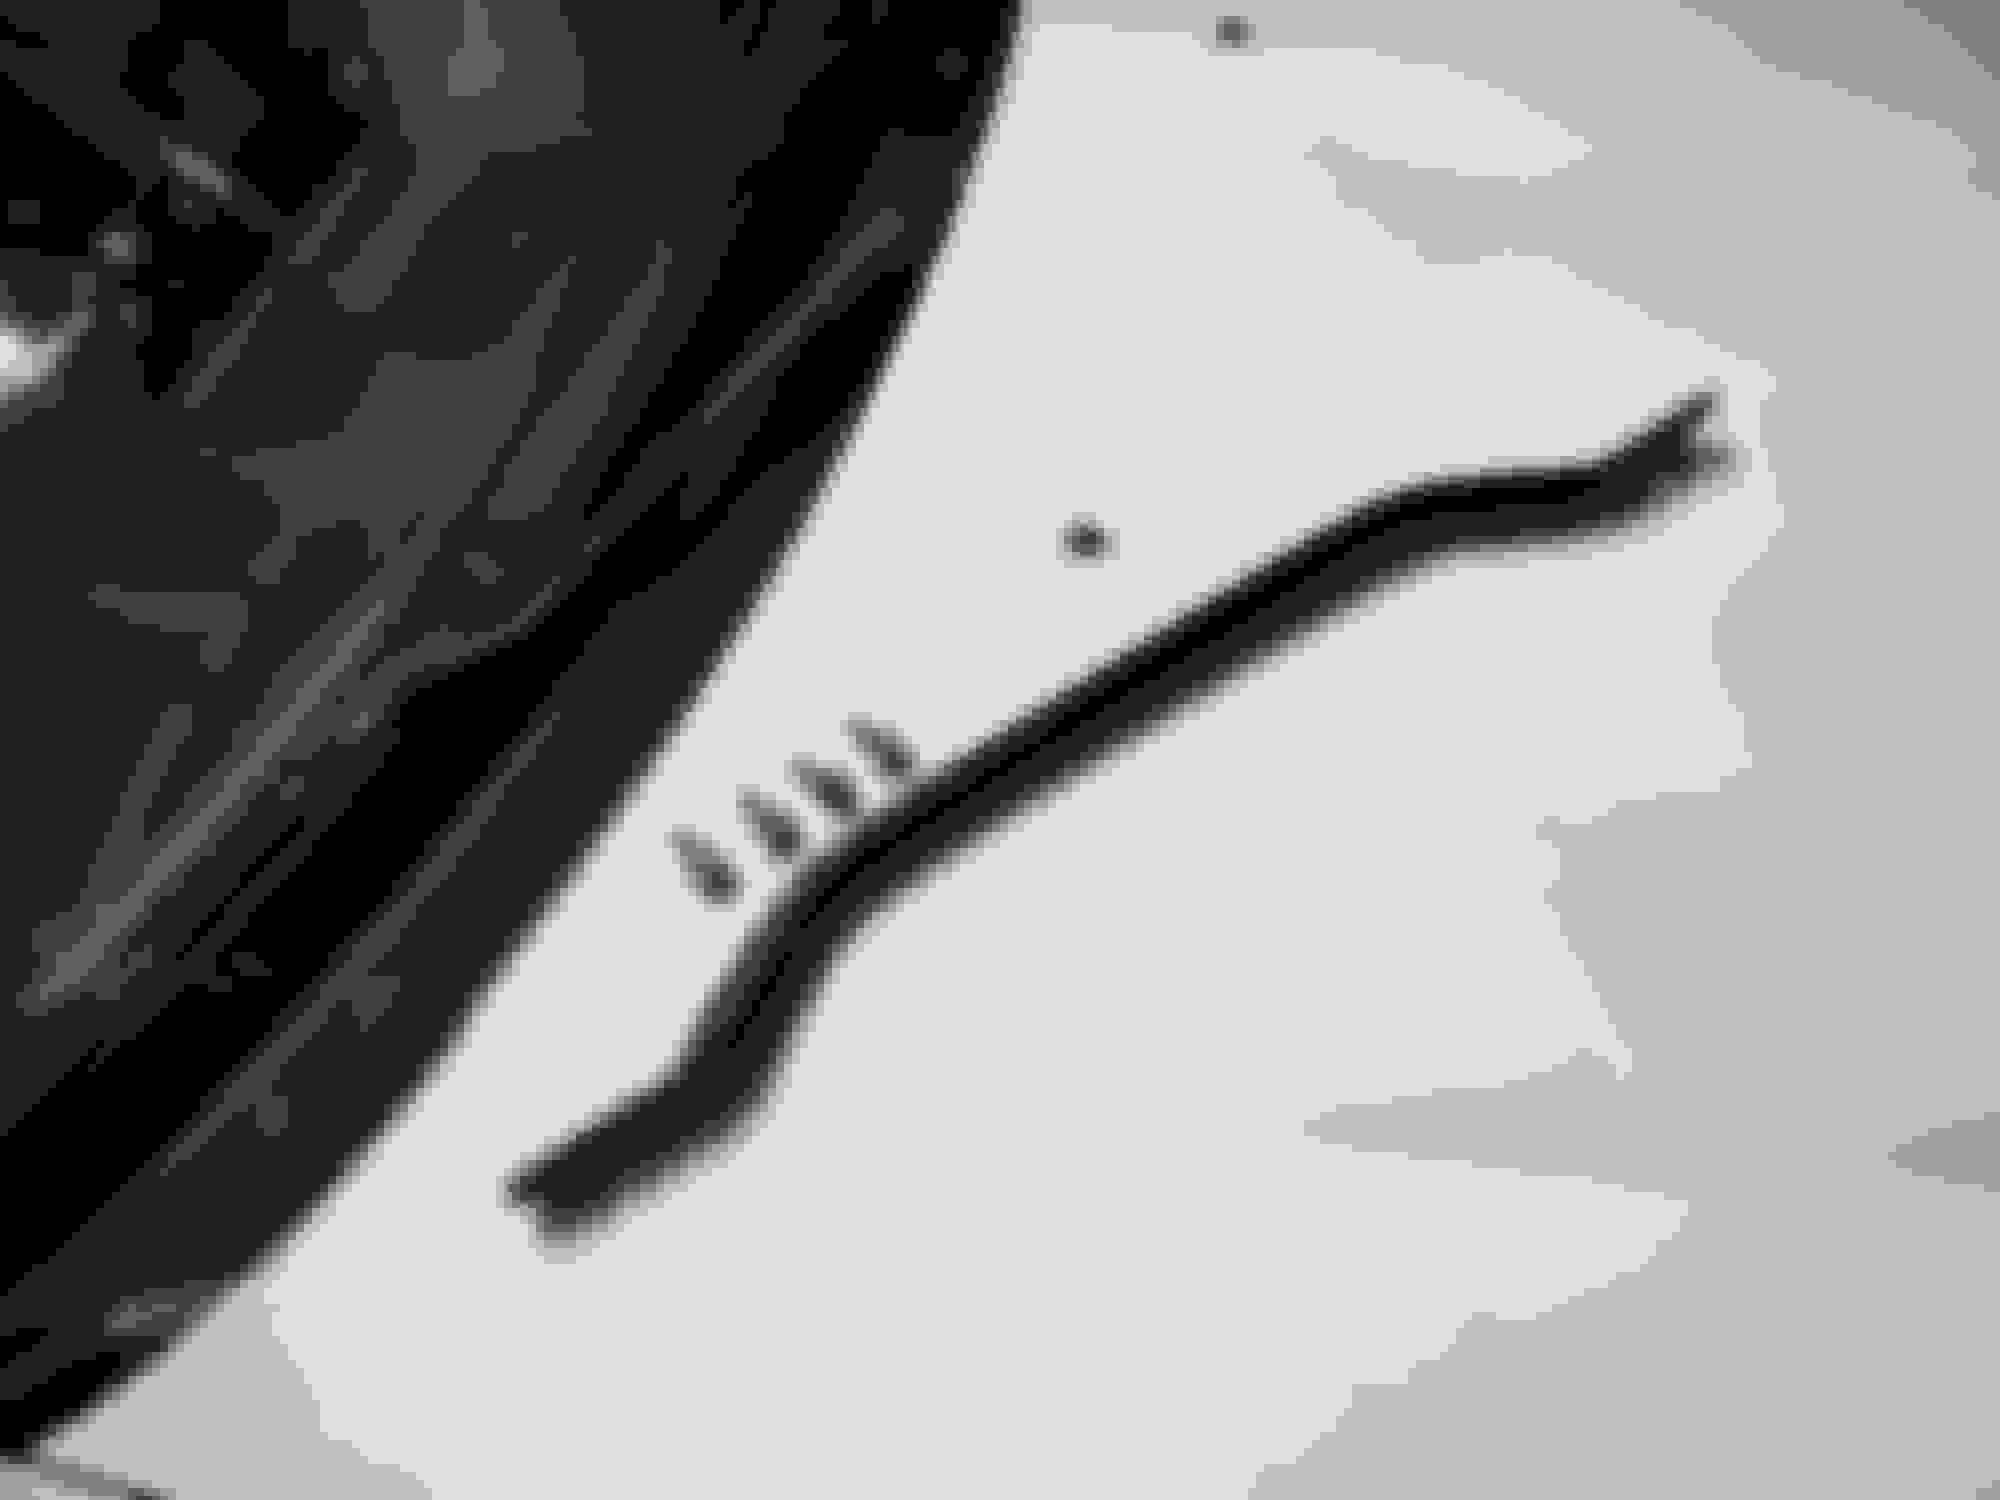
The slightly longer one are the standard cup head set screws that have an edge that bit into the metal so that they'd stay. The shorter one have a serrated edge for the same reason. This also keeps them from backing off kinda like how a serrated lock washer works. Will use a bit of loctite upon install which should help keep things in place. Below is the comparison between the original included screws and the new ones from mcmaster.
Also started working on this no slop shifter mod. Its cheap, but drilling the joint out is a pain in the ***. Buy a reamer if you can. Using a drill bit in a hand drill yields pretty poor results. https://www.d-series.org/threads/diy...-lowes.273874/
There's a typo in the how-to. You need to bore it out to 3/4 in, not 1/2in.
A vice grip and a hand drill isn't the most mechanically rigid drilling setup. I think a metal lathe would yield some better results. I wasn't getting anywhere trying to get clean chips, so I turned the drill to the fastest possible setting and let inertia do the rest of the work. As a result, my fine craftsmanship can be seen below.
Its a bit larger than 3/4in because of this but a bit looser than slip fit between the two parts. Not quite the press fit I was going for. Oh well. Maybe some moly paste will smooth things out over time?
Finally hit the stage of putting everything back together. The rockauto stuff arived as I was ready to put this project aside for another day so I kept working at it.
New seals all around for the transmission. Missed the passenger side axle seal cause I'd forgotten the A000 and the B000 have different part numbers due to the diameter of that seal being different. Just reused the old one. This one isn't hard to replace so I'm not quite worried if it goes out.
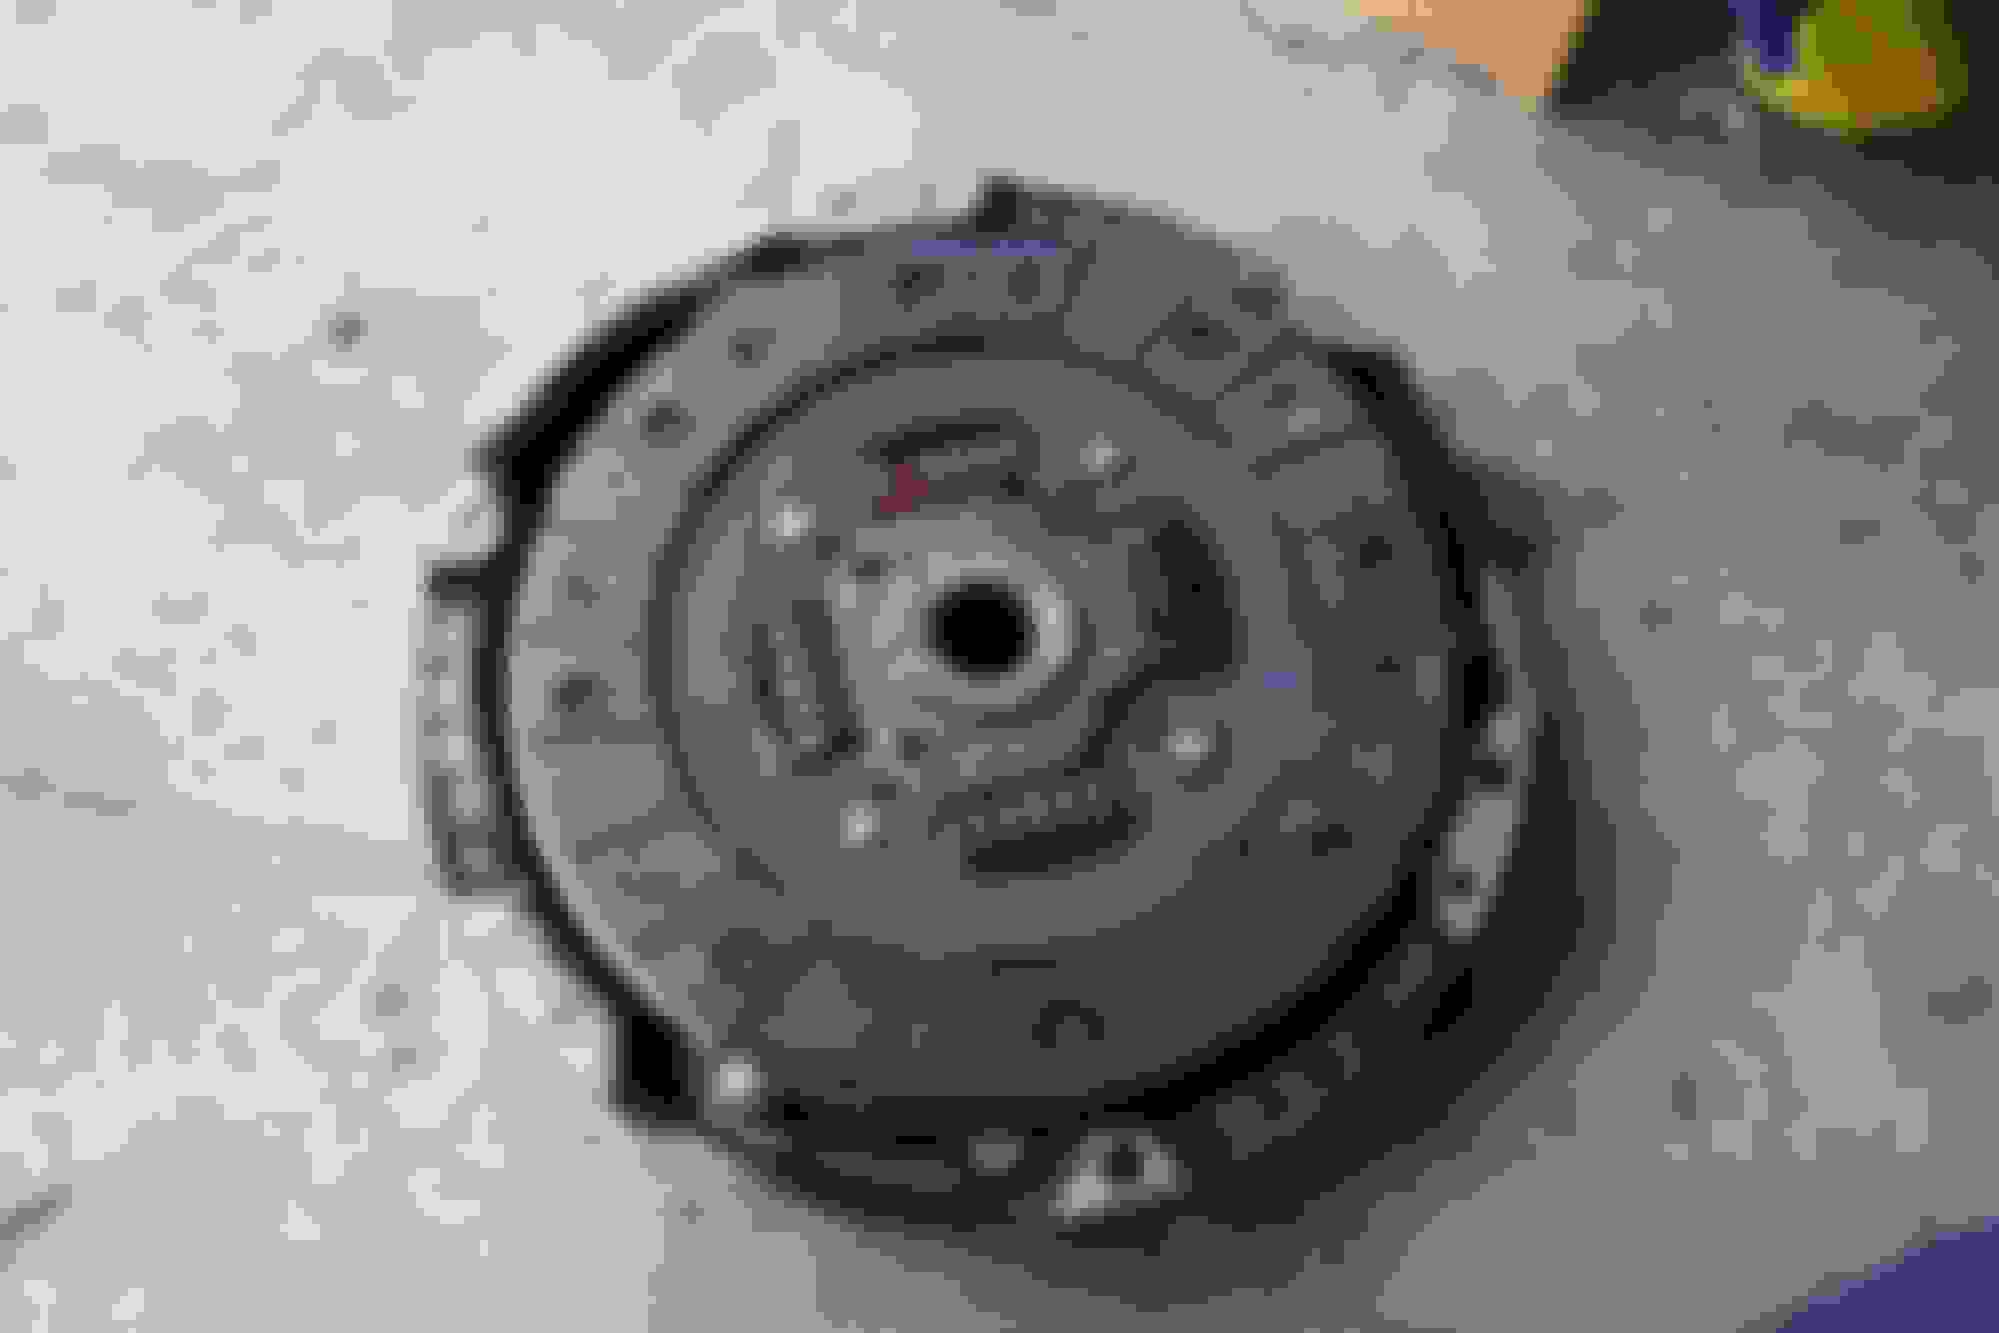
Old clutch. Might be a parts store special? Not sure. It worked fine and has some life left in it. It'll go into the parts bin.
Exedy clutch kit came with a throwout bearing that was made in China. Hopefully its assembled in china with a bearing from somewhere else. Haven't had much luck with chinese made bearings.
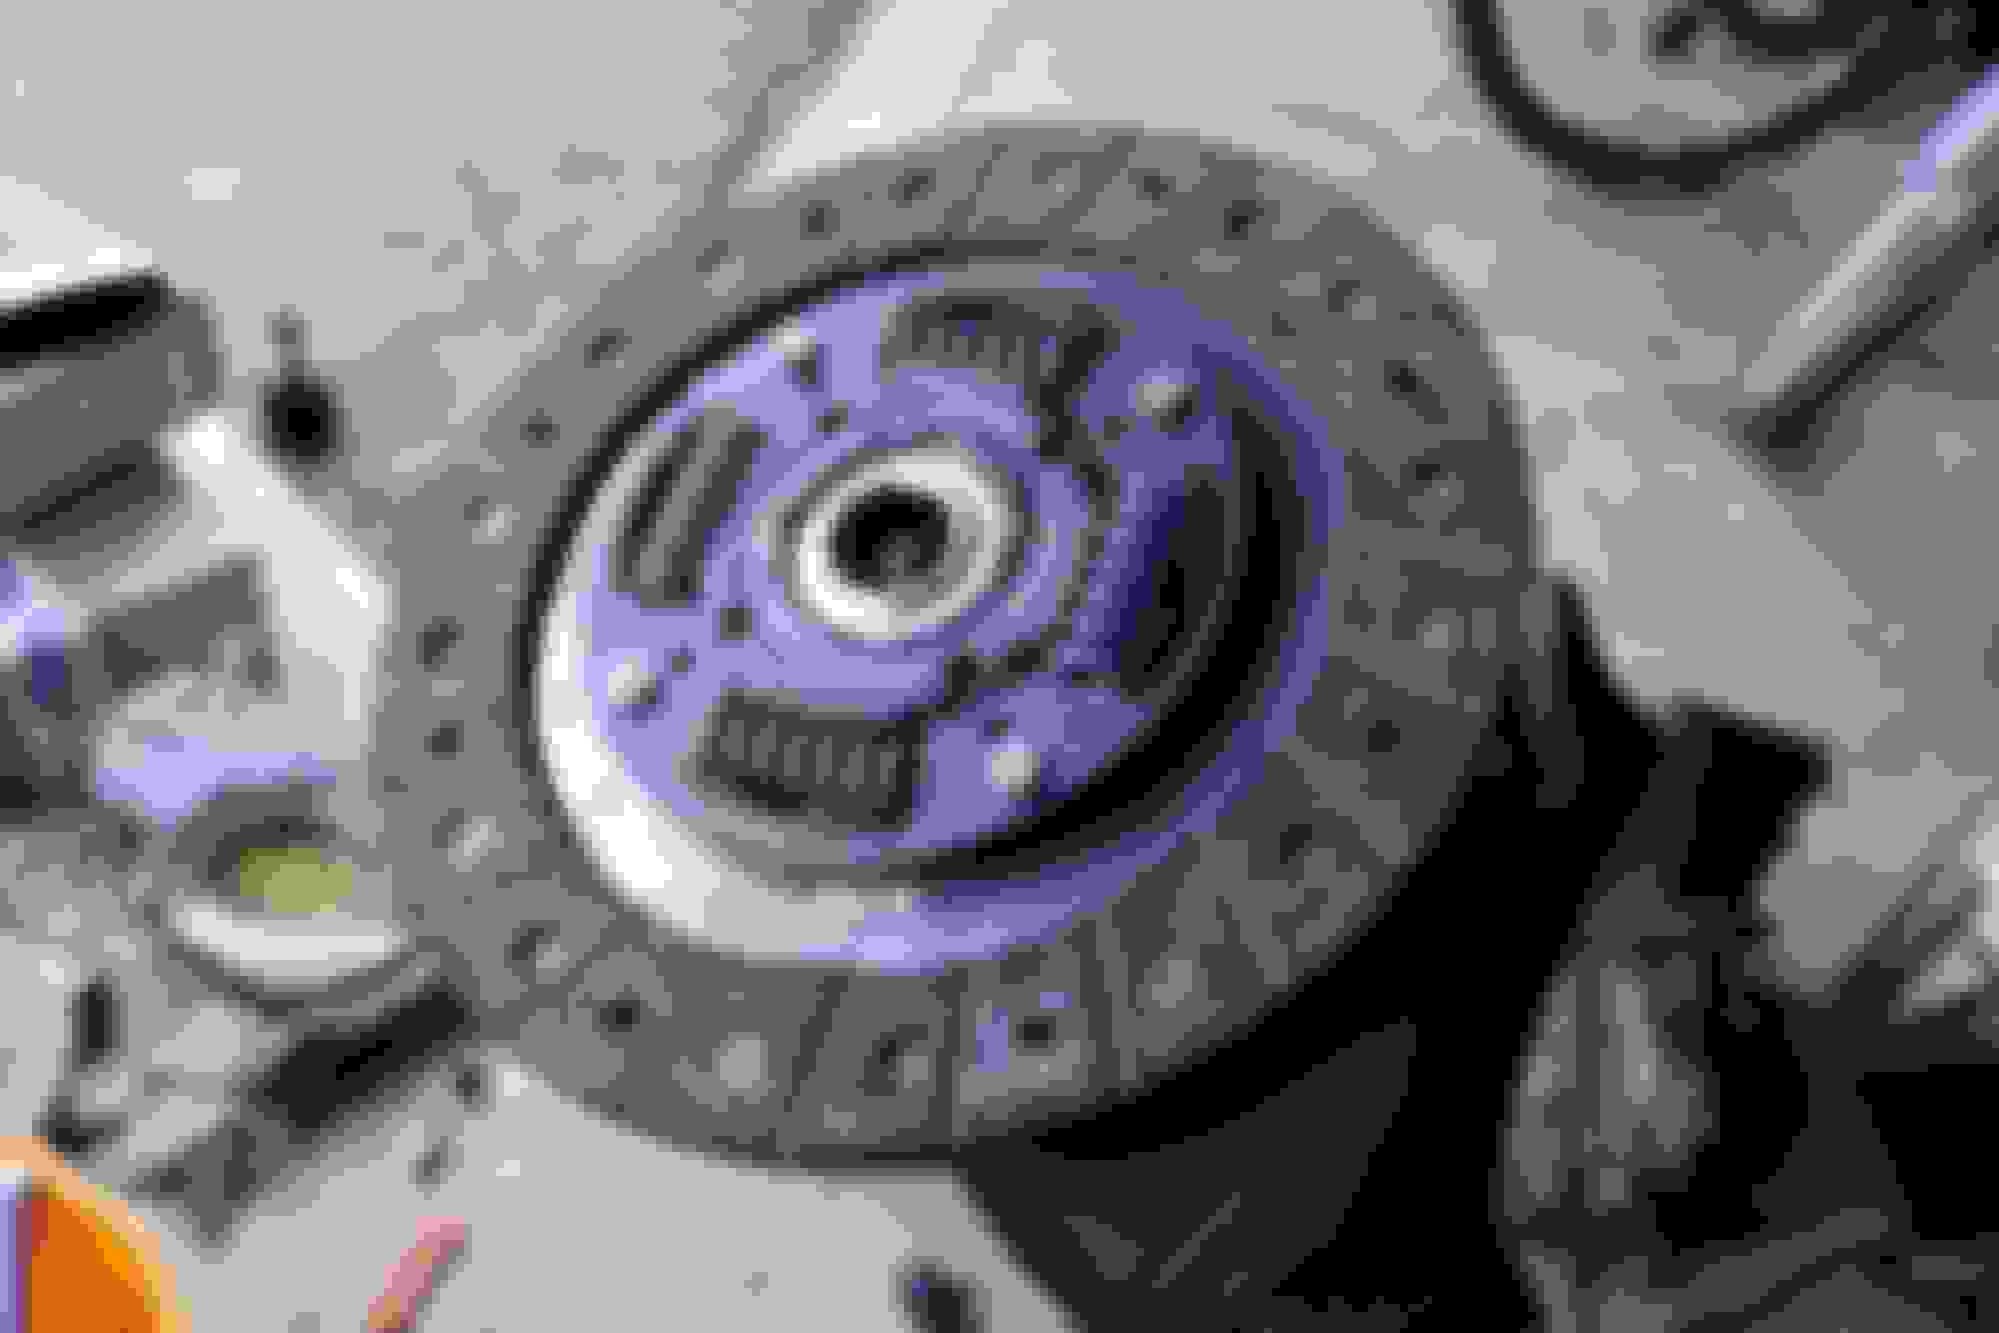
Fresh friction plate. Looks pretty solid for an 80 dollar clutch kit.
Fresh spring pin and clip. Old pin was pretty ruined from being hammered out by the last owner multiple times. Clip was a bit rusty. I'm glad that I'm a 5 minute walk from a honda dealership.
Cheap 4mm hex socket to remove and install the bitch pin. Works wonders when paired with an extension and a 4lb hammer.
Completed the no-slop shift linkage from d-series.org. It's very promising. Outer flanged bushings were tapped in very lightly. One side is a bit loose cause of how it was drilled. The very inner bronze sleeve and stainless sleeve are a slip fit so that was assembled with molybdenum paste. The inner two were then put into a freezer and hammered into the flanged bushings. I substituted the smallest stainless bushing for two bronze ones, cut down a bit since the stainless one wasn't available at the local lowes. Once its all together, The only moving interface is the bolt itself and the inner bronze bushing. Its probably about as close as you can get to a welded universal joint.
You'll then need to drill this out to 3/8th in to accommodate the bolt. Nylock nut on the other end or a healthy serving of red loctite.
Cooling system is completely refreshed at this point. Was in a pretty distressed condition when I started pulling it apart. The hose kit I bought from ebay had the heater hoses in with it that I didn't need since I deleted the heater. Also had another random one I'm thinking is from the d16. Anyways, the only other hose thats back there is the bypass hose.
'motorad' tstat. Maybe this why the motor takes forever to warm up?
Genuine Honda tstat. Cooling system will be flushed a couple times after the new rad and hoses go in. Will be running just water with a bit of the redline water wetter. No more antifreeze coolant.
That's it for today. Will hopefully have the car completely back together and running next.
Everything is back together and it's done about 200 miles of light and spirited driving to break the clutch in. Replaced the valve cover seal with a fel-pro one and used toyota FIPG and let it cure for the recommended 24 hours. I like this stuff better than the permatex RTV. No more leaking oil.
The shifter mod is amazing. With the aftermarket short shifter that has bearings at the base, there's no longer any free play at the shifter. Might grab a video when I get a chance.
These two things help everything go together better.
Filled the trans with Honda MTF through the breather tube. Not sure why people say its slow. It's definitely not.
Rotated the tires front to rear. About 3/32nd left on the front and 8-9/32nd on the rear. The rear tires on an FF car like this really don't do much work.
New lug nuts. Tried the steel mutekis on the other car and didn't like them that much due to how soft they were. Swapped to these and they're far better. The finish is still some kinda paint, but its far more durable. 17mm without the knurled spinning section so no need for any special thin walled or deep sockets.
Spent a bit of time putting together the wiring for my radar detector. Police recently cracked down on everyone driving the mountain roads so a bit of insurance was needed. Some mic cable lying around plus some mdpc shielding so it looks nice. Crimped into an RJ11 connector.
Installed with VHB at the very top corner of the windshield. It tucks away quite nicely.
Came across a GSR with the engine out so decided to grab the lower subframe tie bar from it. Lots easier to access when there's nothing in the way. Cleaned it up and treated the inside with boeshield. Took a die and got rid of all the rust and garbage sitting in the threads of the bolts.
Chased the threads in the subframe. Surprisingly easy to get to on both sides.
Installed and bolted down. After my drive, I think it maybe makes a bit of difference? Can't really feel much til you start really pushing the car. I also did some suspension adjustments at the same time so its hard to say.
Due to the lower ride height, the middle hanger clipped something and got torn off, leaving me with an exhaust leak that had the signature fart can strightpipe sound. I needed it patched to drive to the alignment place tomorrow so went to the closest source of sheet metal which was the office supplies drawer. Took some shears to a binder clip and brazed it over the hole. Brazing something upside down with that much thermal capacity wasn't exactly a fun activity. One helluva sloppy job, but its something that I really don't ever see or work on. Will have to replace it when the motor swap goes in regardless. Doesn't make sense to pay a muffler shop do the same grade of work with a welder for 80 bucks.
On the bright side, this was the cause of the 3k rpm rattling issue. Guess the weld had corroded through and rattled at that frequency. Whatever it hit in the road was the last straw and it broke off.
I'll need to figure out how to make use of the middle hangers though...
On the alignment rack. The steering wheel never sat right with the quick string alignments that were done to it during testing. Auto Innovations in Milpitas, CA. They do some fantastic work.
Front:
-2.5 degrees camber
0 toe
~1 degree caster
Rear
-1.5 degrees camber
-1/8 in total toe out
I like this quite a bit. The turn in is vastly improved without sacrificing much stability. I can still pretty easily correct it mid-corner if needed. Initially thought adding this much toe would make unweighing the rear of the car quite sketchy, but apparently not. Not with this GSR sway bar anyways.
Now onto the cooling plate. The original one here was pulled from a sedan and never lined up right. It's also flimsy as hell and bows enough to pop its fasteners out.
Traced it onto cardboard and mocked it up. More coverage and better mounting points.
Transfered the shape onto a 15x15 square of 3/32nd polycarbonate. Perfect size to cut a blockoff from. Looks pretty good.
This is here primarily to maintain low pressure in the engine bay and behind the rad so that it works better. Without it, high pressure would build behind the radiator and it didn't seem to cool as effectively, even when using straight water. Its a bit improved now with this block off plate.
Took another trip to the junkyard for something else but came across an exhaust manifold heat shield in decent condition. Seeing all those clean b-series swap engine bays made me want something other than my rusty cast header. 5 dollars later, took it home and sprayed it with some high heat paint. Gonna need to redo the paint since it didn't quite come out perfectly. It looks half decent through.
Also finally got my 15/16th MC to replace the OEM one. Upon removing the old one, I found out it was leaking at the main seal. Luckily, I'd caught it somewhat early and the corrosion is just surface rust.
Its no SRF, but it's a good improvement over generic parts store dot 3.
Back from the fabricator. Interior is going to get a full paint job from to back so out everything goes. The dash simply takes 7 bolts to remove now that the wiring has been cleaned up and its been gutted underneath. Unplug four connectors at the junction box, then unbolt the steering column, then the 5 bolts holding the dash plastic to the brackets and firewall.
New dead pedal. Works far better than the one I threw together. Same exact position, but this one is closed on the side facing the pedals so there's no chance of catching your foot on it.
And now for the long process of removing the seam sealer. Can't get any of it to lift with a putty knife or scraper so the wire wheel will have to do. A very messy, loud, and time consuming bit of work.
It'll be coming out of the areas that I anticipate to maybe stitch weld later on. Doing the entire car would take eons.
Additional cage details. Reinforced shock towers and plates at the bottom of the b-pillar. Tucked up super close to the body. Pretty happy with how this came out.
Just discovered this eccentric toe adjuster made by honed. Most certainly something that I'll be putting on the car in the future along with the PCI compensator link. The whole thing with adjusting toe with the slot is that it's hard to reference where you are with the tick marks on the body. With eccentric cams like this, you know how much toe you're adding for however many degrees on the cam you're rotating. Only downside is that it reduces the range of adjustment.

 04-04-2021, 11:11 AM


 . Will just be doing a roll bar since it'll be driven on the street maybe 80% of the time. I've decided to go ahead and put a bit more money into the d-series powertrain as a stopgap measure for the time being. Shorter gear ratios and a cooling system that isn't pissing coolant everywhere might make it a bit nicer to drive. Depending on how soon its all ready, I should be able to get a couple days at the track in towards the end of summer; hopefully before fire season. This bit of the build should take care of everything needed so that it'll pass tech. The roll bar isnt' needed for tech anywhere with any groups but I'd feel far safer with it in the car.