When you click on links to various merchants on this site and make a purchase, this can result in this site earning a commission. Affiliate programs and affiliations include, but are not limited to, the eBay Partner Network.
I was wondering what it took to get Integra gauges into an EG.
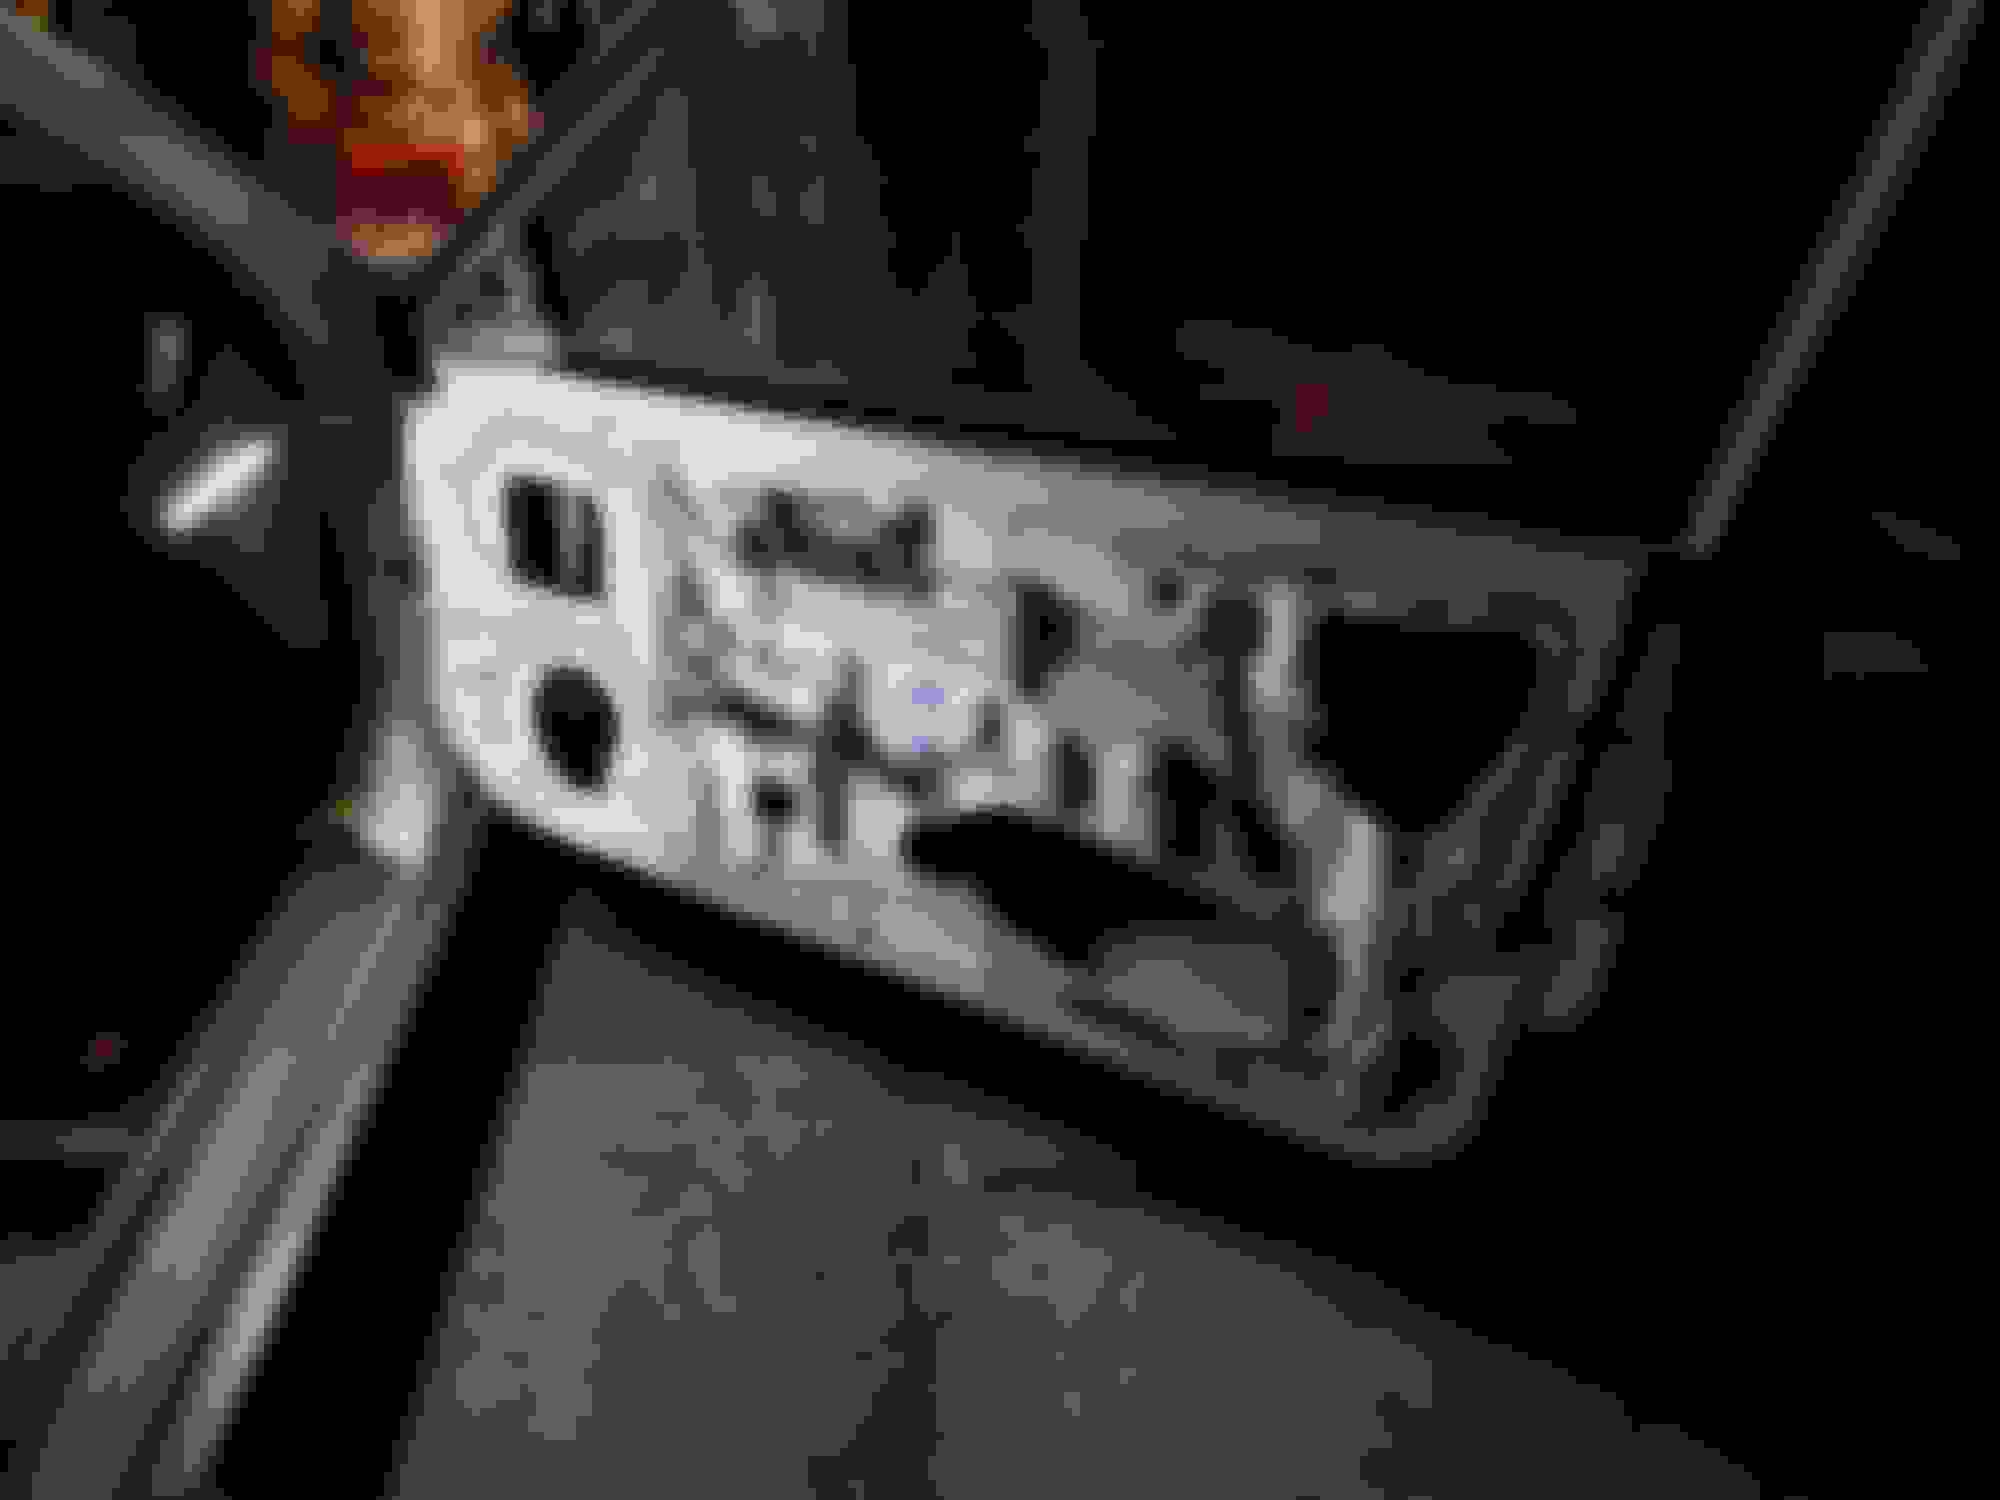
That looks a little scary...
Ok, good news. The dash harness is quite simple so I can grab another at the junkyard and replace it. Because this car is simple, it plugs the junction box that's in front of your left knee into the climate control, radio head unit, and cluster. 3 or 4 zip tie clip things hold it to the dash support. Not sure if the auto and manual dash harnesses are the same so gotta look into that first.
This thread seems to have info about the conversion. I need to read into it a little more to see if you need to cross pins over different connectors. If so, might explain why it's such a mess.
If not (I'm never sure with how the last owner did things), then I'll grab another harness from the junk yard and repin it properly with a terminal release tool instead of splicing wires at random lengths with crimp connections. Once the dash is out, I'll see what wiring I can just get rid of and start taking apart the loom. If I end up repinning things, might just go the extra length and sleeve over it with techflex or MDPCX sheathing instead of electrical tape. I'm aiming for the area under the dash to be clean and easily accessible so that if work needs to be done, it's not like what I'm going through now.
This makes me think the heater core will remain full until you tip it on its side to drain it:
Hm, looks like the heater core is nested into the blower. I'm planning to leave the blower in so I can retain the defroster, then delete the rest of the vents that run to the outlets along the dash. I haven't taken the whole dash out yet, but the ducting seems to be separate from the dash and the blower. If it is indeed ABS, I'll saw off the ends of the ducting, clamp them flat, and seal them kinda like how you seal poly tubes for packaging.
Did an hour or two of work today and started on the last leg of the interior work that needs to be done. The big items are the heater core delete and stripping/painting the floor pan.
Pulled the gas/hatch opener in prep for paint. Will probably leave the plastic cover off since it's pretty mangled but need to get rid of this nub. Might paint the metal parts or find another one from the junkyard.
The deadening wasn't difficult to remove. Didn't want to waste the money and couldn't be assed to drive to safeway to buy dry ice so with a screwdriver and hammer the job was done in about 15 minutes. It'll be repainted regardless so wasn't worried about any paint damage I'd done with the screwdriver. If you look closely, you can also see the tear in the driver's side floor pan right under the seat. I'm not quite sure how the last owner managed that.
I don't think I've ever turned a screw with this screwdriver. It's more useful when paired with a hammer.
Also started work on the passenger side door to understand what I'd need to do when transferring the guts of the dented drivers side door into the new one. All seems pretty damn simple. The door card and speaker do make up a tad bit of weight. If mine were in good condition, I think I would've kept them, but at this stage, it's easier just to get rid of things.
The window crank is in a really odd place once you remove the door card. It sticks out a ton. I took a glance at the LRB speed alu panel and it still has the same issue. It's a real eye sore and maybe a safety issue? As another plus, my drivers side crank is a vice grip. Don't really want to send my knee into that in an accident or while driving in general.
Did some measurements and what I had suspected was correct. The axle thing that the crank attaches to is a consistent diameter throughout so I can trim it short and make something to replace the plastic crank. Whipped up a quick and simple door handle in fusion. 2 operations for the crank body, a single operation for the **** put the **** on a lathe (that's a little more logical...). Off the shelf hardware from mcmaster and a skateboard bearing. Not sure if the single m4 pinch bolt will be enough to keep it from spinning, but I guess we'll see. Might mock it up in PLA first or maybe just send it and get it made in alu.
Now to figure out what I'm going to do with the heater core. I don't really want to pull the hoses and have coolant dumped all over my driveway (or into the interior).
Ok, good news. The dash harness is quite simple so I can grab another at the junkyard and replace it.
If not (I'm never sure with how the last owner did things), then I'll grab another harness from the junk yard and repin it properly with a terminal release tool instead of splicing wires at random lengths with crimp connections. Once the dash is out, I'll see what wiring I can just get rid of and start taking apart the loom. If I end up repinning things, might just go the extra length and sleeve over it with techflex or MDPCX sheathing instead of electrical tape. I'm aiming for the area under the dash to be clean and easily accessible so that if work needs to be done, it's not like what I'm going through now.
This sounds cool!
Do you know what year cluster you have?
Think you would want to make a 2nd harness? (only half kidding).
Ok, good news. The dash harness is quite simple so I can grab another at the junkyard and replace it. Because this car is simple, it plugs the junction box that's in front of your left knee into the climate control, radio head unit, and cluster. 3 or 4 zip tie clip things hold it to the dash support...
Does this mean that the harness for the cluster can be completely removed and replaced?
That is good news!
I'll probably get a run of 5 pairs made once the interior is done. Two pieces each handle with few operations and pretty limited machine time shouldn't be any more than 60-80 bucks a pair I reckon.
I'll probably get a run of 5 pairs made once the interior is done. Two pieces each handle with few operations and pretty limited machine time shouldn't be any more than 60-80 bucks a pair I reckon.
Does this mean that the harness for the cluster can be completely removed and replaced?
That is good news!
The bundle of wires in the bottom left corner is the dash harness. There's a loom for the cluster/controls and then a second group of wires for climate control and the head unit. After seeing how everything is put together, I think I might just delete everything under the dash instead of trying to retain the blower. There's too much ducting that needs to be redone if I wanted to retain just the defroster. This car was never going to be practical anyways.
I also want to take that rusty dash support piece out and give it a quick coating of primer and clear coat. Not sure how they managed to develop surface rust...
Did a bit of work today. Got all the dash reinforcements and wires out of the car and prepped one of them to see how they'd come out.
The dashboard supports as well as the pedal assemblies seem to be welded out of mild steel or something and are left uncoated. Whatever environment this thing was left in caused some surface rust. Not sure if I'll pull the pedal assembly since that'll be replaced at some point in the future, but since the dash supports are out, might as well prep and paint them. Going to do the same thing as the rear latch plate and just go over it with primer and clear so that it's easy to work around and clean.
Tried out a medium scotch brite pad and it works pretty well at removing the stuff on the surface. I definetly missed some of the small pockets and hard to reach places so I think I'll take the dremel flapwheel to that for the remainder for the driver's side as well as the passenger side supports.
Finished side
And how these looked coming out of the car
AC evaporator and blower came out relatively easy. 5 screws and nuts that hold it to the firewall, a drain hose for the evaporator, and the two refrigerant lines that are behind the battery.
Also was able to get all the dash mat out save for the section under the heater core. Once that's out, the floor and firewall are going to get cleaned off with an abrasive wheel and repainted with a quick coat of rattle can primer and white.
Once paint is done, it leaves the following for the interior before its drivable again.
Finished removing the rest of the stuff from underneath the dash today. Also gutted the inside of the plastic dash and removed the ducting for the AC and heating. The passenger side ducting can be removed without cutting or removing anything, but the driver's side had to be cut into three sections and removed that way since the cluster reinforcements were in the way. All the screws that I attempted to remove ended up just cracking the plastic posts. All the plastic is crazy brittle and I cracked a ton of stuff. Luckily, wasn't anything important. Wiped it all down and it's ready to reinstall.
Surprisingly clean. Just really dusty.
I didn't know that there was a nut here holding the heater unit in place the day I took care of the AC unit and blower. Watched a YT video from refine movement and they went over this. After this came out, it was pretty easy.
The valve is held to the firewall with a single 10mm to the left of the 12mm nut that holds the heater core in place. It's also attached with a cable. Once the hose clamps are off, I went ahead and severed the lines with tin snips since there simply isn't enough room in there to work a pipe wrench in and break loose the hoses from the fittings.
AC and heater components, dash ducting, SRS system, and firewall mat out. Should be in the neighborhood of 35-45 lbs saved
Mocked up the heel plate from racebred components. 1" standoffs should again improve the seating position. I think I'll need to trim each one to level the heel plate since my floorpan is wavy as **** from the last owner driving low.
Also, an interesting diagram showing the improvements in the SiR/ITR over the regular models. Explains why they can run the 22mm rear sway without any issues with subframe tearout. I'm surprised that the floor pan isn't reinforced under the driver/passenger seats as that seems to be insanely flexible and thin behind the forward mounting points for the seats.
How are the 15x8 rims with 225 width tires? Do they rub a lot? You need to roll fenders?
No rubbing on front or rear unless there's heavy compression mid corner, in which case, the fronts do rub the inside of the wheel well a bit. Surprising since the suspension is really soft. The fenders and quarters have a mild roll from the last owner.
Keep in mind though that I'm running 1 deg camber in the front and zero in the rear, as well as a decently high ride height. Once all the arms are in and camber is added, I expect it to rub the inside a bit front and rear. +40 is the most offset that you can probably run with an 8" wide wheel. Any more and the barrel contacts the trailing arm.
Told myself I wouldn't spend any more on the car til I finished the interior, but some stuff came up at some crazy low prices. Picked up a set of integra control arms, an ASR brace and JDM ITR sways for 300 bucks. Everything already has poly bushings installed so that's a huge plus. The front arms are temporary for now as I'm still planning on the PCI arms since those are offset and add 2 degrees of caster from the lower front control arm by itself. I do want adjustability in the rear so those rear control arms are probably temporary too, but now that I can install sways, the expensive PCI arms are going to be done after the engine swap.
The ASR brace was spray painted and is pretty beat. Will probably use some aircraft remover and respray it. Front sway also probably needs a quick respray.
Tried to install these blockers from the left side option blockers but they're a different shape in the back or something? They visually fit but don't snap in. Might just use some kinda adhesive since I won't need these holes anymore. The defroster is gone and won't be coming back.
Managed to snag one of the battlecraft parts trays last month. Been waiting for these things to restock since the last time they made them.
Stripped both floor pans down to the metal and went over them with a primer today. Even with the sound deadening gone, it was a pain to remove the epoxy that was used to seal the seams. Friend recommended the 3M quick strip disc and the thing works wonders. Eats through paint and sealers quick, but is gentle on the sheet metal. The passenger side floor is pretty wavy. Got no clue why its this way, but can't imagine an accident causing this and the frame to still be straight. Maybe it's warpage from welding? Looks like they used spot welds though.
Straightened out the floor with a 6lb hammer and a piece of scrap metal. Worked pretty damn well and the driver side floor pan is somewhat straight now.
Was about to drill the floor for the heel plate and it seems like the riv nuts use a drill bit that isn't a common size. More waiting I suppose. I think I'll just paint it first then.
I suppose now is a good time since I'm finishing up my interior
So with the **** part, I'm not quite sure how to integrate a bearing or bushing into it for cheap. The most straightforward way that my mind could come up with was a press fit bearing. Went with the skateboard size (608 2RS) as they're dirt cheap. Hopefully, making the ****/bearing interface a press fit doesn't bring up any issues
Also put this step in there so it wouldn't have to be pressed all the way down into the bore. Should reduce any chances of the bearing destroying the part on the way in.
Whipped up some tech drawings and sent the files to out tonight. Should have a price sometime next week.
Update on the window crank handles, but they'll be $100 or so per pair. They won't fit if you have door cards since they're designed to clamp around the flat bit of the spindle. If you're interested, let me know via PM or something. I'll send the order out sometime this coming week for the crank handles based on how much interest there is for them.
The window crank spindle as measured is 12mm in diameter. If you're interested, double check the fit. They'll be made in the raw aluminum endmill finish to save cost. Small runs of CNC'd things like these are already expensive enough. You can get them painted or cerakoted at a local place if a color is desired.
On another note, I just thought of making the **** part out of that POM/Delrin/Duracon material that some shift ***** use. Using a plastic might also make it easier for the press fit interface.
Those look awesome! I am going to keep my door cards, so it sounds like these will not work for me.
Finished painting both the passenger and drivers side floors and threw down a heavy coat of clear. Used an entire can of the USC 2k for both sides and a bit on the middle tunnel to try and blend it a bit. Doesn't look the best, but as long as its durable and it doesn't wear back down to the metal after a couple months, I'm happy.
Went with rivnuts for the heel plate. The inside rivets run really close to the fuel lines. Good thing I checked before drilling.
The other thing with riv nuts is that they don't sit 100% straight. I think I should've just gone with nuts on the bottom side. As they say, hindsight is 20/20.
Cleaned battery tray off before putting it back in and just threw clear coat on it. Will be going to a PC680 at some point so didn't want to take the time to strip, primer, paint and clear the thing. Just need it to stop rusting. The glossy clear coat also makes things a lot easier to clean.
Chased the threads on the steering column support as I'd painted over them. Fresh and new.
New hardware for the interior. Everything (even the interior) has surface rust... Went with the JIS flanged standard since it gets rid of the washer. One less part to lose track of. Though, for body bolts with weld nuts, I'm assuming its designed like that so if the weld nuts aren't perfectly straight, the washer can take up some of the error rather than biting into the fixing surface at an angle with a single piece bolt.


 12-15-2020, 08:20 PM