

OFFICIAL HOW TO: Hardwire a Fuel Pump

Thread Starter
Honda-Tech Member
Joined: Oct 2007
Posts: 278
Likes: 1
From: bakersfield, ca, United States
This was done on a 99 Integra GSR
Had to do a fuel pump hardwire for a walbro 450LPH i have coming in, and figured i can do a "how to" to be able to reference to it when there are related questions in the future. All pictures are taken on a cell phone, so some may not be as clear. As soon as the pump comes in ill finish up this tutorial with how to wire up the fuel pump to the hanger, so stay tuned.
** I AM NOT RESPONSIBLE FOR ANYONE DAMAGING THEIR PROPERTY OR GETTING INJURED, THIS IS JUST A GUIDELINE. IF YOU ARE NOT COMFORTABLE WORKING AROUND GAS / GAS VAPORS / ELECTRICAL WORK, HAVE A PROFESSIONAL DO IT **
lets get it.
First thing you want to do is have most of your parts and tools ready
10awg lead and ground cables, 10awg inline fuse holder, 40amp automotive relay
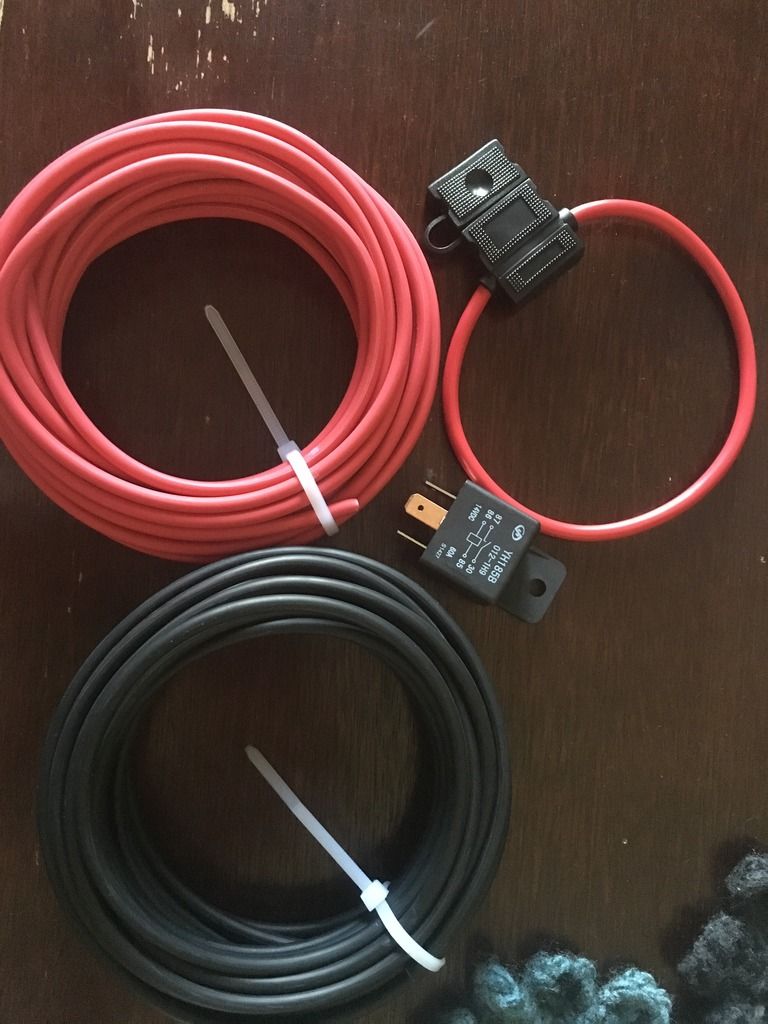
OEM Honda spade connectors (for fuel pump plug) PART # 07692-0011000 , you can get them on amazon. i picked up 6 just in case i messed up.
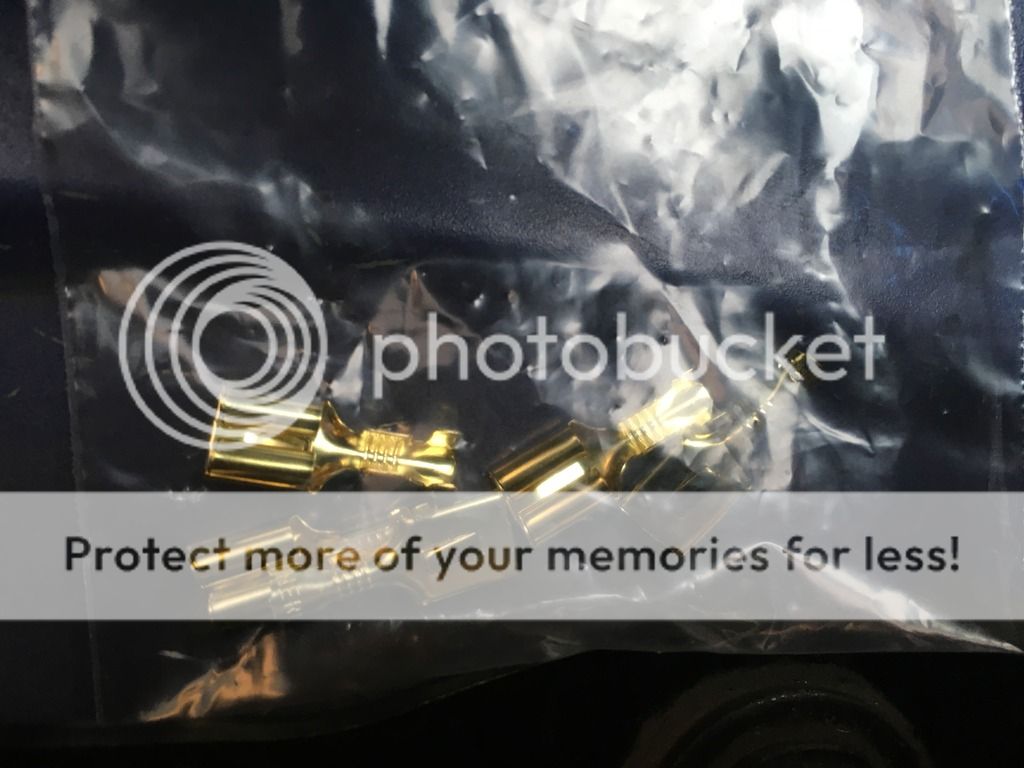
Fire Retardant wire conduit you can pick up at autozone, 16 gauge wire to extend wiring for super-secret fuel kill switch, 12-10awg female spade connectors (got the one with shitty protector over it, as i cut it to bare connector to solder onto it), 3/8 ring terminal for 12-10awg, 25amp atc fuses, electrical tape
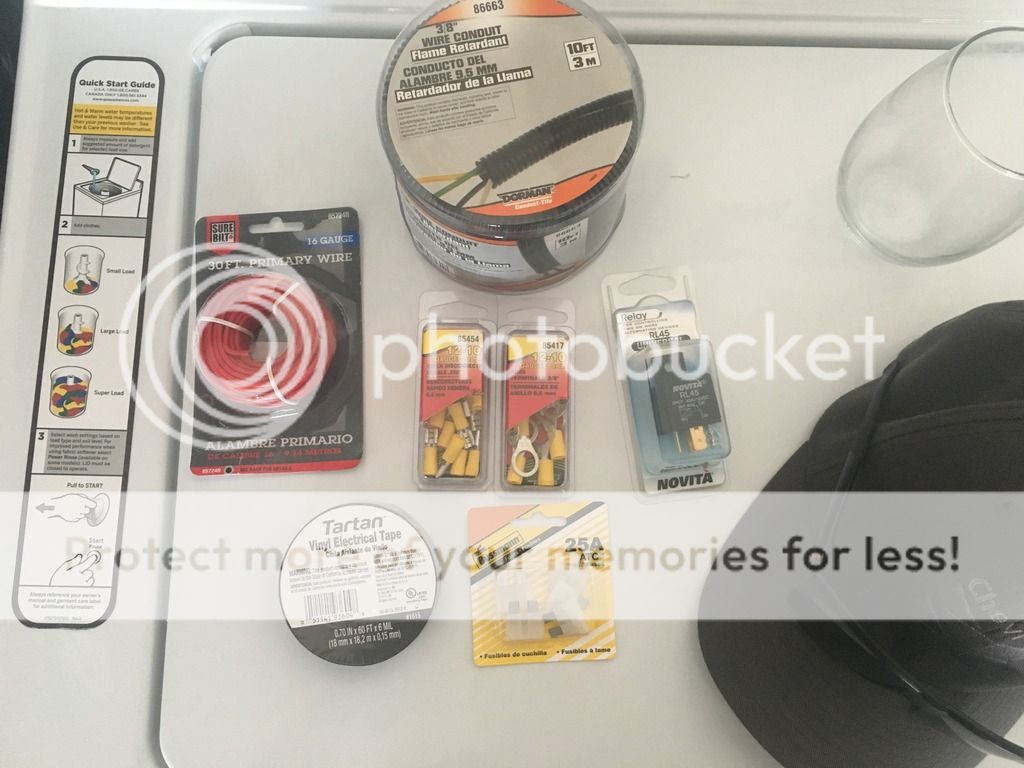
i also got a good quality soldering station, as soldering 10awg takes some serious heat. i got the Edsyn 951sxe
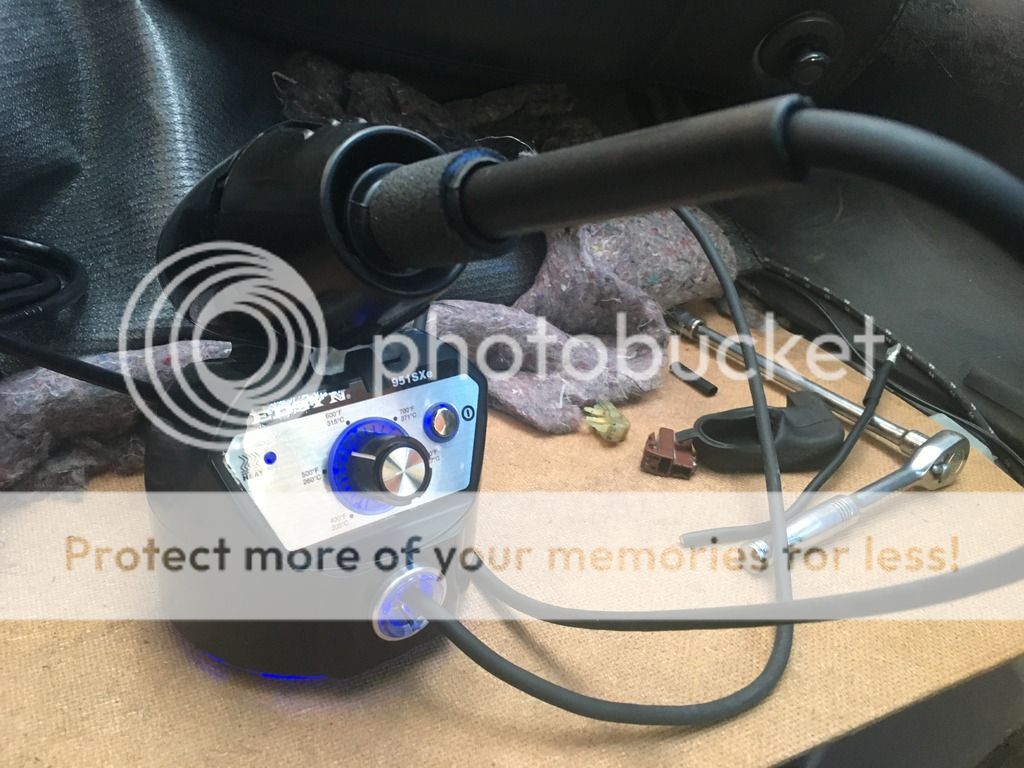
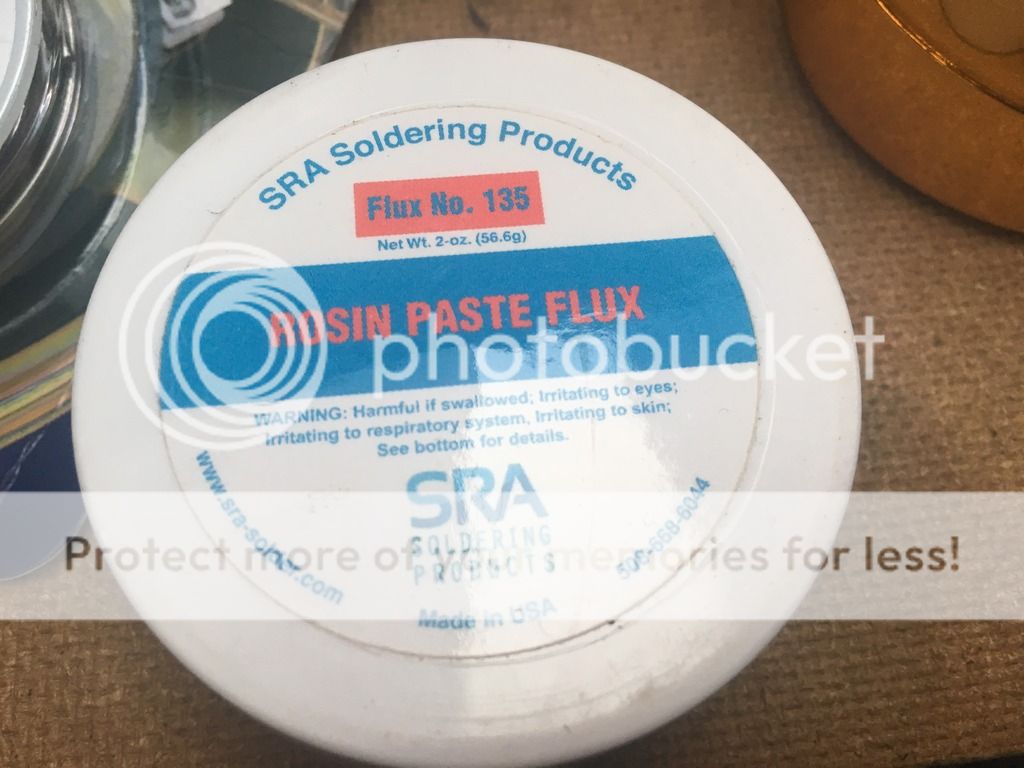
some Rosin Flux
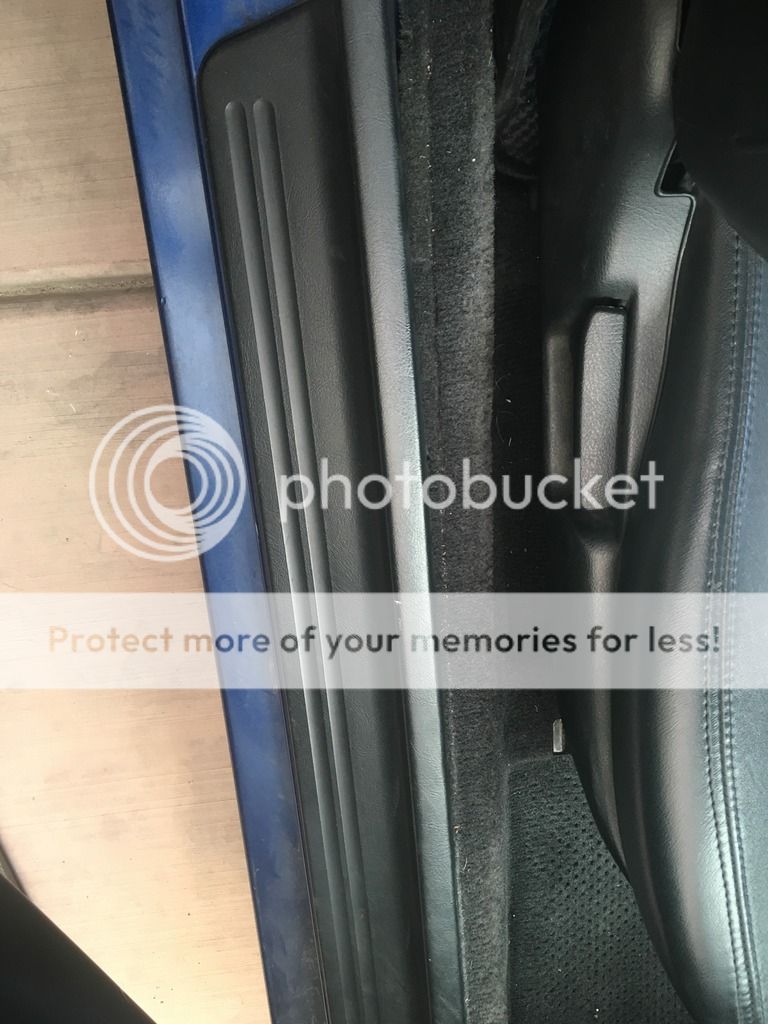
First thing to do is remove the plastic kick panel covering your ecu

and remove your mat and carpet out of the way.
remove the plastic holding your carpet
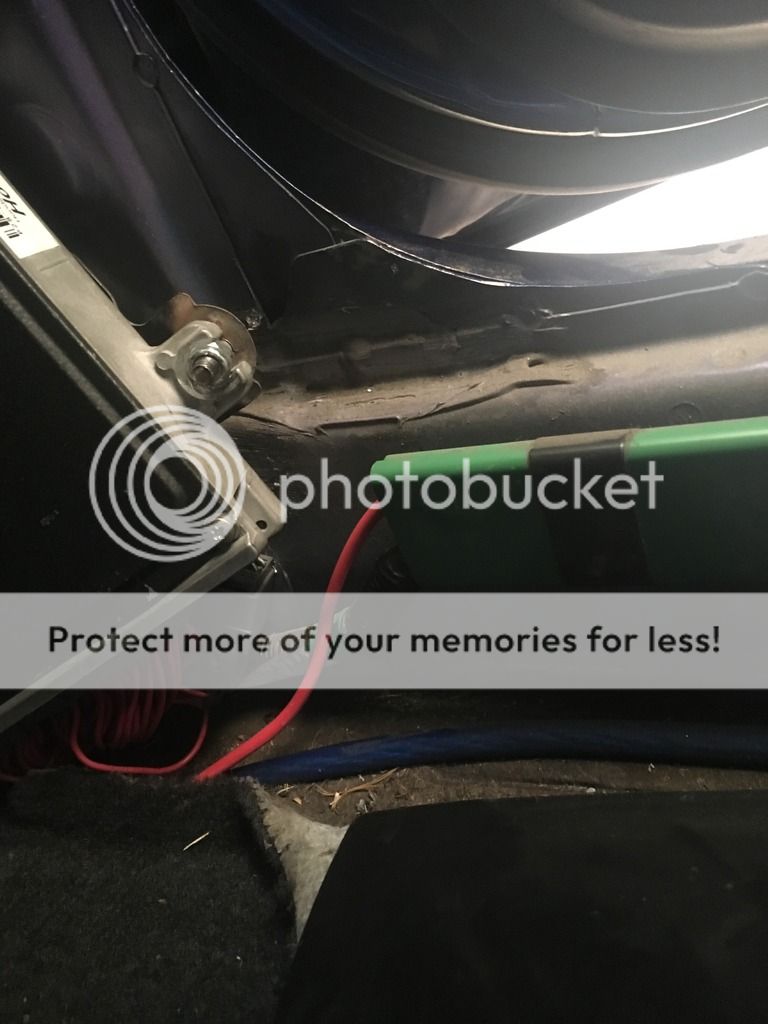
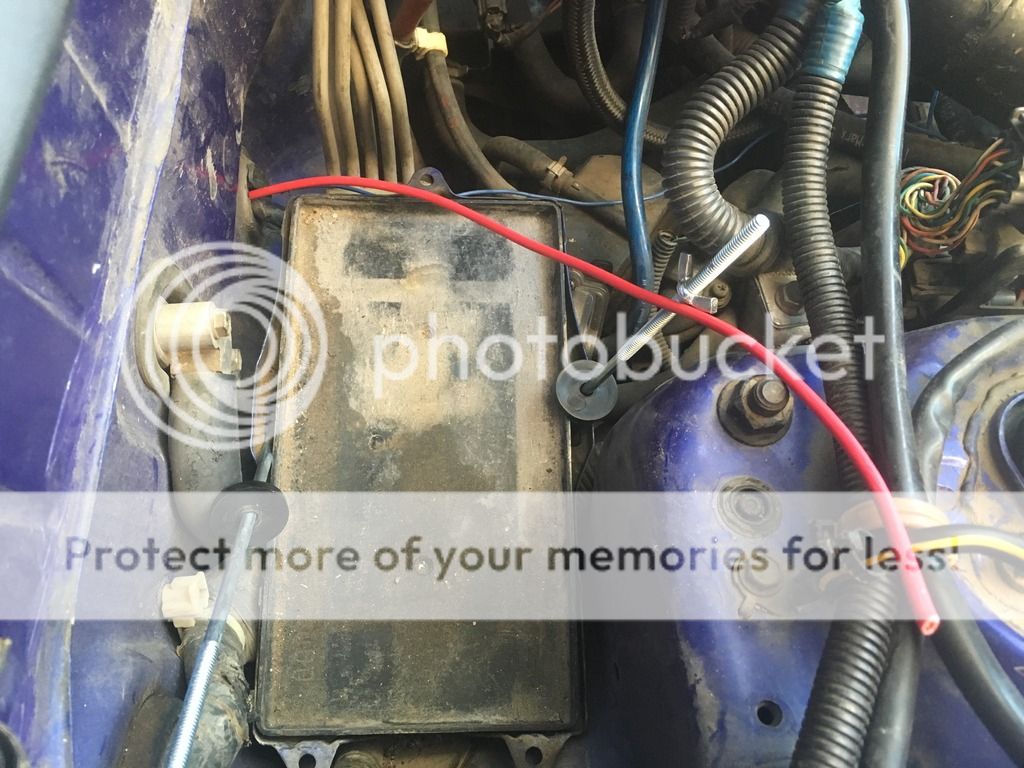
Cut about 10ft of your lead wire going from your battery to the back of the car, and run it through this grommet close to the battery
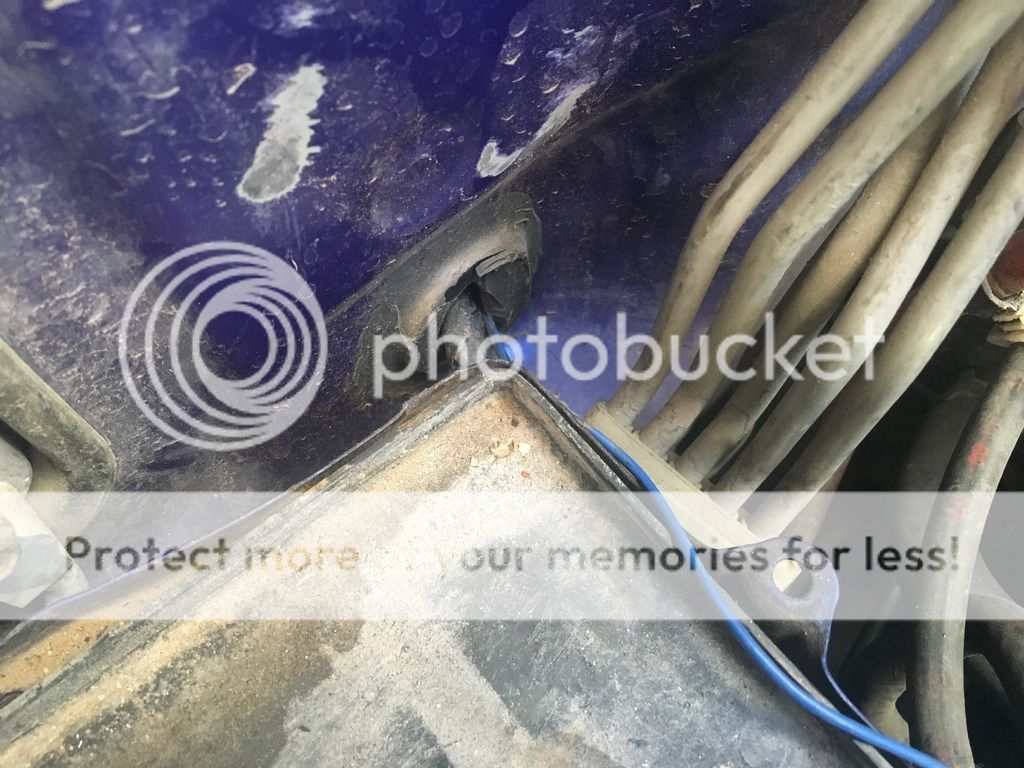
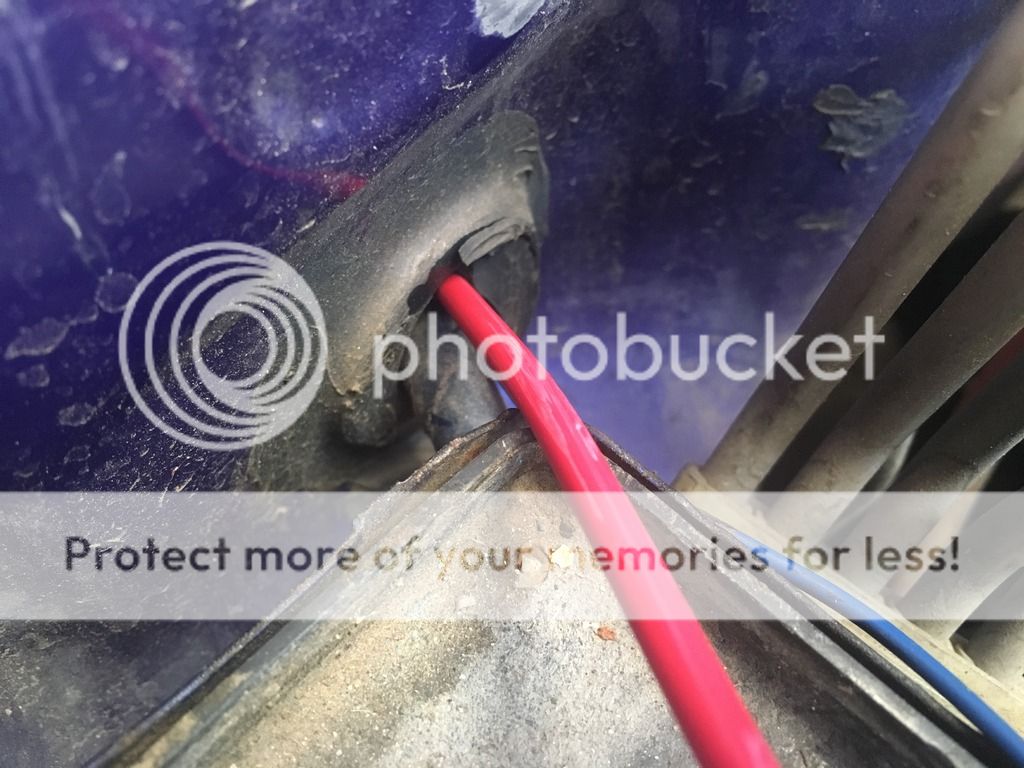
it will come out under your passenger side, behind your glove compartment / a/c components

CHECK THE WIRE INSULATION EVERY COUPLE FEET TO MAKE SURE IT HAS NOT BEEN DAMAGED. the last thing you want is a short that is difficult to find.
i ran the wire through the long green bracket holding the oem wiring harness

rear of the passenger seat

you can put your carpet back, and mat back, and the plastics back.

and dont break them like this

you should be left with enough wire in the engine bay, and in the rear seat area to work freely and just in case you mess up, can cut a couple inches off and try again.
NOW FOR THE FUN STUFF
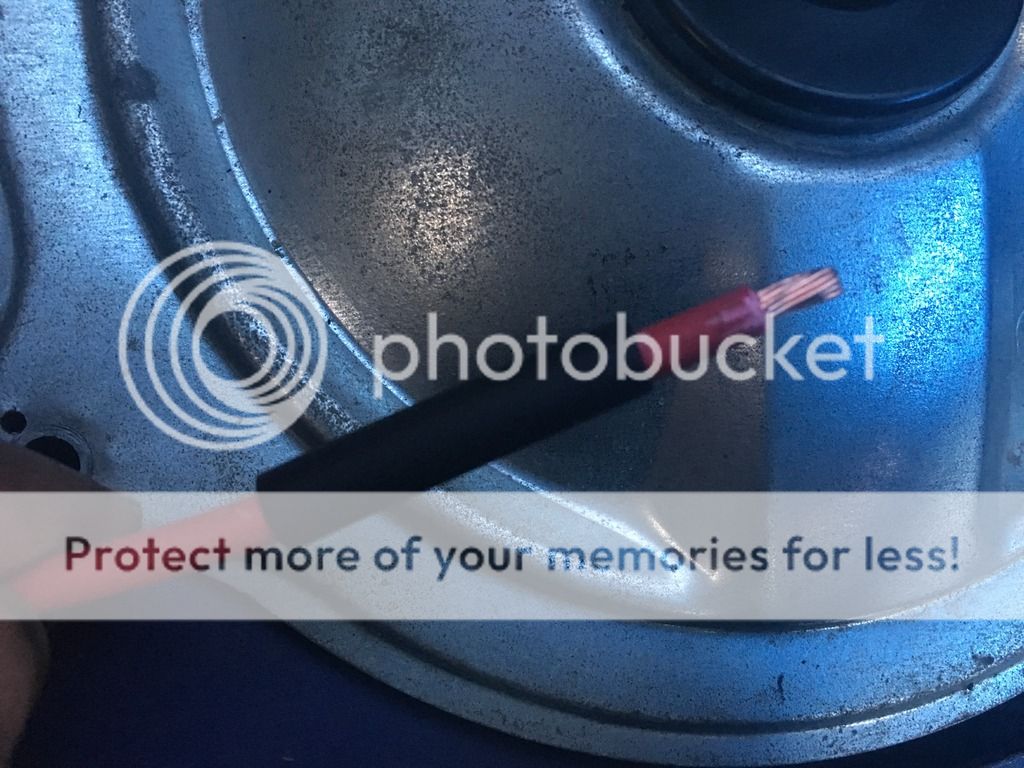
strip a bit of insulation off your wire

and put some heat shrink over it, run it far down onto the wire so it wont shrink from the heat given off the soldering process
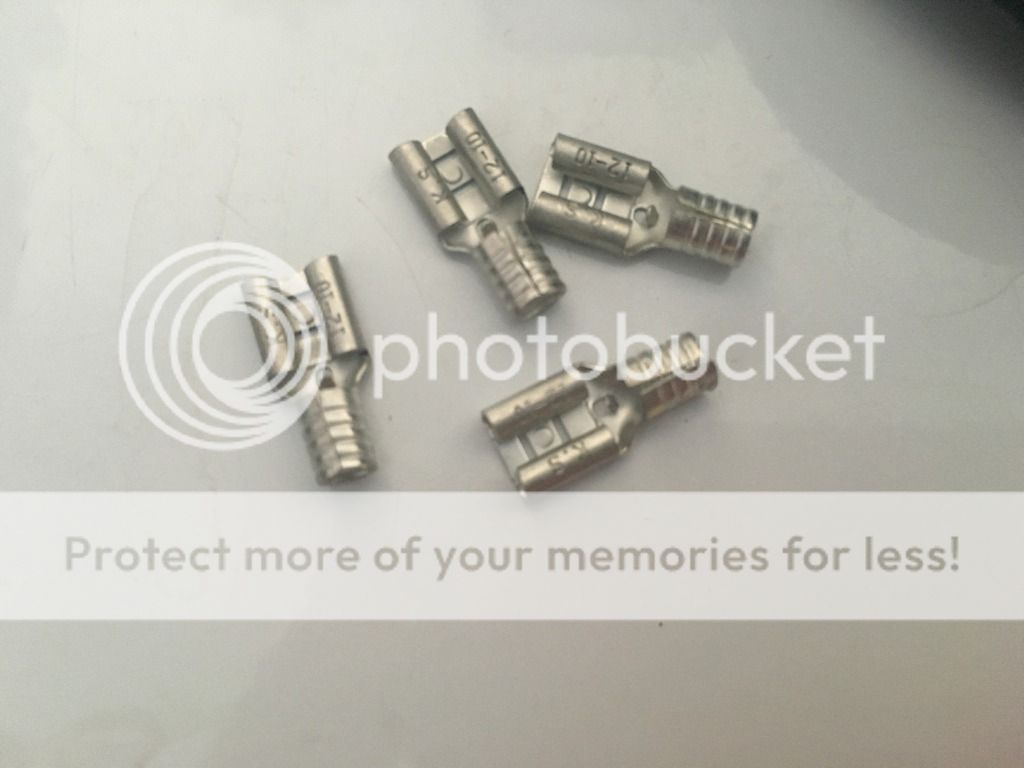
take your female spade connector after your took off the insulation
and crimp it onto the wire
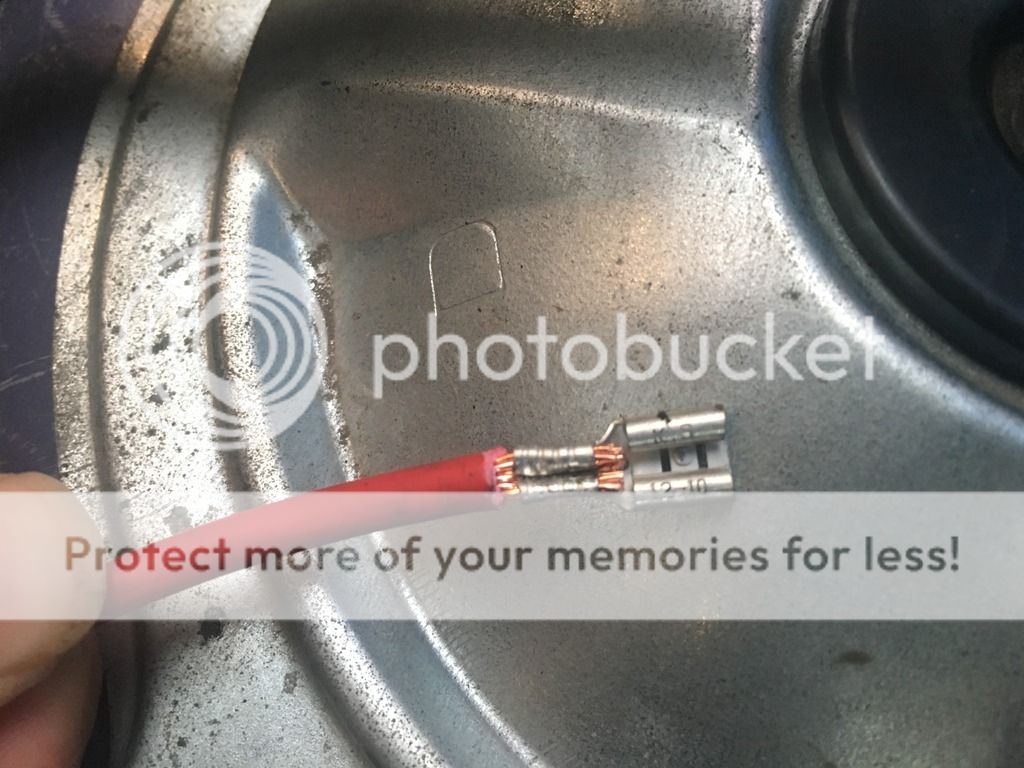
prep that bad boy for soldering
i forgot to take a pic after soldering -_-. but take some of your flux paste, put some on the area youre soldering, and run enough heat to get a good solder quickly. i put my heat up to 750 degrees. took about 5 seconds to start sucking in solder.
DON'T TOUCH OR BEND THE SOLDERED AREA UNTIL IT IS COOLED. you will cause a cold joint and that is not a good electrical connection.
after you're done and allowed some time for cooling, bring up your heat shrink and heat it up ** THIS NEW WIRE (RUNNING FROM BATTERY TO RELAY) GOES TO "30" ON RELAY
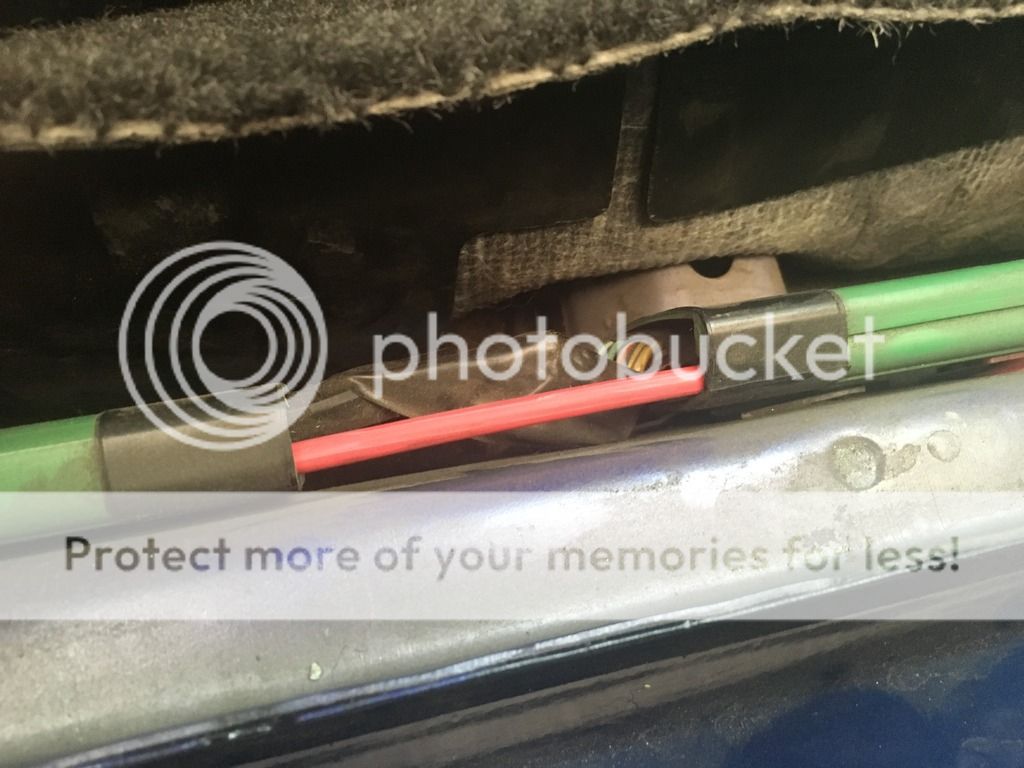
find your original fuel pump power (mine was yellow with green line) and snip it, giving you enough wire to work with. do not cut it too close to the plug, you have to be able to put heat shrink on it as well.
here, i extended the wire a bit to route to a fuel kill switch. you can either do that, or this is where you would attach a spade connector, solder it, and heat shrink it. Or extend the wire with 16 or 18awg, and run it to your fuel kill switch
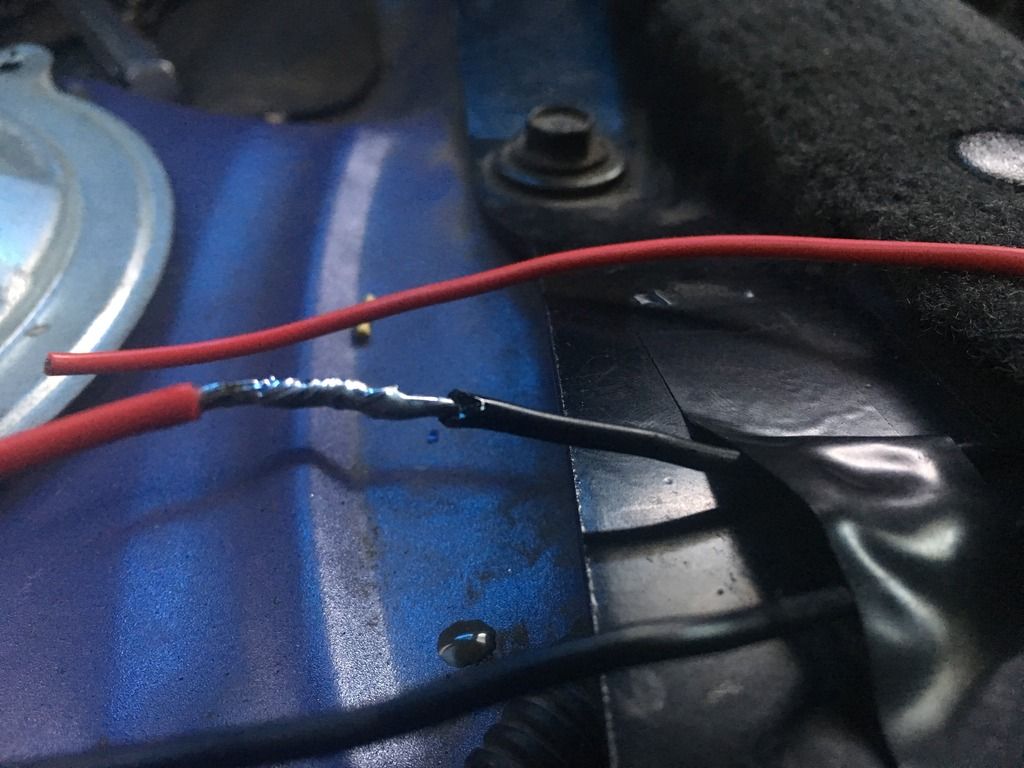
put a small enough heat shrink to only cover the soldered area,
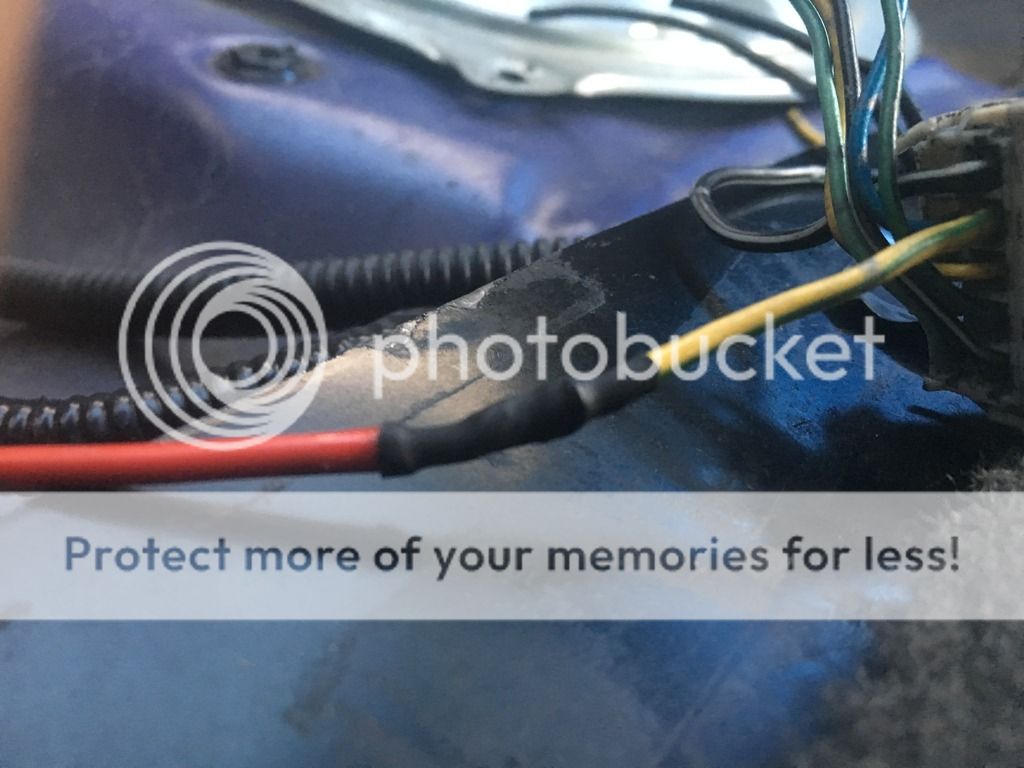
then a longer one to cover the complete area, giving you more protection (picked this up from user fcm, thanks for the knowledge!)

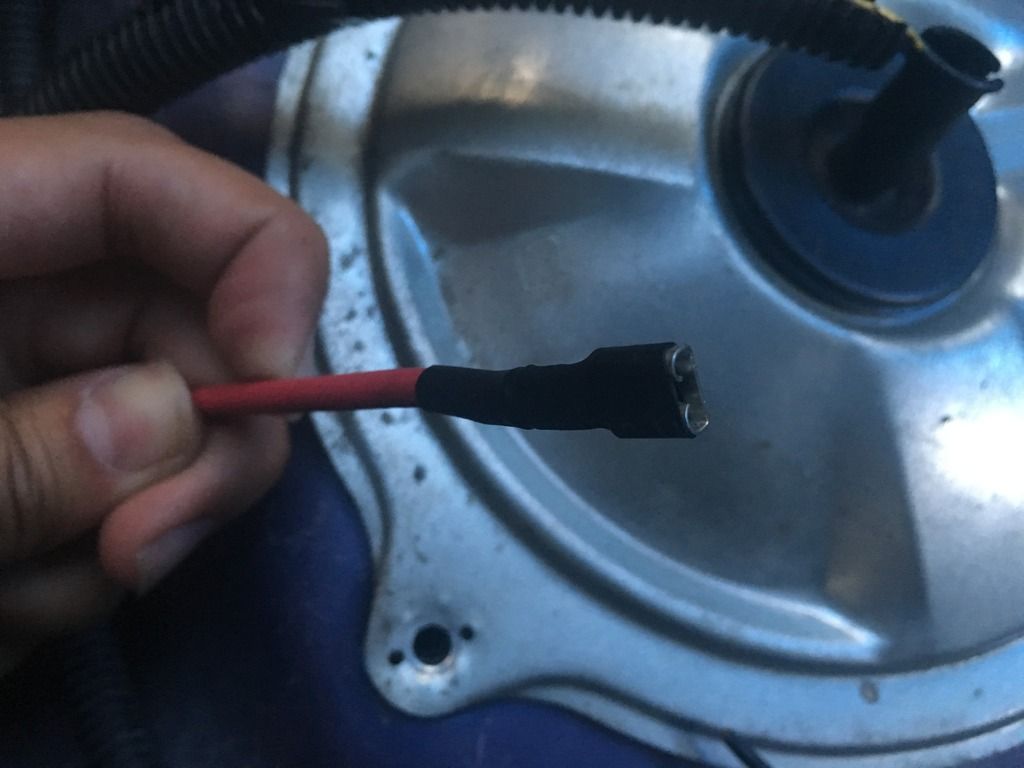
should be left with something like this

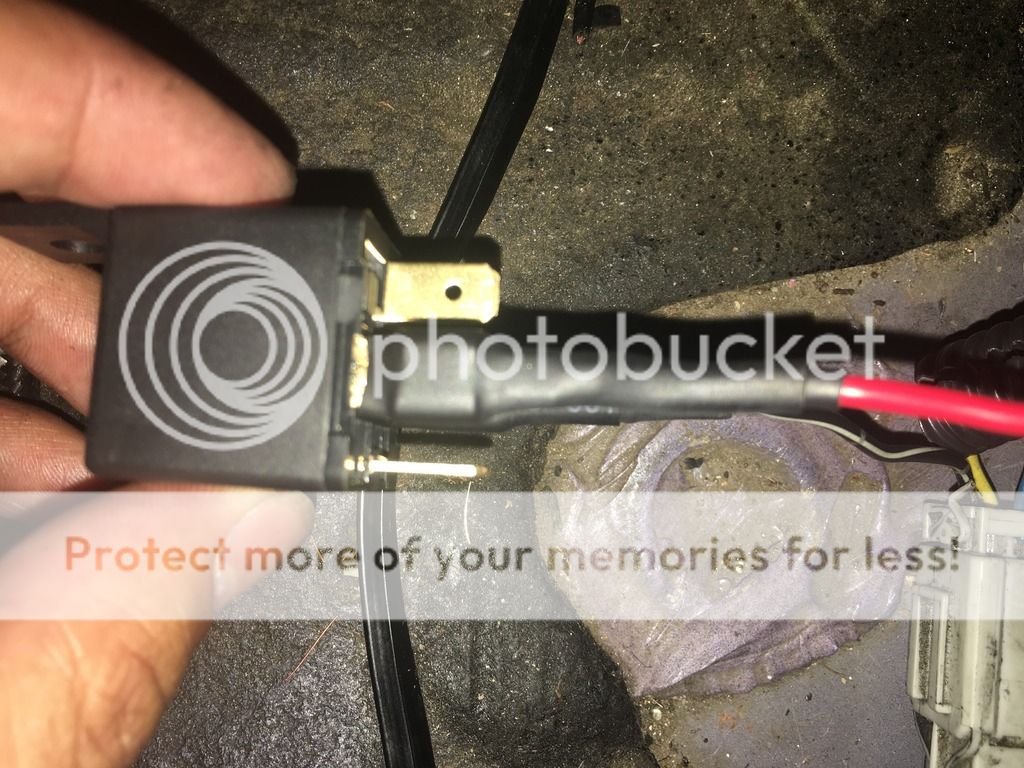
After putting on your female spade connector, soldering, heat shrinking, i put some of that wire conduit to protect and clean up the look

i didn't like that some of the connection was still exposed,

so i ran a bigger heat shrink over the spade connector, connected the spade to the relay, then heated it up ** THIS (ORIGINAL FUEL PUMP WIRE) NOW GOES TO "85" ON RELAY **
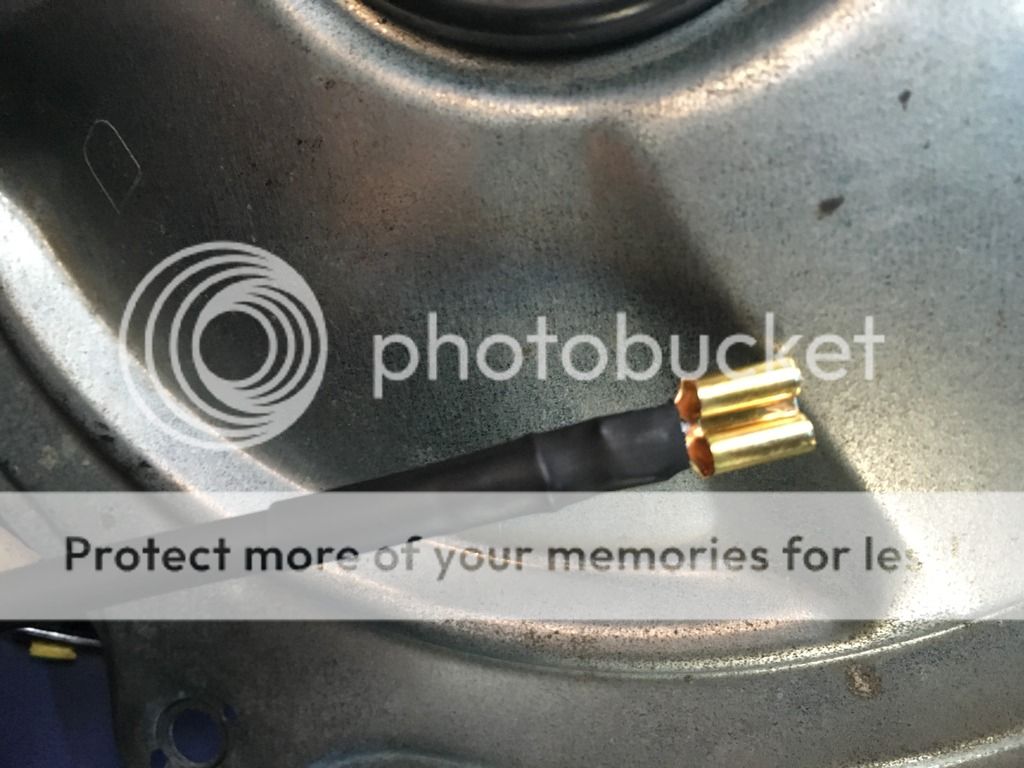
find the FUEL PUMP ground (mine was the black with white line, and single silver dots. and do the same. cut, strip some insulation, crimp a spade connector, solder, heat shrink ** THIS (ORIGINAL FUEL PUMP GROUND) GOES TO "86" ON RELAY **
now take off the cover for the fuel pump hanger assembly and run THE SAME SIZE AWG through the grommet on top
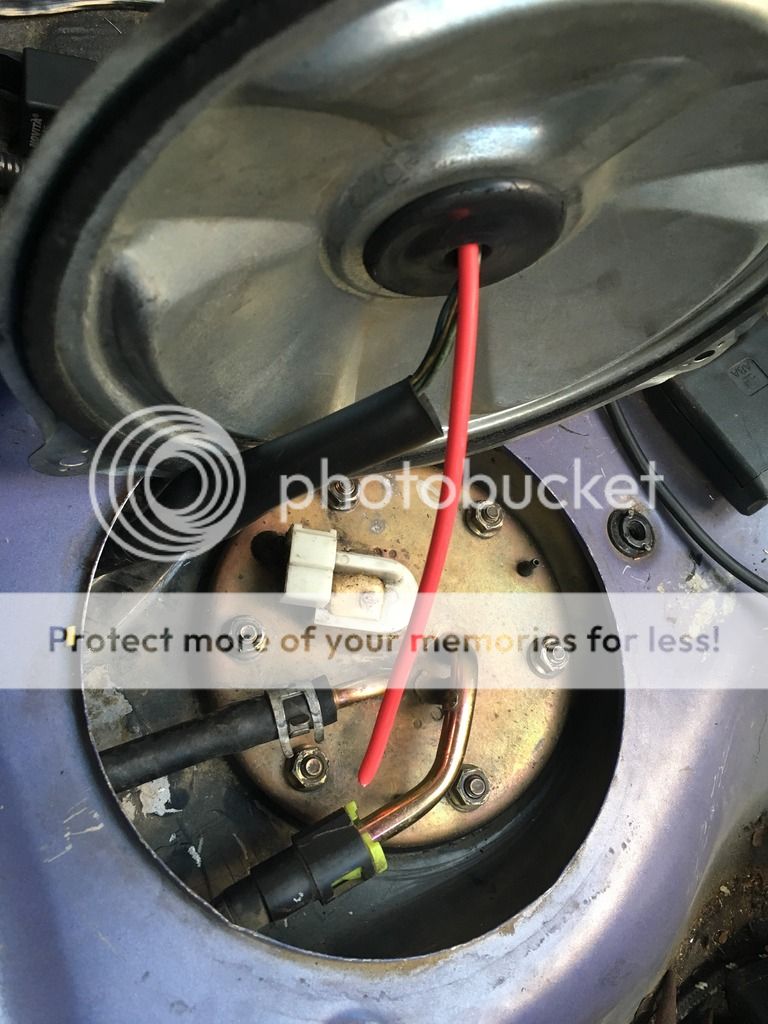
also run THE SAME SIZE AWG ground cable through here (didn't take picture)
take OEM Honda spade connectors and attach them to the power and ground cables.
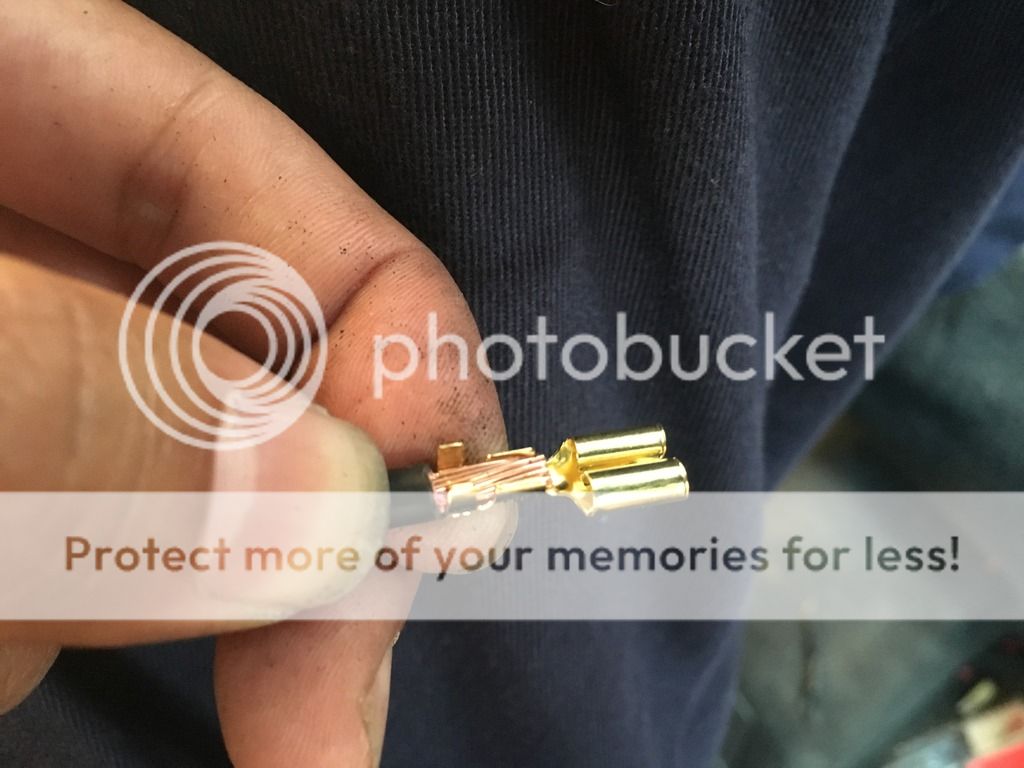
its a super tight fit to crimp 10awg on here... but if you ask really nicely...
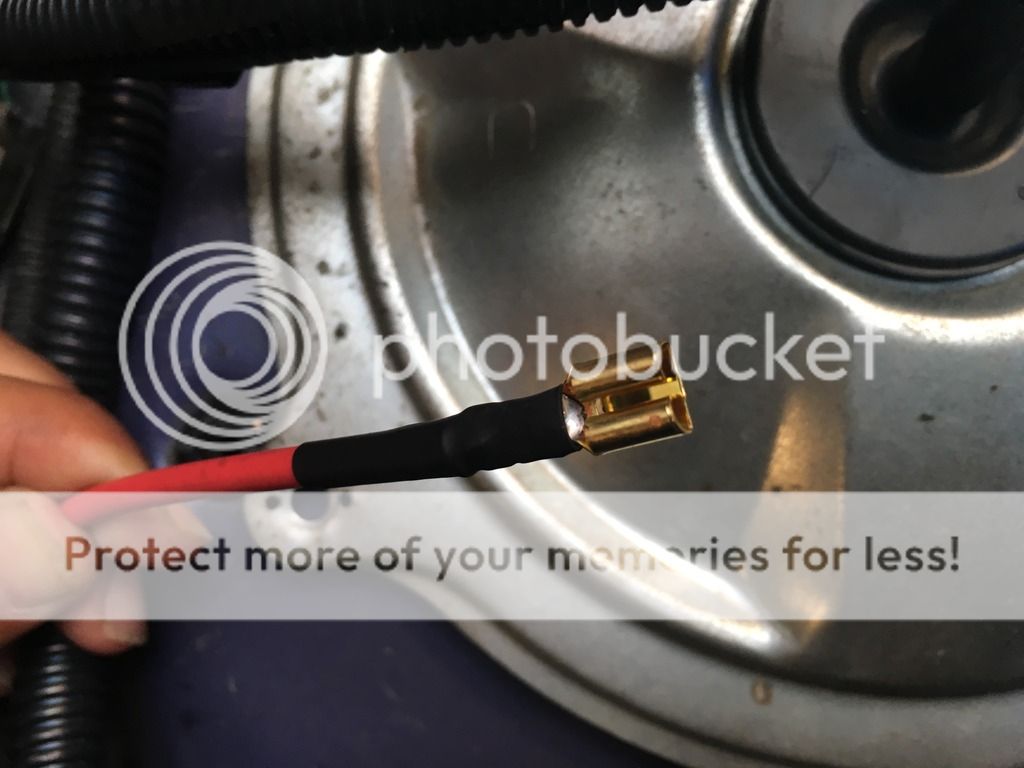
you can crimp, solder, and heat shrink just fine.
should be left with something like this
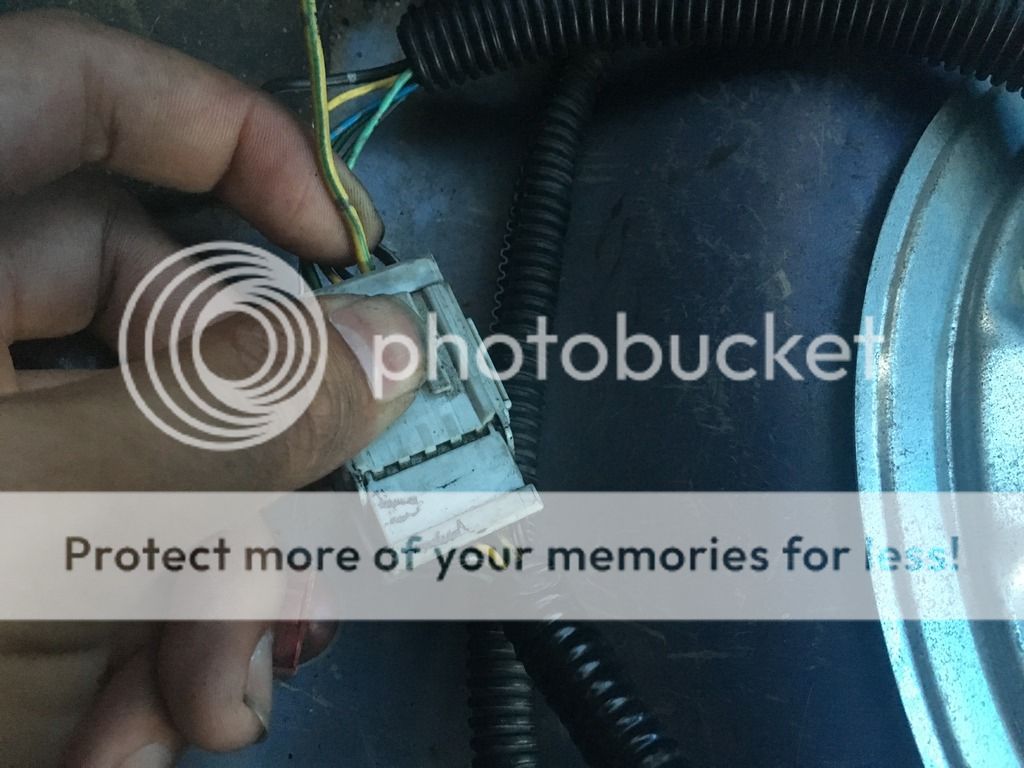
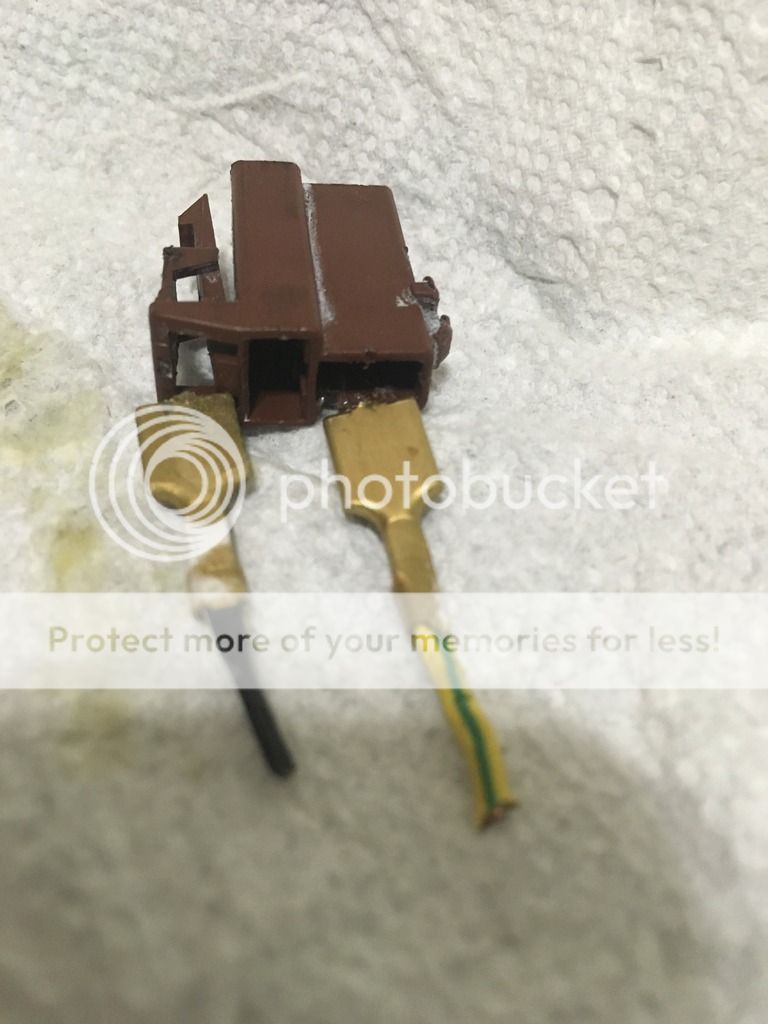
cut the OEM plug for the fuel pump hanger
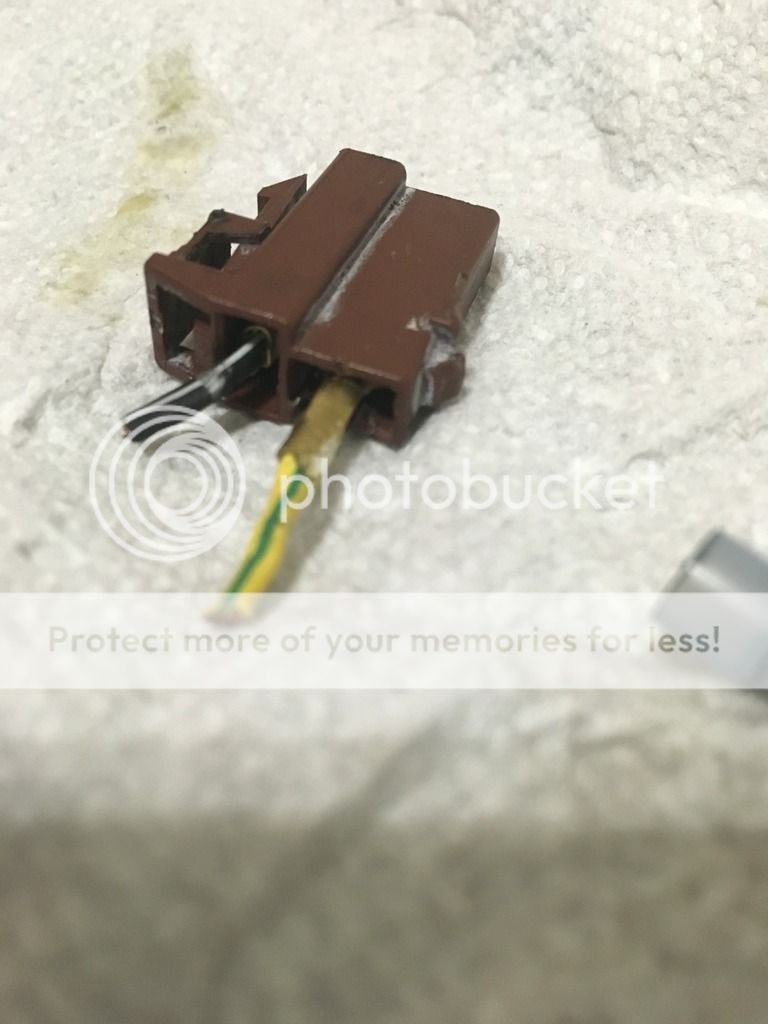
and de-pin
this was also a pain in the ***, but its possible to get them in there. MAKE SURE THEY LOCK IN PLACE AND WONT BE PULLED OUT EASILY (ground is the one closest to the press-in thingy)
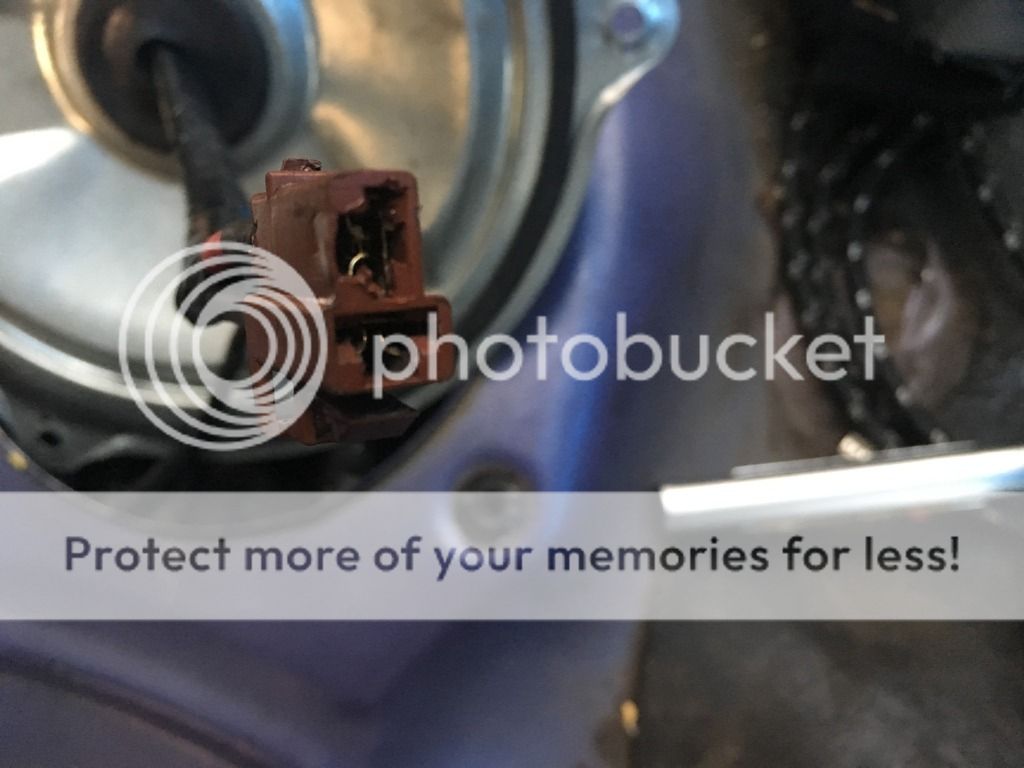
and reconnect
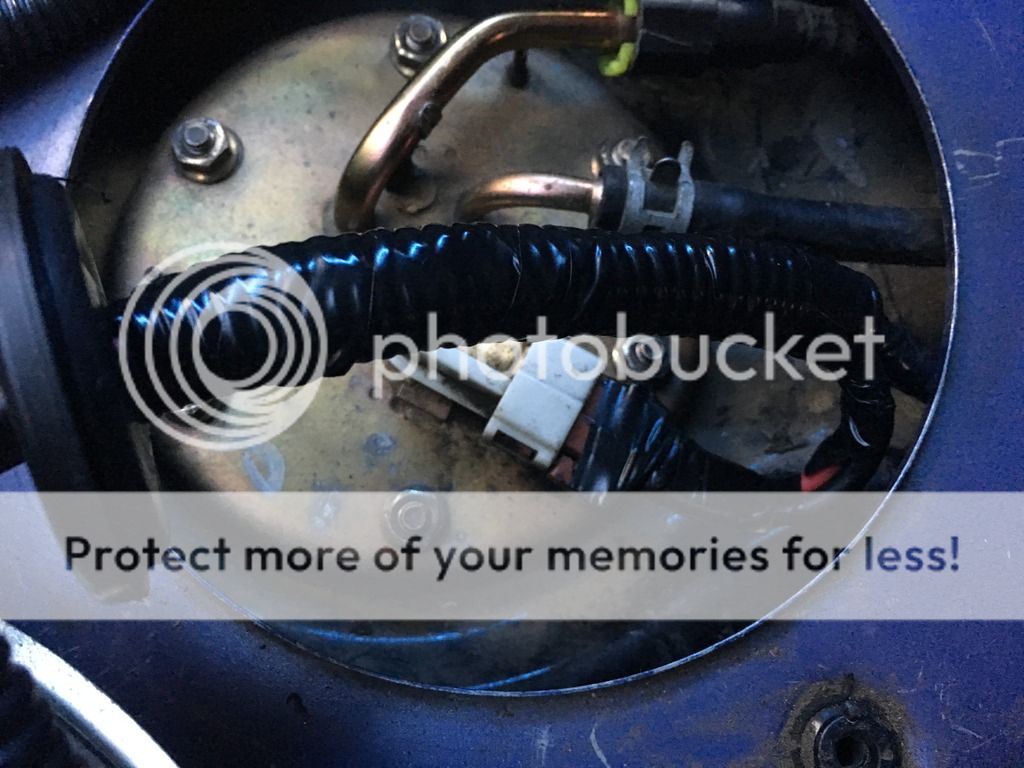
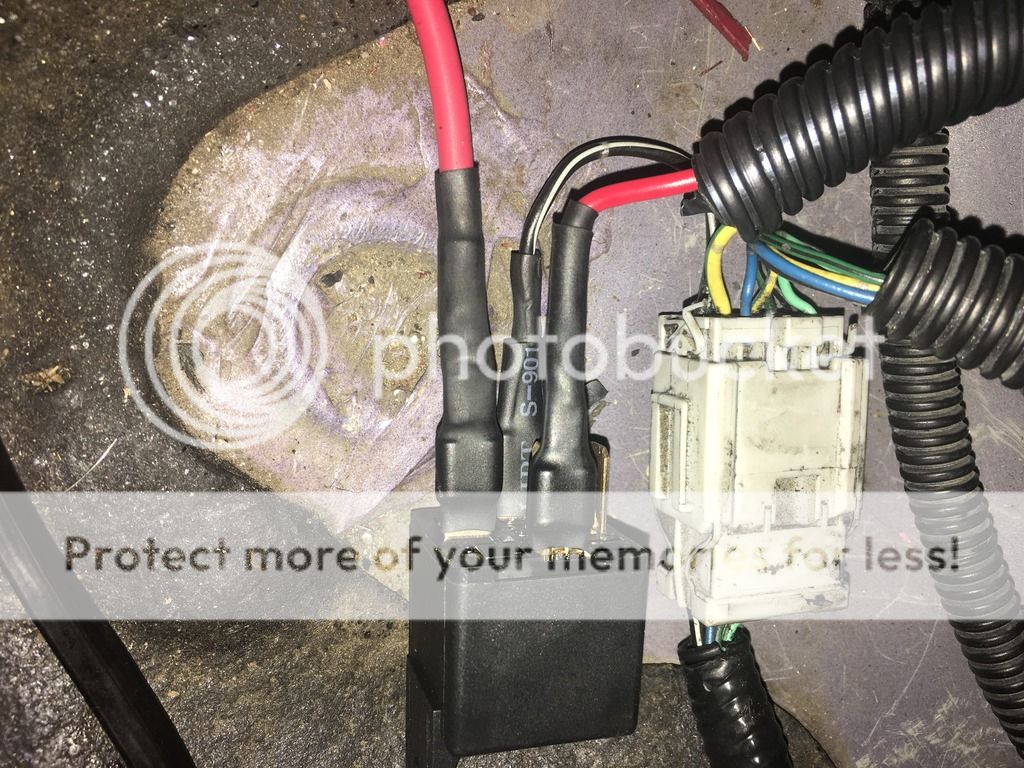
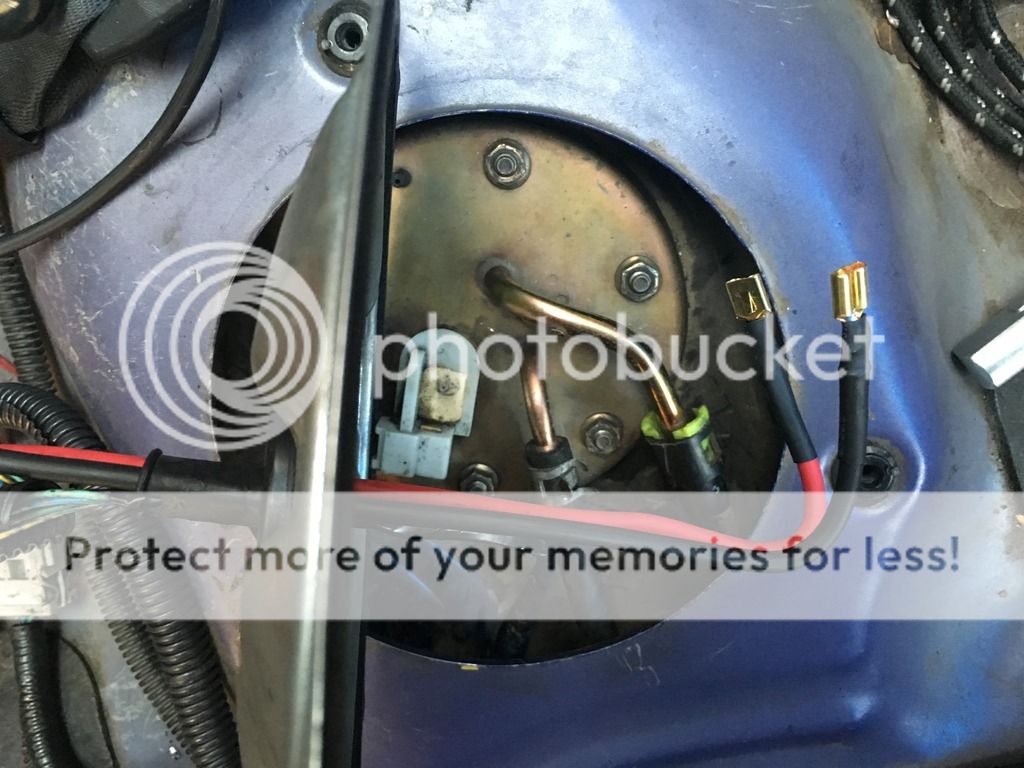
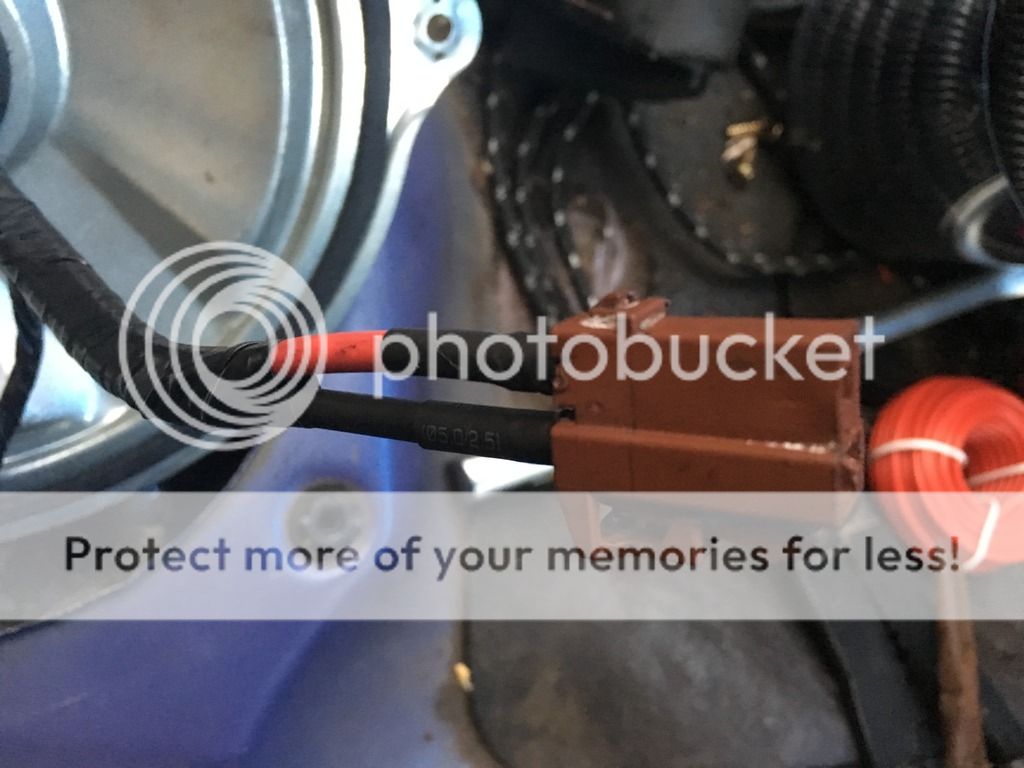
you're done on that side for now. i put the cover back on to try and be safe. you should have your new wires sticking out like this
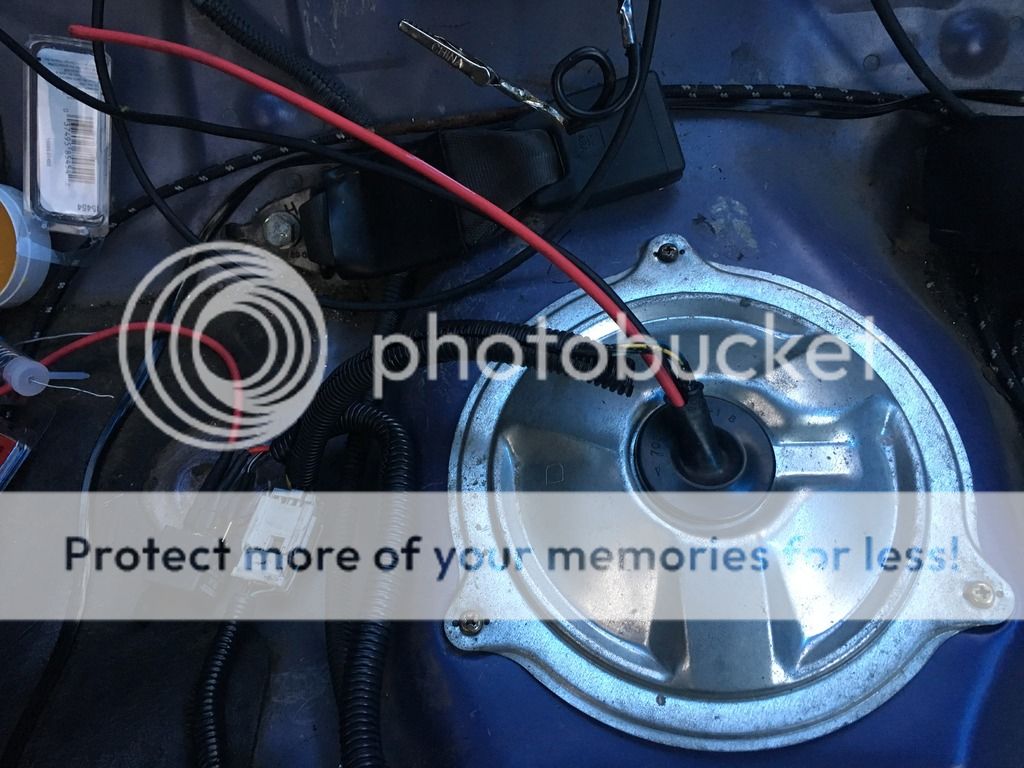
on the power wire coming out of the grommet, crimp, solder, and heat shrink. THIS WIRE (FUEL PUMP TO RELAY) GOES TO "87" ON RELAY

at this point, the relay itself should be completed. we're almost done.
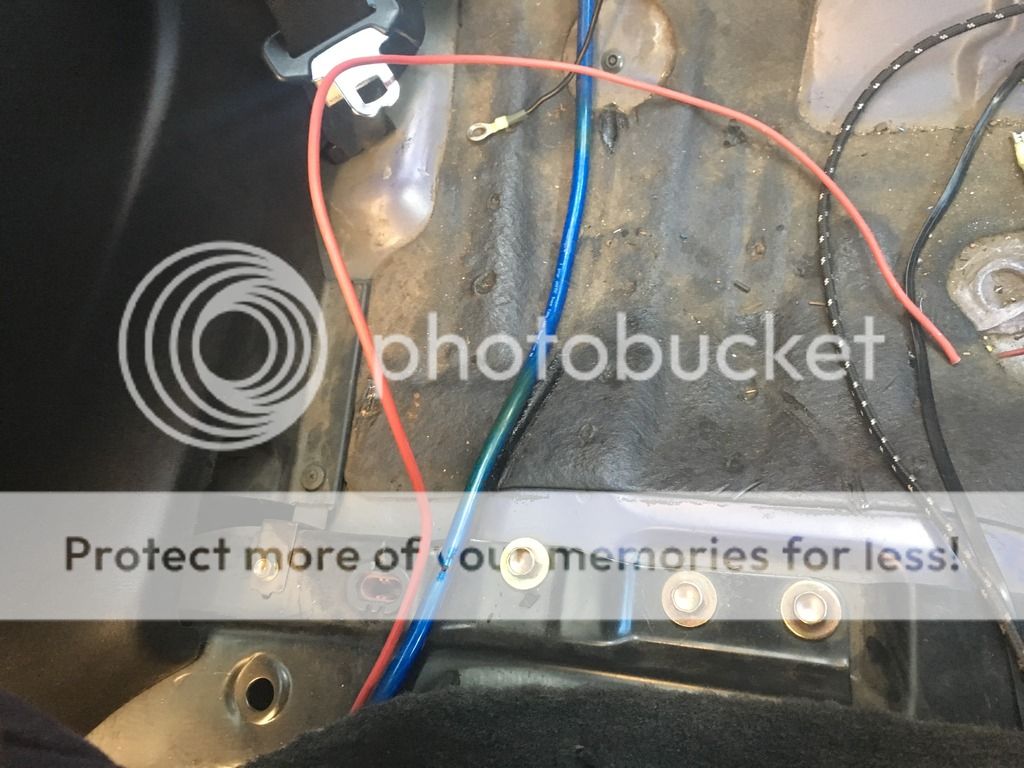
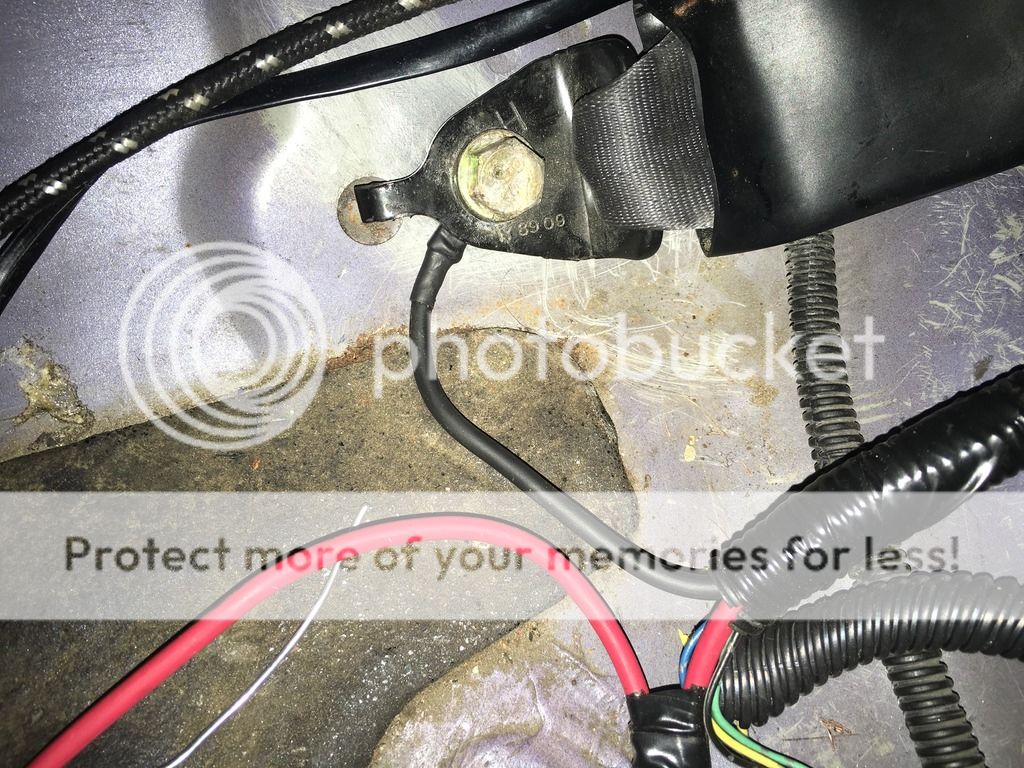
take the GROUND you just completed, and that is sticking out of the grommet. attach a 3/8 ring terminal with no insulation. crimp, solder, and heat shrink
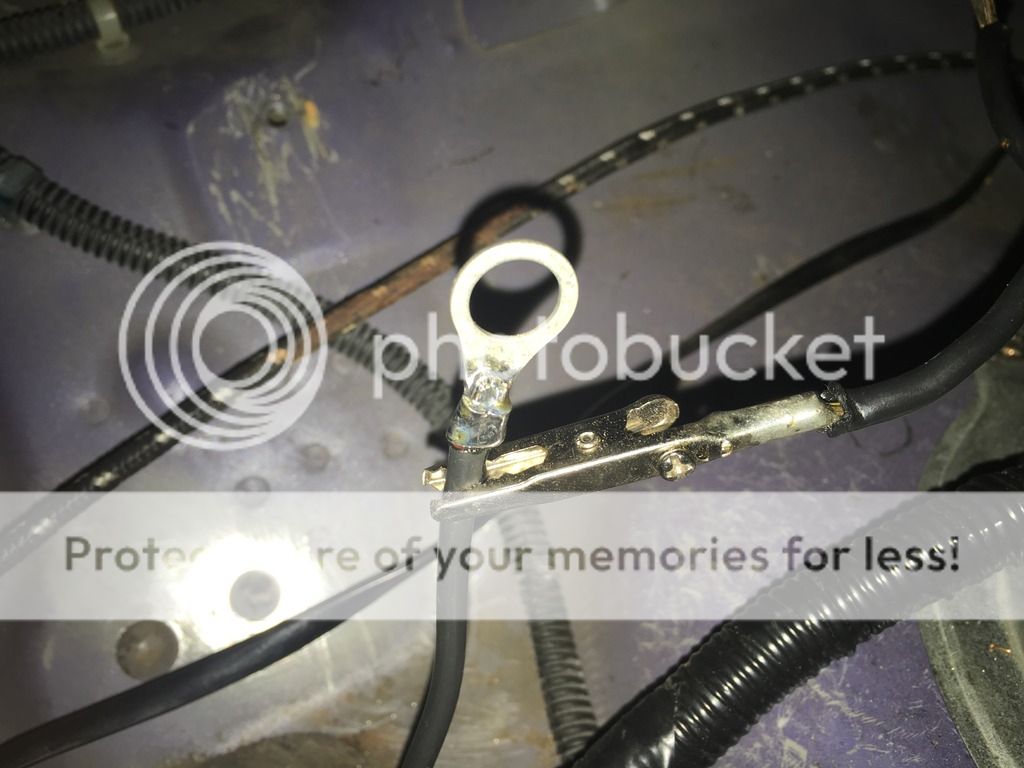
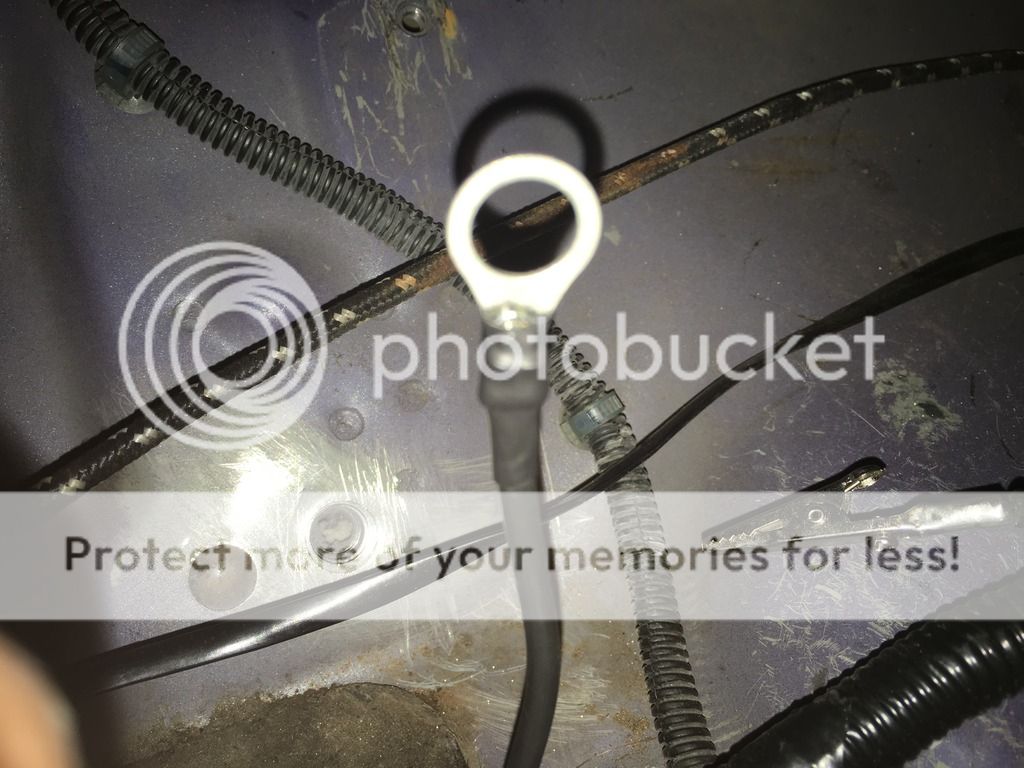
and run it to the bolt holding down the belt clip to the chassis. TAKE SOME COURSE SAND PAPER AND CLEAN THE AREA WHERE THE BOLT GOES. you want a clean ground connection to bare metal.
we're done inside the car. take a good stretch, we're working in the engine bay now.
take your SAME SIZE AWG, inline fuse holder
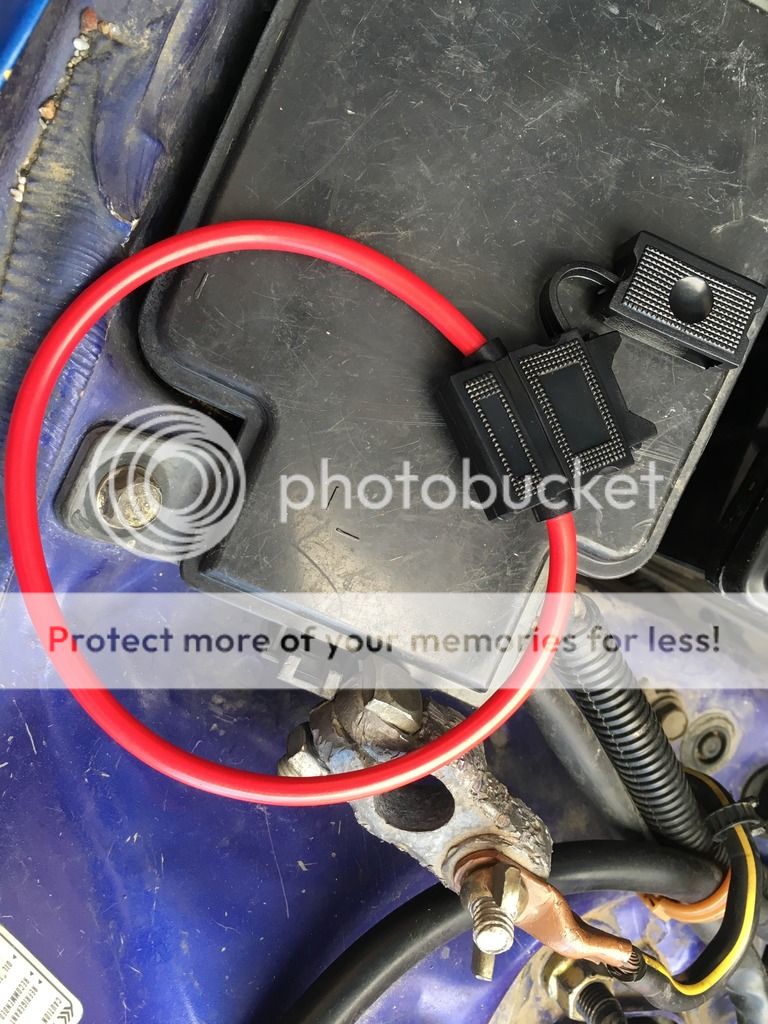
cut it, strip it, solder it, heat shrink it.
attach a ring connector on the opposite side... cut, strip, solder, heat shrink.
throw some conduit over it and you should be left with something like this
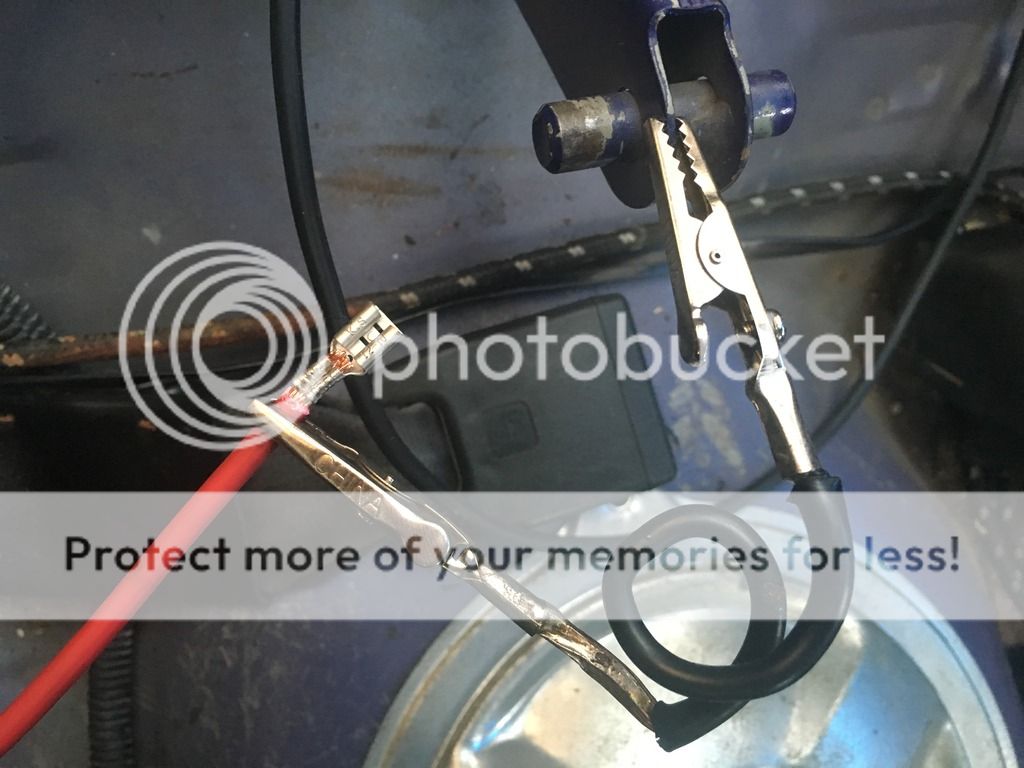
now go back inside the car. take a voltmeter and stick the red probe into the power side of the oem fuel pump plug, and ground probe on the ground side.
turn the key onto the ON position without turning the car on (make sure theres a correctly sized amp fuse in the fuse holder, and that your kill switch is on the on position). check to make sure you have power to the plug

if you do, you're good to go!! go stretch and have a beer.
as soon as my fuel pump arrives, i will add to this tutorial on how to wire up the fuel pump to the hanger.
Had to do a fuel pump hardwire for a walbro 450LPH i have coming in, and figured i can do a "how to" to be able to reference to it when there are related questions in the future. All pictures are taken on a cell phone, so some may not be as clear. As soon as the pump comes in ill finish up this tutorial with how to wire up the fuel pump to the hanger, so stay tuned.
** I AM NOT RESPONSIBLE FOR ANYONE DAMAGING THEIR PROPERTY OR GETTING INJURED, THIS IS JUST A GUIDELINE. IF YOU ARE NOT COMFORTABLE WORKING AROUND GAS / GAS VAPORS / ELECTRICAL WORK, HAVE A PROFESSIONAL DO IT **
lets get it.
First thing you want to do is have most of your parts and tools ready
10awg lead and ground cables, 10awg inline fuse holder, 40amp automotive relay
OEM Honda spade connectors (for fuel pump plug) PART # 07692-0011000 , you can get them on amazon. i picked up 6 just in case i messed up.
Fire Retardant wire conduit you can pick up at autozone, 16 gauge wire to extend wiring for super-secret fuel kill switch, 12-10awg female spade connectors (got the one with shitty protector over it, as i cut it to bare connector to solder onto it), 3/8 ring terminal for 12-10awg, 25amp atc fuses, electrical tape
i also got a good quality soldering station, as soldering 10awg takes some serious heat. i got the Edsyn 951sxe
some Rosin Flux
First thing to do is remove the plastic kick panel covering your ecu
and remove your mat and carpet out of the way.
remove the plastic holding your carpet
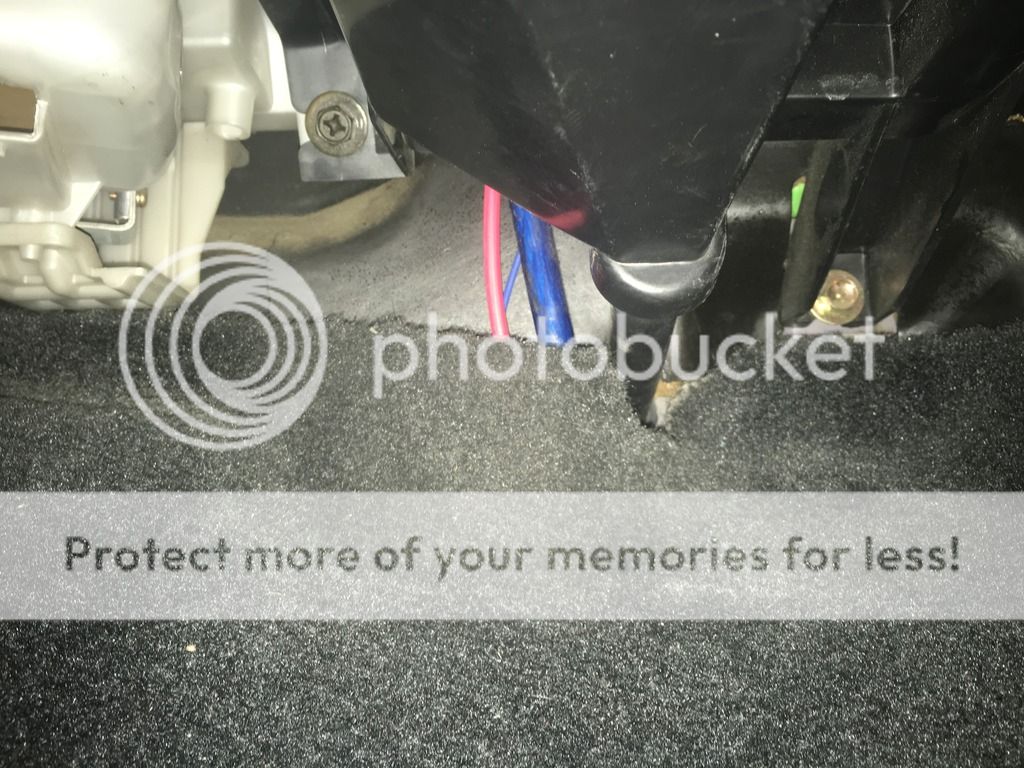
Cut about 10ft of your lead wire going from your battery to the back of the car, and run it through this grommet close to the battery
it will come out under your passenger side, behind your glove compartment / a/c components
CHECK THE WIRE INSULATION EVERY COUPLE FEET TO MAKE SURE IT HAS NOT BEEN DAMAGED. the last thing you want is a short that is difficult to find.
i ran the wire through the long green bracket holding the oem wiring harness
rear of the passenger seat
you can put your carpet back, and mat back, and the plastics back.
and dont break them like this
you should be left with enough wire in the engine bay, and in the rear seat area to work freely and just in case you mess up, can cut a couple inches off and try again.
NOW FOR THE FUN STUFF
strip a bit of insulation off your wire
and put some heat shrink over it, run it far down onto the wire so it wont shrink from the heat given off the soldering process
take your female spade connector after your took off the insulation
and crimp it onto the wire
prep that bad boy for soldering
i forgot to take a pic after soldering -_-. but take some of your flux paste, put some on the area youre soldering, and run enough heat to get a good solder quickly. i put my heat up to 750 degrees. took about 5 seconds to start sucking in solder.
DON'T TOUCH OR BEND THE SOLDERED AREA UNTIL IT IS COOLED. you will cause a cold joint and that is not a good electrical connection.
after you're done and allowed some time for cooling, bring up your heat shrink and heat it up ** THIS NEW WIRE (RUNNING FROM BATTERY TO RELAY) GOES TO "30" ON RELAY
find your original fuel pump power (mine was yellow with green line) and snip it, giving you enough wire to work with. do not cut it too close to the plug, you have to be able to put heat shrink on it as well.
here, i extended the wire a bit to route to a fuel kill switch. you can either do that, or this is where you would attach a spade connector, solder it, and heat shrink it. Or extend the wire with 16 or 18awg, and run it to your fuel kill switch
put a small enough heat shrink to only cover the soldered area,
then a longer one to cover the complete area, giving you more protection (picked this up from user fcm, thanks for the knowledge!)
should be left with something like this
After putting on your female spade connector, soldering, heat shrinking, i put some of that wire conduit to protect and clean up the look
i didn't like that some of the connection was still exposed,
so i ran a bigger heat shrink over the spade connector, connected the spade to the relay, then heated it up ** THIS (ORIGINAL FUEL PUMP WIRE) NOW GOES TO "85" ON RELAY **
find the FUEL PUMP ground (mine was the black with white line, and single silver dots. and do the same. cut, strip some insulation, crimp a spade connector, solder, heat shrink ** THIS (ORIGINAL FUEL PUMP GROUND) GOES TO "86" ON RELAY **
now take off the cover for the fuel pump hanger assembly and run THE SAME SIZE AWG through the grommet on top
also run THE SAME SIZE AWG ground cable through here (didn't take picture)
take OEM Honda spade connectors and attach them to the power and ground cables.
its a super tight fit to crimp 10awg on here... but if you ask really nicely...
you can crimp, solder, and heat shrink just fine.
should be left with something like this
cut the OEM plug for the fuel pump hanger
and de-pin
this was also a pain in the ***, but its possible to get them in there. MAKE SURE THEY LOCK IN PLACE AND WONT BE PULLED OUT EASILY (ground is the one closest to the press-in thingy)
and reconnect
you're done on that side for now. i put the cover back on to try and be safe. you should have your new wires sticking out like this
on the power wire coming out of the grommet, crimp, solder, and heat shrink. THIS WIRE (FUEL PUMP TO RELAY) GOES TO "87" ON RELAY
at this point, the relay itself should be completed. we're almost done.
take the GROUND you just completed, and that is sticking out of the grommet. attach a 3/8 ring terminal with no insulation. crimp, solder, and heat shrink
and run it to the bolt holding down the belt clip to the chassis. TAKE SOME COURSE SAND PAPER AND CLEAN THE AREA WHERE THE BOLT GOES. you want a clean ground connection to bare metal.
we're done inside the car. take a good stretch, we're working in the engine bay now.
take your SAME SIZE AWG, inline fuse holder
cut it, strip it, solder it, heat shrink it.
attach a ring connector on the opposite side... cut, strip, solder, heat shrink.
throw some conduit over it and you should be left with something like this
now go back inside the car. take a voltmeter and stick the red probe into the power side of the oem fuel pump plug, and ground probe on the ground side.
turn the key onto the ON position without turning the car on (make sure theres a correctly sized amp fuse in the fuse holder, and that your kill switch is on the on position). check to make sure you have power to the plug
if you do, you're good to go!! go stretch and have a beer.
as soon as my fuel pump arrives, i will add to this tutorial on how to wire up the fuel pump to the hanger.
Last edited by Destructive-; Jun 19, 2016 at 07:57 PM. Reason: disclaimer


Thread Starter
Honda-Tech Member
Joined: Oct 2007
Posts: 278
Likes: 1
From: bakersfield, ca, United States
semi-fixed. will rotate some pics and resize to look better later tonight.
Last edited by Destructive-; Jun 19, 2016 at 04:55 PM. Reason: fixed

Thread Starter
Honda-Tech Member
Joined: Oct 2007
Posts: 278
Likes: 1
From: bakersfield, ca, United States
Thread Starter
Honda-Tech Member
Joined: Oct 2007
Posts: 278
Likes: 1
From: bakersfield, ca, United States
no problem, and thanks. the pictures seem to be down right now, it seems to be because photobucket is down for maintenance. if theyre not up by tomorrow morningi will re-upload them elsewhere. Photobucket sucks
Trending Topics


Thread
Thread Starter
Forum
Replies
Last Post