
DIY: How to convert an obd1 automatic ecu to manual
 08-16-2011, 12:58 AM
#1
This is a simple DIY for people who want/need to convert their own automatic ecu into a manual instead of buying a new one. I highly recommend that you get some soldering/desoldering practice before attempting it by yourself.
List of things you need:
obd1 automatic ecu
Philips Screw driver

Soldering pin

desoldering braid

soldering wire

Wire cutter

Carb cleaner; The carb cleaner is used to clean off the clear coat that Honda used to protect the circuit boards. You can either use a tooth brush and brush off the clear coat before you start doing any sort of soldering or you can use it to clean it off afterwards. I however did not have any with me at the time so please forgive the sloppyness of the clear coat burns.
Any ohm resistor since you'll be cutting off the end pieces to use.
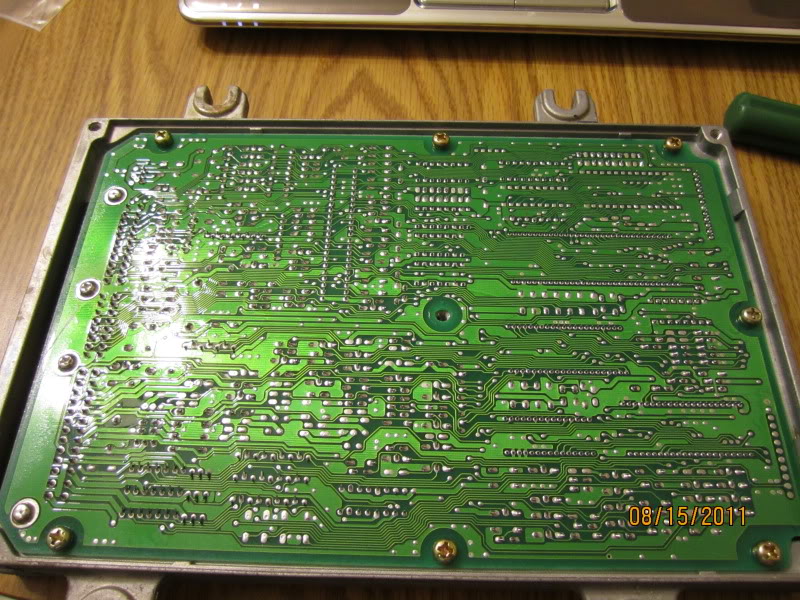
First and most simple get your ecu and take off both back and front covers:
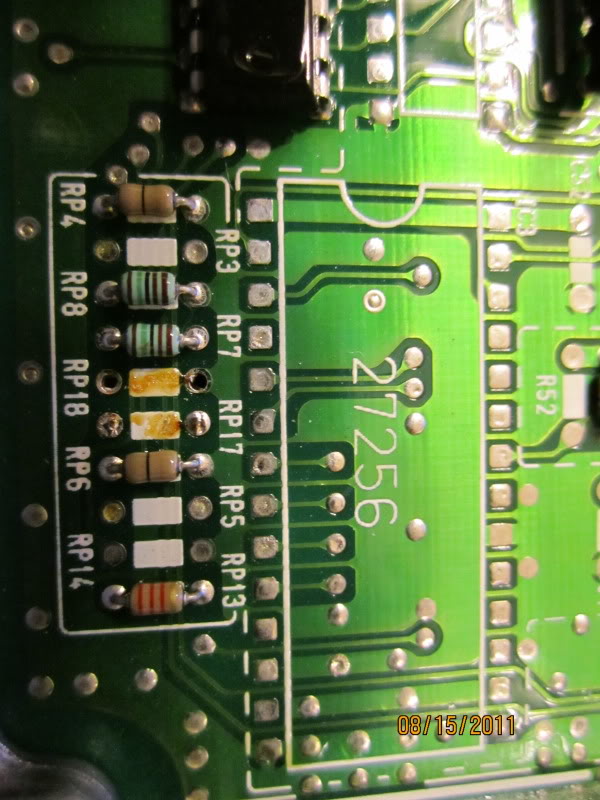
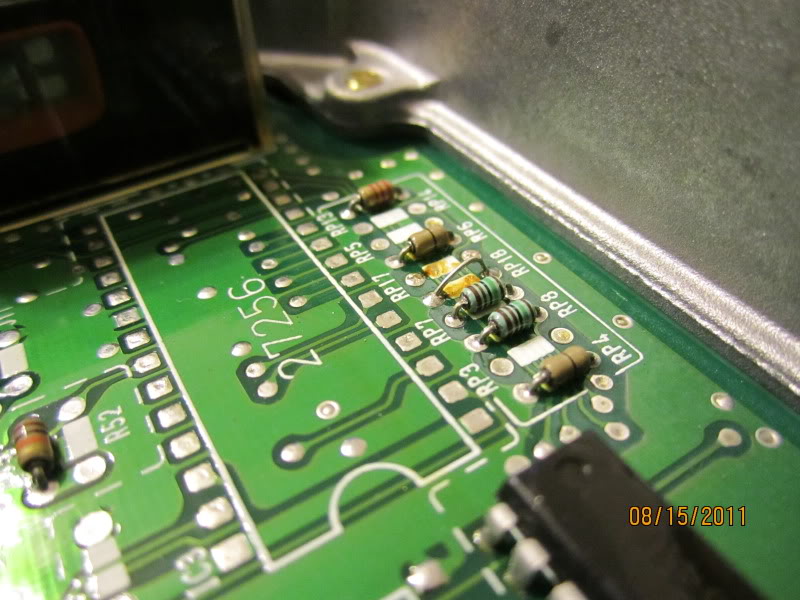
On the front side locate RP17 and RP18:

Once you have located them turn it to the backside and get your soldering pin and desoldering wire. I usually like to heat up the desoldering braid to make things easier:
Again locating RP18 and RP17 on the back of the board start desoldering the resistors out. " You could either cut them out first and then desolder it or desolder it first and then pull them out" I however chose to desolder them both before pulling anything out.
This is how it should look like once you have desoldered it:
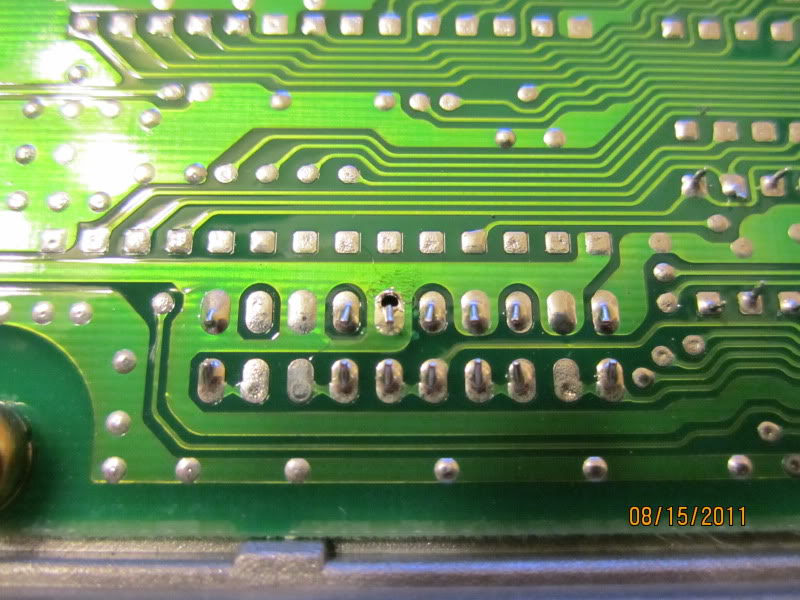
Do this to all the connecting spots in order to take the resistors out.
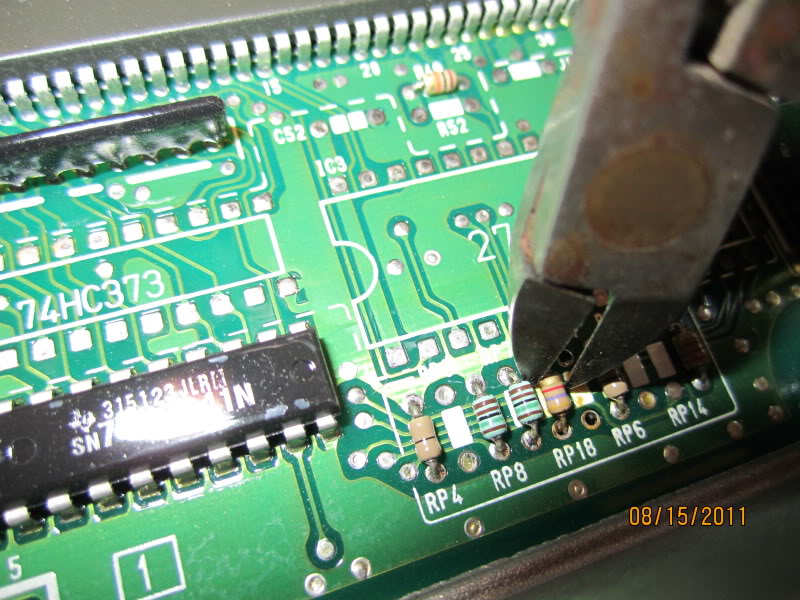
Now that you have desoldered all the connecting spots you should be able to pull them out easily with your wire cutters or pliers:
Now we will fill up the holes for RP17 "If you chose to cut the resistors out before desoldering than you can skip this step. Here is a pic of RP17 filled:
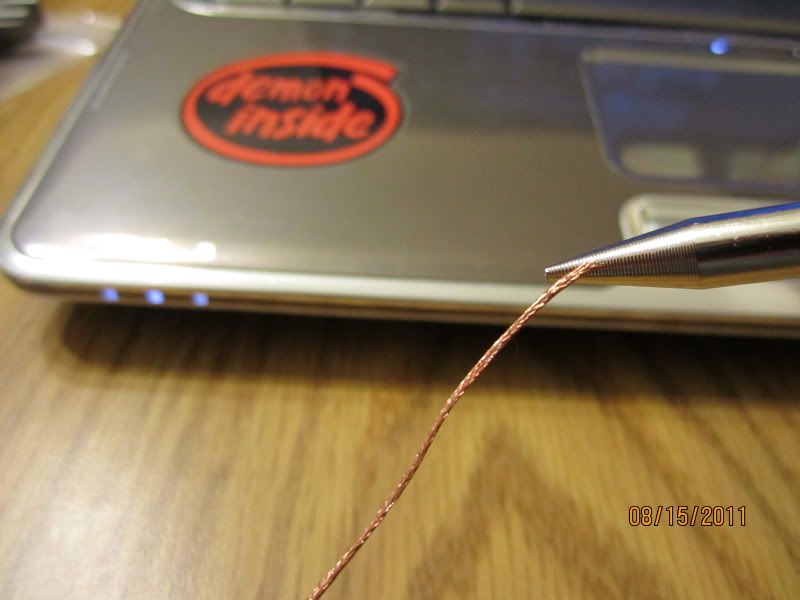
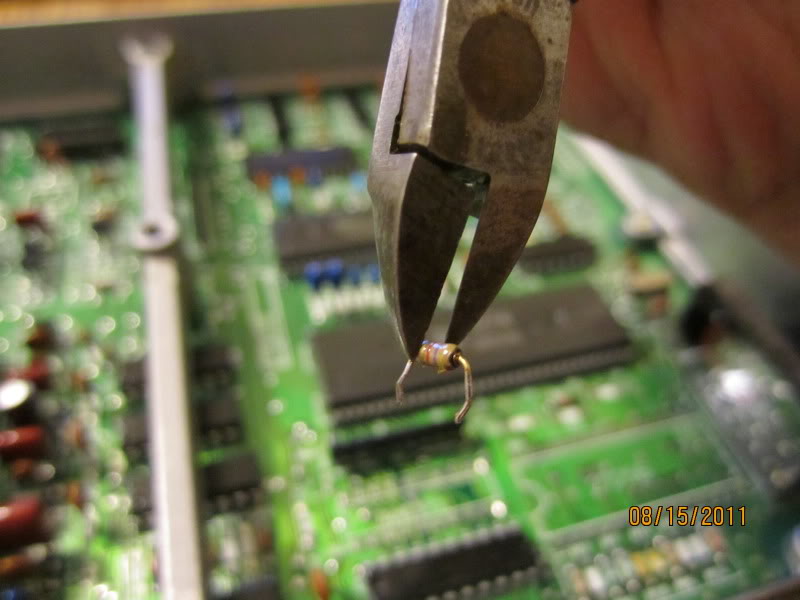
Now take your resistor and cut off one of the end wires to use for RP18:
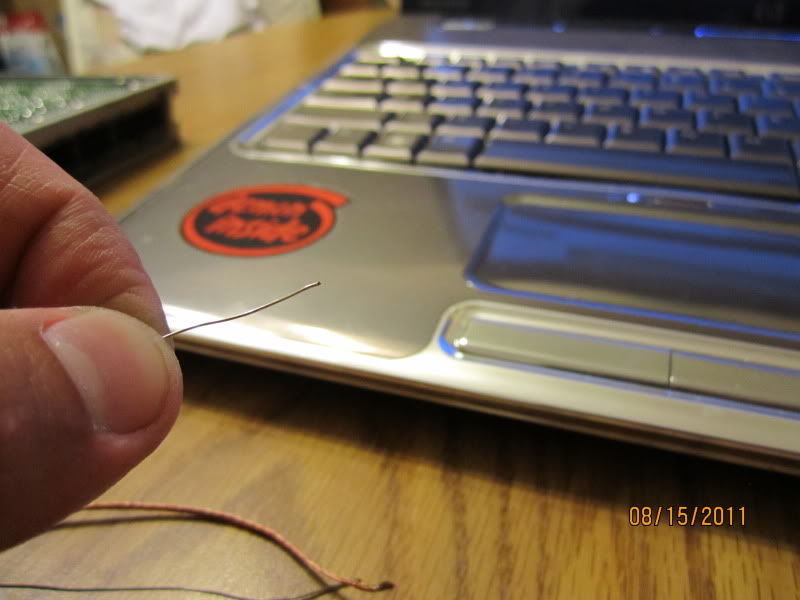
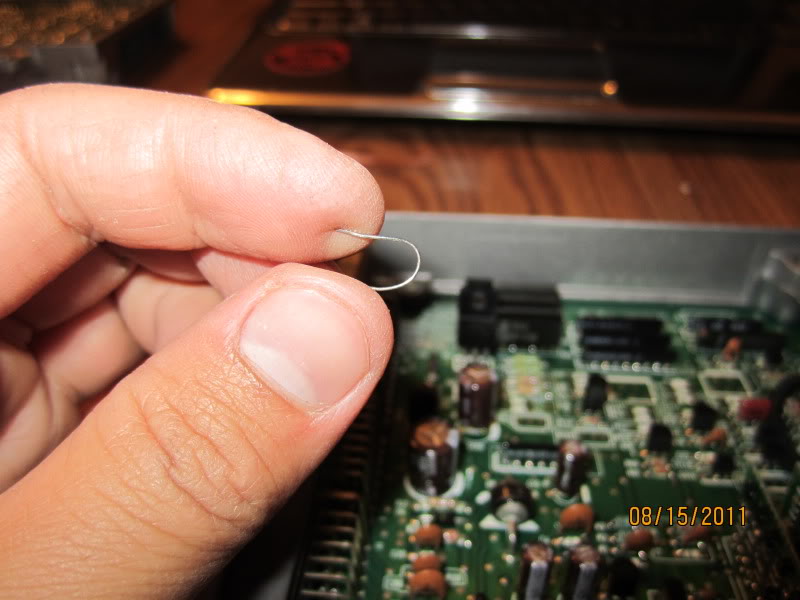
Take that piece and bend it into a U shape for easy insertion into the ecu "RP18":
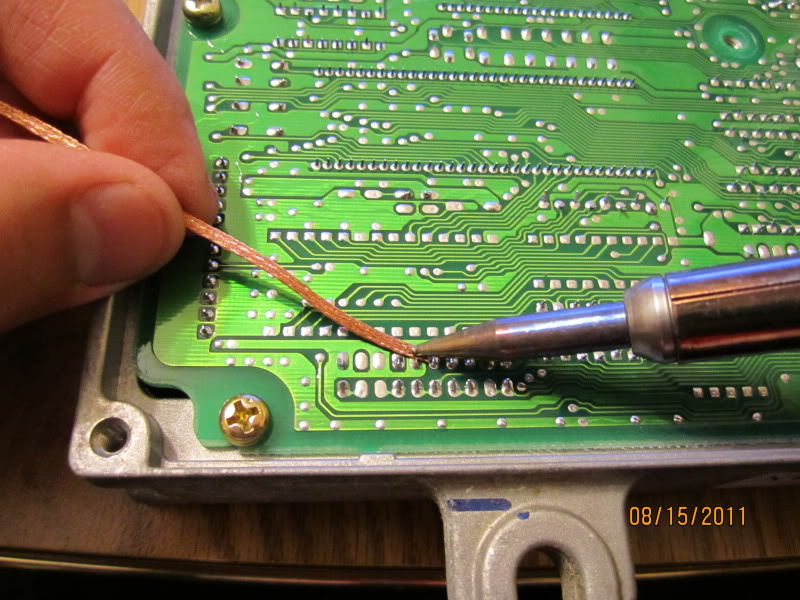
Once you have inserted it into RP18, turn the ecu over and bend the wires so that it stays in place. This also makes the soldering much easier:

Now solder it in. Should look like this:

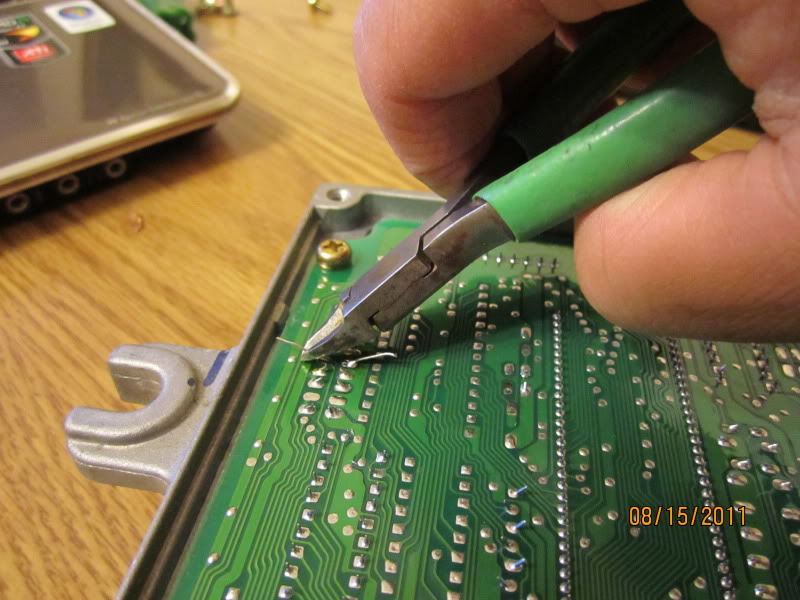
Then take your wire cutters and cut off the extra ends that are sticking out:
This is how it should look like once you do everything:
Once you are done make sure you double check to see that all soldering joints looks nice and clean. When you plug in the ecu into the car make the the battery is disconnected before doing so. I hope this will help out others who are in need of it. Goodluck!!!!!!!!!!!
List of things you need:
obd1 automatic ecu
Philips Screw driver
Soldering pin
desoldering braid
soldering wire
Wire cutter
Carb cleaner; The carb cleaner is used to clean off the clear coat that Honda used to protect the circuit boards. You can either use a tooth brush and brush off the clear coat before you start doing any sort of soldering or you can use it to clean it off afterwards. I however did not have any with me at the time so please forgive the sloppyness of the clear coat burns.
Any ohm resistor since you'll be cutting off the end pieces to use.
First and most simple get your ecu and take off both back and front covers:
On the front side locate RP17 and RP18:
Once you have located them turn it to the backside and get your soldering pin and desoldering wire. I usually like to heat up the desoldering braid to make things easier:
Again locating RP18 and RP17 on the back of the board start desoldering the resistors out. " You could either cut them out first and then desolder it or desolder it first and then pull them out" I however chose to desolder them both before pulling anything out.
This is how it should look like once you have desoldered it:
Do this to all the connecting spots in order to take the resistors out.
Now that you have desoldered all the connecting spots you should be able to pull them out easily with your wire cutters or pliers:
Now we will fill up the holes for RP17 "If you chose to cut the resistors out before desoldering than you can skip this step. Here is a pic of RP17 filled:
Now take your resistor and cut off one of the end wires to use for RP18:
Take that piece and bend it into a U shape for easy insertion into the ecu "RP18":
Once you have inserted it into RP18, turn the ecu over and bend the wires so that it stays in place. This also makes the soldering much easier:
Now solder it in. Should look like this:
Then take your wire cutters and cut off the extra ends that are sticking out:
This is how it should look like once you do everything:
Once you are done make sure you double check to see that all soldering joints looks nice and clean. When you plug in the ecu into the car make the the battery is disconnected before doing so. I hope this will help out others who are in need of it. Goodluck!!!!!!!!!!!
 08-17-2011, 07:30 AM
#2
Honda-Tech Member
Thanks a lot! This is great and it should be very helpful to everyone out there seeking help on this conversion.
two thumbs up to you man!
two thumbs up to you man!

Trending Topics
08-19-2011, 09:04 PM
#9
Honda-Tech Member
Join Date: Apr 2003
Location: Kona/V-town, HI
Posts: 2,776
Likes: 0
Received 0 Likes
on
0 Posts
its just a jumper needed for rp18
ive never cleaned the board before and just cleared away any solder after
i put the ecu between 2 books and just melted the back then pulled the resistor with a needle nose pliers, then if it wasnt clean enough, just sucked out the solder
but thats just me. good write up though
ive never cleaned the board before and just cleared away any solder after
i put the ecu between 2 books and just melted the back then pulled the resistor with a needle nose pliers, then if it wasnt clean enough, just sucked out the solder
but thats just me. good write up though
12-20-2012, 06:29 AM
#11
Honda-Tech Member
iTrader: (1)

Join Date: Nov 2002
Location: Normal, IL USA
Posts: 933
Likes: 0
Received 0 Likes
on
0 Posts
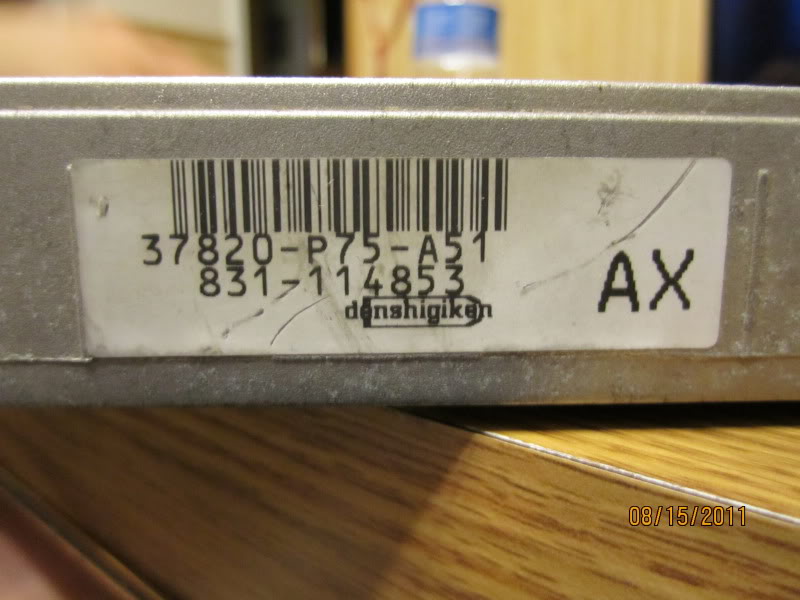
So I need some input. I am trying to verify if my ECU is auto or manual. It is a OBD1 PR3 from a JDM Integra XSI. The ECI # is 37820-PR3-J51, which decodes as an automatic from everything I have seen. However, there is NO resistor on RP17, and it looks like it came that way from the factory.


 10-13-2013, 09:12 AM
#15
Honda-Tech Member

Join Date: Jul 2012
Posts: 65
Likes: 0
Received 0 Likes
on
0 Posts
I have a question though, my ECU was chipped in the past and the guy who sold me it didn't know anything about it. It has the rp17 and rp18 resistors on the board, am I right to think if it has these resistors it was an auto ecu?
11-04-2013, 03:44 AM
#17
Honda-Tech Member
yes, if it has them then it is/was auto

 05-01-2014, 08:52 AM
#21
Trial User

Join Date: Sep 2011
Posts: 1
Likes: 0
Received 0 Likes
on
0 Posts
I kno this is an old thread but will this work for an OBD2B auto?? I jus converted my 2001 integra to manual and was wondering if this also applied to it as well. Help!!

Thread
Thread Starter
Forum
Replies
Last Post
Princeton'sFast
All Motor / Naturally Aspirated
2
12-11-2011 05:20 PM