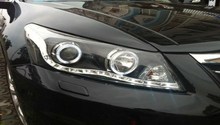
Honda Accord: Why Are My Headlights Dim?
Diagnose your dim headlights to shine a light on other possible automotive problems under the hood with this step-by-step guide.
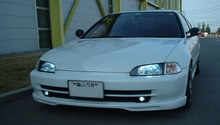
This article applies to the Honda Accord (1990-2002).
Dim headlights can occur for any number of reasons; however, in most cases the common culprit may be easier to fix than you might think. You don't need a lot of experience under the hood to determine why your headlights are not as bright as they used to be. Using a few simple troubleshooting guidelines and a handful of materials, you can diagnose and fix common headlight illumination problems in about an hour.

Materials Needed
- Replacement bulb
- Replacement fuse
- Cotton gloves, microfiber cloth or lint-free towel
- Ammonia-based cleaner
- Wire brush
- Fuse puller or tweezers
- Voltmeter (optional)
- Automotive battery
- Owner's manual
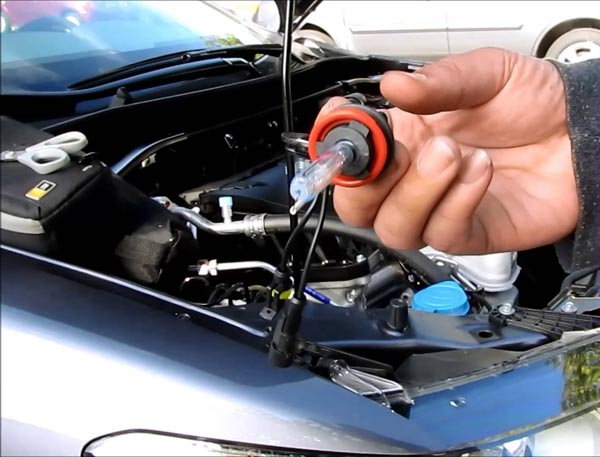
Step 1 – Inspect the bulb
It might be on its last leg. This an obvious first step, but an important one nonetheless. A large percentage of the time, the most common reason for dim headlights is the filament in the bulb has aged, and is causing a dark colored film to reduce visibility.
- Unseat the bulb by removing the retaining clips, fender well cover, and power connector.
- Visually inspect the glass for a gray or brown (or a combination of the two) film.
- If the film is present, replace the bulb.
- Twist the replacement bulb into the assembly by hand. Re-attach the power connector, fender well cover and retaining clips.
- The Honda Accord's headlight replacement bulbs are available through local auto parts stores for $20 or $25. Cheaper varieties are also available online.
Pro Tip
Be careful not to touch the replacement bulbs with your bare fingers. Use cotton gloves, a microfiber cloth, or lint-free towel to handle the bulb.
(Related Article: Headlight Bulbs Size Chart - Honda-Tech.com)
Step 2 – Restore brightness by cleaning the ground connection
Corrosion might be causing the headlights to dim. An external cleaning could be the fix you need to achieve optimum brightness.
- Clean the wiring harness using an ammonia-based cleaner or another product specially formulated to deoxidize undesirable elements on metal.
- Allow the cleaner to sit for several seconds, so surface corrosion can become dislodged.
- Lift away corrosion using a wire brush.
- Wipe excess cleaner from the harness shell using a lint-free towel.
- Allow the harness shell—including the pins and connectors—to dry completely.
(Related Article: How to Restore Your Headlights - Honda-Tech.com)
Step 3 – Check the fuse panel
The headlight fuse might be blown, which can cause the vehicle's headlights to dim. However, the cost and labor required to replace a blown fuse is minimal. Expect to pay just several dollars for a new automotive headlight fuse.
- Pop the hood to access the fuse box.
- Using your owner's manual, determine which fuse is the headlight fuse.
- Pull the headlight fuse using the fuse puller. If the fuse puller is missing from the fuse box, a pair of tweezers will also suffice.
- Check the metal link inside the fuse. If it is broken, the fuse is blown and needs to be replaced with a new fuse equal in amperage.

(Related Article: Fuse Box Diagram - Honda-Tech.com)
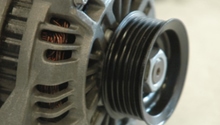
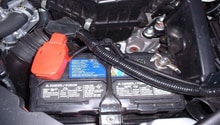
Step 4 – Check the battery
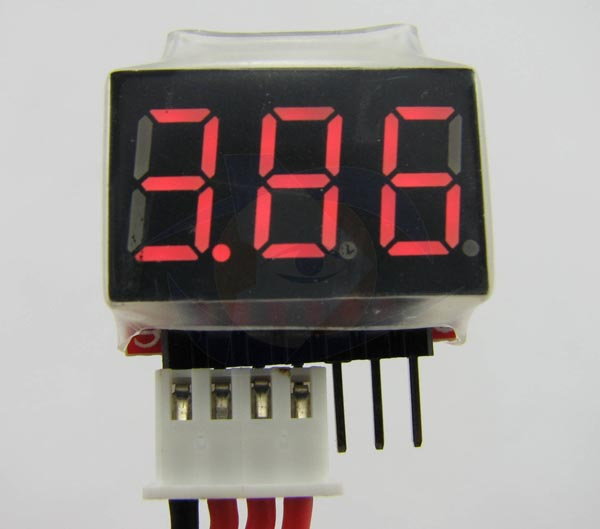
If the battery in your Honda Accord is more than four years old, it's a good idea to head to your local auto parts store to have it checked. If you own a voltmeter, test the battery yourself with this easy-to-operate device.
- With the engine off, check the voltage of the battery.
- Connect the positive voltmeter wire to the positive (red) side of the battery, and the negative voltmeter wire to the negative (black) side of the battery.
- The battery should read between 12.5 to 12.8 volts.
- Jump start the battery if a greater charge is needed.
- While the car is idling, the battery should achieve 13.5 to 14.5 volts.
- If the battery is unable to produce sufficient voltage, it will need to be replaced at a cost of around $120 (part only) to $225 (part and labor).
(Related Article: How to Replace Battery - Honda-Tech.com)
Related Discussions
- Accord Headlight Dim Problem - Honda-Tech.com
- My Accord Has One Dim Headlight - Honda-Tech.Com