Honda: How to Restore Your Headlights
Do your headlights have that hazy, foggy look? Find out what you can do to fix it.
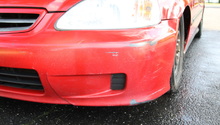
This article applies to the Honda Civic/Del Sol (1992-2000) and Honda Accord (1990-2002).
Clear headlights are a vital component of your car. So when they're foggy, you restrict the amount of light illuminating the road ahead and possibly endangering yourself and other drivers. Headlights turn foggy from too much UV ray exposure and contact with harsh chemicals. Thankfully, there are multiple ways you can restore them. Doing it yourself requires basic materials and a bit of effort. But if you don't want to break a sweat, you can also have it done at your local car wash or detailer.

Materials Needed
- Plastic polish and cleaner solution
- Latex gloves
- Microfiber cloth
- Foam applicator (optional)
- 600-1,000 grit sandpaper
- Spray bottle
- Water and soap
- Painter's tape
Step 1 – Tape the surrounding area
Use painter's tape to carefully mask the outer edge of the headlight. This will protect your paint from any excess or abrasive solution.

Step 2 – Spray headlights with water or soapy solution
Using the water bottle, thoroughly spray the headlights with water or a soapy solution. This will make sanding easier and less sloppy.

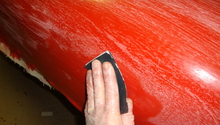
Step 3 – Begin sanding
With your lightest grit sandpaper, begin sanding the headlight in a side-to-side motion. Be sure to apply light and even pressure. You can move up to a higher grit if necessary. The lens may still look foggy after sanding, but the point of sanding is to remove any oxidation.
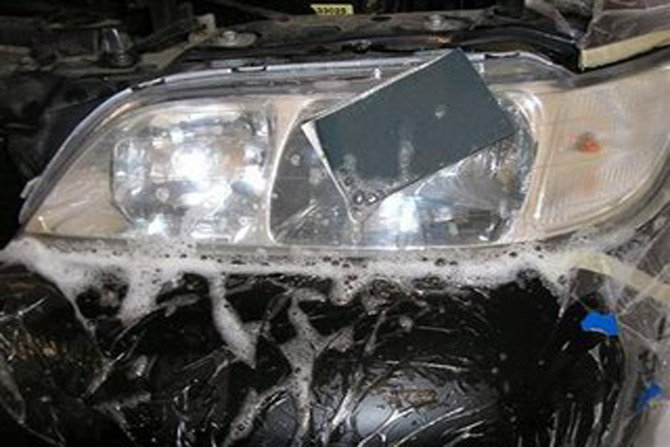
Figure 3. More water or soapy solution makes sanding easier. 
Figure 4. Always use a lower grit sandpaper first.
Step 4 – Polish the headlight lens
Apply a coat of the plastic polish solution to the headlight with a microfiber cloth. Then, using a clean portion of your cloth, polish the headlight in small, circular motions.
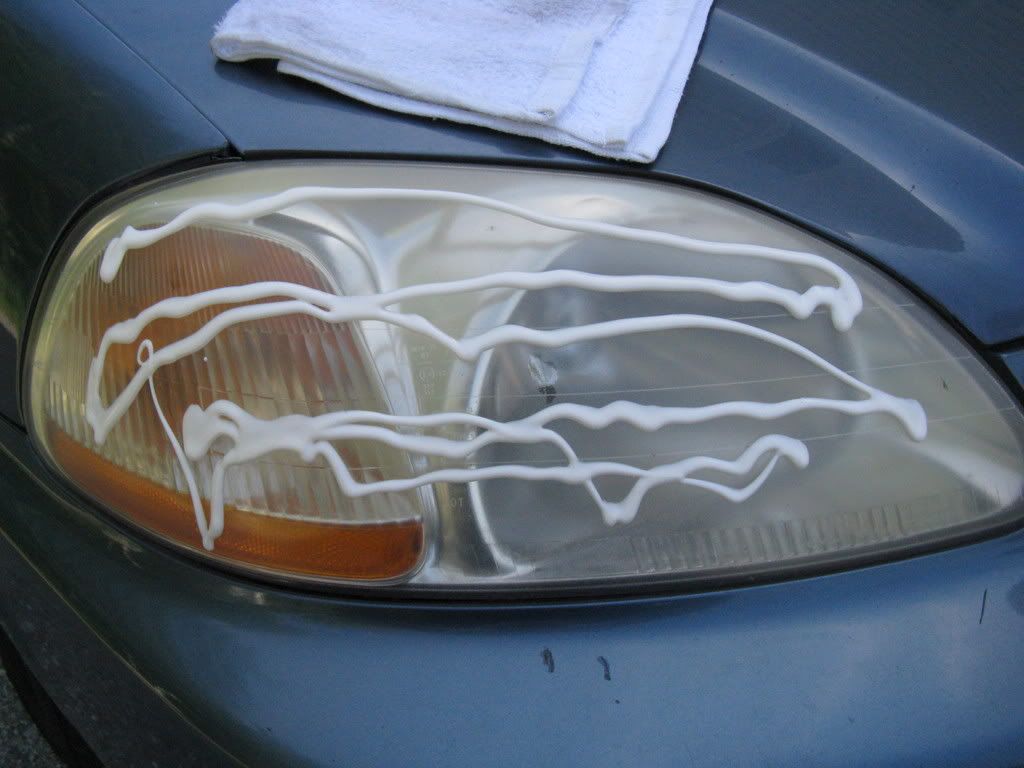
Figure 5. Apply plastic polish solution to the lens. 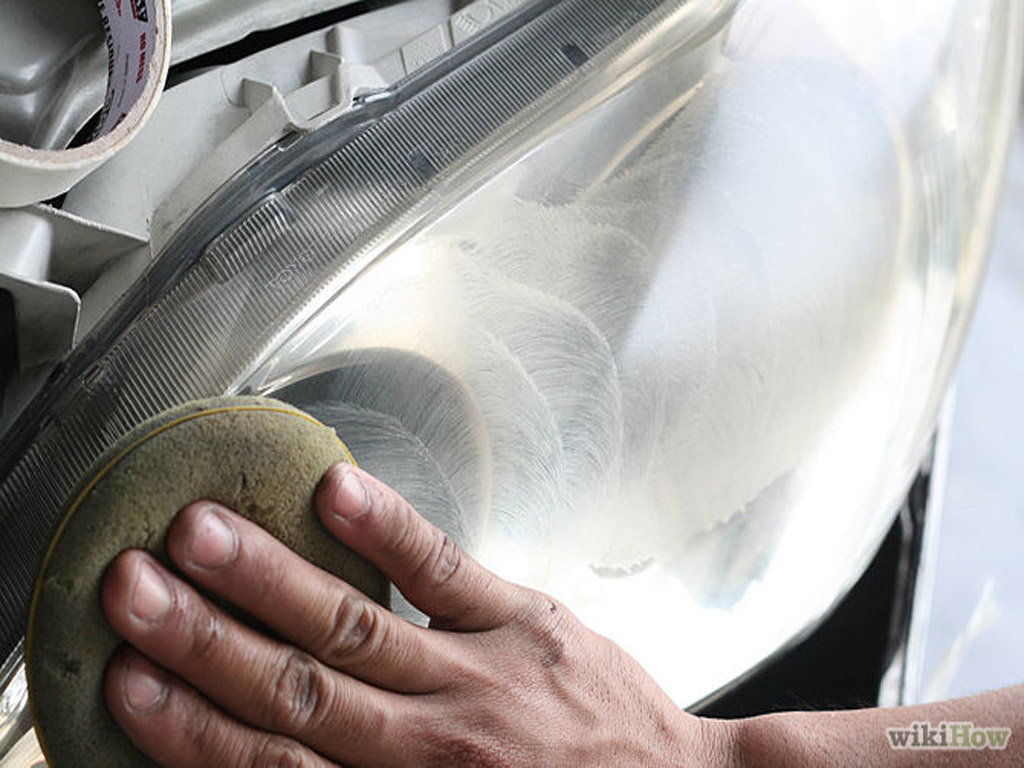
Figure 6. Polish the headlight in small, circular motions with a foam applicator microfiber cloth. 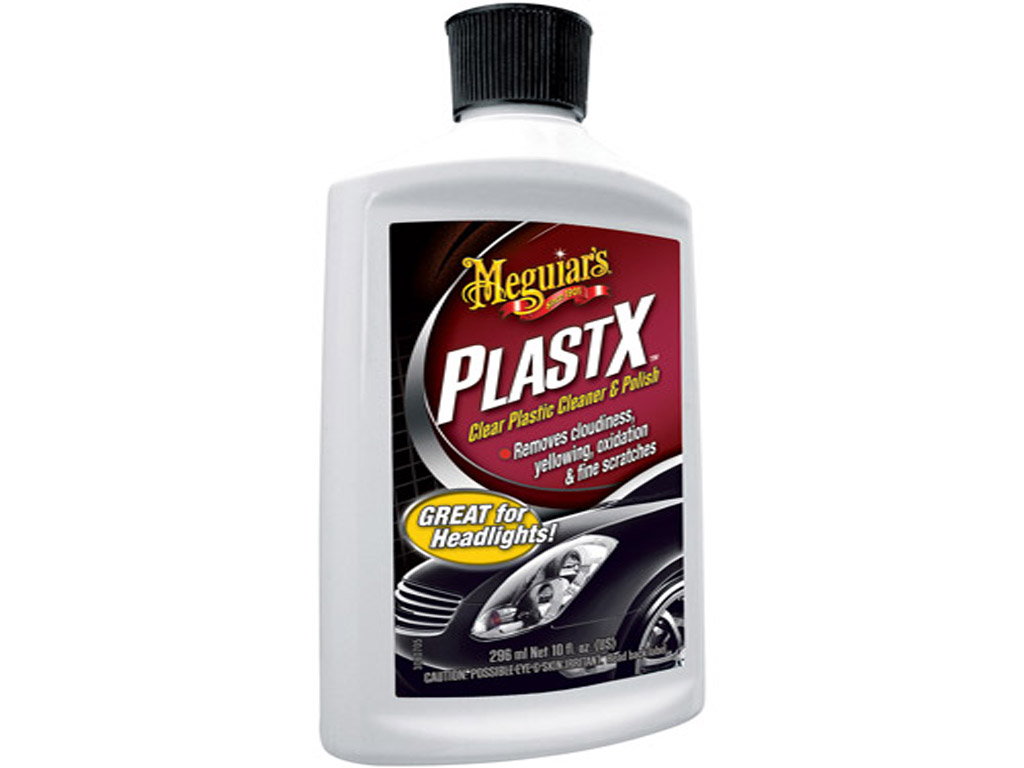
Figure 7. PlastX by Meguiar's is a popular plastic polish brand.
Step 5 – Apply the final coat
Remove the painter's tape and wipe off any excess polish with a new microfiber cloth. Apply one more coat of polish to act as a protective coating.

Related Discussion and Site
- Honda Headlight Restoration - Honda-tech.com
- Multiple Ways to Clean and Restore Headlights - WikiHow.com