Honda Accord: How to Install Halo Headlights
Halo headlights not only light up the road better at night, but they give your Accord a special one-off look. Read this guide to find out how install Halo headlights.
This article applies to the Honda Accord (1990-2002).
So you want to give your ride a cool new look? Well, look no further than aftermarket Halo headlights. Not only do they kick it up a notch on the looks department, but they turn heads wherever you go. While removing the old headlights to install the new ones is not a difficult task, quite a few parts have to come off, so it is labor intensive. If you prefer to relax and have it all taken care of, it is suggested going to a shop where they can take care of the work for you.

Materials Needed
- Trim pad remover
- Philips screwdriver
- 1/4" ratchet and extension
- 10 mm socket (deep socket optional)
Step 1 – Remove front bumper
To access the headlight housing assembly, it's necessary to remove the bumper and some undercarriage protection.
- Before beginning to remove the front bumper, you will need to disconnect the negative (black) terminal from the battery.
- Remove the two front clips, which are located above the grille.
- Remove the six clips that are underneath the front bumper.
- Remove the two 10 mm bolts located on each end of the bumper.
- Remove the two hidden 10 mm bolts located in the inner fender.
- Finally, gently tug on the bumper and it should come off easily.
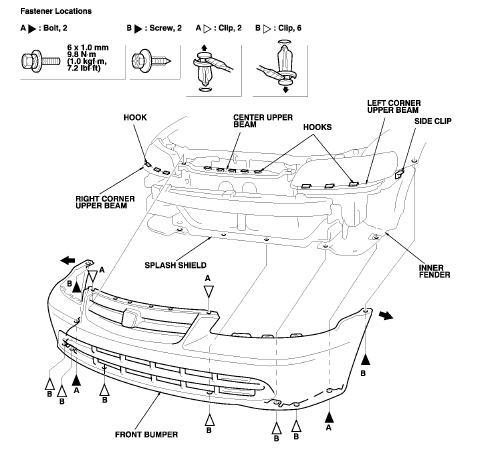
Figure 1. Diagram to remove the front bumper. 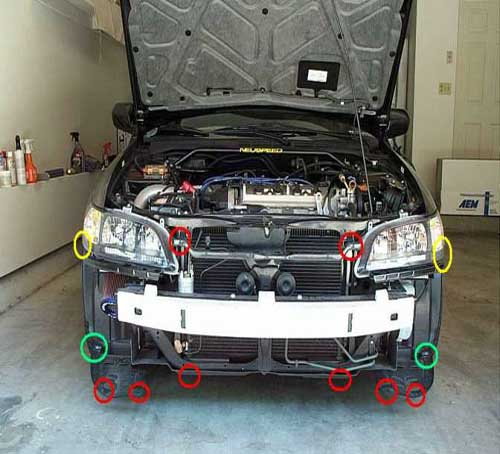
Figure 2. Location of fasteners securing the front bumper.
Step 2 – Remove headlights
Removing the stock headlights requires detaching a bracket and then unplugging the wiring harnesses.
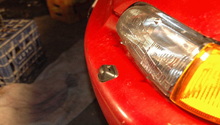
- First, undo three screws along the bracket, which are located behind and underneath the headlight's housing.
- Completely remove the bracket.
- Unplug the light bulbs' wiring harnesses.
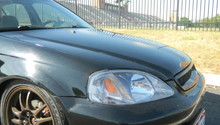
- Remove the three screws located around the headlight.
- Gently tug on the headlight to remove it.
- Unplug the wiring harness that powers the signal light.

Pro Tip
Be careful when handling the headlights. Also, do not damage the wiring harnesses or bulbs as they may be difficult to repair.
Step 3 – Plug in Halo headlights and reassemble
- Insert the harness with the attached bulb into the hub, and then bolt it in place.
- Secure the bracket underneath the headlight housing.
- Reassemble the front bumper in the reverse order of removal. Begin with the clips and bolts on top, followed by the lower ones.
- Reconnect the battery to make sure the headlights are working properly.

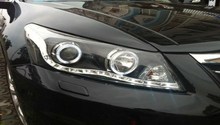
Figure 4. Plug in the harnesses and Halo headlights.
Pro Tip
If you have purchased a new headlight housing, be sure to remove the other bulbs and place them into the correct sockets of the new housing.
Featured Video: Honda Accord Headlight Installation
Related Discussion
- Projector Headlights Discussion - Honda-Tech.com