When you click on links to various merchants on this site and make a purchase, this can result in this site earning a commission. Affiliate programs and affiliations include, but are not limited to, the eBay Partner Network.
Does anyone have any hints about a good way to keep a nice tight fitup for tacking aluminum piecuts? I did a couple of sets today, and the only conclusion I came to about my technique was that I need another technique! Lol
You can just use tape on aluminum. Tape -> tack -> cool -> repeat. Try not to get the piece too hot though, as the tape adhesive makes a mess when it gets hot.
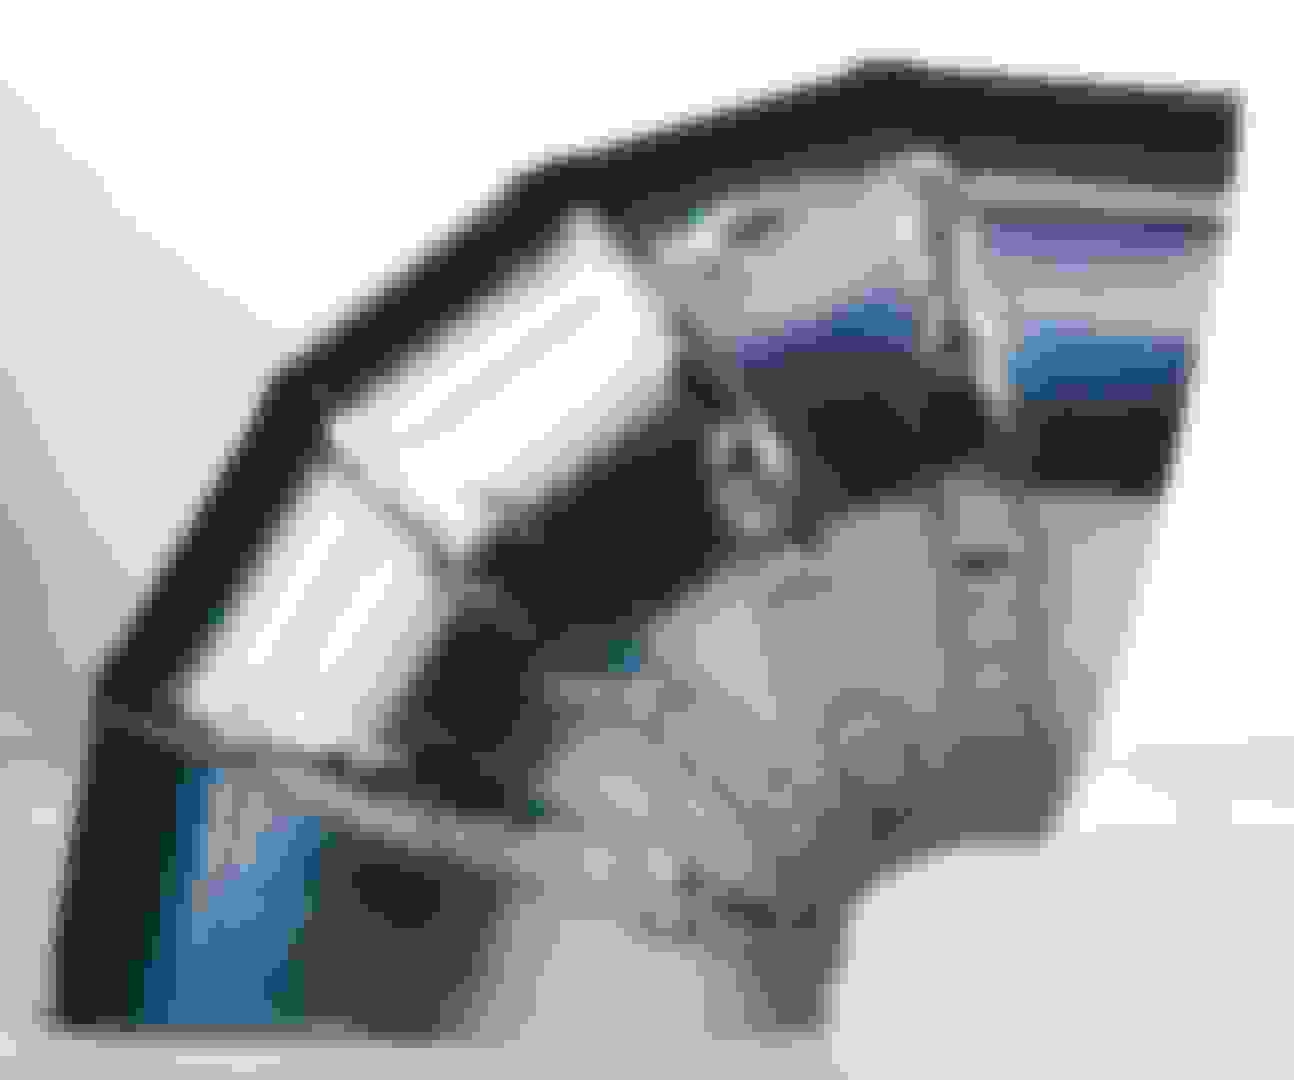
Yesterday's practice/attempt. It will serve the purpose it needs to, but hopefully there's better to be done in the future. This was with a 7.5* cut angle, and with just over a 1/8th inch inner width. Tricky to weld those thin pieces!
If your joints fit tight enough, you can get an autogenous tack on it. You will need to sure it up from there as they crack easily if you're not careful.
Thanks! I did get some autogenous tacks, but many of them cracked as you said. For me it seemed like I needed filler if I wanted a decent chance of having my tacks hold. I'm heading out to Menards to look for some little clamps and whatnot.
Just a quick note on this topic: Since the autogenous tacks really liked to crack on me quite frequently and I kept cooking the tape when I tried that, I went around and picked up some clamps where ever I saw something that I thought might come in handy. The one that really worked out very nicely is this sort of clamp I got at Menards:
Then I took about a week off from working on the actual car project, and just tried to get decent at welding. The last piece I produced looks acceptable for use to me, but now I'm motivated to try and get good enough to make pretty welds. Lol...
During the welding of this last piece (that I am going to use on the compressor outlet--gotta get back to work on the car!), I realized that I could keep a REALLY tidy little bead if I got some filler even smaller than the 1/16" I was using. I picked up some 1.2mm 4043 mig wire that looks promising, but I haven't tried it yet. Anyway, here is where I got to:
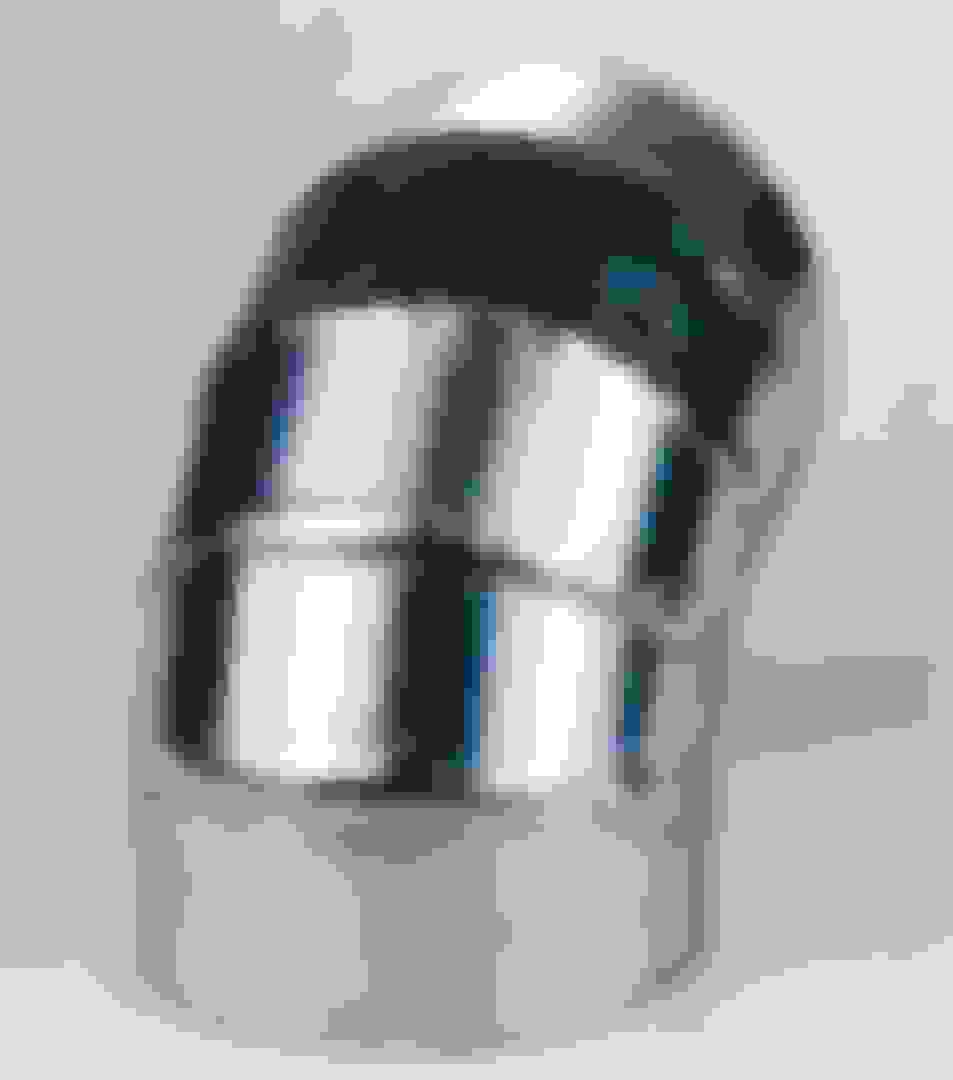
I managed to let the buffing wheel grab this piece and fling it into the wall. Damaged on all sides, but I'm going to use it... Lol
We use 4x4 angle, cut length 4". Turn on it's side and assemble the pie cuts into the 90 degree channel. Assuming you have a good fit they won't move and you know you are hitting 90 degrees.
We use 4x4 angle, cut length 4". Turn on it's side and assemble the pie cuts into the 90 degree channel. Assuming you have a good fit they won't move and you know you are hitting 90 degrees.
Thank you for this!
Up to what diameter tube are you able to cut so that it fits into the 4x4 angle for tacking? And what is your normal angle of cut if you have one?
We were building 3" sections, but it would probably accommodate all the way up to 4" though...
The angle varies by the target radius and the number of sections desired, but the most common I've seen is 6 sections at 15 degrees which gets you near a 1D bend.
Originally Posted by Tjabo
Thank you for this!
Up to what diameter tube are you able to cut so that it fits into the 4x4 angle for tacking? And what is your normal angle of cut if you have one?
We use 4x4 angle, cut length 4". Turn on it's side and assemble the pie cuts into the 90 degree channel. Assuming you have a good fit they won't move and you know you are hitting 90 degrees.
You got a picture of what you are explaining? I got an idea .
The angle varies by the target radius and the number of sections desired, but the most common I've seen is 6 sections at 15 degrees which gets you near a 1D bend.
Sorry, that I'm not sure I am envisioning this correctly, but are you saying that each piece has a total angle on it of 15 degrees, so the angle of each cut is 7.5 degrees? I think that makes mathematical sense???
Me? I kind of doubt you'd be asking me about that abomination I posted pictures of, but I don't see who else you'd be asking...
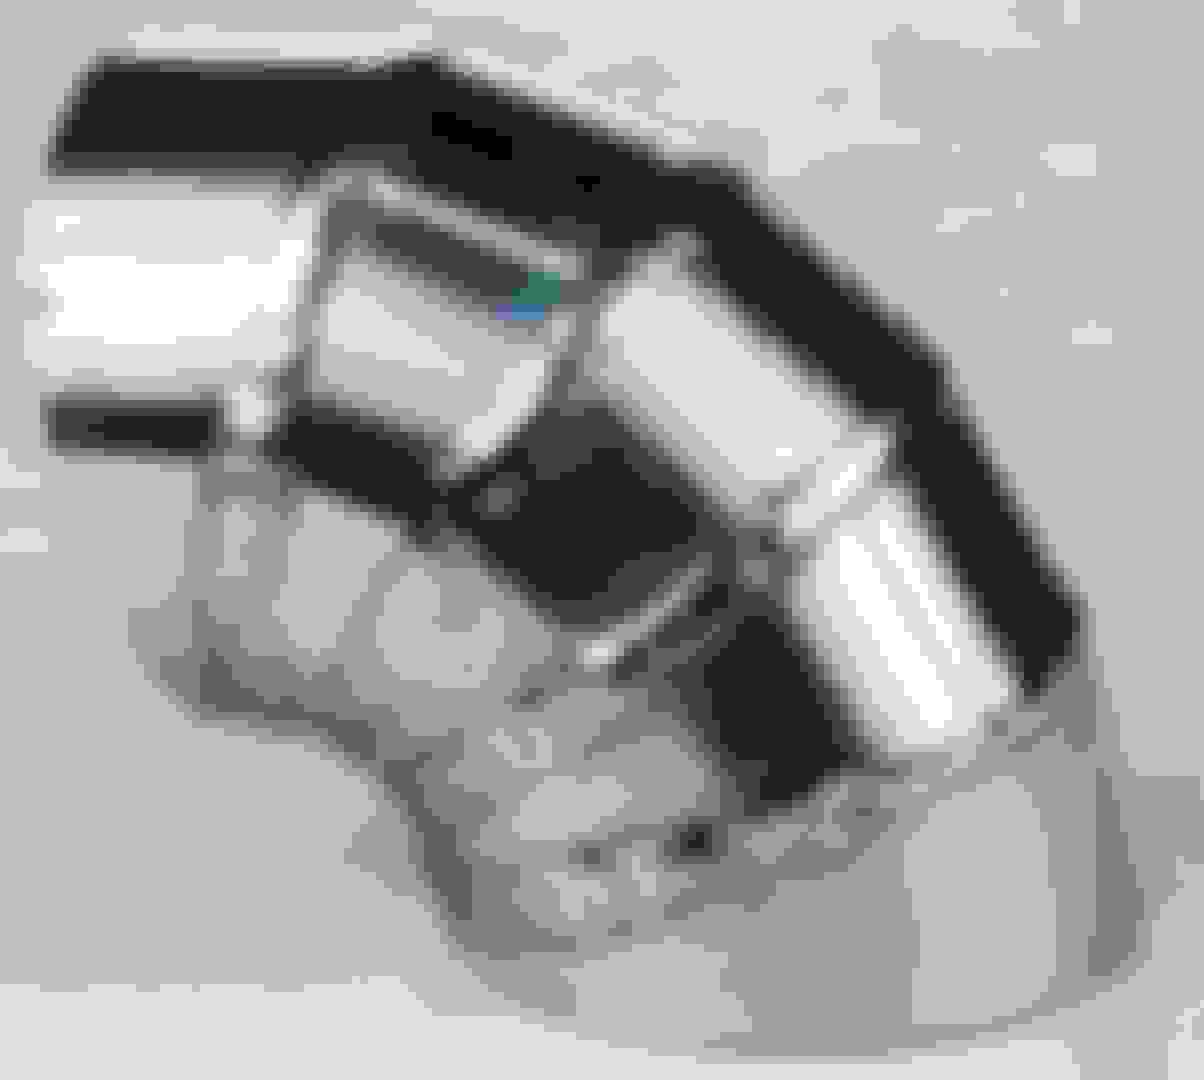
So anyway, I got a 6" buffing wheel from Menards for my 6" bench grinder, and a buffing wheel compound stick there that I used on it. I think I ended up using some stainless toothbrush action on the etching areas before buffing because it looked like it would take forever to deal with those areas with buffing wheel alone.
After I took the pictures, I used an old regular toothbrush to get some more of the buffing compound out of the nooks an crannies, and it ended up looking a little better. If anyone has suggestions about how to shine stuff like this up better than I did, I am all ears.