

my turbo del sol build thread and other stuff - with lots o pics

Thread Starter
Honda-Tech Member
Joined: Apr 2009
Posts: 205
Likes: 0
From: rochester, new york
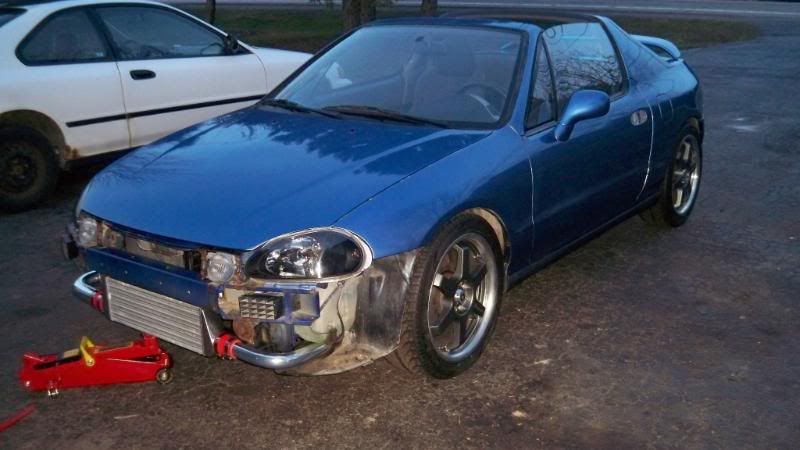
hey ht this is my first build thread. I got lucky with her, the previous owner replaced the rear quarter panels and rust with sheet metal with new paint. Im gonna put the eagle/vitara set up in it and hopefully get more than 300whp.
Mods left to do:
ls meshie wheels
3" electric cut out
professional tune
maybe weld diff
---------------------------------------------------------------------------------------------------------------------------------------
she came with a low mileage d16z6, eibach spings, tokeco struts, ebay head lights and some large rims


engine bay as I got it


couldnt get that b!tch pin out


haha first oil change since I got her


head work with 71k miles on it


yay the walls look pretty good, still has the crosshatch on them


head and valve cover, looks dirty hmm maybe I should paint it

Mods left to do:
ls meshie wheels
3" electric cut out
professional tune
maybe weld diff
---------------------------------------------------------------------------------------------------------------------------------------
she came with a low mileage d16z6, eibach spings, tokeco struts, ebay head lights and some large rims
engine bay as I got it
couldnt get that b!tch pin out
haha first oil change since I got her
head work with 71k miles on it
yay the walls look pretty good, still has the crosshatch on them
head and valve cover, looks dirty hmm maybe I should paint it
Last edited by xide_12; Feb 21, 2012 at 08:18 AM.
Thread Starter
Honda-Tech Member
Joined: Apr 2009
Posts: 205
Likes: 0
From: rochester, new york
cleaned up and sanded a bit

3 coats later ready for the oven
I pt chapstick on the lettering, it worked perfect

all done, I didnt put enough paint on the left side Im going to paint it again eventually


engine mounts ready to be painted

rattle canned


degreased and power washed the runners

cleaned up and painted a bunch of parts


notched the block, the dremel didnt fit very well

got the block hot tanked, ended up being $81


engine enamel, good for 500F

ready for reassembly

3 coats later ready for the oven
I pt chapstick on the lettering, it worked perfect
all done, I didnt put enough paint on the left side
Im going to paint it again eventuallyengine mounts ready to be painted
rattle canned
degreased and power washed the runners
cleaned up and painted a bunch of parts
notched the block, the dremel didnt fit very well
got the block hot tanked, ended up being $81
engine enamel, good for 500F
ready for reassembly
Last edited by xide_12; Apr 10, 2010 at 12:37 PM.
Thread Starter
Honda-Tech Member
Joined: Apr 2009
Posts: 205
Likes: 0
From: rochester, new york
yay presents! :D
eagle rods
ycp 75mm vitaras
hasting rings
arp head studs
and a fresh gasket set


putting them together

lookin good, coated with oil to stop any rust
oh and those jewler pliers are awesome for the wrist pin clips

in the block pointed towards the timing belt, I think it might be better the other way though, oh well I like the diesel sound

p2w clearances are all good to go

putting the crankshaft in


valve lash with the head off was sooo easy
I want them on the tighter side so they open up more and breath better
0.007" on the intake side
0.009" on the exhaust


grinding the cap for the arp rod bolts

all clean with purple power

brand new main seal all oiled up


thats right, one cam

waterpump


head back on with ARPs

HORRIBLE IDEA
mine werent leaking, I replaced them just because I had them. I split a 2x4 hammering these in because I dont have a press

It would look way better if I painted the head but I didnt have time, I will paint it next time the head is off

tensioning the alternator belt

breather box and water pump tube thing on

eagle rods
ycp 75mm vitaras
hasting rings
arp head studs
and a fresh gasket set
putting them together
lookin good, coated with oil to stop any rust
oh and those jewler pliers are awesome for the wrist pin clips
in the block pointed towards the timing belt, I think it might be better the other way though, oh well I like the diesel sound
p2w clearances are all good to go
putting the crankshaft in
valve lash with the head off was sooo easy
I want them on the tighter side so they open up more and breath better
0.007" on the intake side
0.009" on the exhaust
grinding the cap for the arp rod bolts
all clean with purple power
brand new main seal all oiled up
thats right, one cam
waterpump
head back on with ARPs
HORRIBLE IDEA
mine werent leaking, I replaced them just because I had them. I split a 2x4 hammering these in because I dont have a press
It would look way better if I painted the head
but I didnt have time, I will paint it next time the head is offtensioning the alternator belt
breather box and water pump tube thing on
Last edited by xide_12; Apr 10, 2010 at 12:41 PM.
Thread Starter
Honda-Tech Member
Joined: Apr 2009
Posts: 205
Likes: 0
From: rochester, new york
that power steering is problly gonna come off sometime

almost done

VTEC

looks dirty


looks better

ACT HDSS clutch and pressure plate
clutch pedal is soo stiff!


tranny on

putting it back in!

axels in


REALLY should have put the wire harness on and intake on first


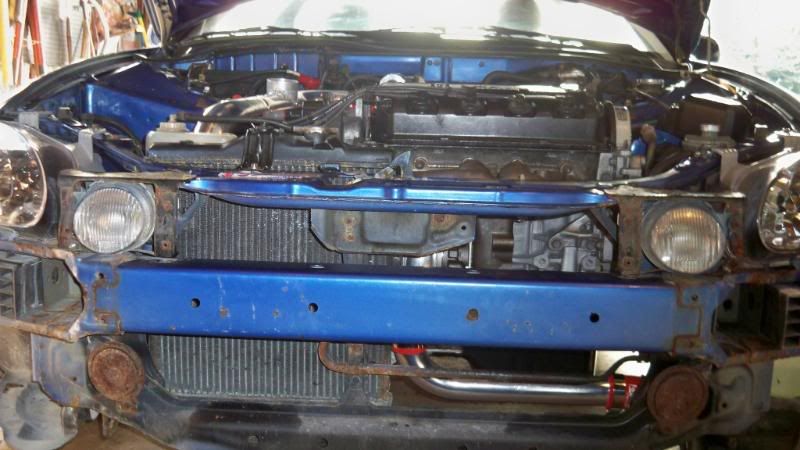
going to upgrade to either civic full size or aluminium

sold the exhaust manifold later

small wire tuck

almost done
VTEC
looks dirty
looks better
ACT HDSS clutch and pressure plate
clutch pedal is soo stiff!
tranny on
putting it back in!
axels in
REALLY should have put the wire harness on and intake on first
going to upgrade to either civic full size or aluminium
sold the exhaust manifold later
small wire tuck
Last edited by xide_12; Mar 26, 2010 at 03:53 PM.

Trending Topics

Honda-Tech Member
Joined: Apr 2008
Posts: 8,958
Likes: 0
From: In The Sticks, PA, America
everything's looking good so far but how come you put the pistons in back wards and didnt change it?? i dont know a LOT about vitaras, but i know they're to face away from the timing belt, unlike all other pistons...not hating, just curious why you didn't change them...


Thread Starter
Honda-Tech Member
Joined: Apr 2009
Posts: 205
Likes: 0
From: rochester, new york
haha thanks guys
I might take the head off and paint it before its all done, when I throw a zex 59300 cam in it.
I read a biased thread on about pointing them that way so I aimed them towards the timing belt, and i later found out it was better the other way, but the engine was already in so oh well. Apparently it sounds more rugged like a diesel engine this way tho.
Nice so far. Really should've painted the head...
everything's looking good so far but how come you put the pistons in back wards and didnt change it?? i dont know a LOT about vitaras, but i know they're to face away from the timing belt, unlike all other pistons...not hating, just curious why you didn't change them...
Thread Starter
Honda-Tech Member
Joined: Apr 2009
Posts: 205
Likes: 0
From: rochester, new york
yay more presents lets see what we got here.
oh dont hate about the ebay crap, Im poor and in college so yea..
Ill be putting an oil restricter, and and let it cool down after each use, so it should last a while.
50 trim
I went with a smaller turbo because I almost never take it to redline, and I want a quicker spool. Hopefully I'll get full boost around 3500 to 4k and the zex cam should cut off a couple hundred rpms IIRC.

came pre-tapped for the waste gate boost source

no play in it at all

and a cast manifold so it wont crack. I tried to get the shortest runners for the quicker spool


anti-seized the studs


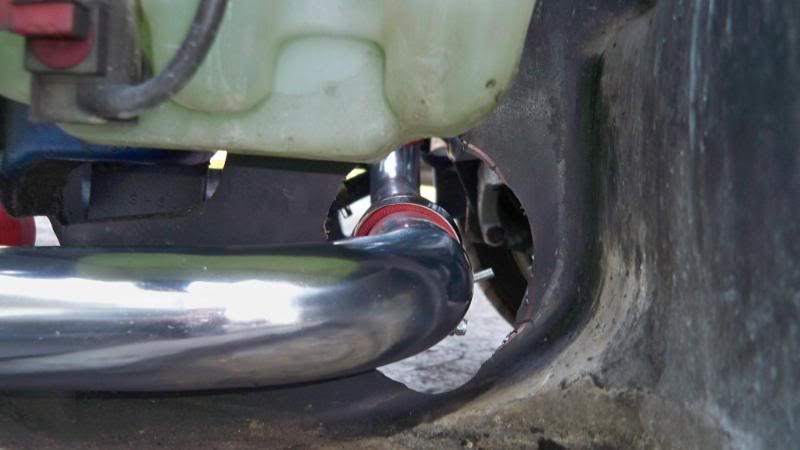
damn looks like I need a steel braided clutch line so I can squeeze a filter on there

and some charge pipes


Ill have an update very soon with the intercooler, more piping, and a dsm injectors installation
oh dont hate about the ebay crap, Im poor and in college so yea..
Ill be putting an oil restricter, and and let it cool down after each use, so it should last a while.
50 trim
I went with a smaller turbo because I almost never take it to redline, and I want a quicker spool. Hopefully I'll get full boost around 3500 to 4k and the zex cam should cut off a couple hundred rpms IIRC.
came pre-tapped for the waste gate boost source
no play in it at all
and a cast manifold so it wont crack. I tried to get the shortest runners for the quicker spool
anti-seized the studs
damn looks like I need a steel braided clutch line so I can squeeze a filter on there
and some charge pipes
Ill have an update very soon with the intercooler, more piping, and a dsm injectors installation
Last edited by xide_12; Apr 10, 2010 at 12:54 PM.
Honda-Tech Member
Joined: Apr 2008
Posts: 8,958
Likes: 0
From: In The Sticks, PA, America
haha thanks guys I read a biased thread on about pointing them that way so I aimed them towards the timing belt, and i later found out it was better the other way, but the engine was already in so oh well. Apparently it sounds more rugged like a diesel engine this way tho.
I read a biased thread on about pointing them that way so I aimed them towards the timing belt, and i later found out it was better the other way, but the engine was already in so oh well. Apparently it sounds more rugged like a diesel engine this way tho.thats the key. guys on d-series.org have been having really good success with ebay setups lately
Thread Starter
Honda-Tech Member
Joined: Apr 2009
Posts: 205
Likes: 0
From: rochester, new york
for $81 bucks you block didnt get to clean from the hot tank
and theres like no car community around here, so the like no machine shops
Thread Starter
Honda-Tech Member
Joined: Apr 2009
Posts: 205
Likes: 0
From: rochester, new york
Quote:
Originally Posted by xide_12 View Post
yay more presents lets see what we got here.
oh dont hate about the ebay crap, Im poor and in college so yea..
Ill be putting an oil restricter, and and let it cool down after use, so it should last a while.
thats the key. guys on d-series.org have been having really good success with ebay setups lately
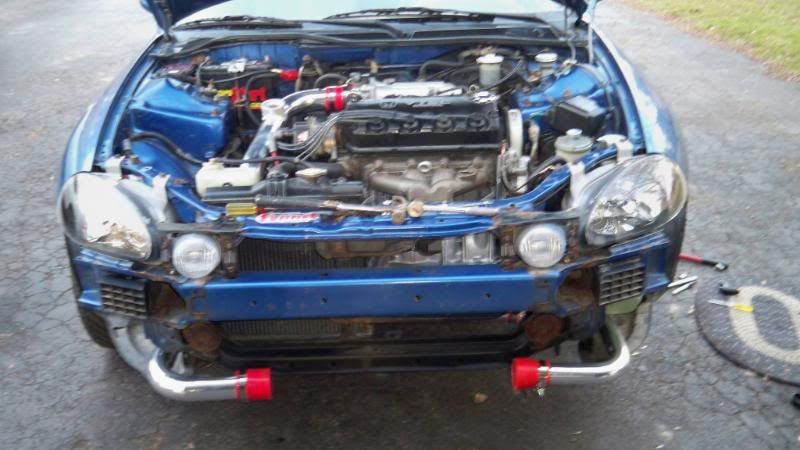
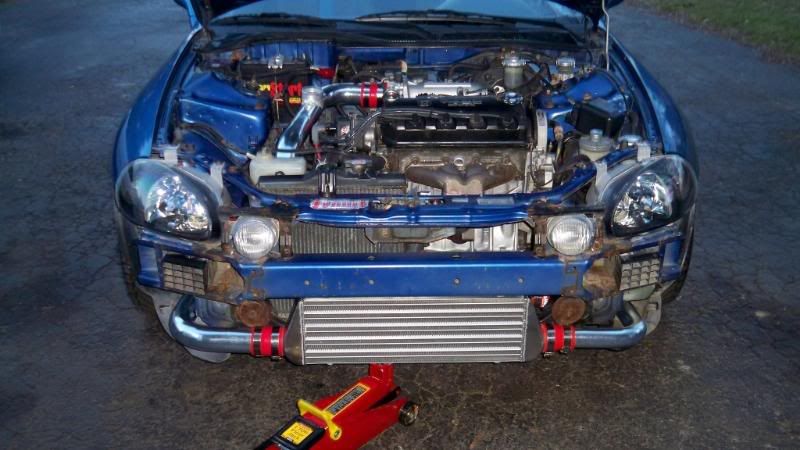
intercooler time
lol I butchered that hole
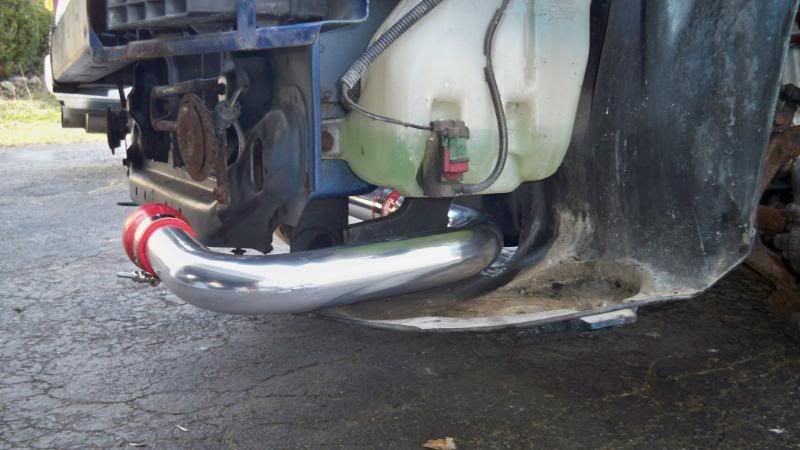
damn I need a welder
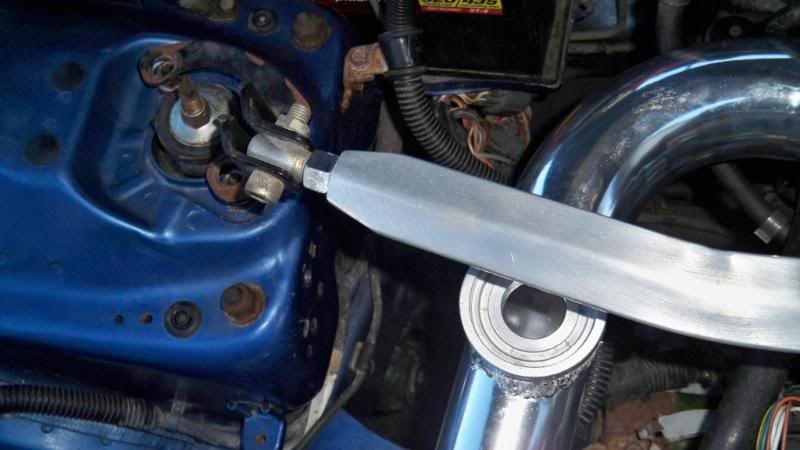
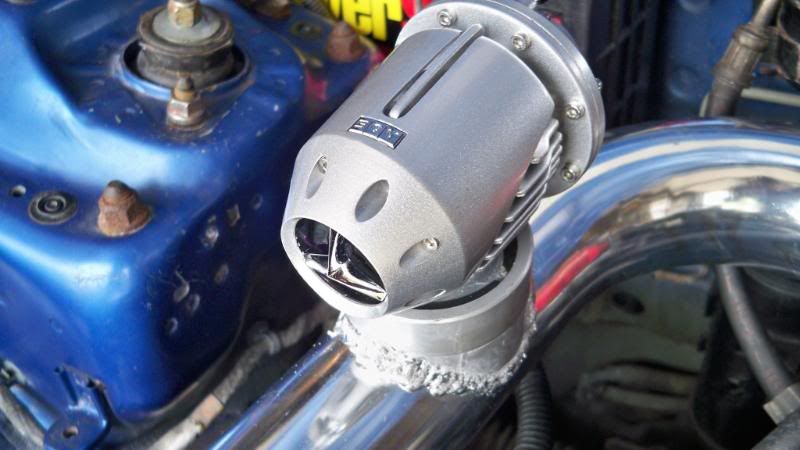
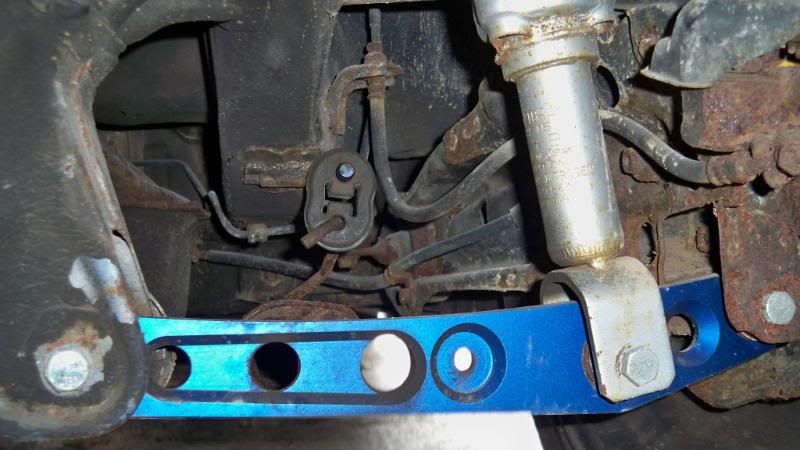
bov hits the tower bar
Thread Starter
Honda-Tech Member
Joined: Apr 2009
Posts: 205
Likes: 0
From: rochester, new york
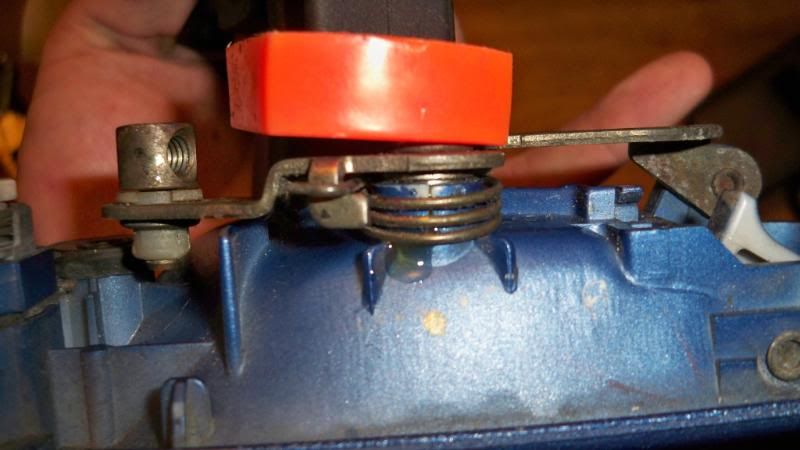
so you'll never believe what happened, my diver side door handle broke, that never happens!
I got a spare at the junk yard but its not painted so Ill just glue it

I put the spring on loosely then gorilla glued it and clamped it over night.
next morning I shaved the excess glue off the spring with a razer and put the spring in the right position
And it works great!
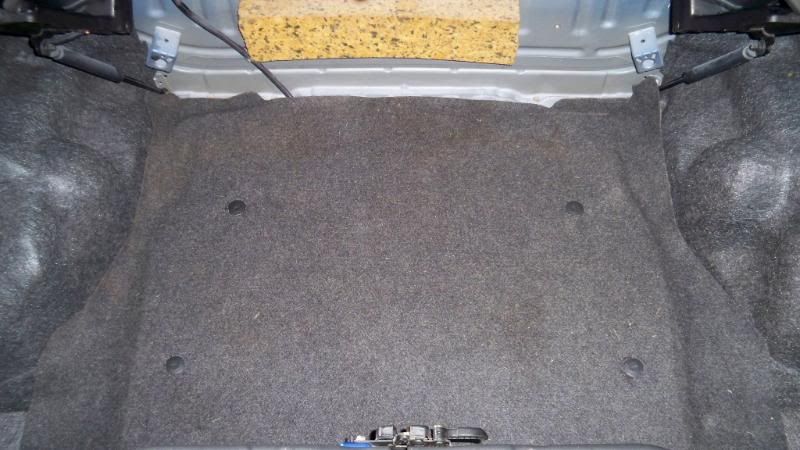
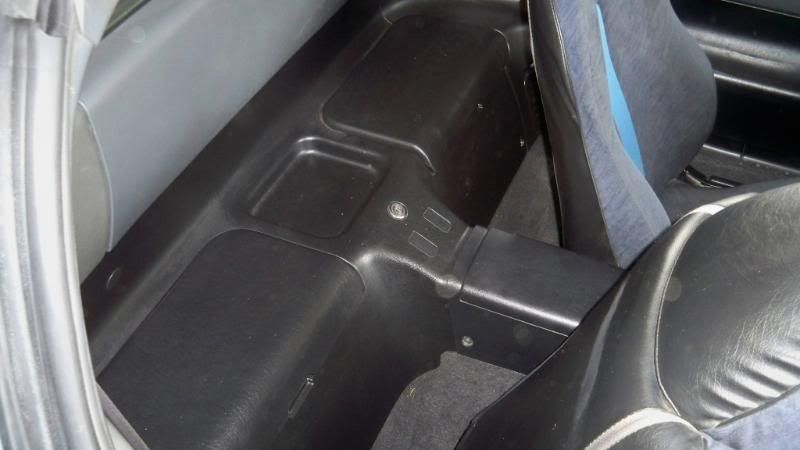
when I got the car, the trunk floor was complete garbage
I got a flat plane of wood from home depot for like $11 traced the old flooring on it
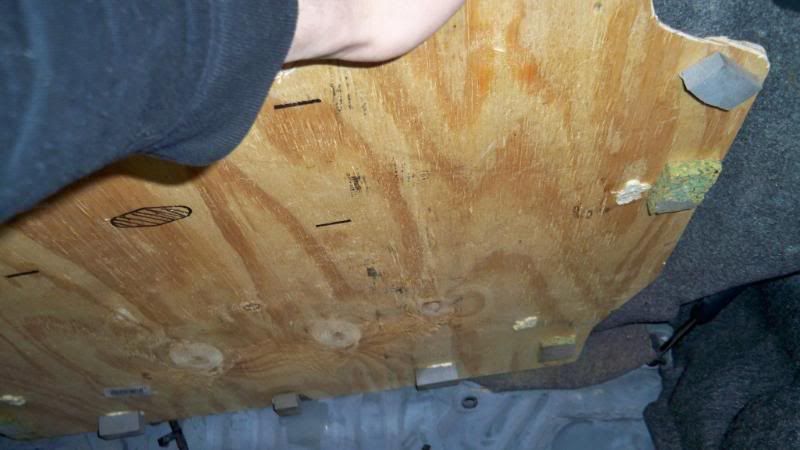
Its so nice, I can sit on my trunk floor and it barely bends
oh yea and a cheap ebay bov cuz Im poor
horrendous weld
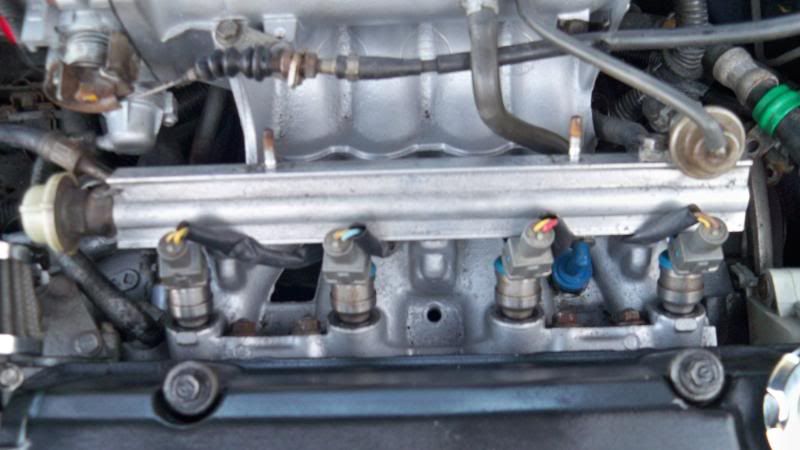
got these guys for $40 on craigslist
450cc blue top DSM injectors

for the resistor box Im going to solder in these resistors from radio shack for $4 then $3 for the shrink tubing.
the resistors are 10 watt 10 ohms

stock ones on the left vs DSM on right

the little clip you have to shave off on the left vs untouched on the right

the end clip you have to find, its not plugged into anything
cut back the wrapping about 10"

bam

well I forgot to take more pics , oops
but theres 8 wires aranged like this:
OOOO
xOOO
the X one cuts back away from the other 7 wires, so you want to solder in the resistors the the top 4 wires. In case you dont have a multimeter.
then heat gun the shrink tube and tape it all up, make it look nice
tucked the injector wires
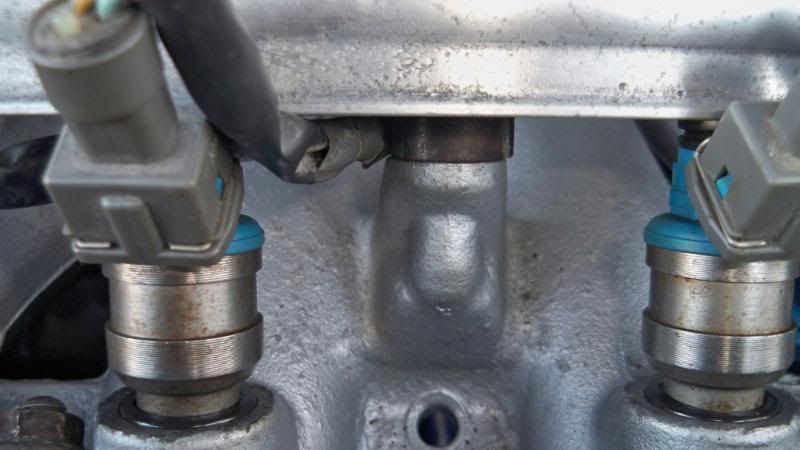
I dremeled out the inside of the lower injector seals to 15.5mm, the DSM are 16mm in diameter
just one problem, I cant fit the injectors in any further than this. the insulators are stopping them from going in further, do I have to thin those out too?
well thats about as far as I am for now. Ill update soon, hopefully.
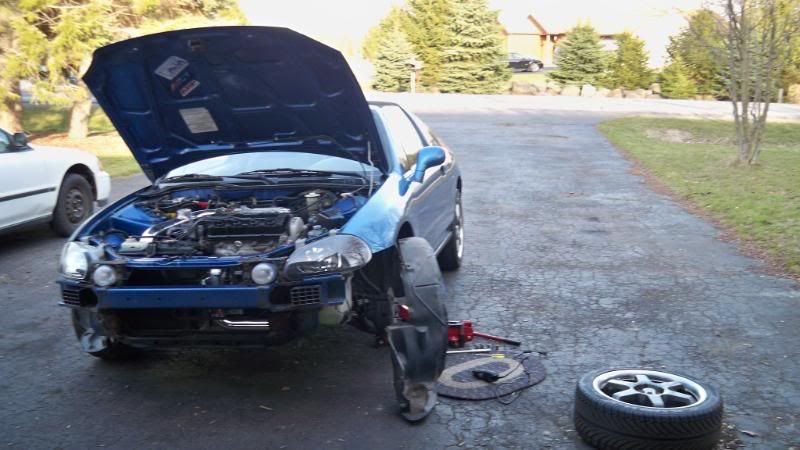
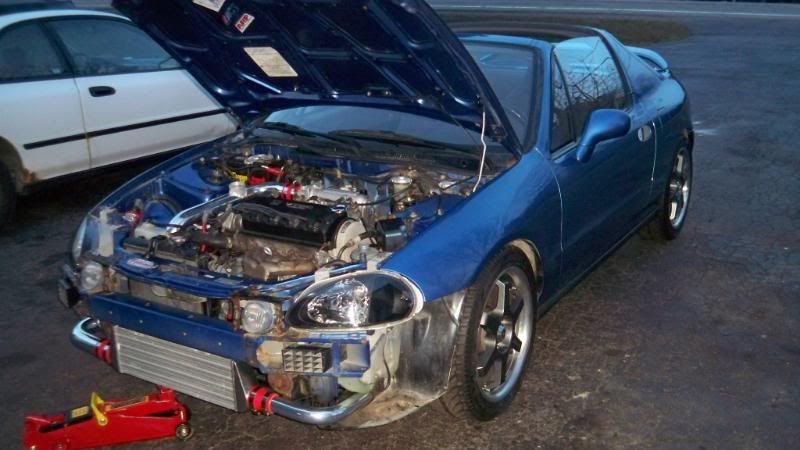
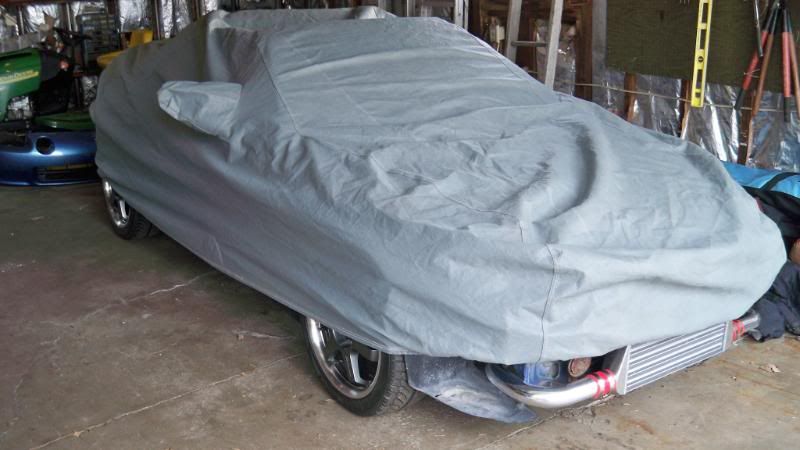
as she sits
haha oh yea this is my moms old miata cover, it fits almost perfect
I got a spare at the junk yard but its not painted so Ill just glue it
I put the spring on loosely then gorilla glued it and clamped it over night.
next morning I shaved the excess glue off the spring with a razer and put the spring in the right position
And it works great!
when I got the car, the trunk floor was complete garbage
I got a flat plane of wood from home depot for like $11 traced the old flooring on it
Its so nice, I can sit on my trunk floor and it barely bends
oh yea and a cheap ebay bov cuz Im poor
horrendous weld
got these guys for $40 on craigslist
450cc blue top DSM injectors
for the resistor box Im going to solder in these resistors from radio shack for $4 then $3 for the shrink tubing.
the resistors are 10 watt 10 ohms
stock ones on the left vs DSM on right
the little clip you have to shave off on the left vs untouched on the right
the end clip you have to find, its not plugged into anything
cut back the wrapping about 10"
bam
well I forgot to take more pics , oops
but theres 8 wires aranged like this:
OOOO
xOOO
the X one cuts back away from the other 7 wires, so you want to solder in the resistors the the top 4 wires. In case you dont have a multimeter.
then heat gun the shrink tube and tape it all up, make it look nice
tucked the injector wires
I dremeled out the inside of the lower injector seals to 15.5mm, the DSM are 16mm in diameter
just one problem, I cant fit the injectors in any further than this. the insulators are stopping them from going in further, do I have to thin those out too?
well thats about as far as I am for now. Ill update soon, hopefully.
as she sits
haha oh yea this is my moms old miata cover, it fits almost perfect
Last edited by xide_12; Mar 27, 2010 at 09:48 PM.
Thread Starter
Honda-Tech Member
Joined: Apr 2009
Posts: 205
Likes: 0
From: rochester, new york
last update for now, just some random pics

sohc vtec for trolling other ppl, and I like how they look

It was a pain the water would squeegee out from behind the vinyl


crx needs paint bad


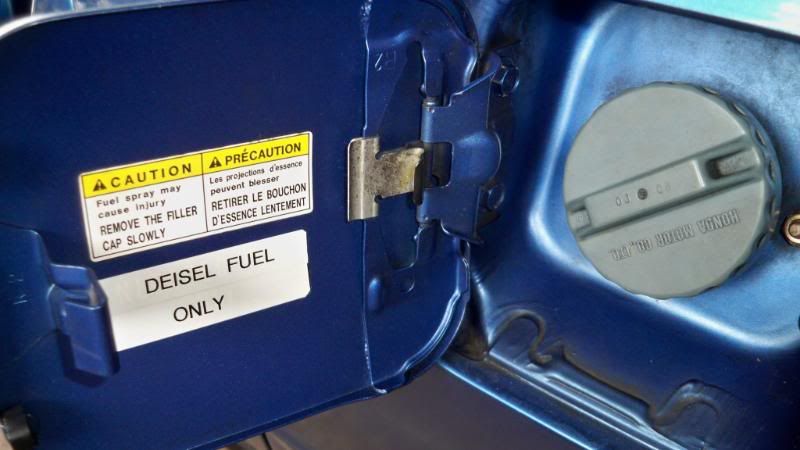
haha yea I know I spelled diesel wrong
hopefully it would scare off and as thieves


Last edited by xide_12; Apr 10, 2010 at 01:00 PM.
Thread Starter
Honda-Tech Member
Joined: Apr 2009
Posts: 205
Likes: 0
From: rochester, new york
It still needs a lot of work, Id say it will be done by the begining of June. Sooner if I can get more money.
Honda-Tech Member
Joined: Oct 2008
Posts: 1,347
Likes: 1
From: Cincinnati, OH
Looking good. Gotta love captiva sol's considering I own one lol. You are an inspiration to get my single cam turbo build started.