

How To Shave your valve cover. DIY

Thread Starter
Honda-Tech Member
Joined: Mar 2006
Posts: 1,507
Likes: 0
From: ILL state
This is just a quick How to on shaving valve covers, Its a very quick DIY and with a few supplies and tools from the local hardware store it is done very easily...
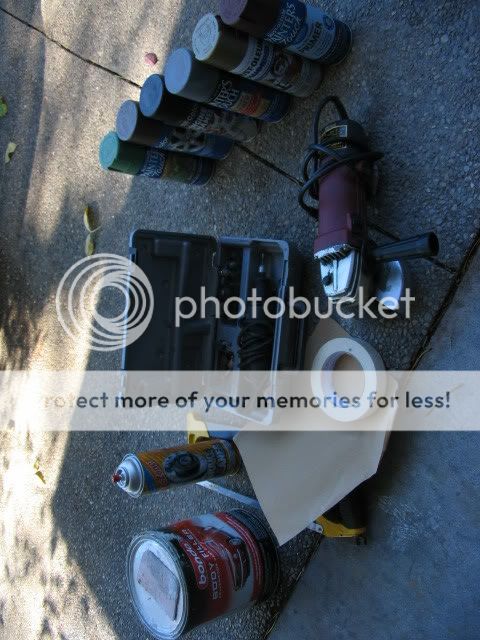
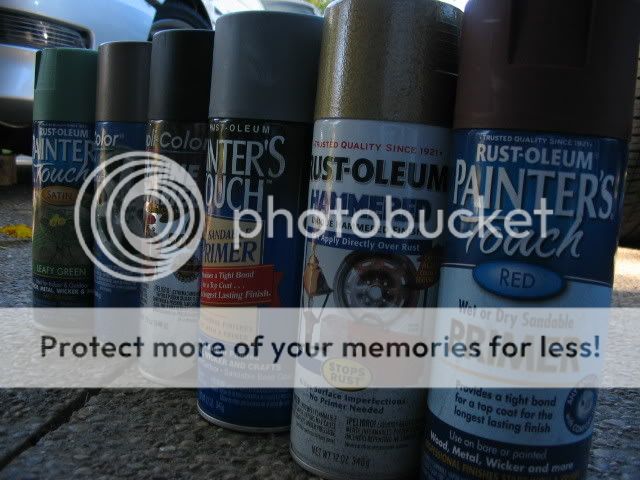
Supplies needed
-Valve cover
-Sandable Primer (1 rattle can [rustoleum works great])
-Choice of paint (1 rattle can [VHT wrinkle, Rim paint, regular gloss/satin/flat...ect])
-Masking tape
-sandpaper (80/120/600 grit are all I used)
-Grinder/angle grinder/Dremel tool/file/belt sander... (anything that could take some metal off)
-Hack saw/sawzall/chopsaw/dremel tool (If taking timing cover off)
-Aircraft stripper
-heavy duty rubber gloves
-Paint brush/coarse toothbrush/wire brush
-Brake clean
-Scrub brush/warm soapy water.
-Bondo and plastic puttyknives.
-10mm ratchet (Deepwell for vtec models)
-Hondabond
-Belt sander(you can avoid having to use filler if a nice clean shave is accomplished using this tool. [avoid keeping sander in same place for too long/ progressively lighten grits])
1. removal
-remove valve cover (10 mm ratchet)
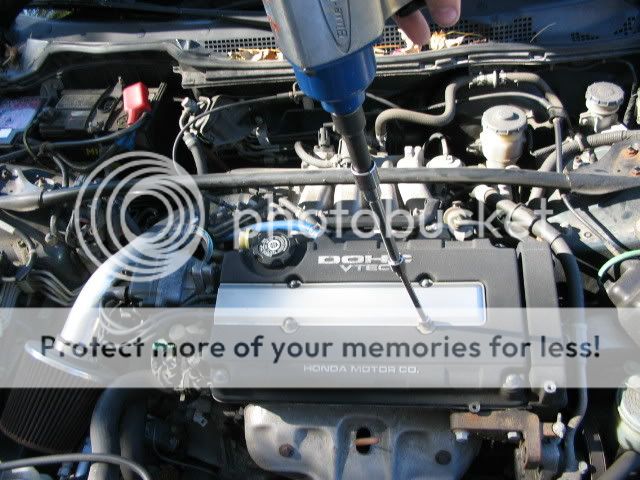
-take all valve cover nuts and put them in a bag so they are not lost
- peel washers off of valvecover they stick sometimes and could fall off and get lost.
-make sure to be careful with VC gasket as you pull it off for this can be reused.
-Lay plastic garbage bags over open head to prevent debris from entering motor.
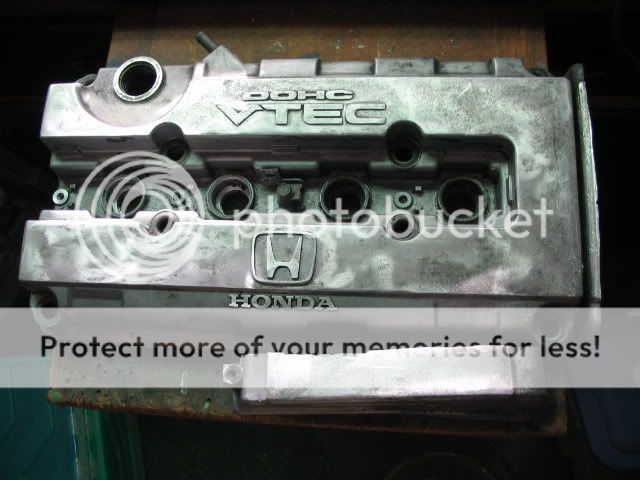
2. stripping
-Lay valvecover on a few sheets of newpaper away from anything that matters (stripper is very corrosive)
-put on some gloves and Use that brush to "paint" aircraft stripper all over valvecover apply generously.
-after letting stripper sit on valvecover for approx 15 min begin removing it using the wire brush or old toothbrush.
-Most of the stripper/paint should basically fall off in clumps. For the stuff that wants to stay on their apply more stripper and let sit for another 15 minutes and it should almost all be off by then.
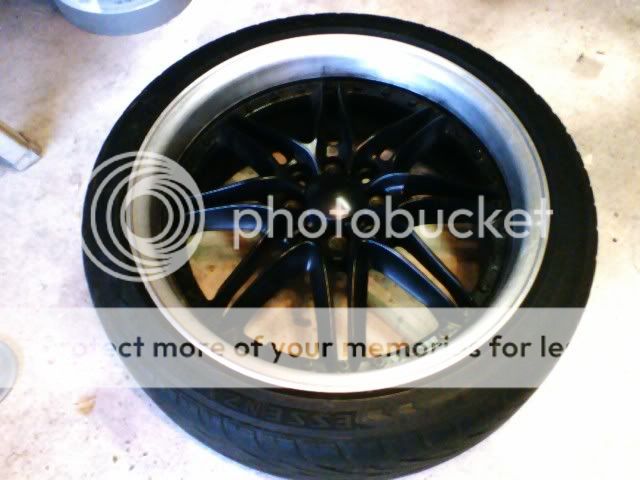
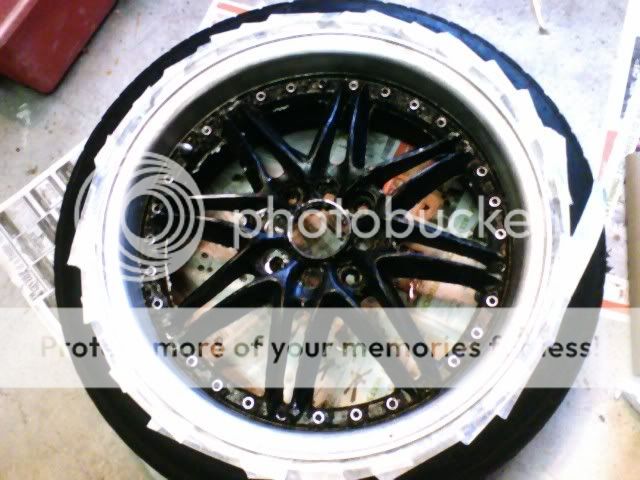
-If some areas refuse to strip just sand away at them.
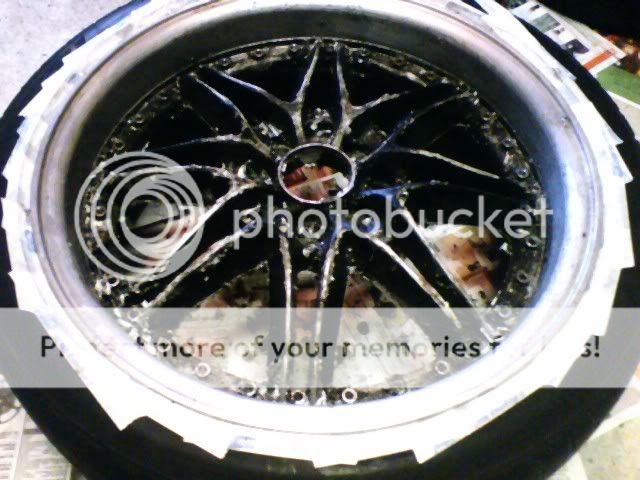
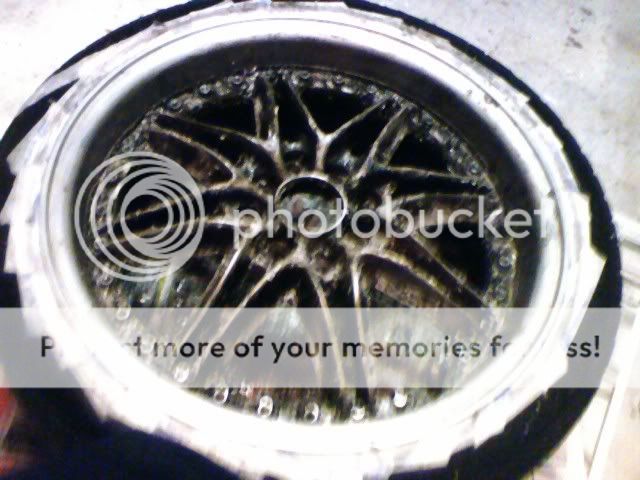
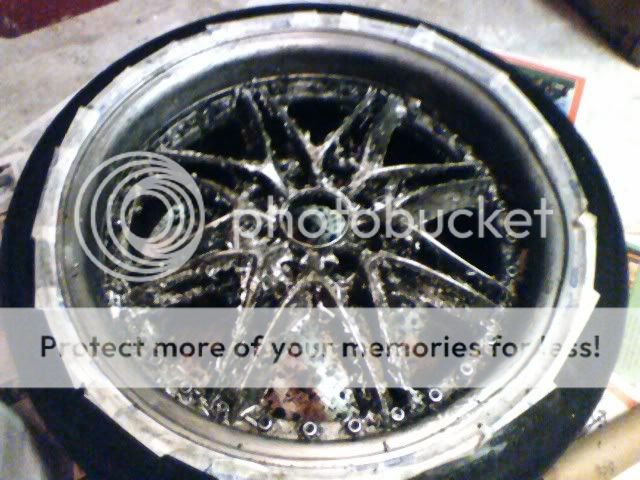
<U>Not a valve cover but a wheel I had stripped and how well it works...</U>

3. Cleaning
-Use your bucket of warm soapy water and brake clean and first begin my spraying the valvecover down with the brake clean. Follow this with washing entire valvecover inside and out leaving no remnants of the stripper/paint.
-Use a cloth/towel to dry off the valvecover and then let it sit so that there are no traces of water.

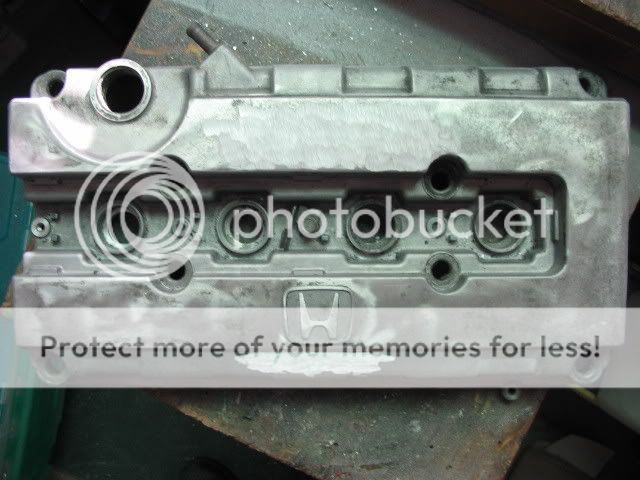
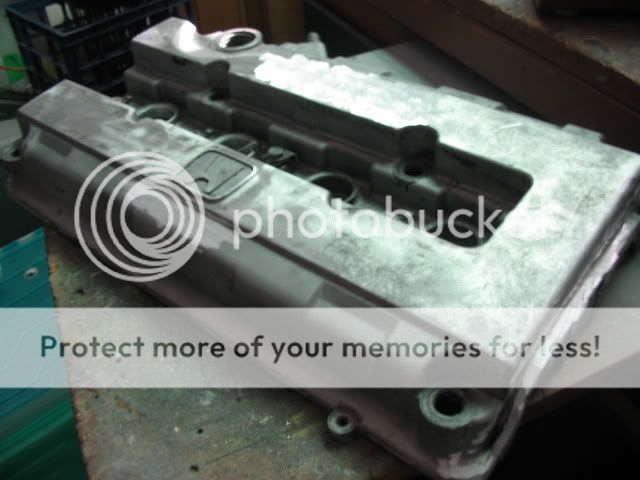
4. Shaving
-Begin by Cutting off cam cover using what ever type of cutting tool you have chosen to use. (this is not a must, A pair of "mooncuts" can be done easily with a Punch/hole saw and a electric drill)
-Begin removing the areas of raised lettering you do not want left on valve cover.
-Be sure to work slowly cutting through valvecover top is not a good thing...
-Once desired areas are removed it will look rough and this is normal being you will be able to fill in these areas in the next step.
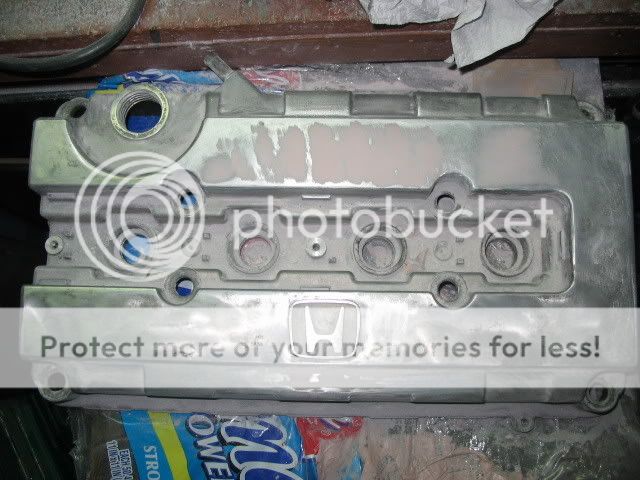
5. Filling and sanding
-Clean away all metal shavings off areas that materal was removed.
-Begin mixing bondo.
-apply bondo using small putty knife to areas where filling is needed, Be sure to apply pressure on first coat to ensure its seated correctly.
-Sand away excess bondo using 80 grit paper and make it as smooth as possible.
-Apply another top coat with much less bondo, untill it is filled completely.
-Sand bondo using a finer grit than 80 more around 160+ or untill it is smooth to the touch.
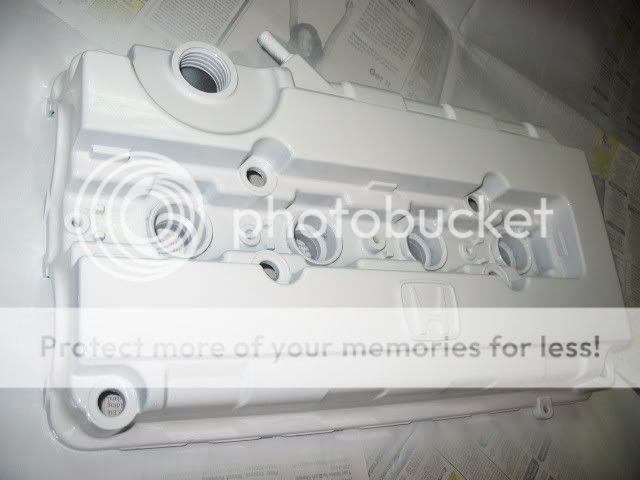
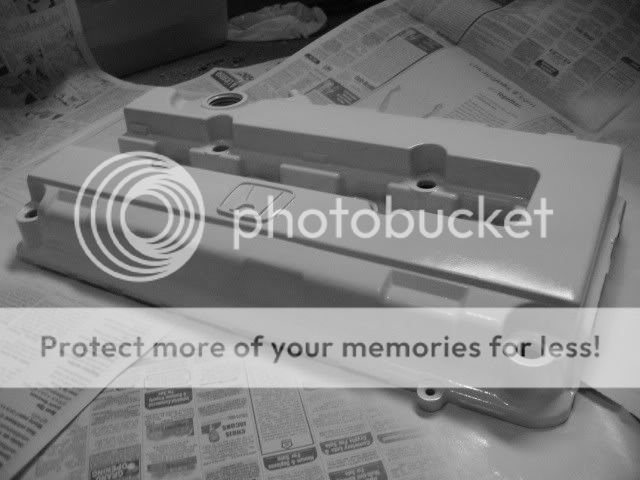
6. priming & painting
-dust off valvecover with a dry towel and make sure all bondo'd areas are smoothed out.
-Mask off any areas you do not want painted using masking tape.
-lay out some newspaper and go to an area where overspray will not affect anything.
-begin laying down primer in small sprays in areas where it is harder to reach (sparkplug well/lettering...ect(multiple thin coats are the best way to rattle can paint).
-then Spray two even coats of primer over entire valvecover to ensure everything is covered.
-Let primer dry and make sure bondo'd areas are still looking/feeling like they should
(if not wait to sand. primer must be dry.)
-let primer dry completely.
-using the 600 +grit, sand areas of primer that may have dripped/built up.
-Pick your color/style of paint and get to work.
-same way valvecover was primed it should be painted but, if using Wrinkle paint I would suggest one thin coat to best match OEM honda texture.
-once sprayed allow to dry completely again, and if there are any blemishes or areas that need to be redone lightly sand them using high grit paper and respray as light as needed. (do not sand wrinkle paint it must be done correct first time or sanded to primer)
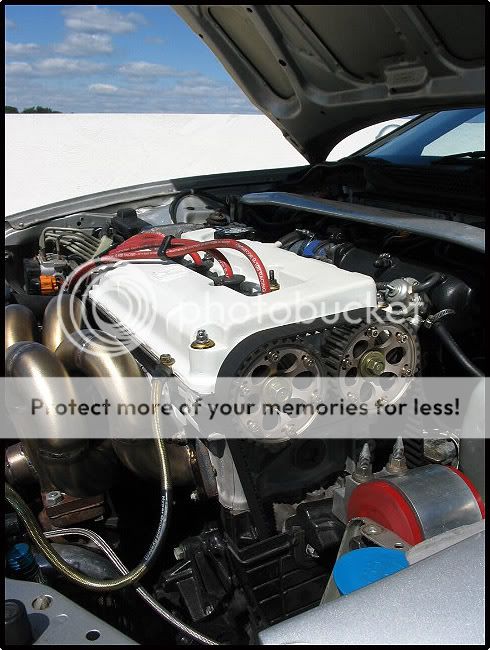
If it is how you want it to look, you are finished.
7. reinstall
-wait for paint to dry and stick vc gasket back in cover.
-apply hondabond on areas of gasket where it bends and along the area the cam cover was removed.
-let cover sit on head, after cleaning mating surface using a dry towel (make sure there isnt any oil residue or gasket will not seal as well as it could).

-install little washer gromets and then follow them with the valvecover nuts.
- makesure groundwire/oilcap/pcv and all that good stuff are all hooked back up and tighten bolts to 1 turn past hand tight ~7ft lbs, these shouldnt be on very tight at all.
-plop spark plug wires back in and ur done.

Modified by JDMB20TDA at 4:47 PM 10/20/2007
Supplies needed
-Valve cover
-Sandable Primer (1 rattle can [rustoleum works great])
-Choice of paint (1 rattle can [VHT wrinkle, Rim paint, regular gloss/satin/flat...ect])
-Masking tape
-sandpaper (80/120/600 grit are all I used)
-Grinder/angle grinder/Dremel tool/file/belt sander... (anything that could take some metal off)
-Hack saw/sawzall/chopsaw/dremel tool (If taking timing cover off)
-Aircraft stripper
-heavy duty rubber gloves
-Paint brush/coarse toothbrush/wire brush
-Brake clean
-Scrub brush/warm soapy water.
-Bondo and plastic puttyknives.
-10mm ratchet (Deepwell for vtec models)
-Hondabond
-Belt sander(you can avoid having to use filler if a nice clean shave is accomplished using this tool. [avoid keeping sander in same place for too long/ progressively lighten grits])
1. removal
-remove valve cover (10 mm ratchet)
-take all valve cover nuts and put them in a bag so they are not lost
- peel washers off of valvecover they stick sometimes and could fall off and get lost.
-make sure to be careful with VC gasket as you pull it off for this can be reused.
-Lay plastic garbage bags over open head to prevent debris from entering motor.
2. stripping
-Lay valvecover on a few sheets of newpaper away from anything that matters (stripper is very corrosive)
-put on some gloves and Use that brush to "paint" aircraft stripper all over valvecover apply generously.
-after letting stripper sit on valvecover for approx 15 min begin removing it using the wire brush or old toothbrush.
-Most of the stripper/paint should basically fall off in clumps. For the stuff that wants to stay on their apply more stripper and let sit for another 15 minutes and it should almost all be off by then.
-If some areas refuse to strip just sand away at them.
<U>Not a valve cover but a wheel I had stripped and how well it works...</U>
3. Cleaning
-Use your bucket of warm soapy water and brake clean and first begin my spraying the valvecover down with the brake clean. Follow this with washing entire valvecover inside and out leaving no remnants of the stripper/paint.
-Use a cloth/towel to dry off the valvecover and then let it sit so that there are no traces of water.
4. Shaving
-Begin by Cutting off cam cover using what ever type of cutting tool you have chosen to use. (this is not a must, A pair of "mooncuts" can be done easily with a Punch/hole saw and a electric drill)
-Begin removing the areas of raised lettering you do not want left on valve cover.
-Be sure to work slowly cutting through valvecover top is not a good thing...
-Once desired areas are removed it will look rough and this is normal being you will be able to fill in these areas in the next step.
5. Filling and sanding
-Clean away all metal shavings off areas that materal was removed.
-Begin mixing bondo.
-apply bondo using small putty knife to areas where filling is needed, Be sure to apply pressure on first coat to ensure its seated correctly.
-Sand away excess bondo using 80 grit paper and make it as smooth as possible.
-Apply another top coat with much less bondo, untill it is filled completely.
-Sand bondo using a finer grit than 80 more around 160+ or untill it is smooth to the touch.
6. priming & painting
-dust off valvecover with a dry towel and make sure all bondo'd areas are smoothed out.
-Mask off any areas you do not want painted using masking tape.
-lay out some newspaper and go to an area where overspray will not affect anything.
-begin laying down primer in small sprays in areas where it is harder to reach (sparkplug well/lettering...ect(multiple thin coats are the best way to rattle can paint).
-then Spray two even coats of primer over entire valvecover to ensure everything is covered.
-Let primer dry and make sure bondo'd areas are still looking/feeling like they should
(if not wait to sand. primer must be dry.)
-let primer dry completely.
-using the 600 +grit, sand areas of primer that may have dripped/built up.
-Pick your color/style of paint and get to work.
-same way valvecover was primed it should be painted but, if using Wrinkle paint I would suggest one thin coat to best match OEM honda texture.
-once sprayed allow to dry completely again, and if there are any blemishes or areas that need to be redone lightly sand them using high grit paper and respray as light as needed. (do not sand wrinkle paint it must be done correct first time or sanded to primer)
If it is how you want it to look, you are finished.
7. reinstall
-wait for paint to dry and stick vc gasket back in cover.
-apply hondabond on areas of gasket where it bends and along the area the cam cover was removed.
-let cover sit on head, after cleaning mating surface using a dry towel (make sure there isnt any oil residue or gasket will not seal as well as it could).
-install little washer gromets and then follow them with the valvecover nuts.
- makesure groundwire/oilcap/pcv and all that good stuff are all hooked back up and tighten bolts to 1 turn past hand tight ~7ft lbs, these shouldnt be on very tight at all.
-plop spark plug wires back in and ur done.
Modified by JDMB20TDA at 4:47 PM 10/20/2007
F*CK THIEVES!
Joined: Oct 2003
Posts: 13,820
Likes: 0
From: Mt. High, Socal
<TABLE WIDTH="90%" CELLSPACING=0 CELLPADDING=0 ALIGN=CENTER><TR><TD>Quote, originally posted by boostinCX »</TD></TR><TR><TD CLASS="quote">I bought mine already shaved  I'll just kick back and drink a beer or two while i watch you guys do it LOL</TD></TR></TABLE>
lol
nice work
I'll just kick back and drink a beer or two while i watch you guys do it LOL</TD></TR></TABLE>lol
nice work
Trending Topics
Honda-Tech Member
Joined: May 2007
Posts: 3,327
Likes: 0
From: NJ, USA
<TABLE WIDTH="90%" CELLSPACING=0 CELLPADDING=0 ALIGN=CENTER><TR><TD>Quote, originally posted by caustic. »</TD></TR><TR><TD CLASS="quote">awesome DIY </TD></TR></TABLE>
X2
</TD></TR></TABLE>X2
<TABLE WIDTH="90%" CELLSPACING=0 CELLPADDING=0 ALIGN=CENTER><TR><TD>Quote, originally posted by talontsiawd »</TD></TR><TR><TD CLASS="quote">If you only grind most of the metal off, then you can just use a belt sander to make it smooth. You don't have to worry about filler that way. </TD></TR></TABLE>
Cheap orbital sander with velcro back pads works just as well too. Dont use the back and forth motion vibrator type though, wont do much for penetration through the emblems.
Cheap orbital sander with velcro back pads works just as well too. Dont use the back and forth motion vibrator type though, wont do much for penetration through the emblems.
Honda-Tech Member
Joined: Sep 2001
Posts: 6,045
Likes: 1
From: The burbs of illadelph, USA
<TABLE WIDTH="90%" CELLSPACING=0 CELLPADDING=0 ALIGN=CENTER><TR><TD>Quote, originally posted by OMG THE GOGGLES »</TD></TR><TR><TD CLASS="quote">
Cheap orbital sander with velcro back pads works just as well too. Dont use the back and forth motion vibrator type though, wont do much for penetration through the emblems.</TD></TR></TABLE>
took the words right out of my mouth. No filler on mine
just dont get too agressive with the sander/grinder
Cheap orbital sander with velcro back pads works just as well too. Dont use the back and forth motion vibrator type though, wont do much for penetration through the emblems.</TD></TR></TABLE>
took the words right out of my mouth. No filler on mine
just dont get too agressive with the sander/grinder

<TABLE WIDTH="90%" CELLSPACING=0 CELLPADDING=0 ALIGN=CENTER><TR><TD>Quote, originally posted by Synergy001 »</TD></TR><TR><TD CLASS="quote">damn i didnt know that bondo can handle the high heat</TD></TR></TABLE>
I wouldn't personally use bondo, as I am too nit picky, however it does hold up to heat better than it does any form of humidity(bondo is porous and will suck water in, expand, crack, and ruin your day. lol) I would probably suggest using fiberglass resin over bondo because of that. Think of the carbon fiber valve covers that were popular years ago, the clearcoat/gelcoat on them stood up to high heat.
I wouldn't personally use bondo, as I am too nit picky, however it does hold up to heat better than it does any form of humidity(bondo is porous and will suck water in, expand, crack, and ruin your day. lol) I would probably suggest using fiberglass resin over bondo because of that. Think of the carbon fiber valve covers that were popular years ago, the clearcoat/gelcoat on them stood up to high heat.
Thread Starter
Honda-Tech Member
Joined: Mar 2006
Posts: 1,507
Likes: 0
From: ILL state
<TABLE WIDTH="90%" CELLSPACING=0 CELLPADDING=0 ALIGN=CENTER><TR><TD>Quote, originally posted by OMG THE GOGGLES »</TD></TR><TR><TD CLASS="quote">
(bondo is porous and will suck water in, expand, crack, and ruin your day. lol) </TD></TR></TABLE>
bondo is used on automotive exteriors... when painted the problem is no longer a problem.
(bondo is porous and will suck water in, expand, crack, and ruin your day. lol) </TD></TR></TABLE>
bondo is used on automotive exteriors... when painted the problem is no longer a problem.
<TABLE WIDTH="90%" CELLSPACING=0 CELLPADDING=0 ALIGN=CENTER><TR><TD>Quote, originally posted by JDMB20TDA »</TD></TR><TR><TD CLASS="quote">
bondo is used on automotive exteriors... when painted the problem is no longer a problem. </TD></TR></TABLE>
I know, and it sounds like you know your stuff, but think of all the people who wetsand bondo to make the finish smooth that don't know the do's and donts.
bondo is used on automotive exteriors... when painted the problem is no longer a problem.
</TD></TR></TABLE>I know, and it sounds like you know your stuff, but think of all the people who wetsand bondo to make the finish smooth that don't know the do's and donts.
Thread Starter
Honda-Tech Member
Joined: Mar 2006
Posts: 1,507
Likes: 0
From: ILL state
<TABLE WIDTH="90%" CELLSPACING=0 CELLPADDING=0 ALIGN=CENTER><TR><TD>Quote, originally posted by OMG THE GOGGLES »</TD></TR><TR><TD CLASS="quote">
I know, and it sounds like you know your stuff, but think of all the people who wetsand bondo to make the finish smooth that don't know the do's and donts. </TD></TR></TABLE>
very true. As long as they follow the directions the bondo will present no problems. good thing you brought that up.
I know, and it sounds like you know your stuff, but think of all the people who wetsand bondo to make the finish smooth that don't know the do's and donts.
</TD></TR></TABLE>very true. As long as they follow the directions the bondo will present no problems. good thing you brought that up.
Thread Starter
Honda-Tech Member
Joined: Mar 2006
Posts: 1,507
Likes: 0
From: ILL state
I like the polished look. But I like being able to change the looks of my engine bay whenever I feel the need.
and painting the polished cover would just be horrible.
and painting the polished cover would just be horrible.


Thread
Thread Starter
Forum
Replies
Last Post
AlphaQup
Honda Civic / Del Sol (1992 - 2000)
184
May 29, 2014 09:06 PM