When you click on links to various merchants on this site and make a purchase, this can result in this site earning a commission. Affiliate programs and affiliations include, but are not limited to, the eBay Partner Network.
Not much to add to the thread over the last couple of weeks..
Been out of the shop for the holidays, then came to a mountain of orders that took some days to fulfill and had a couple of small projects to get in and out.
I'll update soon
While we're waiting on a few parts to arrive, the owner of the car and I had a couple beers at the shop last night and started playing with welding rods and a roll of painter's tape.
The result was a visual mock up of the rear fender flares I have in mind for this car -
Very nice work and interesting build. That machine will be a blast to drive once ready, I bet! A couple thing came into my mind once I started digging around more about the QBA11R.
Quaife offers two transfer ratio options: 1.00 and 1.25 and three Reduction ratio options: 2.430, 3.025, and 3.767. Which ones did you end up choosing for your build? Thinking of building something similar in the near future and trying to figure what I'd need to haul together before starting to put things together. Mine would be a street car only though (at least I'm thinking so since I'm not a racer... yet?).
Also, are you planning on using Ford Escort/Fiesta CV joints and drive shafts to connect to the QBA11R or did you get the quaife flanges too?
I have a turboed Hayabusa engine sitting in the garage, waiting to be used for something fun. Engine is fully built and dynoed at 450hp. Any idea what Quaife rates the QBA11R for? I wonder if it will handle 450hp engine power and 219ft lb torque?
Thoughtful professional work. 10 years ago I installed a hayabusa in a honda beat using the q uaife diff with the same ragemotorsport drive assy. After 30k miles I can offer some comments about weak points if you're interested. Main issue is heat and too small oil capacity. Rage sells a mechanical pump that installs at fwd breathe. I chose to add separate coolers for both oil systems with out the pump. 100% increase in oil capasity and significantly reduce temperatures. Few years ago combination heat and design issue caused the 3inch blowout in the casing shown. Rage should have corrected the stress riser by now with a simple chamfer of the machine edges. Sorry for the upside down pics.
last summer rebuilt hayabusa to 1550cc with out any issues with the rage/q uaife assy. Also you may find the need to safety wire the bolts that attach the halves of the rage unit do to harmonic exposure.
Last edited by marcair; Feb 20, 2017 at 04:38 PM.
Reason: add text
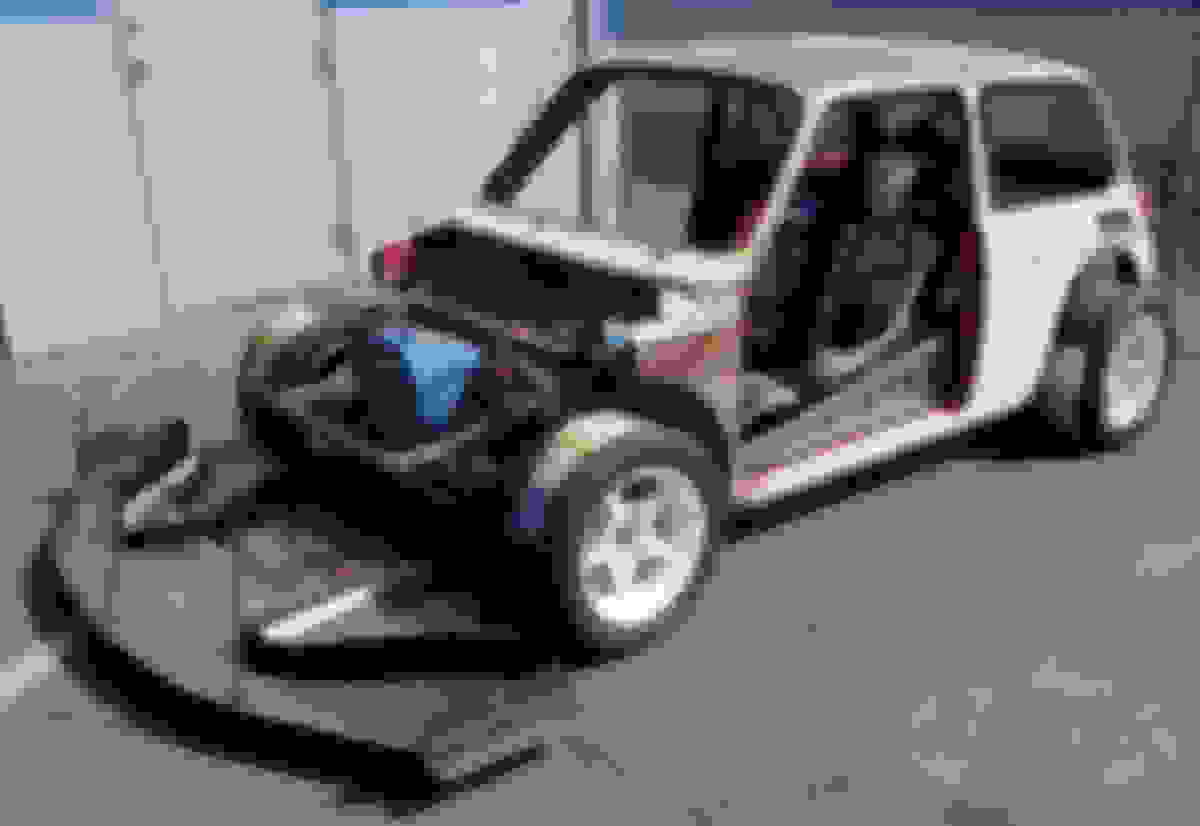
Been back at it with this project and got a bunch of work in the nose done, so we were able to put the nose back on.
Before it went on I snapped this funny pic of the splitter from one of our customer's track car in front of the car, Frank was super excited about the possibilities!
Got the Tilton pedals mounted and the ATL fuel cell -
Then we fabricated a pair of internal gussets where the structure got stitched back together and clamped the nose.
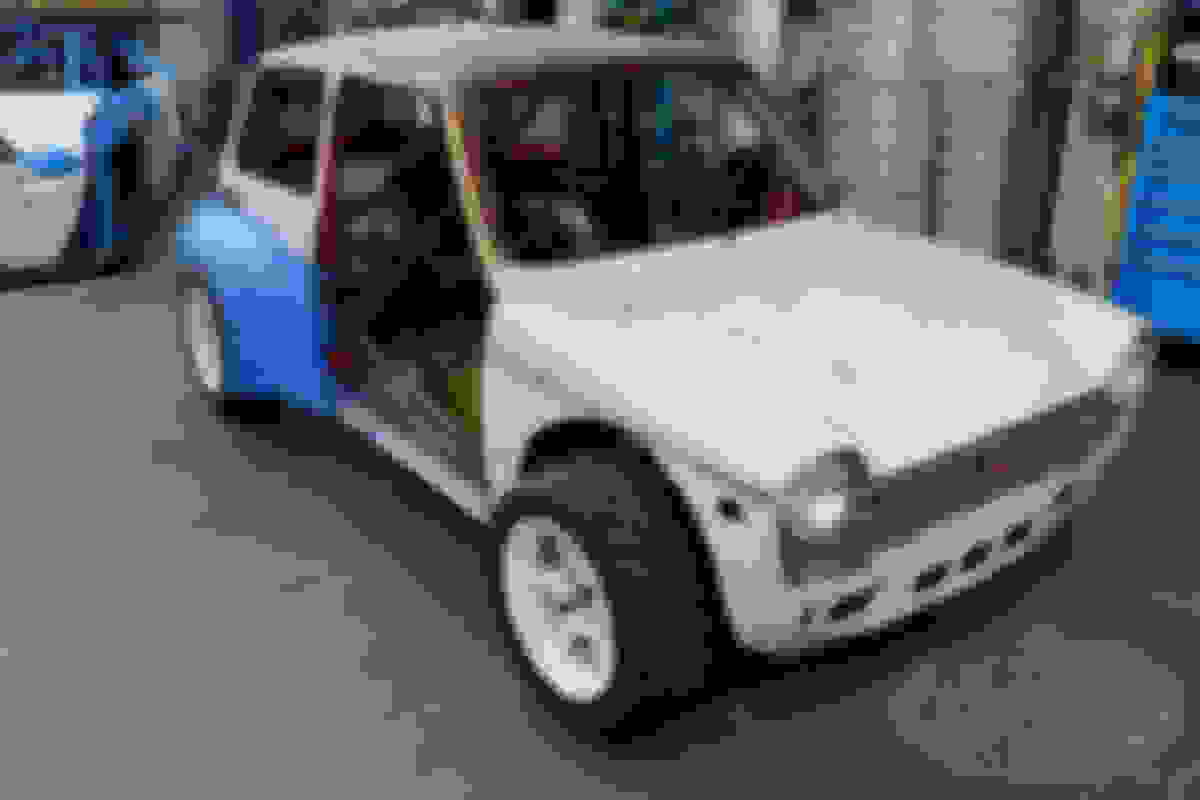
Using the fenders we realigned the nose and tacked it back in place -
Once tacked, we bolted the hood to verify that everything lines up well.
Was as good as stock so a few more tacks and we're good to weld it Monday morning.
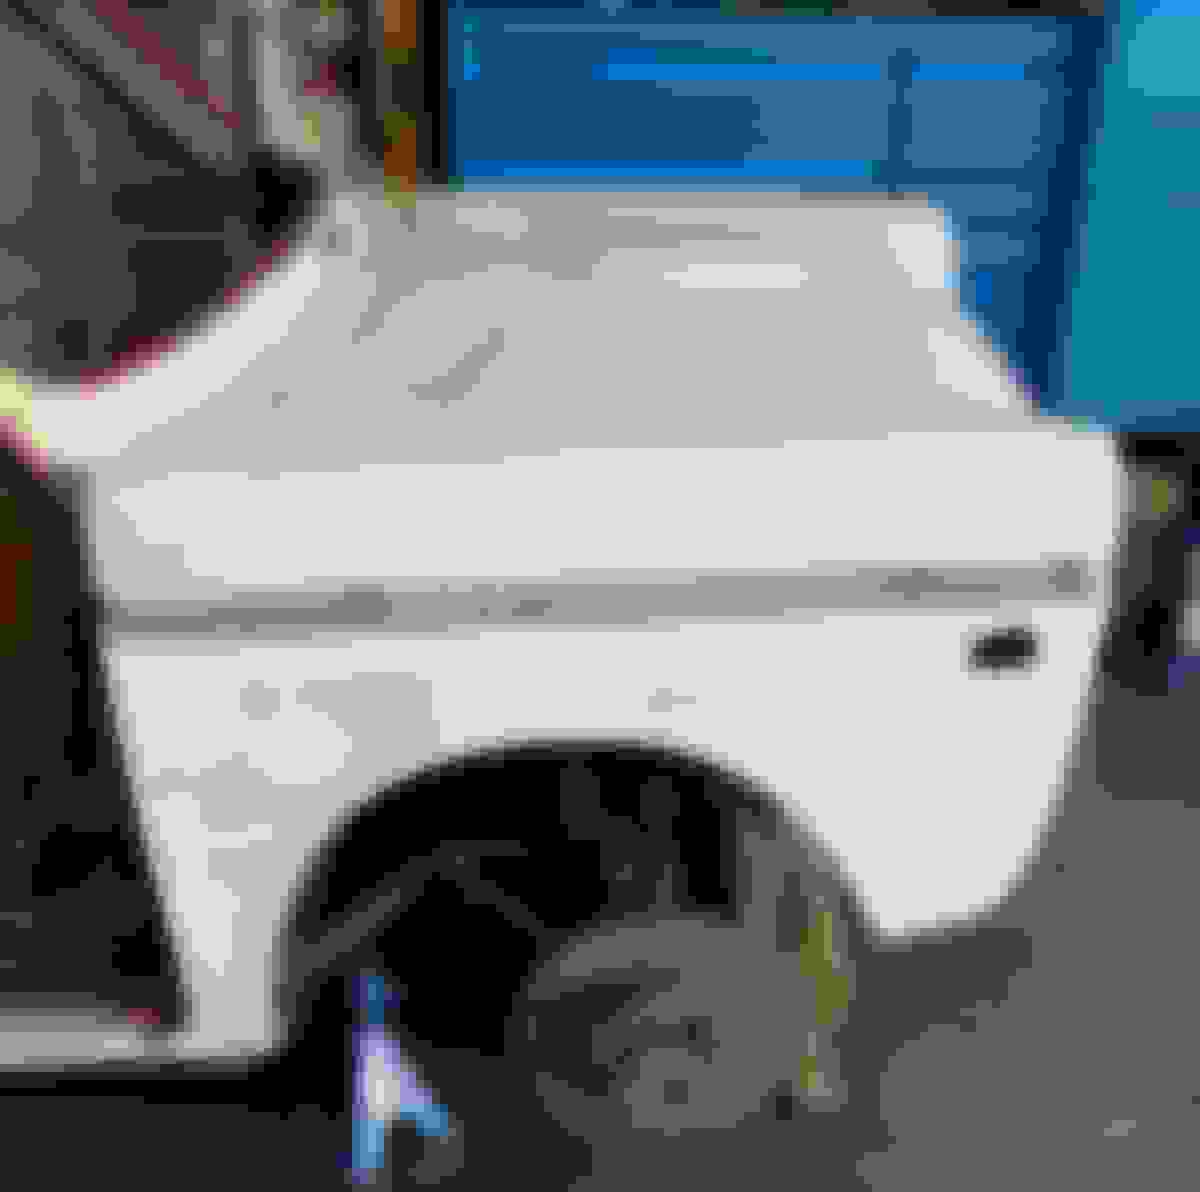
You can also how far we stretched the wheel base -
We need to fab new fenders anyway so it doesn't really make a difference.. :wink:
More progress shots.
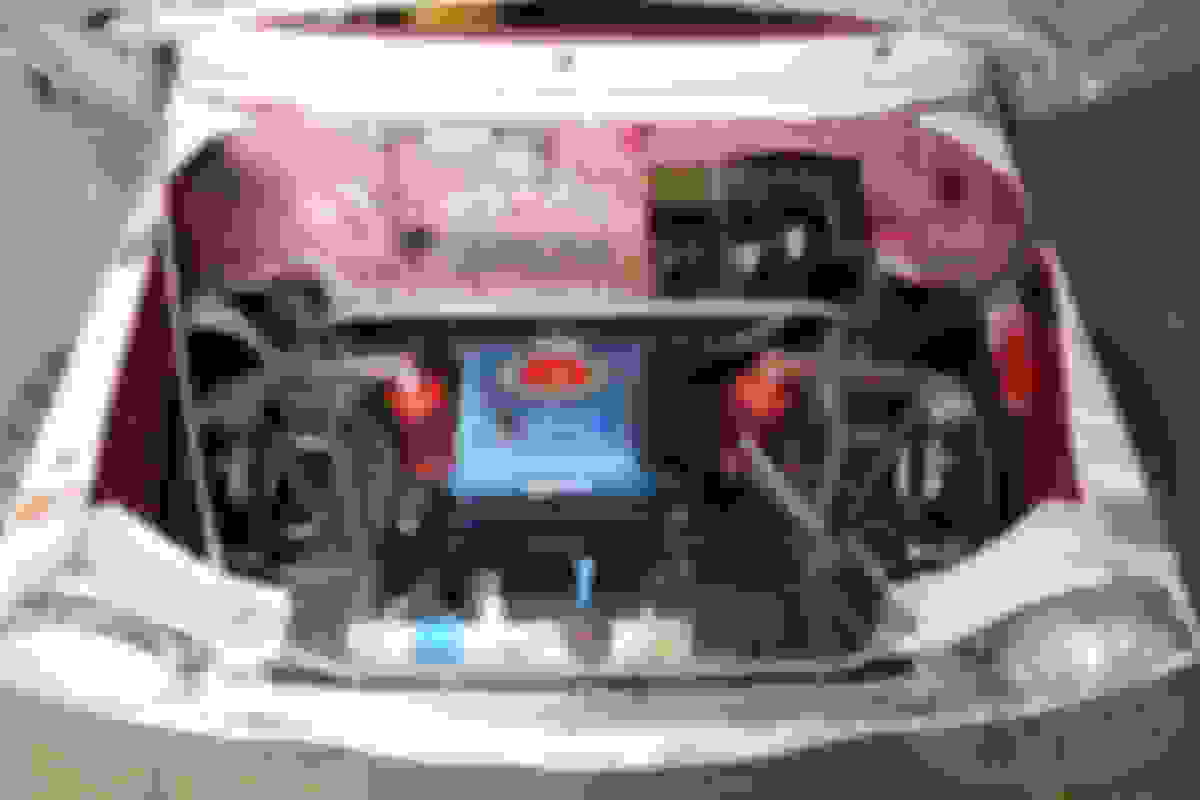
The nose is getting full now that we stuck a radiator in it too (Mishimoto aluminum rad for Civic).
We tilted it forward at the top with the anticipation of adding extraction ducting in the future.
Also note both rad and fuel cell are moved to the passenger side to offset the driver's weight -
View from the inside before the new firewall is going in -
Moving the wheels so far outboard allowed us to cut the wheel wells quite a bit and creates a far more spacious pedal box with the pedals moved left to set them much closer to being centered with the driver.
The way the car was set up from the factory had the pedals way off center to the right.
We also cut the front fenders to clear the MUCH bigger tires all the way lock to lock at full compression.
Car looks angry!
Last night we progressed with the mockup for fenders and aero. Moti did his wizardry with wire and tape. There was beer. Good times, and we can see the shape evolving as we continue with the mechanical progress.
We got curious today and put the car on the scales.
See if you can guess how much the car weighs as it sits currently -
w/ complete drivetrain minus axles, dry radiator and fuel cell, full cage, no glass, most exterior sheet metal minus cut fenders and doors, wheels, tires, pedals, brake rotors w/o calipers, full suspension.
Not even close, haha!
We weighed in at 989 Lbs.
Weight dist. is a great 42.5% Fr / 57.5% Rr and side to side is nearly even.
Our original projections for the car were 1250 total weight w/o driver and a weight dist of 40-45% Fr / 60-55% Rr, looks like we're right on target!
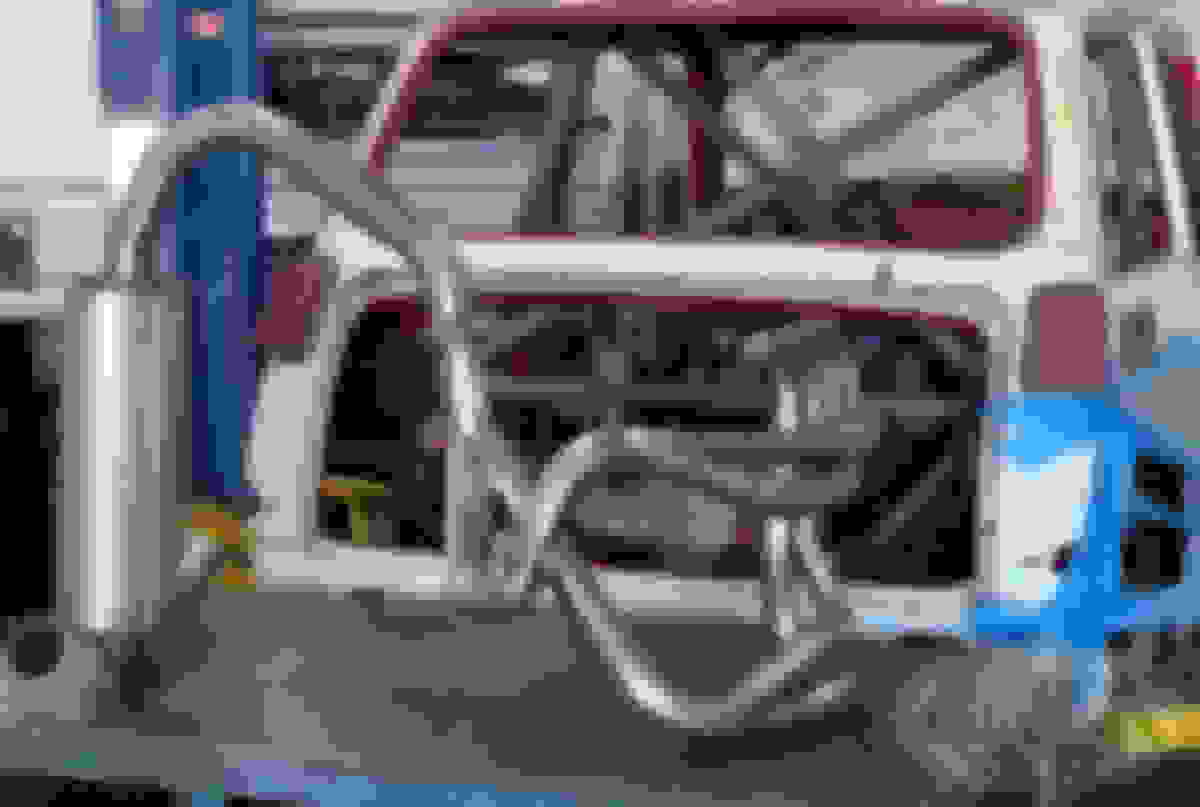
Finished the cooling system plumbing and exhaust system.
Coolant pipes are all hard lines, bend to shape and bead rolled, we're just waiting for the specific rubber couplers we bought for the car -
Exhaust sys was very tricky because of the tight space constraints.
We wanted to make sure we build the header with equal length primaries and secondaries which made it even trickier, but the end it all worked out with some creative use of the space -
Woo! This is fantastic! Any idea of power loss by powering two heavier wheels/tires, or are you planning on it being offset through larger exhaust/better intake/etc?