
How To: Skunk2 and Omni Power Camber Kits.
 06-25-2007, 06:24 AM
#1
Junior Member
Thread Starter
Join Date: Oct 2005
Location: NC, United States
Posts: 150
Likes: 0
Received 0 Likes
on
0 Posts
Alright, so this would be the first write-up I've done so bare with me if It's not perfect, etc. I recently installed D2 coilovers on my 2000 Honda Civic Si, and we all know lowering a car messes up the stock camber on a car, so I went on and bought the Skunk2 Front Camber Kit and the Omni Power rear camber kit to fix that.
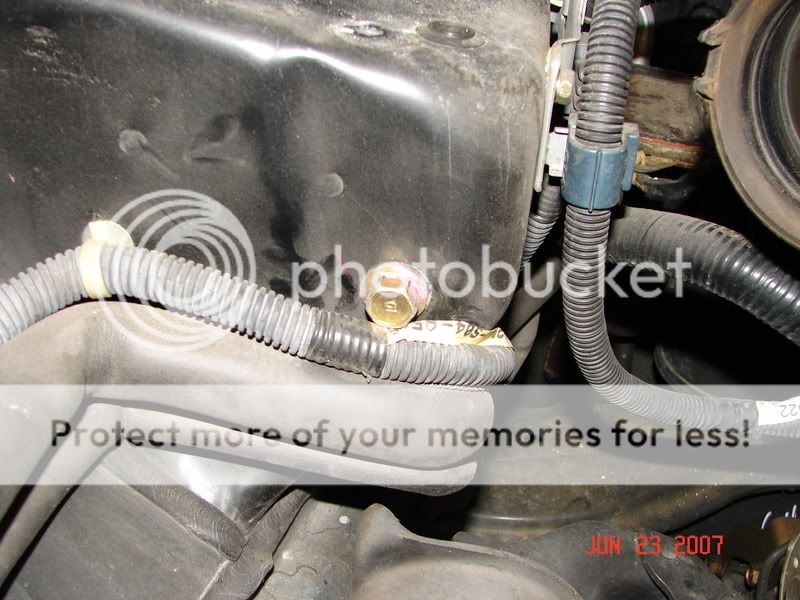
Step 1:
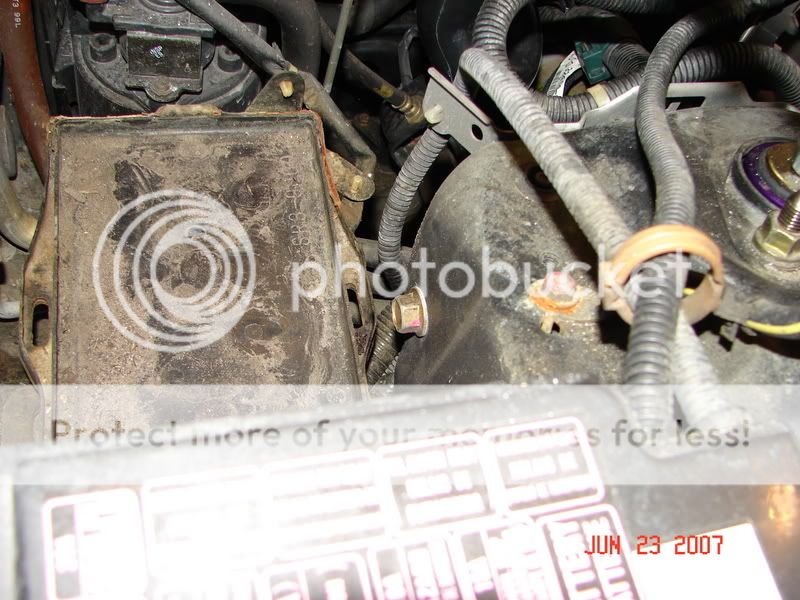
First the battery, intake box (if you have a aftermarket intake it shouldn't be a problem reaching the bolts), and of course tires need to be removed to get to the two bolts holding the OEM camber kit in. Remember, the battery is unplugged so you WILL need your Radio code for your radio if you have the stock receiver in there. One bolt is on the side next to the intake, the other next to the battery.
Intake Side
Battery Side
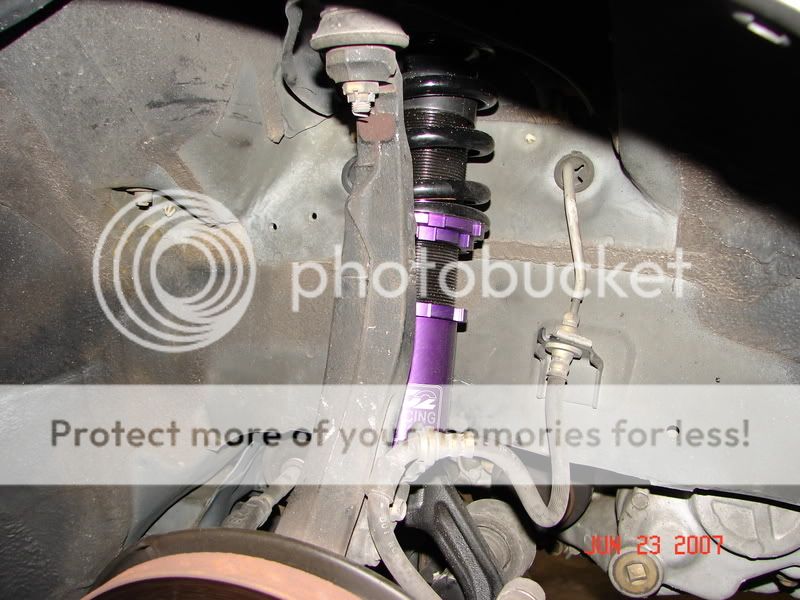
Step 2:
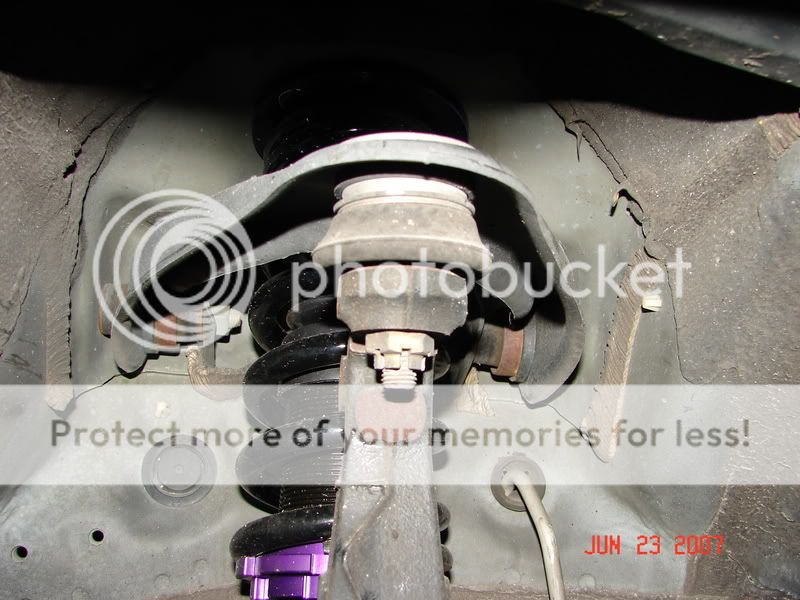
After those bolts are out, come under the car and unscrew the bolt connecting the kit to the car. After unscrewing this bolt take a hammer/rubber mallet and hit it up a little to get the brake rotor assembly off of it. The kit should come off. Now on some cars taking the actual coilover/shock&spring/OEM suspension might have to come off, but on this car that is not needed.
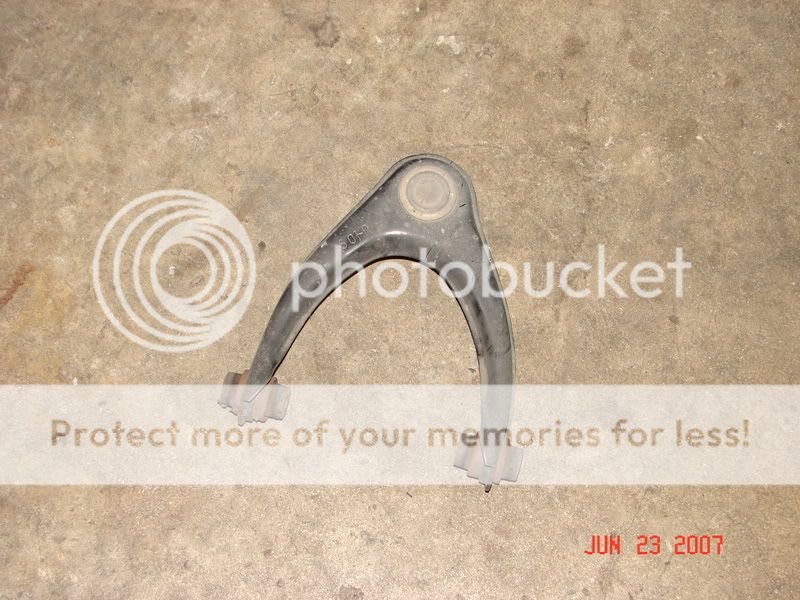
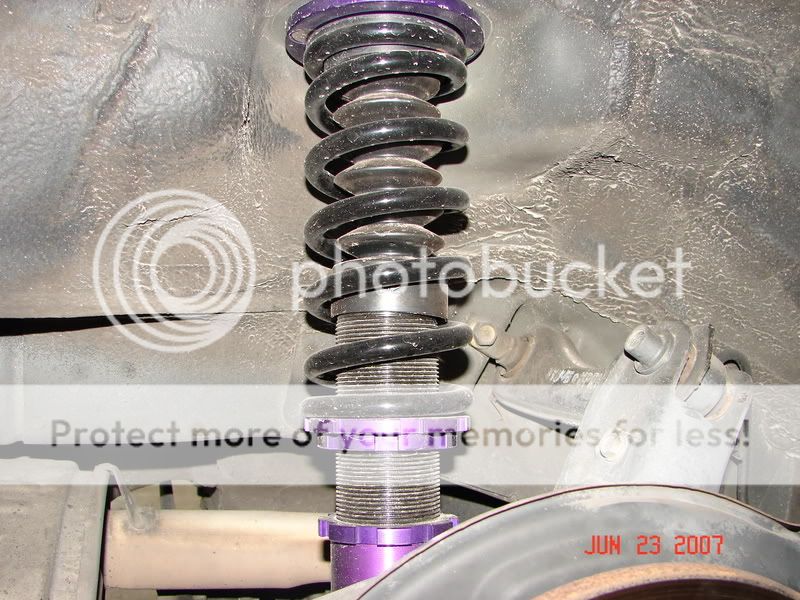
Stock Assembly
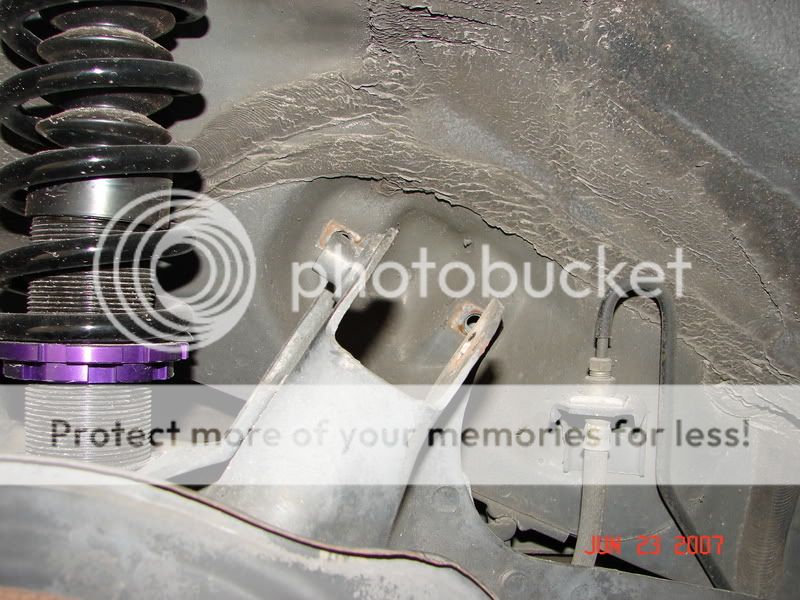
This is the bolt that needs to be removed
Off the car
Step 3:
Time for the new kit. This Skunk2 kit has the adjustable plate instead of the Skunk2 Pro kit that has the adjustable ball joint, but they both will work. First, put the new kit and align it between the holes and slide in the bolts next to the battery and intake. After that place the brake setup back up under the new camber kit and screw in the nut. There is a cauder pin that goes in after the nut is tightened which stops the nut from coming off. Tighten all three bolts down, including the 4 allen heads on the camber kit plate itself.
Skunk2 Box
A little pre-car adjusting/tightening

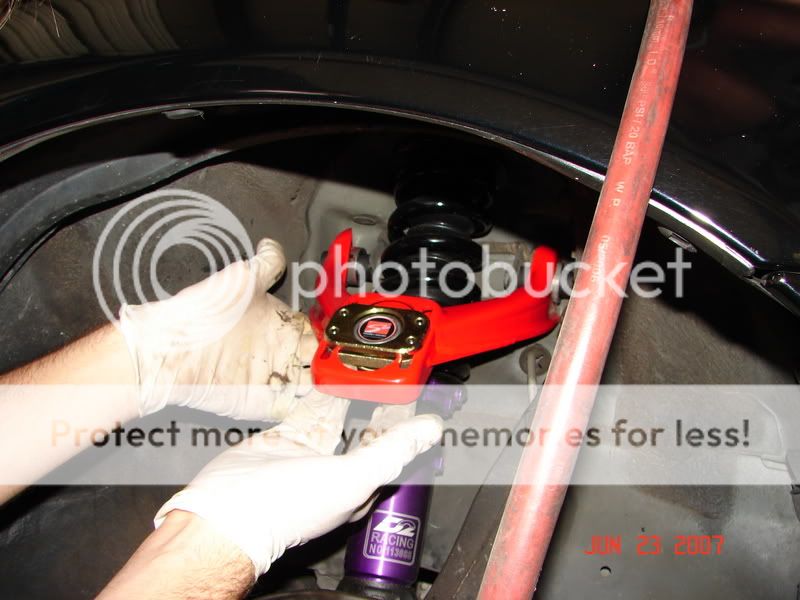
Putting the kit in and aligning it with the holes
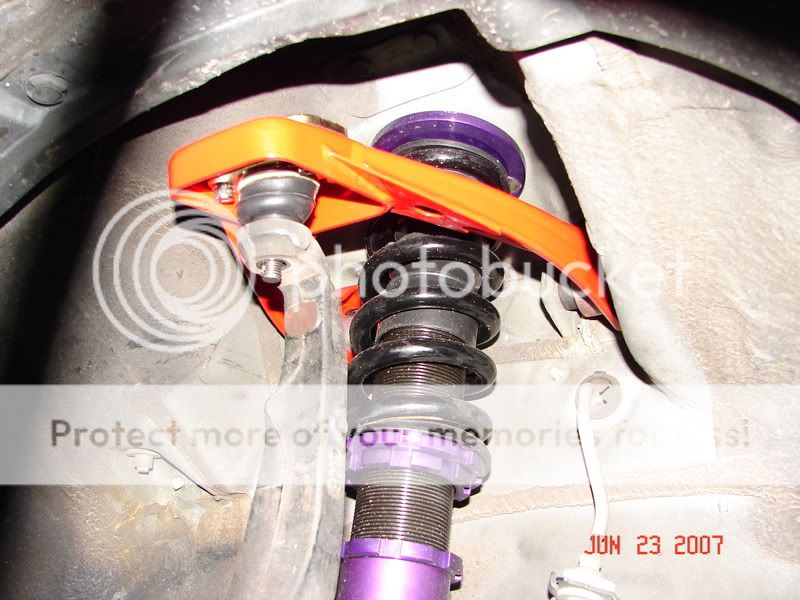
Kit in place
Step 4:
The opposite side is the same exact way, so no need to post up pictures/ how-to because it will just be a repeat of whats above. However, the two bolts in the engine bay are a little harder to get to because of other things blocking the way over there.
Step 5:
Time for the rear. These do not require any work outside of the fender well, so it is a little bit quicker than the front. For the rear I got the Omni Power kit. Once again the only thing that needs to be removed would be the tires. Once again the stock one needs to be removed. It is attached with two bolts to the inside of the car, and a bolt on the brake assembly. Remove these bolts and take off the OEM kit.
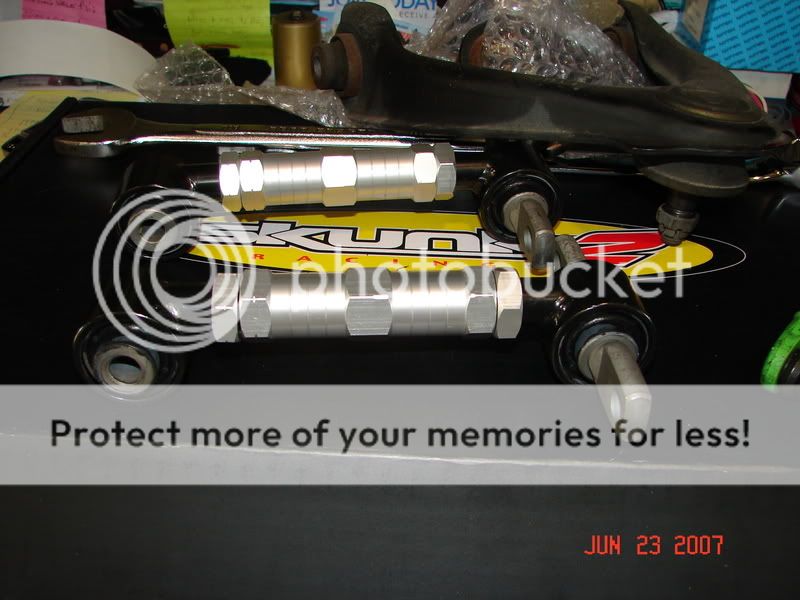
Just a picture of the two kits out of the box
Stock Camber kit
Out with the old..
Step 6:
Whenever we took the OEM kit off we compared it to the new kit to adjust it a little because the tires pointed in at the top, so we guess-timated on how much we should come out, and had to repeat the process because we actually over did it the first time
Comparing
Step 7:
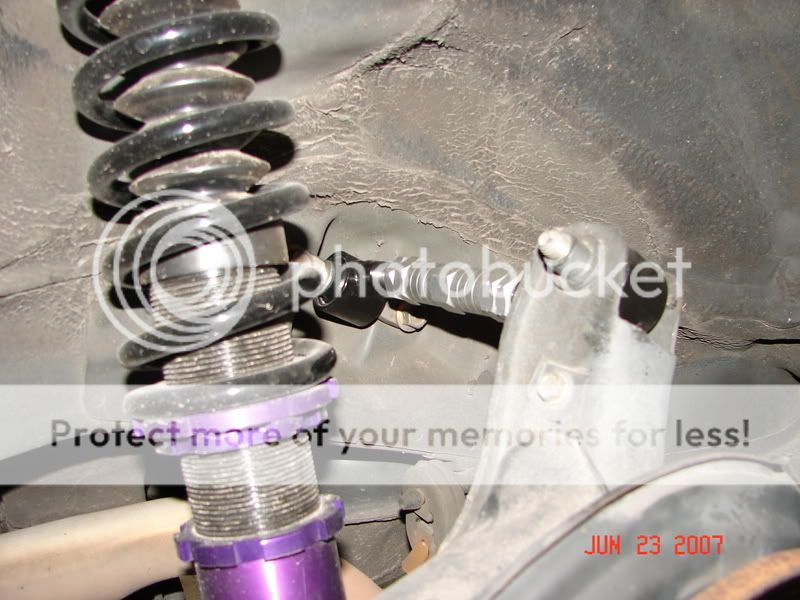
When putting the new kit in, we had issues with the rear kit being thicker than the OEM one and not fitting in where the OEM kit matched up to the bracket on the brake assembly. Nothing a hammer couldnt fix. Just align the kit up and tighten down the bolts.
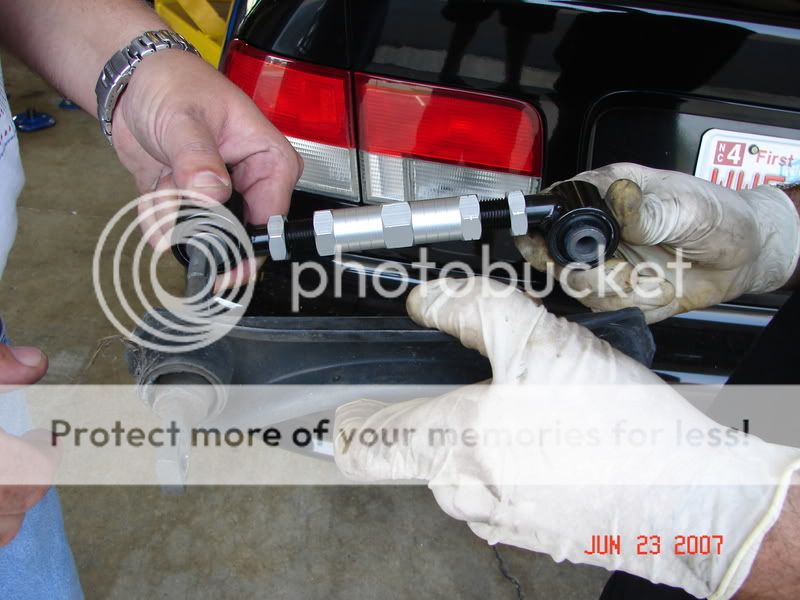
Whenever you adjust, you rotate the center piece to whatever length you want and the tighten down two nuts on both sides to hold the length in place
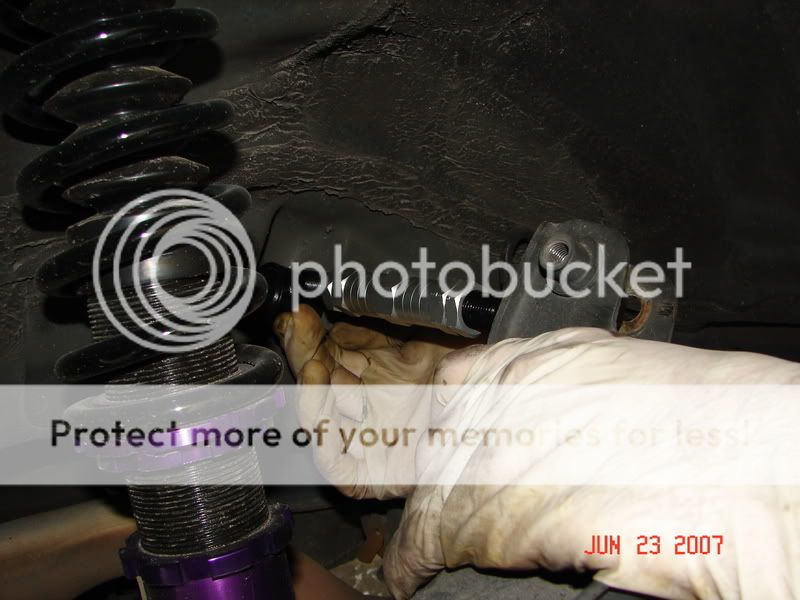
New kit installed
Final Step:
ALIGNMENT! take it to an alignment shop familiar with aftermarket camber kits so they do it right and get everything on the car setup up the way it's supposed to be. No need to spend all that money on the parts and trust a shady shop and make the kits useless.
Well, that's it. The time-frame was about 2 1/2-3 hours, including readjusting the rear. I took the car for a drive after we installed it and there was alot of rubbing in the back. We actually placed the kits two far and thats what caused it. Let me know what you guys think.
Step 1:
First the battery, intake box (if you have a aftermarket intake it shouldn't be a problem reaching the bolts), and of course tires need to be removed to get to the two bolts holding the OEM camber kit in. Remember, the battery is unplugged so you WILL need your Radio code for your radio if you have the stock receiver in there. One bolt is on the side next to the intake, the other next to the battery.
Intake Side
Battery Side
Step 2:
After those bolts are out, come under the car and unscrew the bolt connecting the kit to the car. After unscrewing this bolt take a hammer/rubber mallet and hit it up a little to get the brake rotor assembly off of it. The kit should come off. Now on some cars taking the actual coilover/shock&spring/OEM suspension might have to come off, but on this car that is not needed.
Stock Assembly
This is the bolt that needs to be removed
Off the car
Step 3:
Time for the new kit. This Skunk2 kit has the adjustable plate instead of the Skunk2 Pro kit that has the adjustable ball joint, but they both will work. First, put the new kit and align it between the holes and slide in the bolts next to the battery and intake. After that place the brake setup back up under the new camber kit and screw in the nut. There is a cauder pin that goes in after the nut is tightened which stops the nut from coming off. Tighten all three bolts down, including the 4 allen heads on the camber kit plate itself.
Skunk2 Box
A little pre-car adjusting/tightening
Putting the kit in and aligning it with the holes
Kit in place
Step 4:
The opposite side is the same exact way, so no need to post up pictures/ how-to because it will just be a repeat of whats above. However, the two bolts in the engine bay are a little harder to get to because of other things blocking the way over there.
Step 5:
Time for the rear. These do not require any work outside of the fender well, so it is a little bit quicker than the front. For the rear I got the Omni Power kit. Once again the only thing that needs to be removed would be the tires. Once again the stock one needs to be removed. It is attached with two bolts to the inside of the car, and a bolt on the brake assembly. Remove these bolts and take off the OEM kit.
Just a picture of the two kits out of the box
Stock Camber kit
Out with the old..
Step 6:
Whenever we took the OEM kit off we compared it to the new kit to adjust it a little because the tires pointed in at the top, so we guess-timated on how much we should come out, and had to repeat the process because we actually over did it the first time
Comparing
Step 7:
When putting the new kit in, we had issues with the rear kit being thicker than the OEM one and not fitting in where the OEM kit matched up to the bracket on the brake assembly. Nothing a hammer couldnt fix. Just align the kit up and tighten down the bolts.
Whenever you adjust, you rotate the center piece to whatever length you want and the tighten down two nuts on both sides to hold the length in place
New kit installed
Final Step:
ALIGNMENT! take it to an alignment shop familiar with aftermarket camber kits so they do it right and get everything on the car setup up the way it's supposed to be. No need to spend all that money on the parts and trust a shady shop and make the kits useless.
Well, that's it. The time-frame was about 2 1/2-3 hours, including readjusting the rear. I took the car for a drive after we installed it and there was alot of rubbing in the back. We actually placed the kits two far and thats what caused it. Let me know what you guys think.
 06-25-2007, 07:28 AM
#2
Honda-Tech Member
Join Date: Aug 2004
Location: Barnet, VT
Posts: 133
Likes: 0
Received 0 Likes
on
0 Posts
dont forget the locktite on the allen bolts. my skunk2 set didn't come with instructions, so i put it together as i would any other camber kit. not long after i was littering little bolts all over the highway. the design of the skunk kit makes it easy for them to fall out without the locktite on the bolts. 
but the kit works
but the kit works

Thread
Thread Starter
Forum
Replies
Last Post
iLOVEthatEMone
Road Racing / Autocross & Time Attack
14
06-28-2007 01:52 PM
iLOVEthatEMone
Suspension & Brakes
3
06-25-2007 11:55 AM