

 03-25-2015, 09:48 AM
Last edit by: IB Advertising
See related guides and technical advice from our community experts:
Browse all: Engine and Powertrain
- Honda: How to paint your engine cover
Step by step instructions for do-it-yourself repairs.
Browse all: Engine and Powertrain

DIY: Single cam red wrinkle paint
08-30-2011, 10:25 PM
#1
Honda-Tech Member
Thread Starter

Join Date: May 2011
Location: Virginia
Posts: 11
Likes: 0
Received 0 Likes
on
0 Posts
Sorry for the HUGE pics guys I dont know how to resize them ?
OK so I am in the process of cleaning up the engine bay in my honda del sol si.. And I figured no better place to start is with a fresh valve cover .. After sitting around for days thinking about what color I wanted to do I finally decided on Red wrinkle paint.. So here's your DIY
Parts needed :
VHT or Krylon red wrinkle paint ( I used VHT )
Valve cover
Painters tape or duct tape ( I used both )
Sand paper ( I used 150, 320, 600 )
Oven ( optional )
Razor blades
New gasket kit ( also optional )
10mm socket and ratchet wrench
To pull the valve cover all the bolts " should be " 10mm the single cams only has 5 bolts that need to be removed
Ok so my valve cover was in pretty rough shape. Here it is as soon as I pulled it from the motor
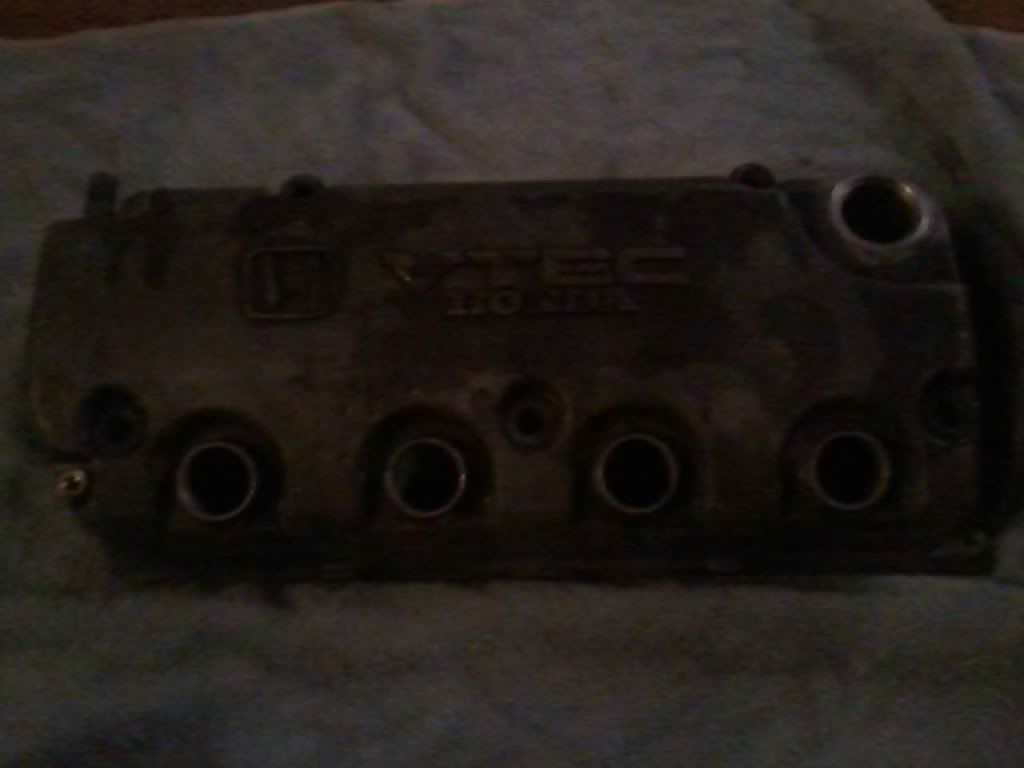
So the first thing you need to do is clean it up with warm water and soap, also now is a good time to take the spark plug seals out if your replacing ( I did ).. And after its cleaned up start sanding. Start with the 150 grit getting all the big knicks and scratches out, then gradually work your way up to the finer grit ( 600 ) to smooth everything out.. Remember the more prep work you do before paint the better the final product will be..
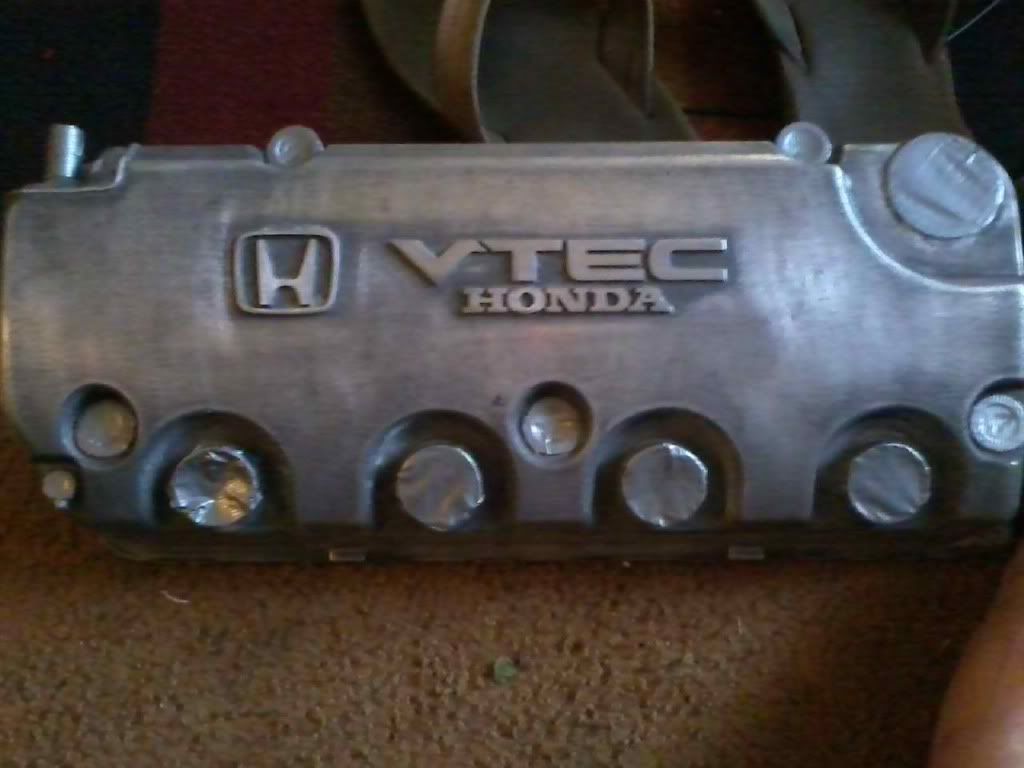
So here it is all sanded down and taped up and ready to go ( I used duct tape on this because the blue painters tape didnt really work here )
Now time too paint, holding the can 8-10 inches away spray even coats I used 4 coats with a 3 minute break in between each coat ( this is up to you how many coats you want ) 1st coat I did was horizontal, 2nd coat was vertical, 3rd coat I did diagonal, and final coat was horizontal again.. ( remember 3 minutes in between...)
heres after the paint
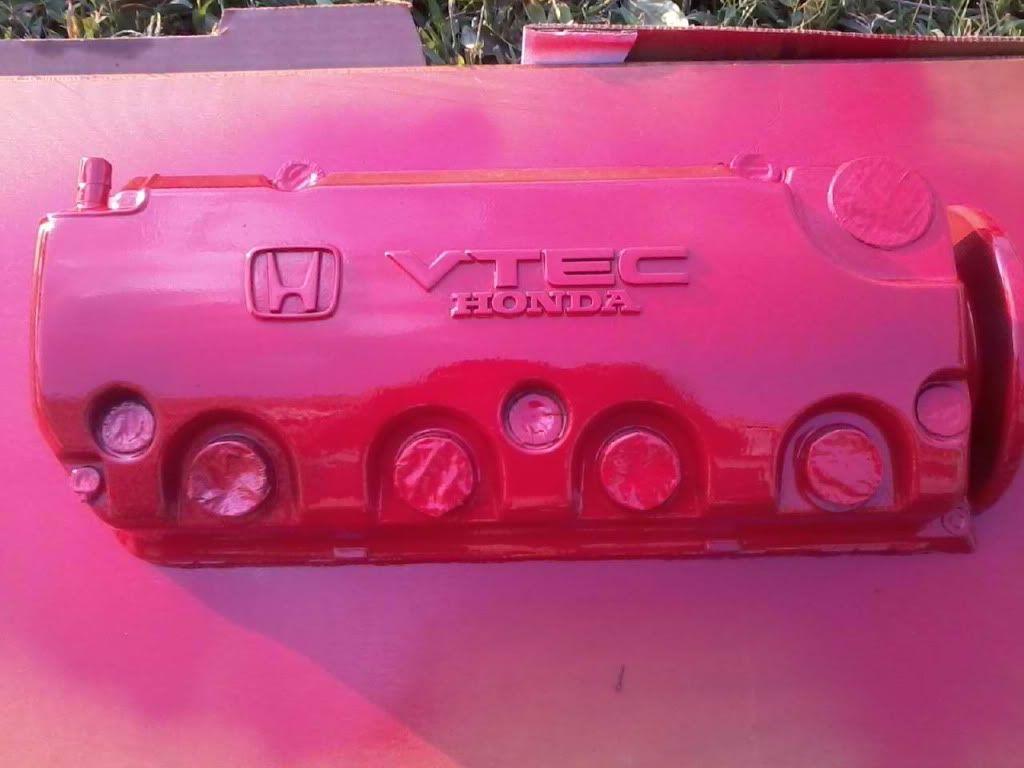
Now find a spot to store the cover for about 12 hours for the paint to dry I had my in my room with a fan on it for the 12 hours..
Here's what it looks like after the 12 hours
Now CAREFULLY remove the tape and pre heat your oven to 200 degrees ( like I said this is optional ) and put it in the oven at 200 for about 20 minutes
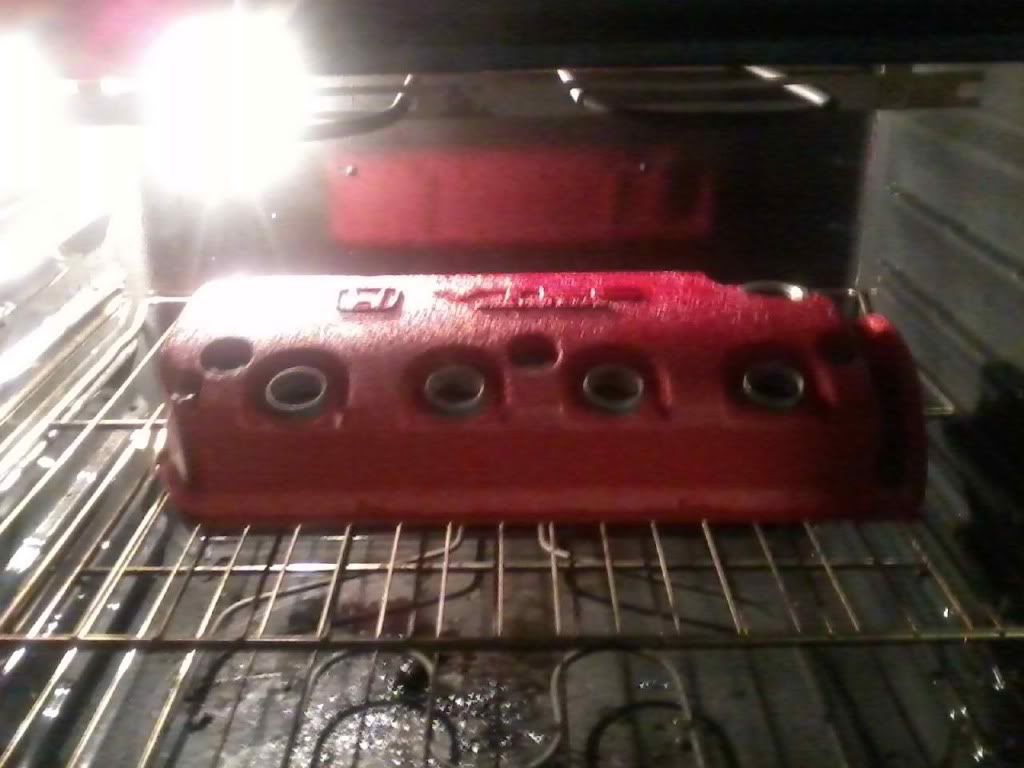
Be careful removing it from the oven to not scratch it.. And let it cool ALL the way down and start taping around the " H " symbol and " vtec " symbol (here I used the blue painters tape)
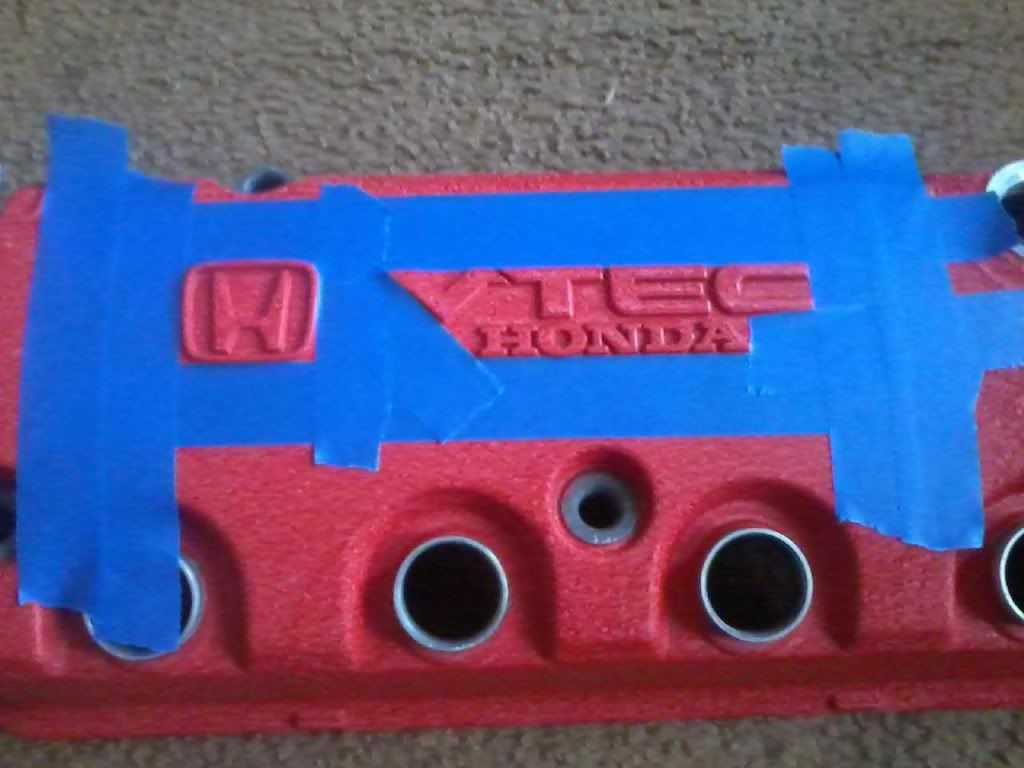
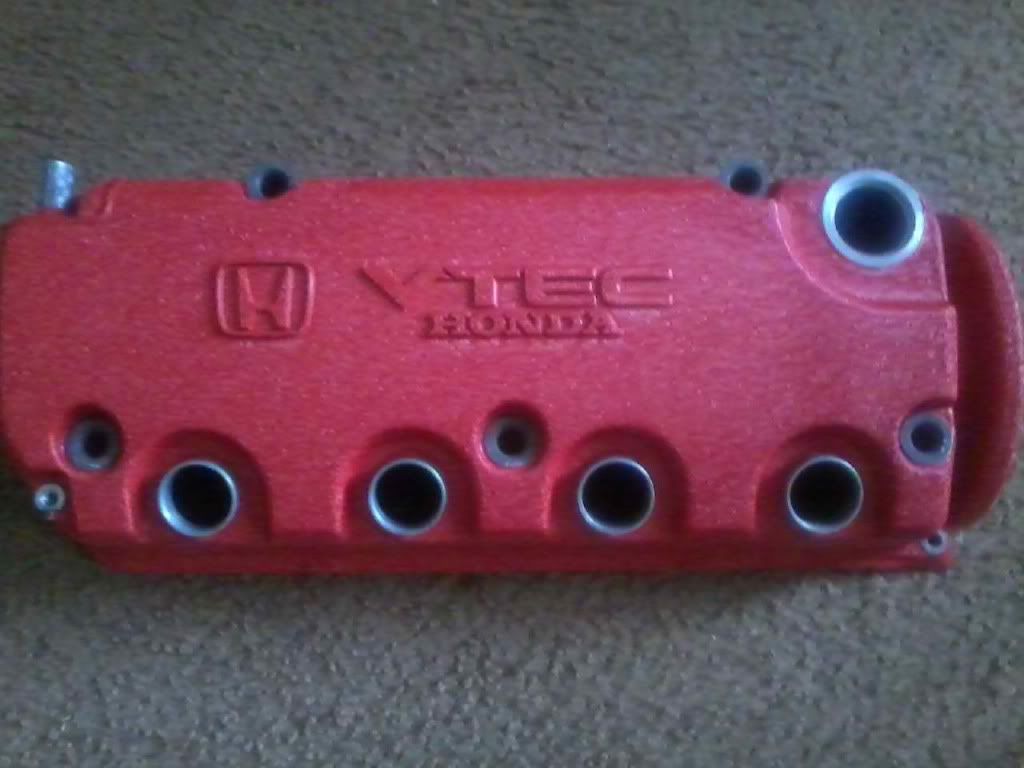
and in the same sequence start sanding the letters to get the paint off and shine it on up.. ( start with 150 then 320 then the 600 ) and after the sanding is done carefully remove the tape and it should look like this
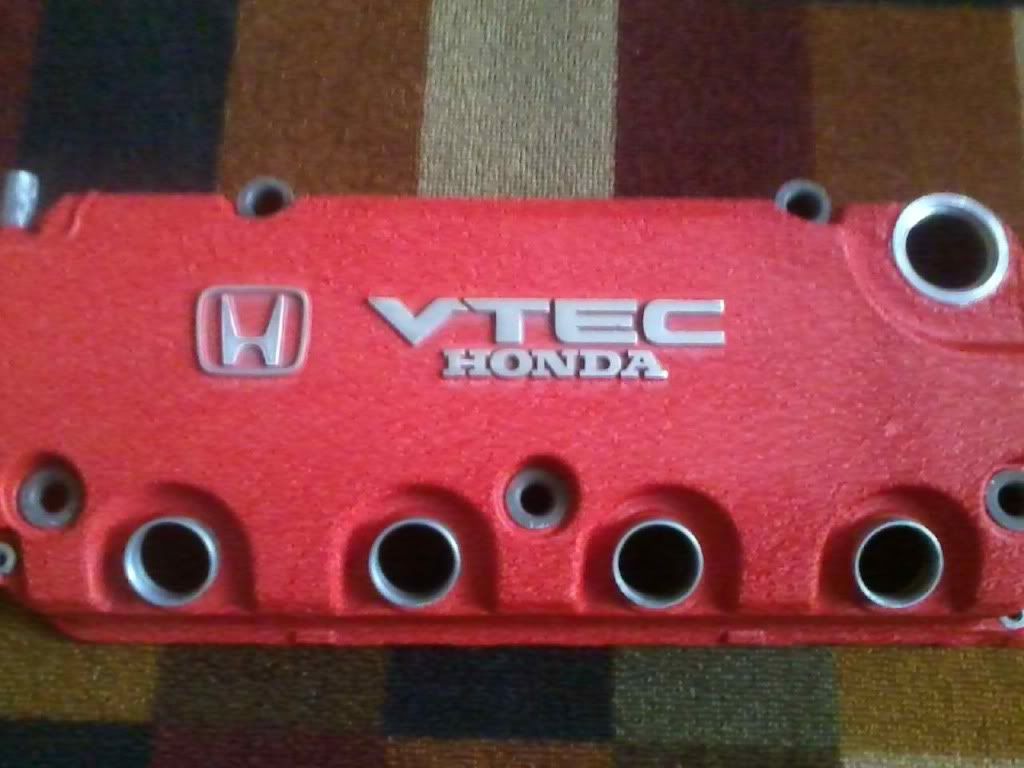
Now its finished and if you bought a new valve cover gasket set now is the time to install them like I did ( valve cover gasket, spark plug tube seals, and grommets for the top bolts ) and install on the motor and bolt everything down( 10mm bolts ) and here ya go..... B)
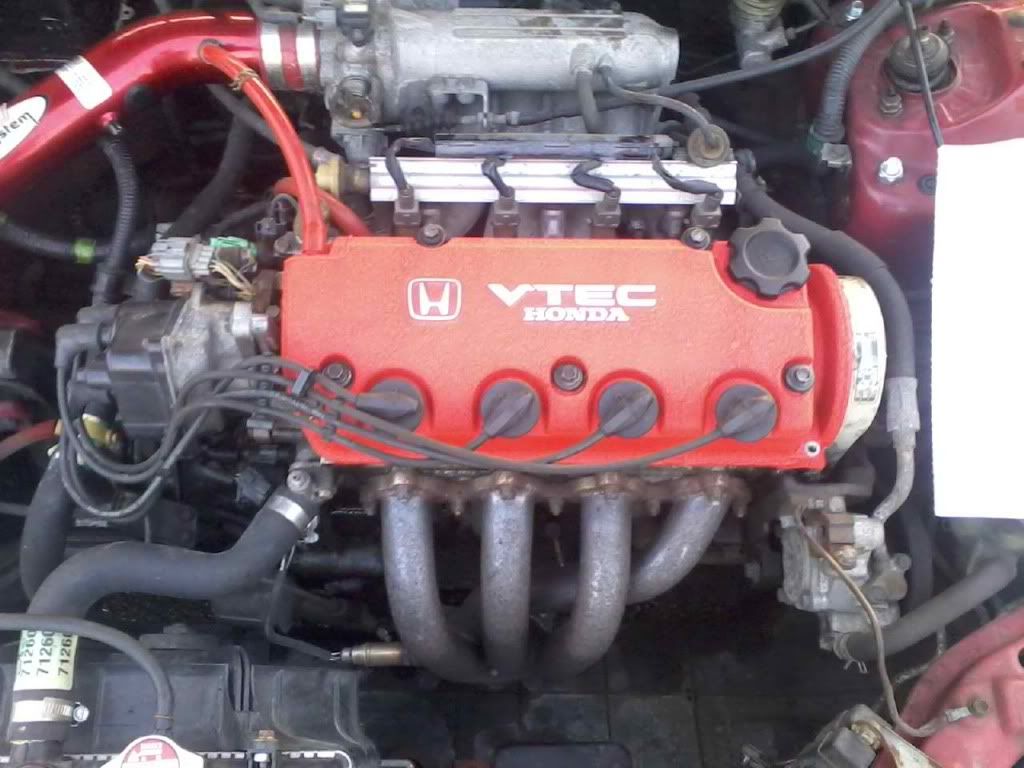
I know I know its a dirty *** engine bay im workin on it fella's :D next I think will be a wire tuck
ENJOY............
OK so I am in the process of cleaning up the engine bay in my honda del sol si.. And I figured no better place to start is with a fresh valve cover .. After sitting around for days thinking about what color I wanted to do I finally decided on Red wrinkle paint.. So here's your DIY
Parts needed :
VHT or Krylon red wrinkle paint ( I used VHT )
Valve cover
Painters tape or duct tape ( I used both )
Sand paper ( I used 150, 320, 600 )
Oven ( optional )
Razor blades
New gasket kit ( also optional )
10mm socket and ratchet wrench
To pull the valve cover all the bolts " should be " 10mm the single cams only has 5 bolts that need to be removed
Ok so my valve cover was in pretty rough shape. Here it is as soon as I pulled it from the motor
So the first thing you need to do is clean it up with warm water and soap, also now is a good time to take the spark plug seals out if your replacing ( I did ).. And after its cleaned up start sanding. Start with the 150 grit getting all the big knicks and scratches out, then gradually work your way up to the finer grit ( 600 ) to smooth everything out.. Remember the more prep work you do before paint the better the final product will be..
So here it is all sanded down and taped up and ready to go ( I used duct tape on this because the blue painters tape didnt really work here )
Now time too paint, holding the can 8-10 inches away spray even coats I used 4 coats with a 3 minute break in between each coat ( this is up to you how many coats you want ) 1st coat I did was horizontal, 2nd coat was vertical, 3rd coat I did diagonal, and final coat was horizontal again.. ( remember 3 minutes in between...)
heres after the paint
Now find a spot to store the cover for about 12 hours for the paint to dry I had my in my room with a fan on it for the 12 hours..
Here's what it looks like after the 12 hours
Now CAREFULLY remove the tape and pre heat your oven to 200 degrees ( like I said this is optional ) and put it in the oven at 200 for about 20 minutes
Be careful removing it from the oven to not scratch it.. And let it cool ALL the way down and start taping around the " H " symbol and " vtec " symbol (here I used the blue painters tape)
and in the same sequence start sanding the letters to get the paint off and shine it on up.. ( start with 150 then 320 then the 600 ) and after the sanding is done carefully remove the tape and it should look like this
Now its finished and if you bought a new valve cover gasket set now is the time to install them like I did ( valve cover gasket, spark plug tube seals, and grommets for the top bolts ) and install on the motor and bolt everything down( 10mm bolts ) and here ya go..... B)
I know I know its a dirty *** engine bay im workin on it fella's :D next I think will be a wire tuck
ENJOY............
 08-30-2011, 10:31 PM
#2
Honda-Tech Member
good diy, i heard that rubbing something thick like vaseline before you start painting and then removing it before putting it in the oven will get the job done
08-30-2011, 10:37 PM
#3
Honda-Tech Member
Thread Starter
Join Date: May 2011
Location: Virginia
Posts: 11
Likes: 0
Received 0 Likes
on
0 Posts
PS- Can someone help me resize the images please
08-31-2011, 06:40 AM
#4
Honda-Tech Member
Join Date: Nov 2002
Location: Miami and Atlanta
Posts: 816
Likes: 0
Received 0 Likes
on
0 Posts
Nice work buddy, came out great.
I would have washed the engine before putting in the new valve cover, but if you're careful you should still be able to wash/degrease it without damaging the shiny (or should I say 'wrinkled') red addition.
I resized your pics and I am ready to email them to you. PM me your email.
-Walter
PS= for the future, download GIMP and resize following this. Searching YouTube for "how to resize gimp" will yield good video tutorials as well.
04-16-2012, 11:36 PM
#5
Honda-Tech Member
Join Date: Apr 2008
Location: Philly, USA
Posts: 96
Likes: 0
Received 0 Likes
on
0 Posts
Sick VC man.. I didnt think i would find this but this is exactly the DIY i was looking for because i just got a D15B vtec and i wanna do the same thing!!
04-17-2012, 12:55 AM
#6
Honda-Tech Member
Join Date: Sep 2011
Posts: 235
Likes: 0
Received 0 Likes
on
0 Posts
I'm about to do this on my b16 sol is there anything i should worry about when taking my VC off? Except for the pattern you remove the bolts? That's the only thing i could find on how to remove the valve cover. Also my #4 bolt is broken it seems. How hard is it to replace?
Trending Topics
04-18-2012, 06:09 AM
#8
Honda-Tech Member
Join Date: Nov 2002
Location: Miami and Atlanta
Posts: 816
Likes: 0
Received 0 Likes
on
0 Posts
Also my #4 bolt is broken it seems. How hard is it to replace?
Buy a new valve cover gasket and spark plug rings and replace it when you put the painted VC back. It's only a few bucks.

Thread
Thread Starter
Forum
Replies
Last Post