

 03-25-2015, 12:17 PM
Last edit by: IB Advertising
See related guides and technical advice from our community experts:
Browse all: Lighting
- Honda Accord: How to black out your headlights
Step by step instructions for do-it-yourself repairs.
Browse all: Lighting

How to: DIY black out headlights

 10-16-2007, 05:47 PM
#53
Honda-Tech Member
Join Date: Apr 2007
Location: Bien Hoa, Vietnam
Posts: 543
Likes: 0
Received 0 Likes
on
0 Posts
oh cool i already have krylon fusion lying around... i thought it was only for plastic though. I'm guessing you had to sand paper the area down pretty well??
And also did you paint any area under the amber once you removed it>?
thanks
And also did you paint any area under the amber once you removed it>?
thanks
10-16-2007, 05:54 PM
#54
Join Date: Oct 2007
Location: Lexington Park, MD, United States
Posts: 19
Likes: 0
Received 0 Likes
on
0 Posts
I scuffed the area pretty well, with 600 grit. Did 3 coats until the paint smoothed out. And yes I painted the line that separates the blinker and the top surface of the reflecter. Take your time masking, I spent a few hours until i got it right where i wanted it to be.
10-20-2007, 03:05 PM
#55
Honda-Tech Member
Join Date: Apr 2007
Location: Bien Hoa, Vietnam
Posts: 543
Likes: 0
Received 0 Likes
on
0 Posts
for those of who removed the amber, did you also remove the white reflector as well?
Will people still be able to see my signals without the amber
I'm doing mine exactly like thinknology
Will people still be able to see my signals without the amber
I'm doing mine exactly like thinknology
10-20-2007, 08:39 PM
#56
Honda-Tech Member
Join Date: Aug 2007
Location: Rock Hill, SC, US
Posts: 444
Likes: 0
Received 0 Likes
on
0 Posts
I kept the clear reflector in there cause I like the chrome on the black...but if your taking out the amber peice then you will need a new bulb thats the amber color or else you just have a bulb under there and it doesn't have a color to it and may get you a ticket.
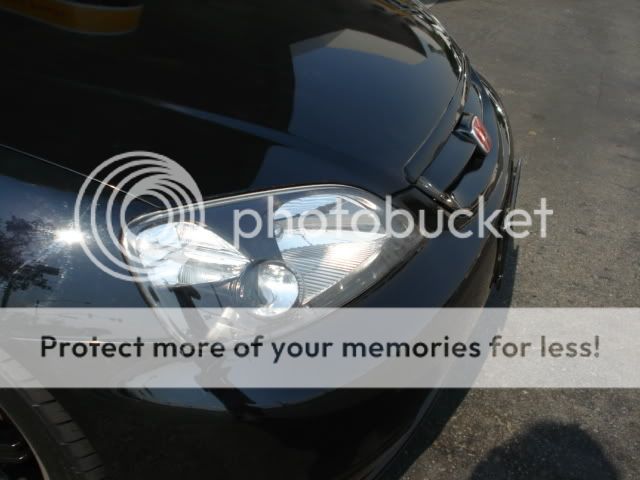
Here is what mine looked like after I got done.
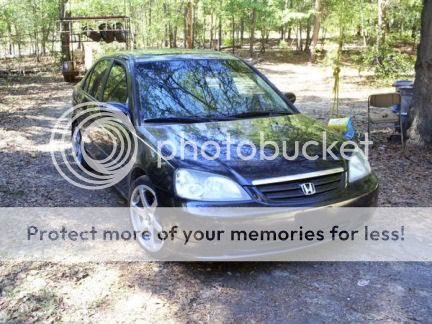
Here is what mine looked like after I got done.
10-20-2007, 09:19 PM
#57
Honda-Tech Member
Join Date: Apr 2007
Location: Bien Hoa, Vietnam
Posts: 543
Likes: 0
Received 0 Likes
on
0 Posts
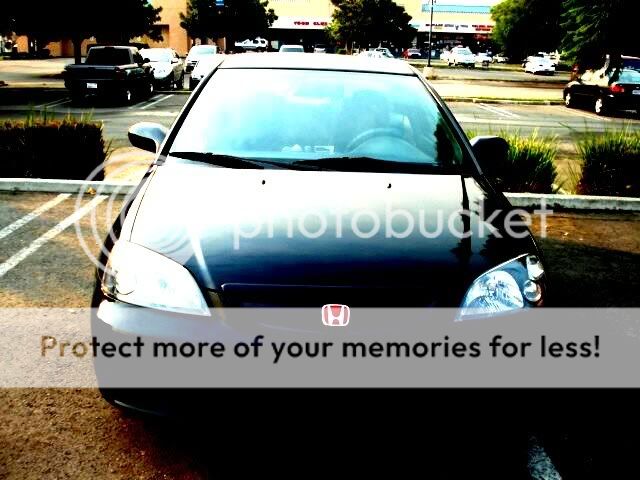
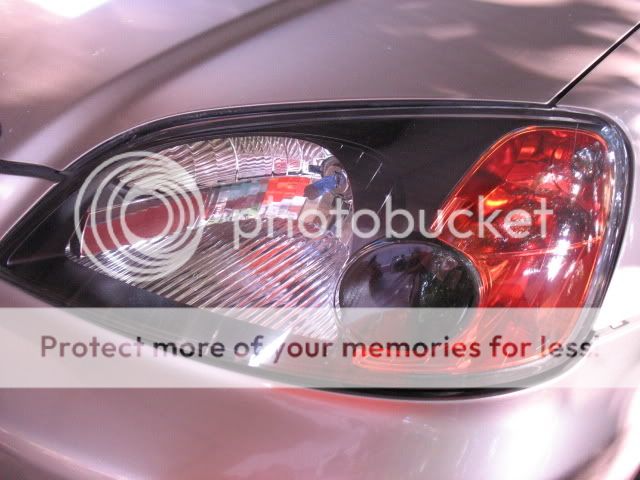
okay so i'm done!! wow that took me from noon Saturday all the way until noon sunday. I was extra careful but i had the most difficult time putting the screws back onto my bumper because all the screws were all different (previous owner fault?) other than that, it wasn't too bad when it comes to removing the bumper.
I think i am very happy with the results... and my turn signal bulb actually lights up yellow so no need for the amber!
Modified by kcari at 3:27 PM 10/21/2007
I think i am very happy with the results... and my turn signal bulb actually lights up yellow so no need for the amber!
Modified by kcari at 3:27 PM 10/21/2007
10-22-2007, 03:25 PM
#59
Honda-Tech Member
Join Date: Apr 2007
Location: Bien Hoa, Vietnam
Posts: 543
Likes: 0
Received 0 Likes
on
0 Posts
I kind of miss the amber...
Oh yeah, btw did you get rid of all the black tar and applied your own silicone?
or did you just reheat the tar up and pressed?
Modified by kcari at 8:30 AM 10/23/2007
Modified by kcari at 7:31 AM 10/26/2007
12-01-2007, 10:27 PM
#61
Join Date: Dec 2007
Location: Davao City, Philippines
Posts: 9
Likes: 0
Received 0 Likes
on
0 Posts
Hello. I'm new here. I did mine 3 months ago and removed the gum with hairdryer.
I did great on my left headlight.
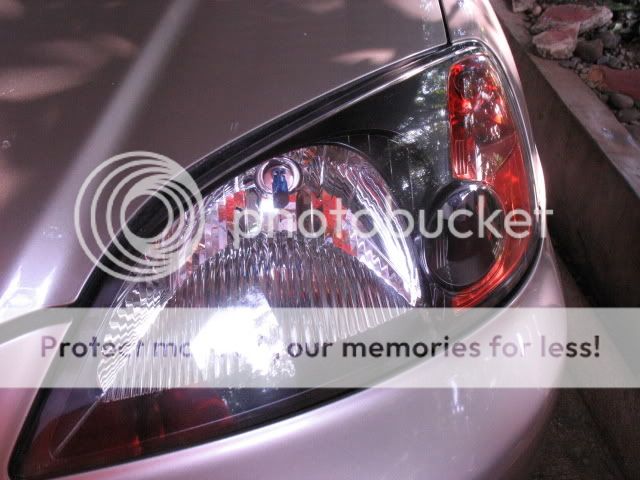
It didn't have any amber so i got candy orange paint to make it amber.
But I have this nasty problem. I screwed up my right headlight lens. It has gotten dirty and all moist. I'm gonna open it this weekend and clean out the moisture and seal it up properly.
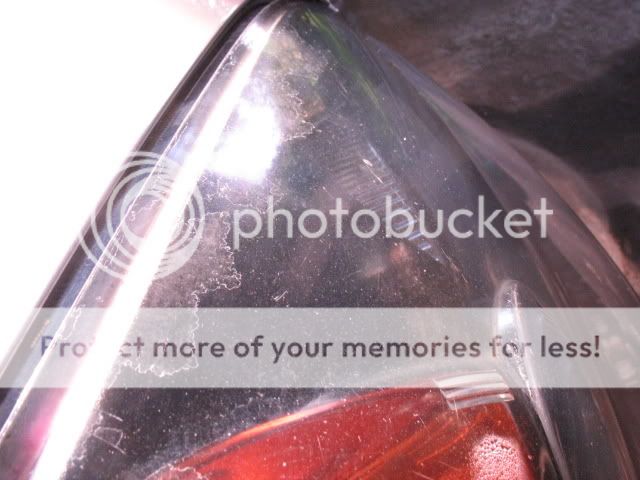

Did any of you guys have this problem? I tried heating the mess up thinking it was just glue/gum but it didn't come off. It feels rough. its on the exposed side of the lens. I can really use a good advice.
I did great on my left headlight.
It didn't have any amber so i got candy orange paint to make it amber.
But I have this nasty problem. I screwed up my right headlight lens. It has gotten dirty and all moist. I'm gonna open it this weekend and clean out the moisture and seal it up properly.
Did any of you guys have this problem? I tried heating the mess up thinking it was just glue/gum but it didn't come off. It feels rough. its on the exposed side of the lens. I can really use a good advice.
12-02-2007, 08:57 AM
#63
Honda-Tech Member
Join Date: Nov 2006
Location: A.W.O.L, GA
Posts: 1,008
Likes: 0
Received 0 Likes
on
0 Posts
well at least you have to add new silicone on there.. and my old set did this.. but with GA's crappy heat, i need to buy a new set here soon rather than used one's to keep in healthy shape. i wish ours were made of glass
 12-02-2007, 10:03 AM
#65
Join Date: Dec 2007
Location: Davao City, Philippines
Posts: 9
Likes: 0
Received 0 Likes
on
0 Posts
yeah i need to add silicone coz i still need to open the Headlight to remove the moisture. But the moisture is not my concern coz its easy to wipe off. I'm more concerned on the stains on my lens. I just bought 3 pcs. of 2000 grit sandpaper to wetsand it and a can of rubbing compound but the one i bought says its waterproof. Is it safe to wetsand using a waterproof sandpaper? I really need to clean the lens. Its really blurry when the headlight is turned on....
12-02-2007, 10:07 AM
#66
Join Date: Dec 2007
Location: Davao City, Philippines
Posts: 9
Likes: 0
Received 0 Likes
on
0 Posts
@kcari
I just reheated the tar/gum. Its not tar on my headlight coz here in the Philippine domestic market they use gray gumlike goo... I'll get some silicone this weekend to properly seal off that lens so that it won't leave any nasty moisture...
I just reheated the tar/gum. Its not tar on my headlight coz here in the Philippine domestic market they use gray gumlike goo... I'll get some silicone this weekend to properly seal off that lens so that it won't leave any nasty moisture...
12-02-2007, 03:56 PM
#67
Honda-Tech Member
Join Date: Apr 2002
Posts: 1,803
Likes: 0
Received 0 Likes
on
0 Posts
To be honest, that entire headlamp could use it, but do whatever you're comfortable with. Fix the topmost section first (which is the worst), and if you're comfortable, try the entire headlight.
If you can't properly buff and this is your first time with a buffer, THIS IS PROBABLY NOT FOR YOU. IMO you need to at least have your buffing skills down before you attempt wet sanding.
What you'll need
1. Your sandpaper (1500+ is ideal, the finer the better. I personally wouldn't go harsher than 1500. If the sand paper is black on the back (not beige or orange), then that is what you want.
2. Car wash soap.
3. Water.
4. A car wash mit
4. A bucket to hold it all.
5. Buffing compound (at least a medium cut)
6. Foam buffing pad (at least medium cut)
7. Rotary buffer.
8. Couple microfibers.
9. Couple terricloth towels.
Let the wet sand paper soak in the bucket of car wash before hand for a couple minutes. Fold the paper until it is about as wide and as long as your first three fingers. Most wet sand paper comes in 9" x 11" Sleeves.
1.Wash, rinse, then wash the headlight again. Keep it as wet and soapy as possible.
2. Using the wet sand paper, apply even pressure, even strokes. Don't use a block because you're on a semi curved surface, use your fingers.
You can sand parallel to the hood (sanding lengthwise) which is probably ideal, but if you're more comfortable going the height, that's up to you.
3. Check your progress often and be patient. Grab a dry terricloth towel and see how much oxidization is left. Use your better judgement. You only have several millimeters of clear to play with.
If the sand paper starts to "squeak", shift the paper and use a fresh section.
4. When you're satisfied and the headlight surface is dry, buff the headlight out. I say use a medium cut at the very least, but if you're pickier you can use a variety of finishing pads with soft foam and soft finishing polishes.
5. After you've buffed the surface (and all the fine "scratch" hazing is gone, check in a variety of lighting conditions if possible), wash the surface again and dry.
6. At the very least it's a good idea to apply wax. Waxing the headlamps often makes them hold up remarkably better in the long run.
If you're picky, a good glaze would be a good idea before you wax.
12-02-2007, 07:56 PM
#68
Join Date: Dec 2007
Location: Davao City, Philippines
Posts: 9
Likes: 0
Received 0 Likes
on
0 Posts
thanks for the quick reply. Its really good to have a guide on how to do this. I have no experience with buffing but I have a buddy who knows and will be glad to help out. We'll try to fix it during the weekend. I'll post some pix after we're done.
01-07-2008, 08:21 AM
#70
Honda-Tech Member
Join Date: Apr 2007
Location: Bien Hoa, Vietnam
Posts: 543
Likes: 0
Received 0 Likes
on
0 Posts
I don't remember if its from an ep3 or a type r integra. The fitment is not 100% but its close to 95% or so, just have to play around with it and glue it. I just brought my original emblems into a local jdm ricer store and they found the closes match. I don't remember if i had to cut the pins or not in the front, but deffinitely had to in the rear. They weren't cheap either and suffered through weeks of fear that someone might jack me.
01-31-2008, 07:34 AM
#71
Honda-Tech Member
Join Date: Jan 2008
Location: Mystery Machine
Posts: 205
Likes: 0
Received 0 Likes
on
0 Posts
HEY DOES anyone think its a tad ridiculous that for almost every front end mod you have to take off the whole darn bumper off. im telling ya. i just replaced my grill with the ctr grill and was totally caught off gaurd by all the damn work needing to be done lol. oh well at least the bumper is easy to take off, just takes awhile
02-02-2008, 09:13 AM
#72
Honda-Tech Member
Join Date: Apr 2007
Location: Bien Hoa, Vietnam
Posts: 543
Likes: 0
Received 0 Likes
on
0 Posts
yes... i hate it too.. especially putting the bumper back on. it doesn't exactly snap in place without force from both sides. Always need a friend...
02-03-2008, 01:56 PM
#73
Honda-Tech Member
Join Date: Aug 2007
Location: Rock Hill, SC, US
Posts: 444
Likes: 0
Received 0 Likes
on
0 Posts
Bumper is pretty easy usually only takes about 10 min and its on the ground given that you have done it before and know what direction to head in. 
02-04-2008, 05:09 AM
#74
Honda-Tech Member
iTrader: (1)
Join Date: May 2007
Location: you wish you knew....., United States
Posts: 2,075
Likes: 0
Received 0 Likes
on
0 Posts
i blacked mine out this weekend. the oven works great to get teh silicone to release.
i'd have pix except both my digital cameras got stollen so i no more pictures
i'd have pix except both my digital cameras got stollen so i no more pictures
02-04-2008, 07:27 AM
#75
Join Date: Feb 2008
Location: 210 FRWY, Ca, U.S
Posts: 119
Likes: 0
Received 0 Likes
on
0 Posts
Congrats on the lights soory bout the digi cams though  . the oven thing works great you just have to keep on eye on them. Did mine few months ago. love it
. the oven thing works great you just have to keep on eye on them. Did mine few months ago. love it