When you click on links to various merchants on this site and make a purchase, this can result in this site earning a commission. Affiliate programs and affiliations include, but are not limited to, the eBay Partner Network.
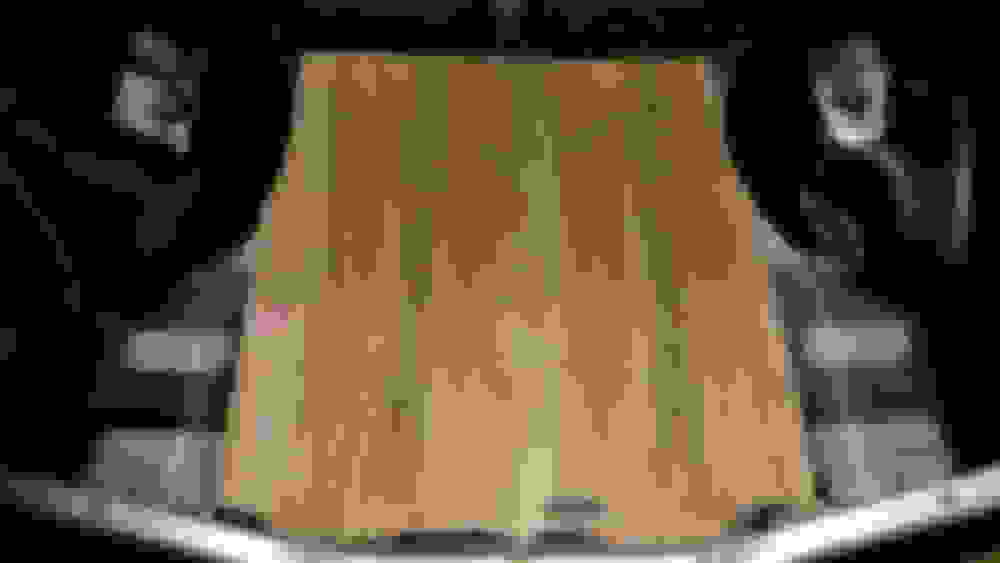
Here's the outline made. It's there just hard to see
Almost done. The whole garage was full of smoke cutting this thing out. I didn't have the right attachment. Had to take a few breaks from the smoke
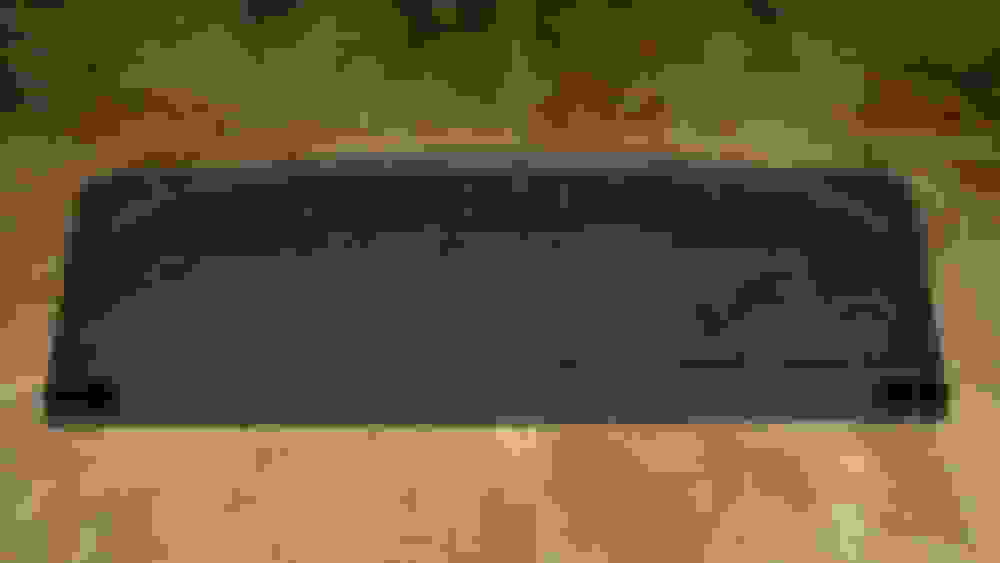
After it was cut. Next step was to sand the edges. I use 400 grit sandpaper and dremel with the sanding attachment
Fabric for the new trunk lid cover. Cut to size
Dry mocked up. Use headliner glue to put in place
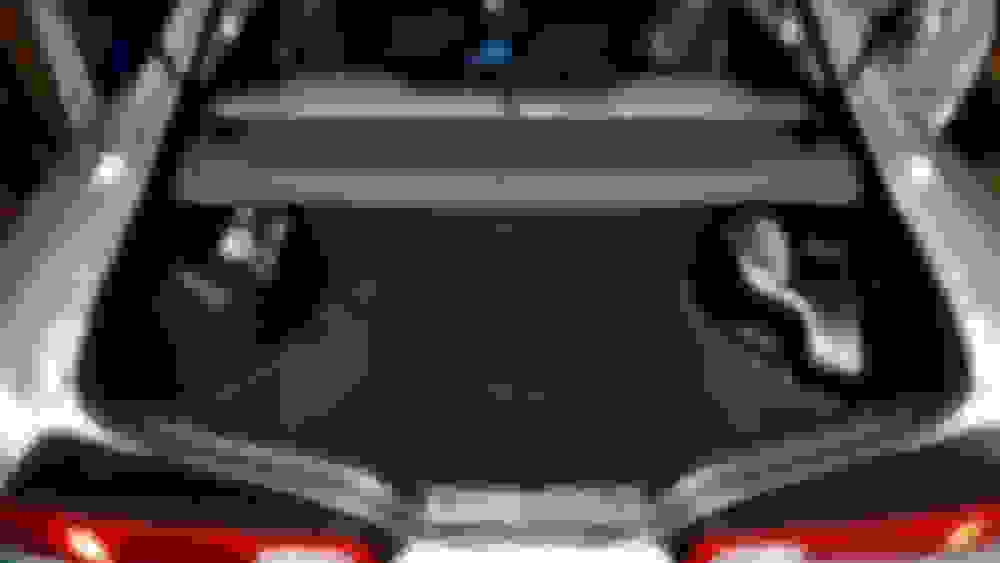
Trunk cover on the car
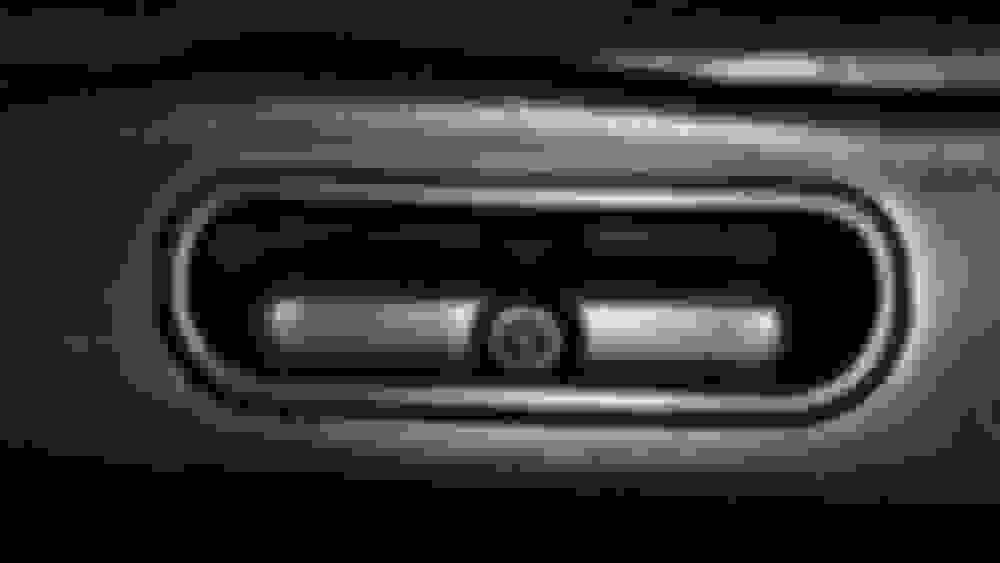
Freshly cleaned spare tire with new oem anchor plate and bolt
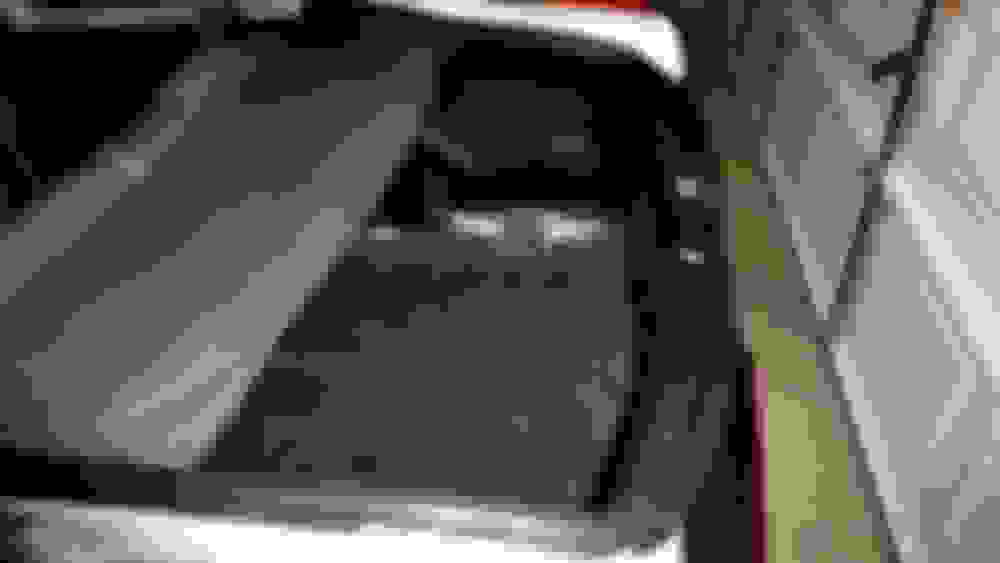
On the car
Cleaned out the trunk carpet with new oem retainers
On the car. Looking clean
Before we installed the tail lights we cleaned this area out
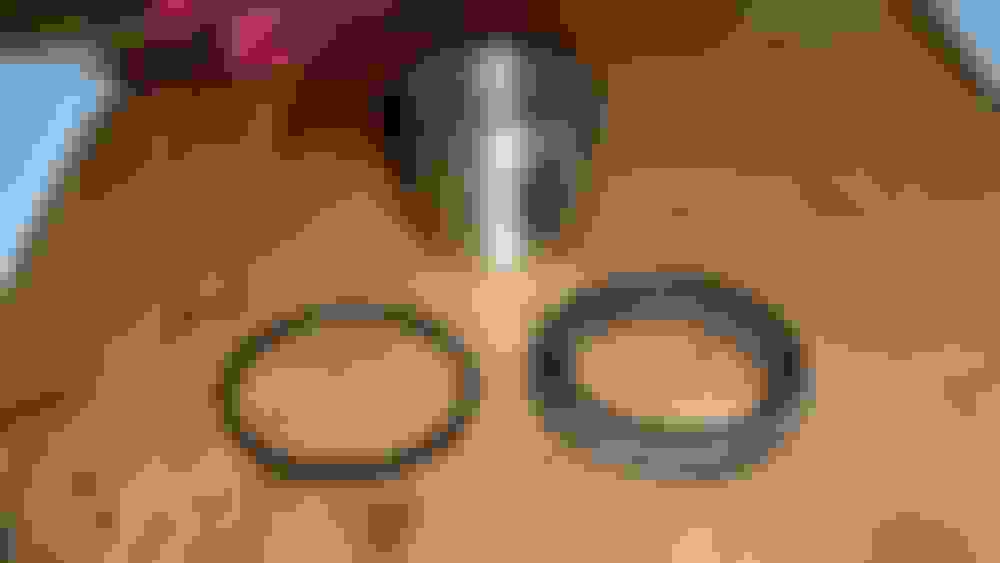
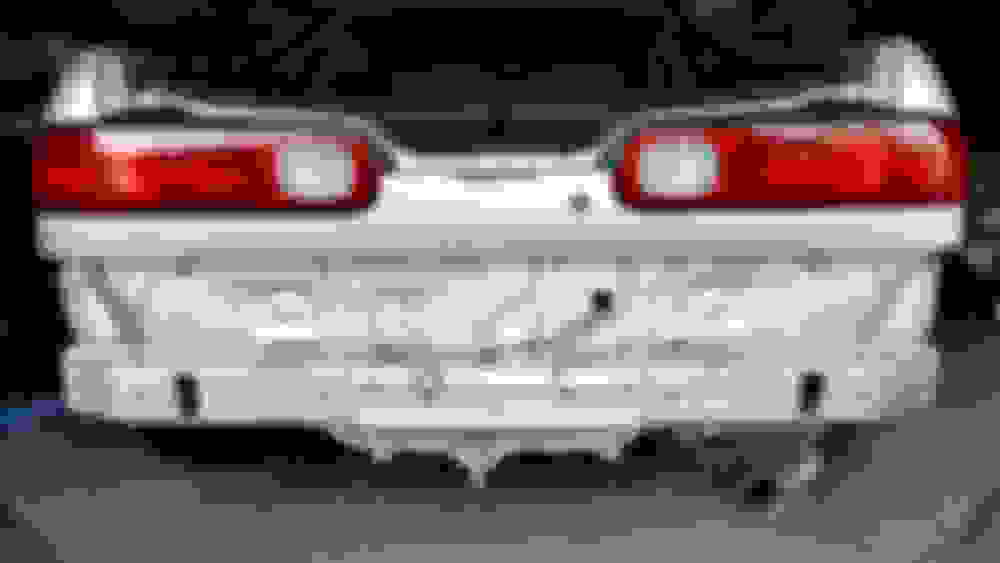
We also cleaned out the back part of the tail lights with new oem gasket. Good luck taking out the wire harness. We ended up not removing it ahahaha. Try it out with out breaking anything. I'm not responsible if anything breaks . These tail lights are temporary until we get a new set ( cracks on tail lights )
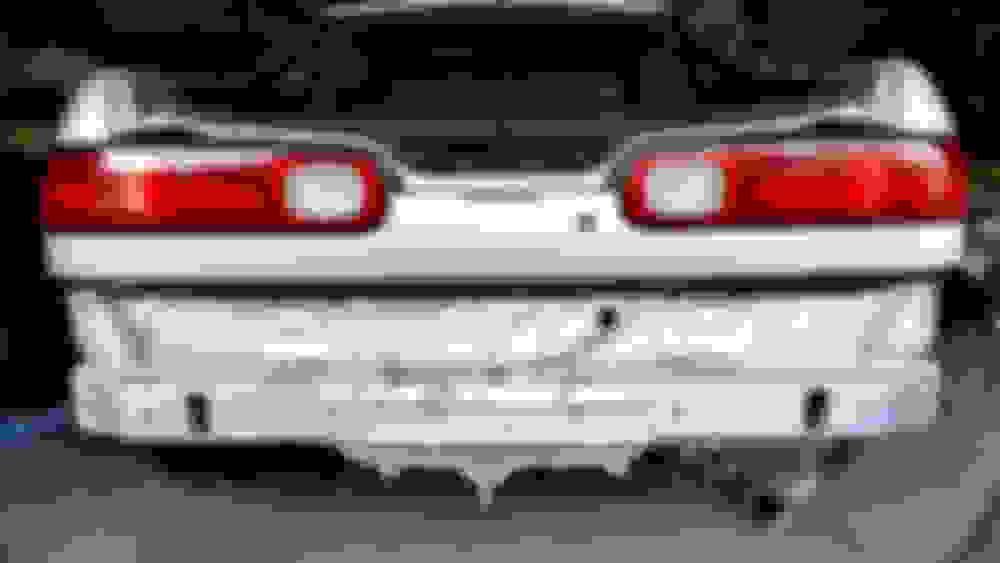
Installed the new gasket
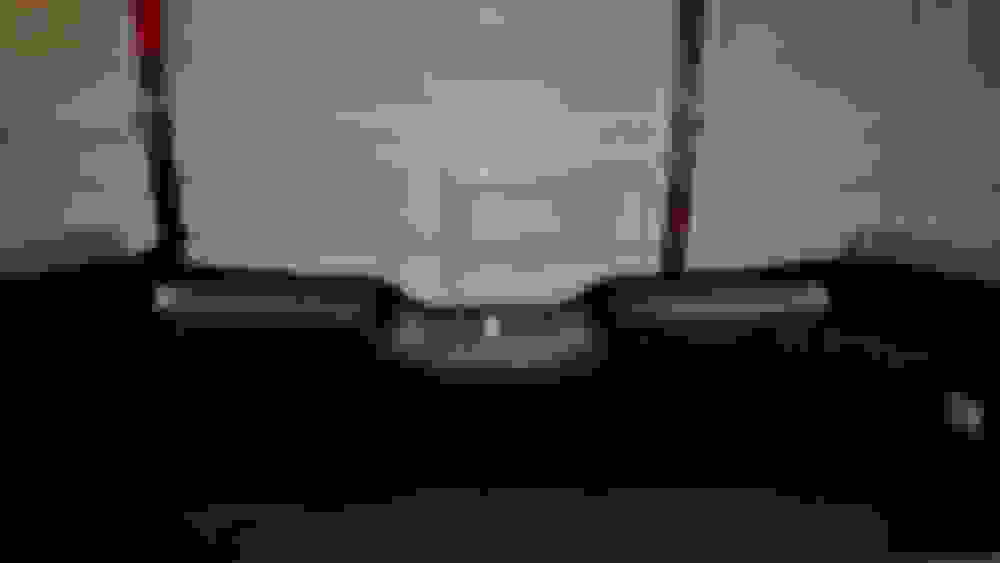
New oem rear bumper beam with new oem gasket and nuts. The other one got bent from a minor accident that my bro had before the car got painted
Before we installed the beam we clean the surrounding areas. Tail lights intsalled here
We got the beam put back on
A picture of the trunk before panel is put on. Wires exposed
New oem clips for the trunk panel
Trunk panel with stoppers and other random parts
Back on
Hatch shelf missing bar support and screws
New oem bar support and screws. For some reason it was missing
Bar Support and Screws put on
We got new oem jack and tools
Temporary location. Yes we know where it goes
Had to intsall new oem molding rail and caps. The old ones were broken and missing
Before
After
We removed the front passenger glass, run channel, guide, weather strip, and sash. Clean the window especially the botttom part. New oem passenger run channel
Cleaned out the areas before we reinstall the window and rest of the parts
Run channel intsalled
Window, guide, sash, and weather strip back on
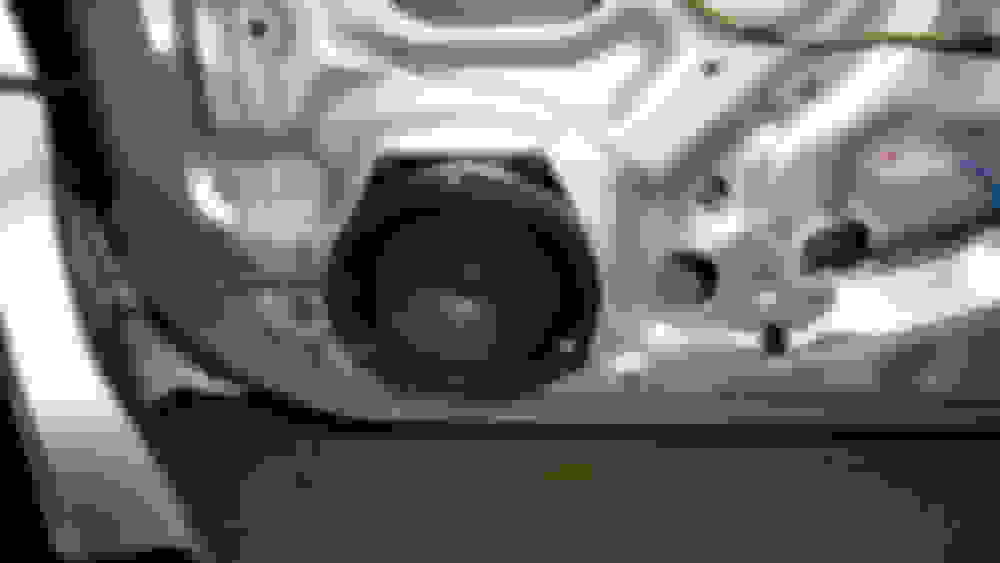
New oem speaker, vapor/moisture barrier, grommets, and clean the bracket speaker
Reinstalled the speaker bracket
New speaker back on
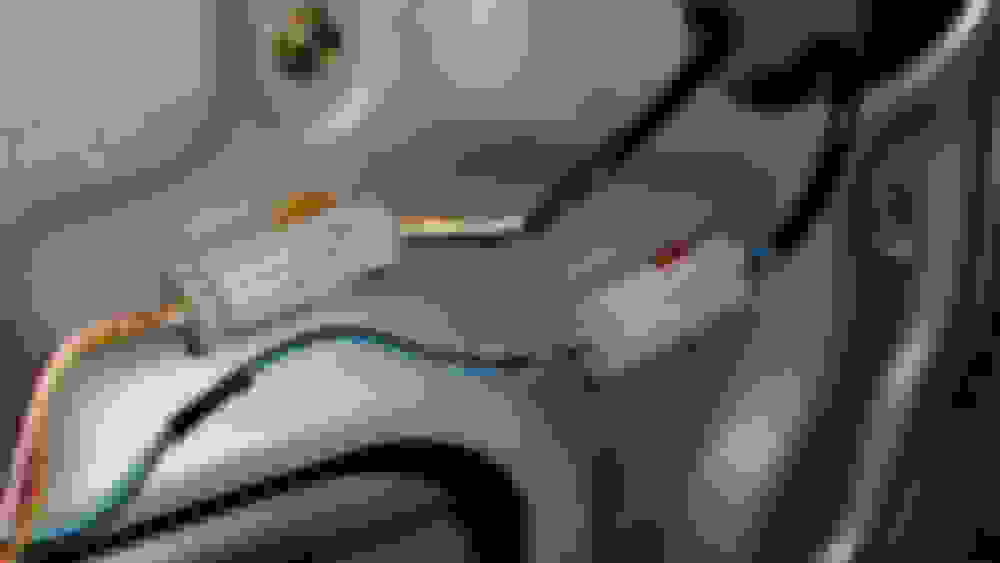
New oem wire bracket clip
Slides right in
Push back in
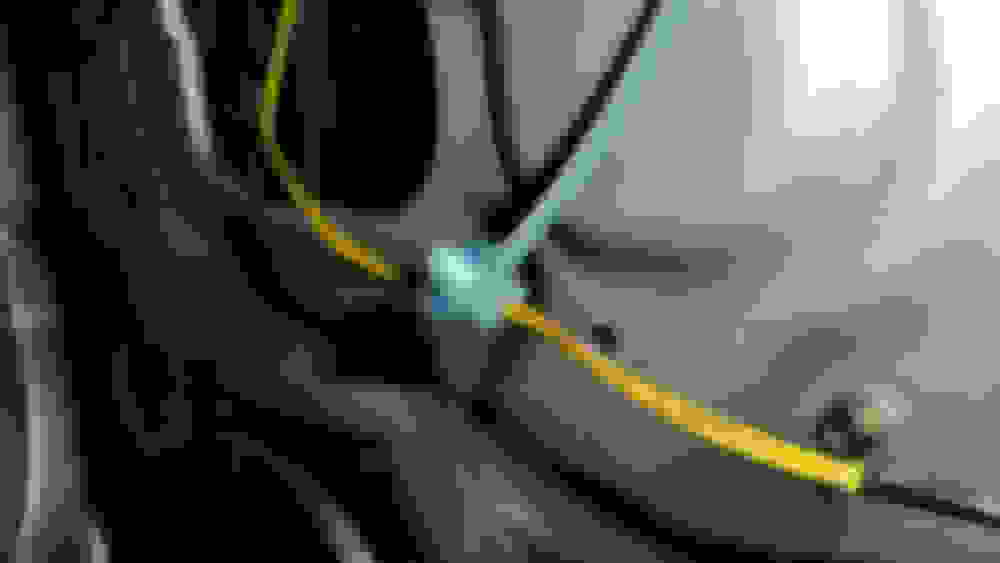
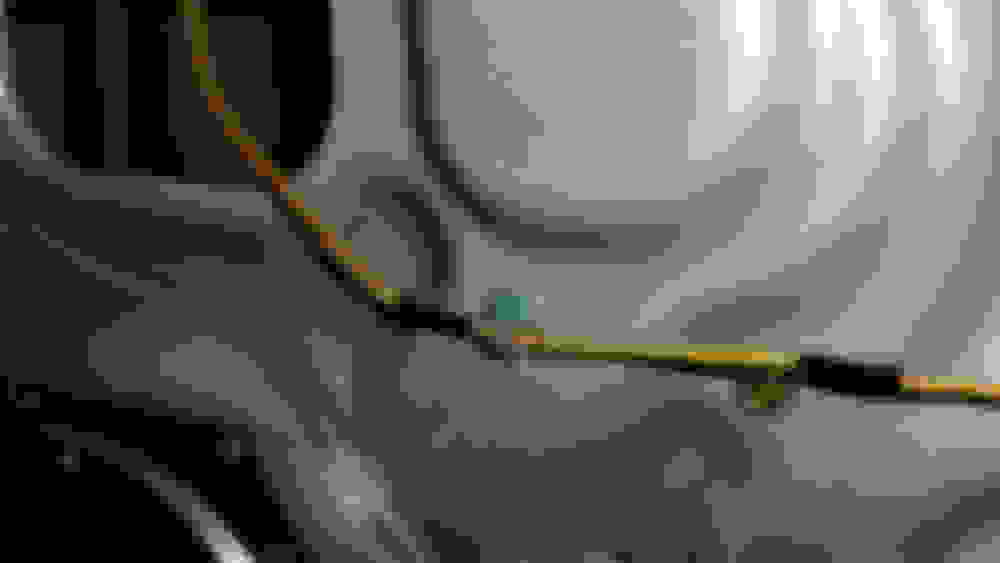
New oem wire harness zip tie clip
Cut the excess
Clip back on the door
How it looks after
Caulk gun and butyl adhesive. That's the brown sticky stuff behind the vapor/moisture barrier on your door panel. And yes that's honda butyl adhesive. Use anything you want
Applied butyl on top and side of the door. There's grooves where you apply the adhesive so you won't miss it. You could see it in the picture below
Apply on the rest of the door. Botttom side
Here you go just press on the vapor/moisture barrier and you're done. Grommets was also installed here. Top left and top right of the barrier
Passenger panel back on. Dude I had a struggle putting this thing on. Tip: start on the side mirror and come in an angle
New oem side mirror cover and nuts
These NUTS!
Passenger picture of the panels
How she's looking at the moment. We still have more plans for this car. We're not even close to being done. Next we need to work on the driver side panel, temporarily put the front original seat back on until we find out what seats we want to put on, put the shift **** back on and pick out what steering wheel we're going to run.
Off Topic:
When I and Friends went to Zion National Park. It's just reminded me of the van from Scooby Doo
My friend Mike's project car. I don't blame him he got it for free. He got the title too
It needs a lot love but it'll be fun to work with. Head out and drop off to a co worker that works on engine
^next time you cut wood, use a jigsaw. It will be a lot easier and faster. That really wasn't the job for a Dremel lol...
My friend at that time didn't have his jigsaw available and I ended up using my bros dremel. It took a little longer but it did it's job with a bunch of smoke of course hahaha
Little Update. Working on the driver side door for the most part and a few other little stuff
We removed the glass, run channel, weather strip, guide, and sash. Cleaned out the window thoroughly. New run channel and Upper weather strip for the driver side
Clean the area before installation
Everything back on. Window, run channel, weather strip, guide and sash
Oem harness clip
New oem front speaker, vapor/moisture barrier, grommets, and cleaned speaker bracket
Bracket installed
Speaker comes after
Use caulk gun and butyl adhesive. Follow the grooves on the door. Adhesive application first on the upper and sides. Then the rest
Vapor/moisture barrier installed. Just press on the barrier. Grommets installed here. Top left and right
Make a slit for the dock lock harness
Side mirror nuts and panel cover
Slap these nuts on
Cover comes next
Screw for the door panel pocket
One retainer for the door panel
Door screw handle
I don't know where that yellow reflection came from
Forgot to reinstall the gas lid opener
Didn't know that my bro got these used acura floor mats laying around in the garage.It adds more detail to the car. Needs little cleaning
Driver and Passenger Panels. I think all the panels are back on now. I think....
Temporary driver seat. It's beat up. Running this until we pick out what seats we're going to run
Installed on the car. We're not going to install the passenger seat unless something comes up. So driver seat for now
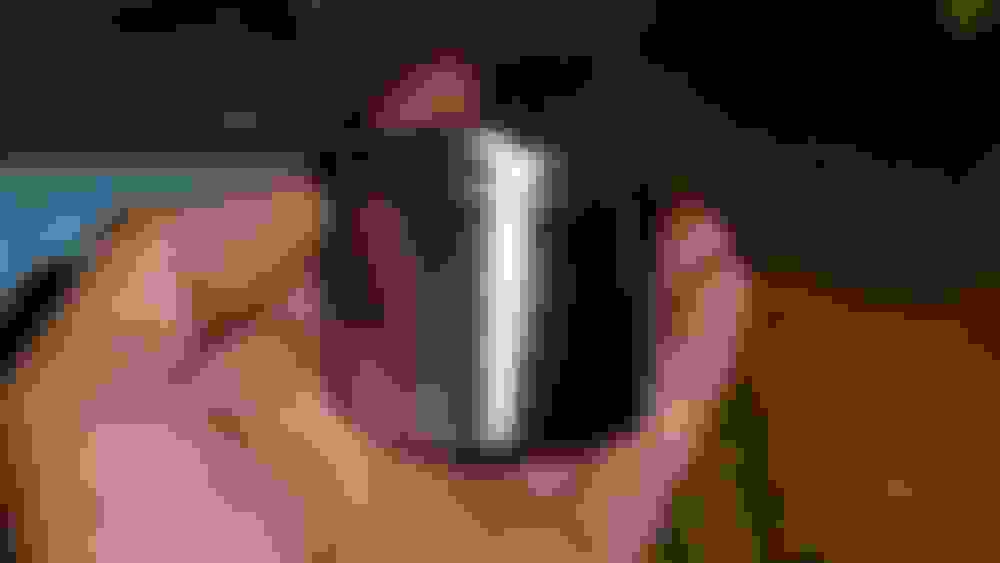
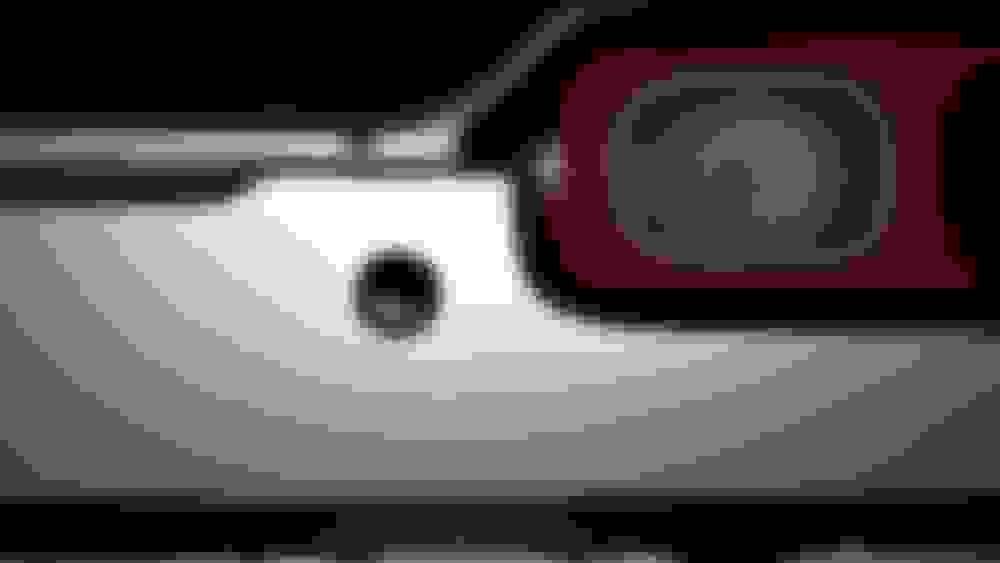
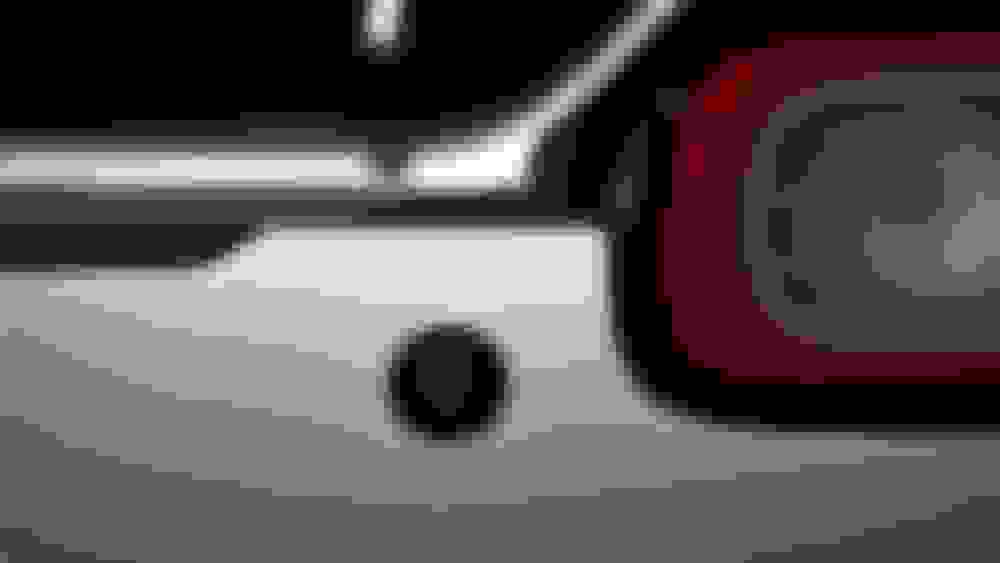
New grommet for the hatch key hole. We removed the key cylinder from the inside. One bolt holds it down
Outer door OEM trim L and R
That's it for now. Front seats, steering wheel, and shift **** is next on the list and that should be it for the interior. What's next, well stay tune and find out
Really like this build. It's like what i was going for with my build, a brand new 20 year old (21 year old for mine) integra lol. Keep up the good work and attention to detail!
Really like this build. It's like what i was going for with my build, a brand new 20 year old (21 year old for mine) integra lol. Keep up the good work and attention to detail!
Thanks alot man. Looking foward with that build of yours or do you have one? Link if any
Originally Posted by Casey
very nice restoration going on and attention to detail. I am definitely in to see where this goes
Speaking of attention to details your car shows alot of that . Thanks for coming by
It's been 2 months since the last post/update on this build. Me and my bro has been working on the car since. Mostly once a week sometimes twice if we get lucky. With that being said enjoy the progress we got going
Before we remove the front suspension. Here's a quick snap
Got the suspension outta there. Feel good seeing that dirty setup we had out
Hanger really
Picture of the old front suspension with the knuckle and hub and bearing. No name coilovers BTW that's on there
Calipers that we're rebuilding at the moment. EBC front rotors that we're going to reuse. Still has meat on them and never gave my brother problems. I rode and driven the car with EBCs and they feel great
Took the resonator out. I think that what it's called and washer fluid reservoir. For cleaning purpose and space for painting the wheel well
Prepping the wheel well for aircraft remover
After first coat of aircraft remover
Make sure you have alot of use rags you want to throw out and paper towels
After about 6-7 hours. That's about 5 different time we applied aircraft remover. We finally got all that undercoating material out. Provides a better adhesion, easier to apply paint, and better results
The first coat of paint
LOL wear gloves! This didn't come off until after a week or so
We applied 3 layers for both the wheel wells. After it cured we got the top masking off
Package came in from Acura/Honda
My bro got the hub, bearing, and lower ball joints out. Notice the inner race. If you're going to reuse the hub you're going to have to cut the race out from the hub. I would recommend to get new bearings also.
Splash shield was mounted by 3 small screws. One of the screws gave me a hard time
Another package. Mostly suspension parts
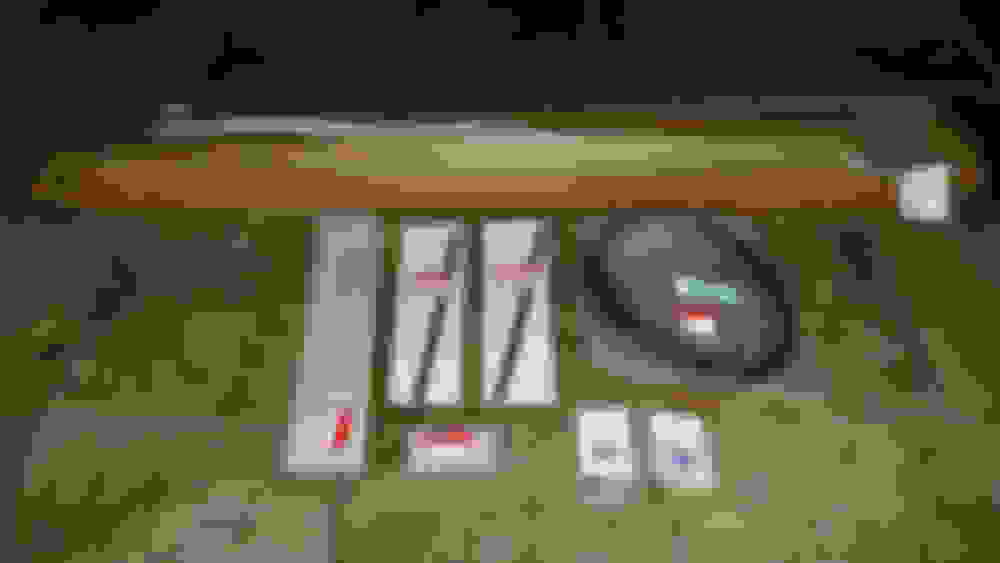
Most of you guys know these parts but for those that don't i'll name them. Starting from top to bottom: Front Skunk2 Camber Kit, Rear Skunk2 Camber Kit, K-Tuned Outer Tie Rods, MPC Drop Forks, and Hardrace Lower Ball Joints. Out of all these parts i am excited with the K-Tuned outer tie rod. Wanna see how they hold up
We had the ASR Subframe, KONI Sport Shocks,Ground Control Coilovers, and GC Top Hats awhile back just sitting in the house. We finally get to use it. Let's get it
Front LCA stripped of it's paint prior to painting with oem bushings to install. Notice the lower bushing was still on there. My bro and his buddy couldn't take it out so I brought it to work were my friends Frank and William press it out and press the new bushings in. Thanks to them
HAHAHA my paint booth WTF is this! Prep is everything
First coat
After 3 coats of paint. Came out really good. Tip: take your time in prepping the parts prior to painting
Splash shield
I applied 2 layers of paint on this one. Had a good base
After it cured with oem screws. 3 each shield
More package. Not oil filters. Acura/Honda parts
Hub bearing, wheel hub, circlips
Ready for paint. We took this to the car wash since we didn't have a pressure washer at home. Degrease, scrub, and pressure wash then repeat until you get all that gunk out. Took it home where I sanded it down with 800 grit sandpaper. Used metal prep to clean once again then mask. Markers was use for the holes. They fit perfectly. Also don't forget to mask the treads for the ABS and Brake line bolts
Snap a picture before my bro and his friend assemble everything together
Package
This is just a temporary fix for 2 broken mounts ( lower driver and lower passenger insulator ). They came in a set. Trans mount and Engine mount are good. We didn't check the rack/subframe mount most likely bad. Will check for that soon
The lower passenger insulator
The lower driver insulator
Goodridge brake line and oem abs sensor with new bolts
Time to put eveything back on. Started with new oem grommet driver side
Passenger side
ABS sensor with new oem bolts driver
ABS sensor with new oem bolts passenger
Front camber kit with oem nuts
Drop folks with oem upper and lower bolts. Also with oem nuts
Comparison with the oem forks. About 2 inch difference
GC top hats
GC coilovers. These are custom spring rates. If I can remember we got 450 fronts and 350 for the rears
Adjustable Koni Yellow Sport Shocks
K-Tuned Outer Tie Rods. Looking foward on this product. Ill let you guys know
This is where we put are parts before we install them in the car. Makes things faster while working on something. Pick and pull
Wrap the knuckles so it won't get damage while my bro and his buddy assemble the knuckles together. Front LCA just chillin
All put together. Hub, bearings, circlips, shields, and lower ball joints
Installing tie rod. This how we got the measurement for the new tie rod. We wanted to get as close as possible. Makes for easier alignment later on the road. One end of the tie rod and the center of the ball joint. Picture below
Onto the front suspension. This how it should be assembled. Follow picture below. Don't forget to cut the bump stop in half. We also installed the brake line collar before we assemble the struts together. 2x4 wood and a mini sledgehammer. You could spray some sort of lube if you want to
Straight forward. Pretty fun installing these
Camber kit installed driver and passenger
Goodridge brake line put on driver and passenger
Next was the struts both driver and passenger
Then the MPC drop forks. This one gave us a hard time. Very tight fit between the shocks to the hole of the forks. Aslo there's a notch on the collar of the brake line that we had to line up to so the forks can slide all the way up
We got the knuckle installed here. Couple pictures below for the driver side suspension
Passenger side suspension. Drop forks
Knuckle put on here. Different camera angle of the passenger side suspension setup
We got the front rotors installed
This is the resonator and washer fluid reservoir that we cleaned and installed
LOL, you're only limited to 100 pictures per post. I had 112 images so i had to cut it. Here's the continuation
Wheel well splash guard with oem clips and screws
Lower grommet
4 clips
Screws
Screw together. We left the 3 open for the mudflaps later
These retainers go on top of the wheel well shield
Driver side next. Same process with the passenger side
Pictures with the shield on the car. Driver and passenger side
Holy snap! I started to update this post at 11pm and now its 5:20am. I got an appointment too in 3hrs and black friday shopping damnn..... Well that's the update that I got for you guys. There's a few more pictures that I need to post but that's for later. More and more to come
Side note: Just wanna say thanks for all the love that you guys/gals showed us. This gives us motivation to work on the car and to get this car finish
Stay tune,
LM
Off Topic Car Related Stuff:
My buddy Mike had a similar car like this back home in Chicago but he always wanted one with SR20 motor in it. Well he found one. His main goal is to fixed up the engine.
Tell you what I drove this thing and the throttle felt like a stage 3 clutch it was so damn hard to press lol. I did say throttle not a mistake
Off to the junkyard. This integra has mostly the parts in it. We took alot of misc items. Might go back to get more parts. Probably strip by now though
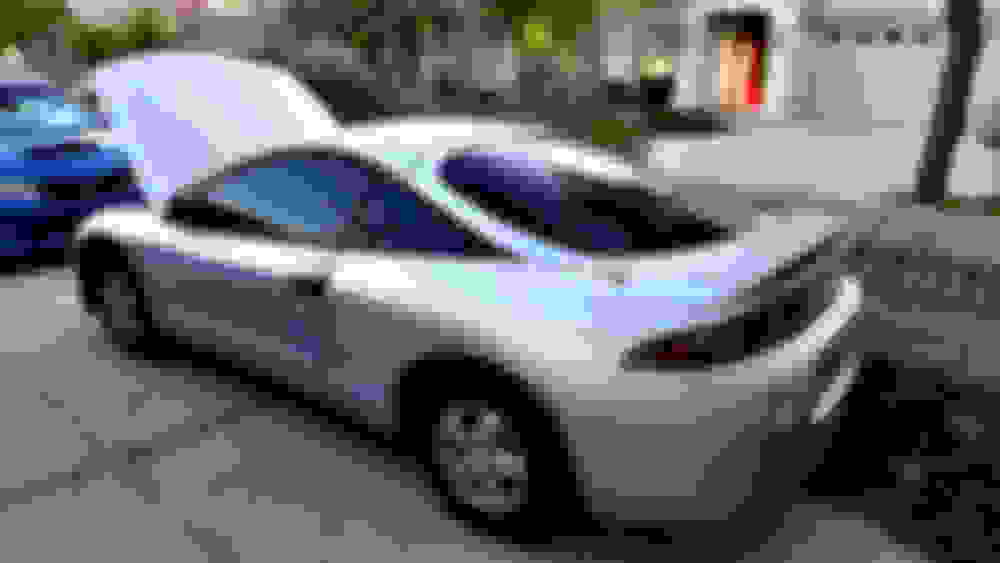
Just sucks to see this happen with any car especially this type of integra because were working on one at the moment. Same color, model, and just a newer year 2000
RSX Type R? Motor gone btw
CRX with B16. So me my friend went to the junkyard on thursday and snap this picture came back 3 days later motor was gone
I didn't know it would be mounted on here. Was it originally mounted like that, like in the trunk?
Joey Lee's Year 9 Anniversary. We wanted to come here to see quality cars and get some ideas for the build
This EM1 won best engine bay. Own by Mike. Car is on a different level
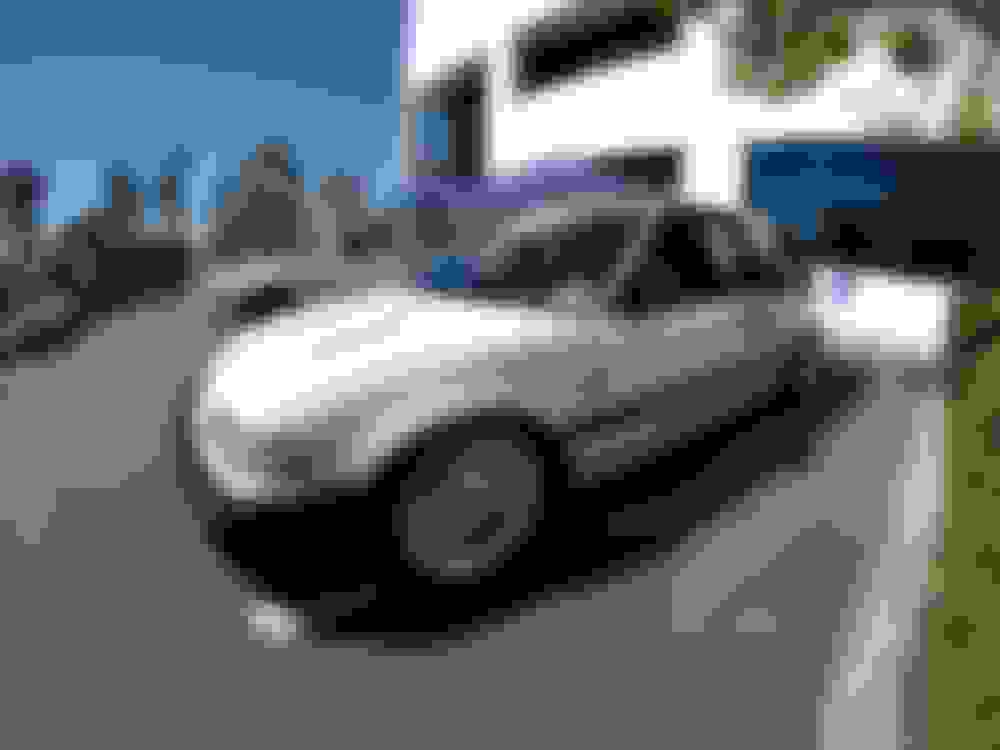
Also this car was on a different world. Not my kind of style but really nice
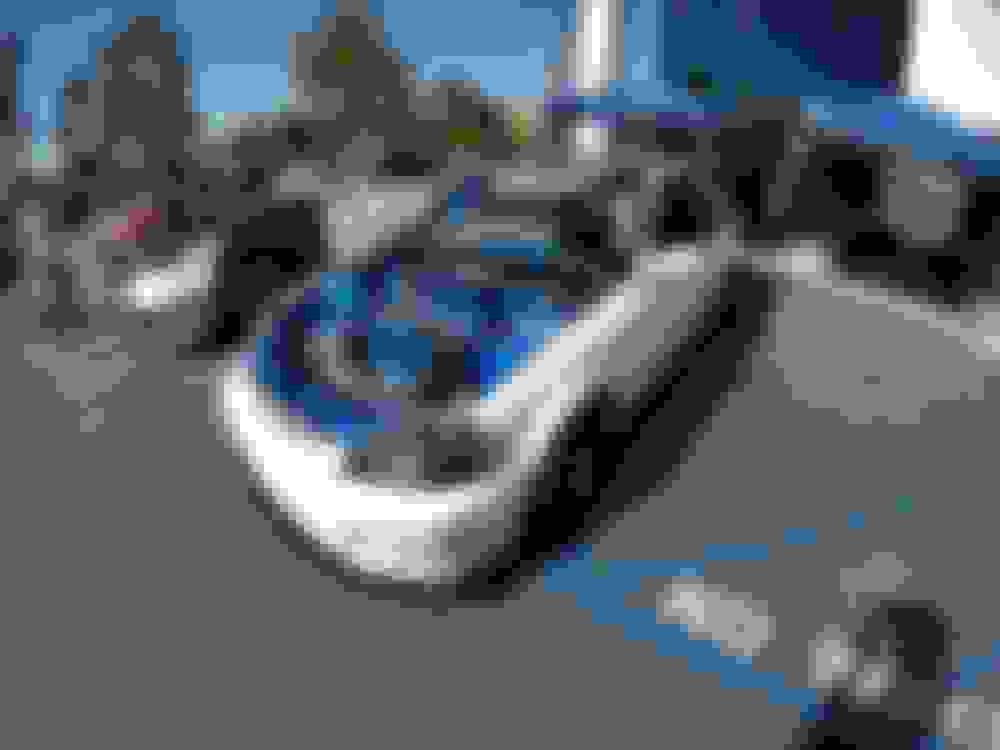
One of the cleanest EM1 I saw at the event
Here's another clean and simple civic. I think if ever I get another honda it would be this type of model
If I'm not mistaken it was the only skyline that I saw
I remember seeing this prelude in magazines. A buddy of mine had a prelude like this. Very little space if not no space at all to sit in the back
EF with K swap
I kept going back to this teg. In my opinion the best looking integra there at the event. Opinion not facts
This EG was a sight to see. I would award this best honda. Again just my personal opinion
240 chillin by the entrance
Yasu's from Exceed Japan. His personal pick at the event. To be honest I didn't see this DA around. Probably missed it. Also I took a picture with him. Really a humble guy. Dropped his expensive *** camera and took a snap with me. I even joke with him saying that on youtube he looks tall but in person he was tiny lol sorry Yasu
Joey's personal fav build
I swear I love EM1's. Another clean and simple car
So clean!
Interesting engine bay
This DA is lower than the bottom of my shoes. Took about 10-15mins to put on the flat bed
We got done rebuilding the front brake calipers and installed them yesterday
I didn't get to document the whole driver side brake capiler do to the fact me and my bro was trying to figure out how to put the brake dust boot back on. Took us awhile and after different frustrating approach we finally figured it all out. About 1hr later we found a way. Part of learning process especially it's are first time rebuilding brake calipers. BTW the passenger side took us 5-10 mins to put the brake dust boot back on
Few pictures for the driver side caliper
Onto the passenger brake caliper. These are the parts inside a brake caliper. Piston, square cut seal (very important part), and dust boot. Not to sophisticated
What the rebuild kit comes with:
- Slide pin dust boot
- Square cut seal
- Dust Boot
- Seal Grease
- Rubber Grease
- Washer for the brake line
And the rest of the new parts except caliper, bracket and piston
Started off with the square cut seal. Lube with brake fluid
How it should be seated in the groove. Make sure it's flush all around
Cleaned up the piston prior to installing. If it's rusted up and corroded I recommend to get a new one. Surprisingly this was in great shape
This is the dust boot
This is the setup we use to get the dust boot on and easily sliding the piston back in. Put the piston and dust boot on top of the caliper bore. Get a flat head or a pick whatever works for you and work around the bore until you all the side fitted. It will take some time and be patience
Next we got the slide pins and slide pin boots lube with this orange grease that came with the rebuild kit also known as red rubber grease
Applied a little grease in the hole where the slide pin comes in contact
Got the boots on
Slide pins installed next
Onto the slide pin bolts and also had anti-seize applied
Torque it down to 24 foot pounds
We also got the retainers lube up. Usually brake noise comes from here saying that if you have new pads
Brake pads installed
New bleeder valve and cap
Bracket bolts with anti-seize
Here you go mount the brake caliper back on and don't forget the banjo bolt and washers for the brake line. Next step bleed the brake system with new sealed brake fluid
You really have patience. It's nice that you take so many pictures, and I know it's sometimes exhausting, but it's something that makes us ( visitors ) happy.
Nice project!
Thanks alot man. Looking foward with that build of yours or do you have one? Link if any
Man, I haven't been in this thread in a while, a ton of progress in here! I see all of these little Honda baggies and instead of baggies i see lots of $$$$ lol.
My jealousy, envy and admiration levels are through the roof right now. Amazing build. I love all the pictures, they will help me big time when trying to figure out the door harnesses routing during vapor sheet replacement and also during suspension/brake replacement. Thank you very much.
What is it about the outer tie rods that you're excited about? Why did you decide to replace them on a car that's going to be driven primarily on the streets?
What kind of advantage are the top hats providing when installed on a setup using drop forks? Wont the shock already be extended to the ideal dampening range using the drop forks alone?
You really have patience. It's nice that you take so many pictures, and I know it's sometimes exhausting, but it's something that makes us ( visitors ) happy.
Nice project!
Appreciate the comment. Yes all those pictures taken, transferring, and editing take a lot of time and very exhausting too the point where I fell asleep once while working on the photo's but we know in the end it will be worth it. Just like you coming by and having something nice to say and for the rest of the folks on here
Originally Posted by danteisme
Man, I haven't been in this thread in a while, a ton of progress in here! I see all of these little Honda baggies and instead of baggies i see lots of $$$$ lol.
Most of the photos are broken now thanks to photobucket, and it is no where near the level of restoration you are going with.
Lol all those honda bags wasn't purchased all at once. More like order today and order a month or so later but you're correct money does add up in the end. I didn't read all throughout your thread but all I can say you got something going here and eventually you'll get to where you want the car to be ( Slowly but Surely ). Sucks you have to pay PB just to get those pictures back up and running. I'll come by and check up on it here ann there. Thanks for coming by again and goodluck on the build
Originally Posted by CandyRedRC46
My jealousy, envy and admiration levels are through the roof right now. Amazing build. I love all the pictures, they will help me big time when trying to figure out the door harnesses routing during vapor sheet replacement and also during suspension/brake replacement. Thank you very much.
I like the first sentence you put up there ! Goodluck and have fun with your car. No problem. Thanks
Originally Posted by ddwelch
Integra s looking almost brand new! Great job thus far!
We wish. It's far from that. Thanks for coming through
Originally Posted by EnjoyTheRideDC2
What is it about the outer tie rods that you're excited about? Why did you decide to replace them on a car that's going to be driven primarily on the streets?
What kind of advantage are the top hats providing when installed on a setup using drop forks? Wont the shock already be extended to the ideal dampening range using the drop forks alone?
We're excited about the spherical bushing and bearings on the k tuned. Once you lower your car suspension and steering components starts wearing off. One of the part thats notorious for that are the outer tie rods. Boots starts ripping drying out the ball joint. Next comes noise and that can lead for the tie rod to break. Having these k tuned tie rods will lessen those possibilities and concerns. Not saying that the tie rods would not gives us problems down the road. Only time will tell. We know that these are for race use or off road use but I don't see why we can't use these for street.
With the drop forks and top hat question. We got these top hats awhile now ( 3-4 years ago ) for the purpose so that the shock don't bottom out when we lower the car and hit those annoying imperfections on the road. While searching for parts this couple months I stumble upon these drop forks that I never heard of it. So I did some research and like what I've read. So now we got the top hats and drop forks. Are plan was to use the top hats for the rear since we got the drop forks for the fronts which was not the original plan ( it was for the fronts ). When we removed the front suspension we notice that there was a hairline crack around the stud of the original oem top hats. And that is why we have the GC top hats installed with the drop forks. Yes it does defeat the purpose of the top hat function and we know that. In the future we're thinking of swapping out the rear top hats to the front and have the GC top hats on the rears. Thanks for stopping by and hope that answered your questions
absolutely love the attention to detail and the fact that you are taking plenty of pictures (thats where I lack in my thread).
I am curious as well if you have actually put the car down on the ground with the extended top hats and drop forks? My previous eg had koni/gc with the top hats and even at full extend the car was "low" so im interested to see where yours is at with the combination...
Thanks Casey . Been to your thread a couple of times. It's ok if you don't have plenty of pictures it's enough. This thread might be overkill though lol. Your car is a perfect example of a honda built and it's beautiful. Update down below on the drop forks
Originally Posted by grampswrx
This is pretty rad. Stoked to see someone restoring a car like this like old people do with 50s cars.
Grampswrx, thanks for coming by and the comment. Stay tune for more

 09-22-2017, 06:22 PM


")


 . These tail lights are temporary until we get a new set ( cracks on tail lights )


 . Thanks for coming by