

MY EBAY BUILD...

Honda-Tech Member
Joined: Apr 2008
Posts: 8,958
Likes: 0
From: In The Sticks, PA, America
ooooooo, look who just owned your first multiple page!!! OWNAGE SON!!
hmmm, who's your friend? do i know him? sounds like a slackin *** ****!
oh wait...you mean me, huh? lol, sorry, i'll get to you, i promise!
hmmm, who's your friend? do i know him? sounds like a slackin *** ****!
oh wait...you mean me, huh?
lol, sorry, i'll get to you, i promise!
Last edited by OldSkoolDa91; Jul 20, 2009 at 08:49 PM.
Honda-Tech Member

Joined: Jul 2009
Posts: 1,030
Likes: 0
From: ☆★ ℂolorado ★☆
Hell yeah!! This thread is the ****, im subscribed.. Ive always been waiting to see somebody do this but nobody follows through lol.. Ive seen some good and bad parts from ebay so I guess we'll see what happens.. Props to you and GL with your build!
Thread Starter
Reject Papi
iTrader: (1)
Joined: Oct 2007
Posts: 14,459
Likes: 0
From: chambersburg, pa 17202
Ok, so FINALLY I gots some pics. Here are the ebay brakes I got. They are Powerstop blanks, and Powerstop organic pads. So far they feel great.
From Brake-overstock they were $59 shipped.

Here's the old garbage that was on the car.

They were warped so bad, the whole car would shimmy when you even tapped the brakes at speed.

Yes that is a Snap ON impact. Not mine, Andy's, but boy does that thing help. So much better than using elbow grease.

To get the rotors/calipers/pads off, you will need a 12mm, and a 17mm, and an impact screw driver, which i never used before. What a life saver. After car is jacked up and supported, remove the wheels. Then, remove the caliper by removing the 2 12mm bolts that hold it on. Then, take out the 2 17mm bolts that hold on the caliper bracket. Then the screws on the face of the rotor come out. Be careful not to strip them out. Use an impact screw driver if you have one available. Then, just reverse the process for reinstallation. And, get a caliper tool. They are so much better than the c-clamp and wood I'm sure all of us are sick of, lol.


Shiny
From Brake-overstock they were $59 shipped.
Here's the old garbage that was on the car.
They were warped so bad, the whole car would shimmy when you even tapped the brakes at speed.
Yes that is a Snap ON impact. Not mine, Andy's, but boy does that thing help. So much better than using elbow grease.
To get the rotors/calipers/pads off, you will need a 12mm, and a 17mm, and an impact screw driver, which i never used before. What a life saver. After car is jacked up and supported, remove the wheels. Then, remove the caliper by removing the 2 12mm bolts that hold it on. Then, take out the 2 17mm bolts that hold on the caliper bracket. Then the screws on the face of the rotor come out. Be careful not to strip them out. Use an impact screw driver if you have one available. Then, just reverse the process for reinstallation. And, get a caliper tool. They are so much better than the c-clamp and wood I'm sure all of us are sick of, lol.
Shiny
Thread Starter
Reject Papi
iTrader: (1)
Joined: Oct 2007
Posts: 14,459
Likes: 0
From: chambersburg, pa 17202
lol. Yeah, when I ordered the brakes, I just figured it would show up as el'cheapo rotors, and crappy pads. Powerstop wasn't even the brand that was described. The company has all kinds of brakes for sale. And, I am hoping the rears that I just bought, are Powerstop also. The rears are only $49 shipped. Everything they have is free shipping.
Thread Starter
Reject Papi
iTrader: (1)
Joined: Oct 2007
Posts: 14,459
Likes: 0
From: chambersburg, pa 17202
Well, its going to be a slow process, lol. I'm waiting for andy to load some pics up, (don't know why i keep using his camera). I splurged a little today...
Thread Starter
Reject Papi
iTrader: (1)
Joined: Oct 2007
Posts: 14,459
Likes: 0
From: chambersburg, pa 17202
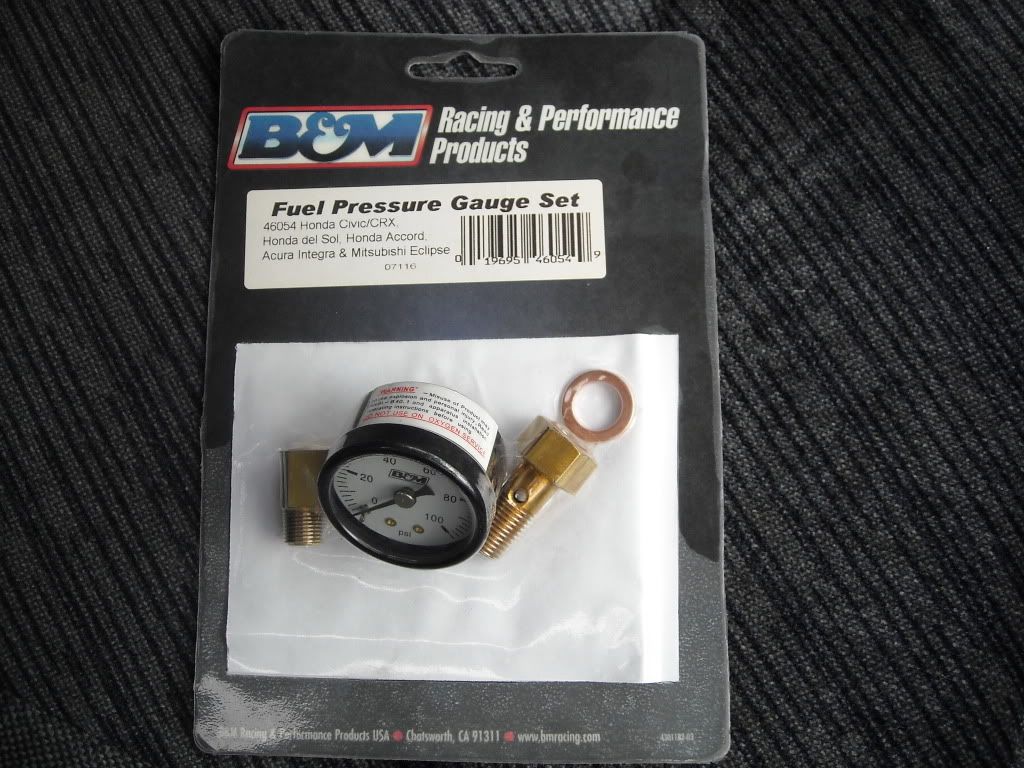
Ok, as stated above, I sorta splurged today....I bought a non ebay item, lol. I got a B&M fuel pressure gauge, and installed it. The gauge was roughly $42.
First things first. Relieve some of the pressure in the fuel system. This did help.

The tools you will need for this are: 17mm socket/ratchet, 12mm wrench, 17mm wrench, and some teflon tape.
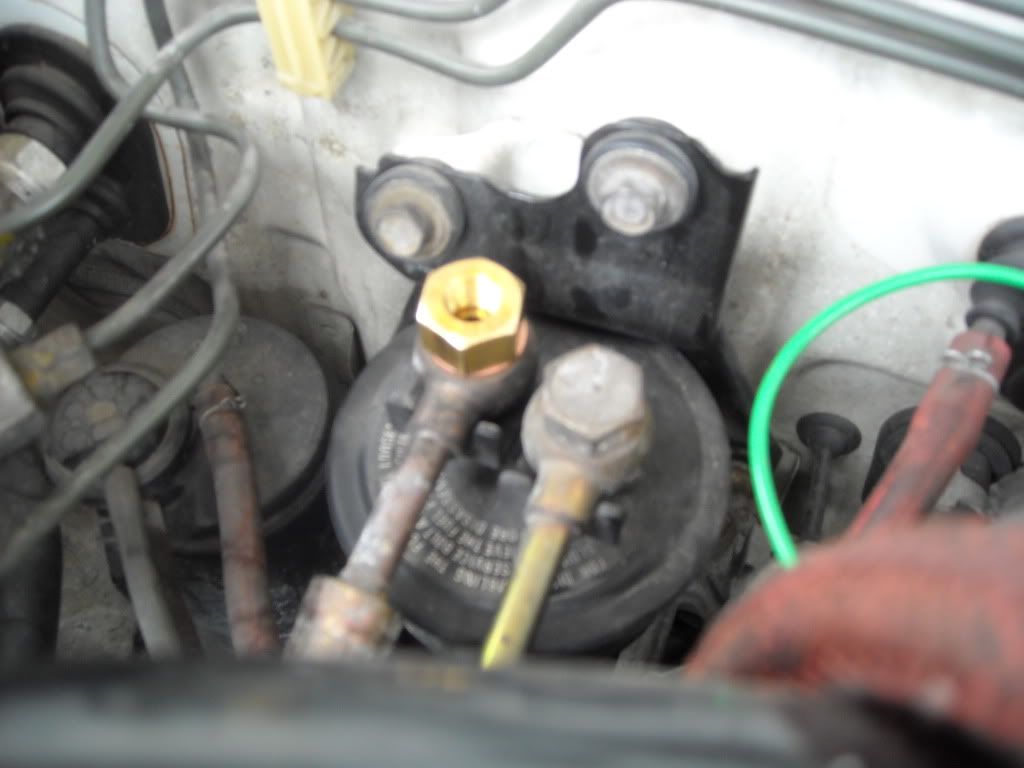
Then, begin by taking off the banjo bolt with the socket. (its the one on the passenger side) Be careful of the fuel leaking out, use a rag to catch the excess.


Here's what it should look like when you take it out.


Next, use some teflon tape on the gauge threads to help make the seal. Then, insert the NEW banjo bolt, and NEW washer through the fuel fitting on the car. But, be sure not to lose the old crush washers, you will need to reuse one of them. Install the old washer under the fuel line on top of the filter itself.
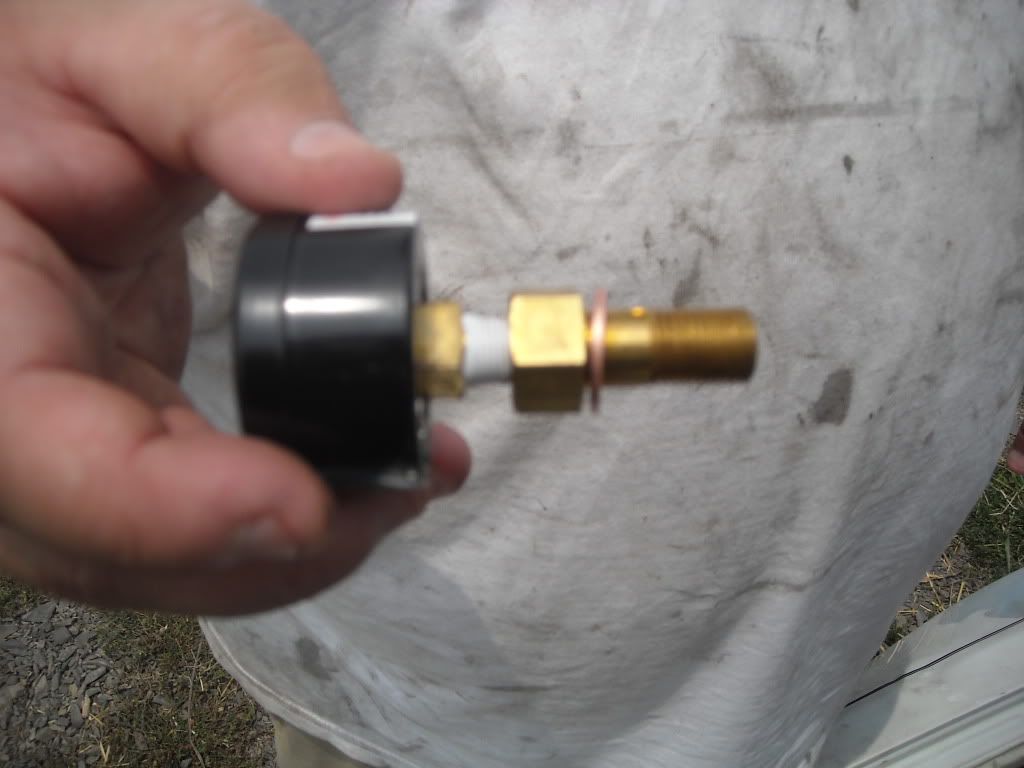
Next, spin the gauge onto the new banjo bolt, using a copper washer as a seal also. Tighten the gauge till it is tight, not till it breaks. You can then adjust the angle that the gauge sits to read it properly.

Oh, and here's an engine shot, first one i've gotten since I bought the car, lol.

First things first. Relieve some of the pressure in the fuel system. This did help.
The tools you will need for this are: 17mm socket/ratchet, 12mm wrench, 17mm wrench, and some teflon tape.
Then, begin by taking off the banjo bolt with the socket. (its the one on the passenger side) Be careful of the fuel leaking out, use a rag to catch the excess.
Here's what it should look like when you take it out.
Next, use some teflon tape on the gauge threads to help make the seal. Then, insert the NEW banjo bolt, and NEW washer through the fuel fitting on the car. But, be sure not to lose the old crush washers, you will need to reuse one of them. Install the old washer under the fuel line on top of the filter itself.
Next, spin the gauge onto the new banjo bolt, using a copper washer as a seal also. Tighten the gauge till it is tight, not till it breaks. You can then adjust the angle that the gauge sits to read it properly.
Oh, and here's an engine shot, first one i've gotten since I bought the car, lol.
Last edited by jhammond_82; Jul 22, 2009 at 08:50 PM.

 lol
lol

