When you click on links to various merchants on this site and make a purchase, this can result in this site earning a commission. Affiliate programs and affiliations include, but are not limited to, the eBay Partner Network.
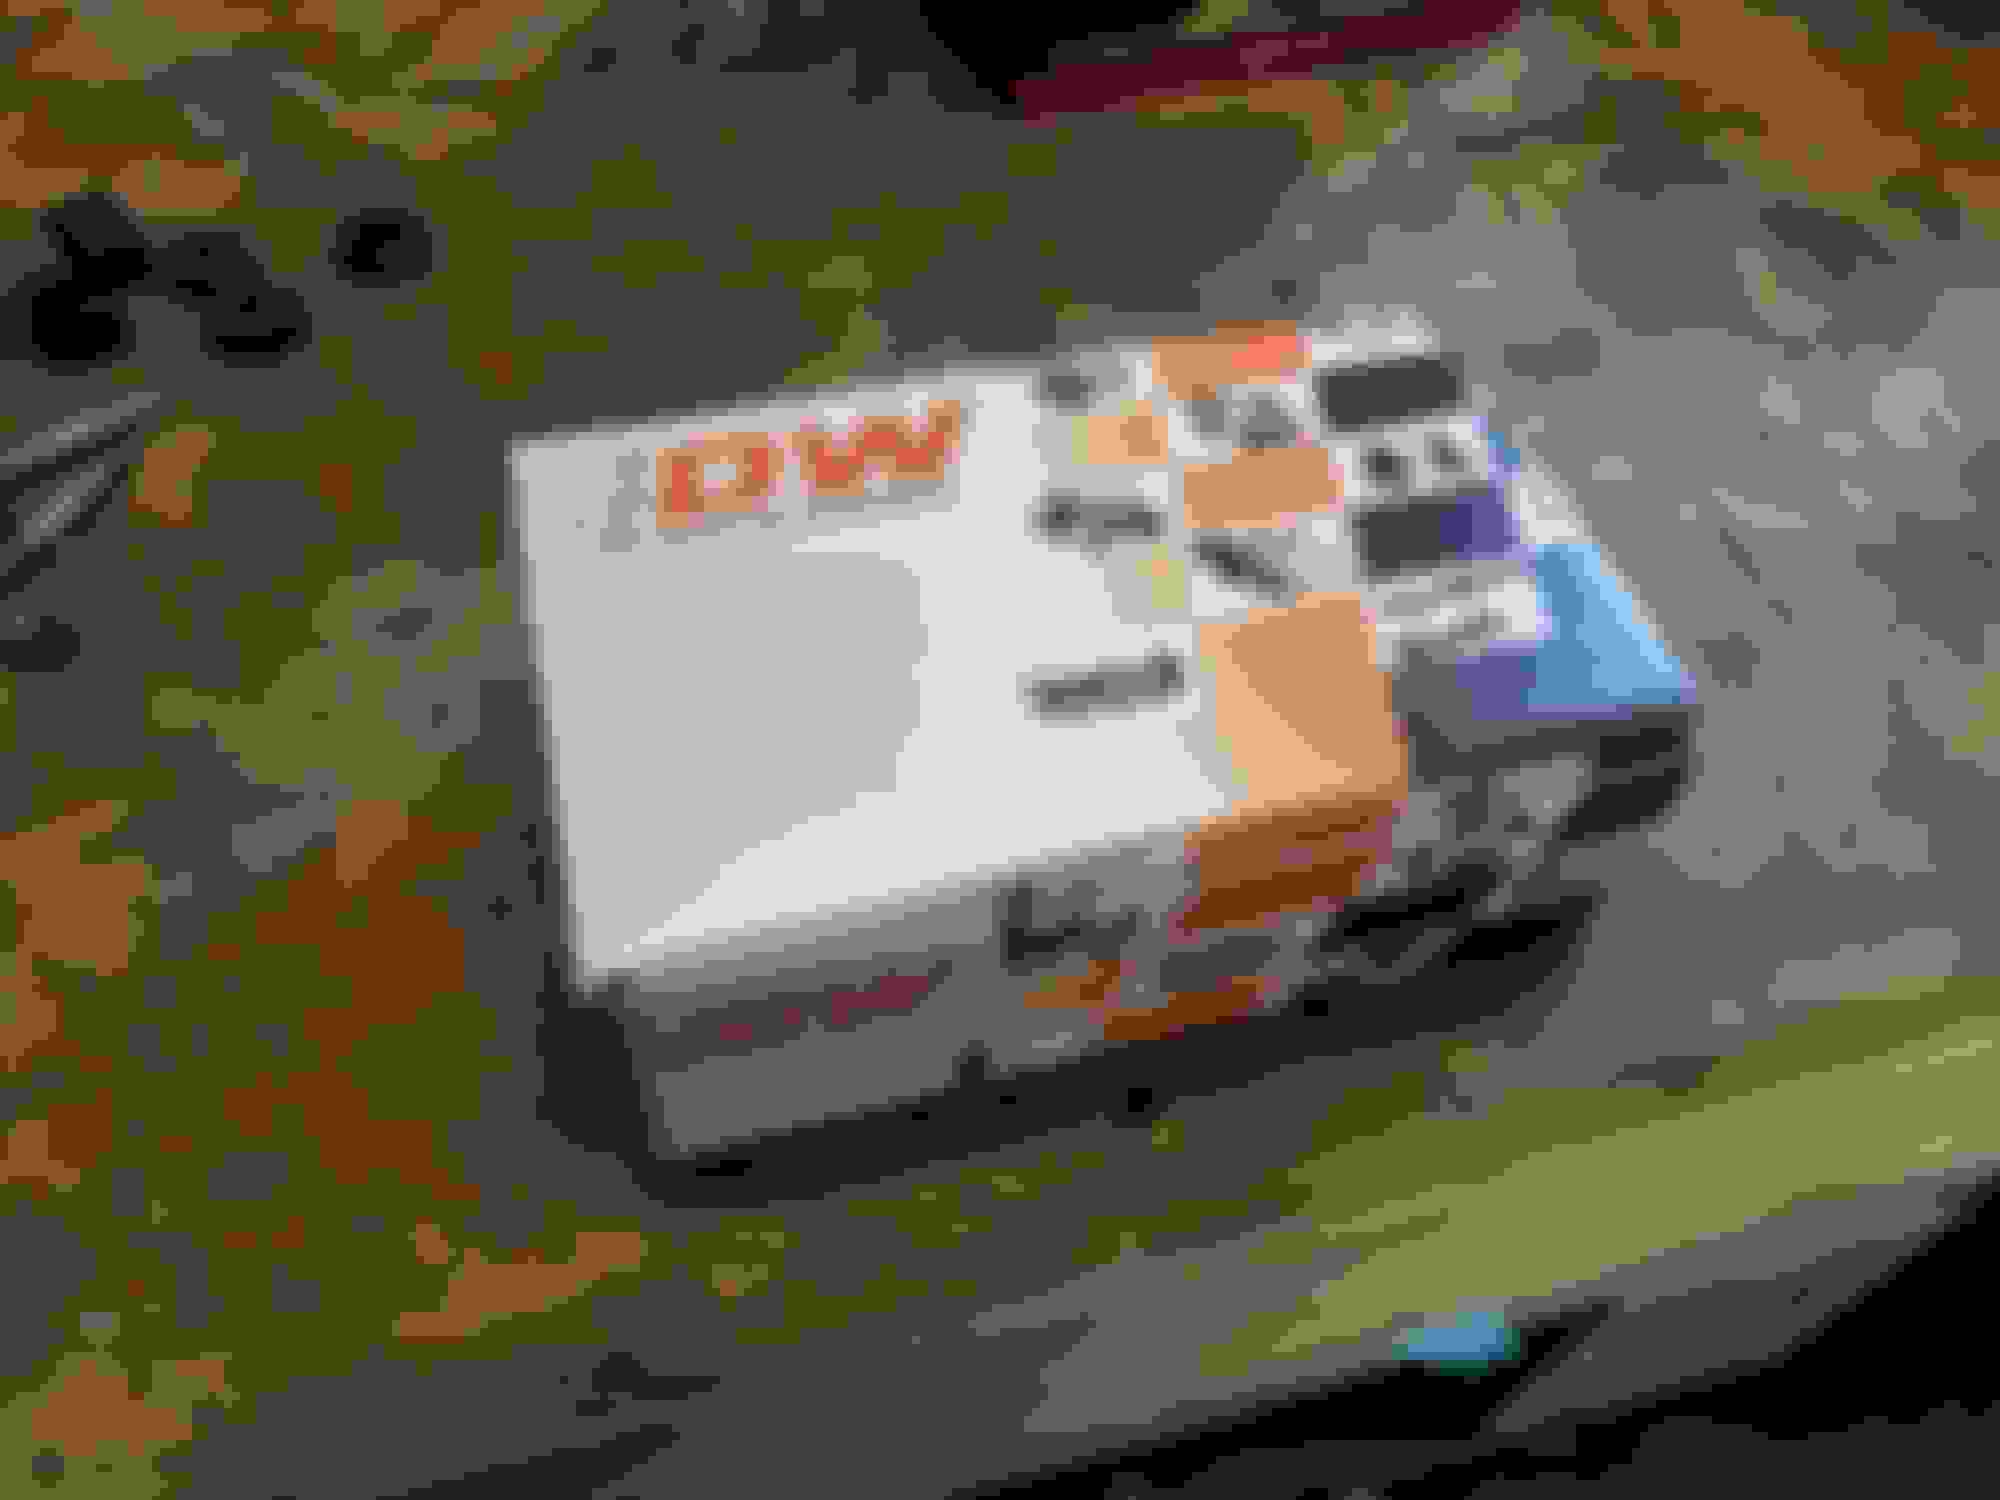
My Deatschwerks 920cc injectors arrived. They fit as I expected, but I'm a little disappointed that they don't have pintle caps and their minimum pulsewidth is higher than I expected. I'm suspecting that I'm going to have trouble idling these on 93 octane, but we'll see how she goes.
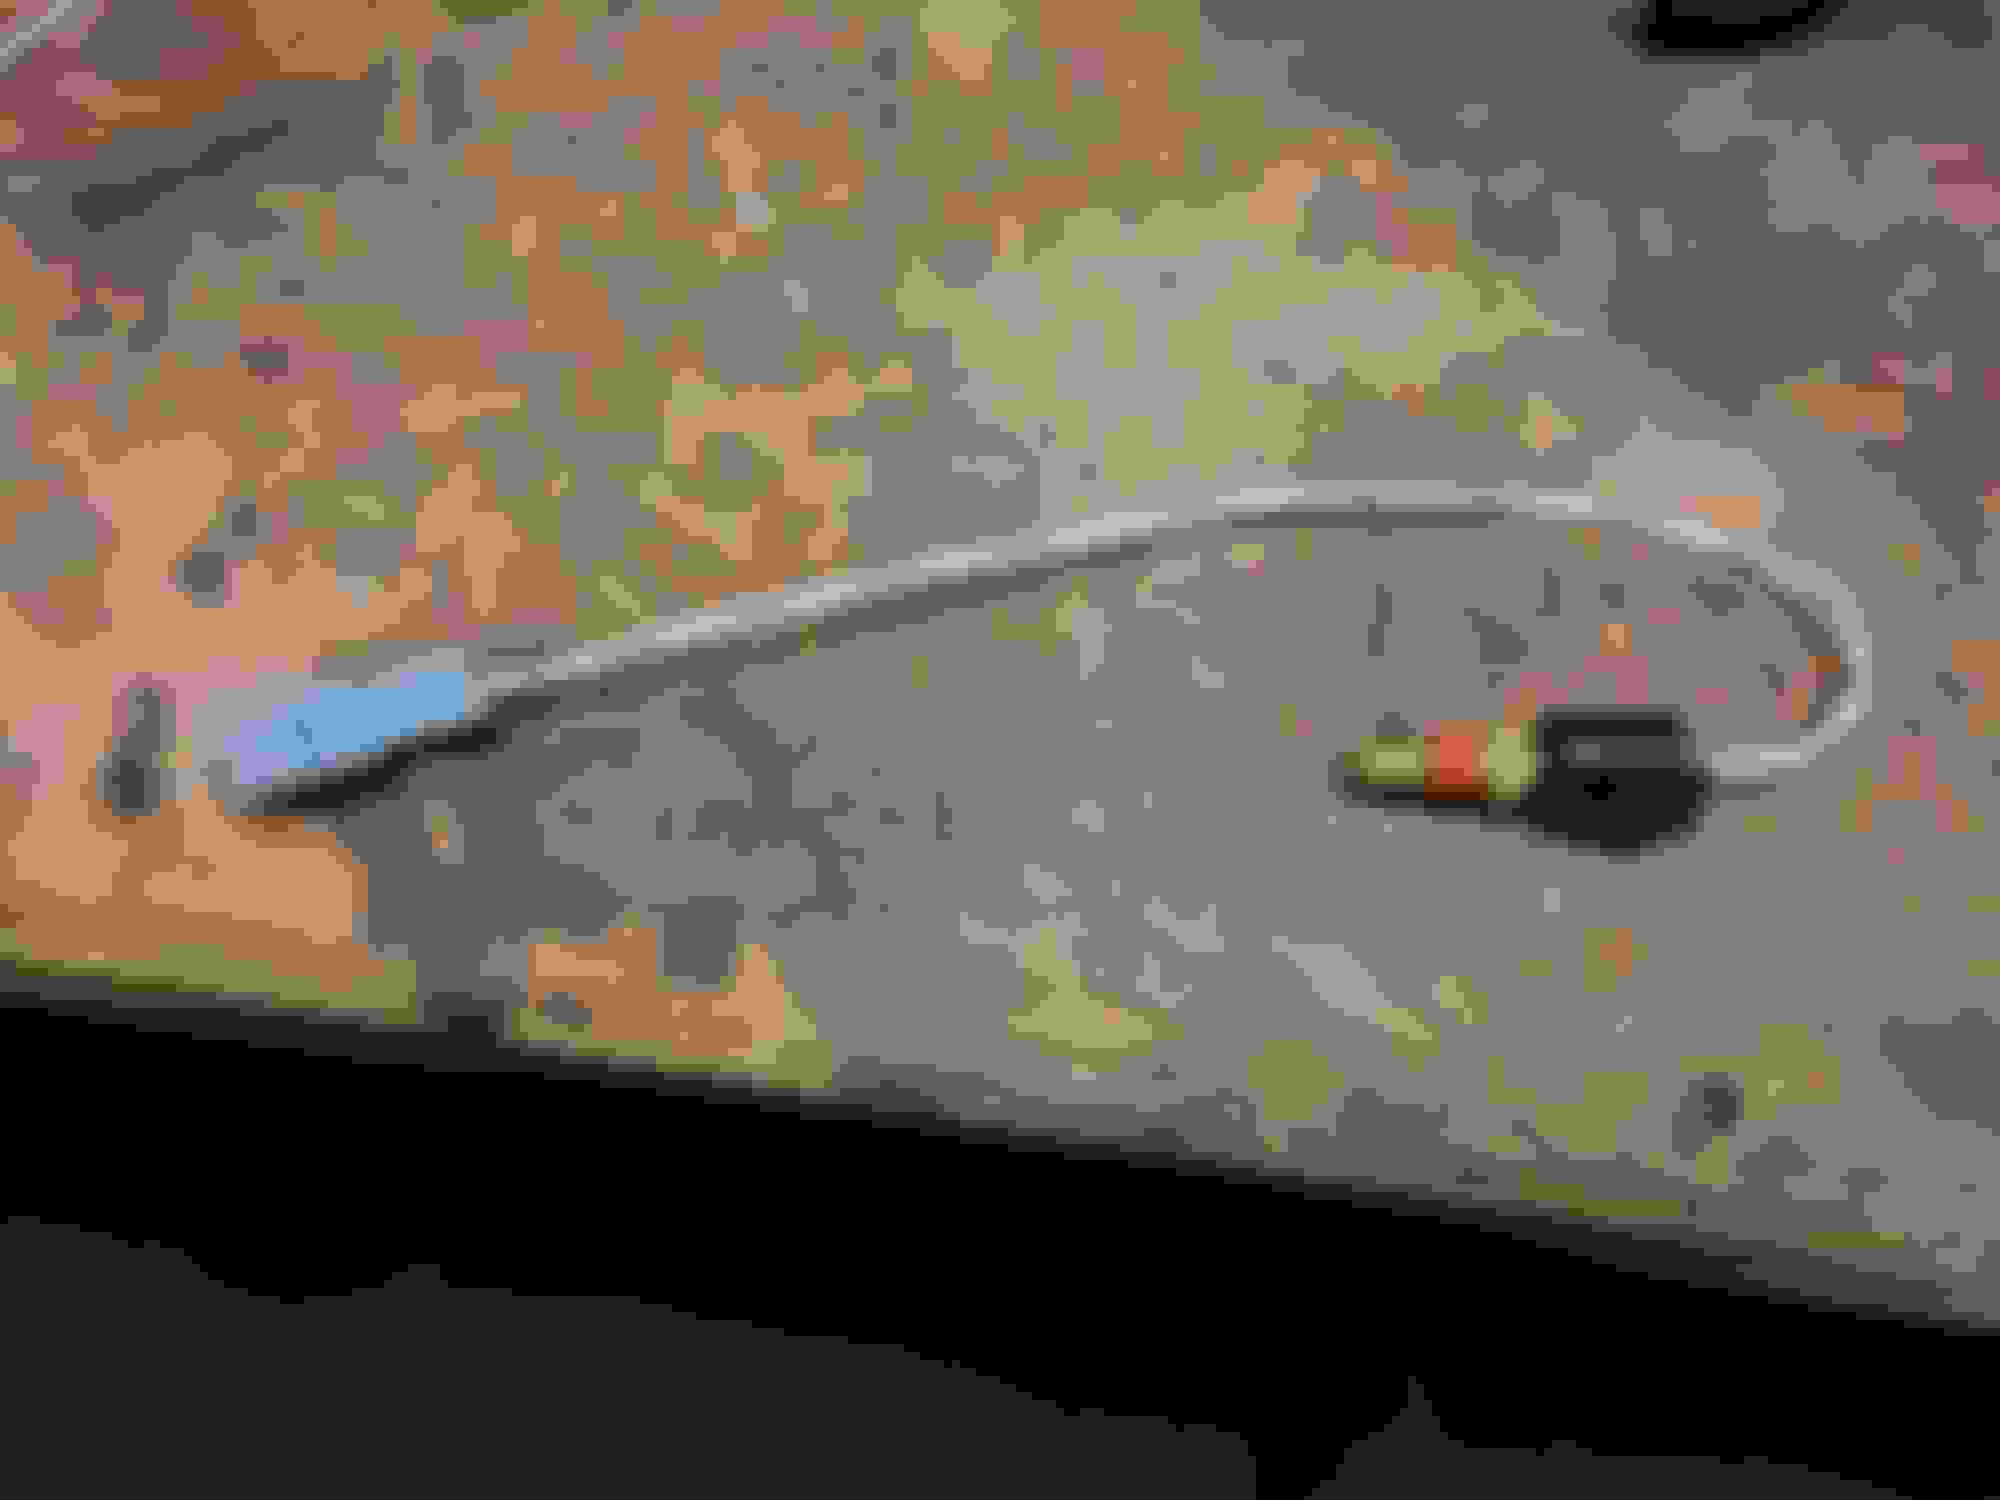
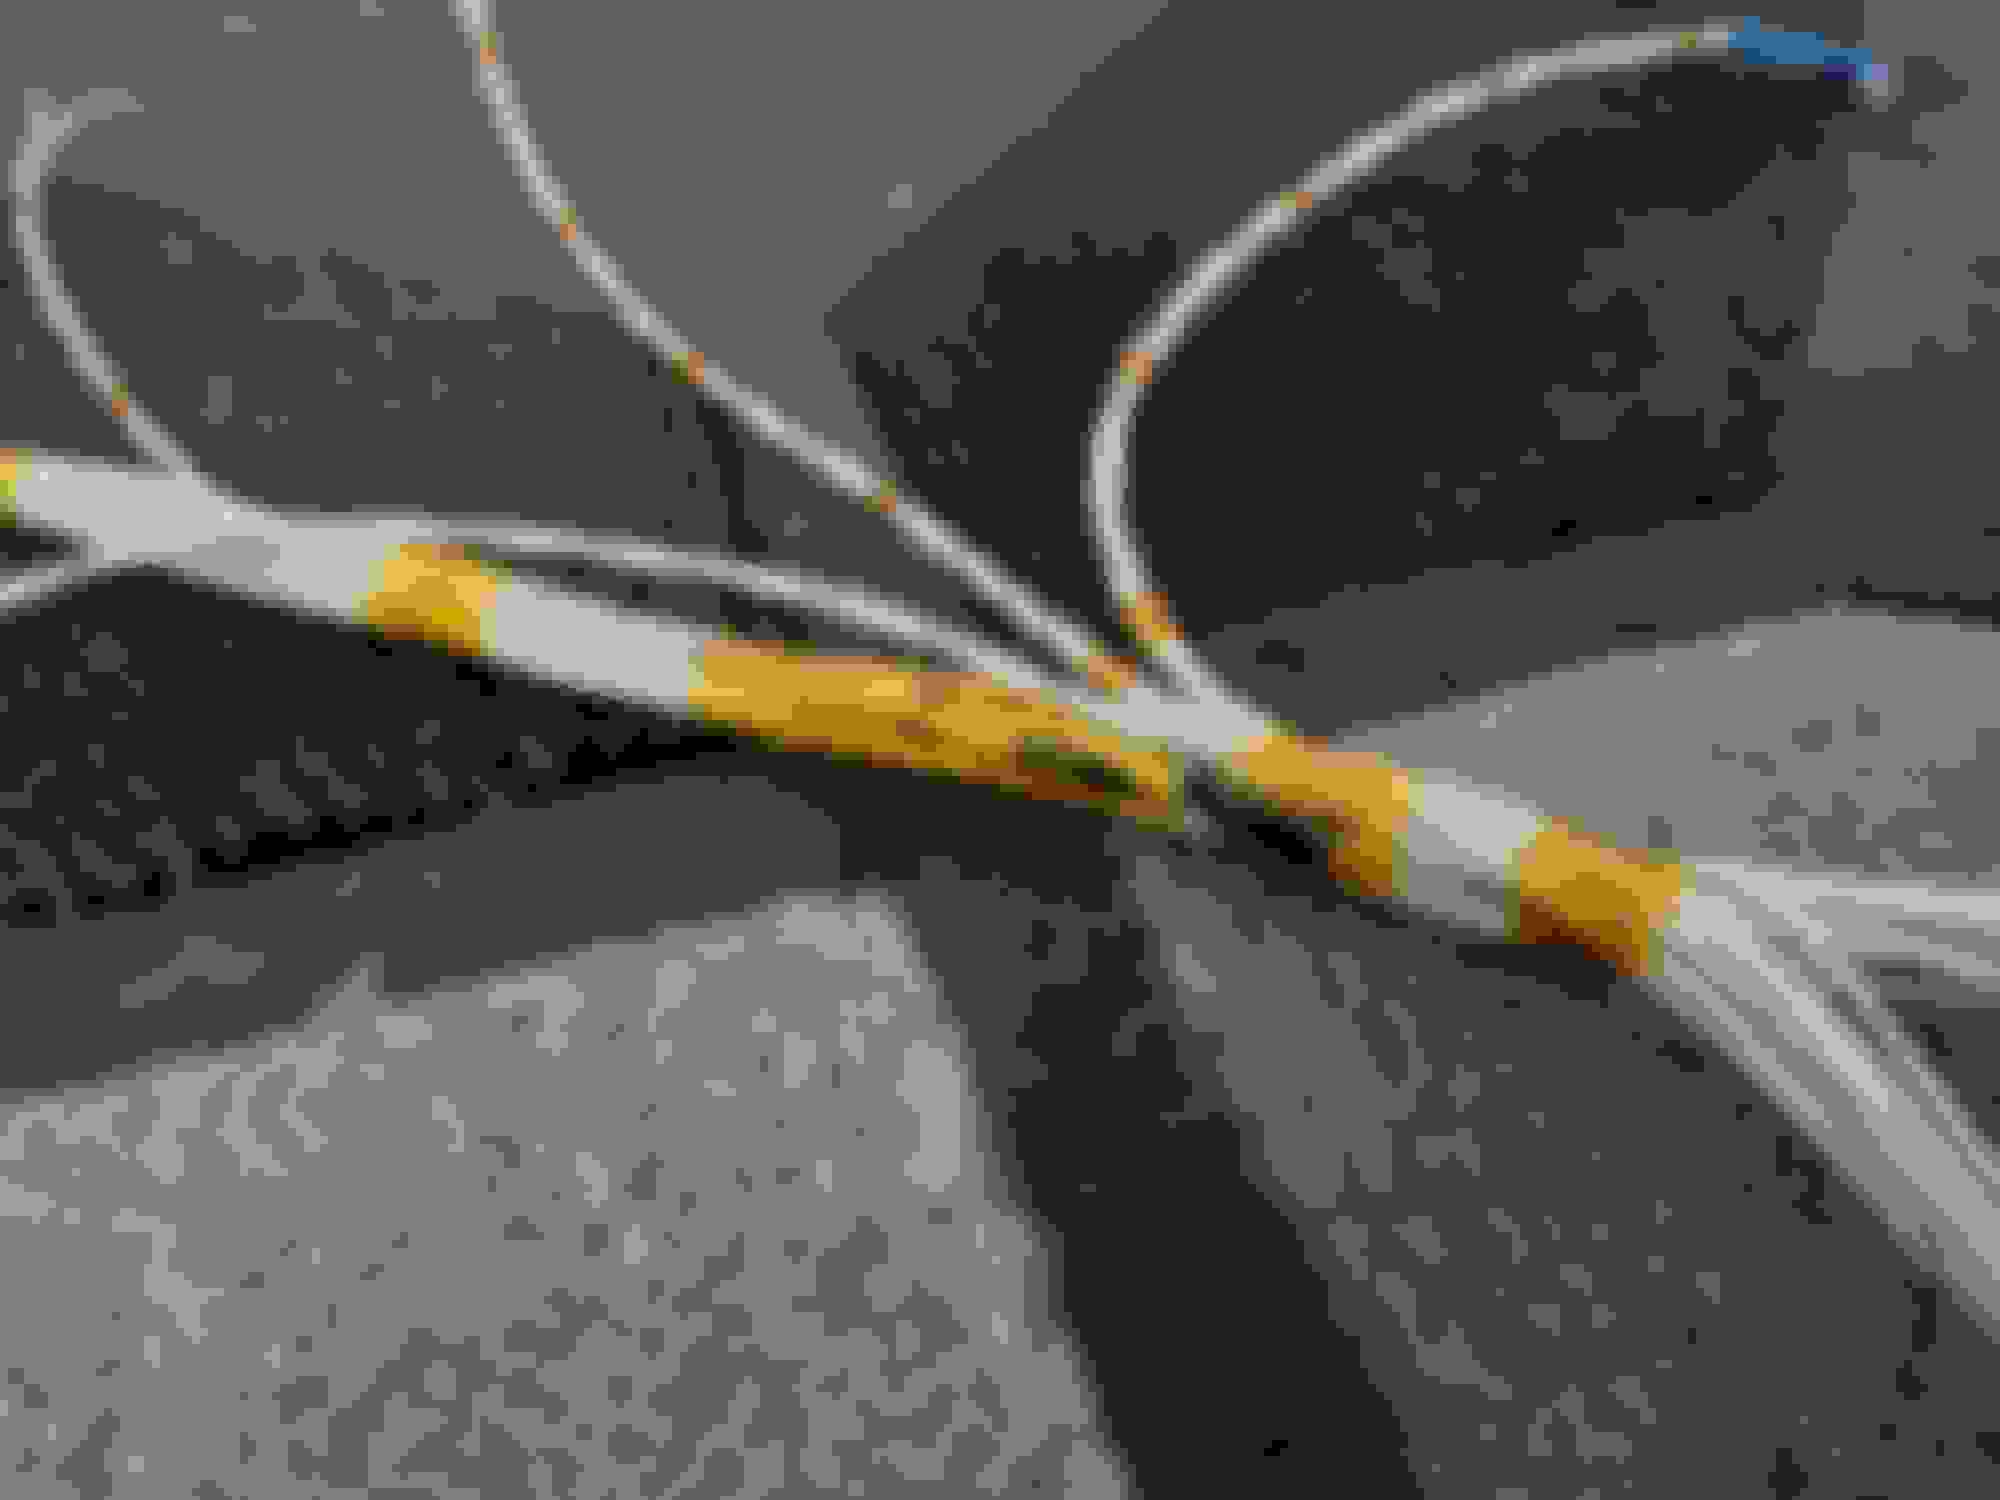
I also made up the fuel feed line from the regulator to the rail. Its Aeroquip push lock like the rest of the soft lines in the fuel system.
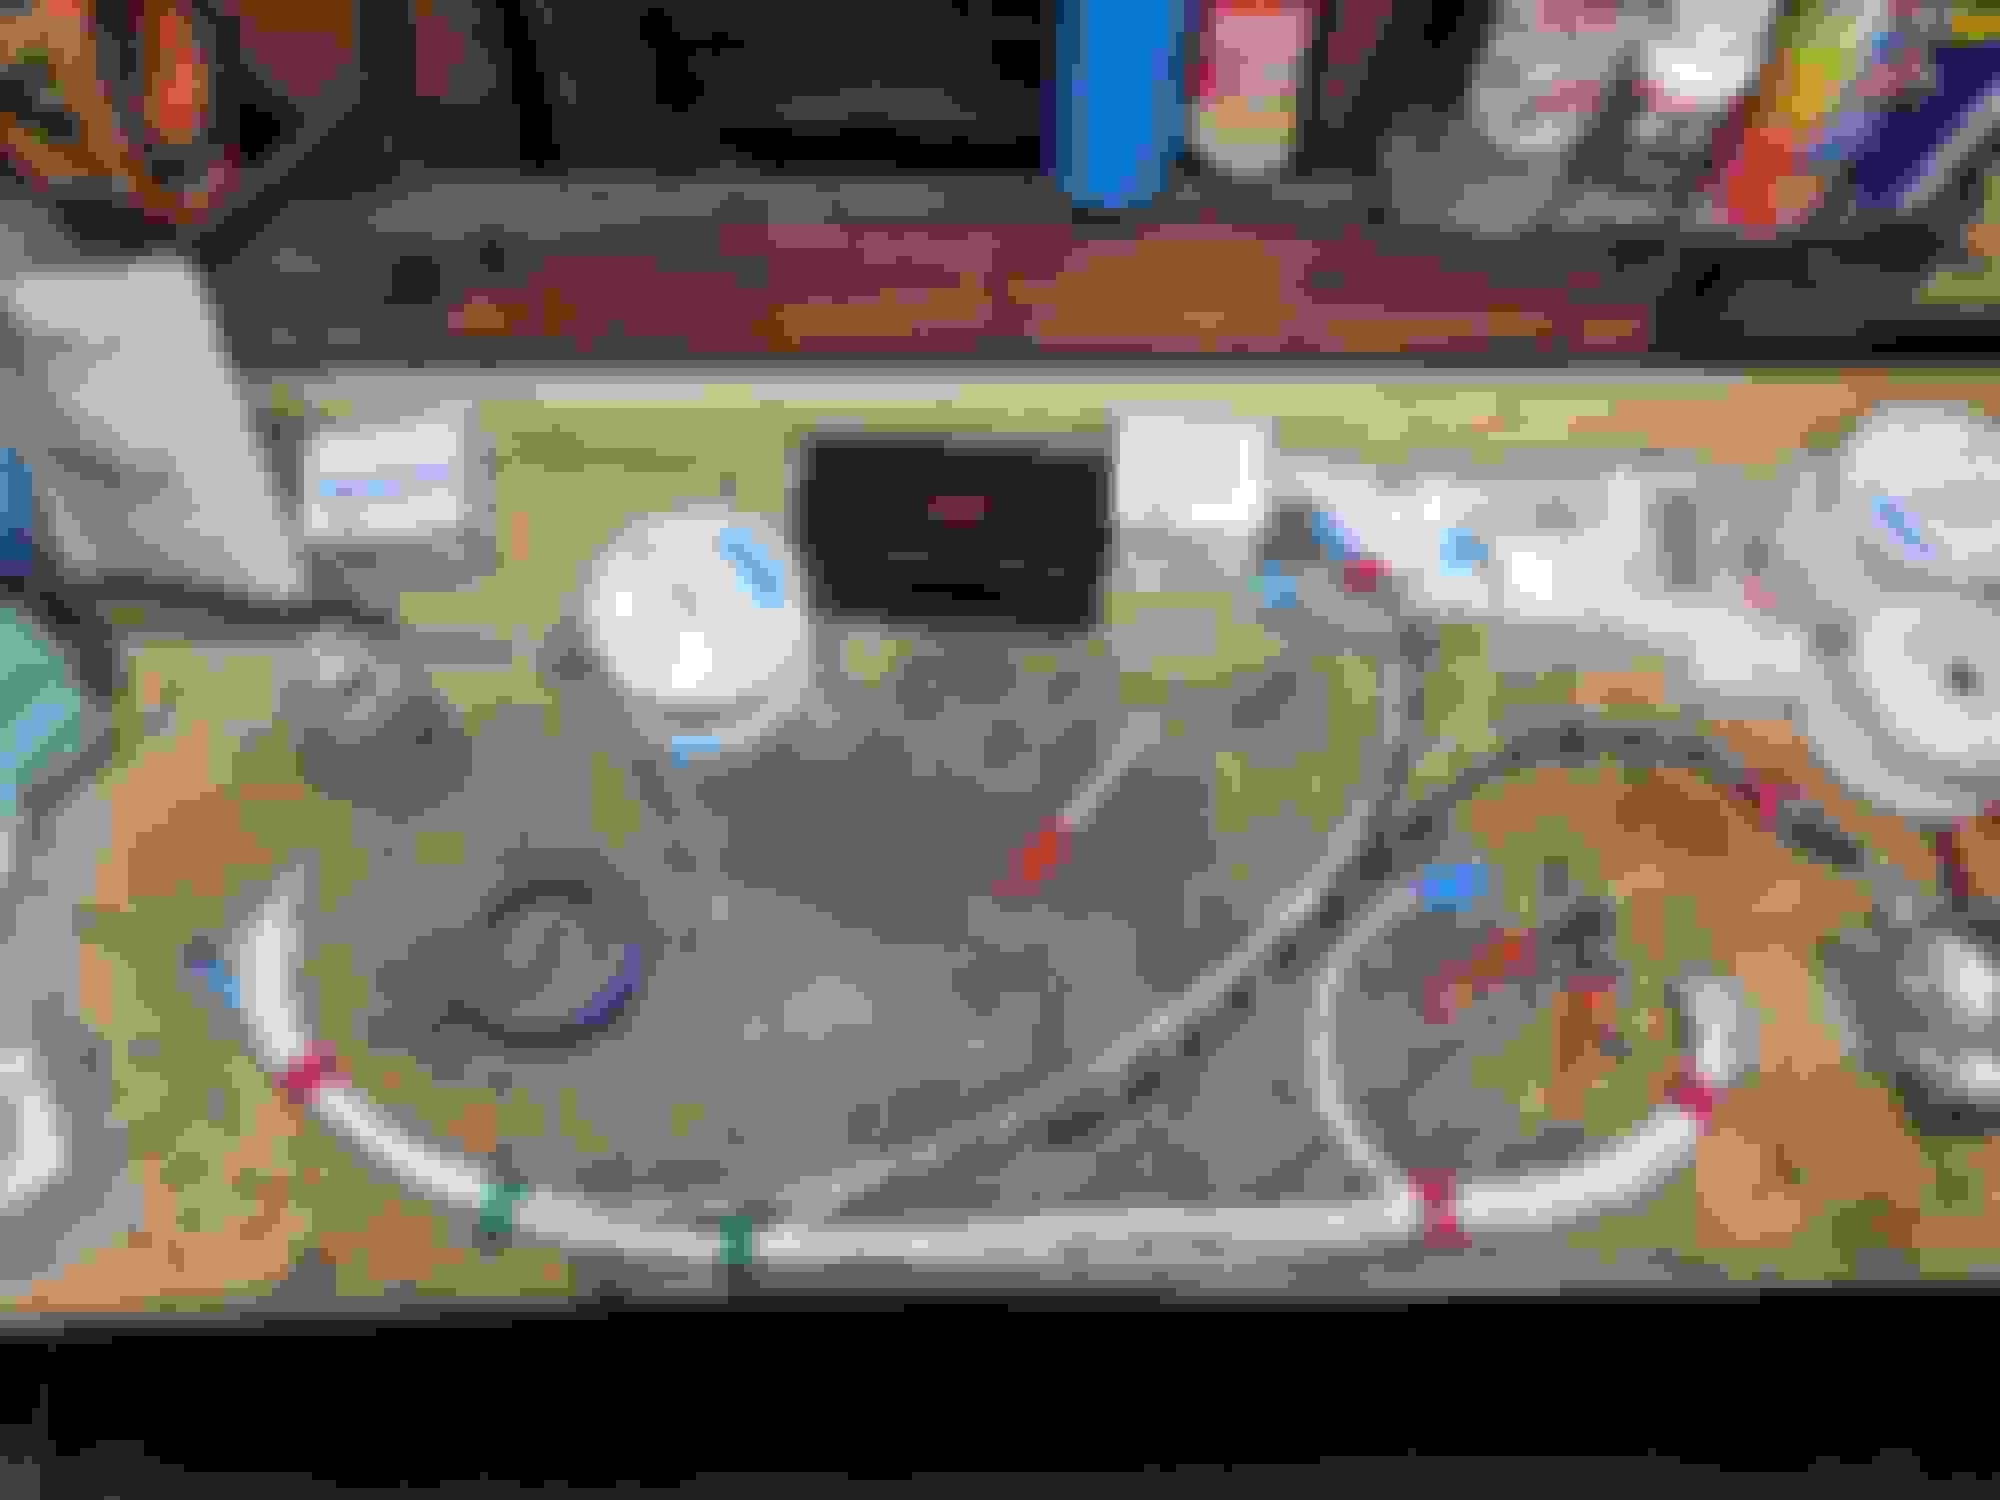
Now that the fuel system is basically finished, I got started on the brake plumbing. I had to scrap my original plan of keeping the brake lines in the engine bay. It was going to be annoying to keep it as clean as I wanted so I decided to do the standard behind the firewall tuck.
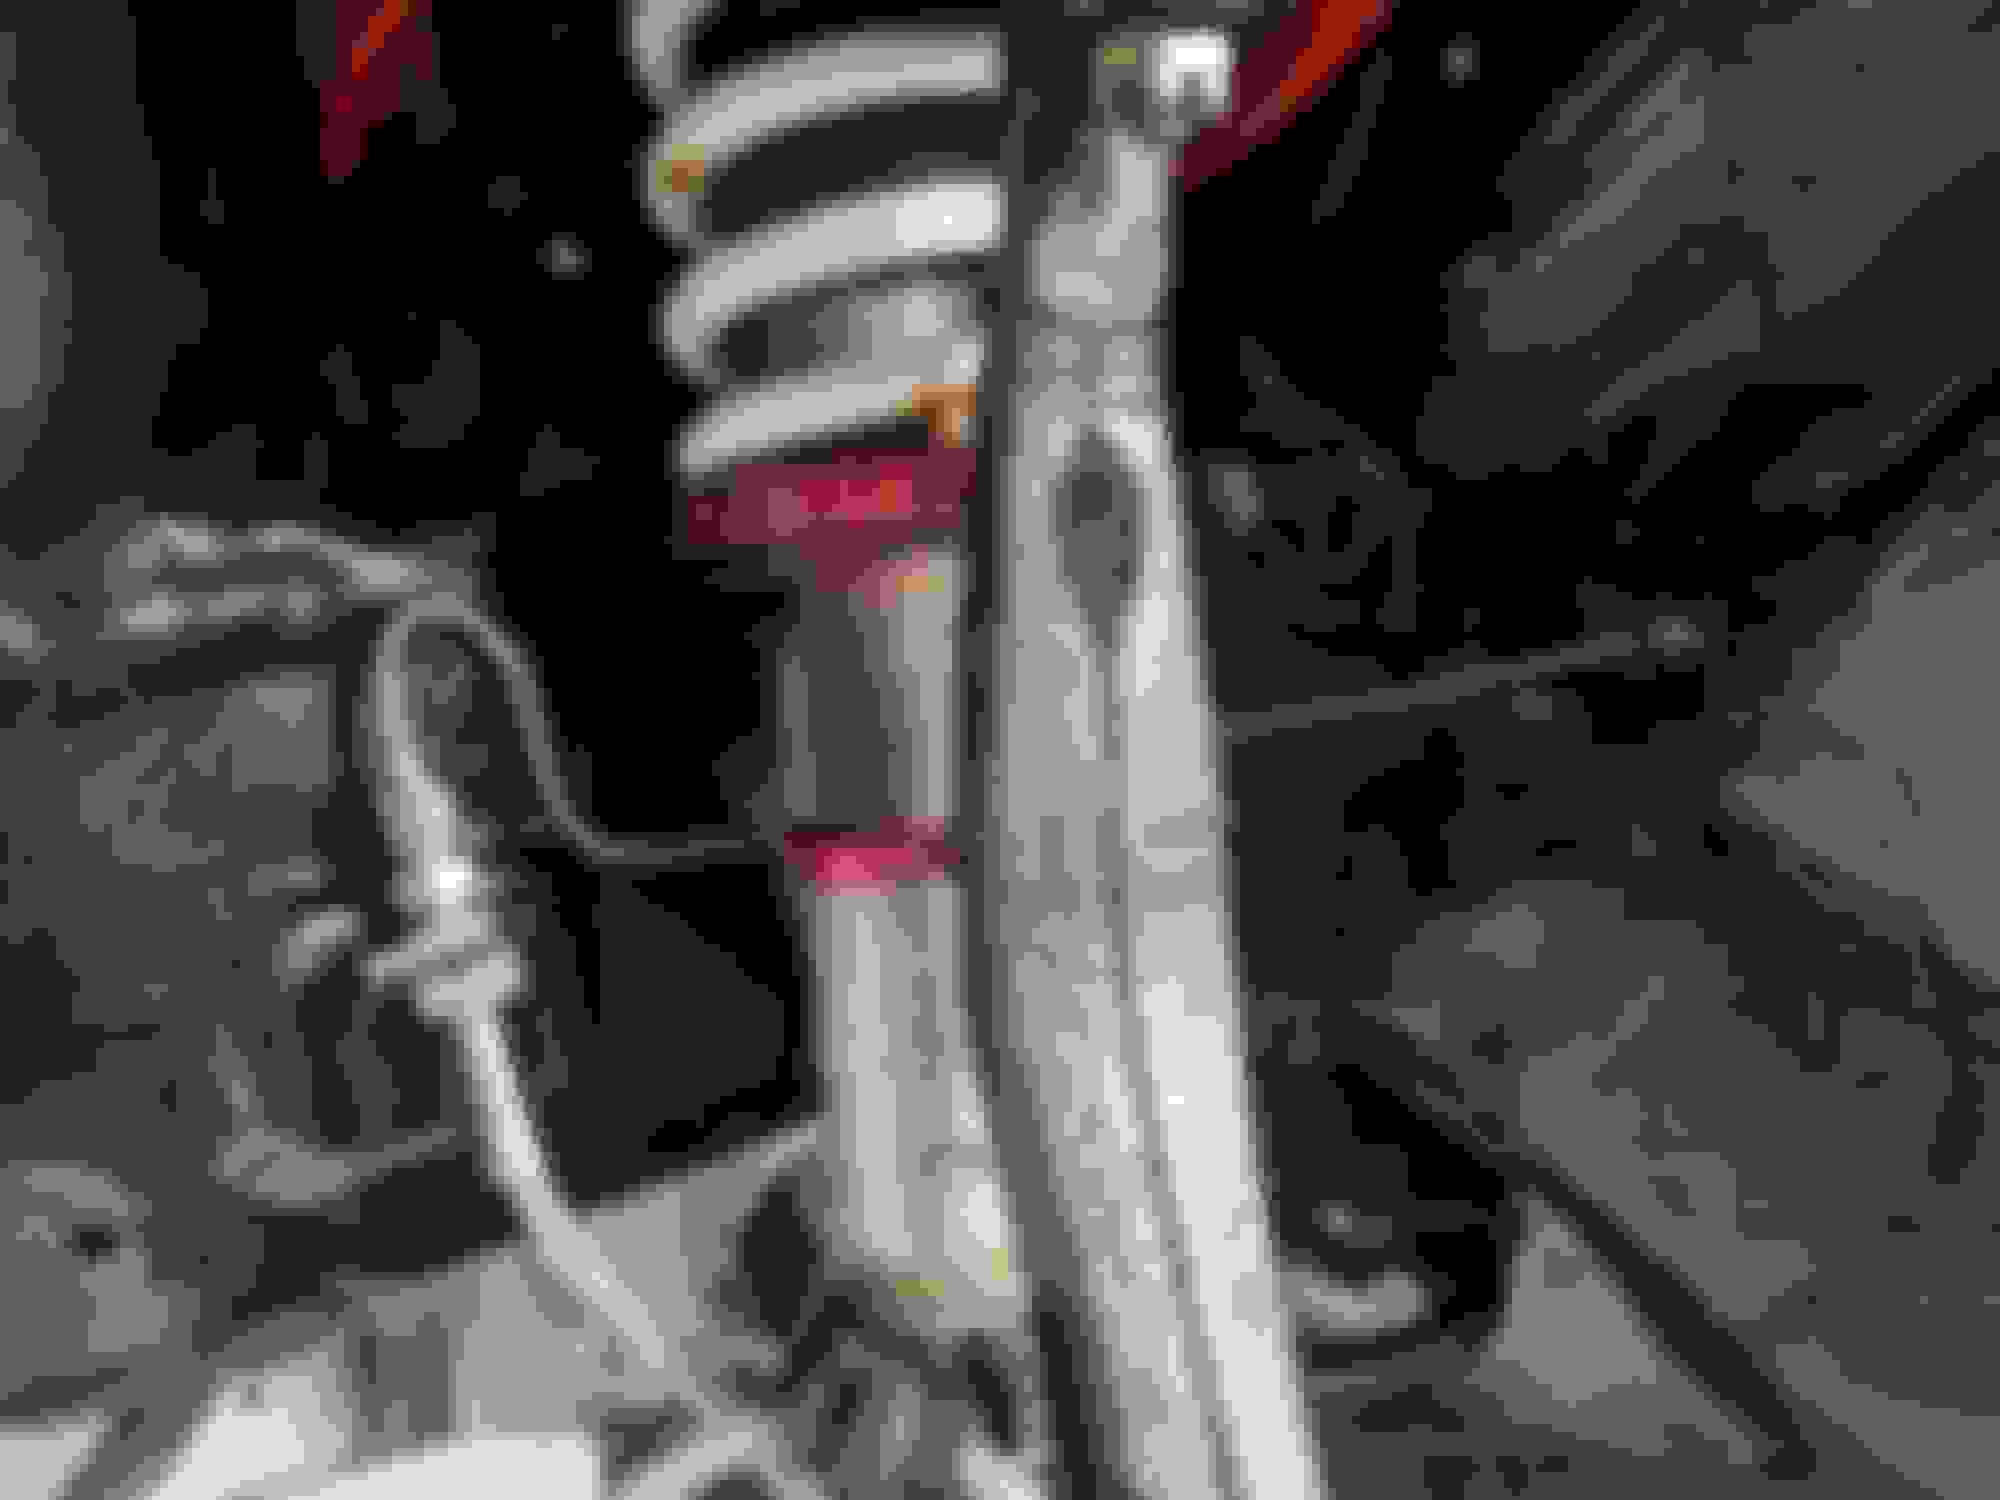
I'm not keeping the factory proportioning valve so the plumbing gets to be a lot more simple. The front port on the MC will go to a tee then to the front wheels and the rear port will go to an SSBC adjustable prop valve to a tee to the rears. I'm picky about hardline plumbing so I had to do all of these a few times (the MC lines still aren't quite right IMO), but I finished the plumbing in the front wheel wells and from the MC to the firewall. The coilovers look nasty, but they're on the list for replacement.
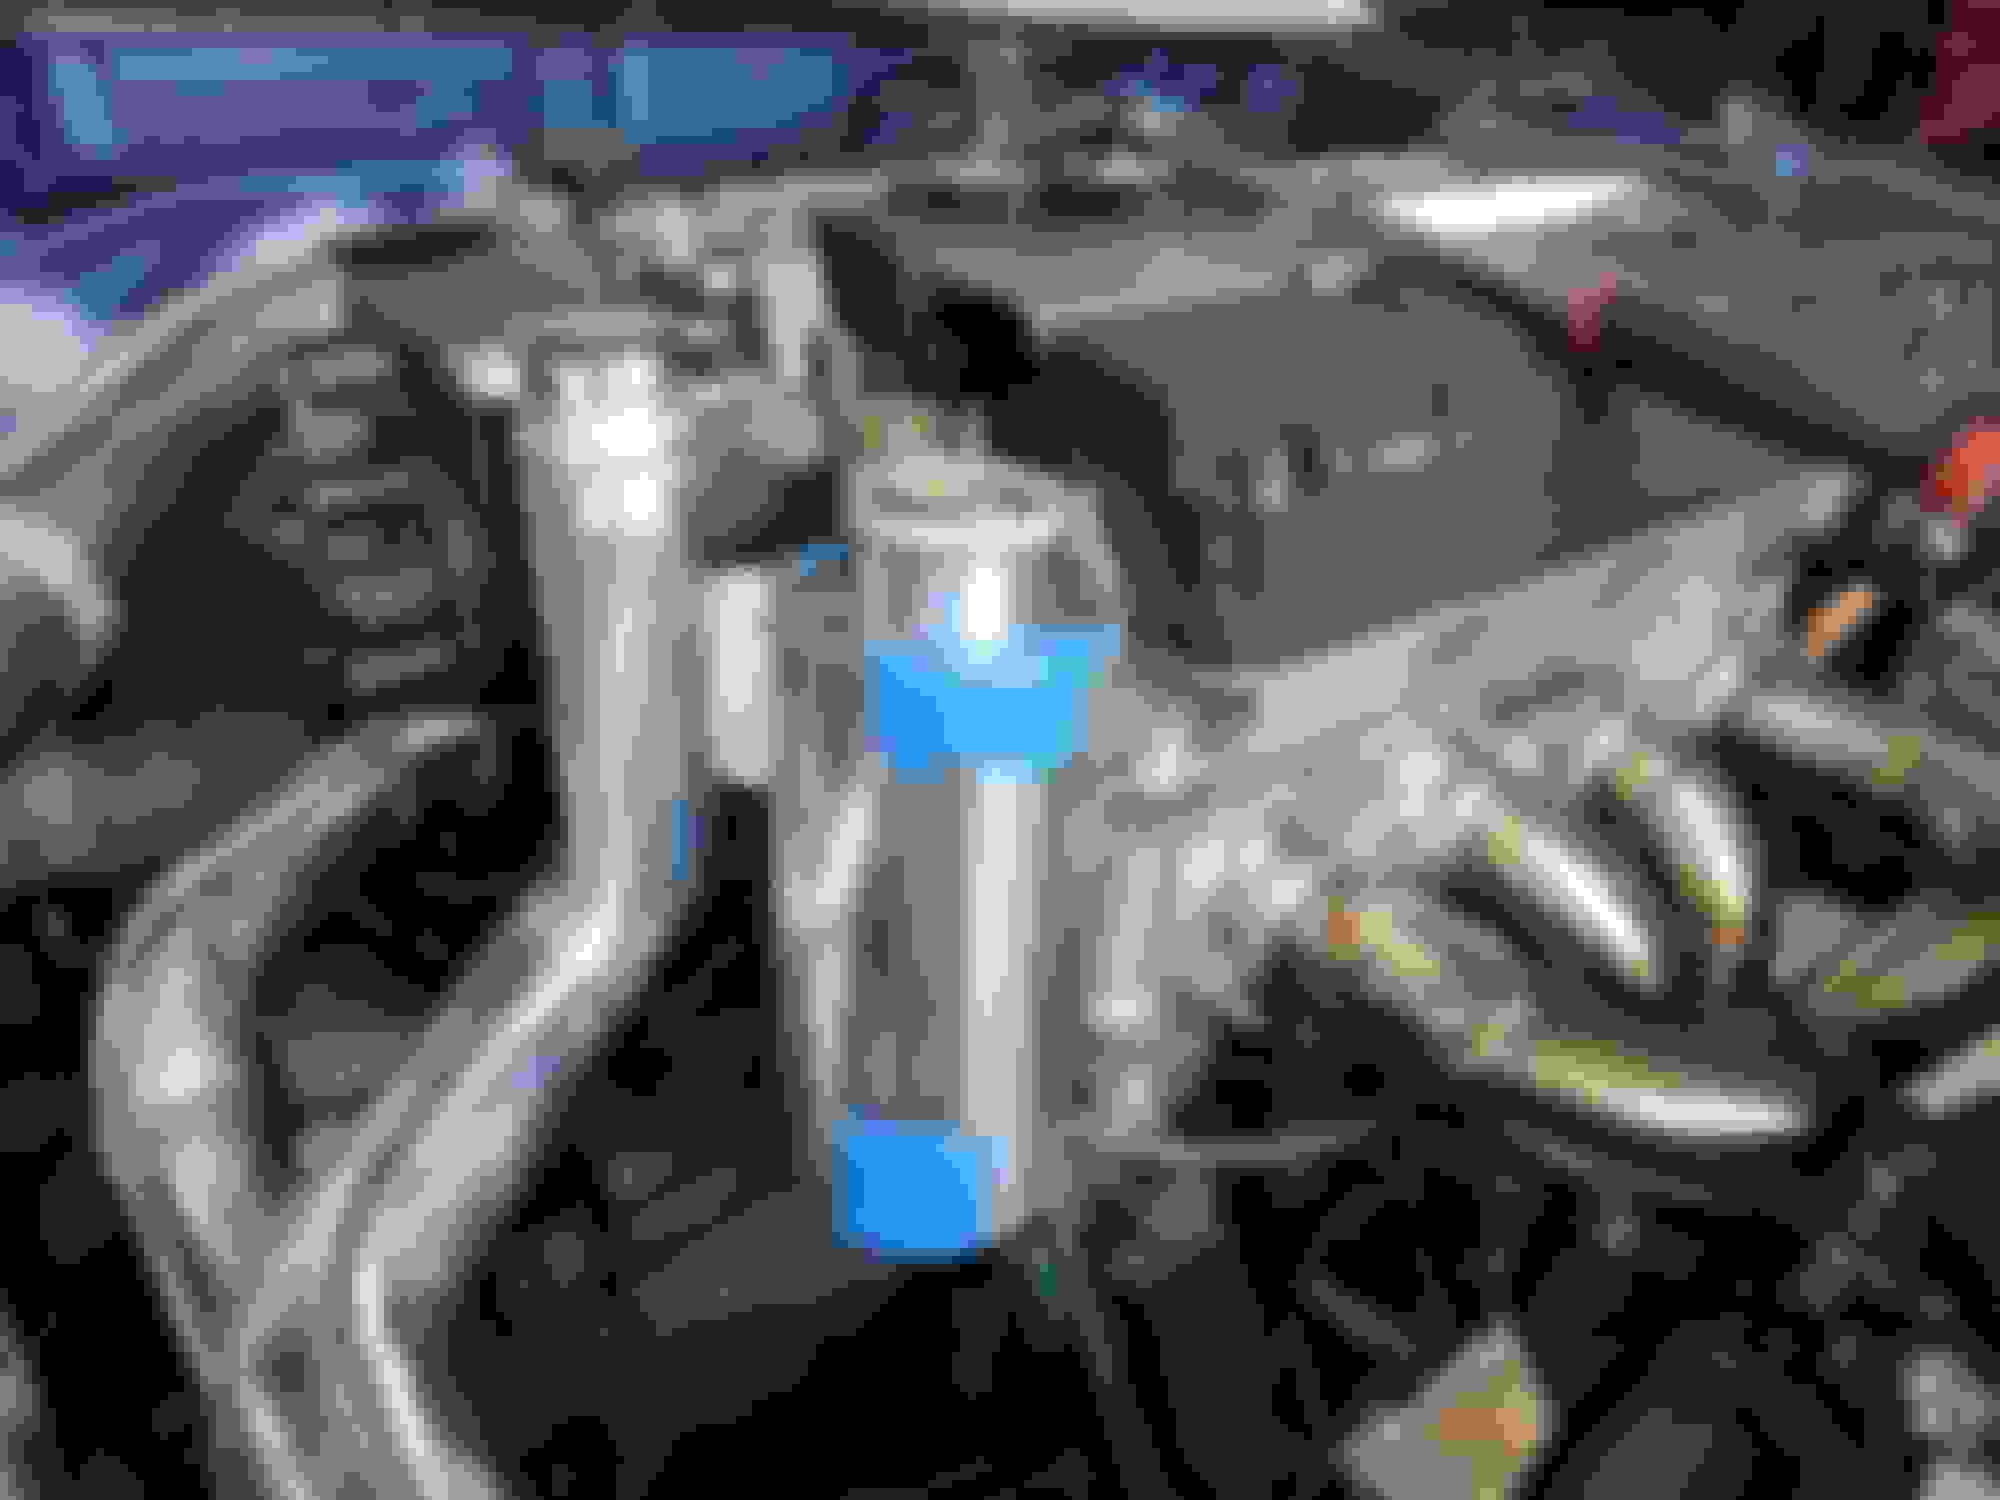
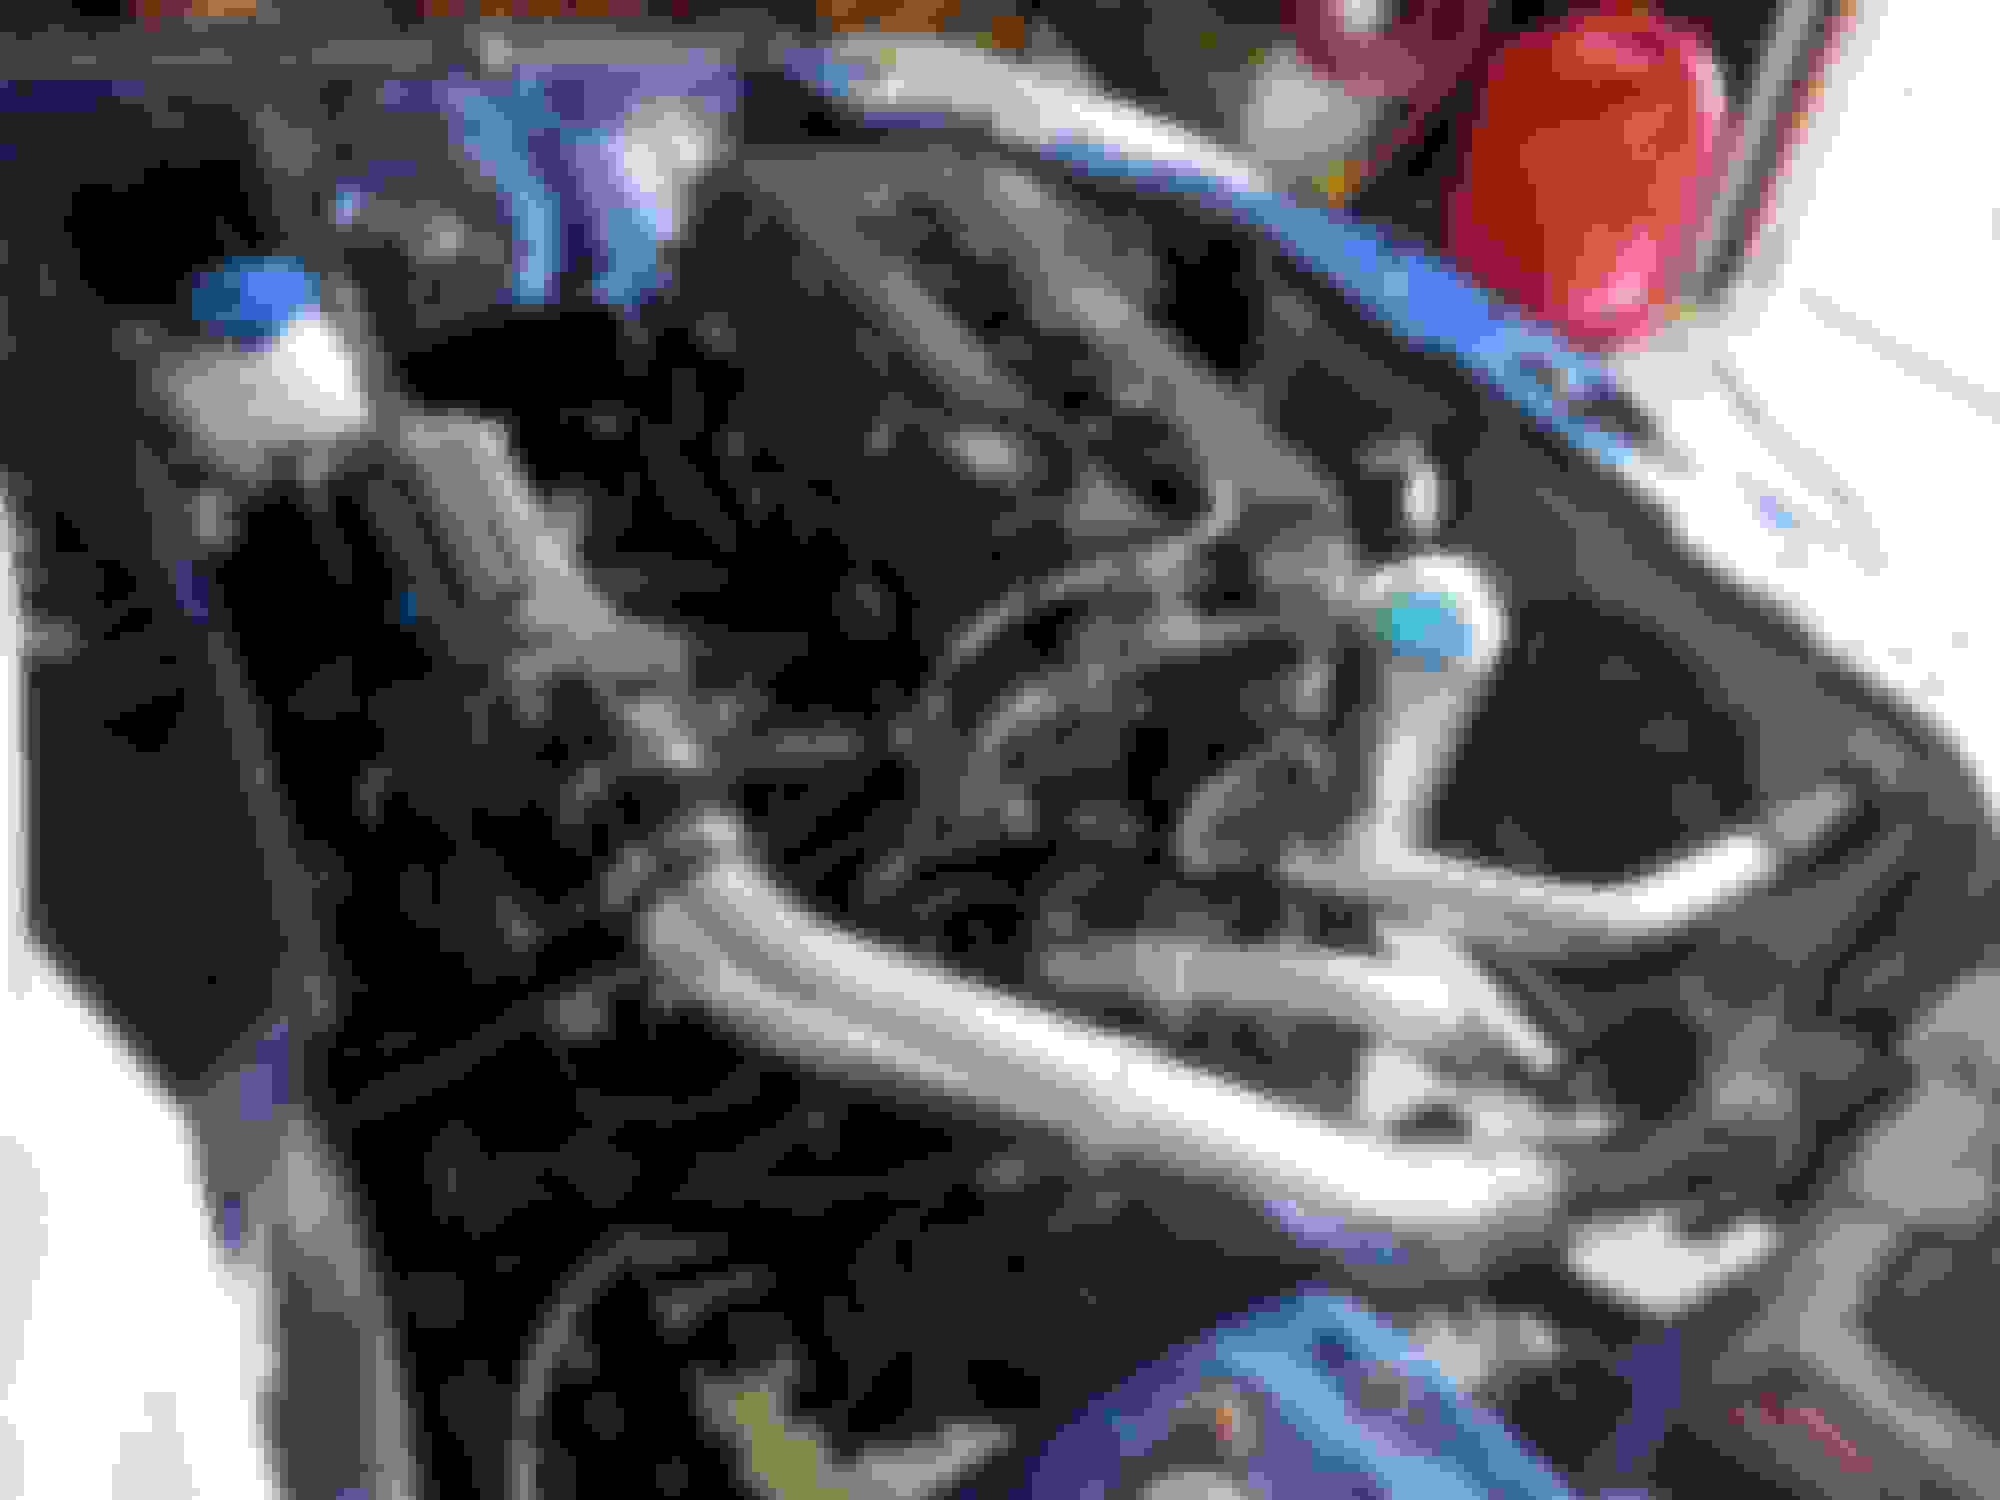
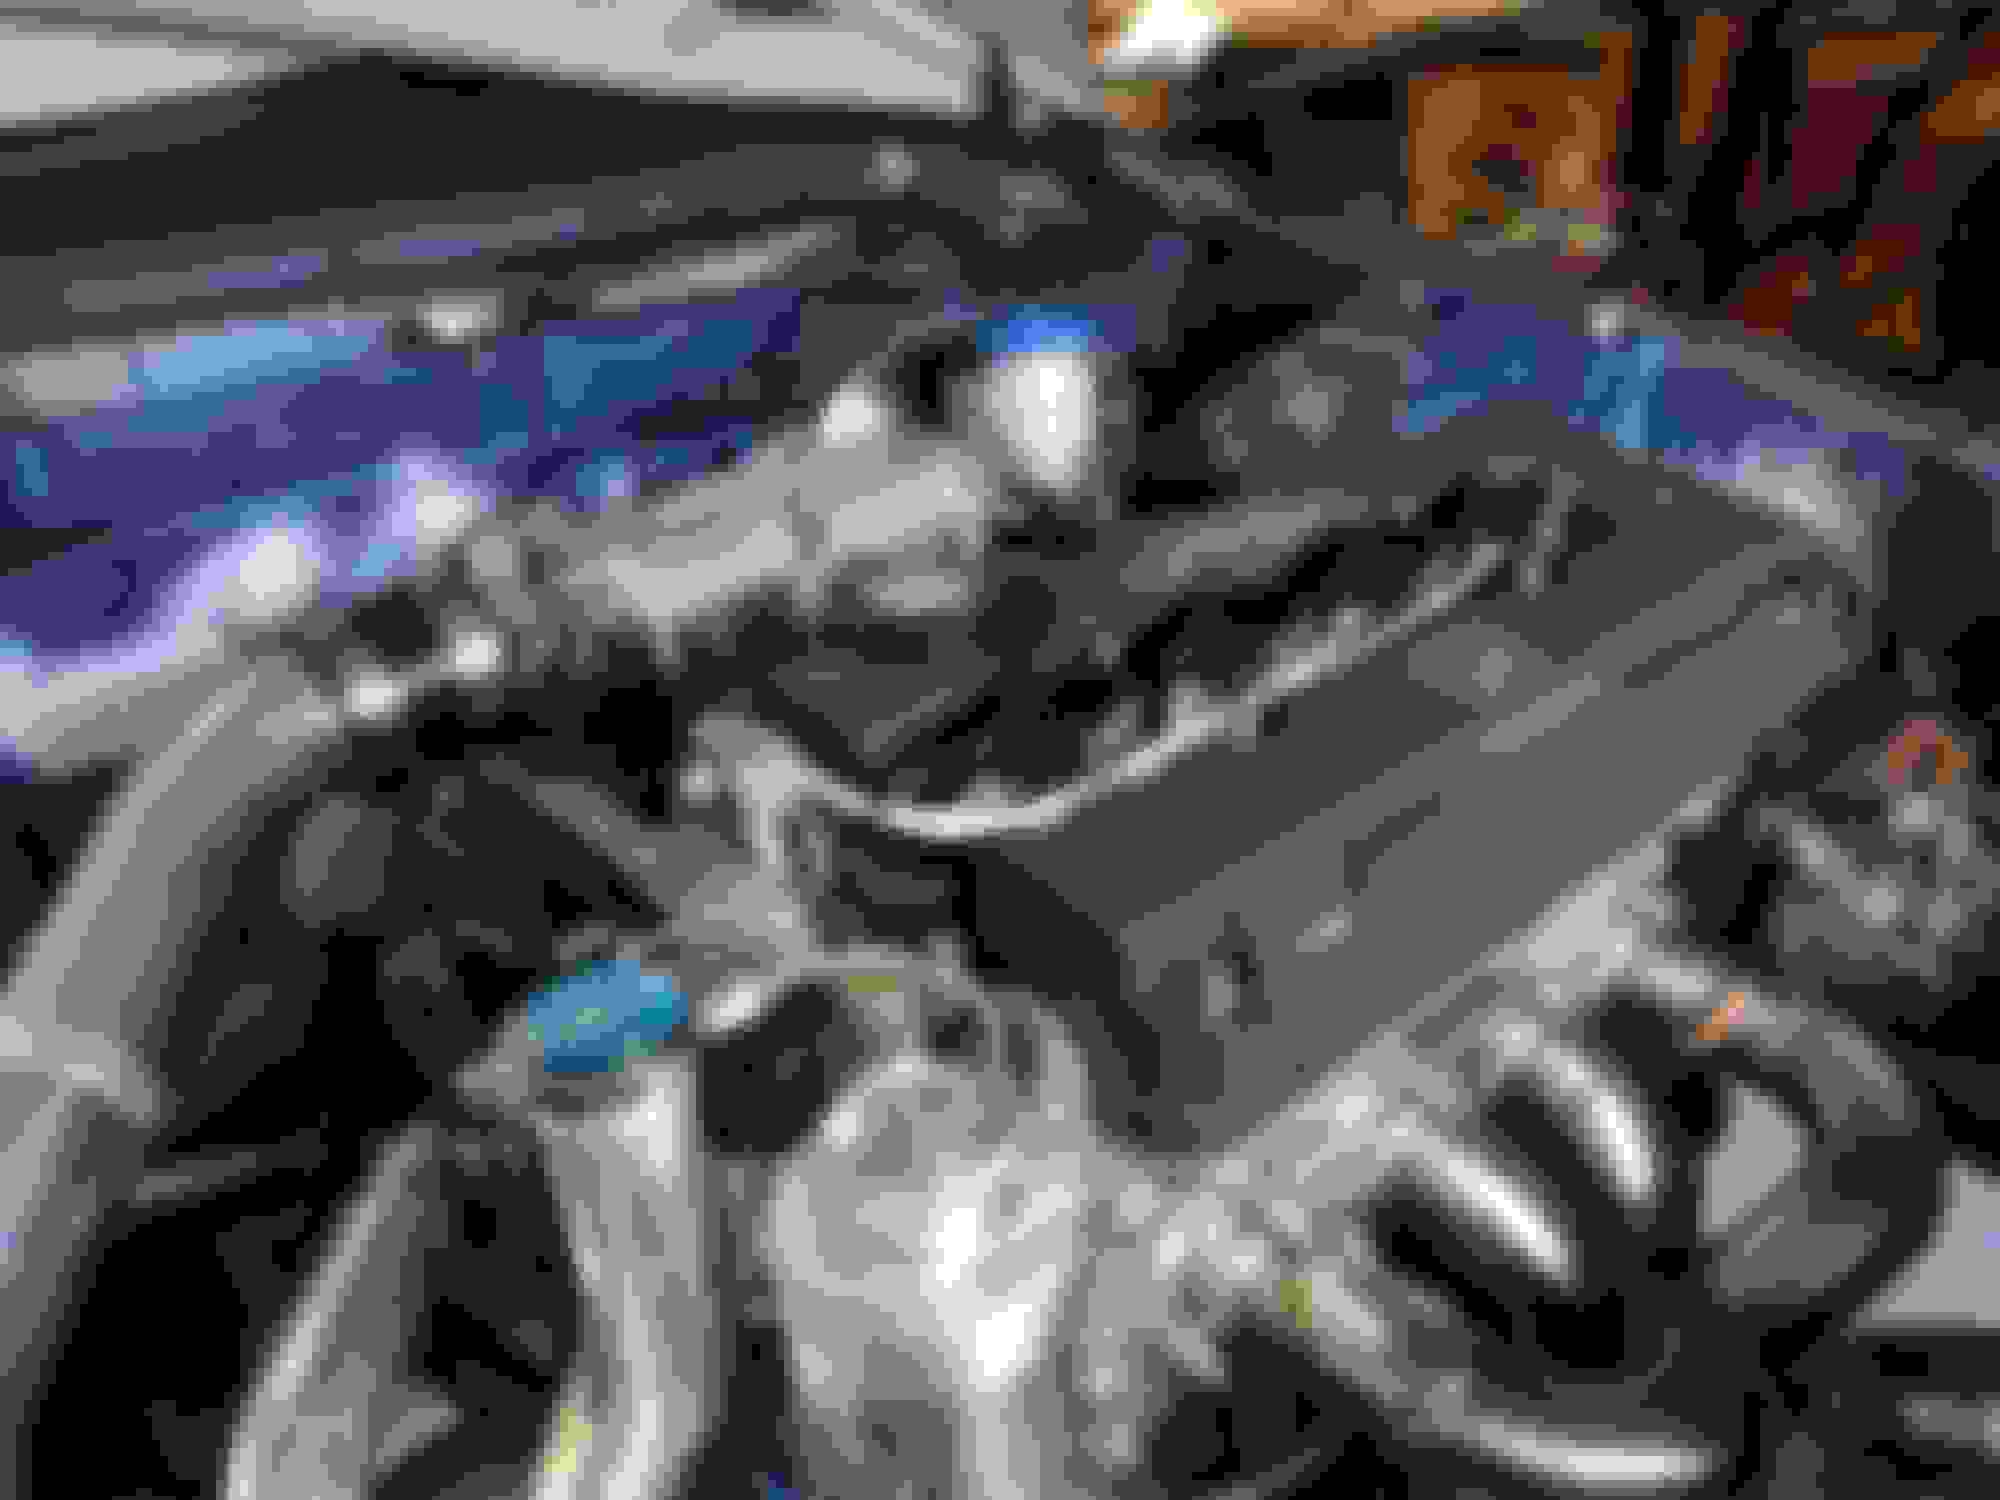
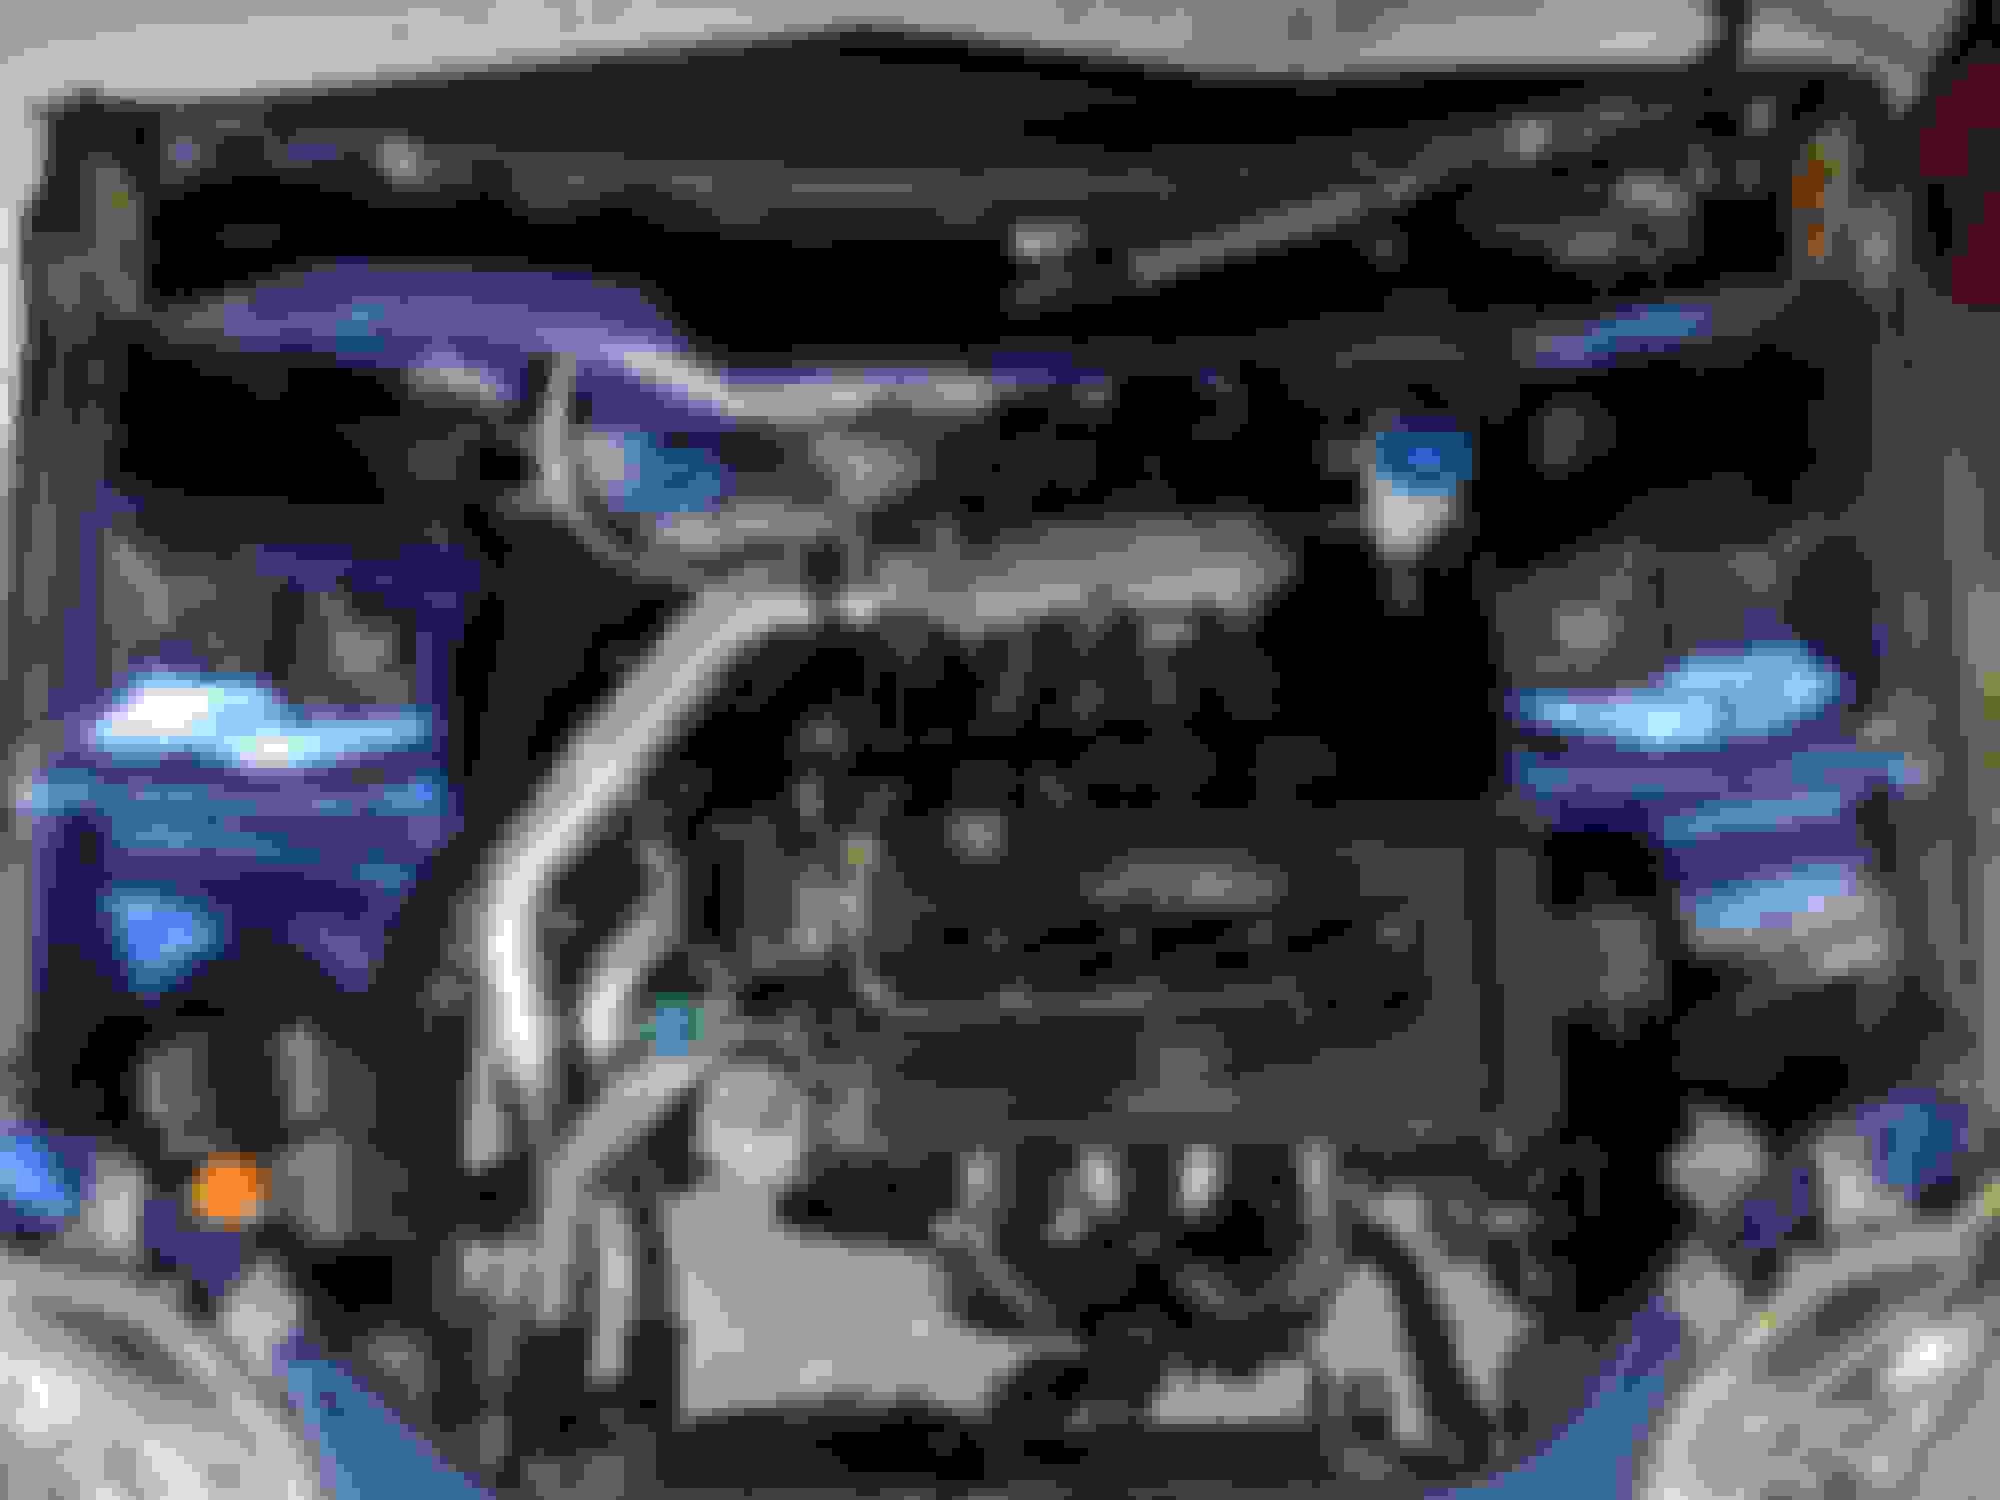
And on a less exciting front: since I'm not using the PCV and evap purge valve anymore, I drilled the ports out and tapped them for NPT plugs. The small vacuum port on the front still needs to be plugged, but I'm probably just going to weld it shut. I gave the manifold a run through the parts washer to clean out the tapping debris and all of the carbon and oil build-up on the inside.It cleaned up pretty good, but I'll still probably hit it with some plastic media in the blast cabinet to get rid of the surface oxidation and staining.
The plan for the week is to get the remainder of my brake fittings ordered and finish that up. Hopefully, that goes to plan and I can stay on track to get this thing shaken down by the end of the summer.
Looking good! Correct me if I'm wrong but, shouldn't your regulator be on the return side?
There are a couple of different ways to plumb a regulator. This is a semi-returnless setup so the rail is capped at one end and there isn't really a return line from the rail. The regulator return port on the bottom bleeds fuel off to regulate the pressure in the feed line from the pump so everything connected to the top ports of the FPR sees the same pressure. In theory, it's the same to how K-series cars (RSX, etc...) are plumbed from the factory except for their regulator is in the tank as part of fuel pump assembly.
Without getting too geeky about fuel system design and its impact on evaporative emissions and hot starting, there are both pro's and con's to plumbing it the way you described and the way I did, but both are acceptable for aftermarket or racecar purposes.
What did you use for undercoating the wheel wells? Por15?
Yep. It's POR-15. I still need to do the rear wheel arches, but it worked pretty well with minimal prep on the fronts. I still may top coat it with something less shiny but it's low on the list.
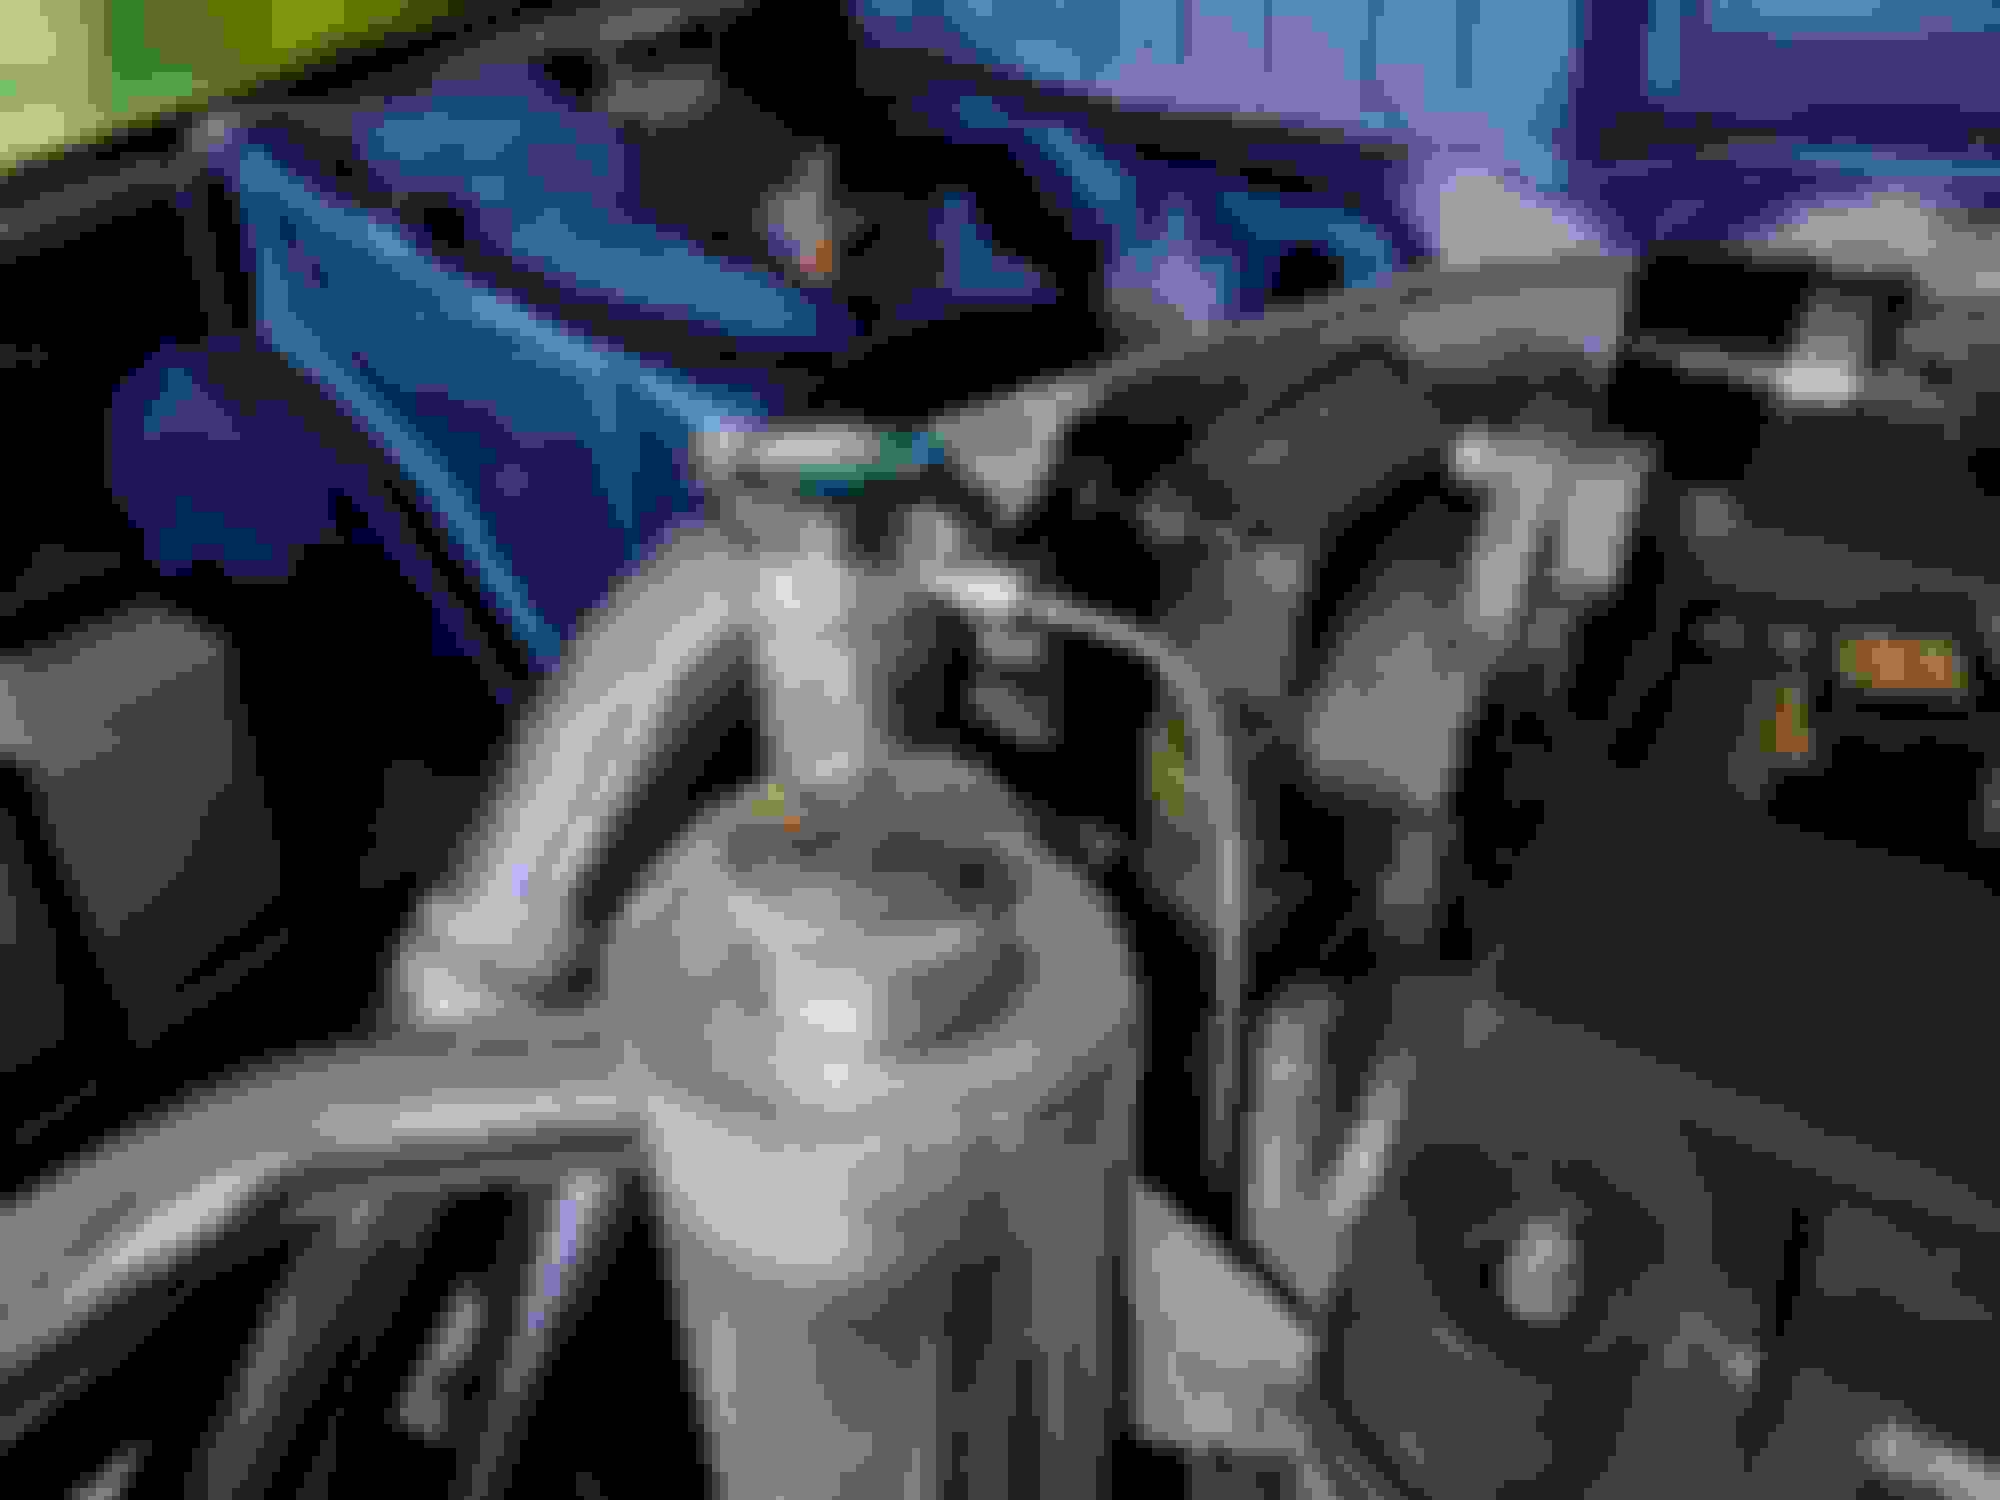
Back with more updates. I finished plumbing the brake lines and clutch line. Nothing really to show since most of the work is under the car and I have no room for the phone or camera to take decent pictures, but I am able to show off the coolant catch can setup.
I'm a fan of how it turned out. I just need to finish up making a bracket to mount it to the filler neck and that should be a few minutes of work. From there it's welding time.
I got my clutch line and turbo oil feed lines in the mail. They pre-made non-DOT brake lines. Nice and affordable and probably won't fail as easy as the pieces I would have made.
Also, after a decent amount of struggling and retrying I got the turbo drain plumbing. I'm not 100% happy with it. Due to the low mounting position of the turbo and placement of the bung on the Moroso pan, the angle ends up being a bit more shallow than I'd like. If it doesn't work, I have a scavenge pump setup planned out, but we'll cross that bridge when we get there.
The majority of the hard parts and plumbing is complete. The next major project is sensors an wiring. There are some more parts showing up this week. I ordered a COP plate, distributor delete cap, coils, and a few other odds and ends from Speedfactory Racing. I also ordered fuel pressure and oil pressure sensors and a MAP sensor from Digikey.
Stay tuned because we're still on track to get this thing running before the end of the summer.
Progress is looking very good! You should plan on welding a new bung onto your oil pan, it's going to make your life simpler with minimal effort. I have a mini-ram too, I could send you some pictures of how I set my drain up if you'd like!
Progress is looking very good! You should plan on welding a new bung onto your oil pan, it's going to make your life simpler with minimal effort. I have a mini-ram too, I could send you some pictures of how I set my drain up if you'd like!
Sure. Send them on over. I dug around for awhile and it seemed like everyone with mini rams has this problem. I wish I would have looked around a bit more before going with this manifold. It feels like all of the plumbing has been annoying.
Not a super exiciting update, but since I'm waiting on parts to show up, I got started laying out my wiring harness in Excel. I didn't expect this to take as long as it did, but after almost 12 hrs of screwing around, I can see why custom wiring harnesses are expensive. Since I'm going standalone, I shitcanned the PCM-B and PCM-C connectors. Essentially what will happen is that the standalone will get power and talk to the rest of the car through C101 (driver side shock tower 12-pin connecter), C131 (22-pin green connector down by the PCM), and C452 (the PCM-A connector). Once you pull out all of the wiring for evap, AC, and what not there really doesn't end up being much left. A fun side note: the VTEC solenoid requires a high-side driver which my standalone doesn't support so there's some relay work involved to get VTEC yo.
I still need to layout the fan subharness (since I'm probably inheriting a higher amp fan with internal speed control via PWM) and the fuse box and subharness for the fuel pump in the rear of the car. That also leaves the charge harness (starter, alternator, battery, etc...). This is definitely shaping up to be a big job even with leaving the majority of the car's wiring intact so I can still have functioning lights, HVAC, and whatever else.
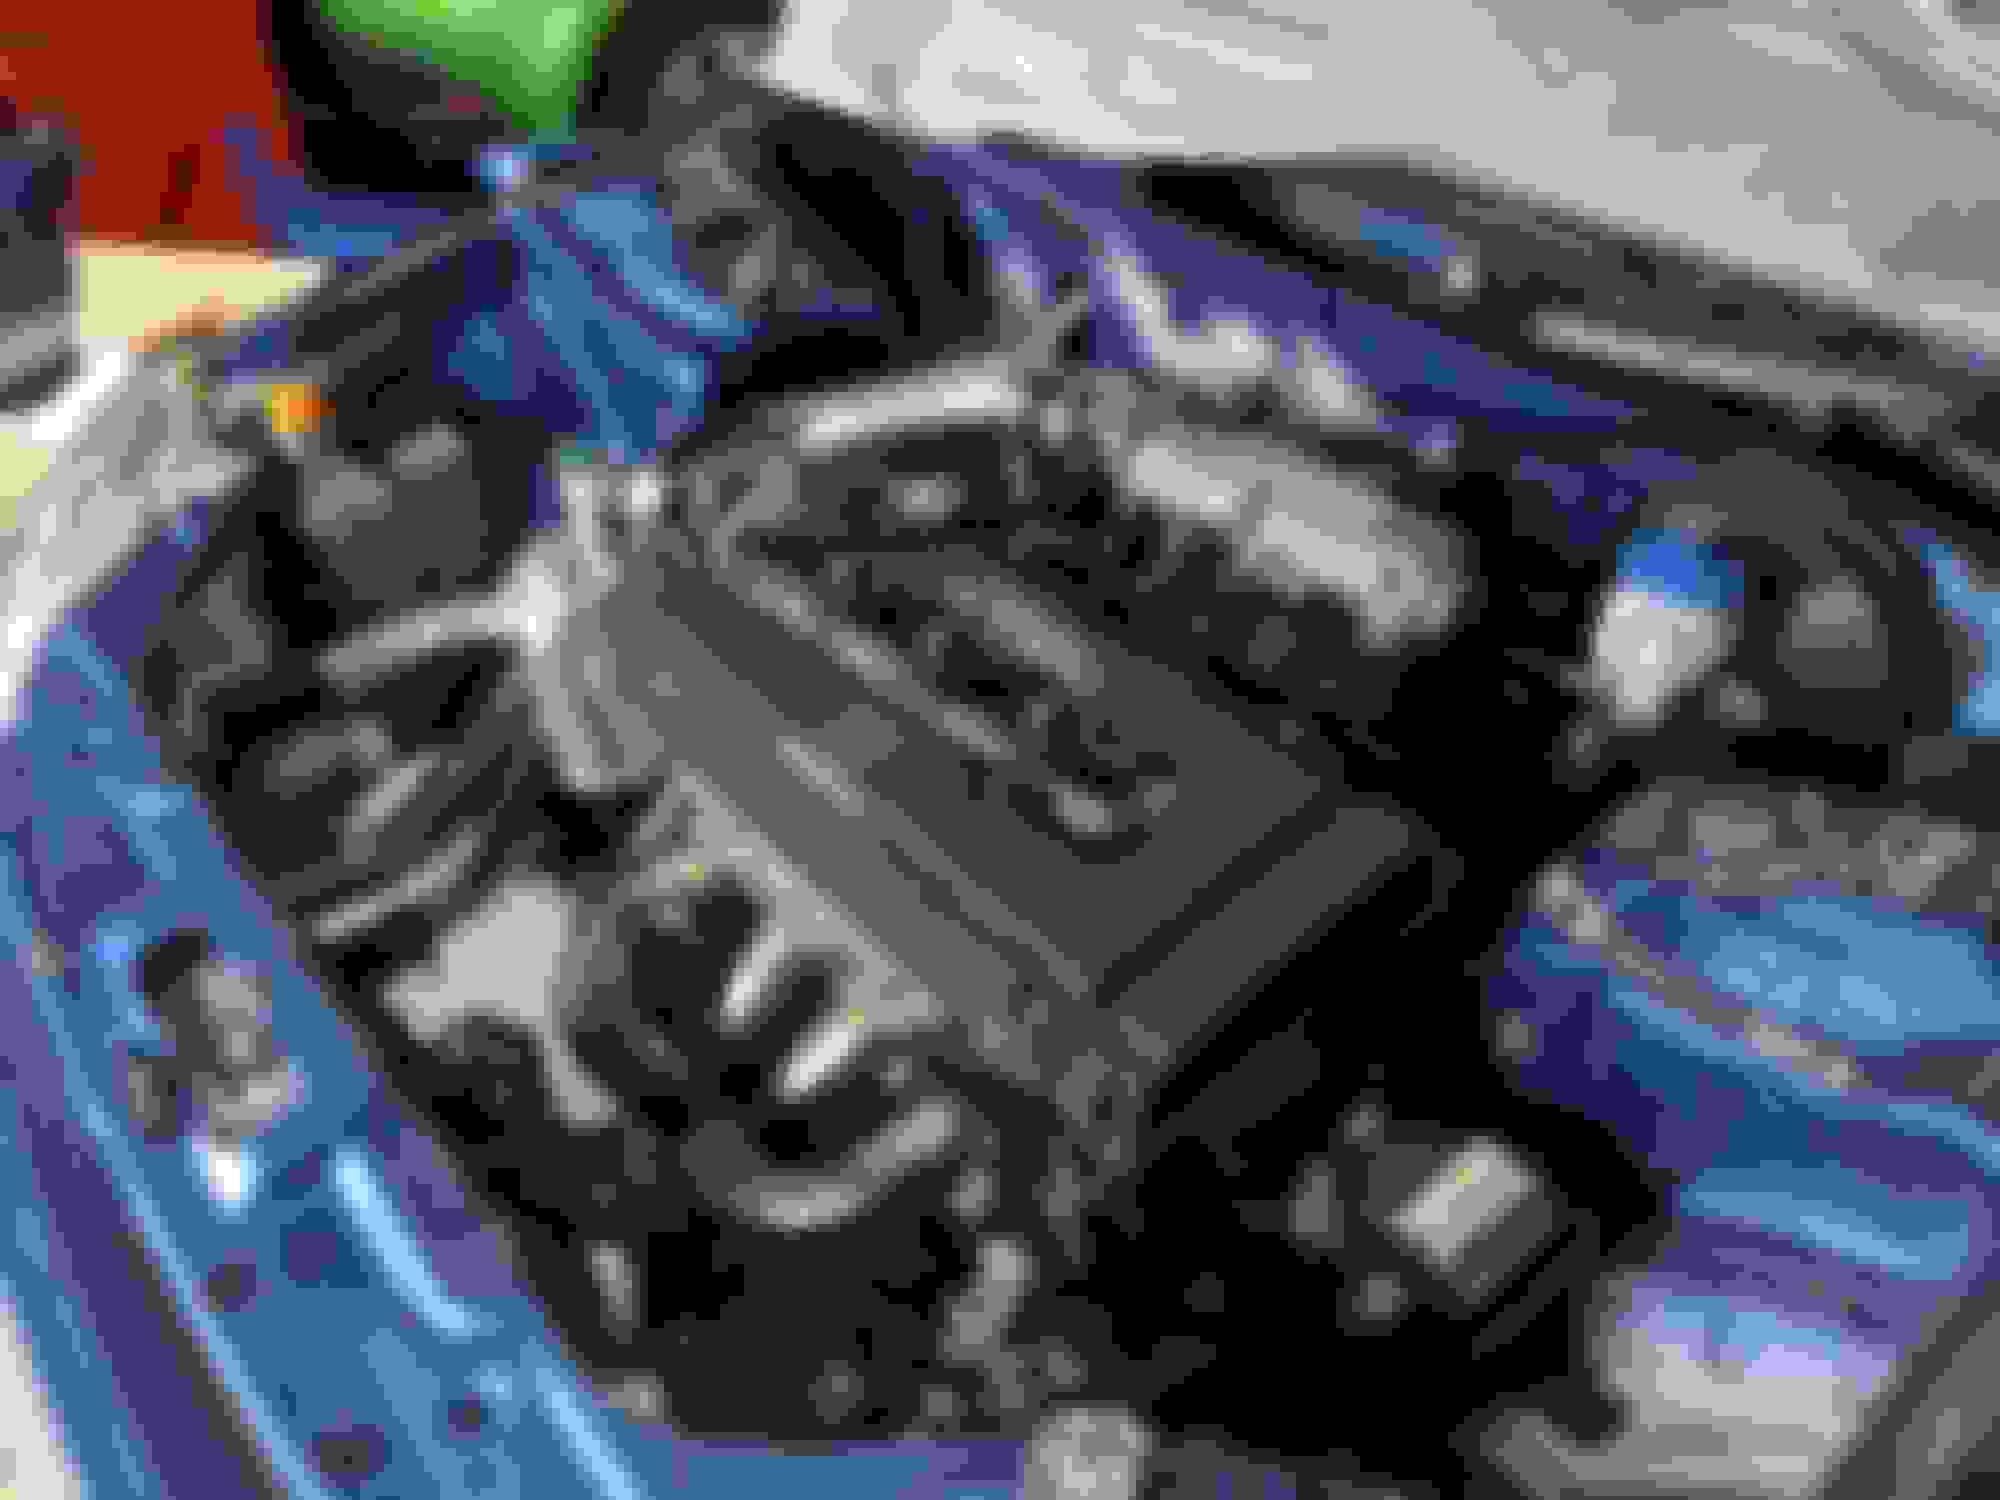
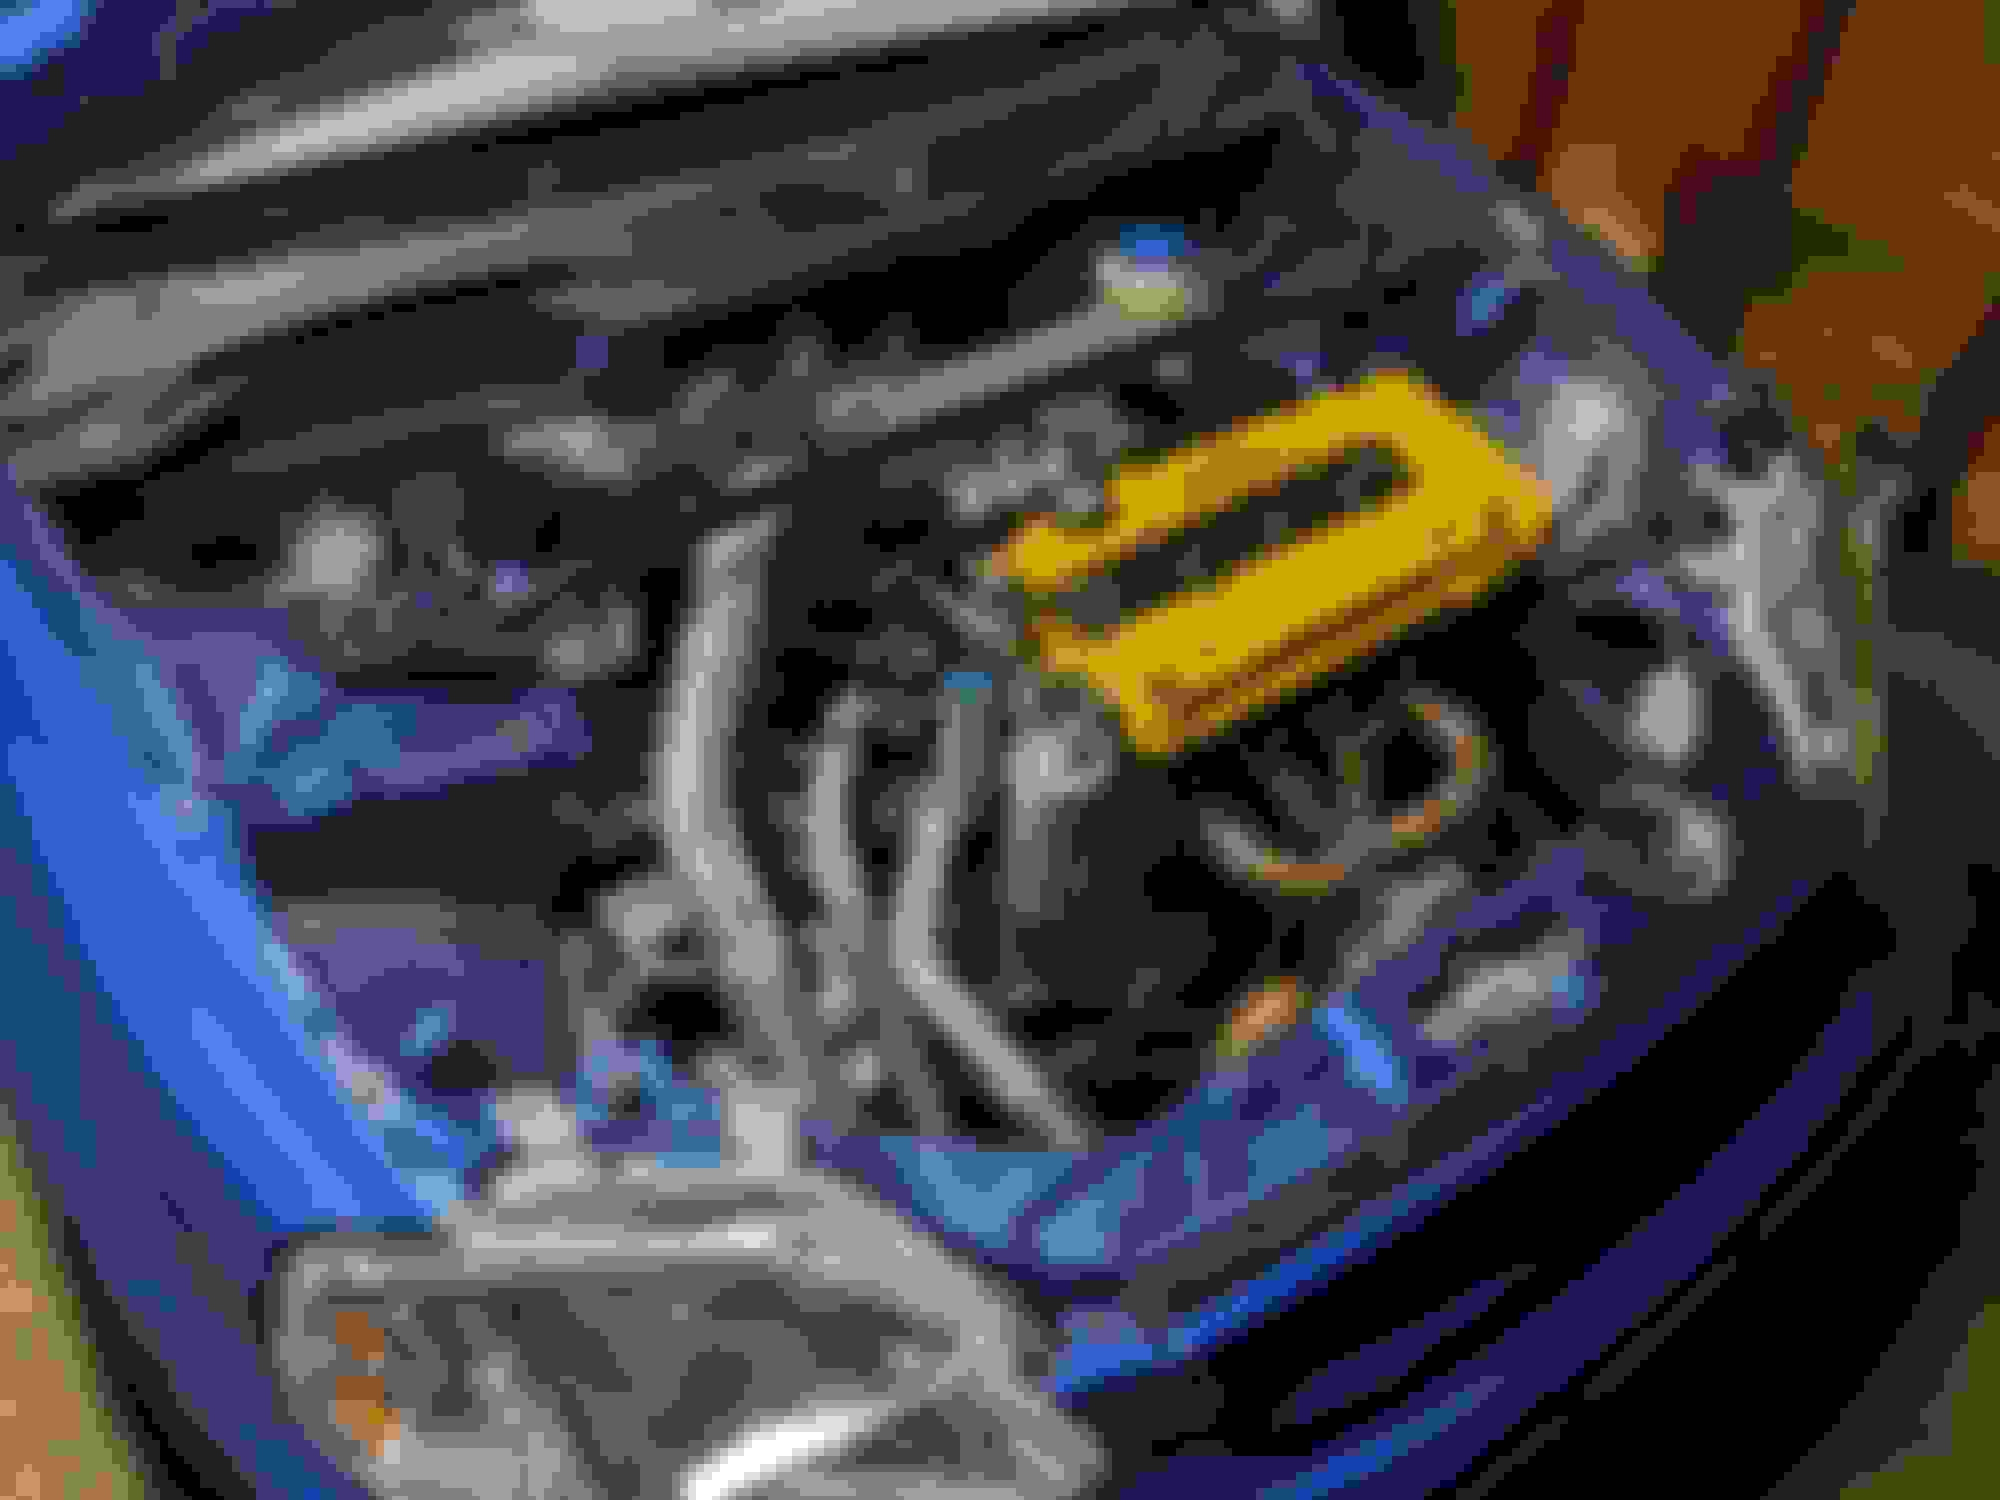
Cooling setup is finished! Speedfactory COP parts are also installed. Kinda weird they didn't include hardware with the cap considering every distributor cap out there has captive screws. Also, put in a fresh set of NGK BKR7E's at the recommendation of HT people. They seem to be the most common choice for my power level.
I have a few small projects that I'll be finishing up this week: mounting sensors, installing gaskets, finishing touches on the rear brakes (line mounting and e-brake cables), and installing axles. Wiring planning is still progressing, but didn't get as far as I wanted because I worked 65 hrs last week. Maybe I'll order some parts for the harness this week.
It looks so clean! A word of advice, from unfortunate experience, I would route your feed line in front of the manifold. It definitely isn't the cleanest but, for safety. I had fire sleeve over mine, routed behind, and the fire sleeve started to smolder on track.
We're getting closer to starting this thing for the first time in 2.5 years. Work and life have been getting in the way, but things are still getting done albeit at a slower rate.
I pulled the cardboard covers off of the radiator for the first time to attach the fan to the core. I definitely like this view. Lots of cooler.
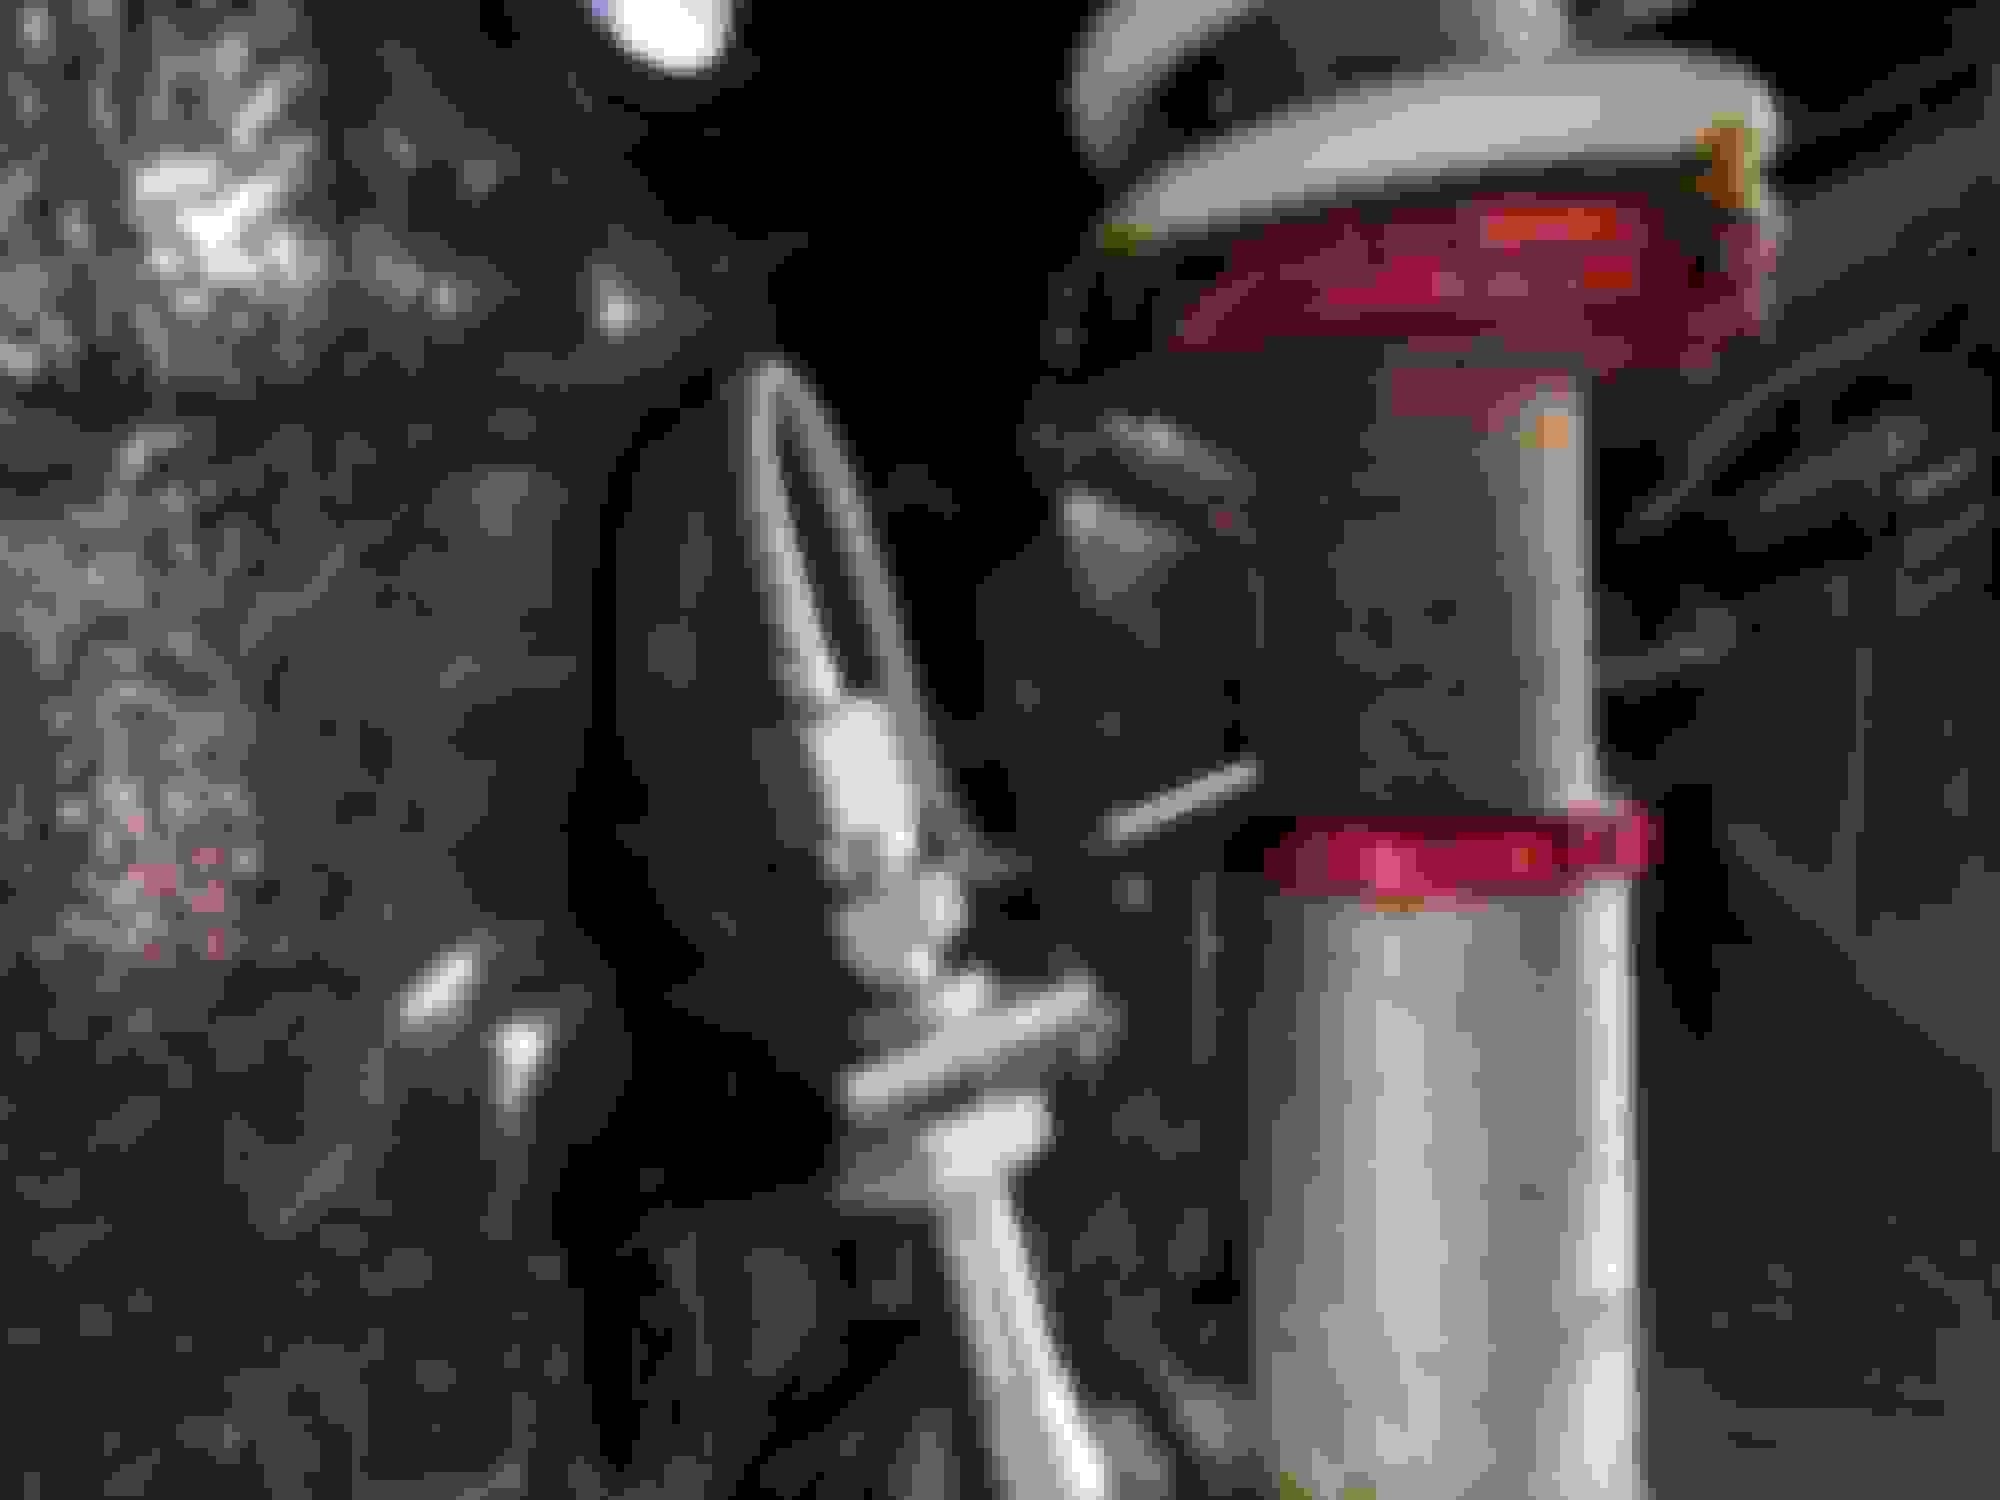
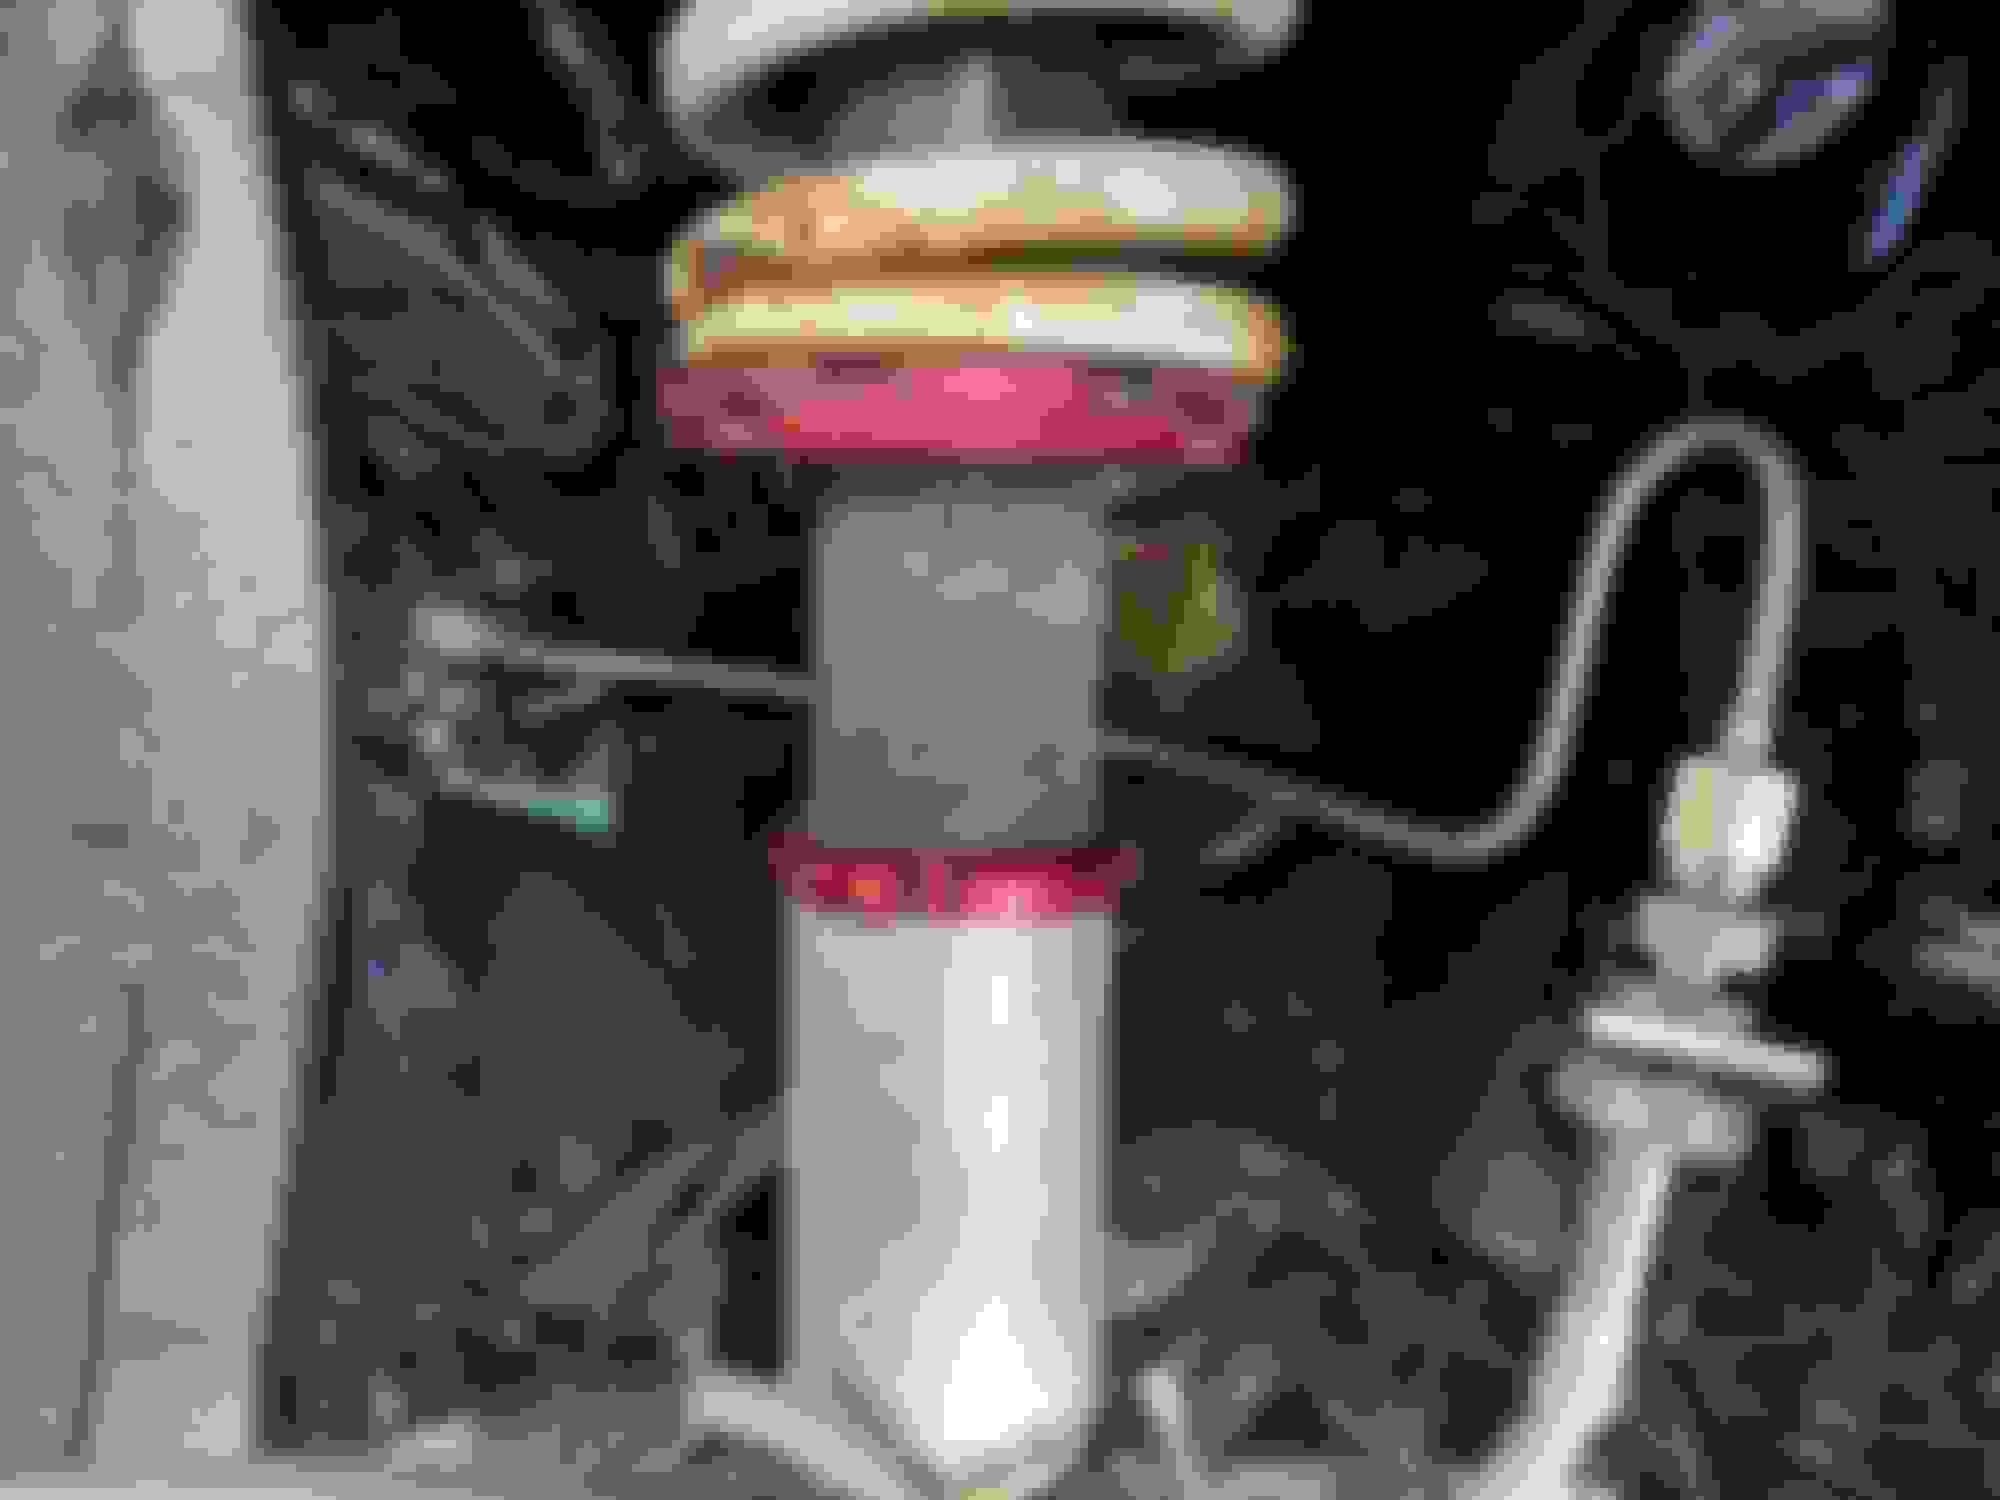
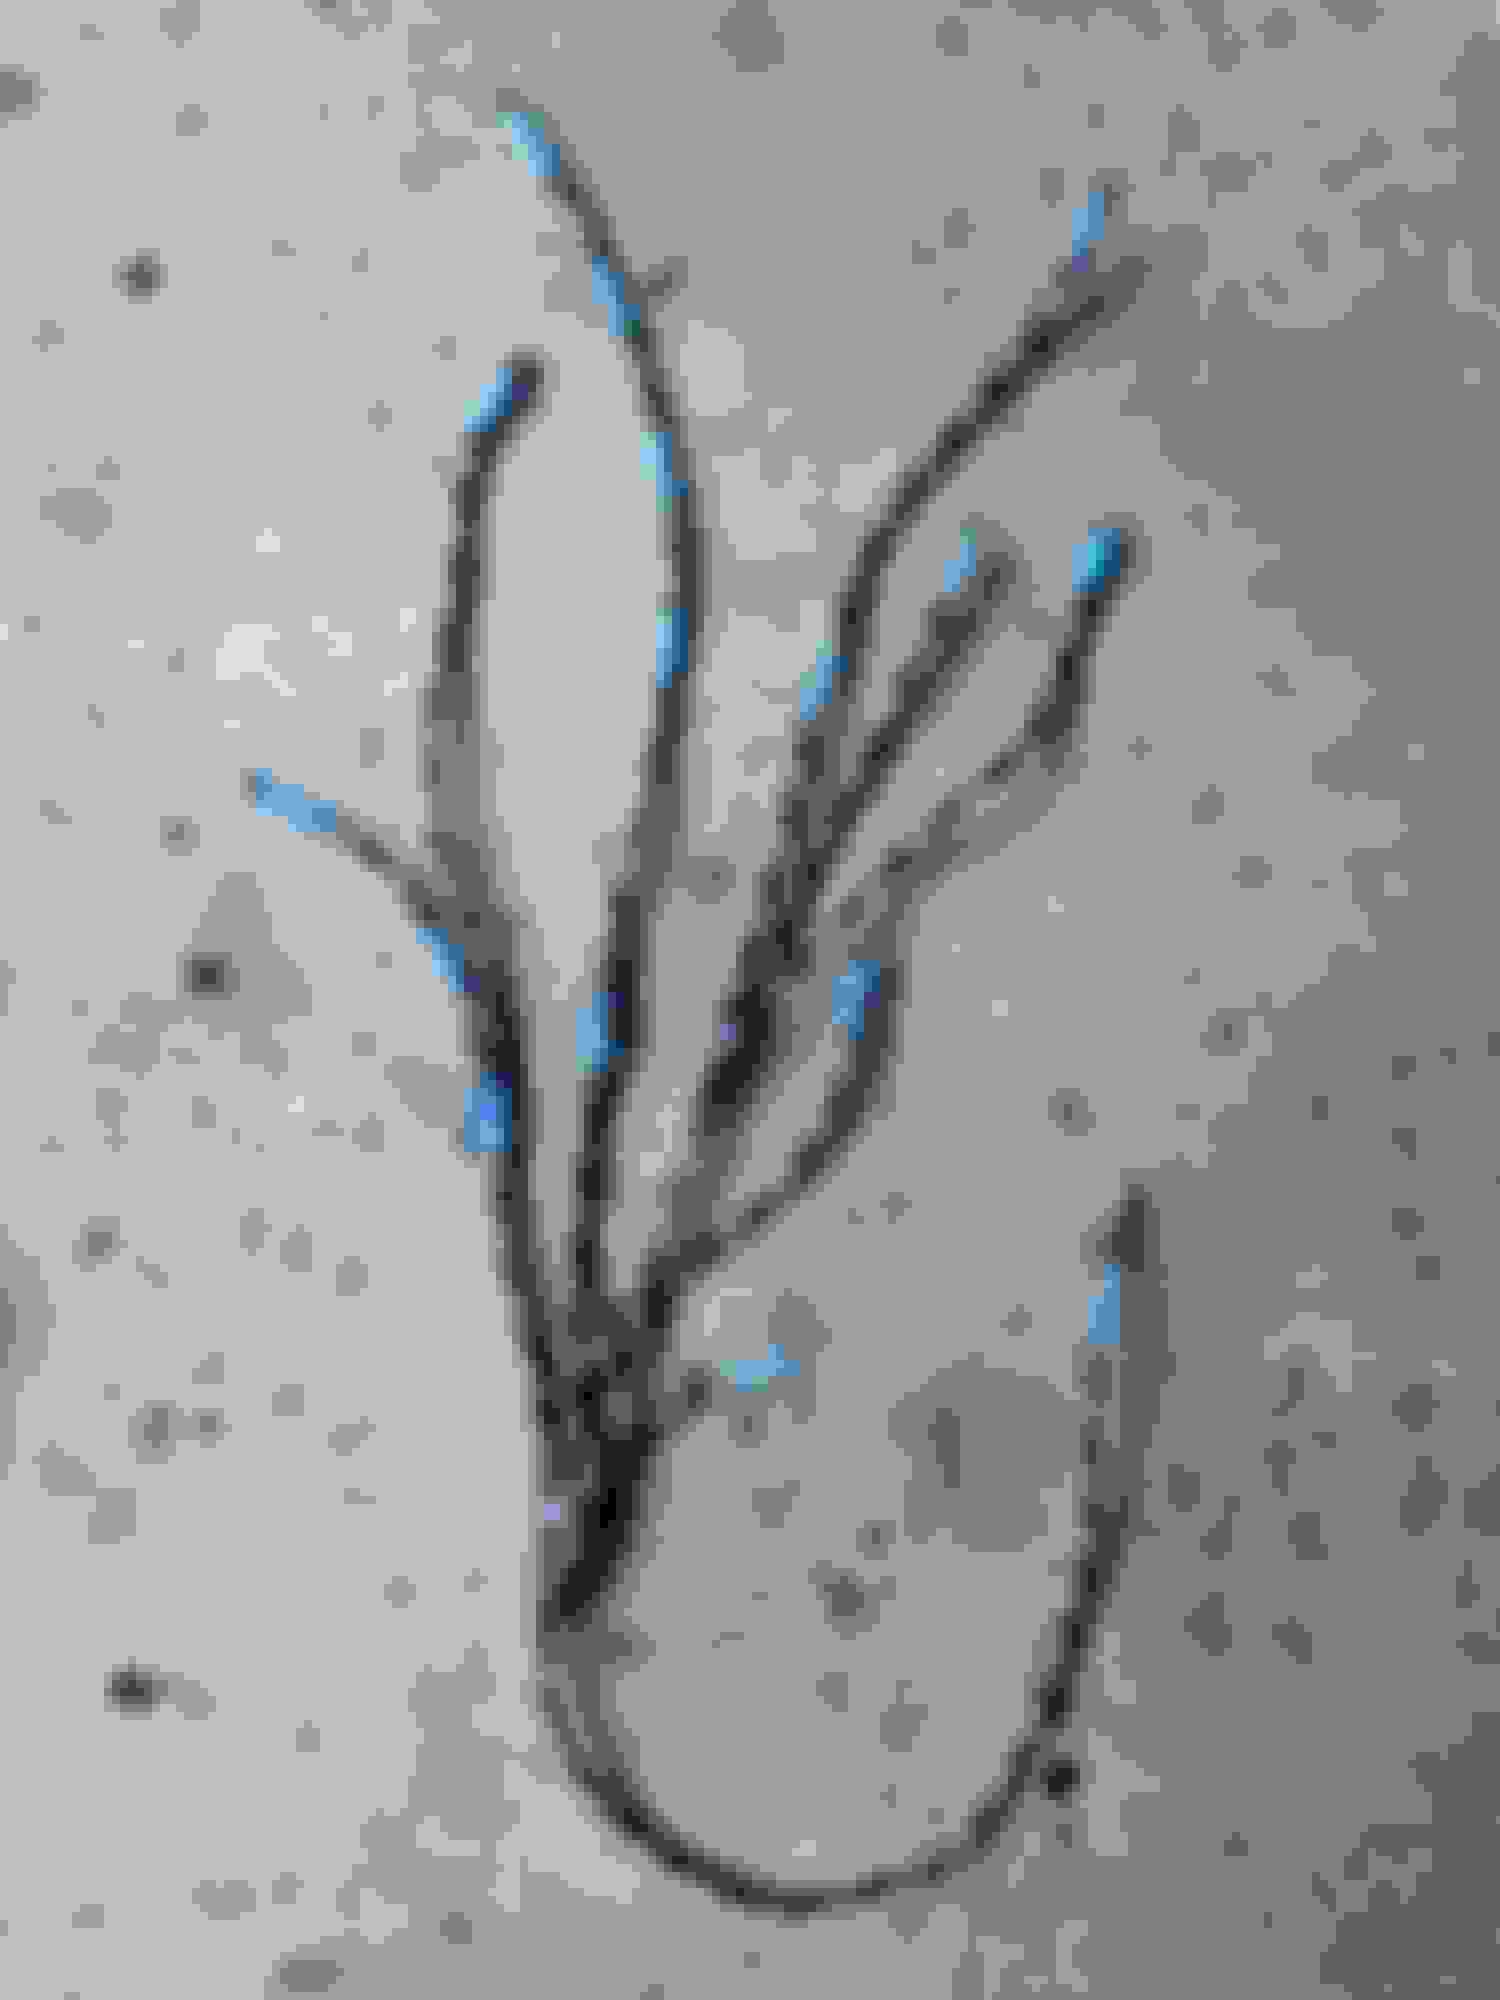
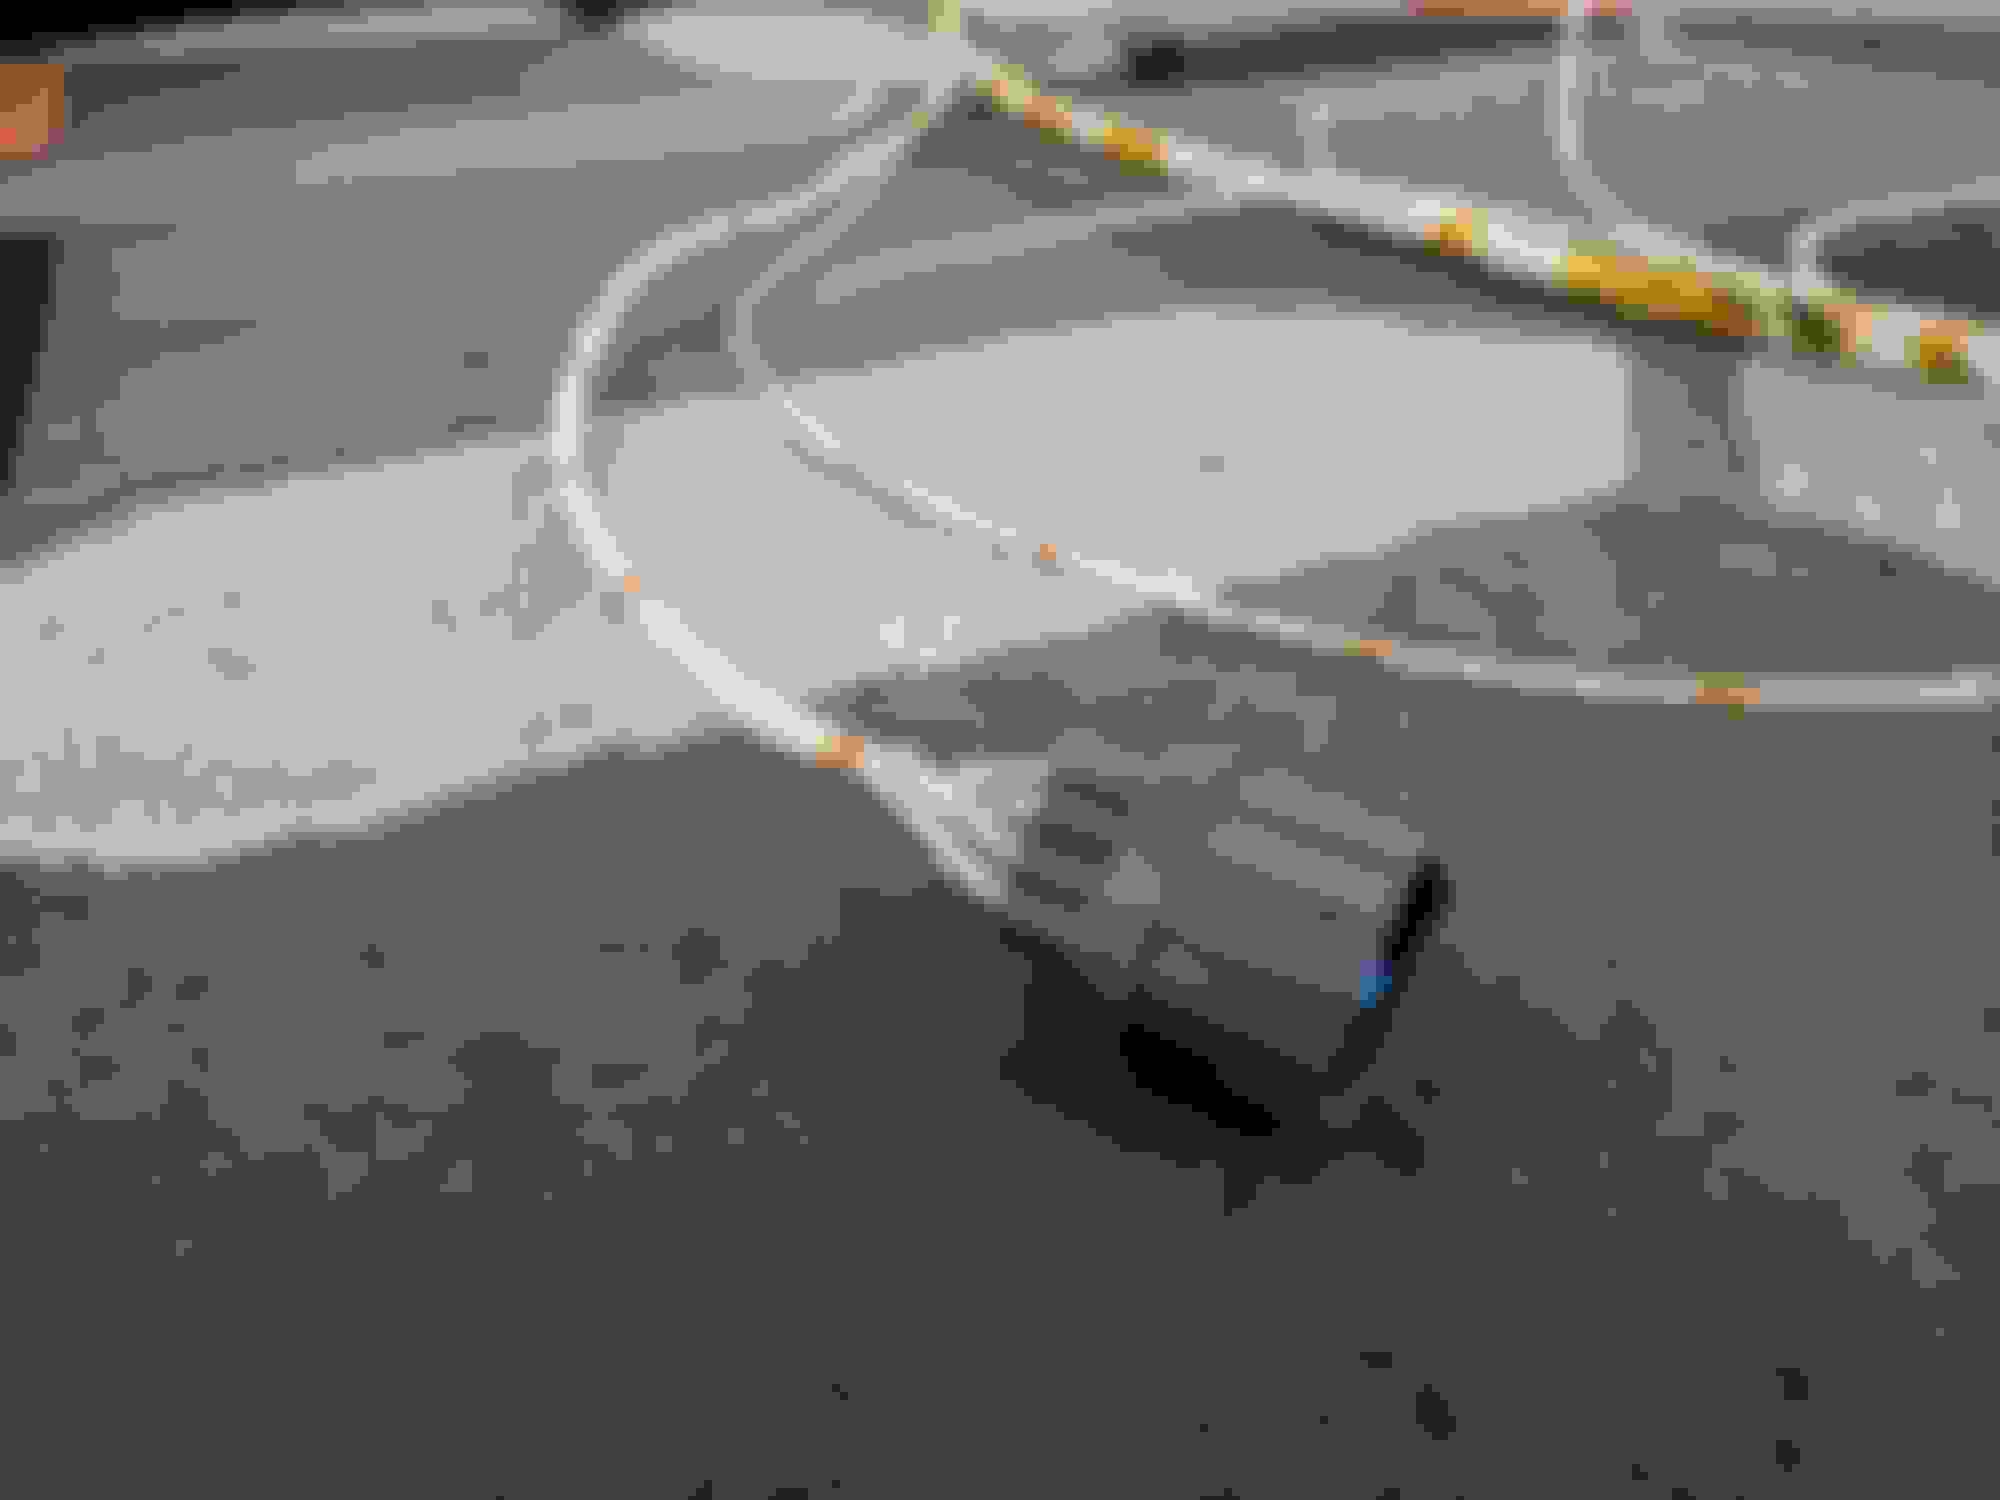
MAP, fuel pressure, and oil pressure sensors are installed on the firewall. I opted to remote mount them instead of direct mounting to their respective sources. I'll use some pre-made teflon hoses (same as the clutch and turbo oil feed line) to connect them.
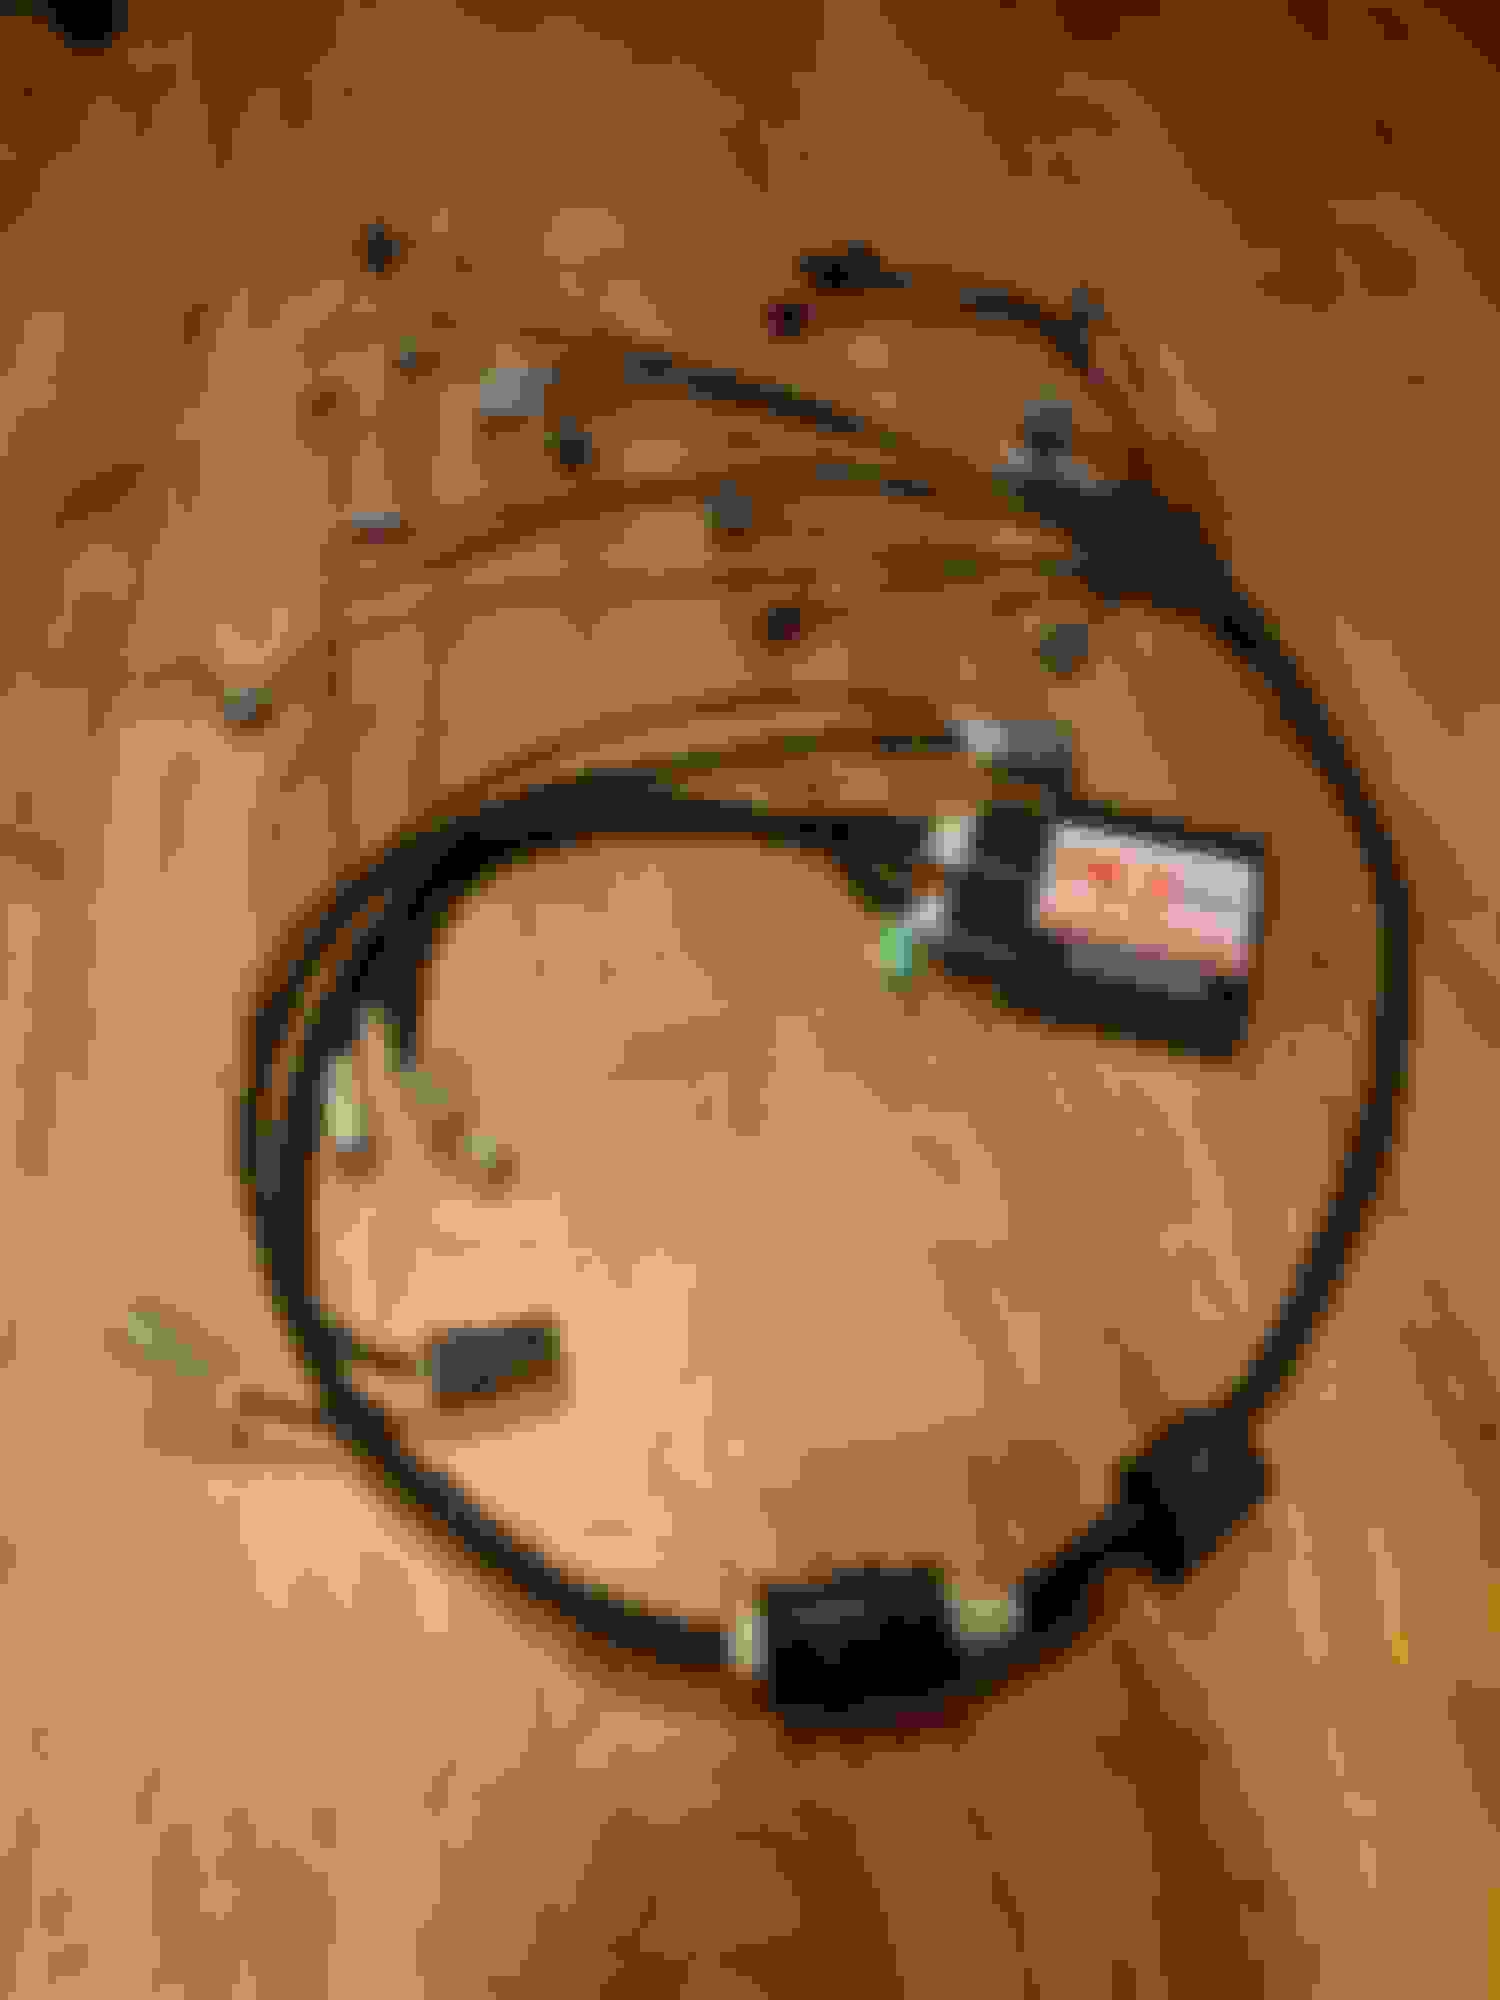
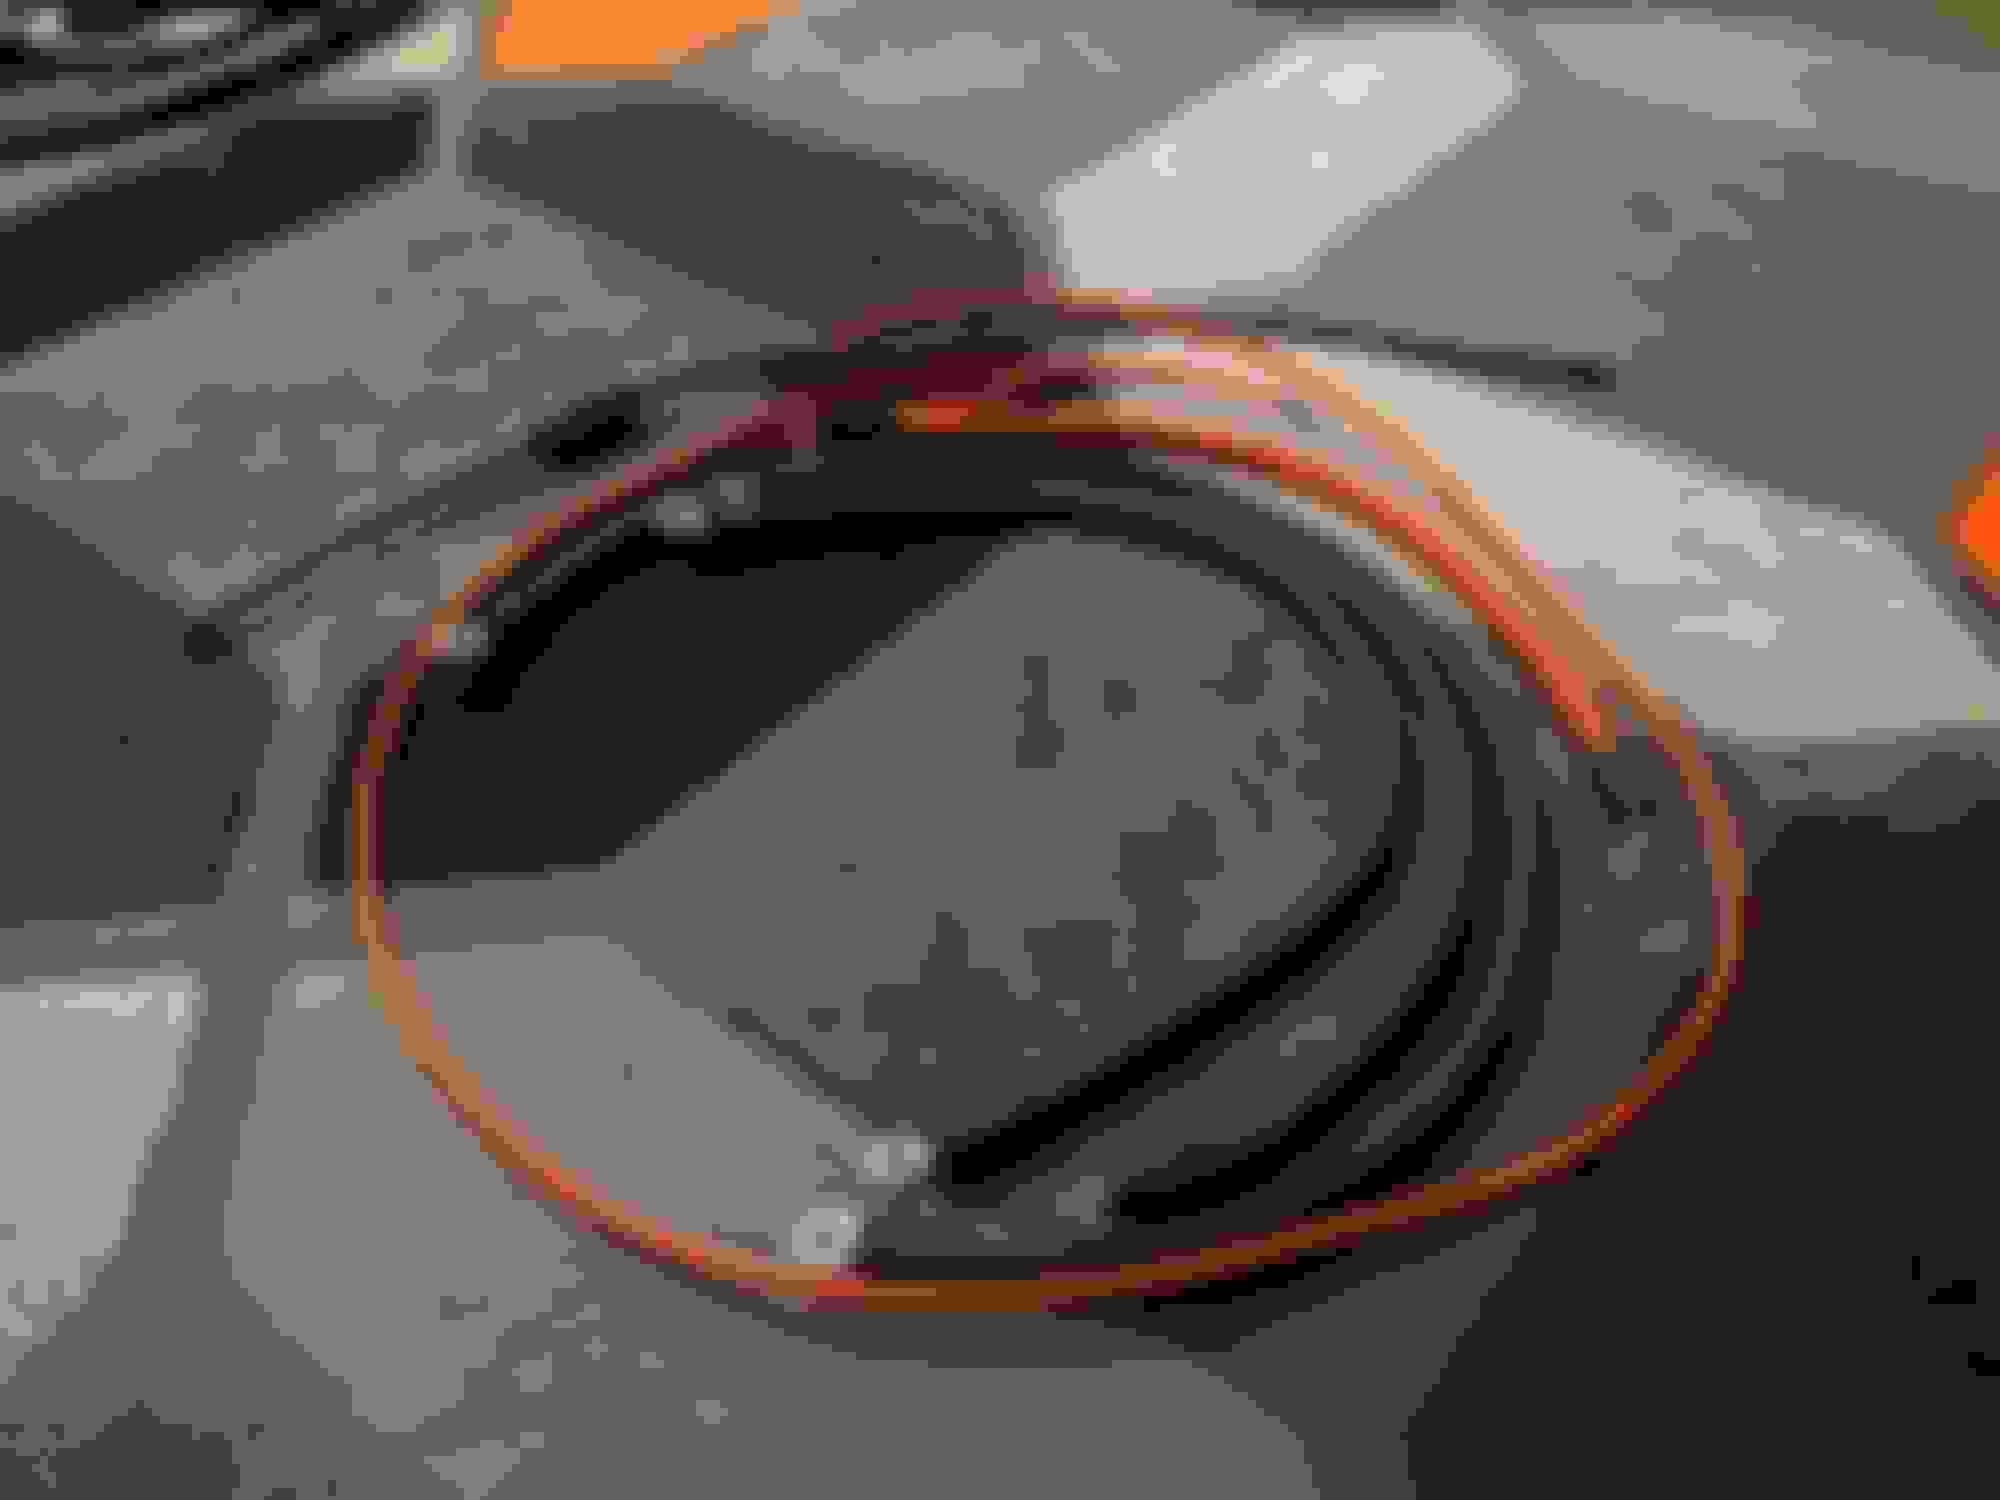
A ton of wiring supplies and new connectors from ProwireUSA, Corsa Technic, and Digikey showed up, and I started working on the engine harness. It won't be a 100% mil-spec or race-spec harness, but I will be mixing in some techniques from those styles. I used some generic rope to set initial lengths and routing then started laying out signal wires and splices.
The Wire is 18ga, 12ga,and 20ga twisted pair mil-spec wire. Connectors are all brand new. Considering the cost and the condition of my original connectors, it made sense to replace everything. A few in-process pics are below.
I did have one issue with the fitment of the oil temperature sensor. The sensor connector is too close to the subframe due to the placement of the sensor port on the Moroso pan. So I'll be potting a pigtail onto the sensor. Easy enough fix.
A few pics of the harness installed currently. I need to put on a few more connectors once I place the sensor (IAT) and figure out which connector I need (starter solenoid and coolant temp sender for the cluster). There will be a mil-spec bulkhead connector on the firewall. I just need to sort out a plate to let me pass it through the hole left by the AC evaporator.
My standalone should be showing up next week so I can start on the interior side of the harness. All of my weekends are busy until September so progress is going to be slow, but that's life.
Welcome back to the show everyone. I haven't been updating but I've slowing been working on the Civic when time allows. It's been entirely wiring work so it's slow, tedious and really isn't much to look at, but I've taken a few pictures. This is my take on a race-spec harness.
Since I had a good start on the engine harness, I started working on the chassis harness using the same rope layout technique I used for the engine harness. The routing on this harness is much more simple.
Somewhere along the way I bought another Civic. It was non-running with "a bad head gasket or something. I don't know. It just runs bad." A cold leakdown showed a relatively healthy engine so I dug into the ignition system and found a nearly failed ignition coil. Swapped that out with a spare from the EM1 and she runs.
Work continued on the chassis harness. Though the routing was simpler than the engine, the wire count made it a bit harder to do on the bench.
This is the relay I had to end up using to signal the VTEC solenoid. The ECU I chose to use doesn't have an on-board high-side driver so this allows me to create the 12V signal the solenoid needs while using a low-side driver.
More in progress...
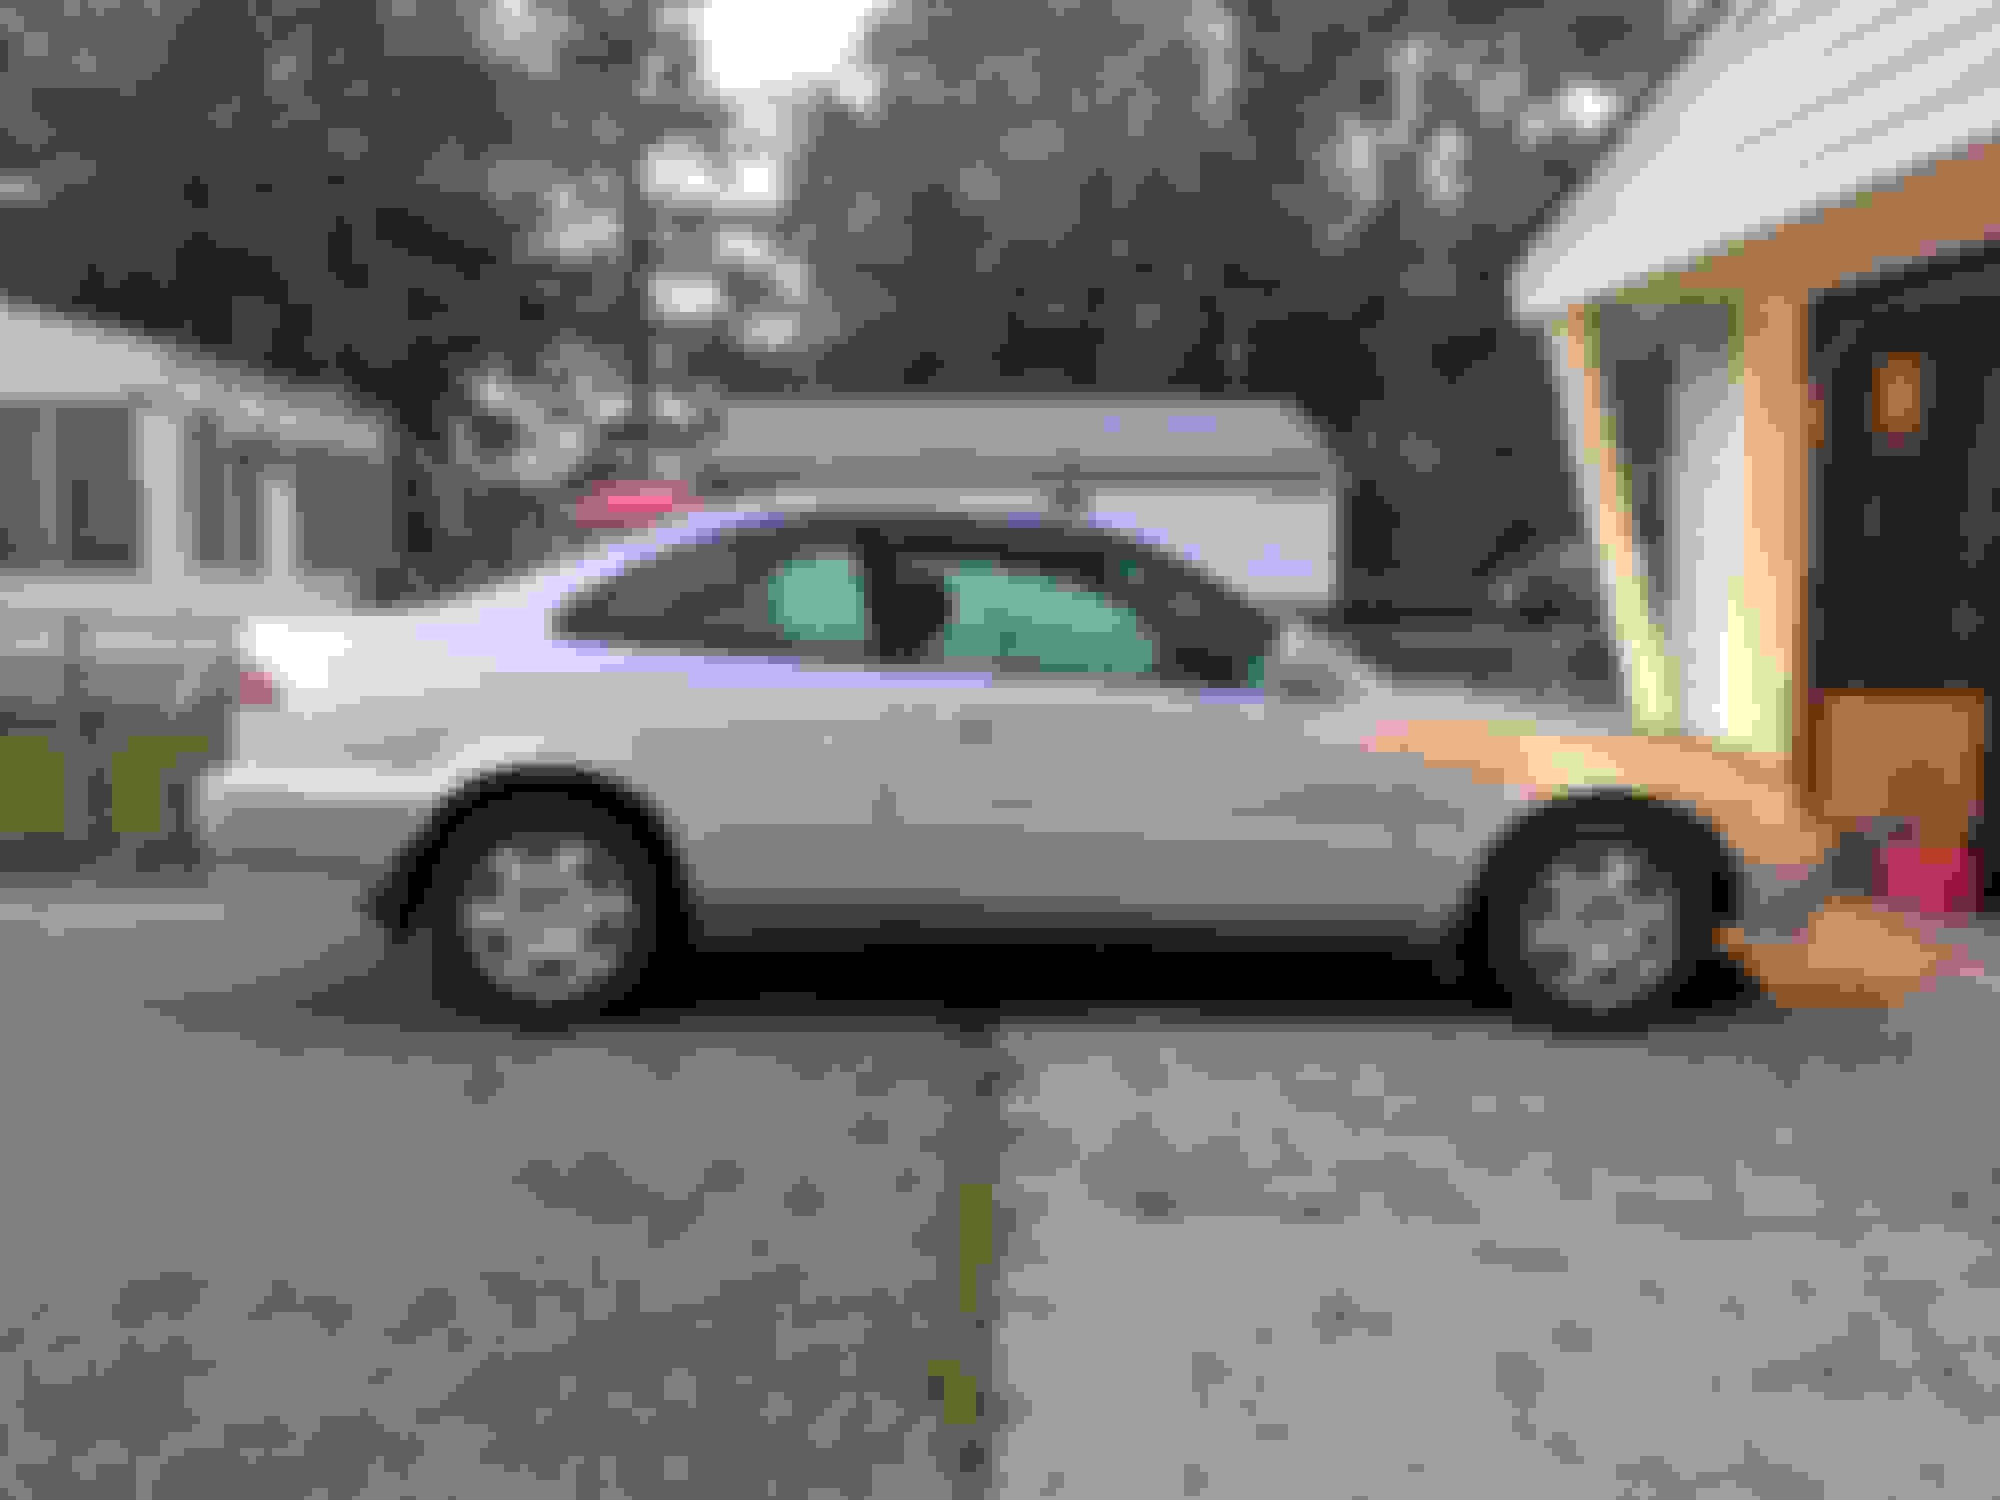
And the silver EJ8's first trip on the road after getting rego'd. I borrowed the GSR blades from the blue car since it's not using them anymore. Who says having spare parts sitting around is a bad thing.
I didn't get any pictures of the process of pinning the ECU headers. It was one of the most frustrating processes I've gone through on this car. The crimper I bought crimped the pins ever so slightly wider than the housing on the JAE connectors so I had to manually adjust all 60 pins until they fit well. 2/10. Do not recommend.
Both of the harnesses laid out and ready for looming.
And a whole bundle of loom supplies from Pro-Wire USA. They've been great to deal with every time I need to make a Mil-spec part purchase.
I got to work Kapton taping the harnesses together. This tape is way nice than standard electrical tape. It is more temperature resistant and doesn't leave a residue although it is a bit less flexible.
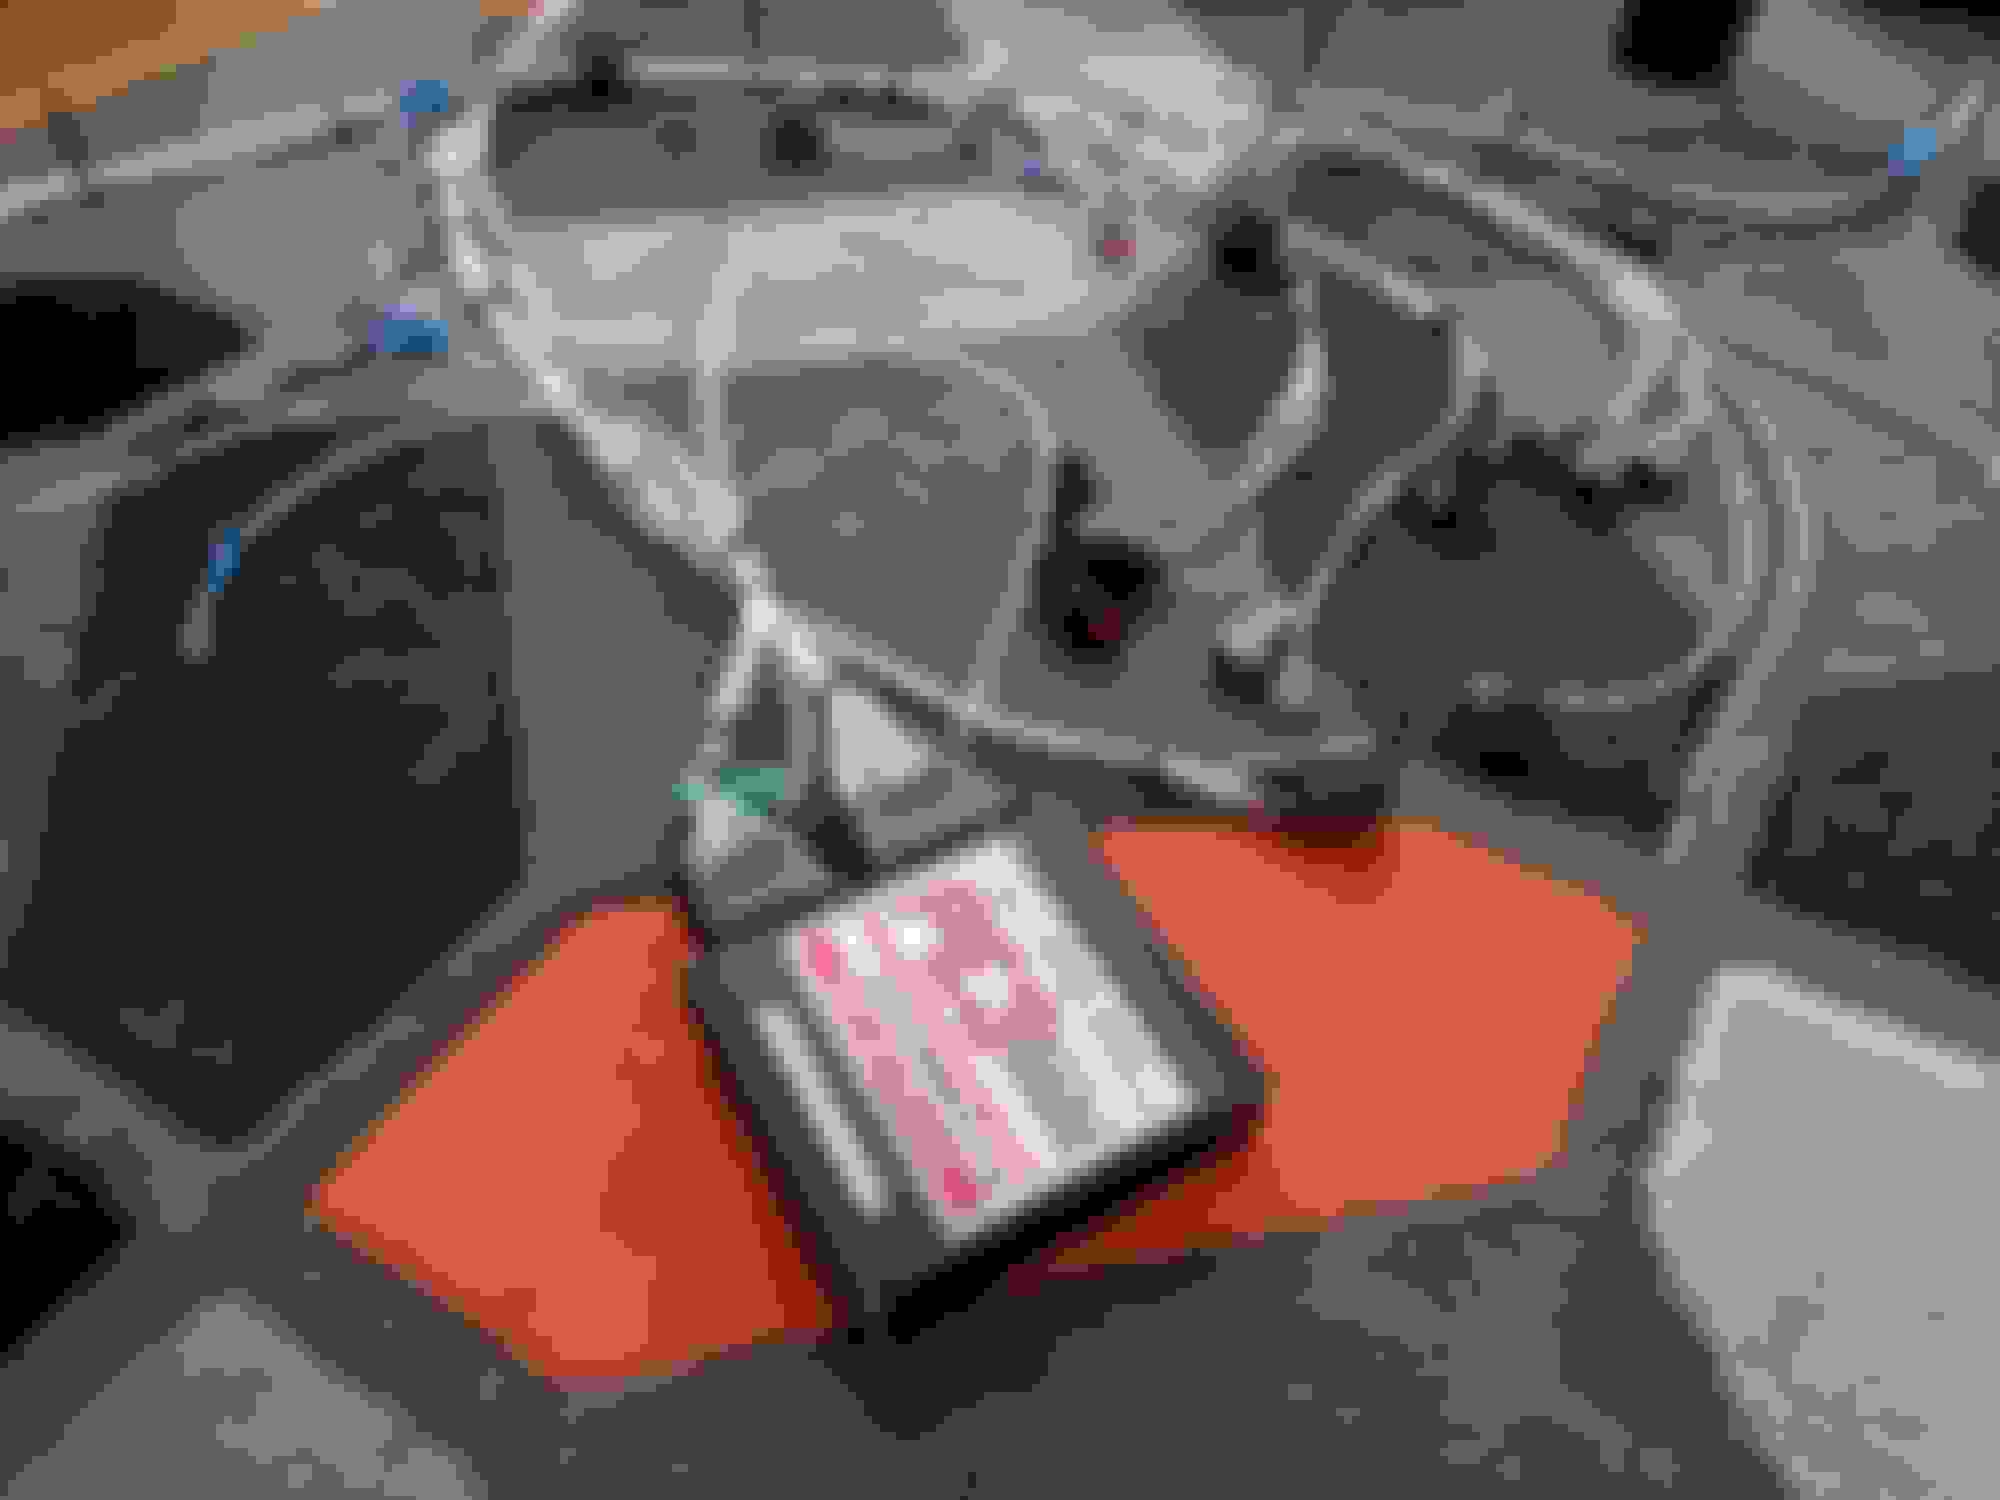
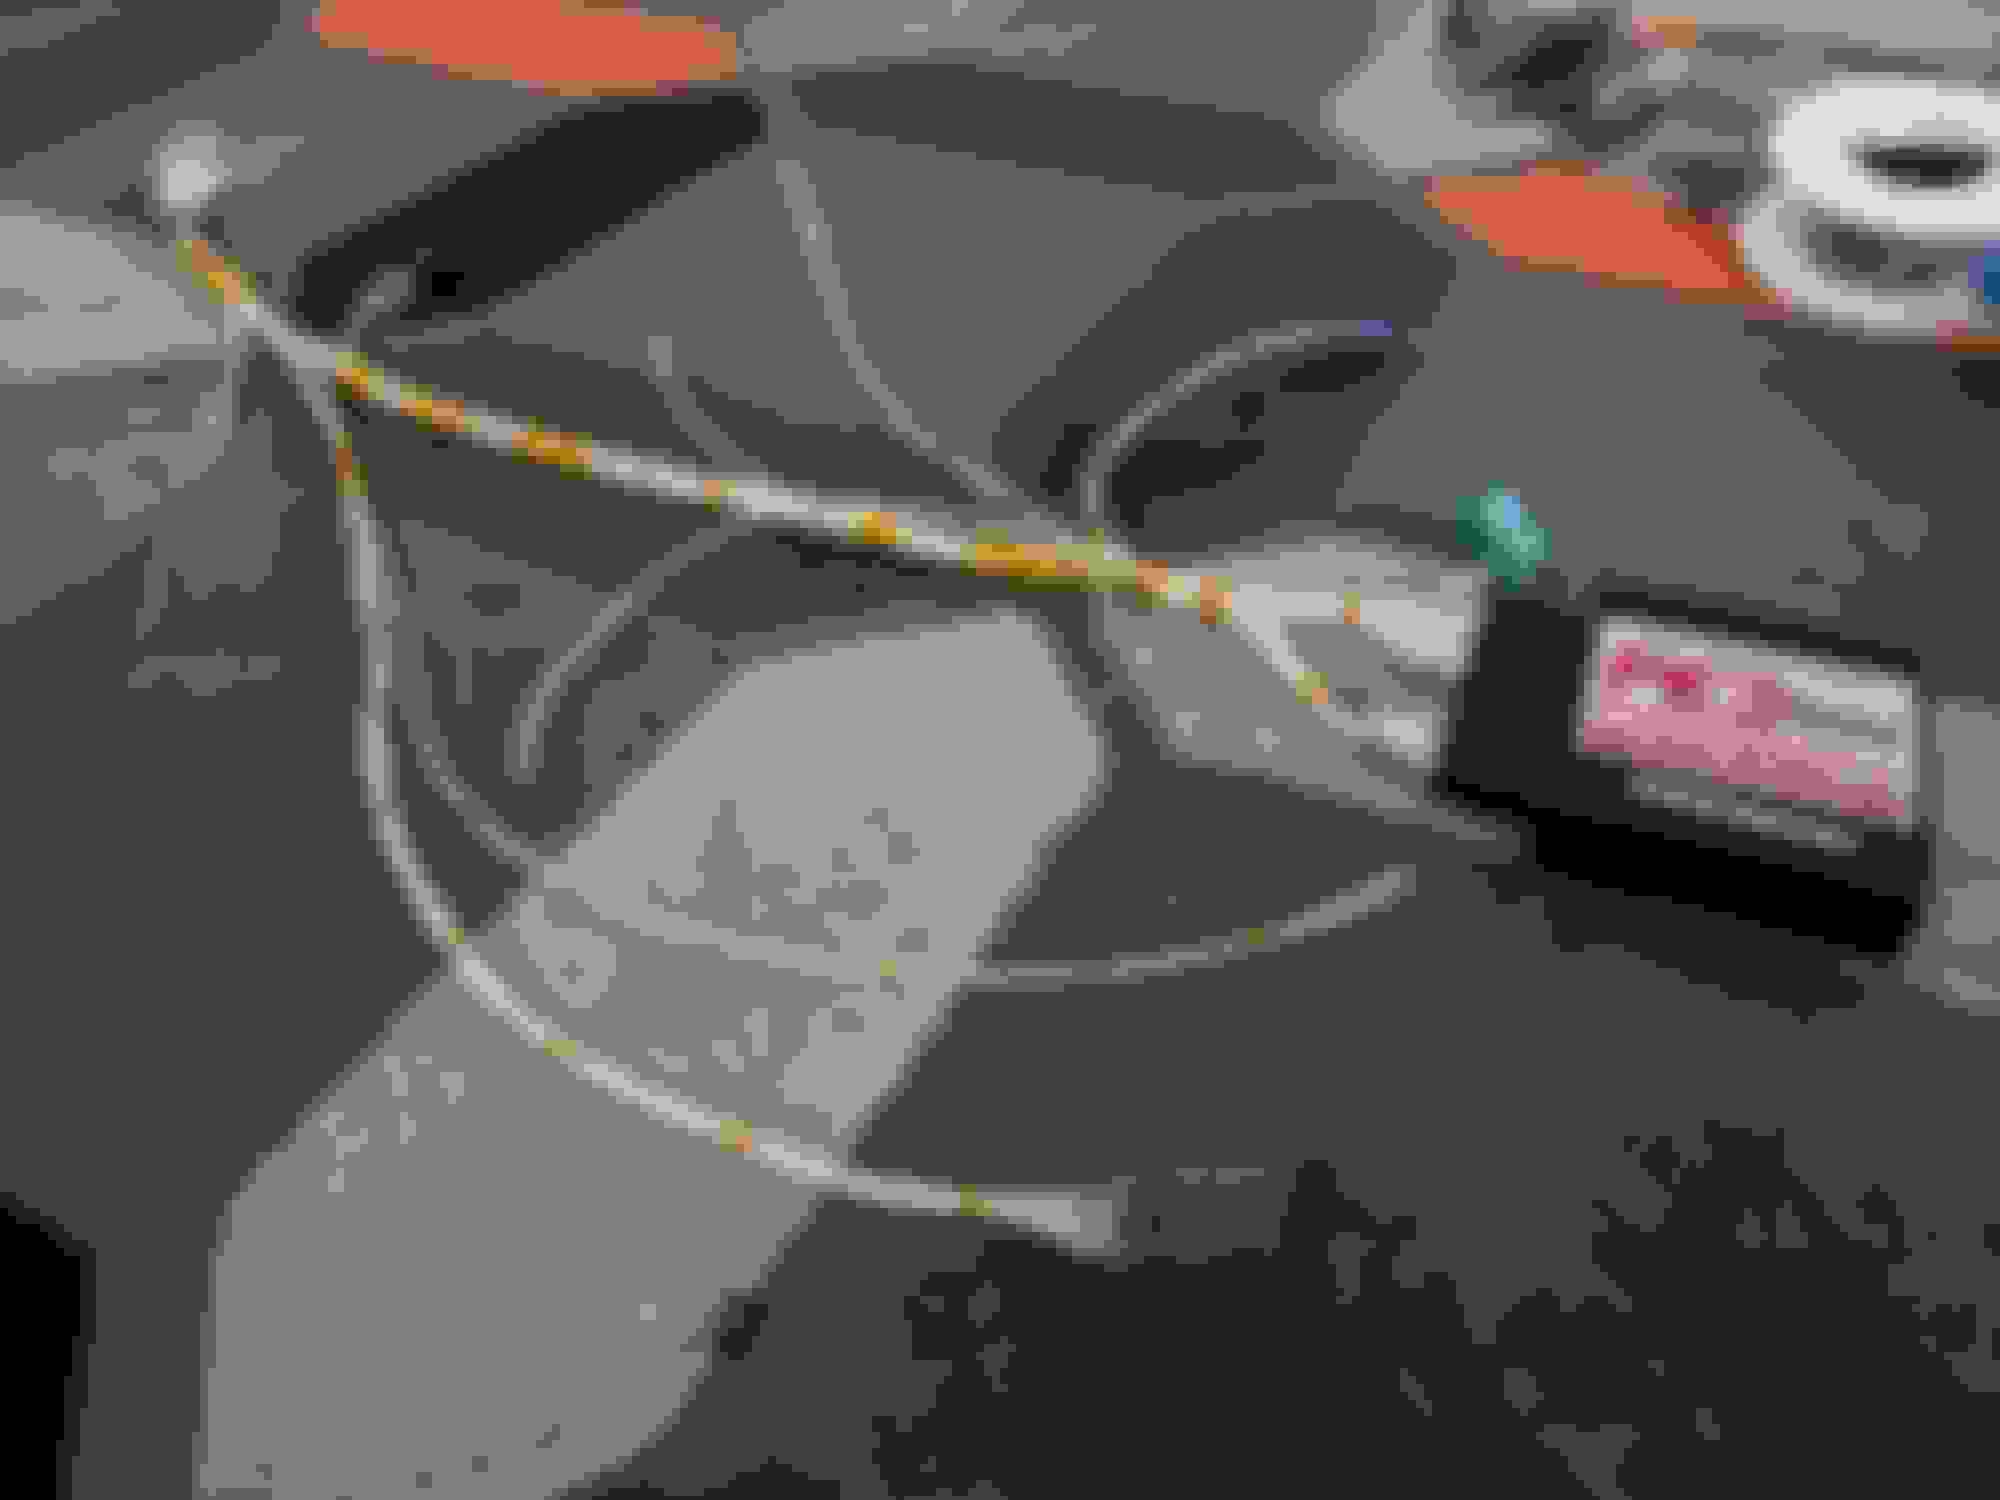
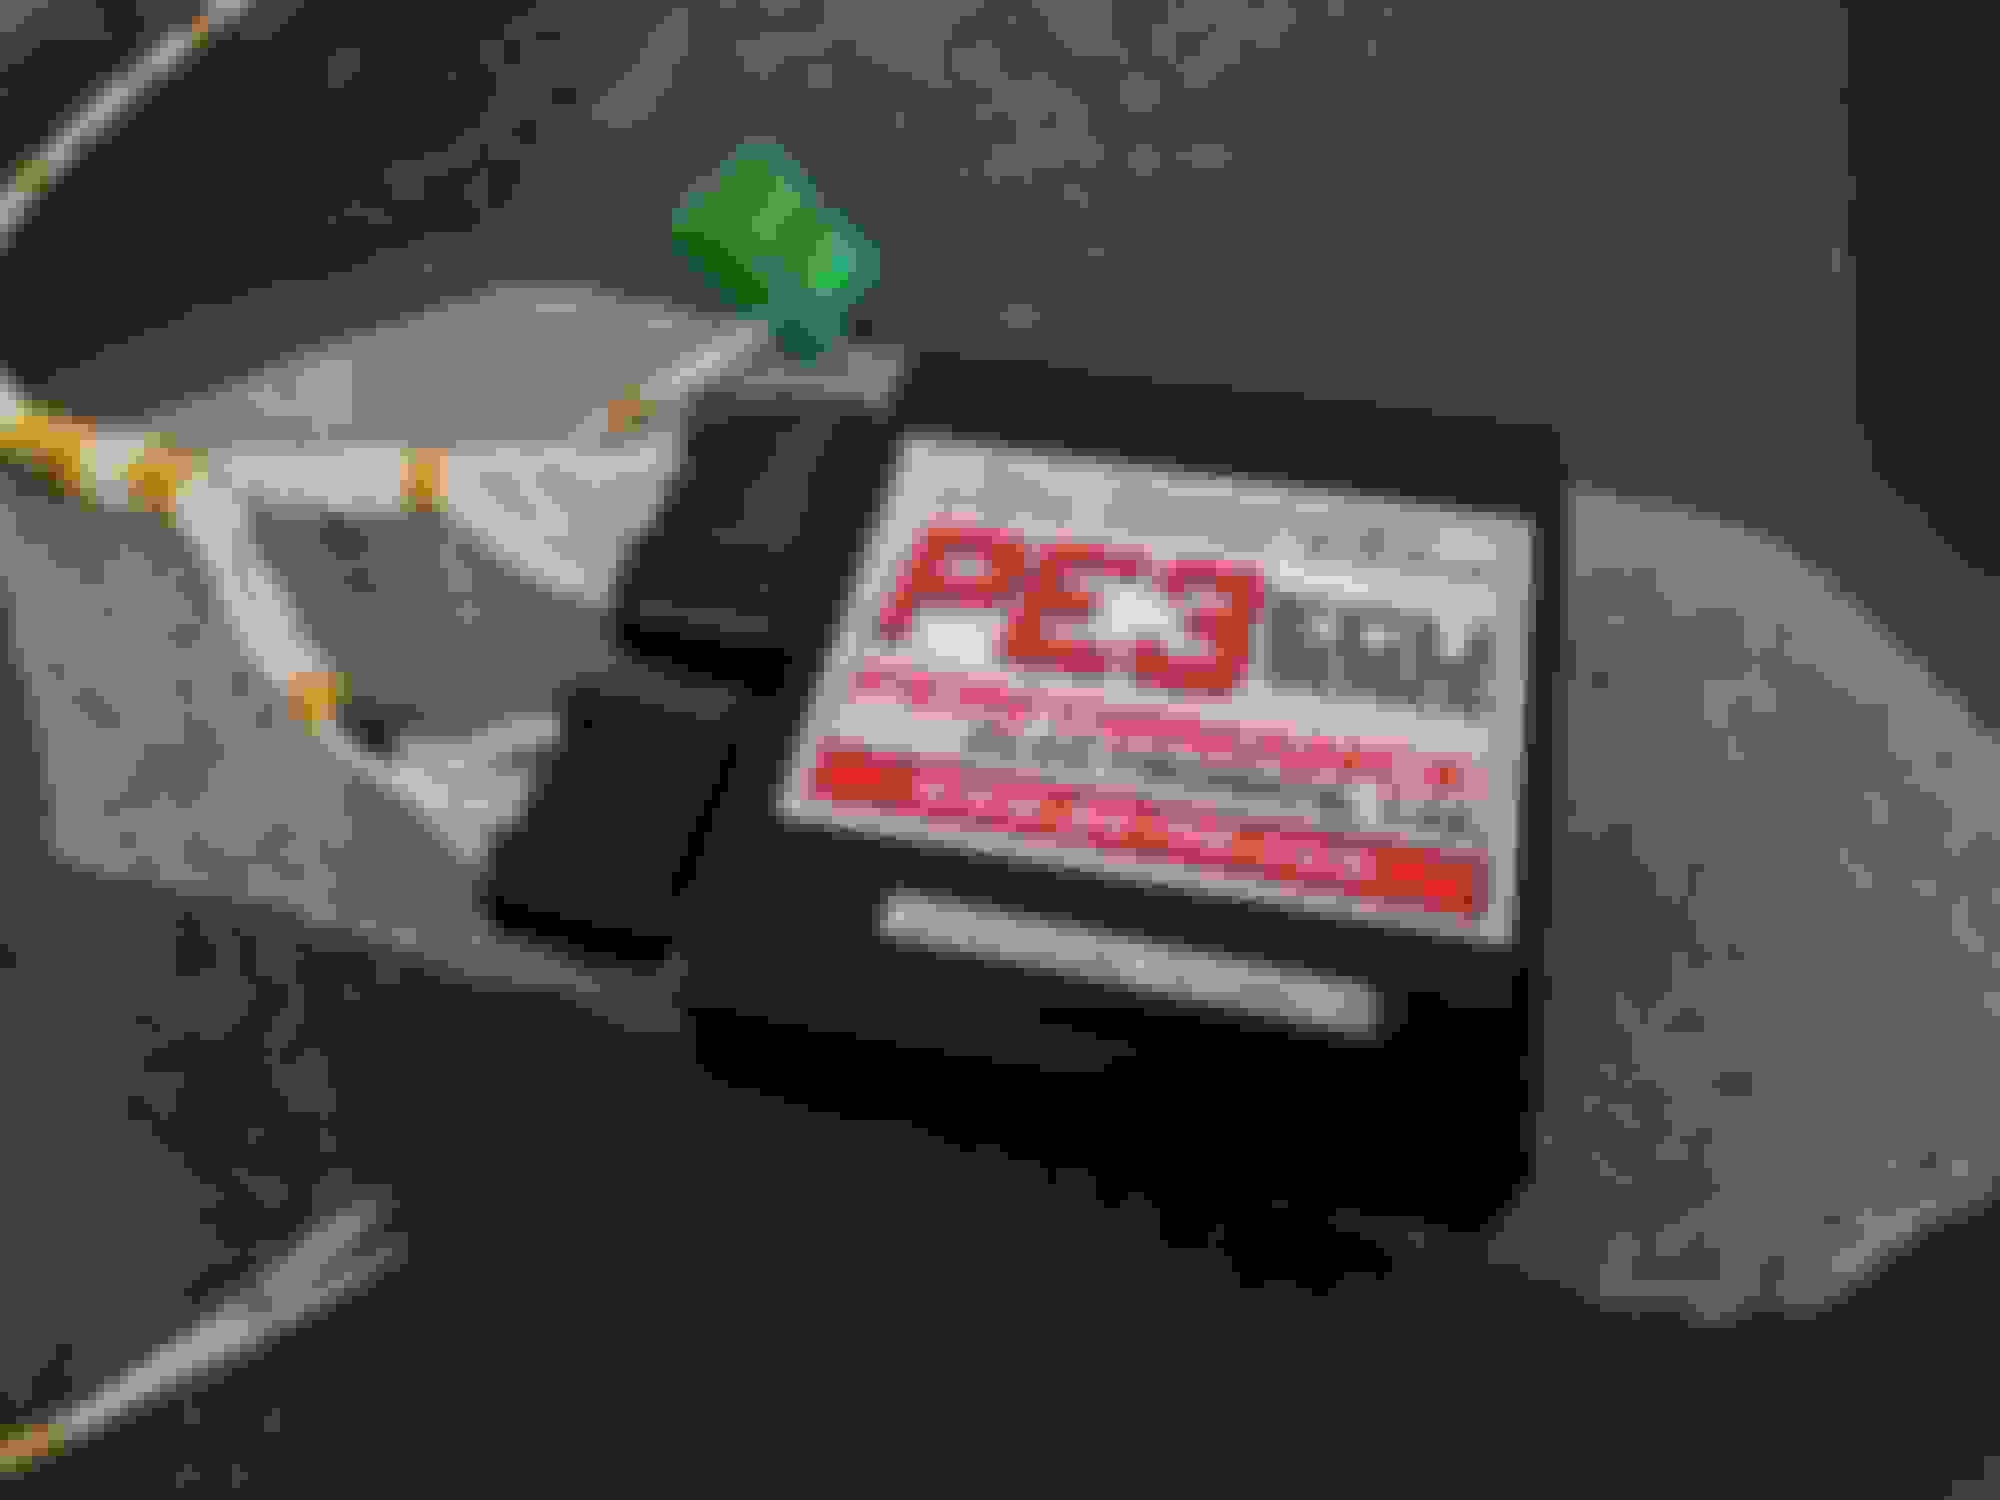
A little glamour shot of the ECU I chose to use. My friend David at PE cooked me up a custom board to support my needs for the car. No one has ran a B-series on this ECU yet, but it is powering my friend's turbo K-Miata that is a regular at GridLife with great results.
A few more random shots of the process...
Once the harnesses were organized and taped, I started working on the final looming. A combo of Raychem DR25 and SCL for the engine harness and Tesa 51608 for the chassis side. For anyone who hasn't dealt with Tesa tape before, it is a residue free cloth tape that OEM's use frequently in interior applications. It's easy to apply and looks way better than electrical tape. It'll also allow me some flexibility when I decide to add addition I/O to the ECU in future.
So many pins to crimp for the bulkhead connectors. 41 for each side. It sucks up a lot of time.
An almost completed shot of the coil harness. Just need to shrink one last bit of terminating heat shrink.
And..... the current status of the two harnesses. I need to pin on 3 more connectors once I pick them up from my mail drop and decide on a final location for the IAT sensor.
Overall, I'm really happy with how the harnesses turned out. There's a few sins hiding in there, but they're mostly aesthetic so I'll leave them alone in the interest of actually hearing the car run this spring.
As always, thanks for looking and I hope this inspires some to get to work on their project!
Welcome back to everyone who's still reading. A lot has changed for me since I posted last. The world ended, I made the hop to an OE for a new engine calibration job, and I met a great girl who has been keeping me busy. It's hard to believe it's been over 4 years since I first made the ill-advised decision to start this project, but I can finally say that I've reached the milestone of a running, driving car that makes stupid, rowdy noises...
But before we get to that, I'll hop back to early 2020 before everything shut down and gave me a ton of free time to work on projects.
I finished up the high amperage harnesses to supply power to the starter, relocated fuse box, and relocated Odyssey battery in the fender well.
I decided to finally give in to my 5 or 6 year desire to own an S2000 and bought this guy in Feb 2020. It's a 2001 with around 65K miles. It needed some roof and seat repairs so I got it for a reasonable price for the time (and a steal compared to what people are asking right now).
After laying in the engine harness, reworking a bit of the interior harness, and tweaking the relocating headlight harnesses (they've been cleaned up and loomed better now), we were about ready to go in for the first start.
So I swagged in my best attempt at a starting cal in the ECU and went for it:
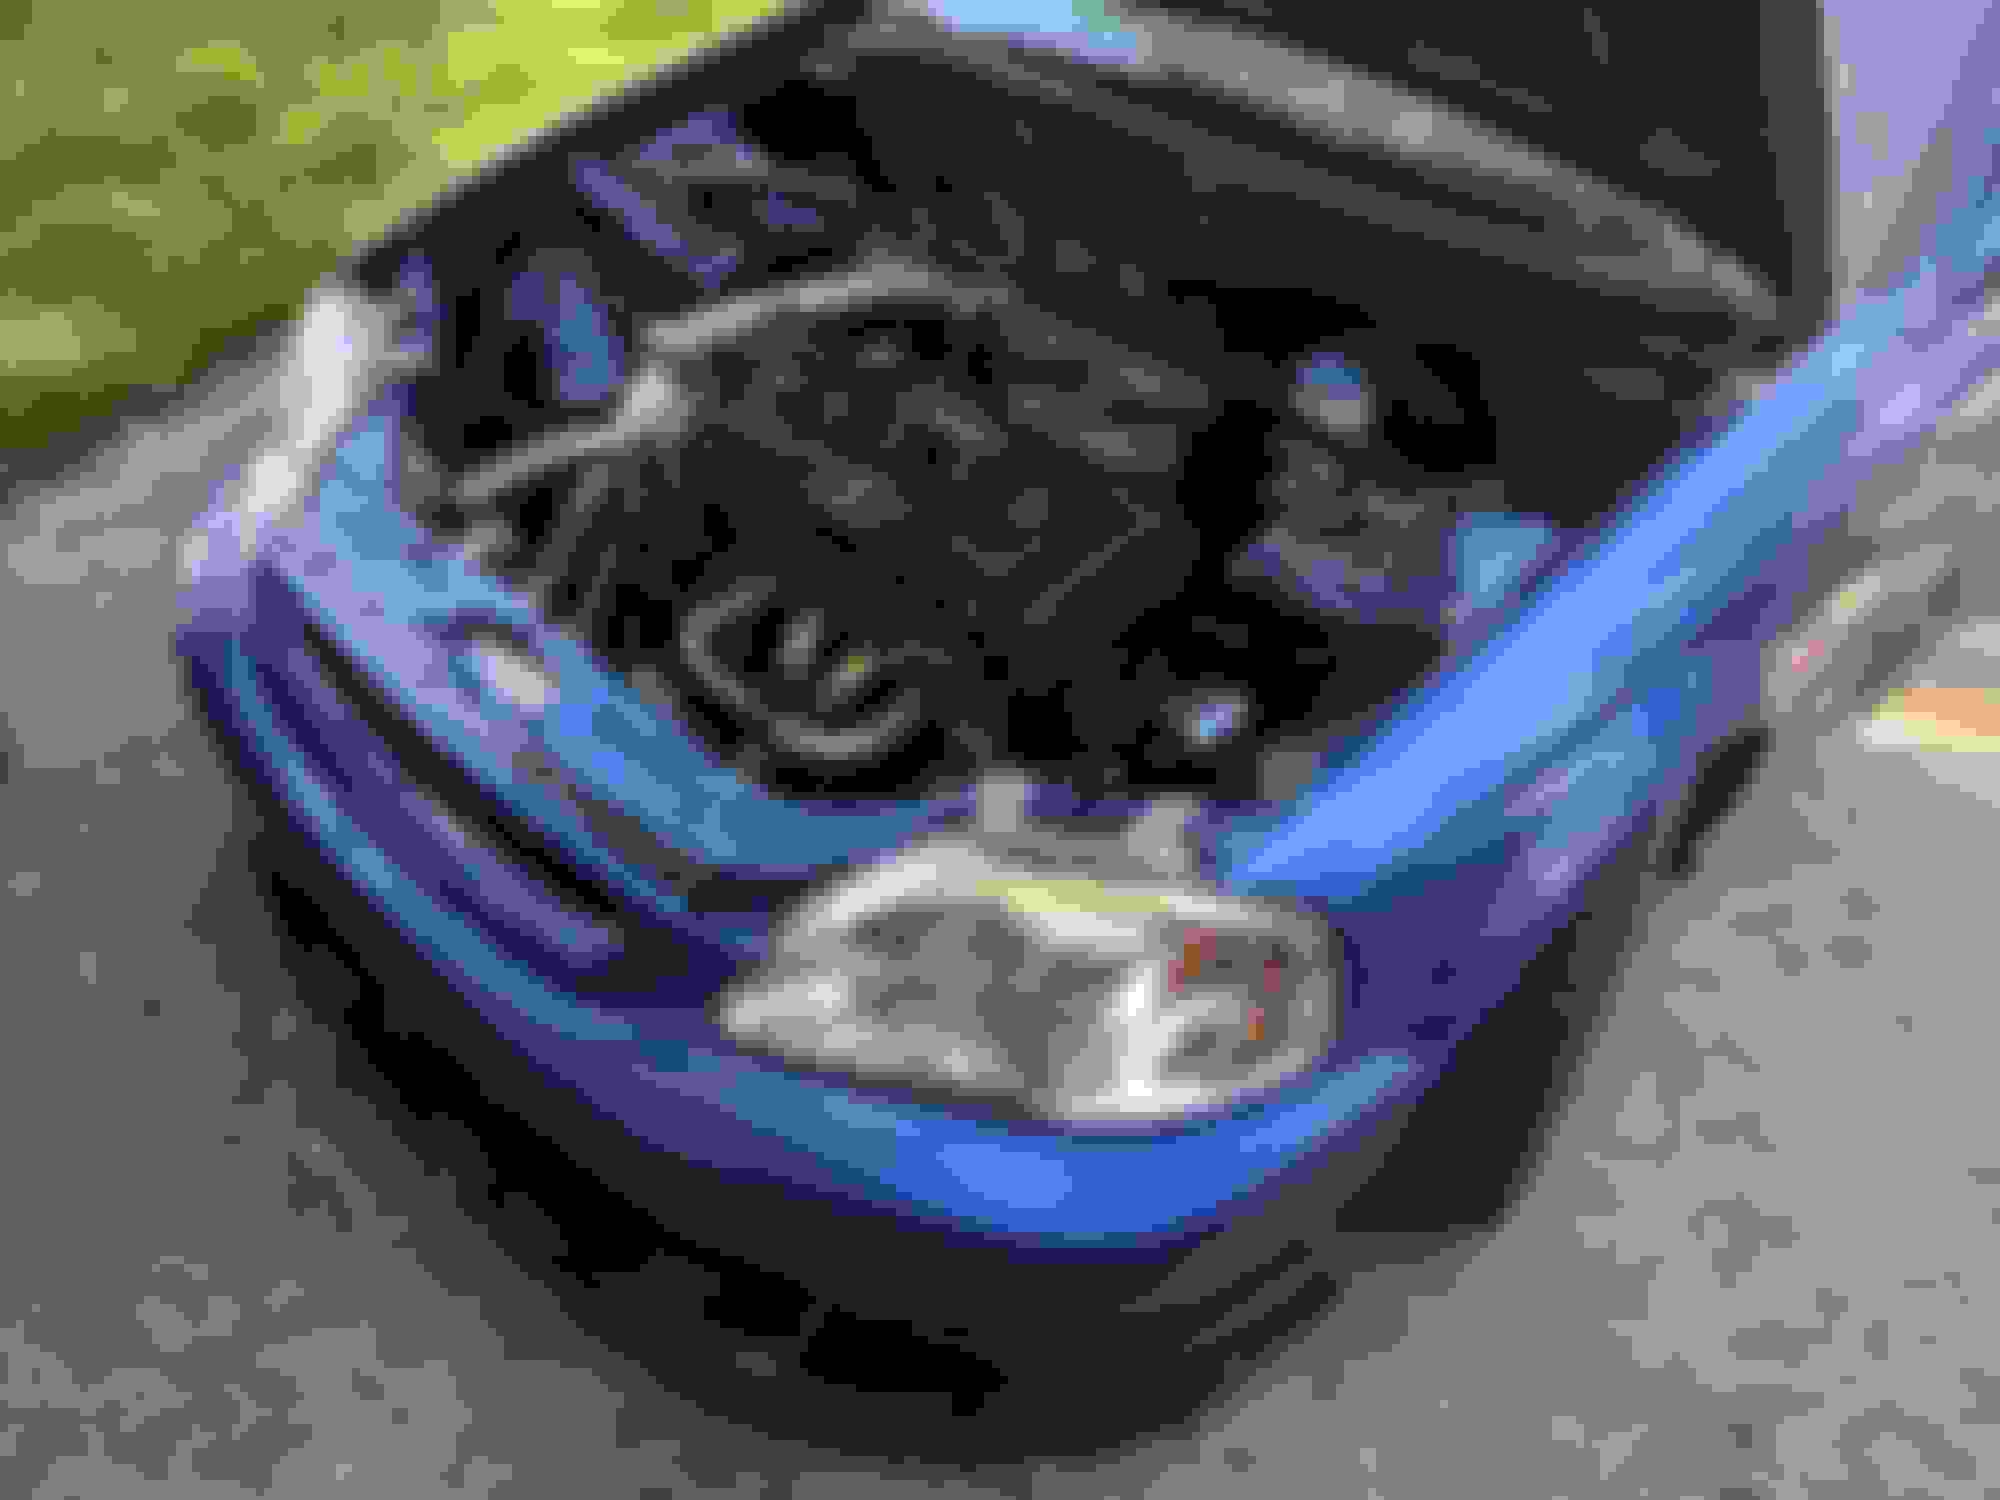
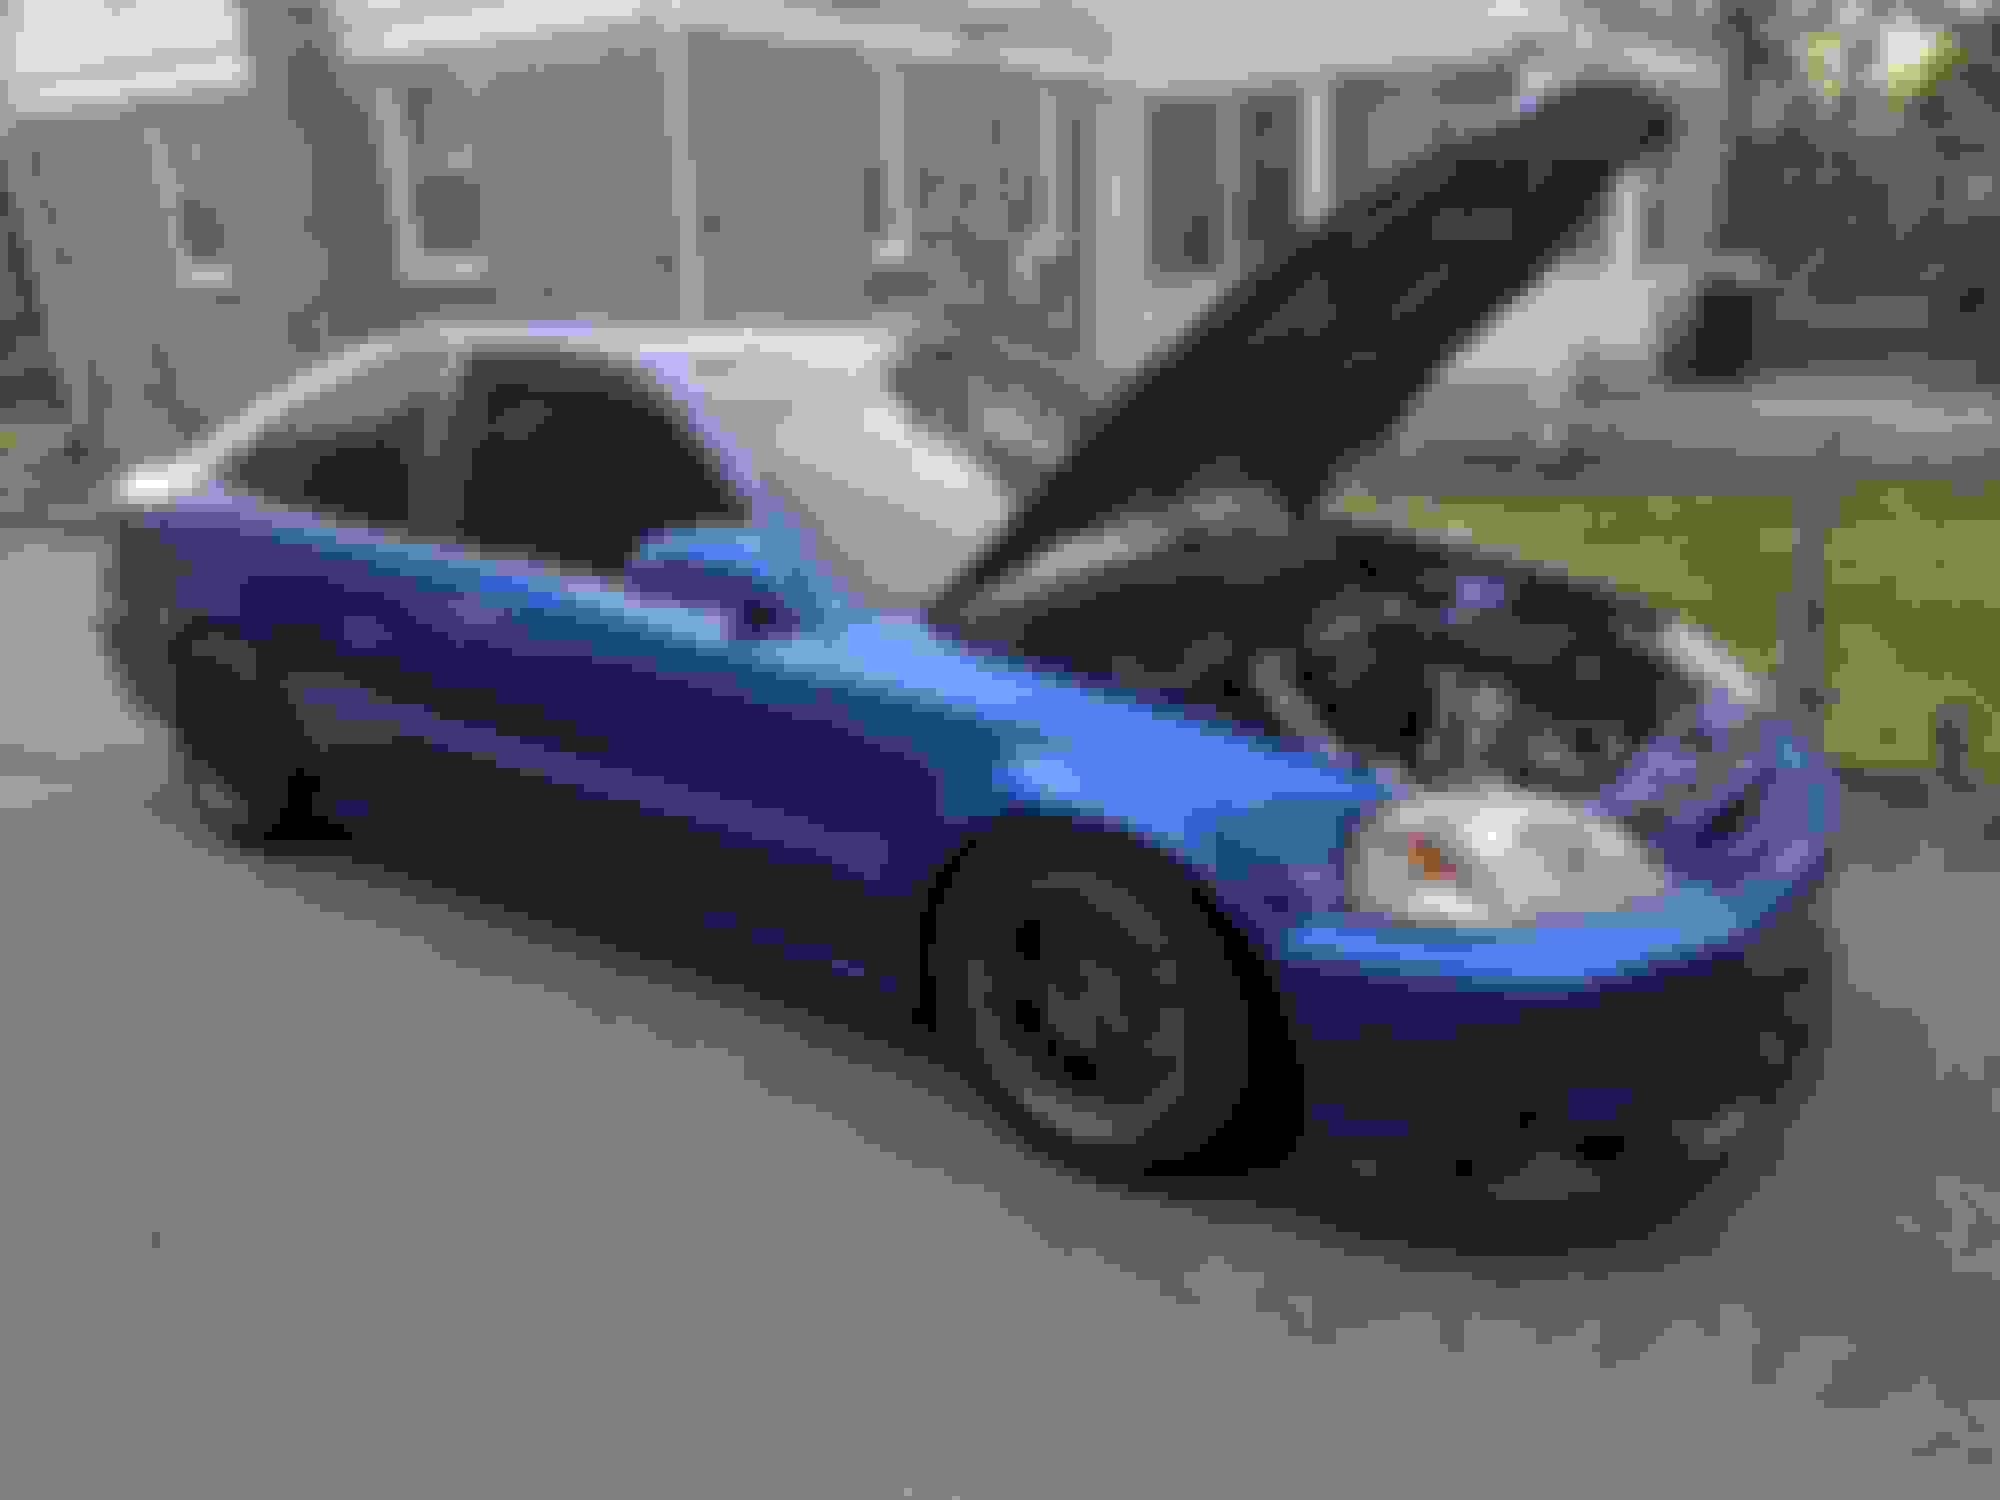
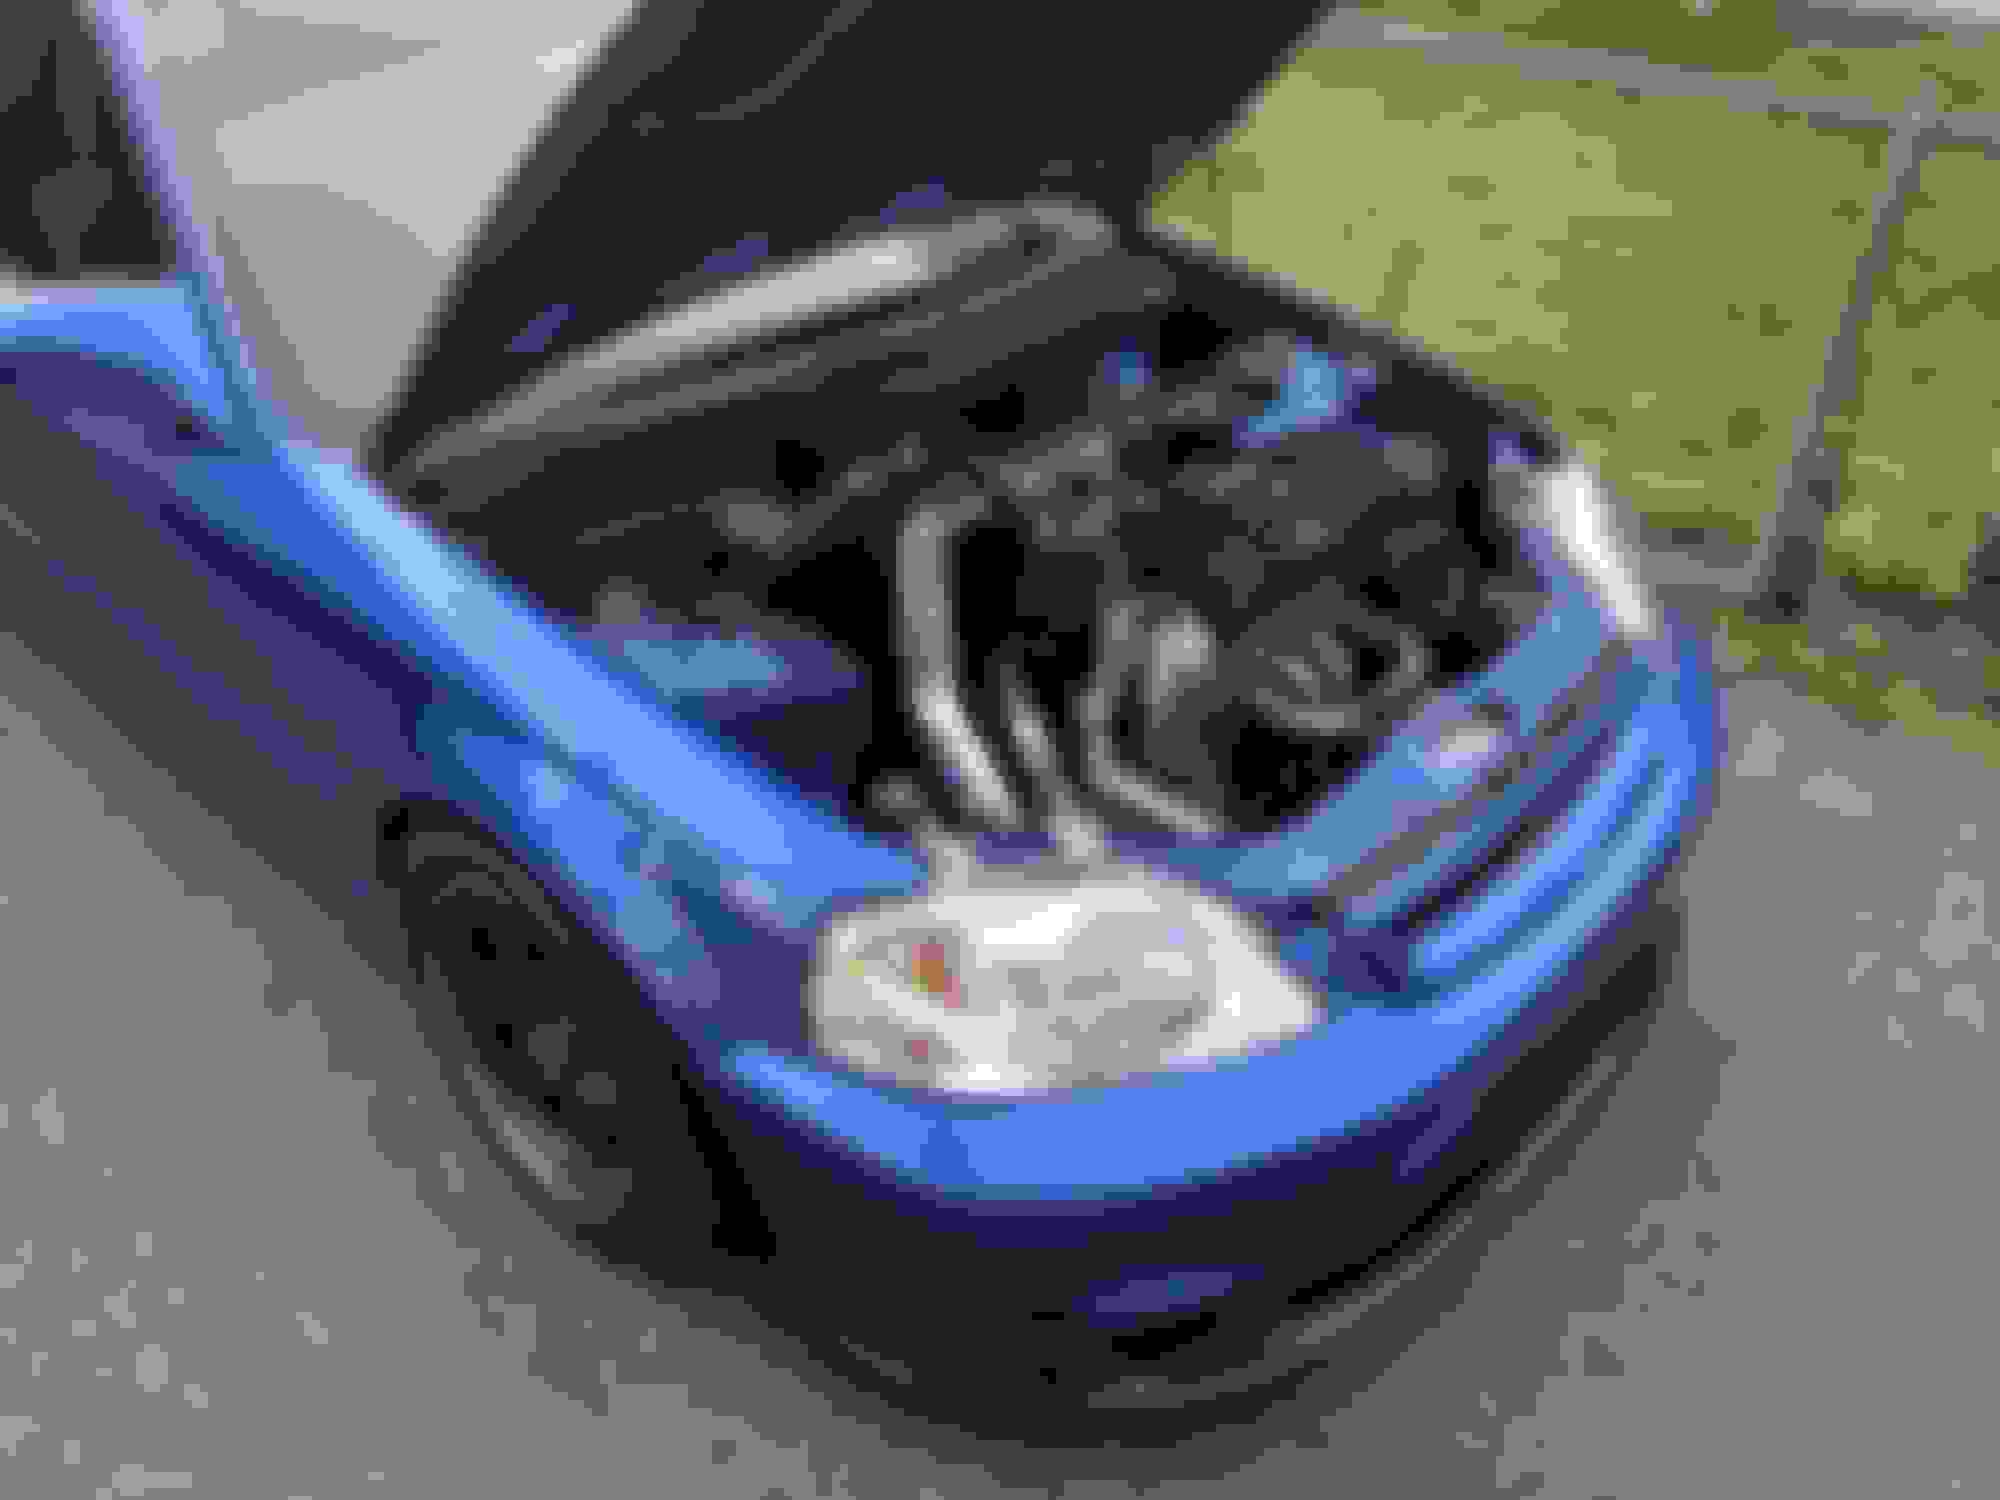
I did a few very sketchy laps around the block with no hood and fenders, but eventually decided I need to get the front clip installed. The worst part of which was installing the Aerocatch hood pins I had to use since I deleted my hood latch in favor of a big radiator.
I made myself a headphone setup for listening for spark knock while I'm out tuning. It's a stock EM1 knock sensor wired into an cheap battery powered headphone amp I picked up on Amazon. It works fairly well for what it is, but I haven't really pushed in much timing yet so it really doesn't knock much.
A few pictures of it assembled after one of my first drives:
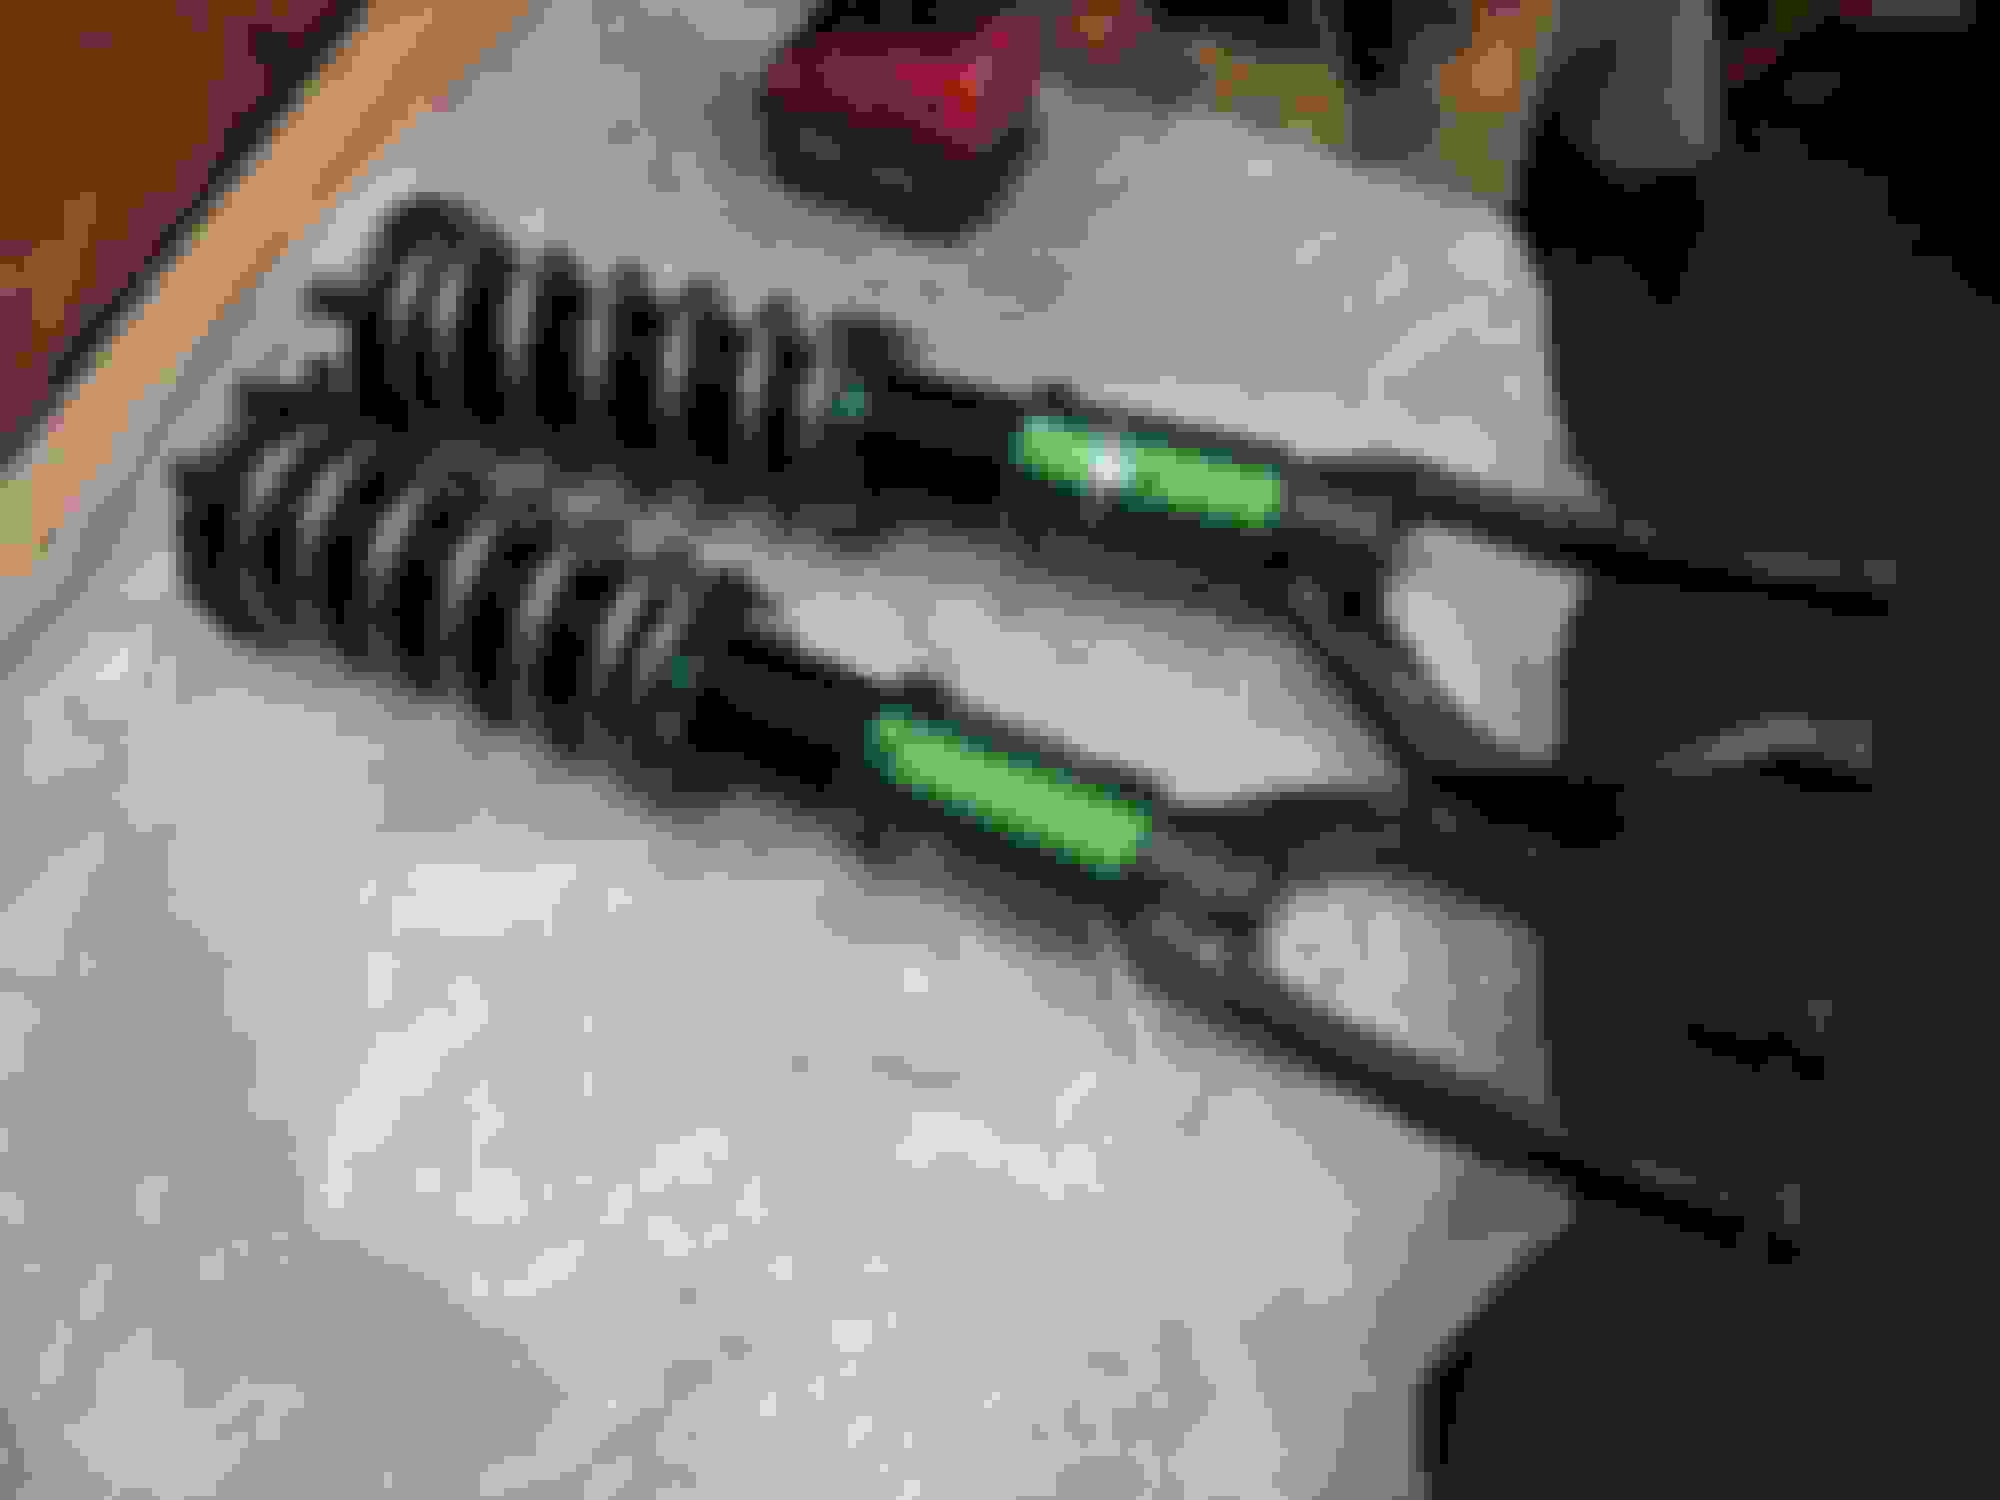
I needed to move on from my TruHart coilovers. They were adequate for the smoother roads I had in Ohio, but they didn't have the damping I needed to keep the car from rubbing and scraping constantly with these roads and bigger tires. So I picked up a set of Fortune Auto coilovers. A few of my friends who run time attack have them and like them. They'll do the job and were much easier to install than the custom Koni/Hyperco setup I had planned.
The plan was always to put power steering in the car. My grey Civic had been converted fully to manual with a manual rack, and I never really liked it. I also hate the sight of a power steering pump and reservoir cluttering up my engine bay, so I decided to go EHPS. The pump is from an MR2 Spyder. Not the cheapest solution in the world but it delivers enough assist to make the car much more enjoyable to drive. I don't have pictures of the full setup, but it's just a bunch of hoses and fittings.
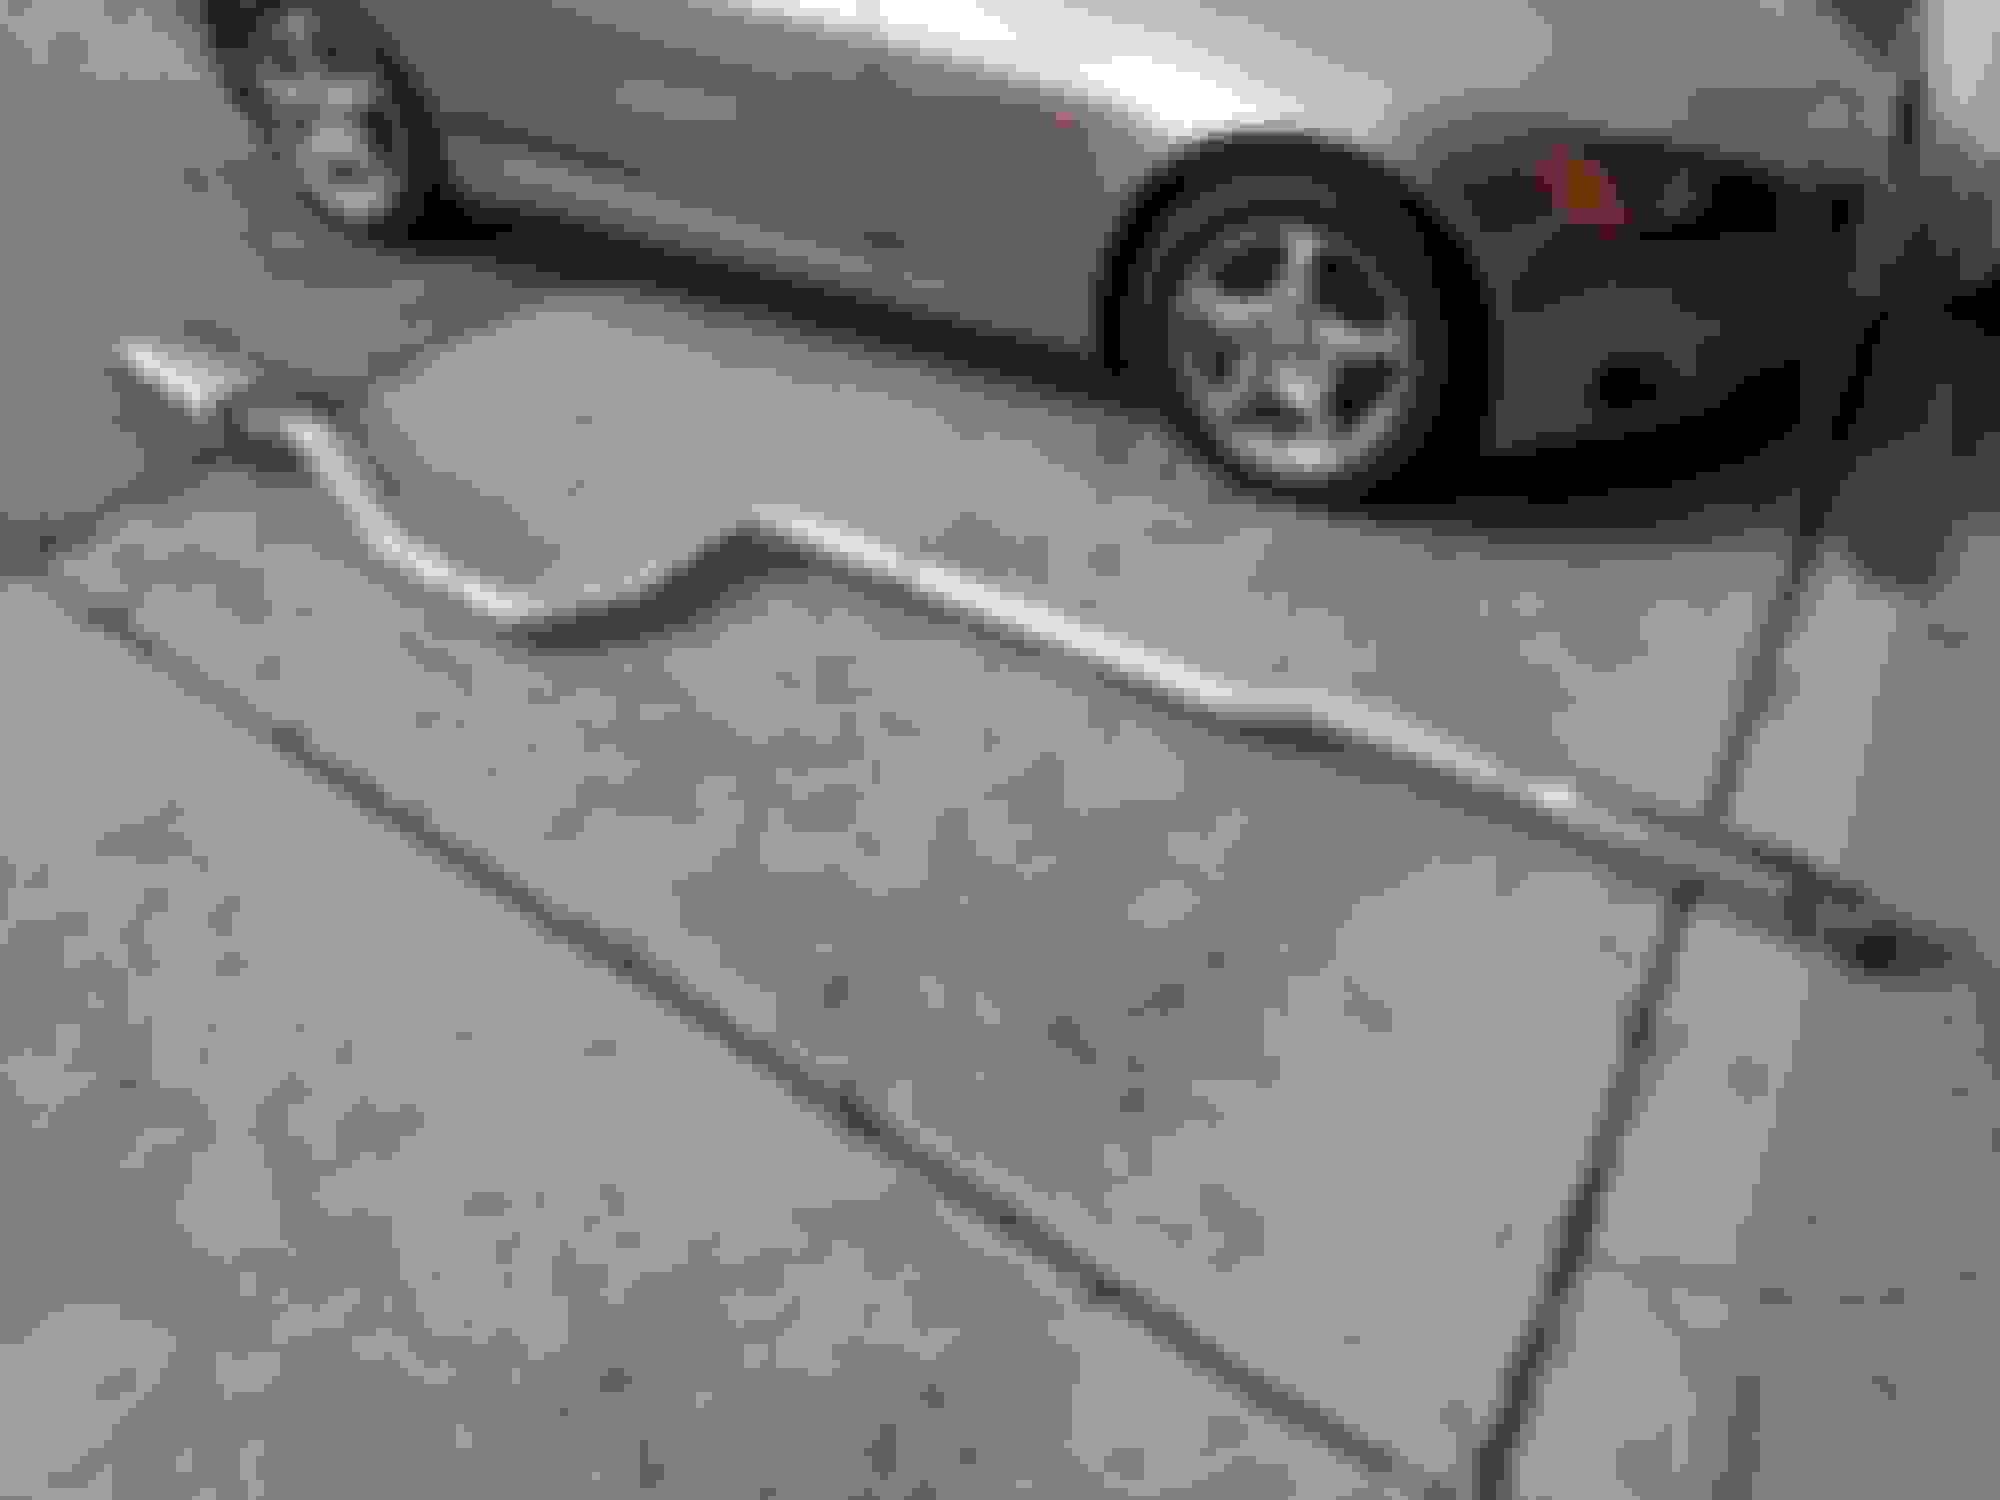
And since I changed jobs and lost access to the fab shop, I finally bit the bullet and bought a TIG welder, which let me weld up the exhaust for the Civic. It's a 3 inch KTeller stainless pipe kit with a Vibrant straight through muffler, an 18" resonator, and full V-bands. It's a nice mild sound when cruising around, but it really opens up when you want it to. The open dump on the wastegate helps with that too.
Just a quick picture after it's first wash in nearly 5 years. I'm hoping to get more miles on it this summer. Last year was a bit of a bust since the DMV wasn't allowing people to get plates for "newly registered" cars as part of their COVID policies. I was finally able to get in to get plates in April so we're legal to drive now.
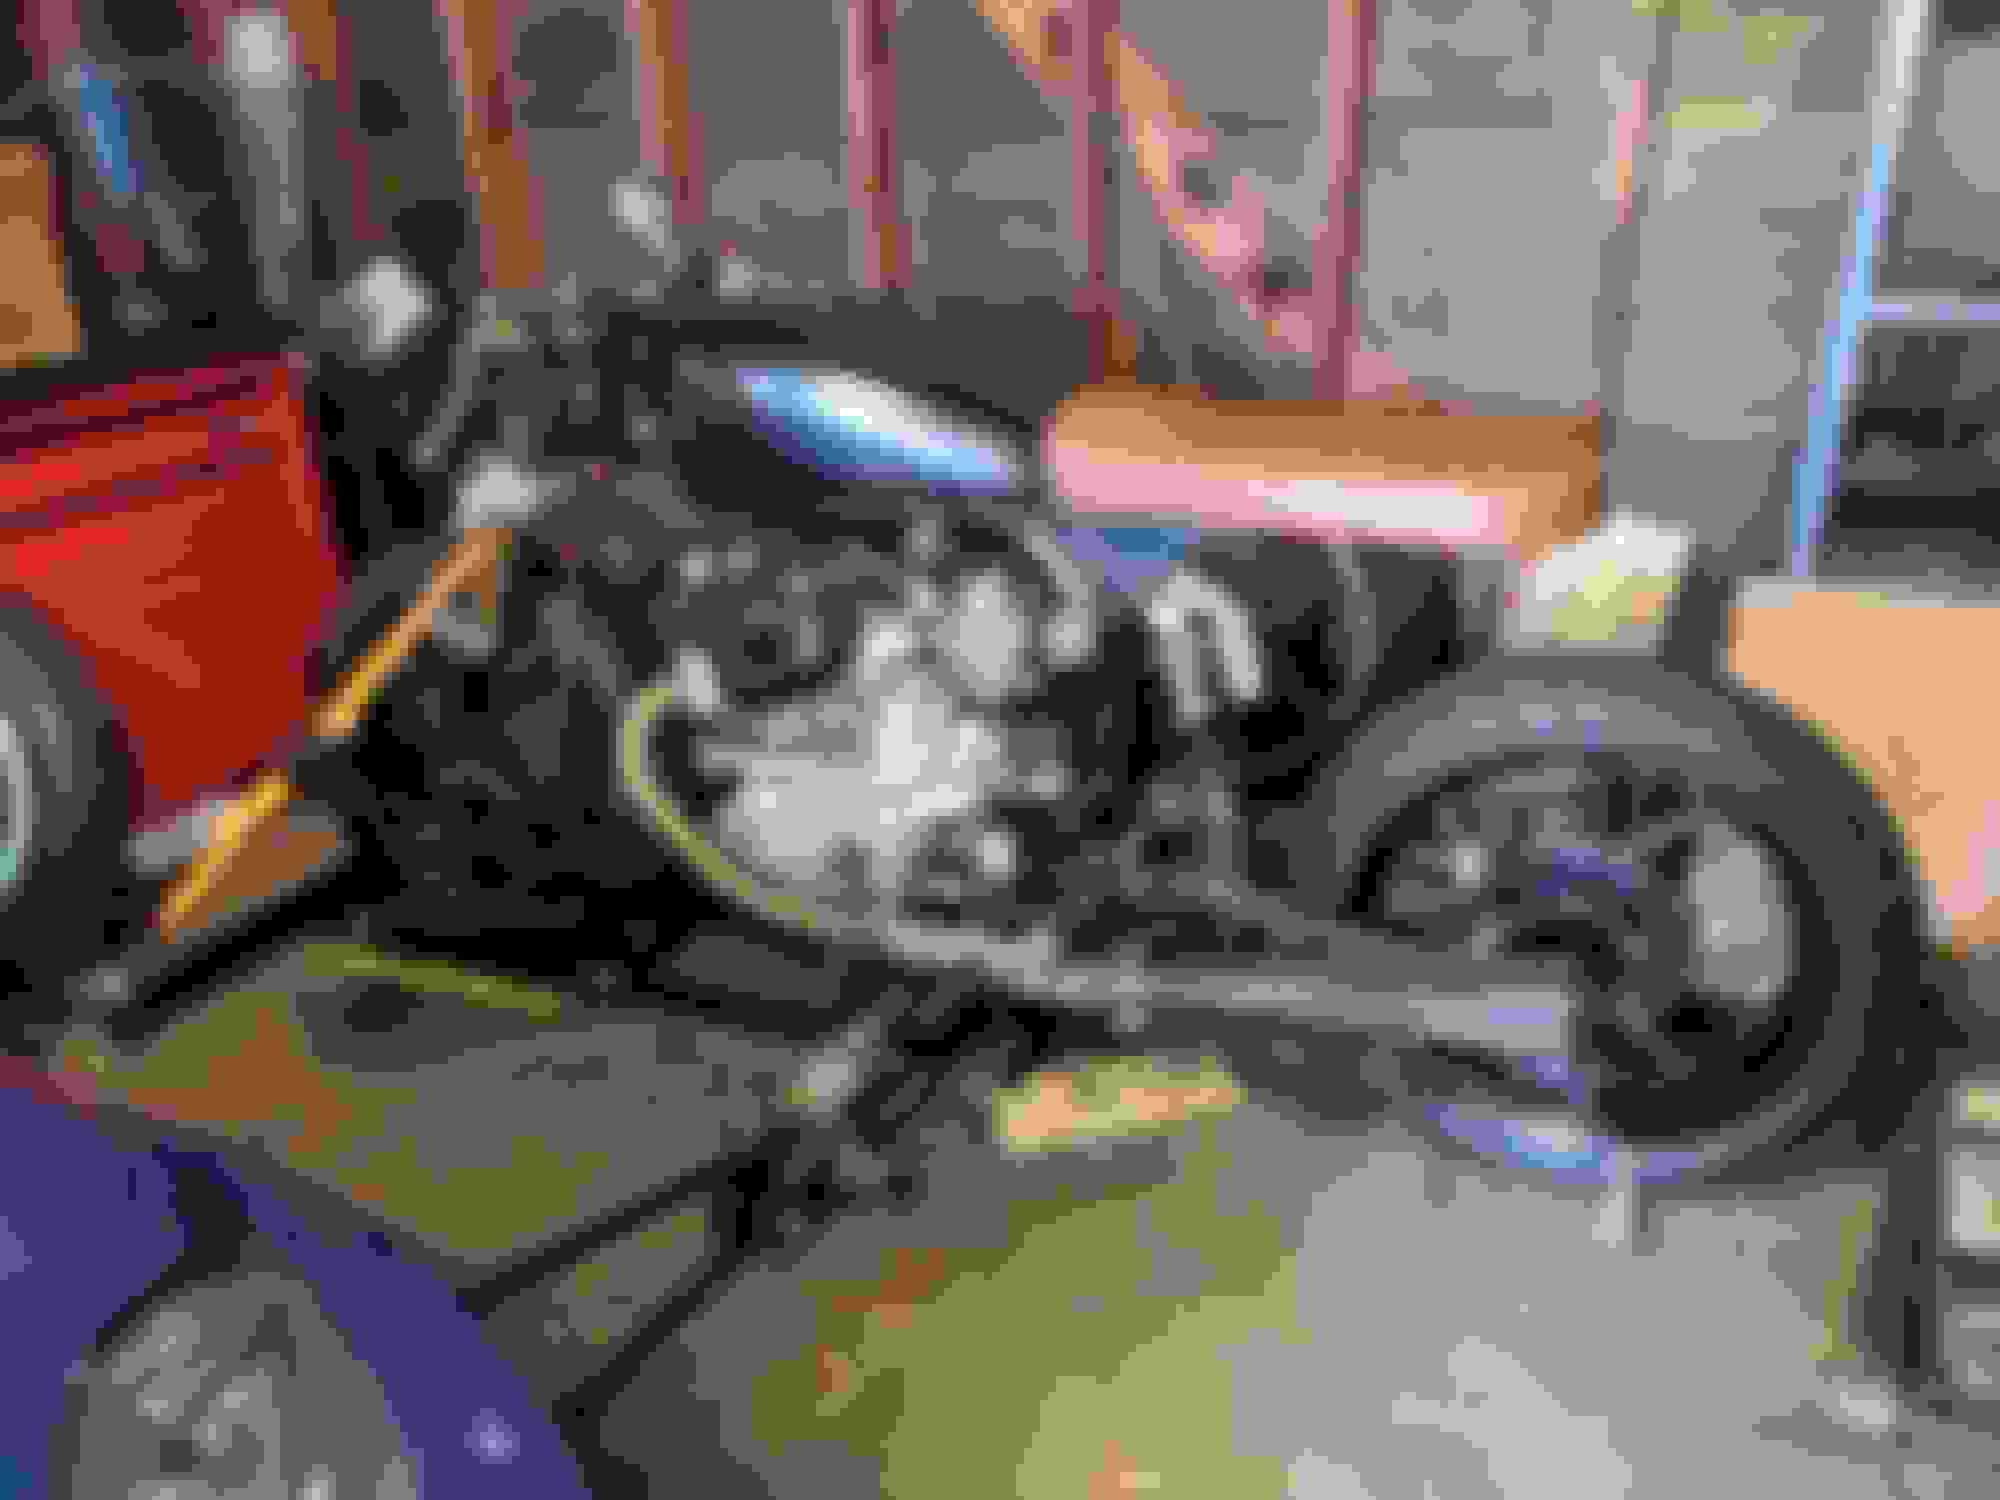
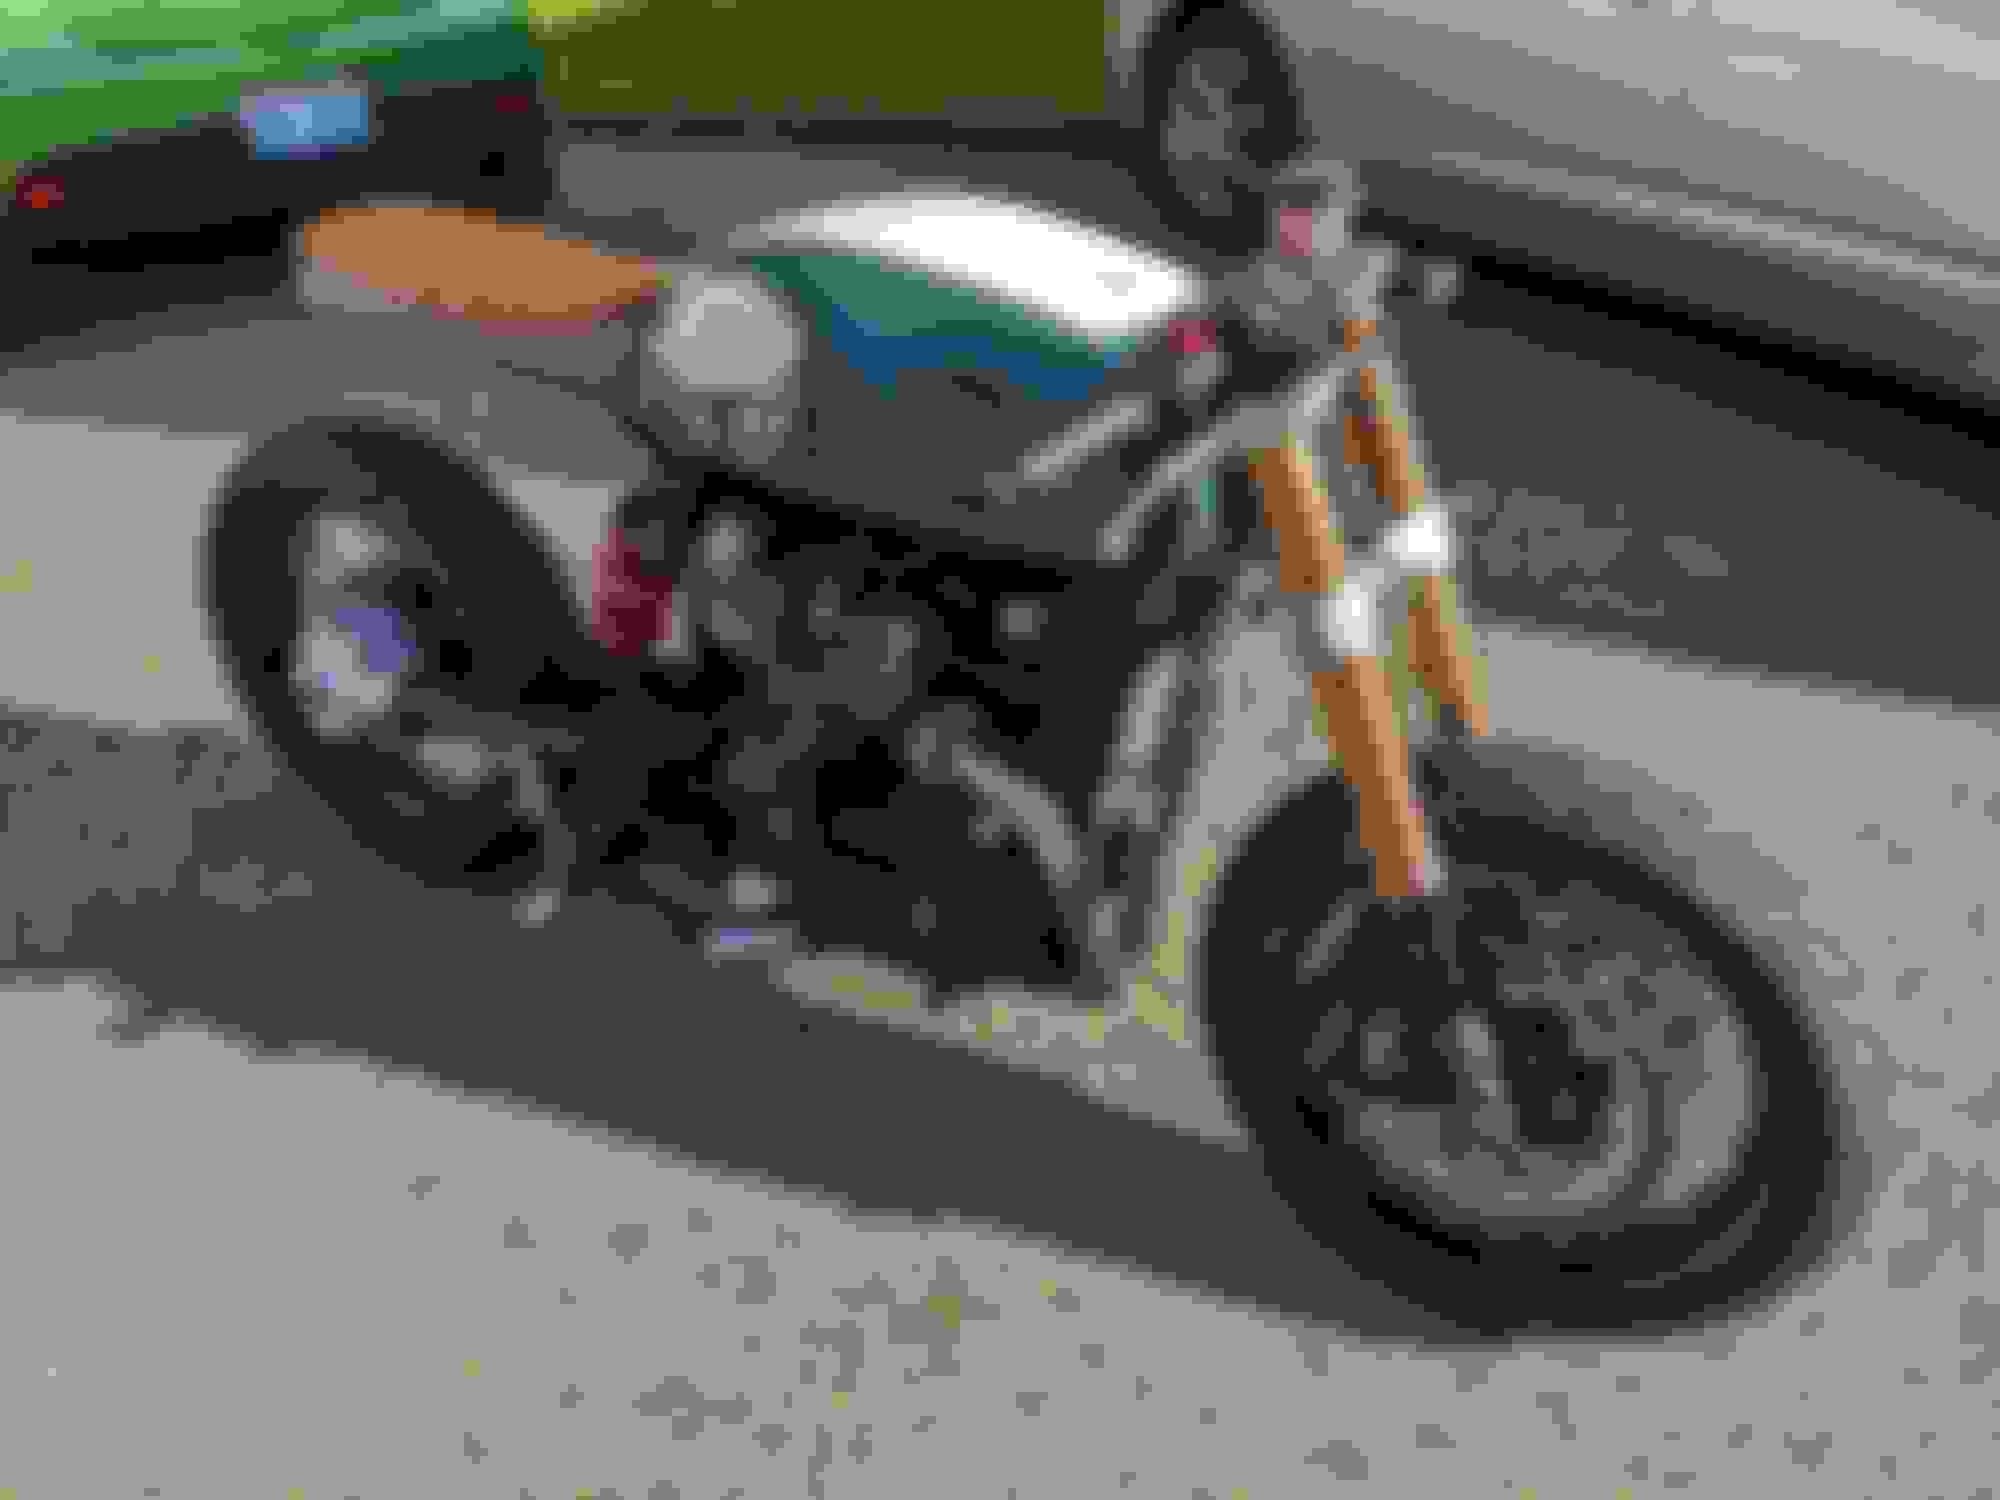
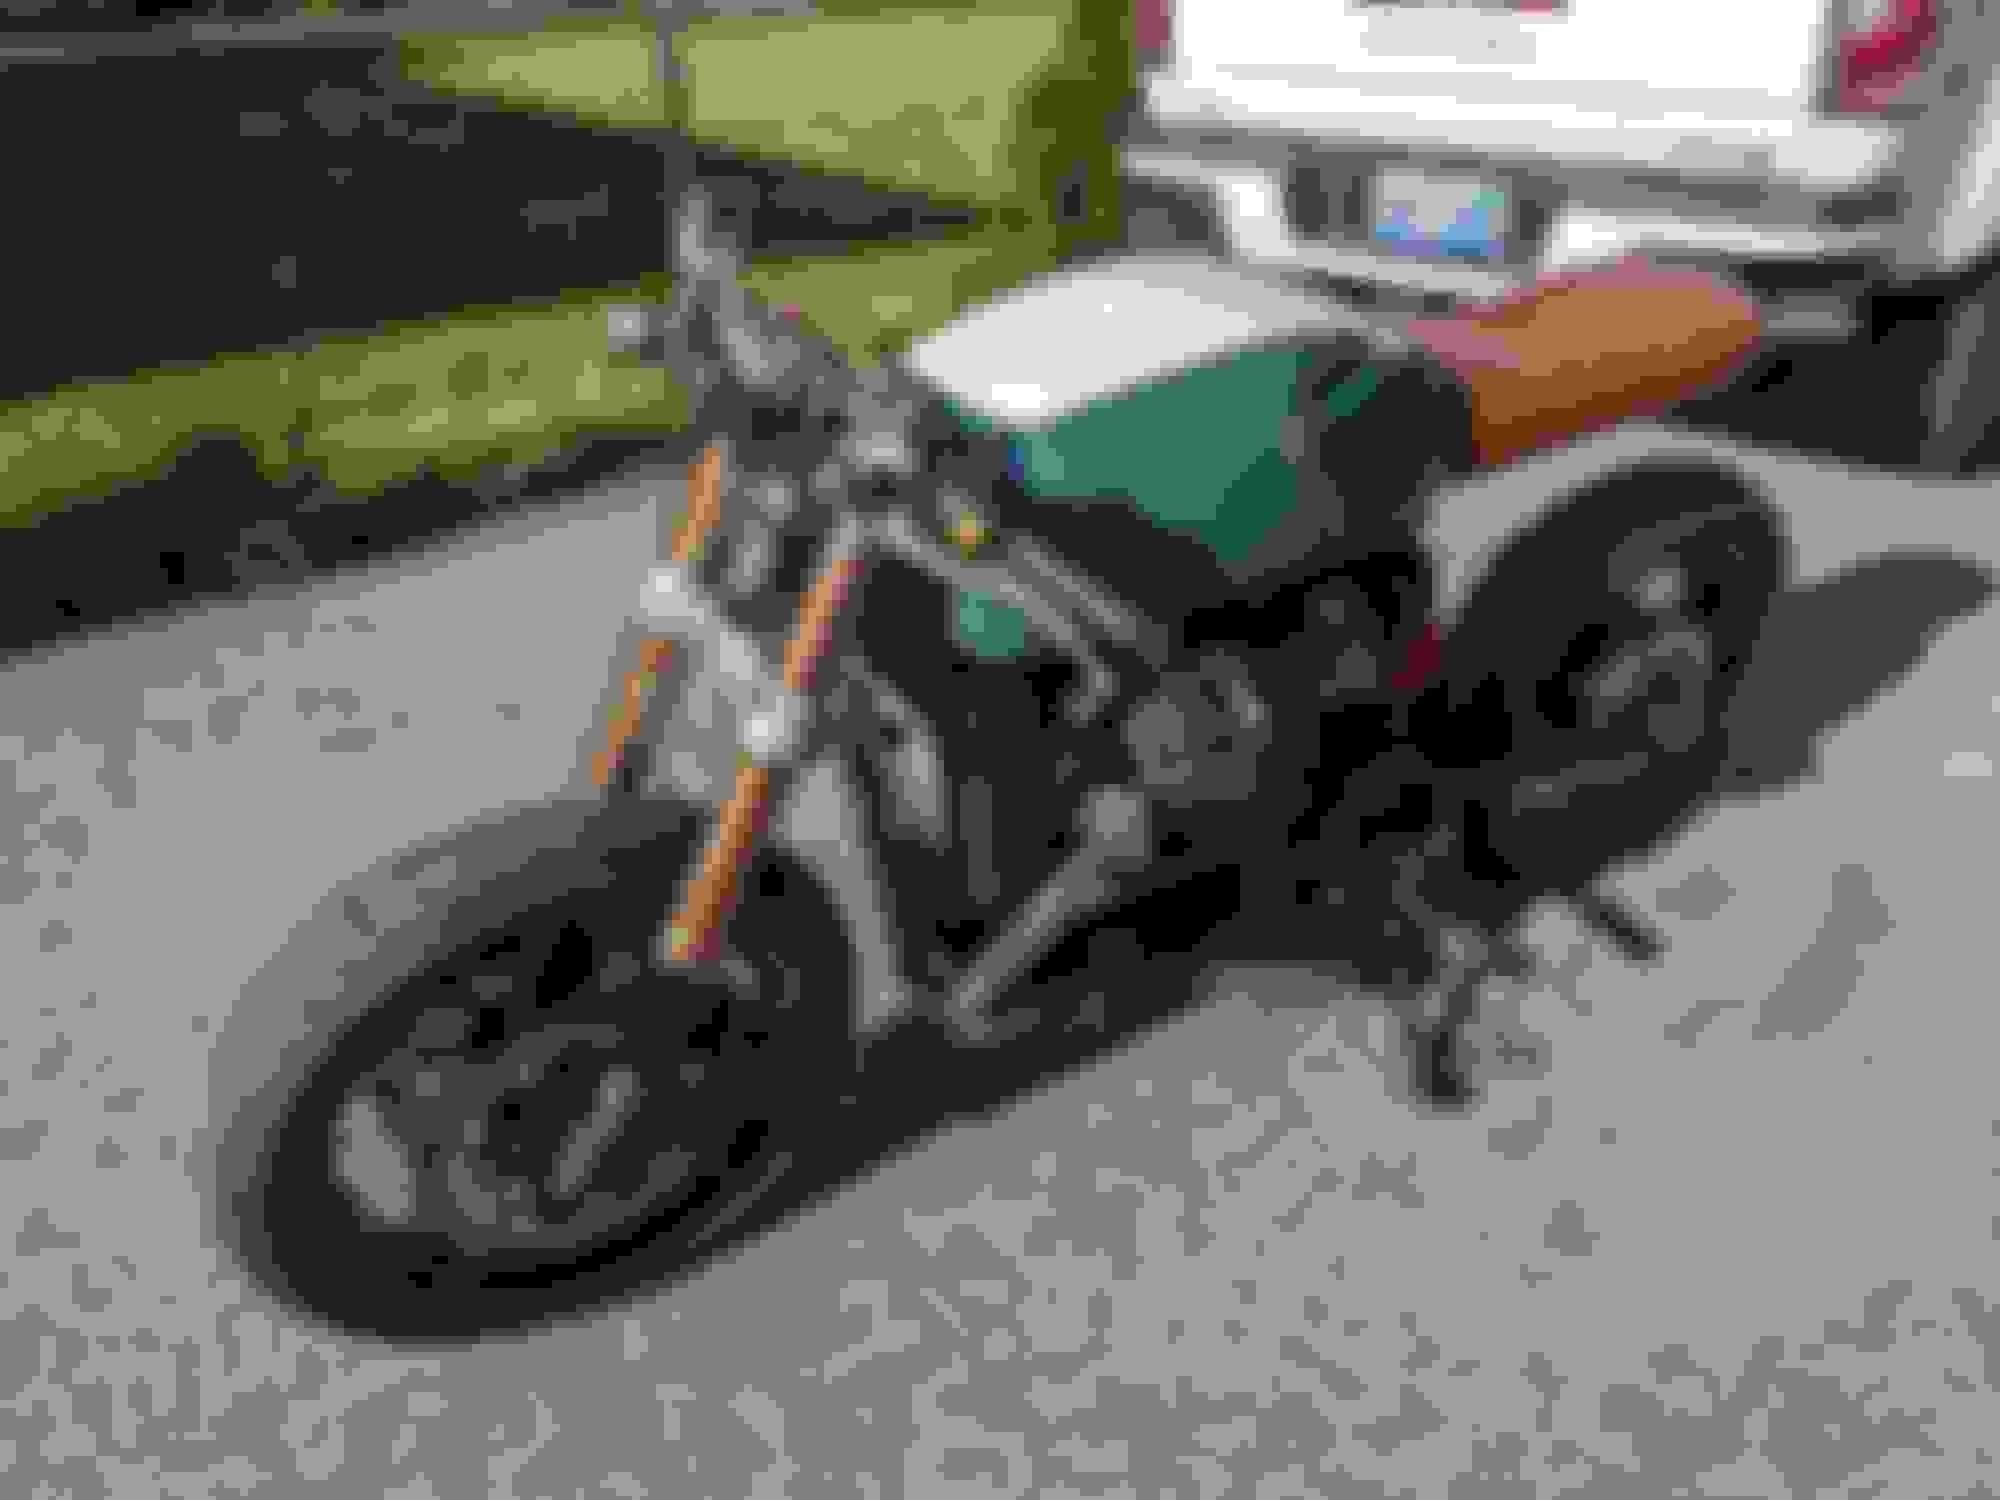
And since I'm a masochist, I bought another motorcycle as a cafe/brat project. It's a 1981 Honda CX500 that's getting thoroughly hacked up. The biggest changes are the lace wheel conversion, mono shock conversion, GSXR front forks, frame/seat modifications and a full re-wire with modern electronics
That's it for now on the Civic. There's not a ton on the horizon for it now. I need road time to get a solid base tune on it before I switch over to E85. Otherwise, it's done (unless something breaks) until I take it apart for paint/powdercoat once life settles down. At that point I'll likely be switching over to a built B16 and maybe I bigger turbo if space allows.
Thanks for taking the time to read through, especially if you started at the beginning!
Stellar build. Great attention to detail. I read the entire thread. I picked up a relatively stock EBP EM1 Oct 2021. I�ve done interior, full suspension, wheels�.. but got to a point to where I didn�t know where I wanted to go next. This thread has everything you need to know to go build B16 turbo. Great job. Looking forward to another update. Maybe a dyno pull or two?
Thanks for the kind words everyone. It's hard to believe its been 2 years since my last post. Unfortunately since then nothing major has happened with the Civic. I've spent some time working out some tuning issues between the idle controller in my ECU and the IACV that Honda issues and spent some time doing short cruises. Most notable taking a lap of the Woodward Dream Cruise in Detroit last summer.
The car sits on a 7 lb spring and generally drives really well until you get up onto the wastegate spring then it starts to break-up and misfire. Looking at my coils and plugs I think the coil for cylinder one is not in great shape so I was planning to pick up a full set of new coils to fix that.
I also impulse bought a Hybrid Racing short shifter since I've never been happy with my Fastline knock-off. I found out it was for an EG so the bend in the shfter is wrong and I end up punching my dash a lot while going for 1st or 3rd.
Besides all of that, I used up an extra can of 2K clear coat and a spare valve cover to put on a questionable knockoff of a Spoon valve cover. Sue me
Gave her a proper detail for the first time in 6 or 7 years last fall and put it away for the winter.
After racking up nearly 270k miles on my 2005 Accord, I thought it was time to buy a newer more capable vehicle so after a lot of poking around I landed on a 2022 GMC Canyon AT4 (employee discount helps). 7000 lb towing capacity and general pretty nice to be in. I've put 13k miles on it since October and I couldn't be happier. This is where it's at now after a 1 inch front leveling kit and removing the front air dam. More plans down the road as the tires wear out and the warranty expires. I'd like to set it up to spend some more time traveling and being outside.
And this is what's been taking up most of my time: my previously mentioned Honda CX500 Custom project. It's come leaps and bounds since I posted last. I'm missing a picture of the tank with the pinstripe installed, but oh well. I've changed up the tank and finished all of the heavy fabrication work (major changes to the frame design, monoshock conversion, custom exhaust, GSXR forks, CognitoMoto wheels, various brackets, etc.....). Right now: wiring is next. I'm planning a similar race spec harness as the Civic, but with substantially less wires. We're probably 2 or 3 months from a running riding bike at this point.
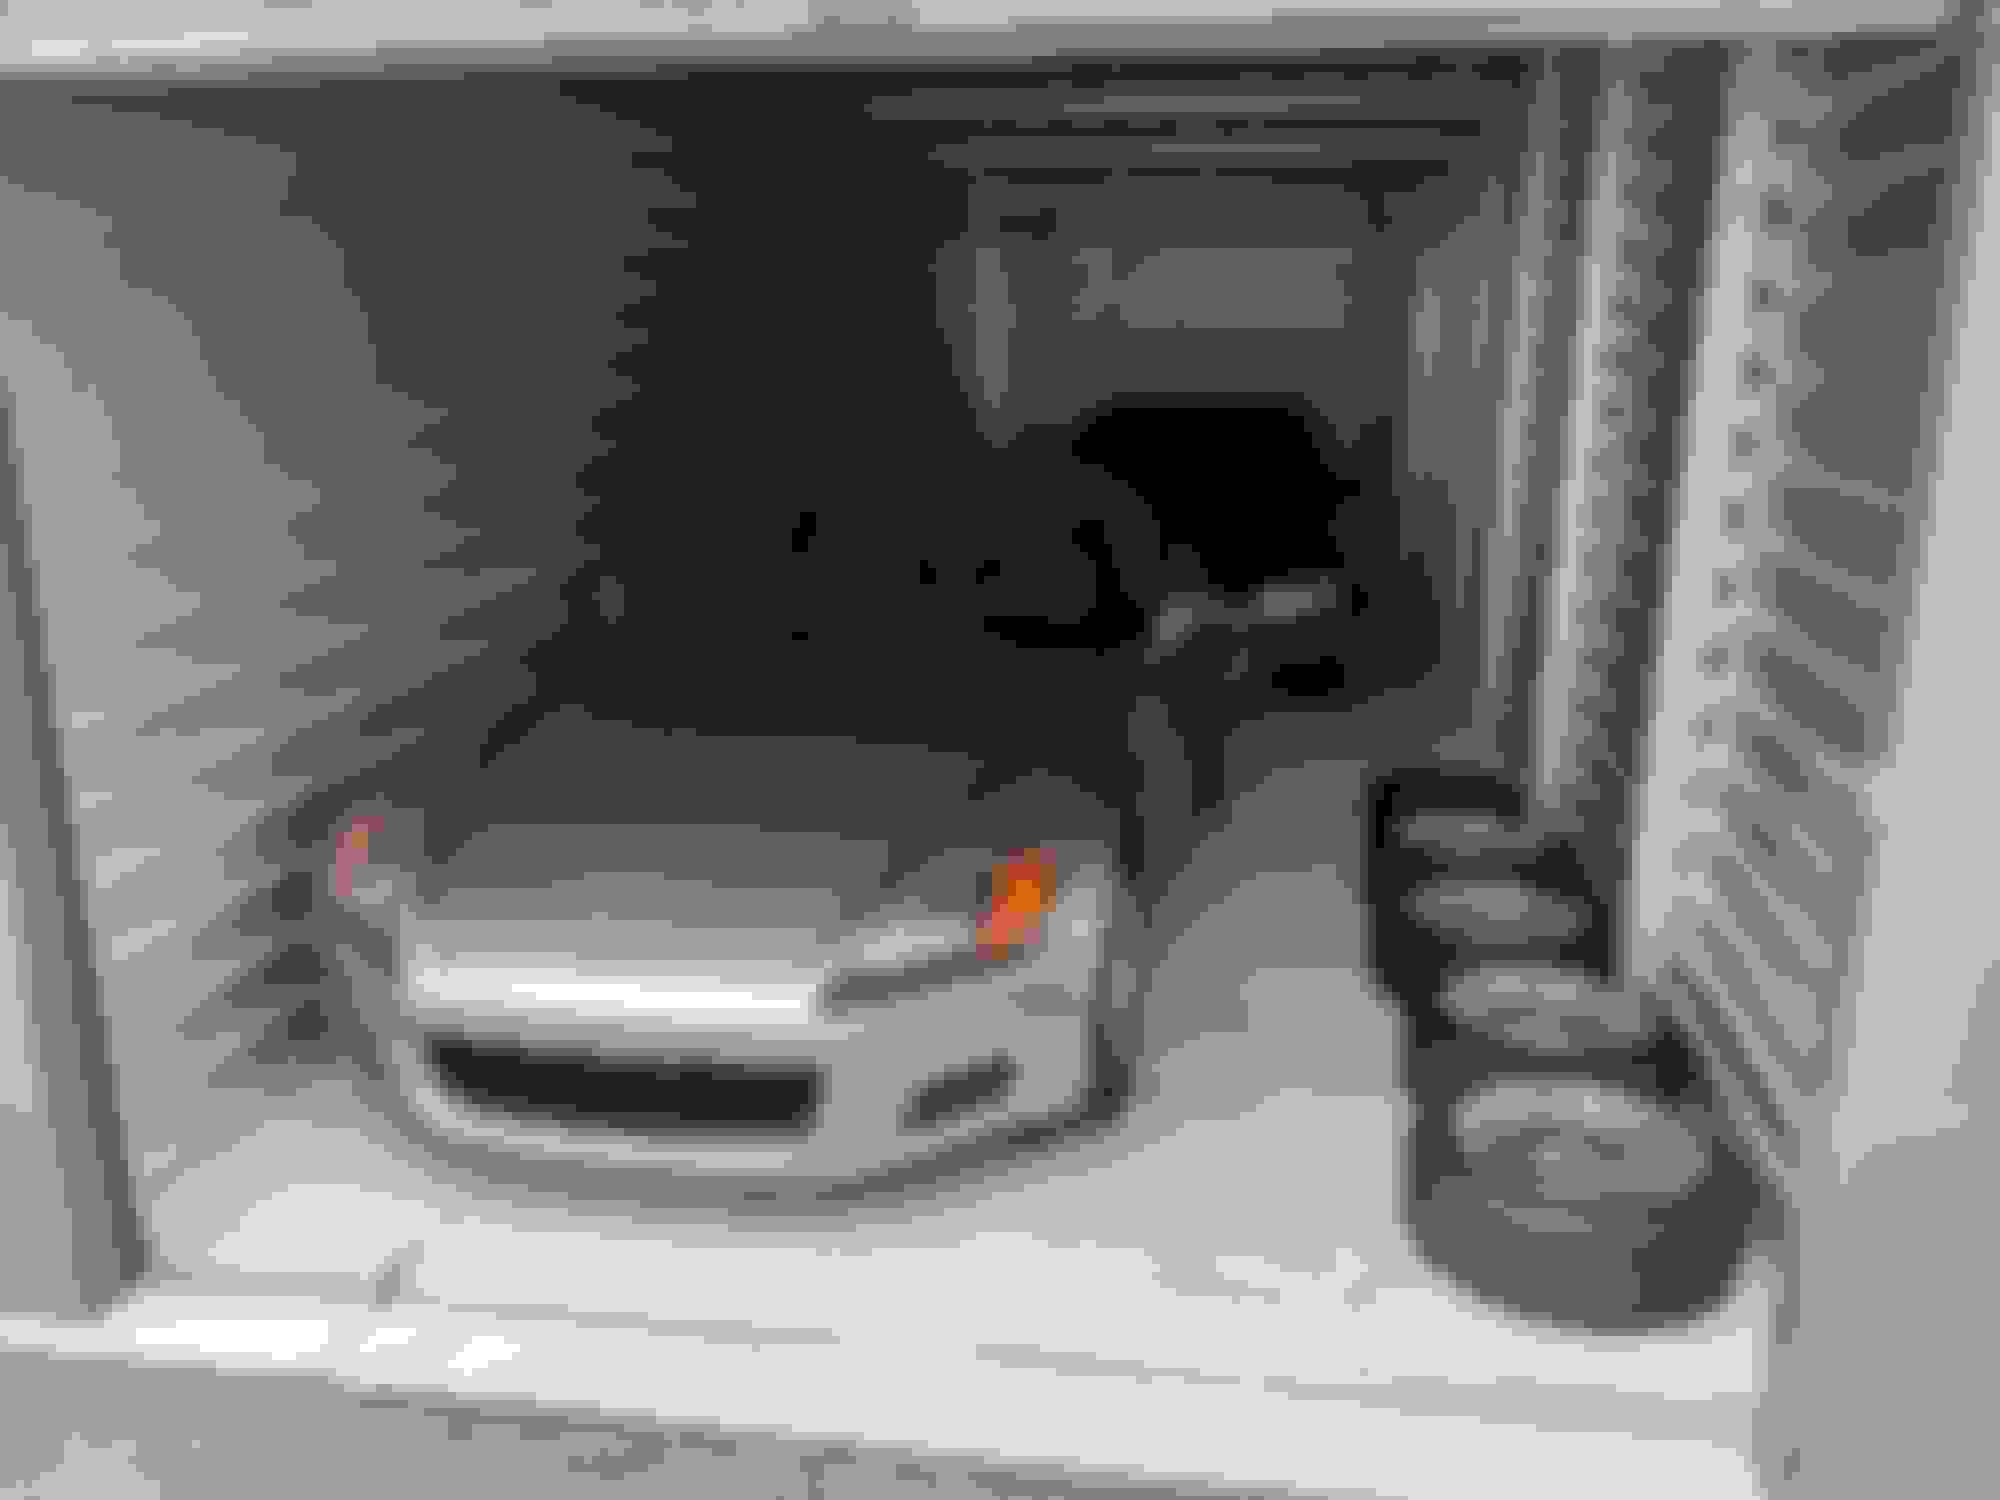
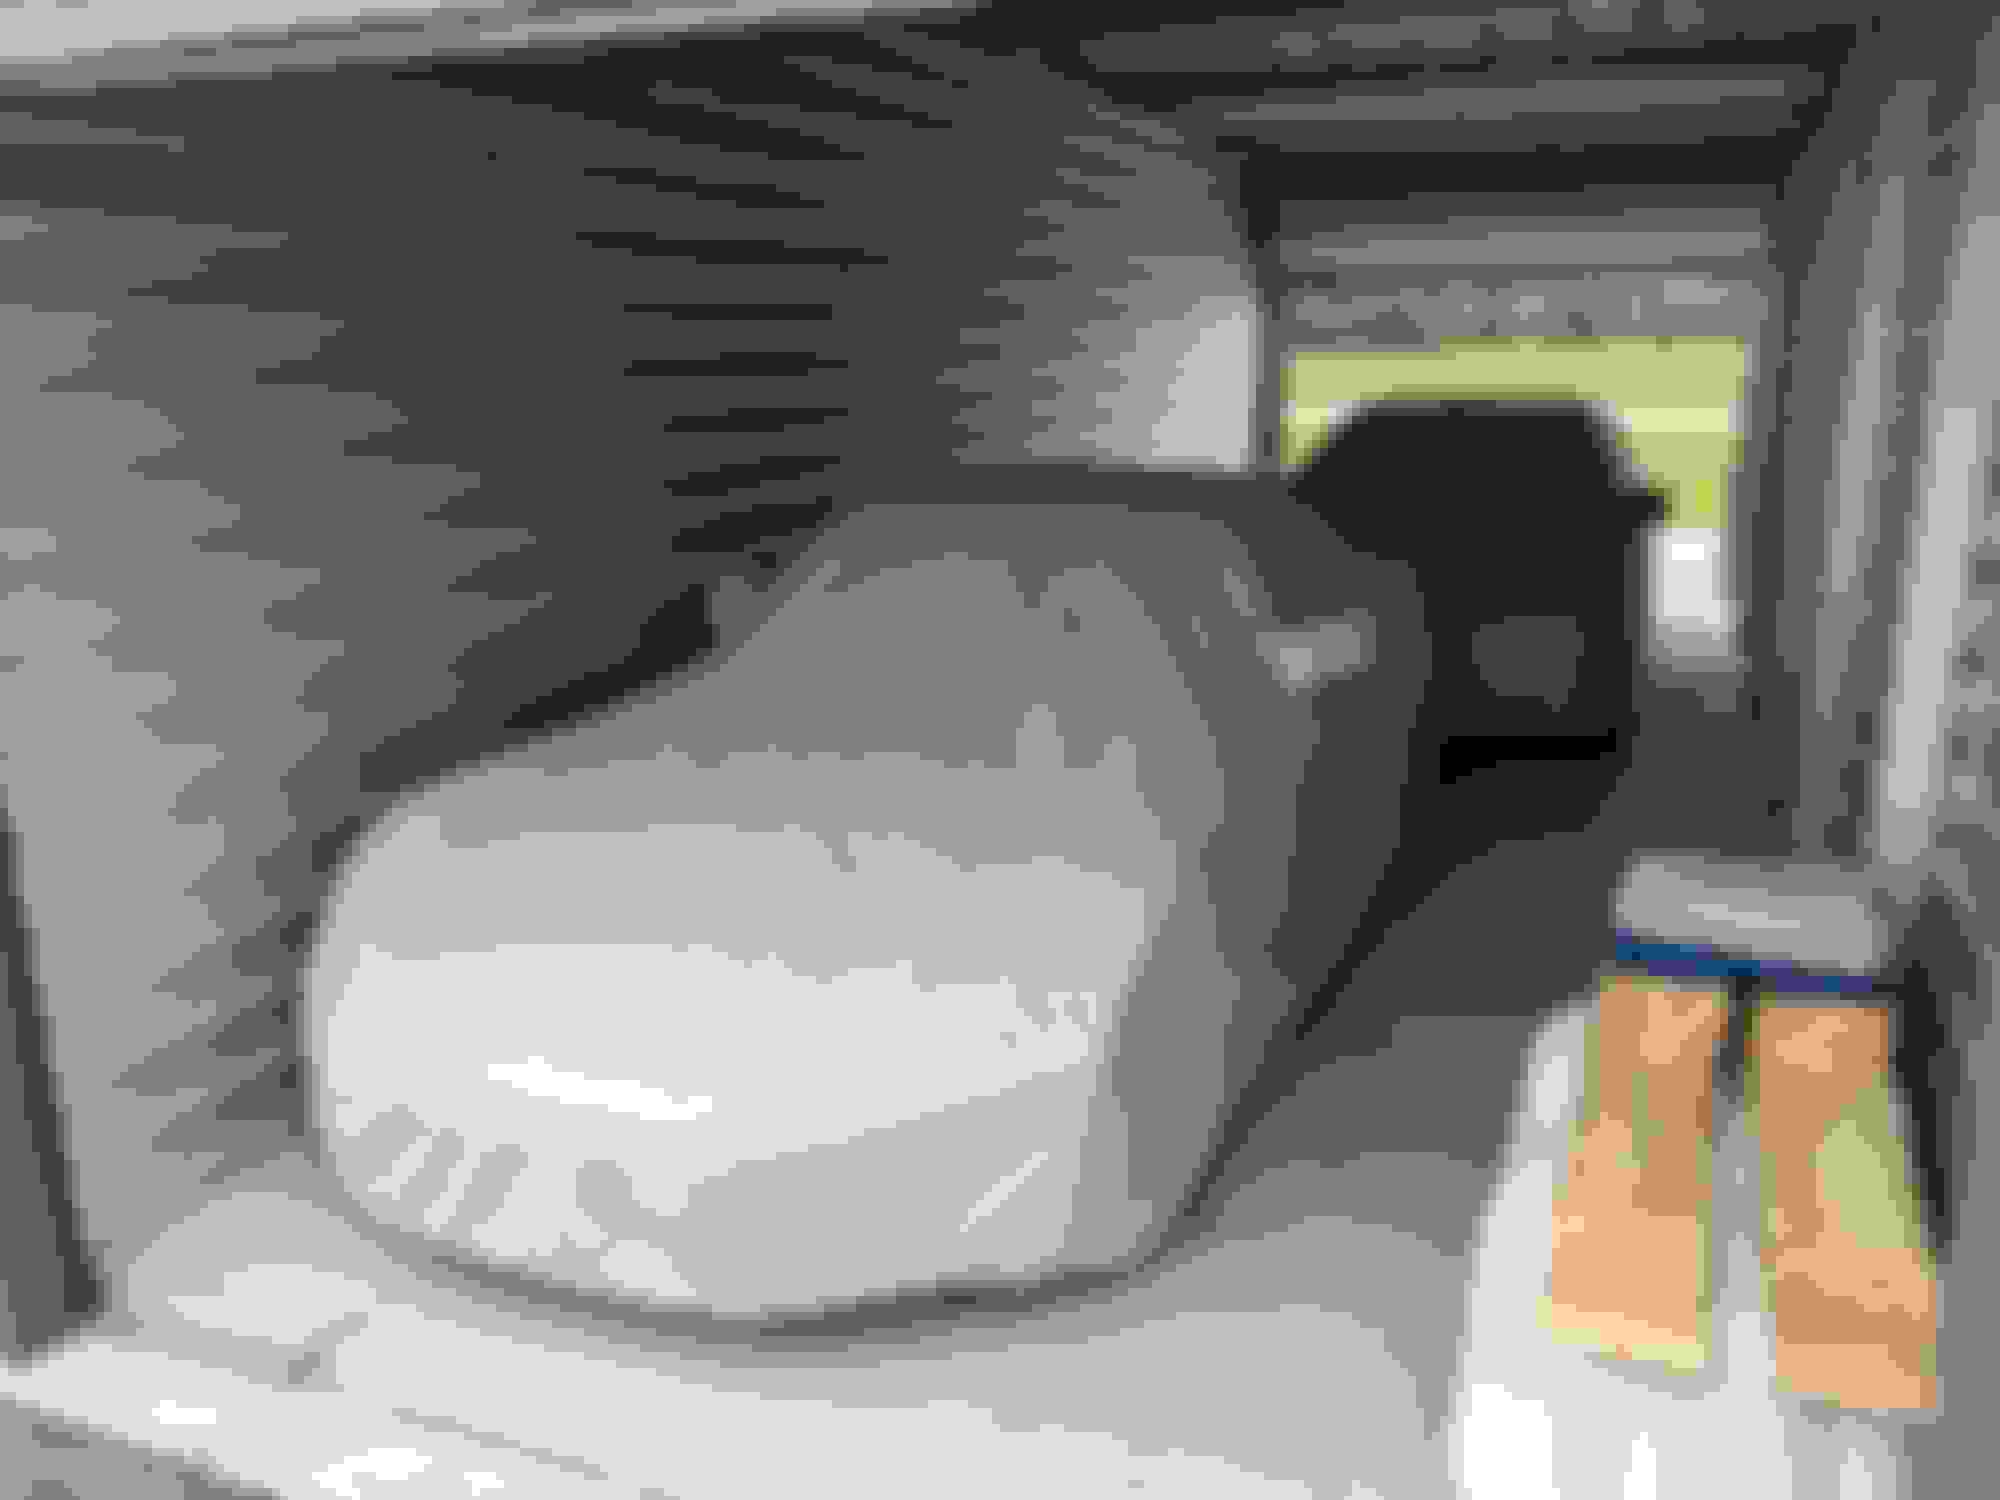
And I guess that puts us up to now. I found out in early May that I'd be moving to the Philadelphia metro area in mid-July so that has derailed any plans I might have had, but I'm excited to check out the east coast after spending all of my life in the midwest. The cars and bikes and all of my tools are tucked away in storage while my girlfriend and I figure out our lives and try to find a house (hopefully with a good garage situation or I guess I'll be building one).
That's all for now. Hopefully my next post is of these cars in a nice heated garage, but time will tell. Thanks for reading!

 04-28-2019, 05:40 PM