
OEM strut bar refinish
 09-14-2009, 11:52 PM
#1
Figured the JDM fan boi persona of this site may enjoy this tech I wrote up, so I will grace you with this threads presence. Strait jdm show car status can be reached with this upgrade I warn you honda-tech! <-- teh gheyy
As many of you have noticed the end pieces on the OEM strut bars is notorious for rusting around the welds and paint chipping away leaving an ugly rusted eye sore in your jdm show car status engine bay. I am hoping that some of you may use this as a guide to refinsh your OEM strut bar end pieces
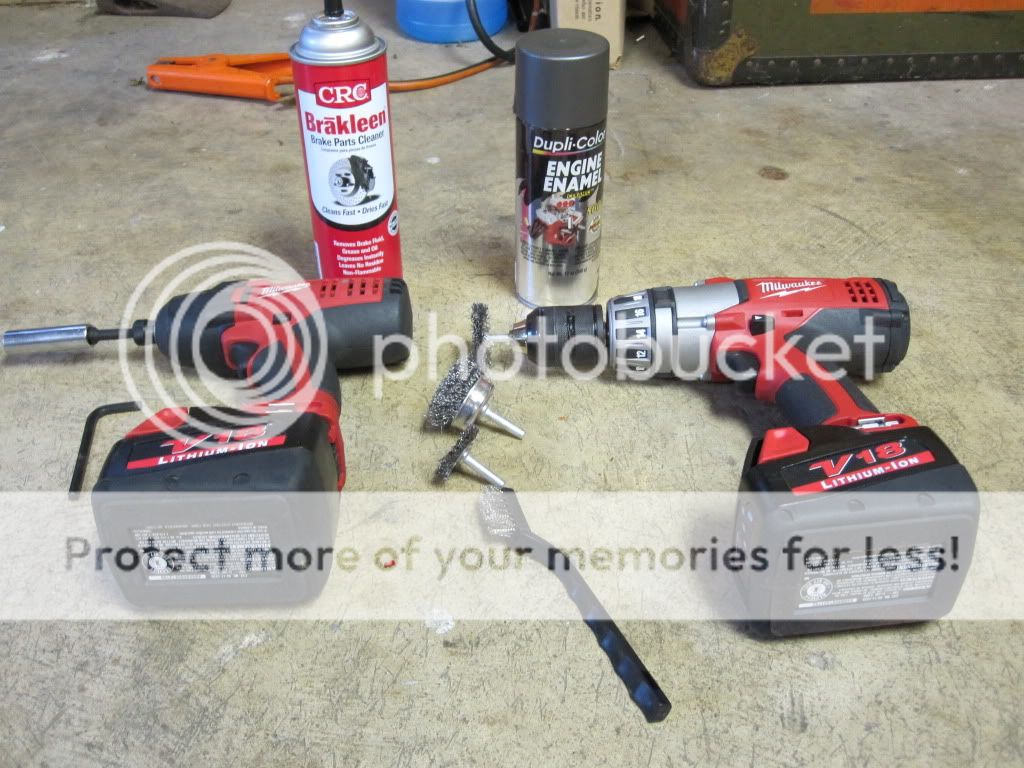
First off materials you will need:
-12mm socket and wrench.
-6mm hex wrench.
-Corded or Cordless electric drill (I prefer cordless)
-Steel wire brush wheels or multi set (hand held wire may also be handy
-OR aircraft grade paint stripper if you prefer not to wire brush the paint off (I would still rough up the cast iron surface with something though)
-brakleen
-Super thin tying wire
-Saw horse (or anything to hang objects from that can get paint on it)
-Duplicolor High Heat ceramic engine enamel, color code: 1651 Cast Coat Iron
Directions:
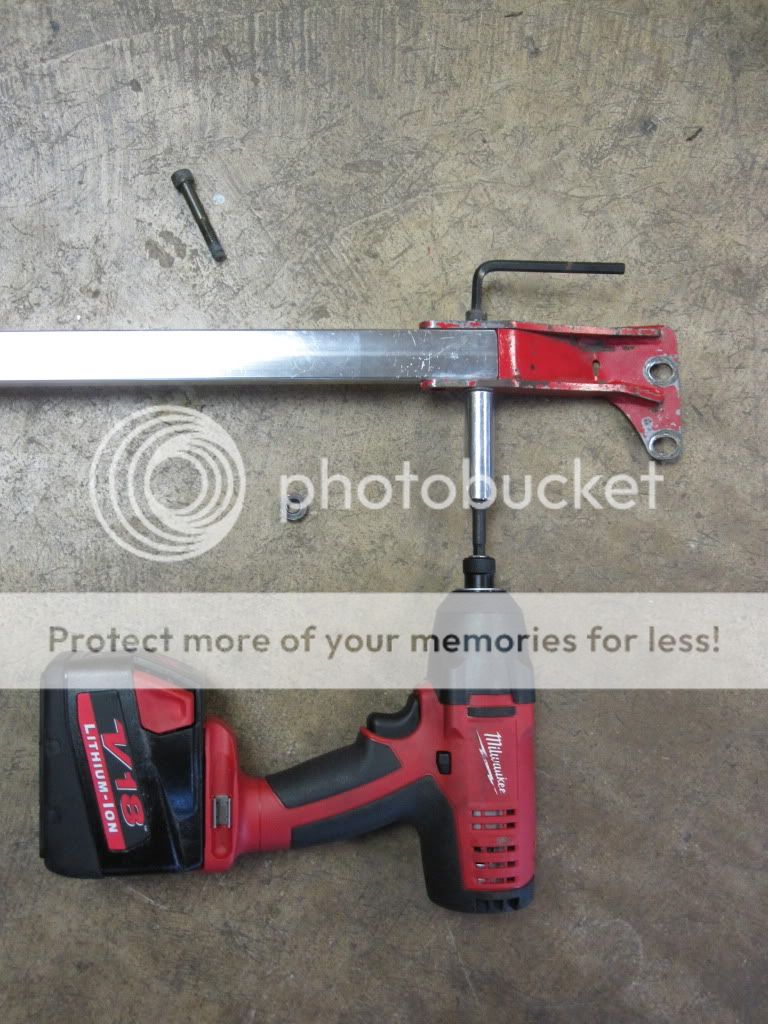
1-First off remove your OEM strut bar by unbolting it the two 12mm nuts on each shock tower holding it down. This is a good time to inspect the damage on the underside you can not see while bolted down.
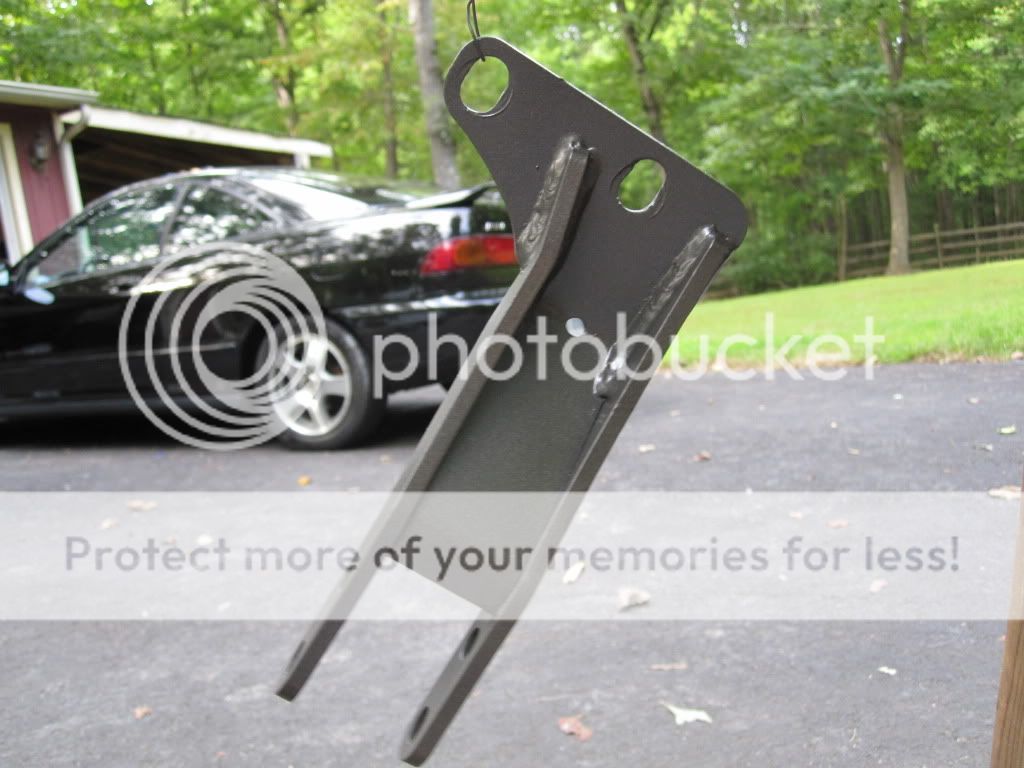
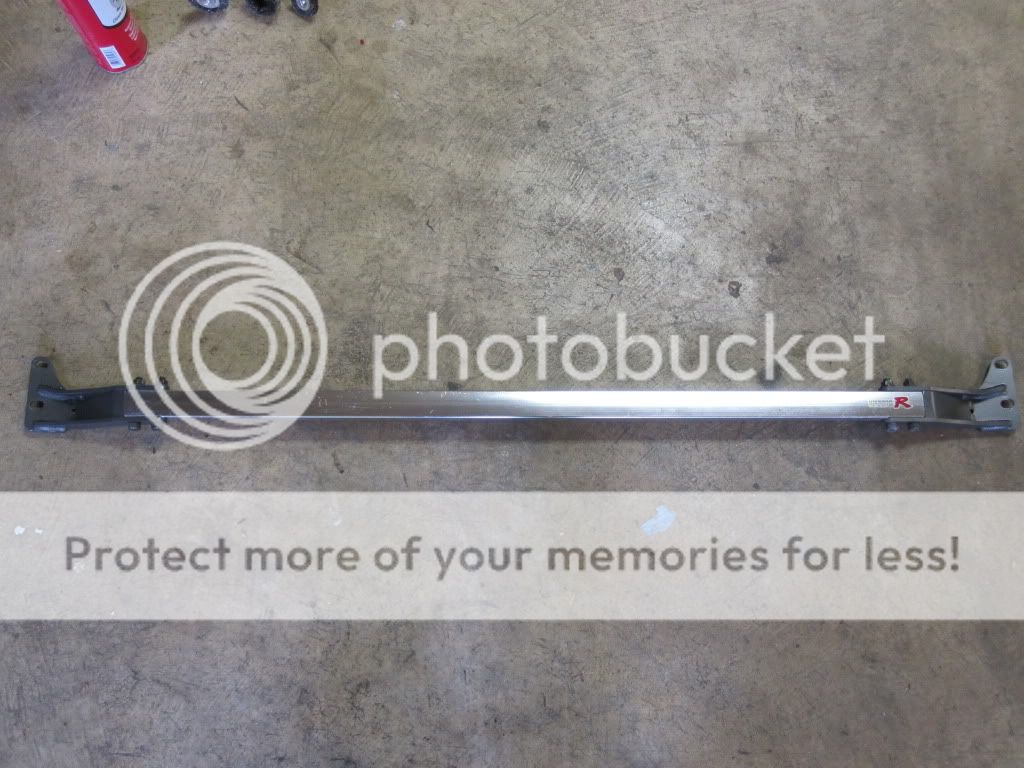
This is how the bar looks that I am refinishing, this did not come off my car I simply bought it off a ghetto fabbed hatchcrap and decided to save it.

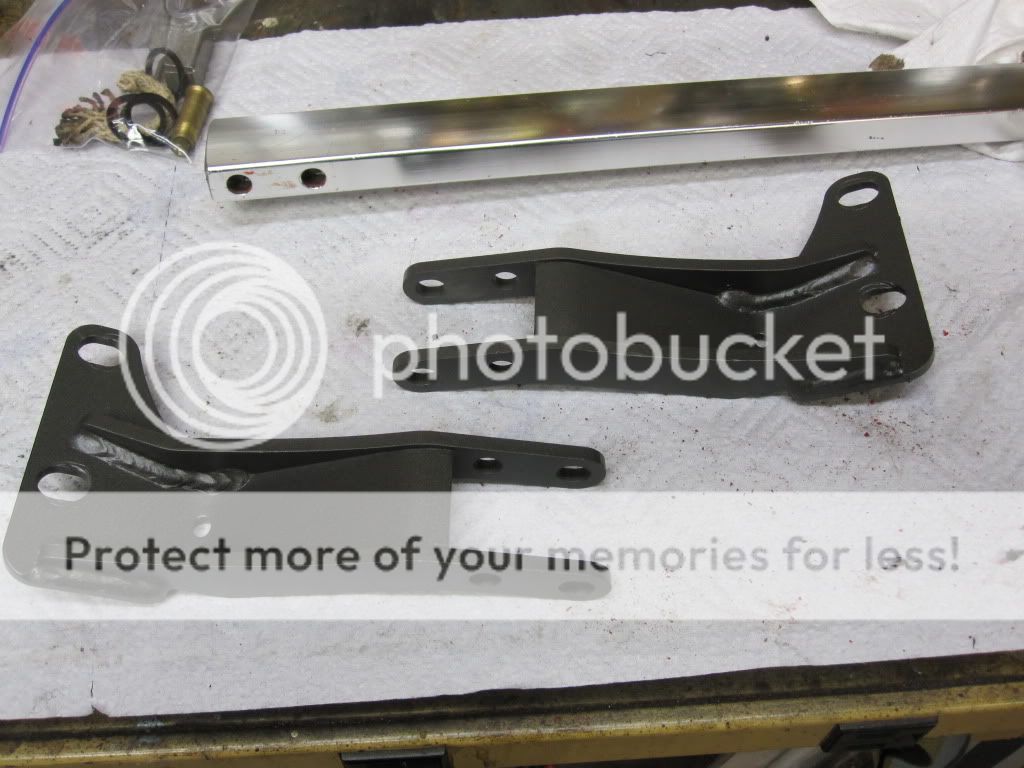
2- Using a 6mm hex key and the a 12mm wrench or socket unbolt the and pieces from the aluminum shaft. (be careful not to scratch the shaft") )
)
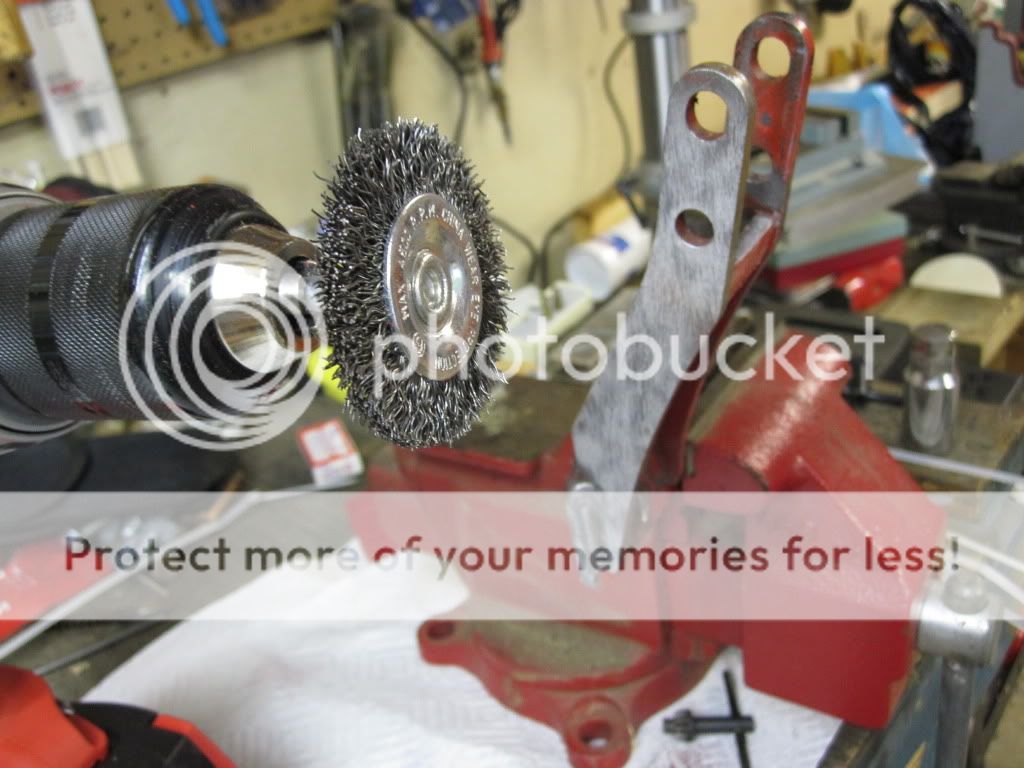
3- I then put the end link in a vise to hold it steady, and began to remove the existing paint using the wire brush wheel in the cordless drill. I ended up using 3 different sizes of wheels to get in all the cracks and such. (bought a variety pack of wheels at harbor freight for hella cheap) this process took me about 10 min. done right for each piece. Using the wire wheel also roughed up the area which will help the paint adhere later on. I used an M16 brass bore cleaning brush to get the paint out of the holes (you shouldnt to do this if yours isnt a funky color like mine was)

4- Then clean off residue and dust with brakleen and allow to dry completely.
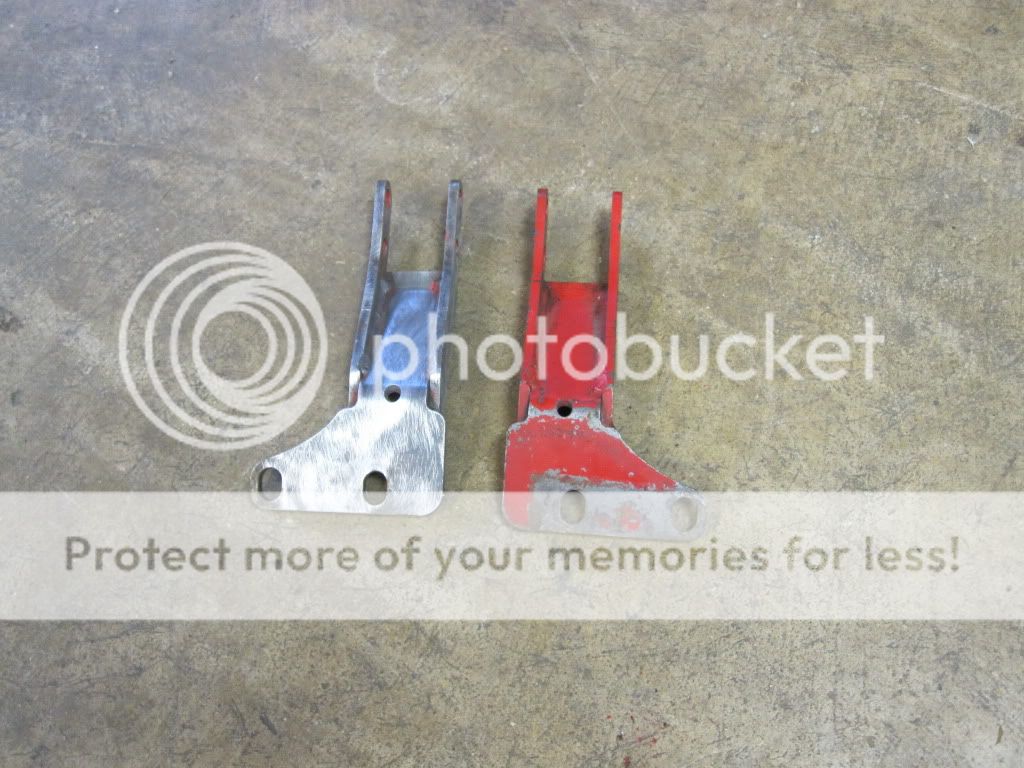
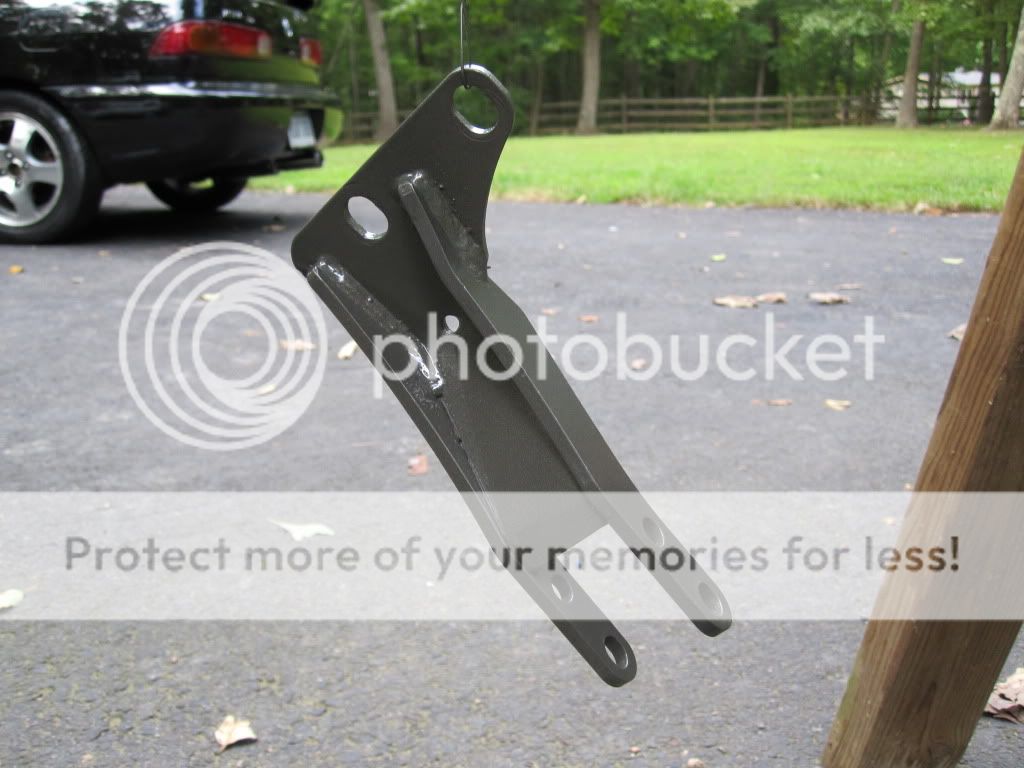
5- Hang one of them from something (I used a saw horse) using super thin wire or fishing line. Run the line through the hole that is protrudes and will have a bolt through it when put back on car, as this will have the least interferance when painting. see pic for correct hole
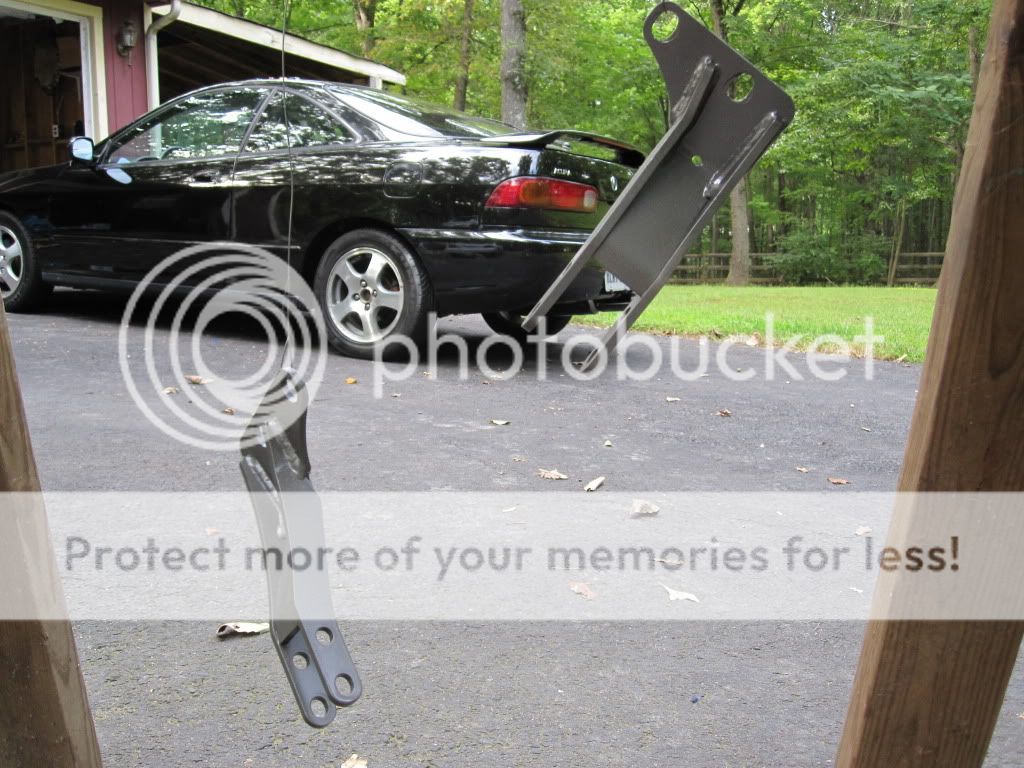
6- Using Duplicolor High Heat color : Cast Coat Iron (I found this to be a near perfect match to the OEM paint color) spray the end pieces one at a time! making sure you get every single part of each one covered or these WILL rust again shortly. allow to dry (pics show both hung, this was for pictures only I used two horses and painted them one at a time and moved them together for pics)
7- Bolt both end pieces back on shaft and then bolt back into vehicle.

good as new
-Nathaniel
As many of you have noticed the end pieces on the OEM strut bars is notorious for rusting around the welds and paint chipping away leaving an ugly rusted eye sore in your jdm show car status engine bay. I am hoping that some of you may use this as a guide to refinsh your OEM strut bar end pieces
First off materials you will need:
-12mm socket and wrench.
-6mm hex wrench.
-Corded or Cordless electric drill (I prefer cordless)
-Steel wire brush wheels or multi set (hand held wire may also be handy
-OR aircraft grade paint stripper if you prefer not to wire brush the paint off (I would still rough up the cast iron surface with something though)
-brakleen
-Super thin tying wire
-Saw horse (or anything to hang objects from that can get paint on it)
-Duplicolor High Heat ceramic engine enamel, color code: 1651 Cast Coat Iron
Directions:
1-First off remove your OEM strut bar by unbolting it the two 12mm nuts on each shock tower holding it down. This is a good time to inspect the damage on the underside you can not see while bolted down.
This is how the bar looks that I am refinishing, this did not come off my car I simply bought it off a ghetto fabbed hatchcrap and decided to save it.
2- Using a 6mm hex key and the a 12mm wrench or socket unbolt the and pieces from the aluminum shaft. (be careful not to scratch the shaft
)3- I then put the end link in a vise to hold it steady, and began to remove the existing paint using the wire brush wheel in the cordless drill. I ended up using 3 different sizes of wheels to get in all the cracks and such. (bought a variety pack of wheels at harbor freight for hella cheap) this process took me about 10 min. done right for each piece. Using the wire wheel also roughed up the area which will help the paint adhere later on. I used an M16 brass bore cleaning brush to get the paint out of the holes (you shouldnt to do this if yours isnt a funky color like mine was)
4- Then clean off residue and dust with brakleen and allow to dry completely.
5- Hang one of them from something (I used a saw horse) using super thin wire or fishing line. Run the line through the hole that is protrudes and will have a bolt through it when put back on car, as this will have the least interferance when painting. see pic for correct hole
6- Using Duplicolor High Heat color : Cast Coat Iron (I found this to be a near perfect match to the OEM paint color) spray the end pieces one at a time! making sure you get every single part of each one covered or these WILL rust again shortly. allow to dry (pics show both hung, this was for pictures only I used two horses and painted them one at a time and moved them together for pics)
7- Bolt both end pieces back on shaft and then bolt back into vehicle.
good as new
-Nathaniel
 09-15-2009, 11:40 AM
#5
Honda-Tech Member
iTrader: (4)
Join Date: Sep 2006
Location: Fl, usa
Posts: 4,175
Likes: 0
Received 0 Likes
on
0 Posts
I am glad I read this, my heat shield is in need of fresh paint and I couldn't get the original completely off with stripper. I will try that wire brush. Thanks.
Trending Topics
09-16-2009, 07:13 AM
#8
Honda-Tech Member

Join Date: Nov 2001
Location: Southern cali or boston
Posts: 5,699
Likes: 0
Received 0 Likes
on
0 Posts
just REMEMBER to use safety googles when playing with wire brushes. A guy in autoshop back in highschool had to go to the ER because he was using a wire brush buffer and a metal wire shot into his eye.
The wires wear off as you use them, causing them to shoot off like missiles.
SAFETY GOGGLES ARE KEY.
The wires wear off as you use them, causing them to shoot off like missiles.
SAFETY GOGGLES ARE KEY.
09-16-2009, 08:34 PM
#9
^Yes safety goggles are a good idea, I just moved my head out of the line of fire.
Yes place on studs and bolt it down lol. jp
Some people swear by; only bolting down the strut bar with the front suspension uncompressed (like while up in the air or something) other than that Im not really sure.
Yes place on studs and bolt it down lol. jp
Some people swear by; only bolting down the strut bar with the front suspension uncompressed (like while up in the air or something) other than that Im not really sure.
09-17-2009, 11:11 AM
#10
Honda-Tech Member
Join Date: Sep 2008
Location: Cold Canada
Posts: 108
Likes: 0
Received 0 Likes
on
0 Posts
my bar


Thread
Thread Starter
Forum
Replies
Last Post
trailblazer
Honda Civic / Del Sol (1992 - 2000)
2
07-18-2018 10:01 AM