
Acura Integra Type R Alignment DIY is Quick and Easy
Acura Integra Type R can be aligned without a costly trip to a local shop and no special tools are needed.
In most cases, if you take your Acura Integra Type R to a shop for repairs, you can look at the car and visually recognize the new parts, but that is not the case with an alignment. Having a car aligned is usually fairly expensive and there is no way to know that the work was actually done correctly, or done at all. Fortunately, the basic alignment angles can be adjusted on an Integra Type R with a simple homemade rig and common tools, with the entire process being explained in a thread by “SlapSmak”.
This DIY write-up was posted to the forum almost a decade ago, but the information is still great for anyone looking to adjust the toe-in of their Integra Type R without going to a shop.
Integra Type R Alignment DIY
When the OP first posted his do-it-yourself write-up of his Acura Integra Type R, he included a simple list of the items needed to build the rig, followed by a detailed explanation of how to measure and adjust the toe-in.
I have been doing my own alignments for a long time now as it is way cheaper and given some care, much more accurate than the dipshits who only care if it is “within specs” at the tire installers.
I actually had a readout on my wife’s truck from a couple of years ago that was toe out on the passenger side and toe in on driver side. the dealership told me it was within spec, so the left it. of course the truck was drifting to the right all the time as both tires were pointing to the right all the time. Trying to explain that concept to the service manager was like explaining space flight to a hamster.
Anyway, I have always used the string box method, which is a pita to set up and keep straight if you roll the car back and forth between adjustments. I was thinking about how to keep the strings in the same position on the car, even if the car moves. i know everyone has seen or heard of smart strings, but that is more cash than i am willing to spend. I came up with a solution which costs a total of 10$.
(4) 2″ Mini suction cup (quick release) Item # 46900 (on sale for $.99)
(2) sections 7′ of elastic string $1.29 from joanne fabric
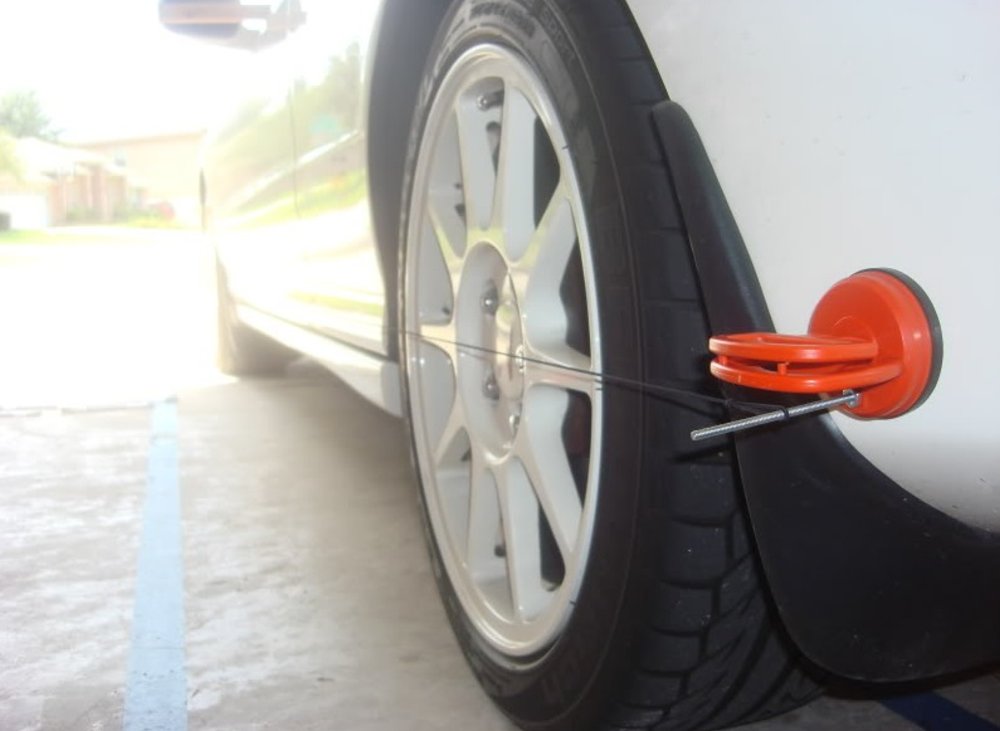
(4) 4″ machine screws and nuts (fine tread)I disassembled the suction cups, drilled a hole and inserted the screws, securing them with the bolts.
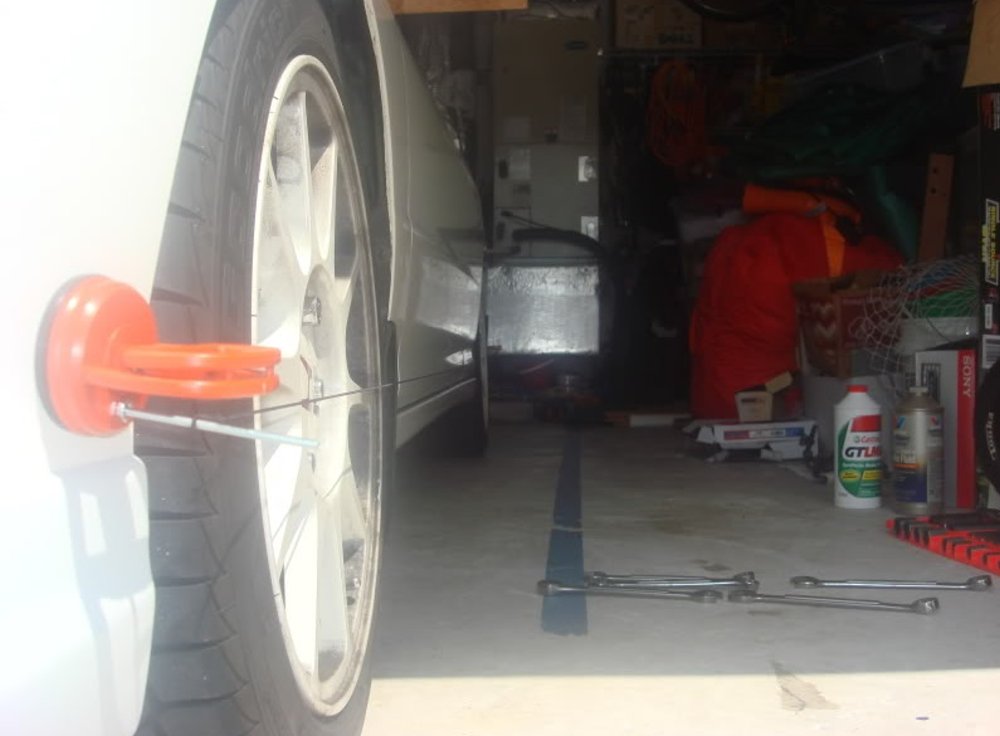
I attach the suction cups to the car, positioning the bolts about level with the front and rear hubs, suction cups to the sides of the front and rear bumpers.
Knot the elastic string and slide it over the bolt.
Using a 1/32″/1mm graduated metal ruler, measure to the center hubs to set up the string. Front track on an Integra is 10mm wider, so the rear measurement will have to each be 5mm outset from the front measure (string to hub)
I finalized on 40mm front, 45mm rear
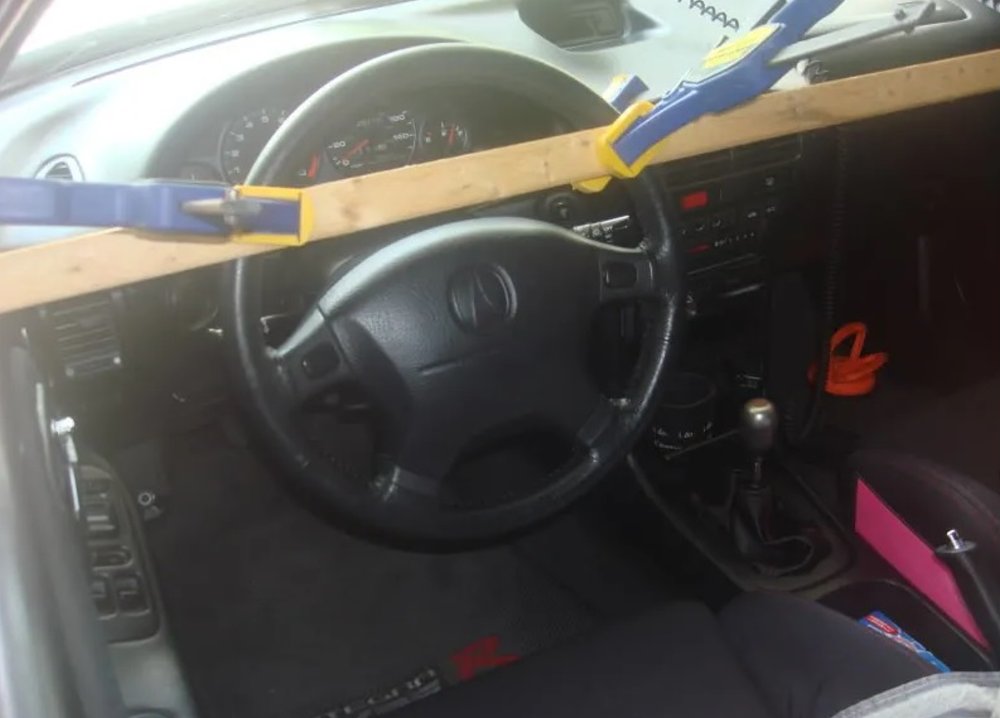
Center the steering wheel and secure with a deadman (see pics below, 1 long piece of wood, 2 clamps)
Using paper and pencil (or a cool spreadsheet I made in excel if you are me), measure from the front edge to string and back edge to string of the wheel. Take the difference. If the wheel towards the front of the car is a larger number than the back of the wheel measurement, then you have toe in on that wheel.
at the front of the car, loosen the lock nut (17mm open end wrench) and turn the tie rod adjustment arm to make your change (14mm wrench). Roll the car back and forth and re-measure.
At the rear, you will need to loosen the bolt on the compensator arm and move it in or out depending on initial measurement.
I finished out with 1/16″ toe out each side for total toe 1/8″ out
Rear finished 0 toe
Total time 45 minutesSuction cup front driver fell off once, I licked it, never fell off again. Note to self, use water next time as it tasted like ****.
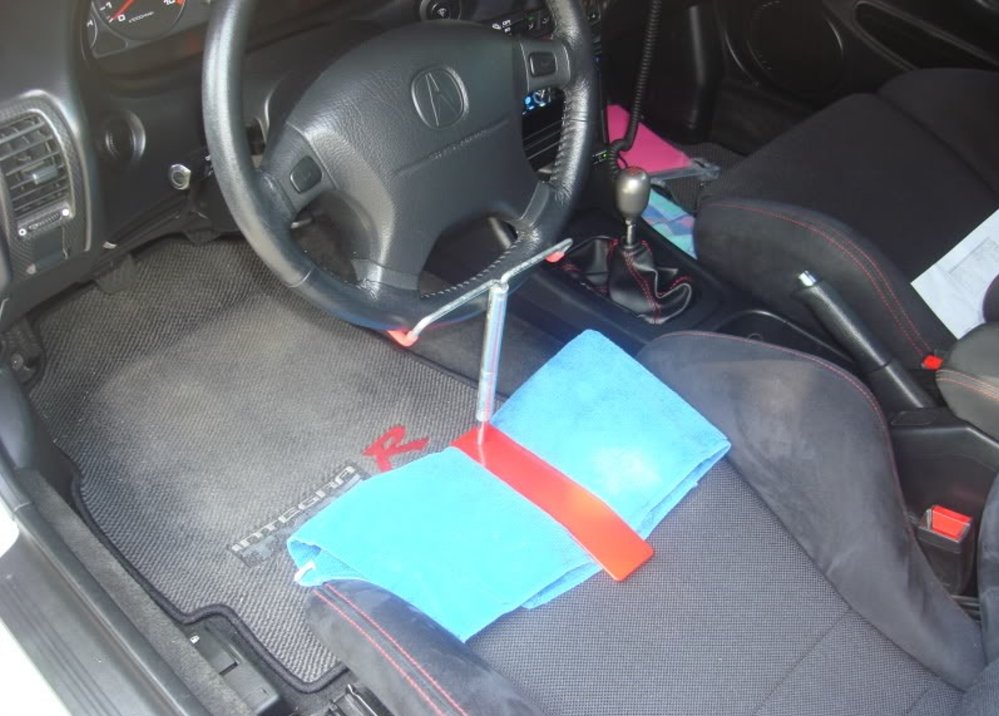
He also included a handful of pictures of his setup, all of which we have included here. A short time later, he bought a purpose-built steering wheel holder to replace his board-and-clamp setup, making the job even easier while still keeping his costs very low.
In the end, the items needed to build the rig and the basic tools cost less than one trip to the shop for an alignment, so this DIY will help you save money for years to come.
You must be logged in to post a comment.