
SHG is back! Easy's EP3 goes under the knife...

 04-06-2014, 04:15 PM
#3028
Honda-Tech Member
E, I'm surprised you didn't go with a digital media receiver! Check out how slim this is...
http://www.crutchfield.com/p_130X560...VH-X560BT.html
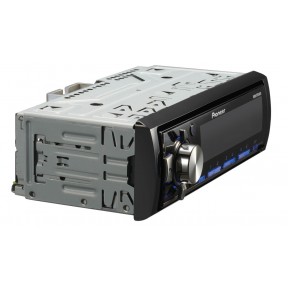
Goes well with your diet theme.
http://www.crutchfield.com/p_130X560...VH-X560BT.html
Goes well with your diet theme.
Last edited by SHG_James; 04-06-2014 at 04:31 PM.
04-07-2014, 01:07 PM
#3031
Honda-Tech Member

Thanks for the input SHG EasyE. Yea I was just curious because a friend of mine found a k20a3 long block for cheap and I happen to find a set of OEM k20a2 cams, pistons and rods for a decent price. So all together including the long block he would be looking at 800 dollars which isn't to bad. I wanted to test this out but not at his expense you know. Maybe ill try this one day.
On my k24 motor I'm using the k24a4 block and swapped over my TSX internals since my old block ended up getting a crack in it so I figure that this has to be a similar scenario. The ep3 is looking great btw, you plan on racing at the meet at NJMP in June or July?
On my k24 motor I'm using the k24a4 block and swapped over my TSX internals since my old block ended up getting a crack in it so I figure that this has to be a similar scenario. The ep3 is looking great btw, you plan on racing at the meet at NJMP in June or July?
04-08-2014, 09:18 AM
#3032
04-10-2014, 06:33 PM
#3034
Honda-Tech Member
Thread Starter
Join Date: Dec 2003
Location: True Honda Enthusiast
Posts: 12,680
Likes: 0
Received 1 Like
on
1 Post
 Ill get one down the line but this will have to do for now
.
.
Alot of work for a little update lol...
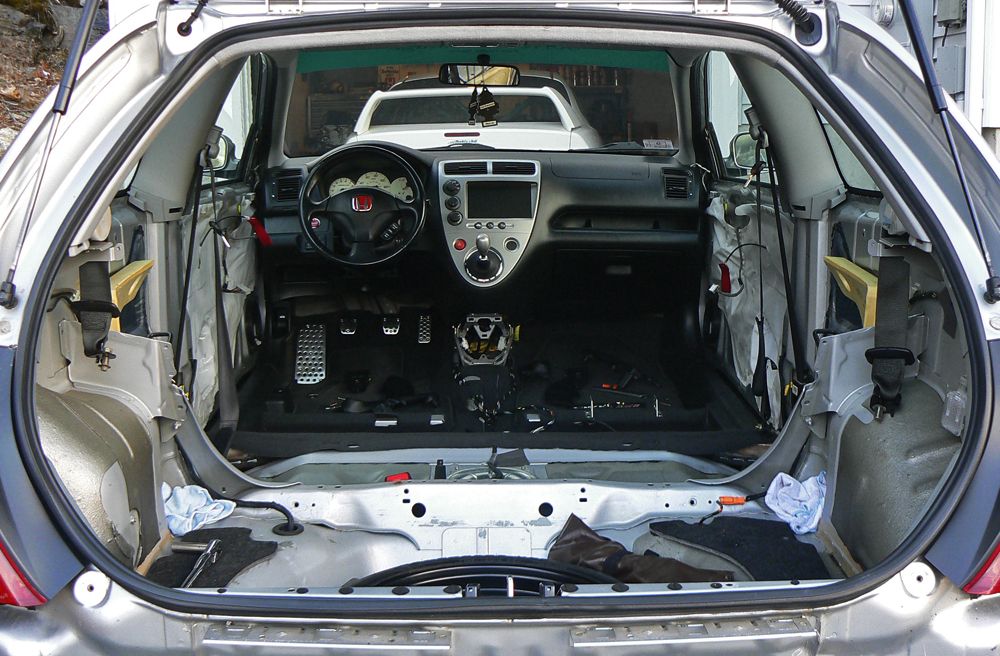
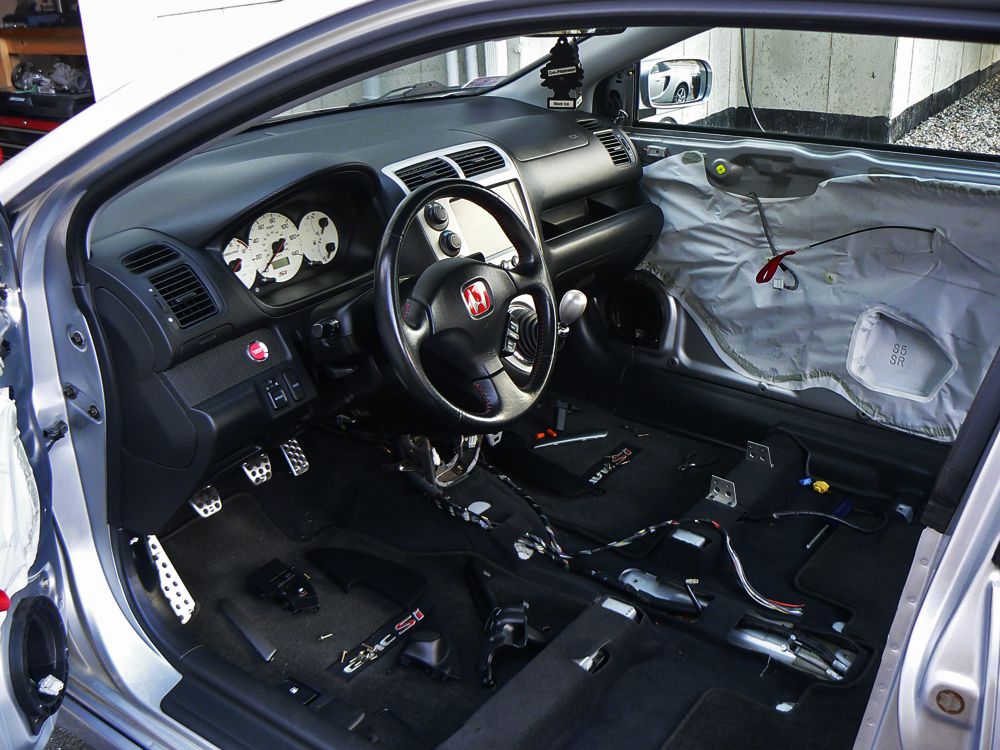
Got the interior the rest of the way taken down and now have the Bose system all out. Im waiting on a new part for the interior though before I cant put all the panels back in

.
.
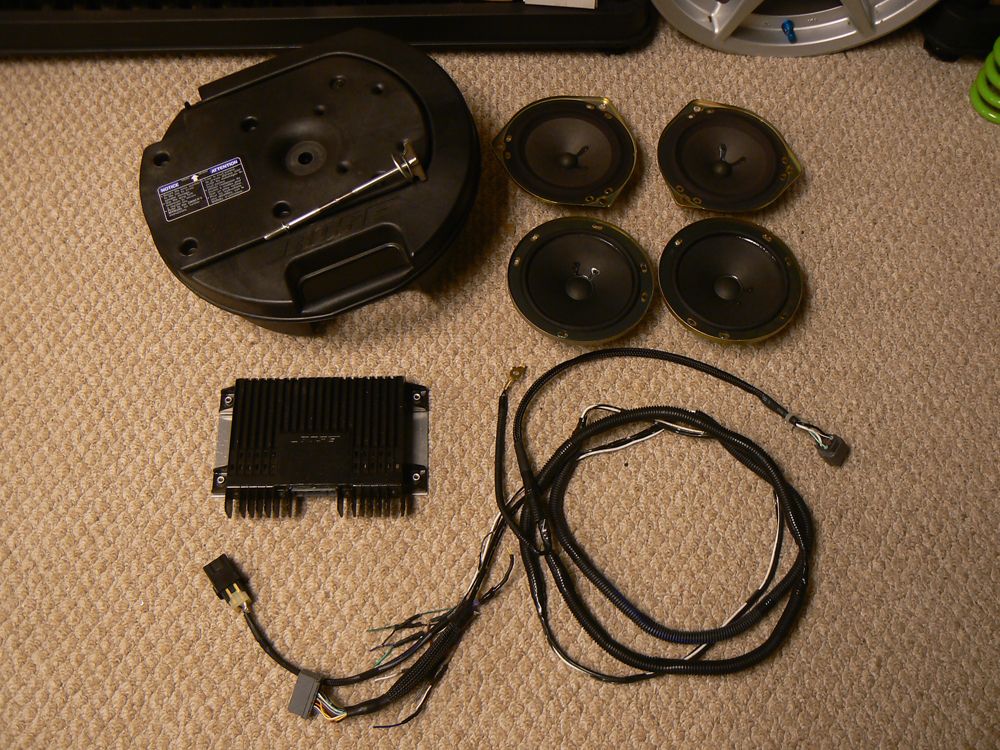
Complete Bose system with modded sub fastener to work in EP3, amp mounting plate, and new metra car harness adapter pigtail asking $200 plus shipping
.
.
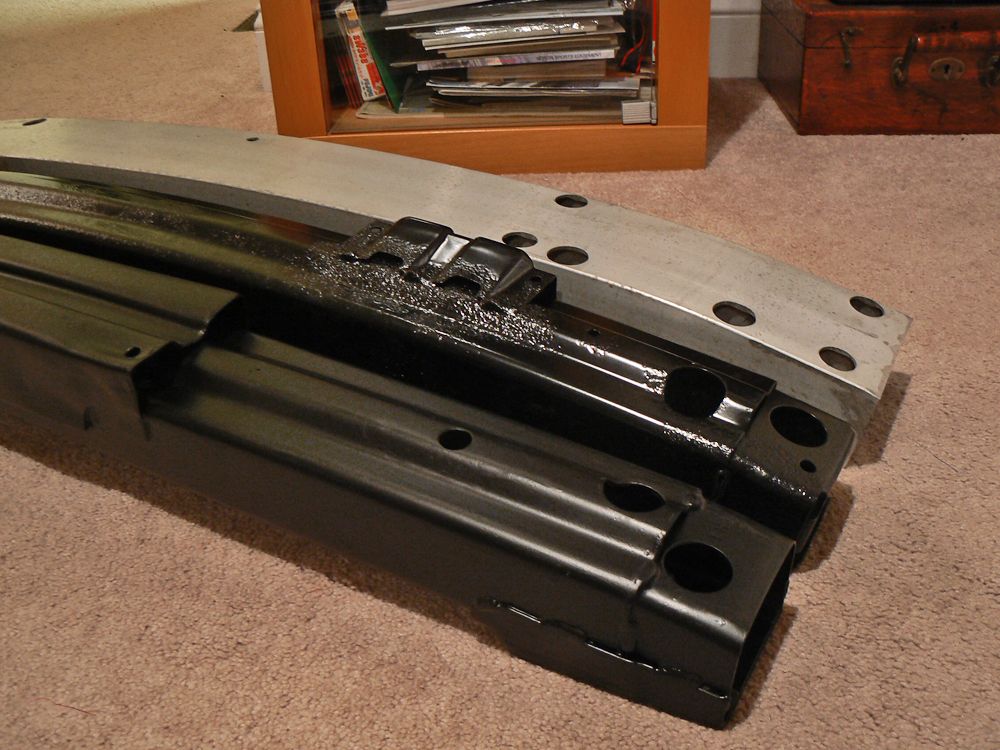
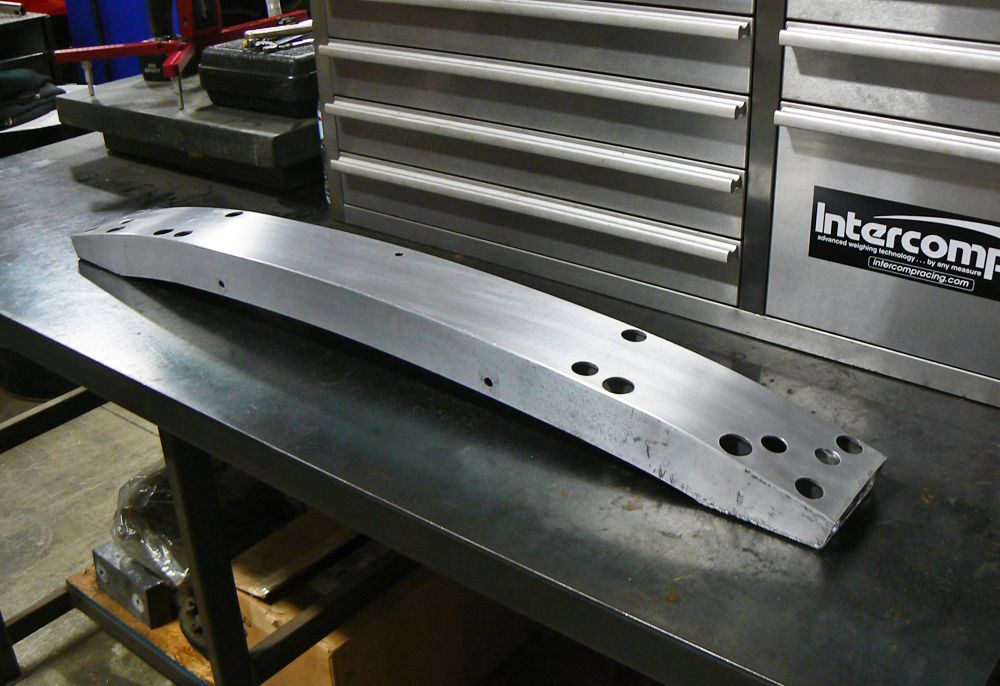
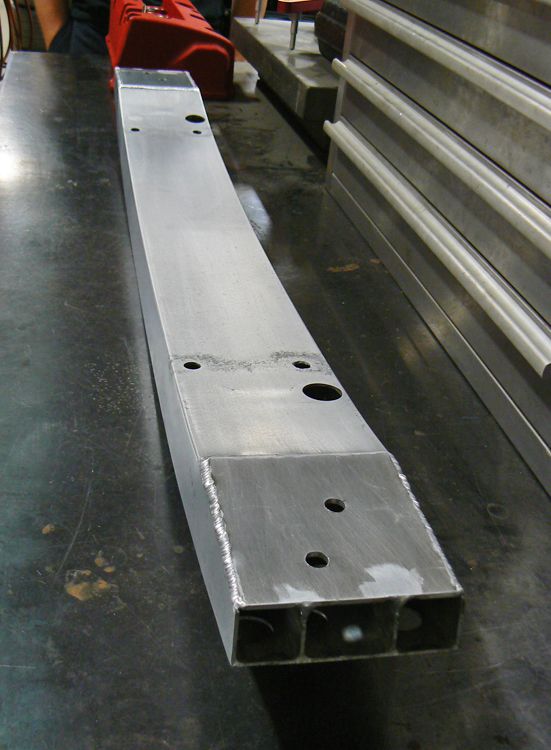
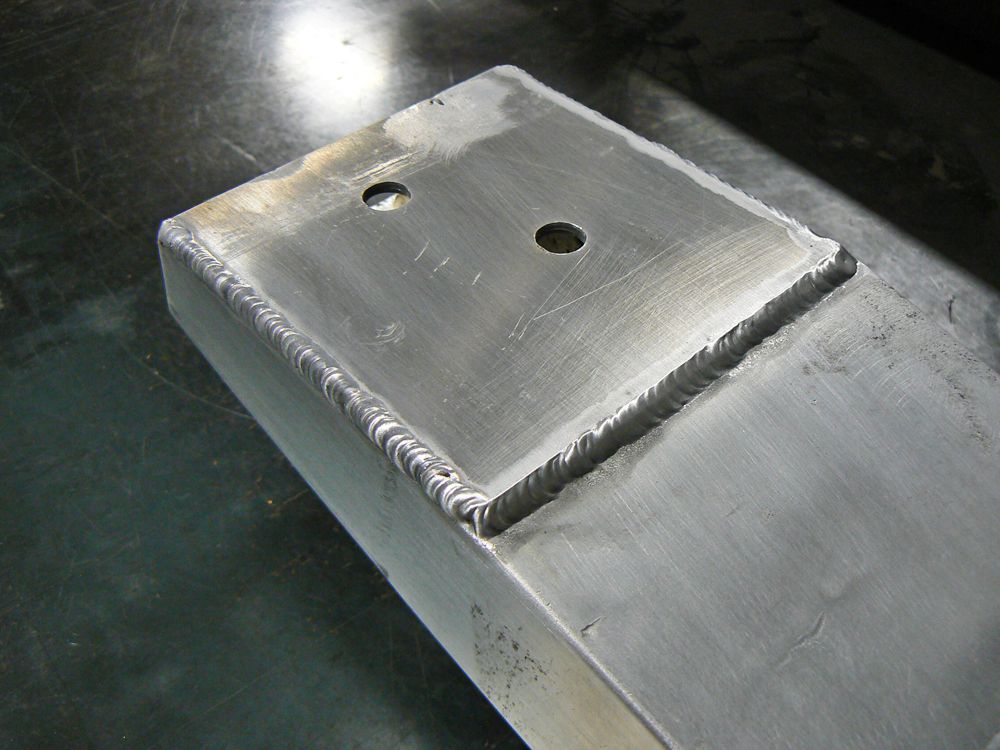
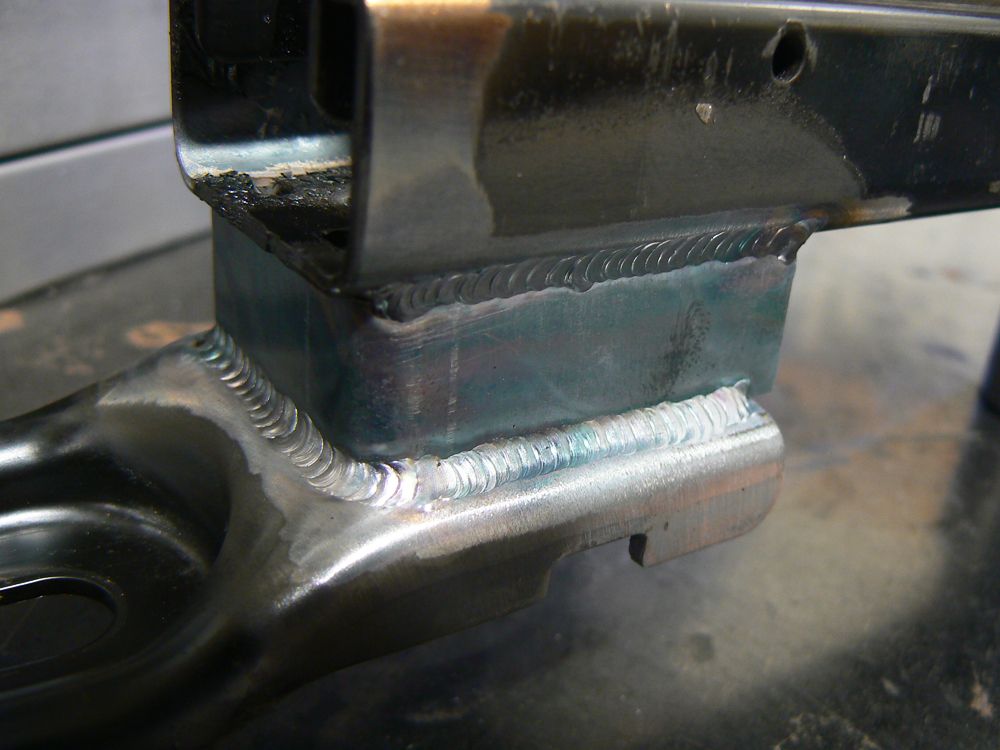
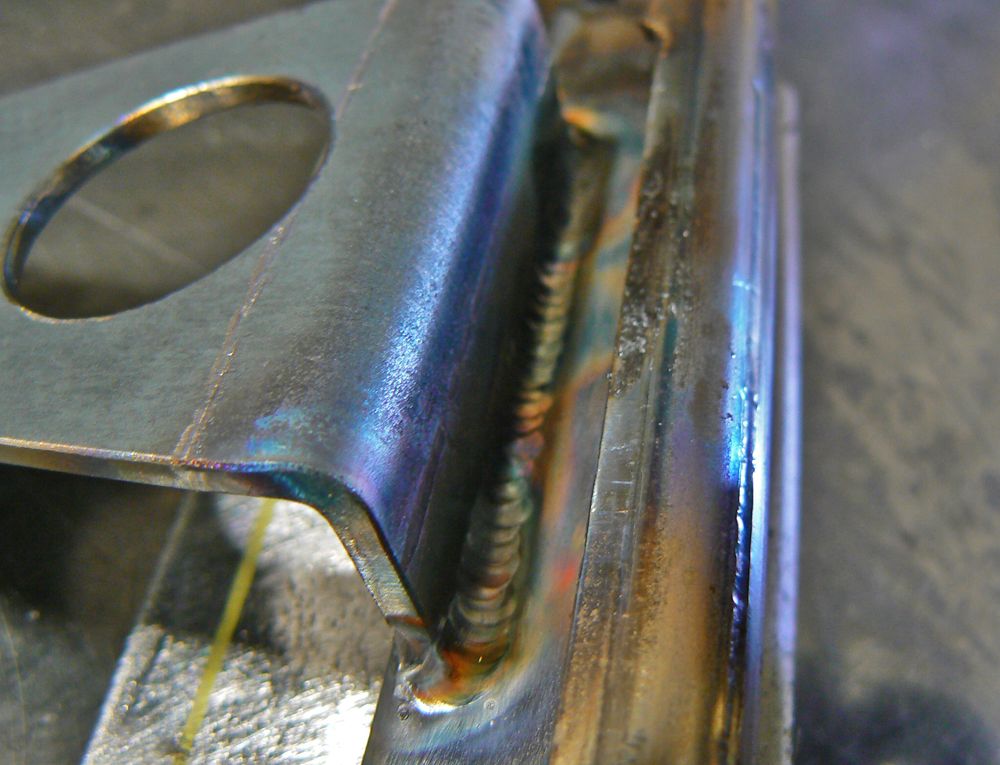
Also finally found a Miata rear bumper beam for a decent price on Ebay and scooped it up. I got to taking some measurements and making the necessary modifications to fit it to the Civic. It consisted of simply chopping the ends of the extruded aluminum beam flat so it could mount properly to the ends of the frame rails. I then welded in some 1/8" plate and drilled holes for the studs. The new beam weighs in at a mere 6lbs, compared to 10lbs for the CTR and 13.5lbs for the modded USDM beam. So compared to last seasons oem modded beam Ill be saving 7.5lbs Plus there's the fact that it will never rust

Heres a flashback to a comparison between CTR, Miata, and USDM beams. You can see that the Miata beam follows the oem curvature perfectly


 04-15-2014, 05:19 PM
#3036
Honda-Tech Member
Join Date: Aug 2013
Posts: 23
Likes: 0
Received 0 Likes
on
0 Posts
Where can I get some skirt stays?
https://www.facebook.com/photo.php?f...type=1&theater
https://www.facebook.com/photo.php?f...type=1&theater
 04-17-2014, 09:58 AM
#3039
Honda-Tech Member
iTrader: (1)
Join Date: Jan 2002
Location: Nowhere and Everywhere
Posts: 29,530
Likes: 0
Received 52 Likes
on
46 Posts
Once again, how did anyone even figure out that a Miata bumper beam would work on an EP3?? I guess someone with both cars who had the rear bumpers off, sitting side by side or something. 
 04-18-2014, 10:15 AM
#3041
Honda-Tech Member
Thread Starter
Join Date: Dec 2003
Location: True Honda Enthusiast
Posts: 12,680
Likes: 0
Received 1 Like
on
1 Post
Where can I get some skirt stays?
https://www.facebook.com/photo.php?f...type=1&theater
https://www.facebook.com/photo.php?f...type=1&theater
04-29-2014, 03:29 AM
#3042
Honda-Tech Member
Thread Starter
Join Date: Dec 2003
Location: True Honda Enthusiast
Posts: 12,680
Likes: 0
Received 1 Like
on
1 Post
Ive got a big old pile of updates for you guys, been gearing up morning at night to get this car on the road by the end of next week! 
stay tuned!
stay tuned!
05-01-2014, 09:19 AM
#3043
Honda-Tech Member
Thread Starter
Join Date: Dec 2003
Location: True Honda Enthusiast
Posts: 12,680
Likes: 0
Received 1 Like
on
1 Post
OK guys, here goes a huge update! Ive been so insanely busy with this damn car trying to get it back together so I can drive it and also focus on the DC5 project which is due for completion in June.
The seat rail project has proven to be very, very time consuming because the car is stuck at home and all my fab equipment is at the shop. With every aspect needing fine tuning for fitment so the slider actuation is nice and smooth, as well as clearance to the center console, belt fitment etc. what would normally take a few days has taken weeks.
I also realized that the hidden deck would not fit under the new bucket the way it did with the factory seat so I had to come up with a new mounting solution. After a bit of brainstorming I came up with this clever idea...
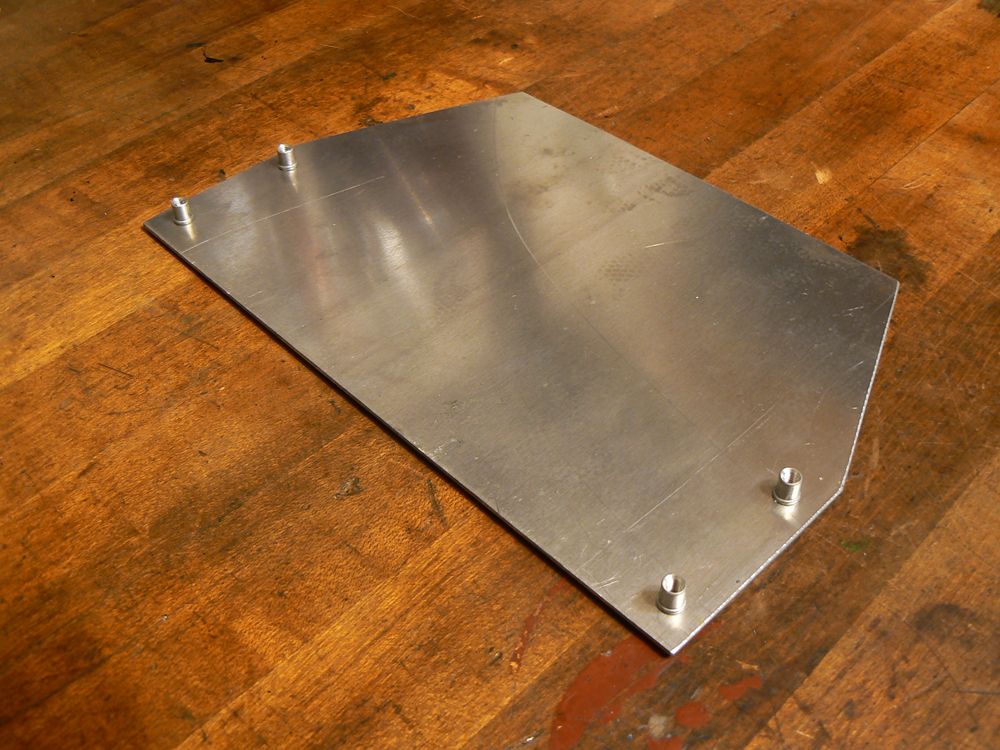
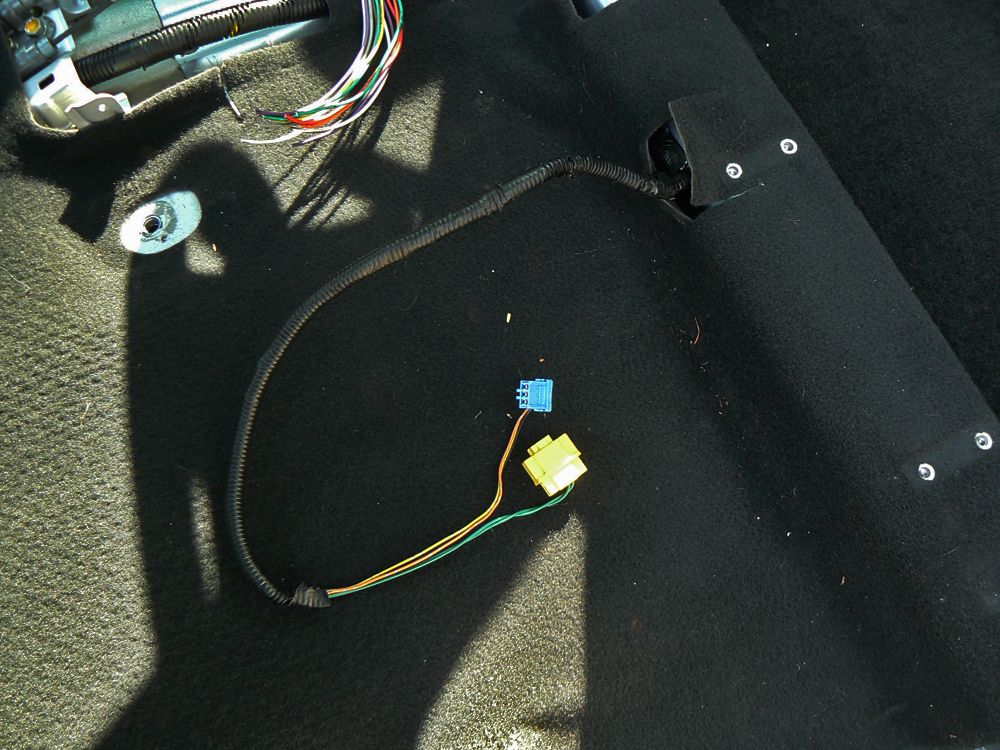
Instead of drilling through the uneven floor, possibly causing rust and debris/water from entering the cabin I designed this "false floor" sandwich plate to mount the radio to. Its made from 14g aluminum with M4 riv nuts. The radio will bolt to this with the old brackets I had made.
.
.
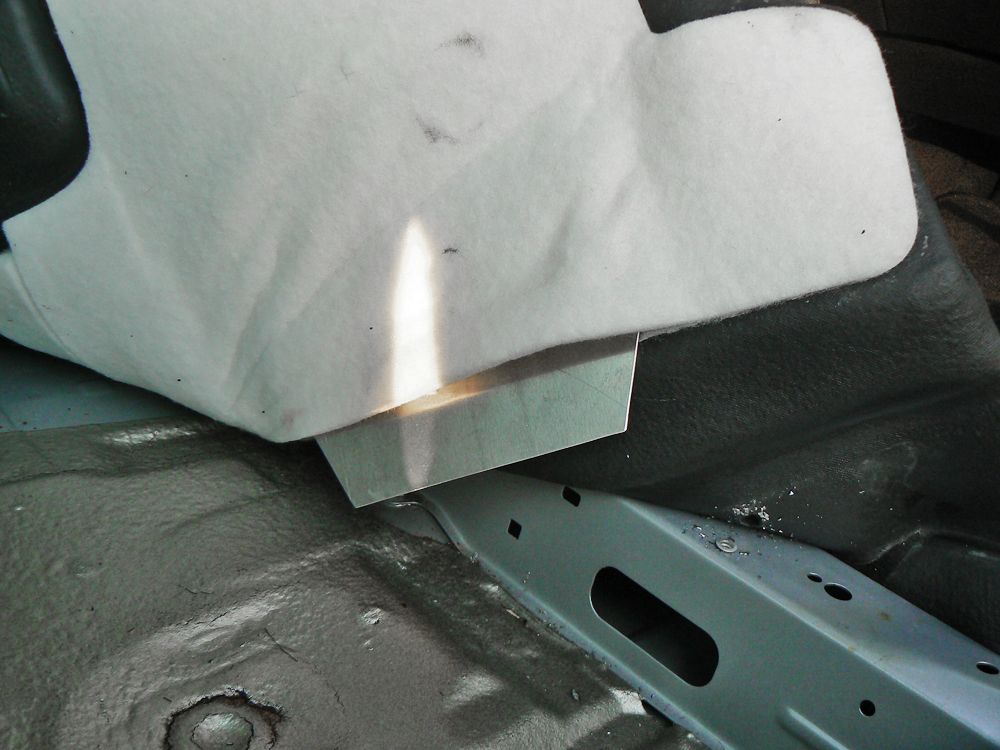
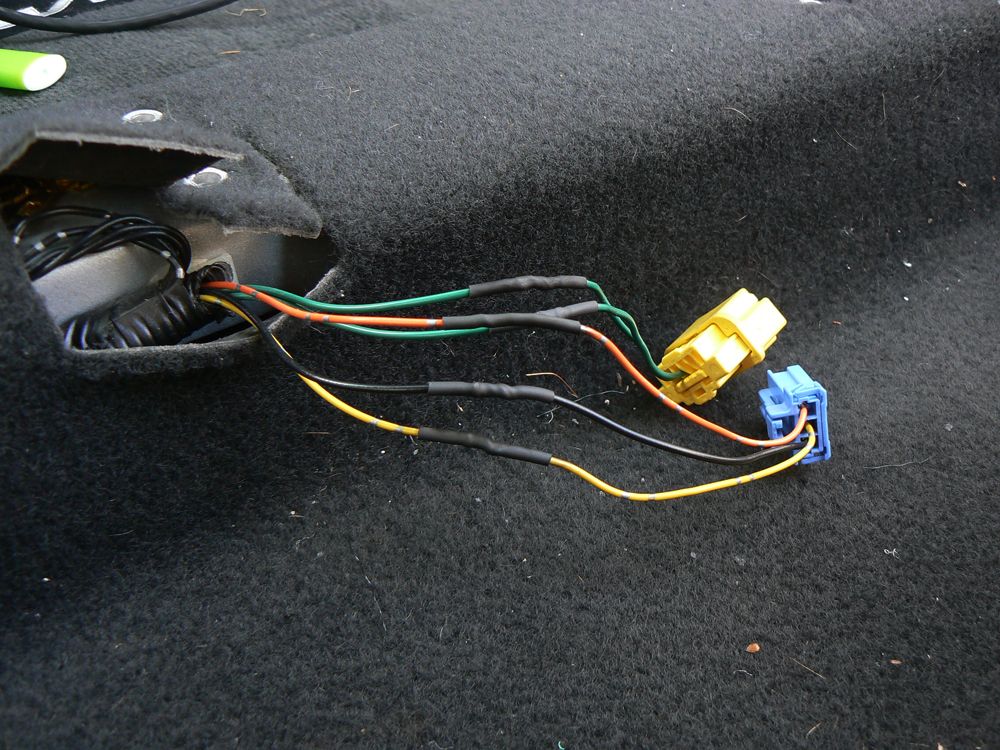
With the carpet peeled up you can see how I pulled back the carpet padding just enough to slide the plate inbetween it and the carpet.
.
.
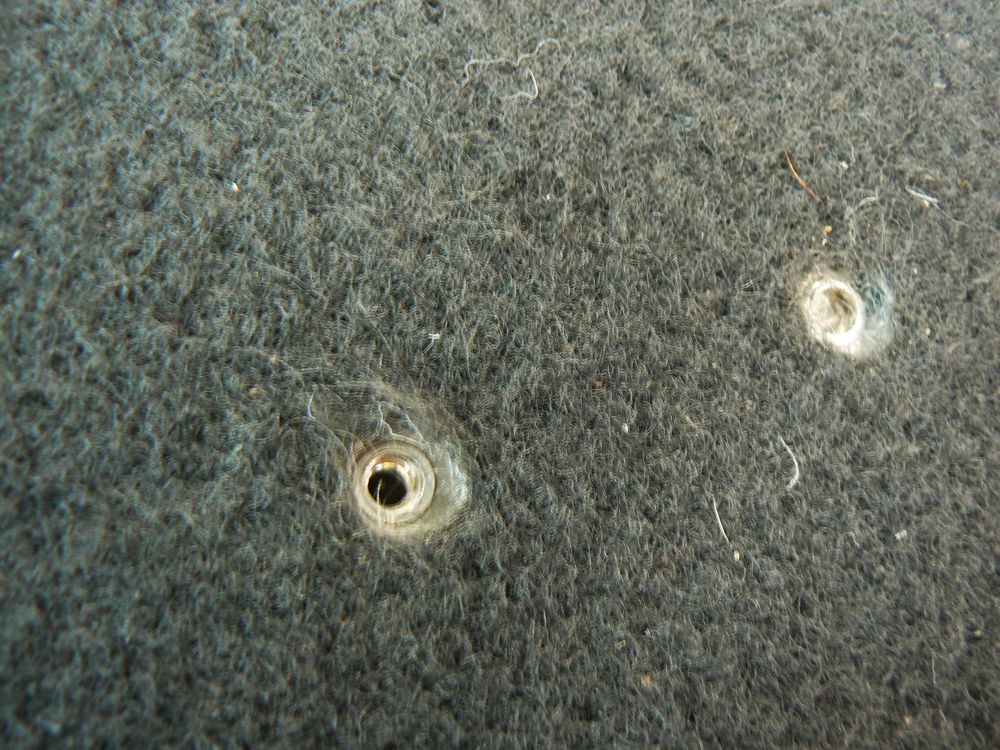
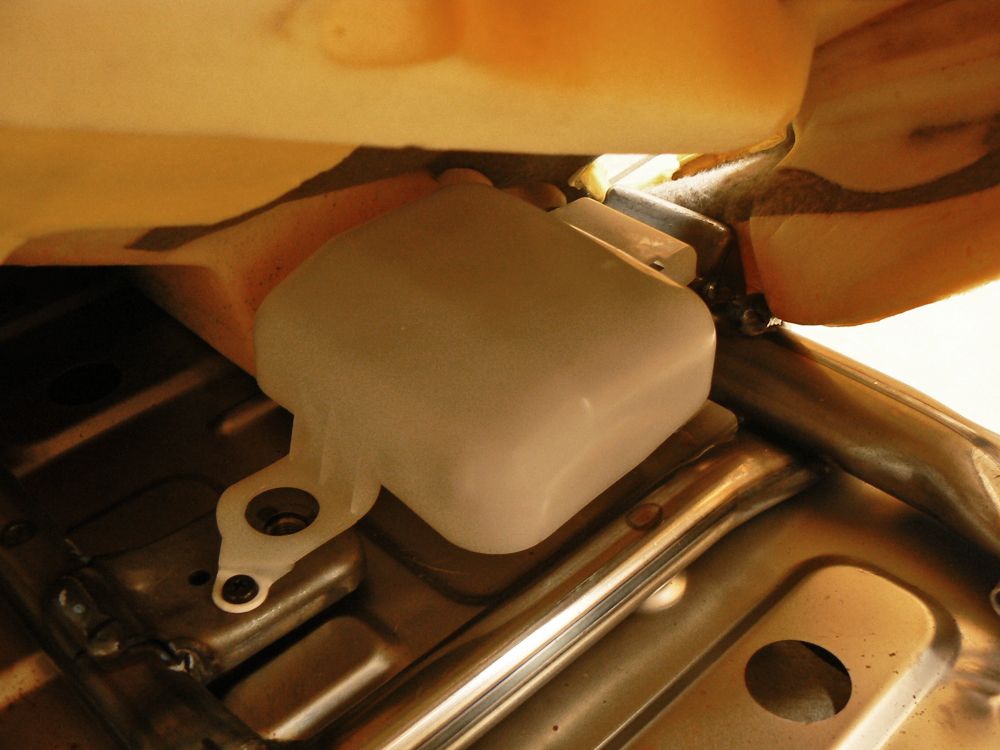
Here are the riv nuts visible through the access holes cut in the carpet. The radio will now clear the bottom of the seat in all positions, but not by much!
.
.
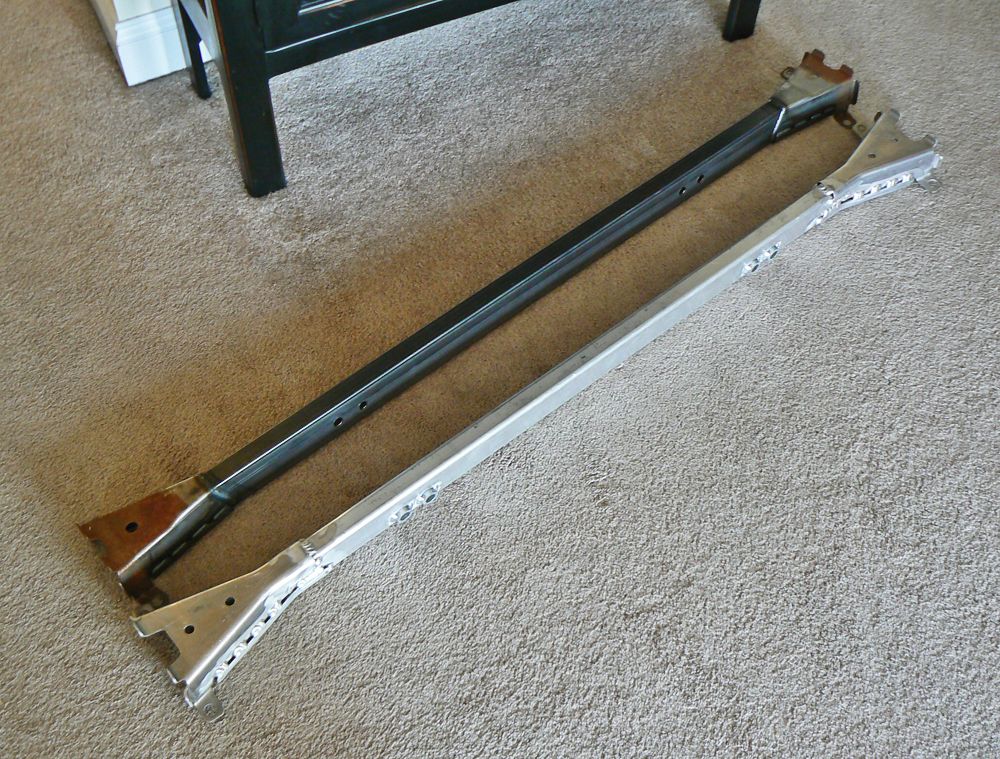
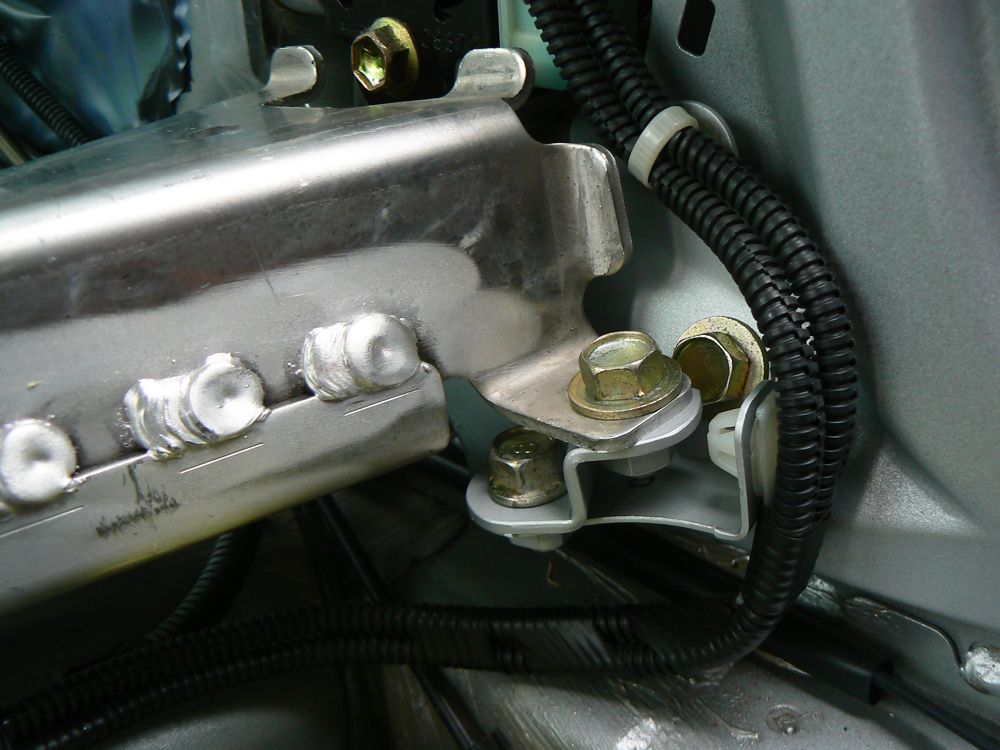
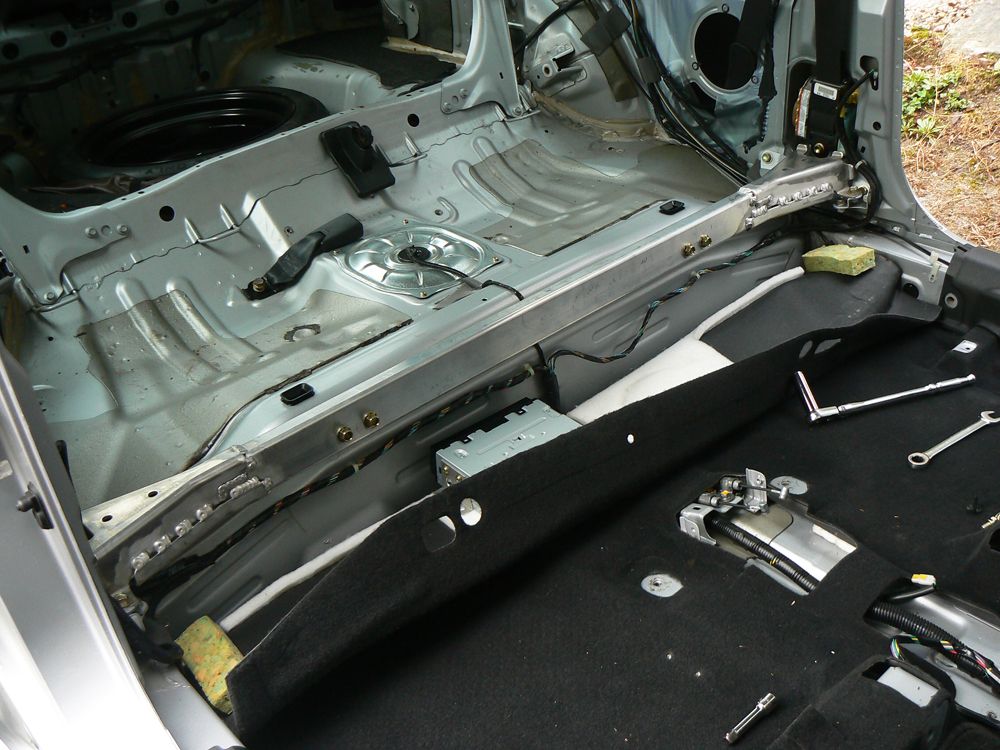
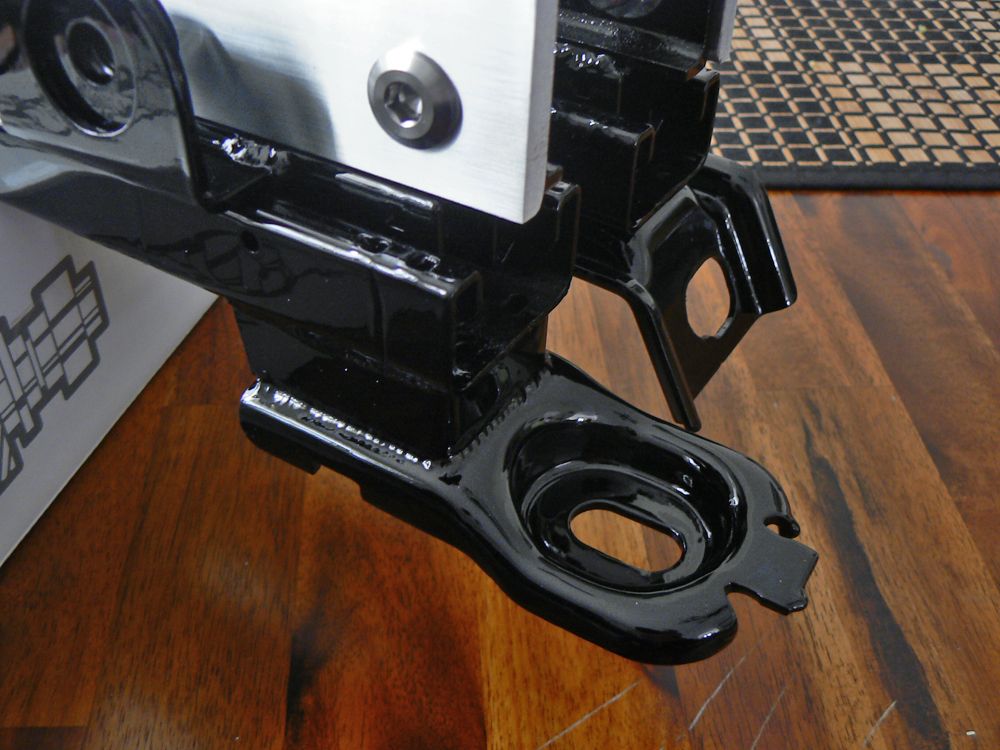
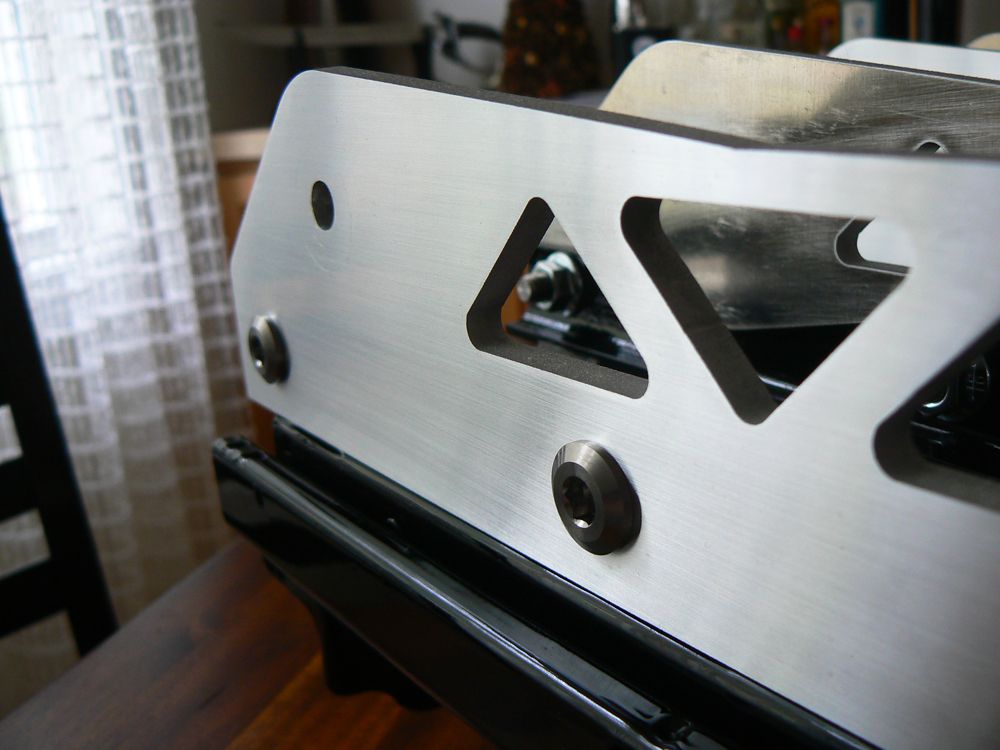
Staying with the interior theme I decided that since this is hopefully the last time i will have the whole rear interior out for quite some time I would take the opportunity to purchase and install the DC5R aluminum impact beam. It weighs in at 3lbs lighter than the steel counterpart.
.
.
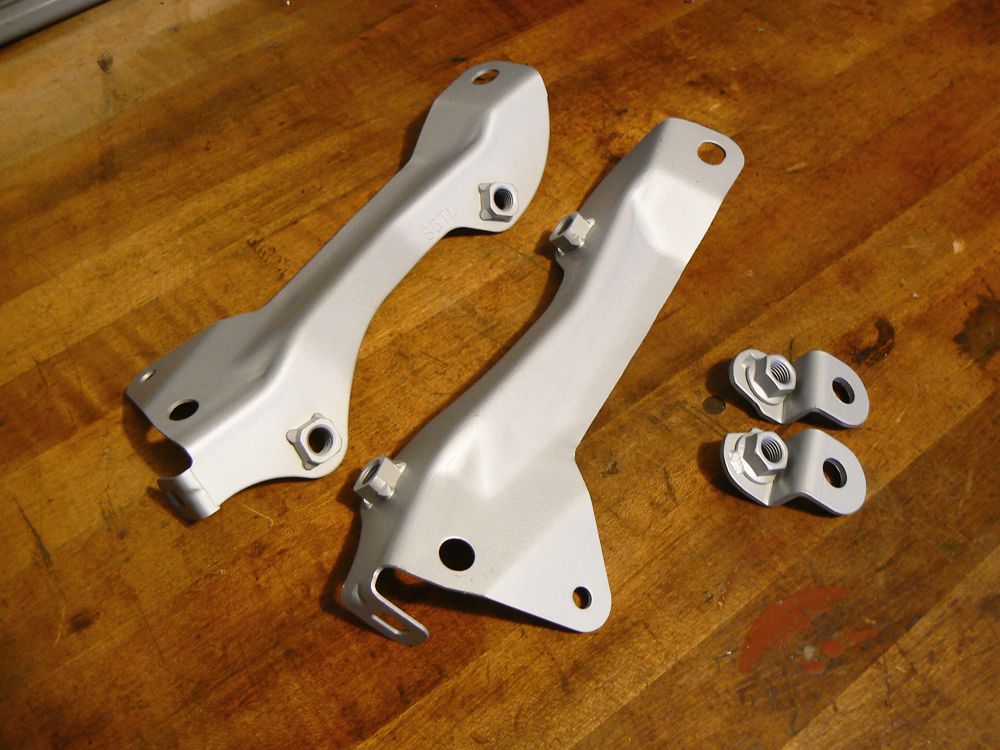
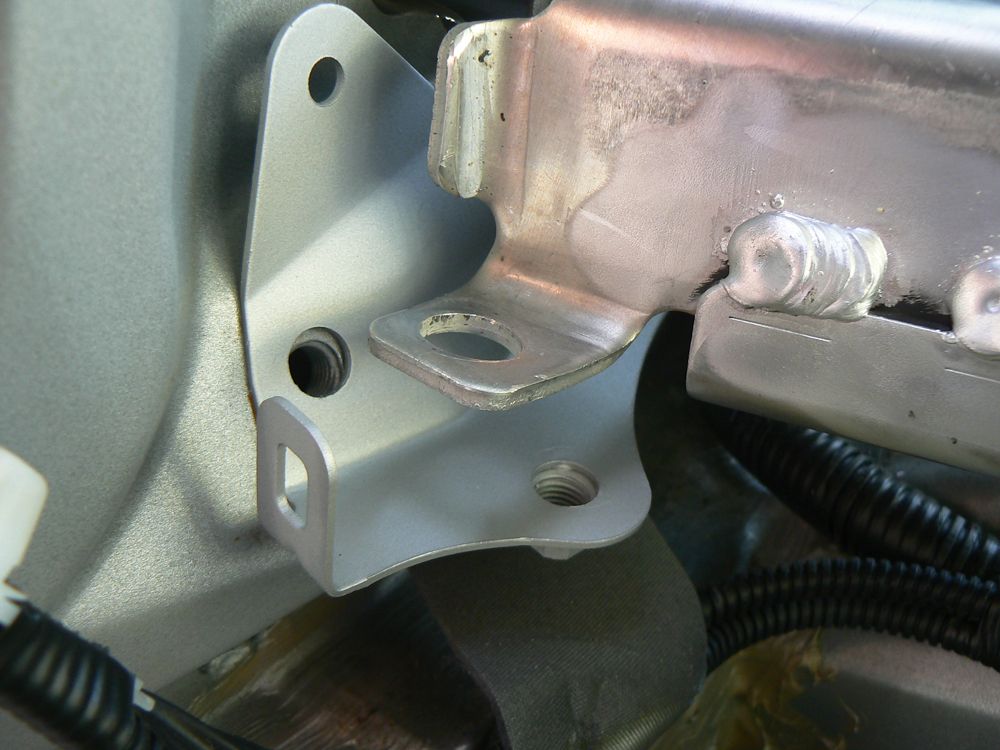
Leaving no stone unturned I naturally had to bead blast and refinish the rusty mounting brackets. Also pictured are some custom adapters I made so that the TypeR beam would be fully bolted up since one of the fasteners is way off.
.
.
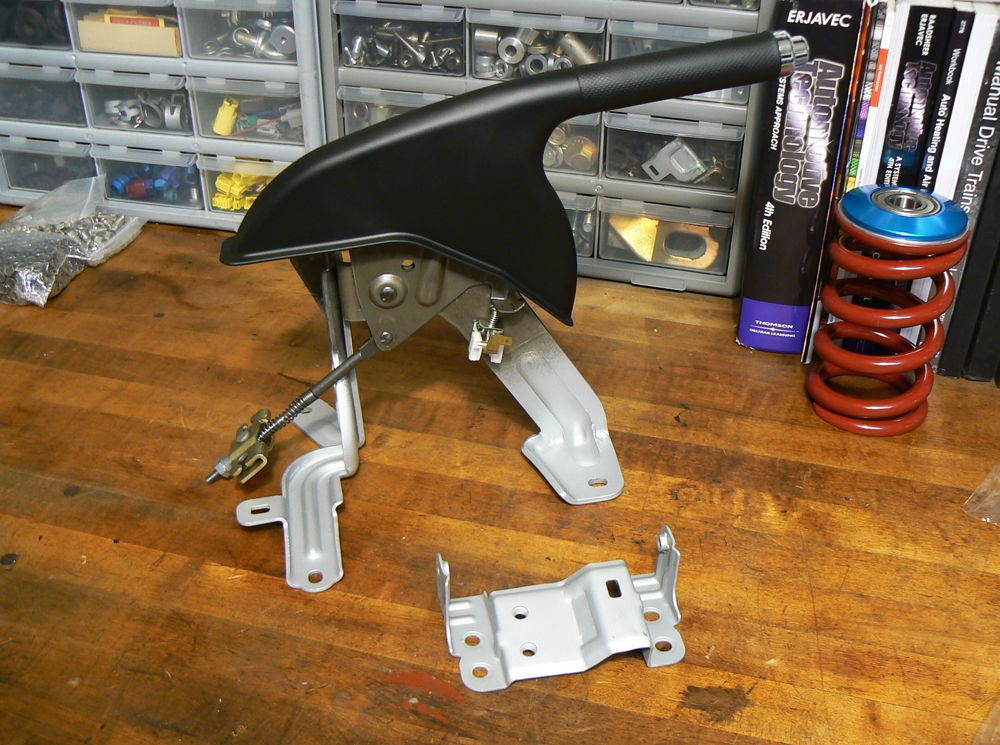
While I was at it I also prepped and sprayed the parking brake cable holder and put a coat of paint on the base of the new parking brake to prevent rust in the future.
.
.
I also shortened the seat harness since it wont be used anymore. It will get jumpers and be tucked under the carpet like I had done with the driver side years ago
.
.
In a further quest for weight reduction and the idea of the "sum of all parts" I decided to remove the center seat belt from the rear bench. It was a pretty straightforward procedure. After removing the belt reel I replaced the plastic cover so the seat cushion would retain its integrity. It will also look much nicer back there with a symetrical appreance.
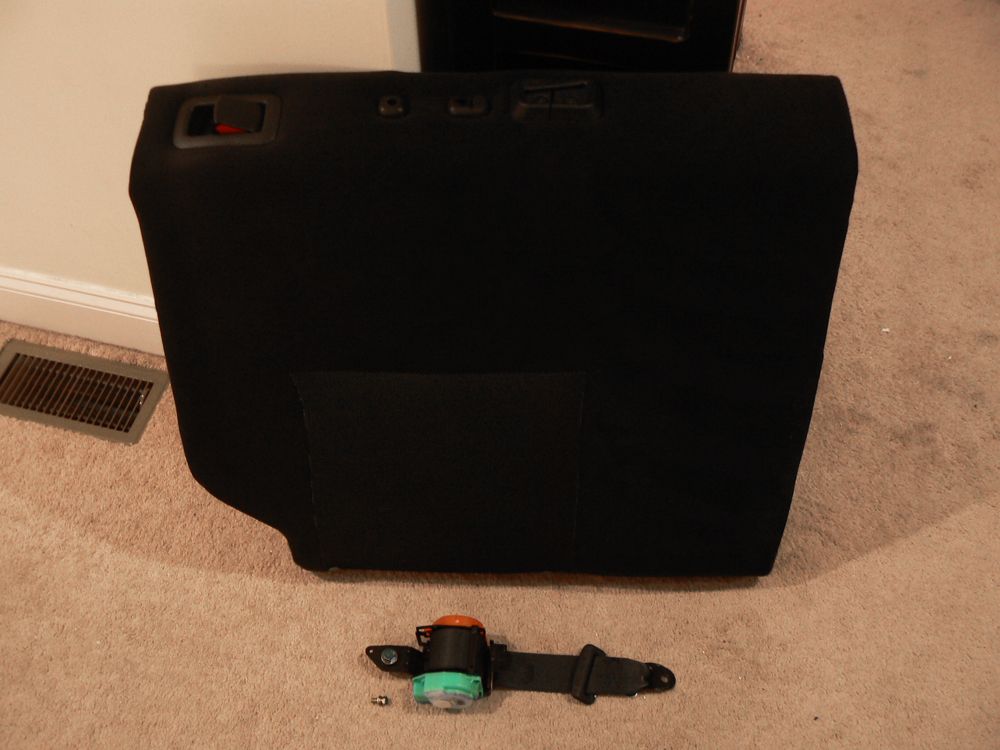
.
.
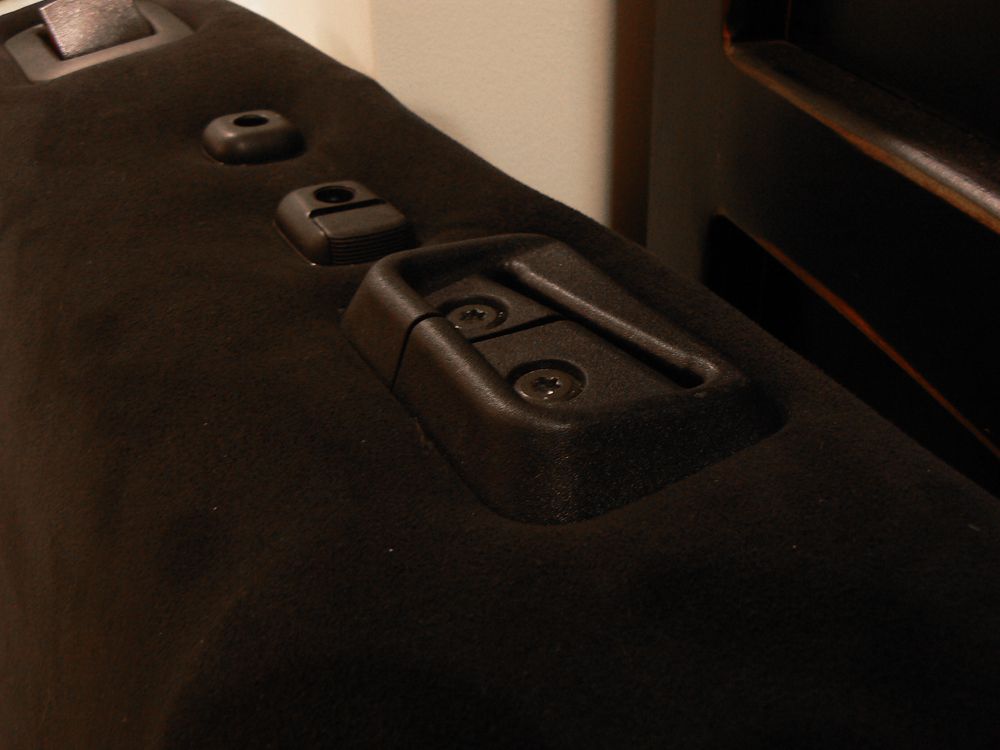
Here are some modifications I made to the new 9th gen front buckles, and also the removal of the center buckle for the rear.
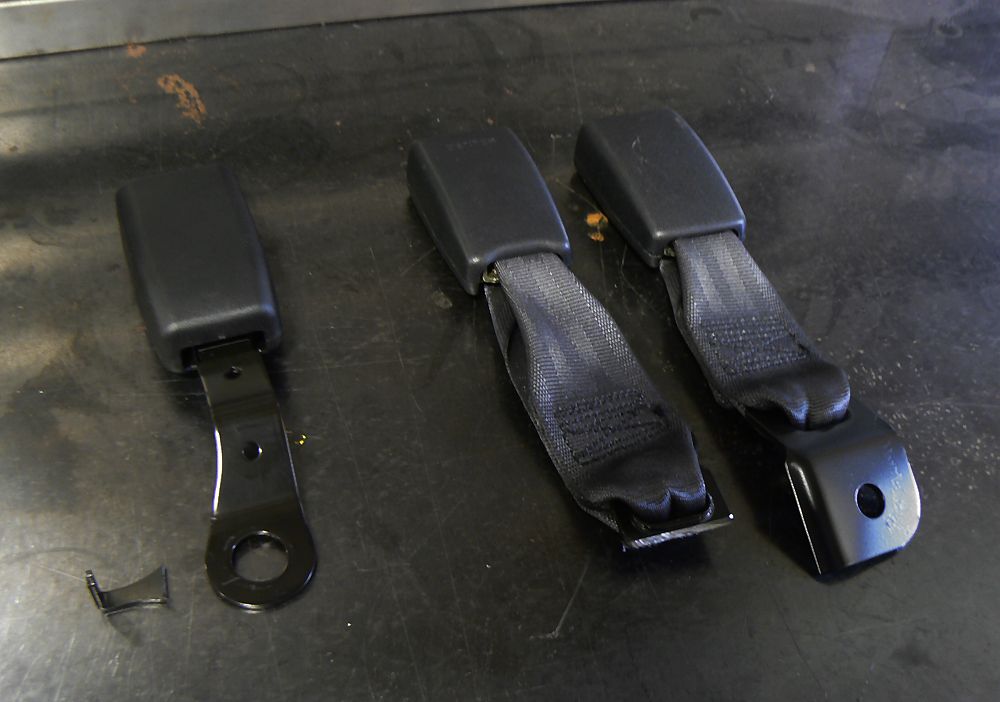
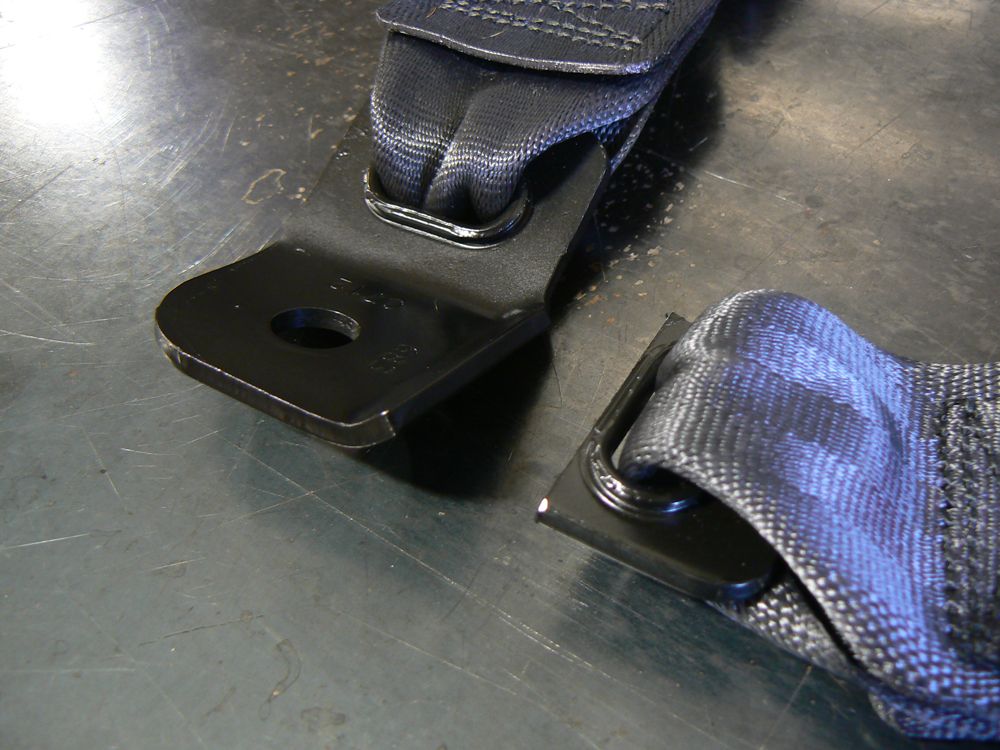
.
.
The last (but most significant) interior update is that the seat rails are FINALLY done!!!
I got the inner rails modded - the DC5 slider needs a spacer installed to fit the EP3 as the floors are slightly different for this mounting point.
.
.
Also fabricated and welded in the belt buckle anchor points.
.
.
And here they are, in all theyre bespoke glory! (@seamus)
They are really breathtaking in person and blow the first generation setup out of the water

.
.
Next up is some wheel related stuff - I got the ADVANS back from repairs and stripping last week, they are now flawless and ready for a fresh coat of blue and gold
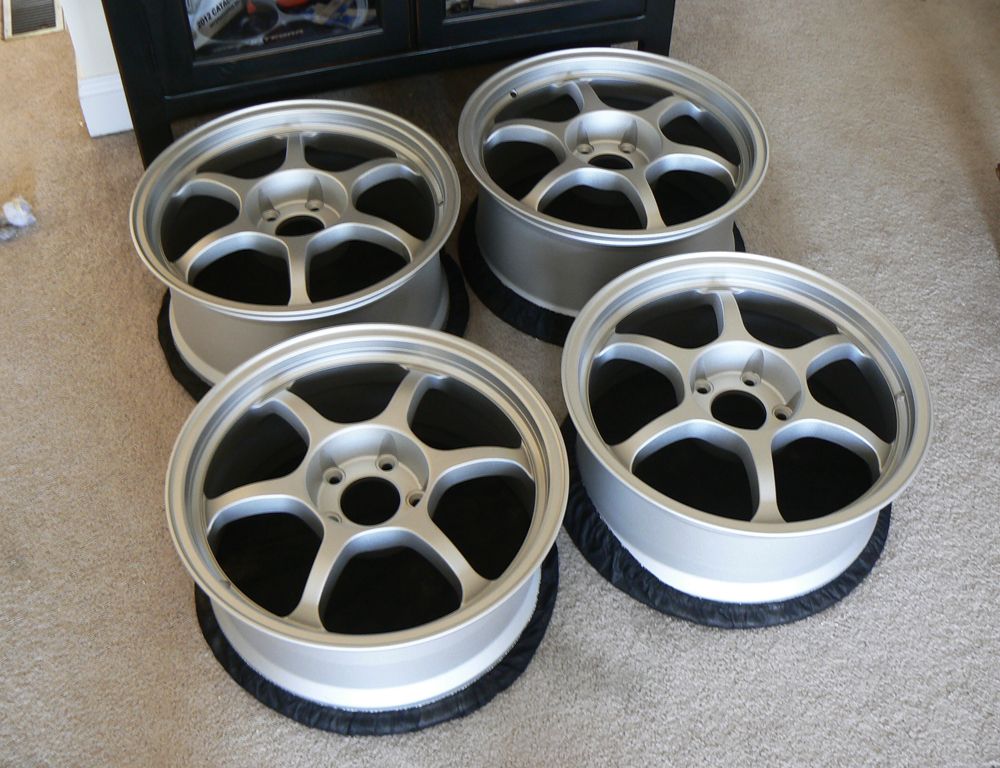

.
.
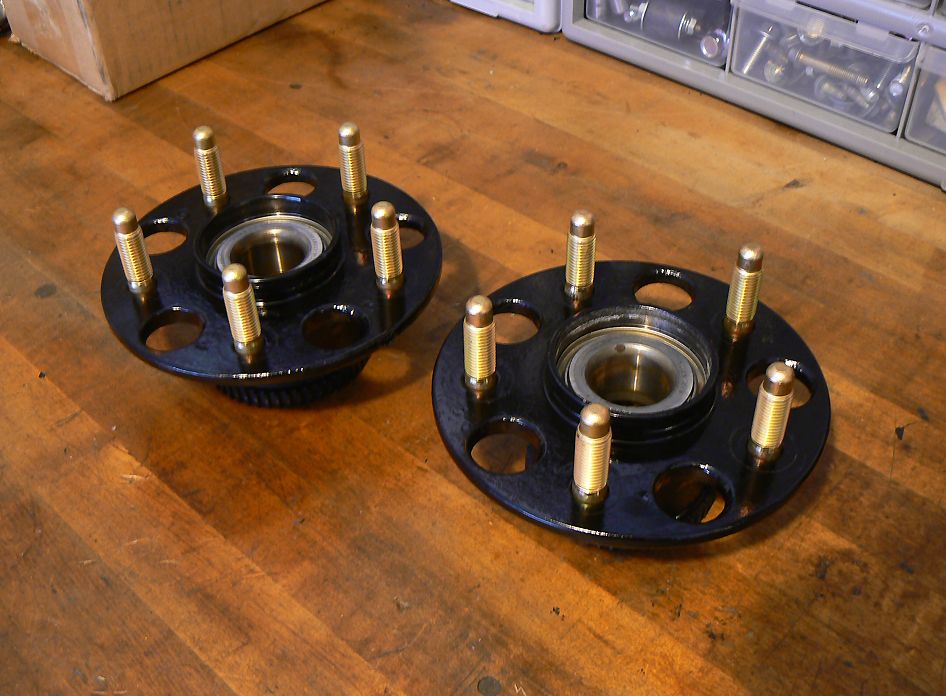
Also, now with the new wheels that have a thinner mating surface I no longer needed the extended studs, so I switched them out for standard length speed taper ARP's
The seat rail project has proven to be very, very time consuming because the car is stuck at home and all my fab equipment is at the shop. With every aspect needing fine tuning for fitment so the slider actuation is nice and smooth, as well as clearance to the center console, belt fitment etc. what would normally take a few days has taken weeks.
I also realized that the hidden deck would not fit under the new bucket the way it did with the factory seat so I had to come up with a new mounting solution. After a bit of brainstorming I came up with this clever idea...
Instead of drilling through the uneven floor, possibly causing rust and debris/water from entering the cabin I designed this "false floor" sandwich plate to mount the radio to. Its made from 14g aluminum with M4 riv nuts. The radio will bolt to this with the old brackets I had made.
.
.
With the carpet peeled up you can see how I pulled back the carpet padding just enough to slide the plate inbetween it and the carpet.
.
.
Here are the riv nuts visible through the access holes cut in the carpet. The radio will now clear the bottom of the seat in all positions, but not by much!
.
.
Staying with the interior theme I decided that since this is hopefully the last time i will have the whole rear interior out for quite some time I would take the opportunity to purchase and install the DC5R aluminum impact beam. It weighs in at 3lbs lighter than the steel counterpart.
.
.
Leaving no stone unturned I naturally had to bead blast and refinish the rusty mounting brackets. Also pictured are some custom adapters I made so that the TypeR beam would be fully bolted up since one of the fasteners is way off.
.
.
While I was at it I also prepped and sprayed the parking brake cable holder and put a coat of paint on the base of the new parking brake to prevent rust in the future.
.
.
I also shortened the seat harness since it wont be used anymore. It will get jumpers and be tucked under the carpet like I had done with the driver side years ago
.
.
In a further quest for weight reduction and the idea of the "sum of all parts" I decided to remove the center seat belt from the rear bench. It was a pretty straightforward procedure. After removing the belt reel I replaced the plastic cover so the seat cushion would retain its integrity. It will also look much nicer back there with a symetrical appreance.
.
.
Here are some modifications I made to the new 9th gen front buckles, and also the removal of the center buckle for the rear.
.
.
The last (but most significant) interior update is that the seat rails are FINALLY done!!!
I got the inner rails modded - the DC5 slider needs a spacer installed to fit the EP3 as the floors are slightly different for this mounting point.
.
.
Also fabricated and welded in the belt buckle anchor points.
.
.
And here they are, in all theyre bespoke glory! (@seamus
) They are really breathtaking in person and blow the first generation setup out of the water
.
.
Next up is some wheel related stuff - I got the ADVANS back from repairs and stripping last week, they are now flawless and ready for a fresh coat of blue and gold
.
.
Also, now with the new wheels that have a thinner mating surface I no longer needed the extended studs, so I switched them out for standard length speed taper ARP's
05-01-2014, 10:06 AM
#3044
Honda-Tech Member
iTrader: (1)
Join Date: Jan 2002
Location: Nowhere and Everywhere
Posts: 29,530
Likes: 0
Received 52 Likes
on
46 Posts
I always was amazed at how beefy the EP3 rear seats had to be, due to the requirement of a shoulder belt for the center position. Also makes me glad the DC2's had the plastic tray in the rear center position so they wouldn't have to mess with any sort of belts or buckles for the middle.
Nice work on the lug studs. Most people might have just left the extended studs on for DAT RACE KAAA LOOK YO! But nah, you're doing it up right!
Oh yeah and dem seat rails doe!!
Nice work on the lug studs. Most people might have just left the extended studs on for DAT RACE KAAA LOOK YO! But nah, you're doing it up right!
Oh yeah and dem seat rails doe!!