When you click on links to various merchants on this site and make a purchase, this can result in this site earning a commission. Affiliate programs and affiliations include, but are not limited to, the eBay Partner Network.
Reviving a rice rocket - '95 CX hatch build thread
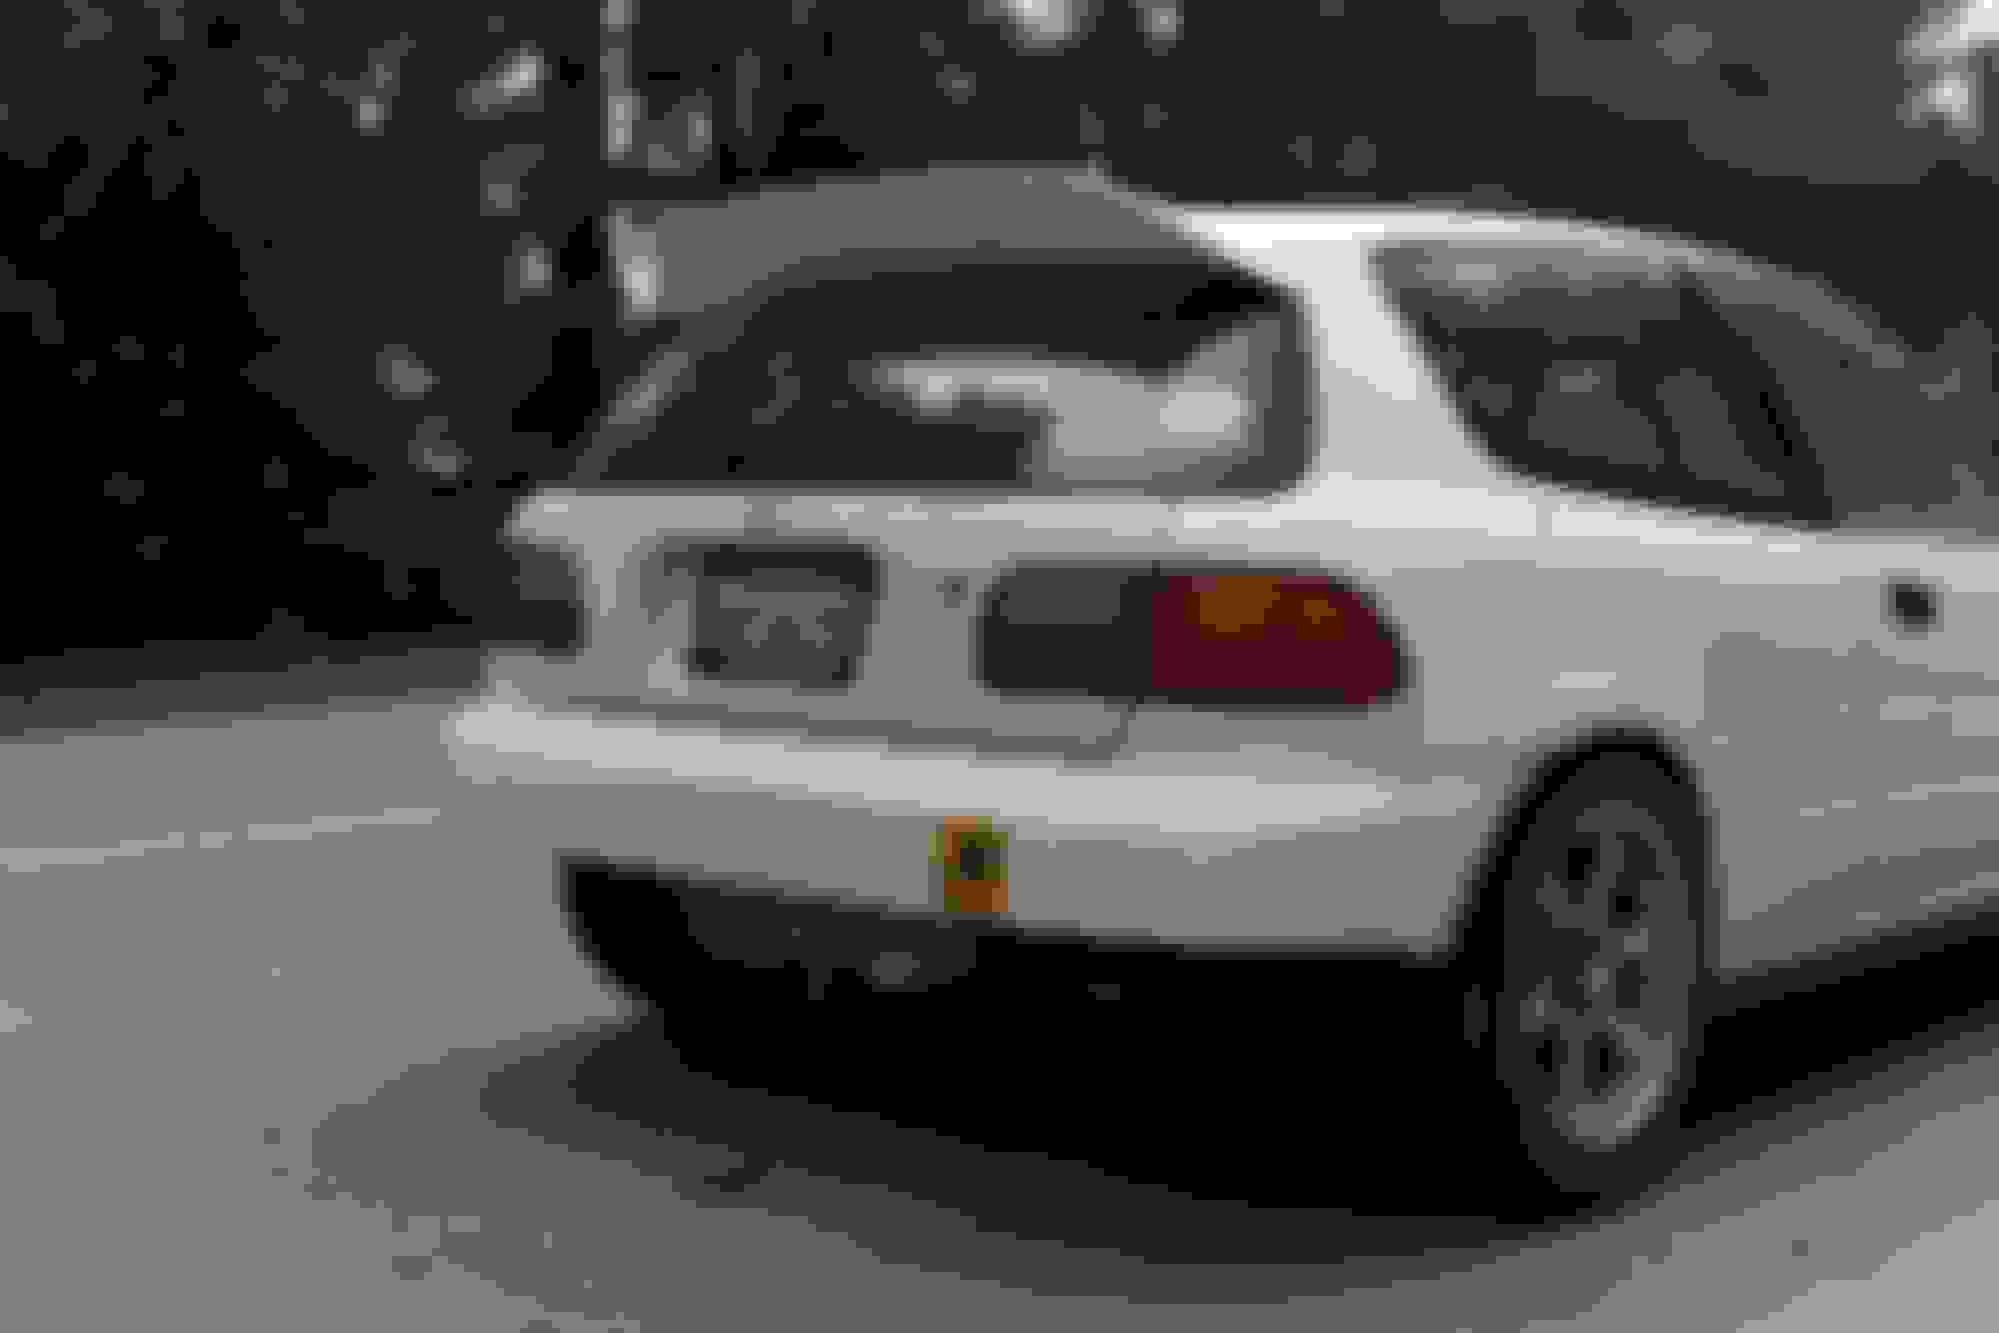
I suppose its best to keep a recent picture of the car at the top.
Pretty new to this whole car building thing so I thought I’d throw a build thread together to document things as I go along and ask for help. School and work from home gave for lots of free time... project car time. My daily had been waiting on parts with no real eta so I needed something to work on. Was driving my 4000lb big body sedan through the canyons for fun so it was time for something nimble and light. One tank of gas and 1500 bucks later, this thing was sitting in my driveway (albeit in a pretty distressed state).
I plan to eventually get this track ready, but there's a ton of catching up to do. Below is a to-do that I'll keep running.
Updated 04/16/2023
Things to do in the distant future:
LRB Speed door cards
Hard rubber or spherical LCAs front and rear (the poly ones sag and affect alignment)
A working horn
Cut out and replace rusty rear right quarter
Gather parts for k-swap
Gas tank that doesn't have a dent
Lightweight battery, relocated inside (Shorai or Odyssey)
Immediate to do:
Interior
Repair drivers side seat mount
Hardwire Aim solo and radar detector into dash harness
Exterior:
Install front lip
Powertrain
Re-terminate starter signal cable
Handling and suspension
Purchase and install front spherical compliance bushings
Purchase and install adjustable spherical rear lower control arm
Completed tasks, chronological order:
Handling & Suspension ( > carried over from previous owner)
> Megan racing coilovers, 10k/5k rates
> Megan racing rear camber arm
> Megan racing front camber arm and bushings
Integra GSR rear compliance bearings
Integra front A-arm with ES poly bushings
Integra rear lower control arm with ES poly bushings
JDM 24mm ITR front sway bar
13mm GSR rear sway bar
Integra front knuckle and trailing arms
PCI RTA spherical bearings
Centric reman. Integra front calipers
Integra rear calipers
Integra RS 4040 prop valve
Integra e-brake cables
Centric rotors F&R
Raybestos metalic pads F&R
Sankei 555 Inner and outer tie rods
Sankei 555 LBJs
budget alignment job
Rota slipstream 15x8 et40
Hankook ventus RS4 225/45/15
WedsSports steel lug nuts
Integra GSR front subframe tie bar
Aligned at Auto Innovations in Milpitas, CA
ASR rear subframe brace
JDM 23mm ITR rear sway bar
SuperPro rear sway bar bushings
Hawk DTC-60 front brake pads
PCI spherical front lower control arms
PCI spherical rear toe control links
Raybestos ST-43 front brake pads
Hawk DTC-60 rear brake pads
NSK front wheel bearings
Koyo rear wheel bearings/hubs
ARP extended studs on all 4 corners
Raybestos reamanufactured front right caliper
DC sports 2-point steel strut tower bar
3mm front wheel spacers
5mm front wheel spacers
Volk Rays TE37SL 15x8 et35
Kumho Ecsta v730 225/45/15
Interior
Gutted interior
OEM rear view mirror
Works bell steering hub
PCI adjustable seat base
PCI side mounts
Cobra Suzuka Pro Fit seat
Nardi Gara 3/0 wheel
Strip sound deadening from driver's side floor
Removed firewall mat
Removed AC ducting from dash
Underfoot floor pan stripped and painted
Replaced cluster with EX civic cluster
New grey dash shell from 92-93 civic w/o airbag hole
Under-dash and rear sub harnesses reduced and cleaned up
Racebred universal heel plate
Roll bar / half cage from TC Design in Campbell, CA
Pedal-height dead pedal, also from TC design
Painted interior. Rustoleum gloss grey.
Willans Silverstone 2x2 6 point harness
New Civic EX cluster with working tach and speedo
Battlecraft quick release
Powertrain
Energy Suspension poly shift linkage bushings
Rep k-tuned v2 short shifter
Battlecraft Hyper Teardrop
OEM muffler
Denso iridium power plugs
Valve cover gasket
OEM oil filter and a much needed oil change
OBX aluminum radiator
ebay radiator hoses
OEM Honda thermostat and seal
Fel pro valve cover gasket (again) with toyota FIPG
Bronze-phosphor sleeve bushing shift linkage mod
Basic Exedy organic clutch and pressure plate
Civic EX 4dr B000 5 speed transmission
One very warped head and cooked motor as of 10/10/21
D16z6 Mini-me head swap
D16z6 4-2-1 exhaust manifold and downpipe
D16z6 Exhaust manifold
p28 ECU
VTEC sub harness
OEM downpipe support bracket
Midpipe support welded onto exhaust
Left and right upper motor mounts filled with polyurethane
Rear Innovative solid poly mount, 85a
Competition Clutch Streetlite flywheel
Exedy Stage 1 organic sports clutch
DC sports 2-piece 4-2-1 header
Muffler delete
OEM Honda IAT
Valve adjustment
Exterior/Body
Removed tint
OEM honda wipers
Strongarm hatch lift supports
New OEM hatch glass hardware and seals
Wiper motor plate trimmed and painted
Cut and reinforced rear bumper
Antenna delete and block-off plate
Removing spider webs and dead things from the crevices
Rear plate mounting hole repaired
Front bumper upper reinforcement installed
Replaced drivers side door. Matching CX door with OE frost white paint.
Five Mart / Osaka JDM devil wing
Honda OEM belt molding
Front tow point
Wiper arm and motor removal
Last edited by reconsiderit; 04-16-2023 at 01:49 PM.
Going to do a "catch up" of sorts of the things I've done so far.
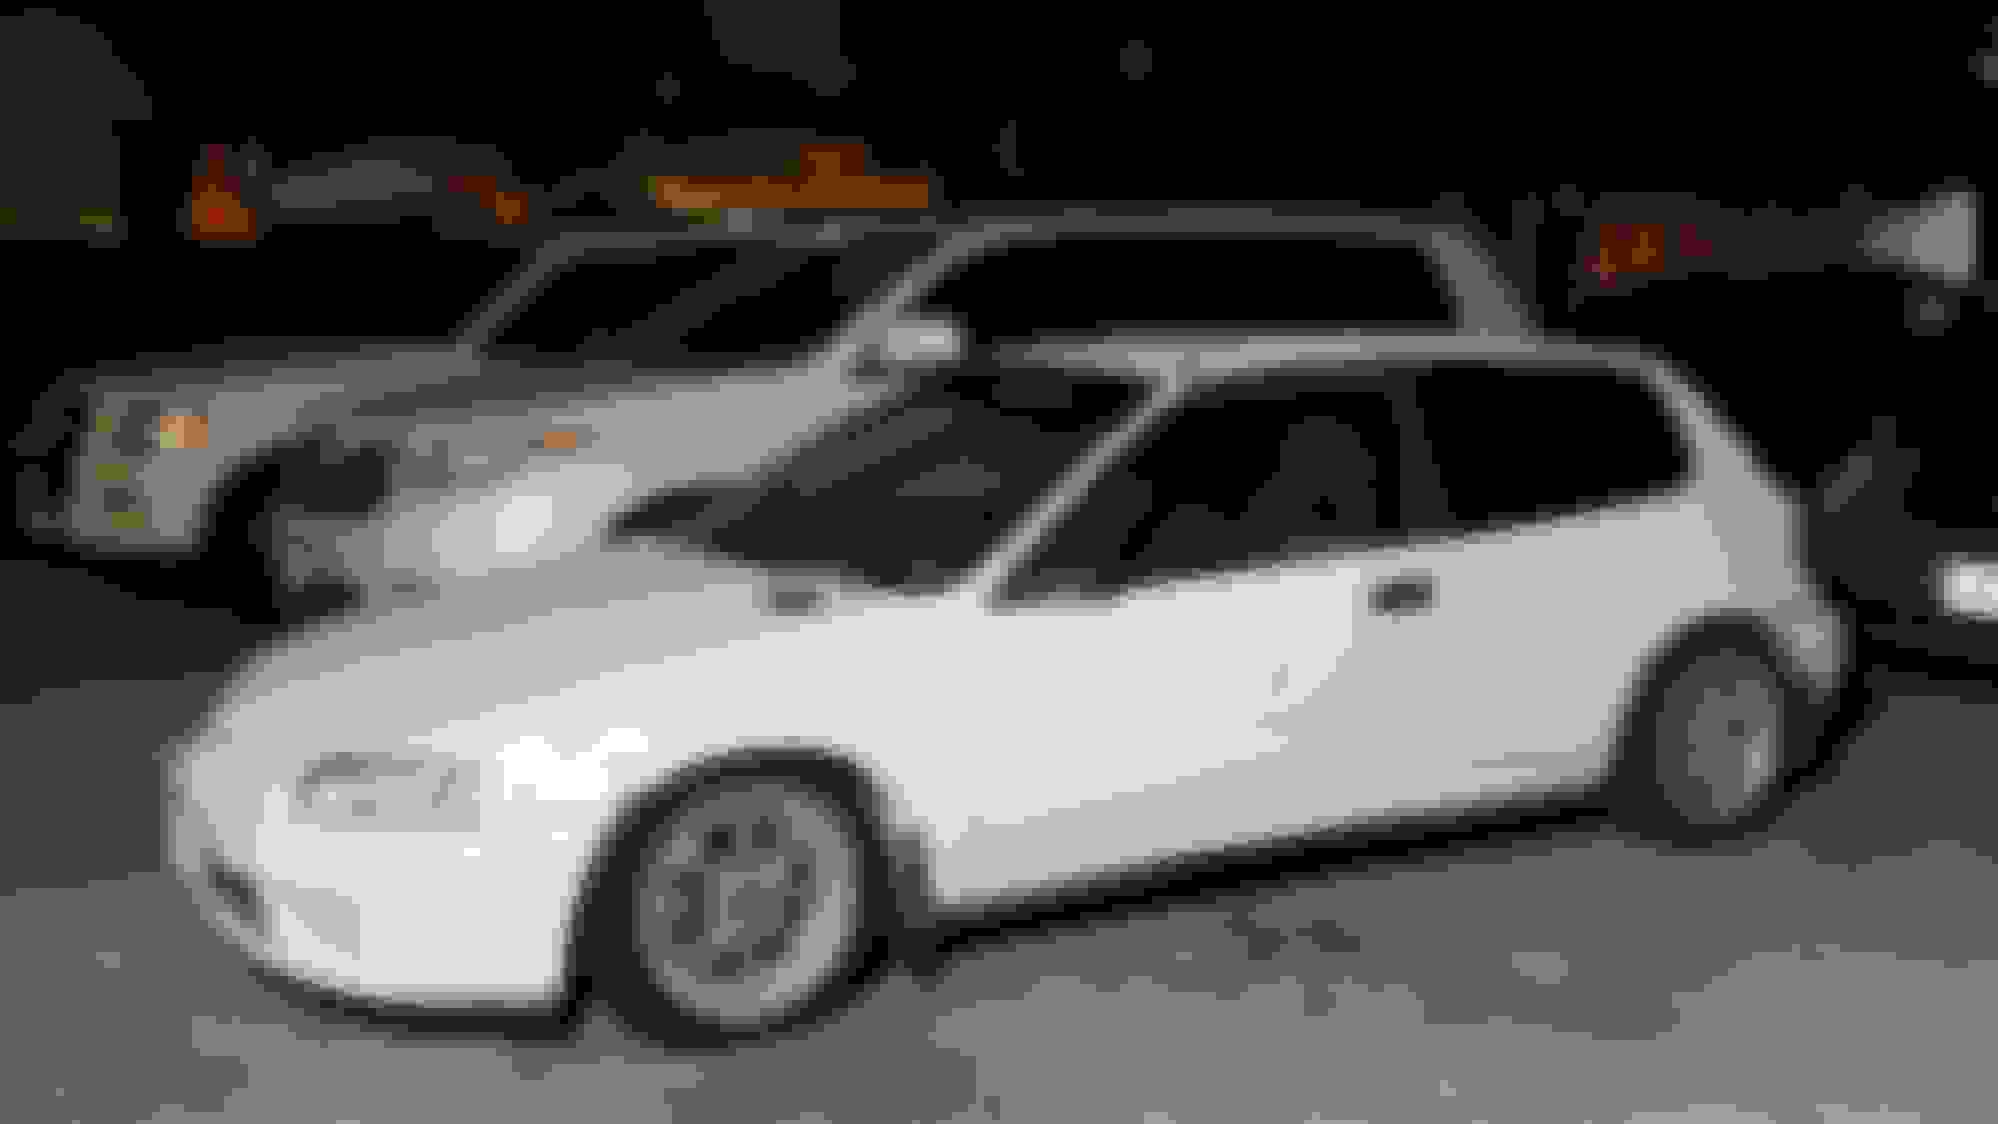
Day one. Complete (and filthy) interior. Absolutely slammed and pretty undrivable. Straight pipe that sounded like a nitro powered RC car, but somehow worse and louder. The racing style rearview was held on by home depot metal brackets and rattled like there was no tomorrow. Side view mirrors also provided no visibility so the only way to see behind was to look over the shoulder. Engine leaked oil. Brakes didn't quite work that well. It didn't drive very straight.
On the way out to grab this thing, my train of thought looked something like -- budget k-swap, cheap wheels, cheap bucket seat and half cage. In reality, on the way back, it was something like -- fix rust, fix straightpipe, fix paint, fix steering.
First thing that needed to go was the nasty interior, the straightpipe, and the insanely low ride height. Car was on megan EZs' so the last one was easy. Tracking down an OE muffler was a little more trouble. Stripping the interior just required some elbow grease and was first on the list. Judging from the spliced up audio harnesses and low gauge speaker cable that ran everywhere, there was also once a gigantic subwoofer in the car.
Took some pics after the first week or so of work as a baseline. Borderline habitable would be a good way to describe it.
--
My first attempt at fixing the steering clunk was the rack guide. This didn't help. I later found out that you can wear rod ends out to the point where they develop slop on the same axis that the steering rack moves.
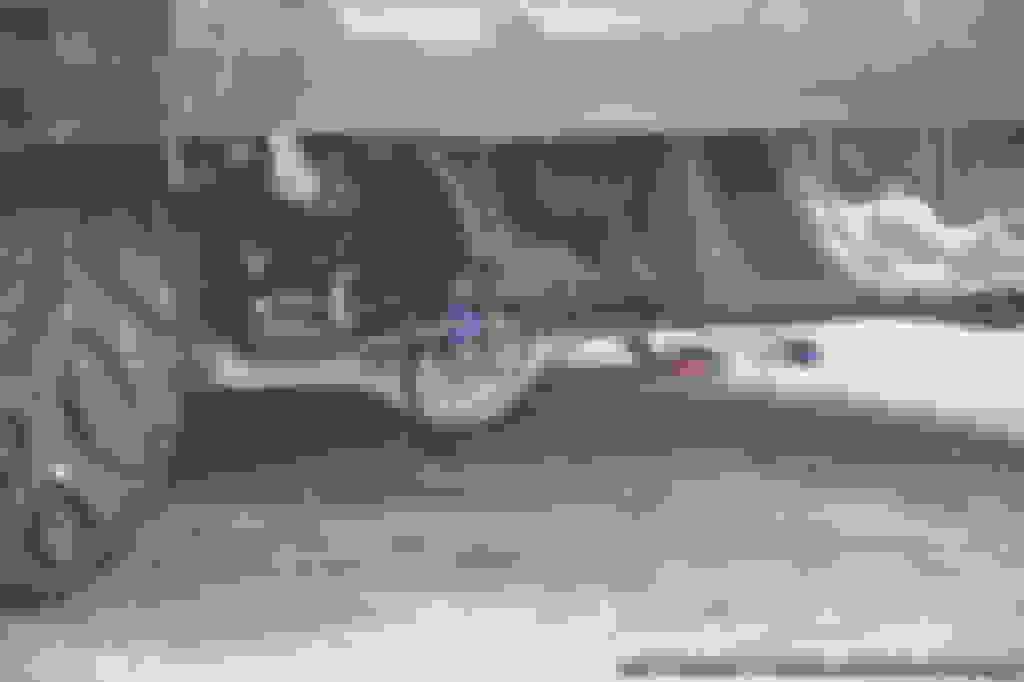
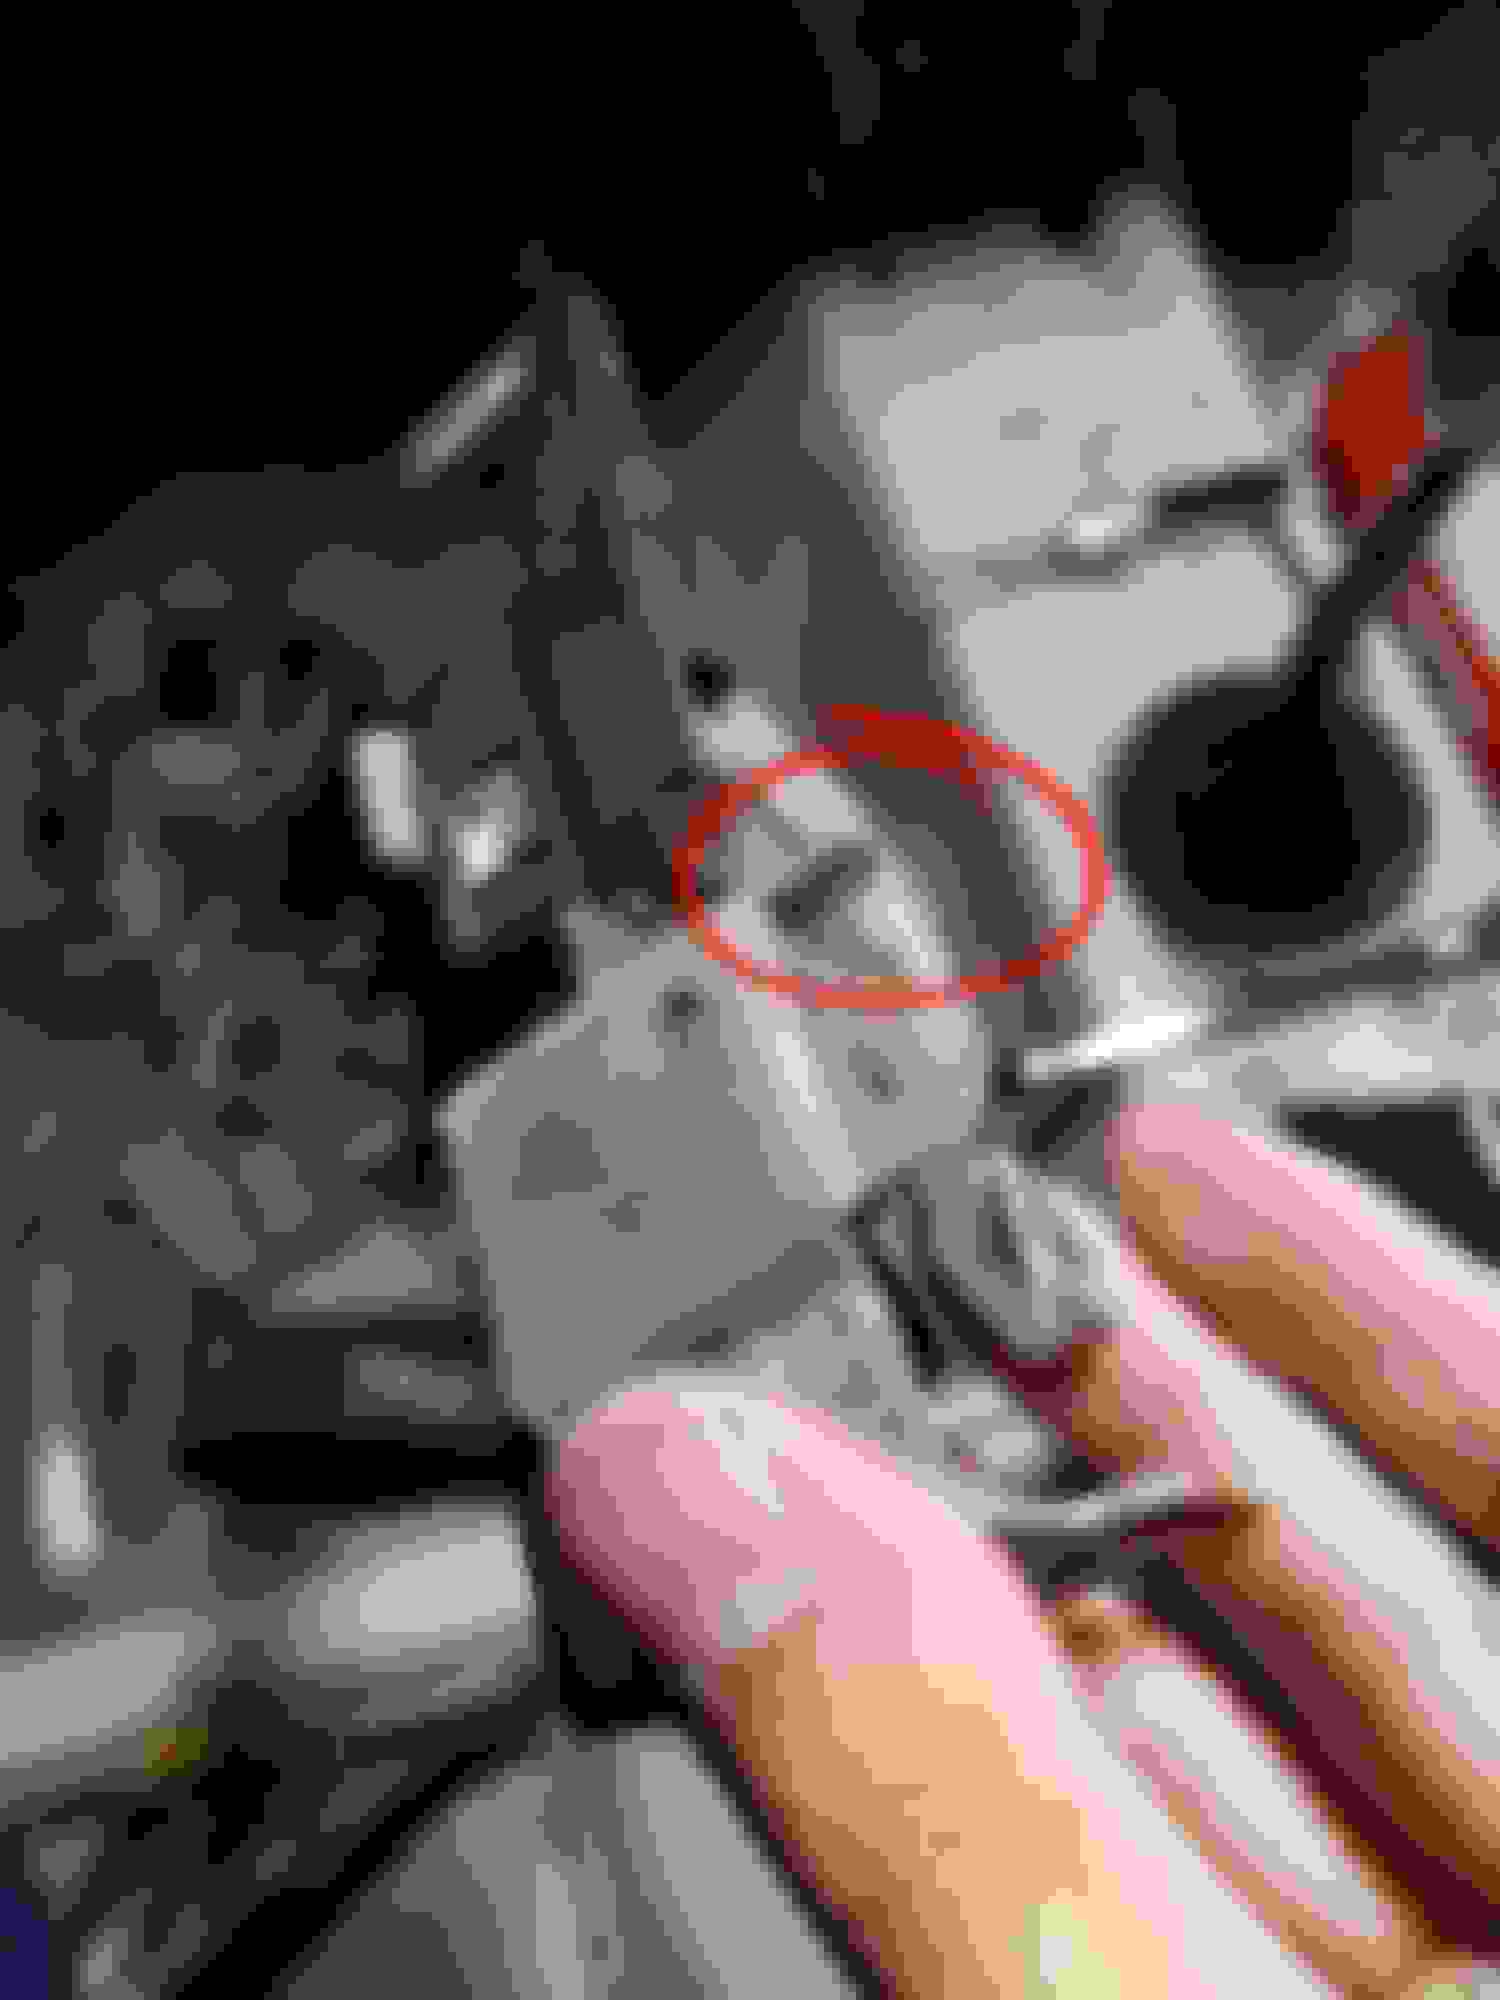
This picture captures the general condition of the undercarriage and mechanical bits of the car as it was from the last owner.
Last edited by reconsiderit; 08-27-2021 at 01:26 AM.
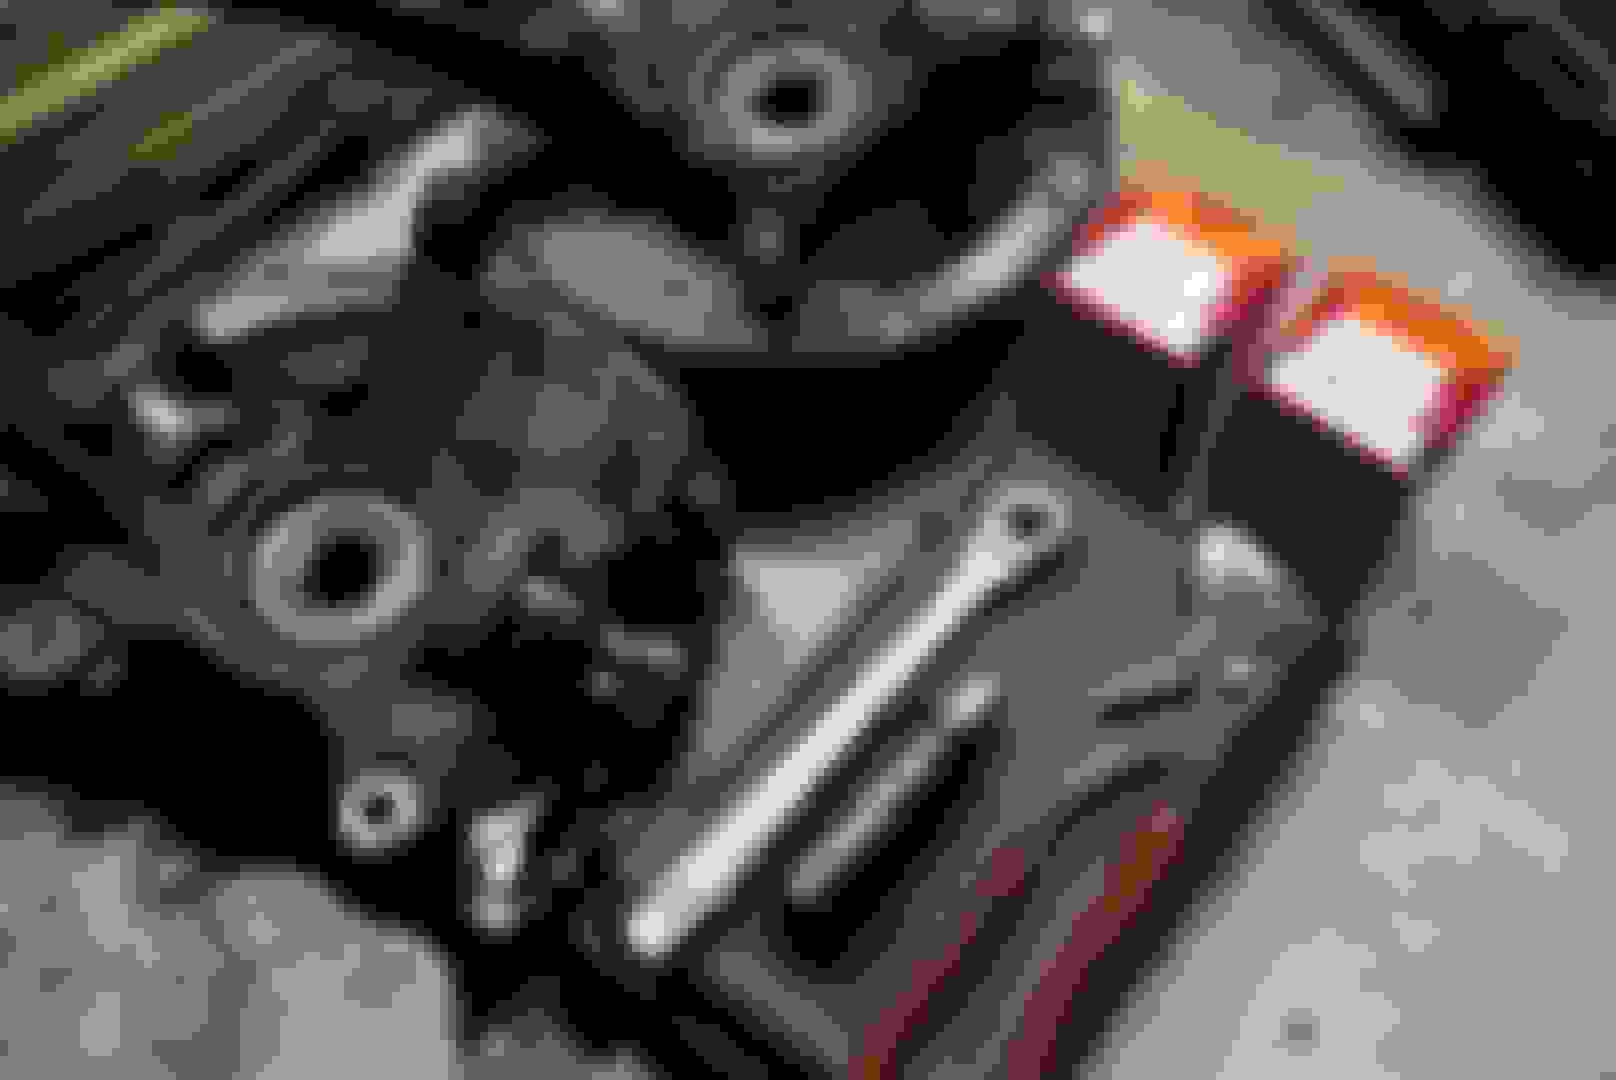
Once the interior was cleaned up and habitable, the focus was turned on getting the car to drive straight and pull around corners like a light, nimble FF car should. As most of the bushings and brakes had gone bad, the integra disc brake swap was the way to go. Started with picking up some knuckles and rear trailing arms which were given new bushings and ball joints.
Sankei LBJs. They also manufacture the bump steer correction ball joint for spoon. Old one was absolutely smashed as all the cars on the junkyard are set down on the ground without wheels at one point or another. Tried to save these dust shields but it was a futile attempt.
I had debated between a stiffer rubber bushing and the spherical bearing as many of the bearings were designed with a separate element controlling the rotational movement of the trailing arm as horizontal compliance was needed. This meant that there needed to be some room for the "axle" of the bearing to move independent of the spherical element which would inevitably cause a "knocking" sound. Decided to hell with it since I didn't have to go in and measure the angle at which there was zero preload on the bushing. It's certainly loud and not something I'd ever recommend for a daily driver.
Went with PCI as their V3's were on sale at battlecraft. Their design raises the trailing arm into the frame which slightly corrects for roll center on lowered cars.
Rusty arm out, clean out in.
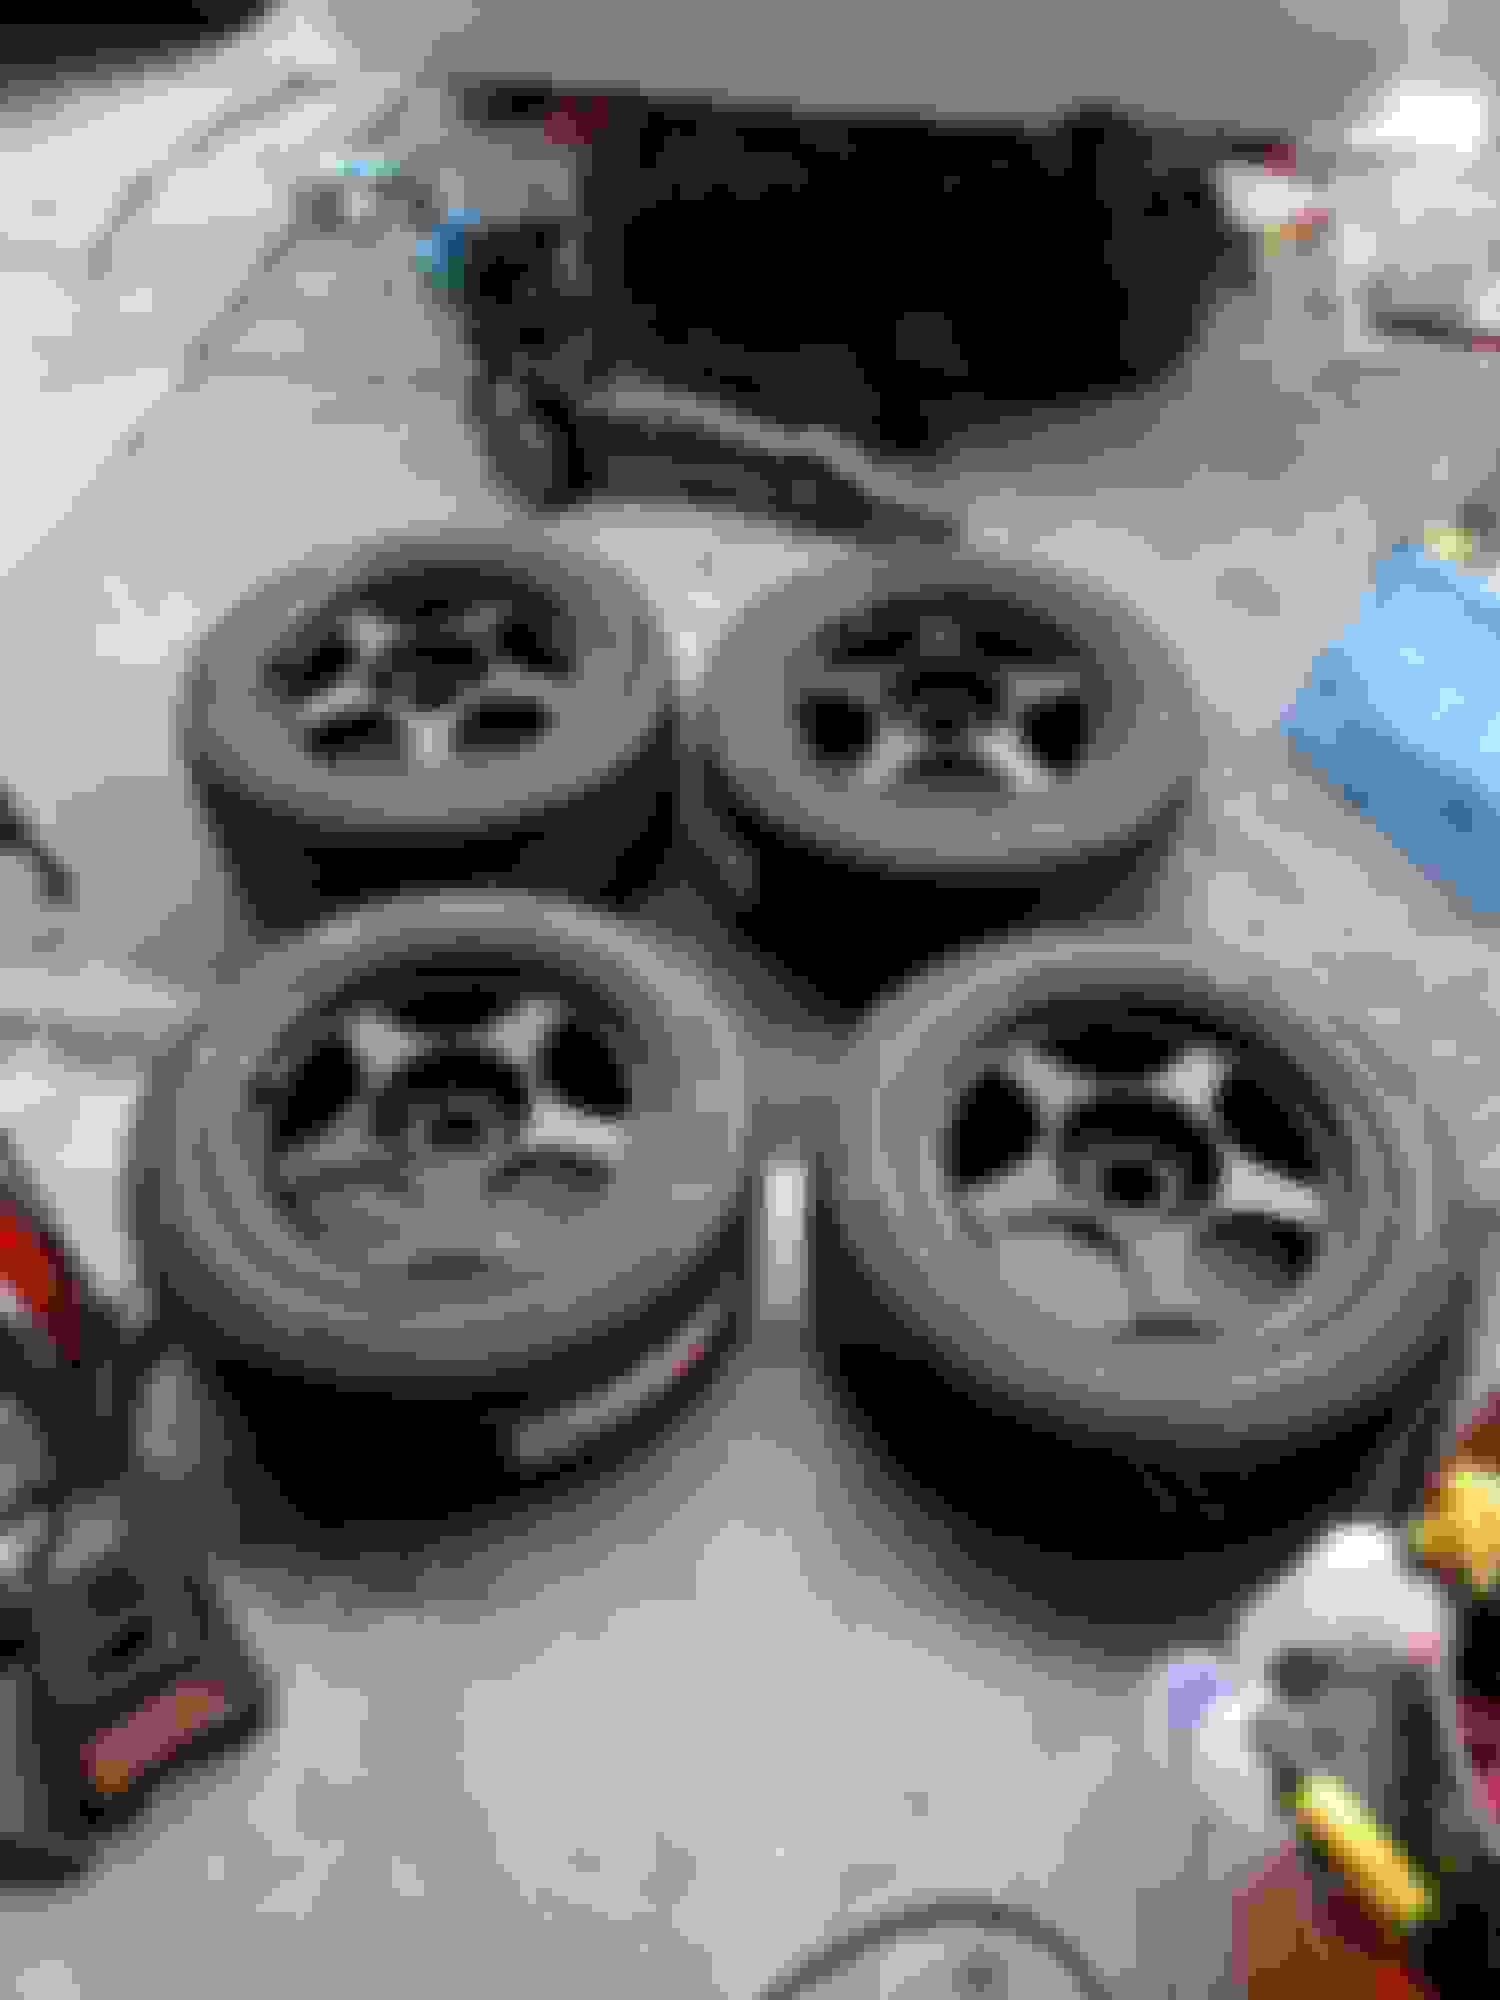
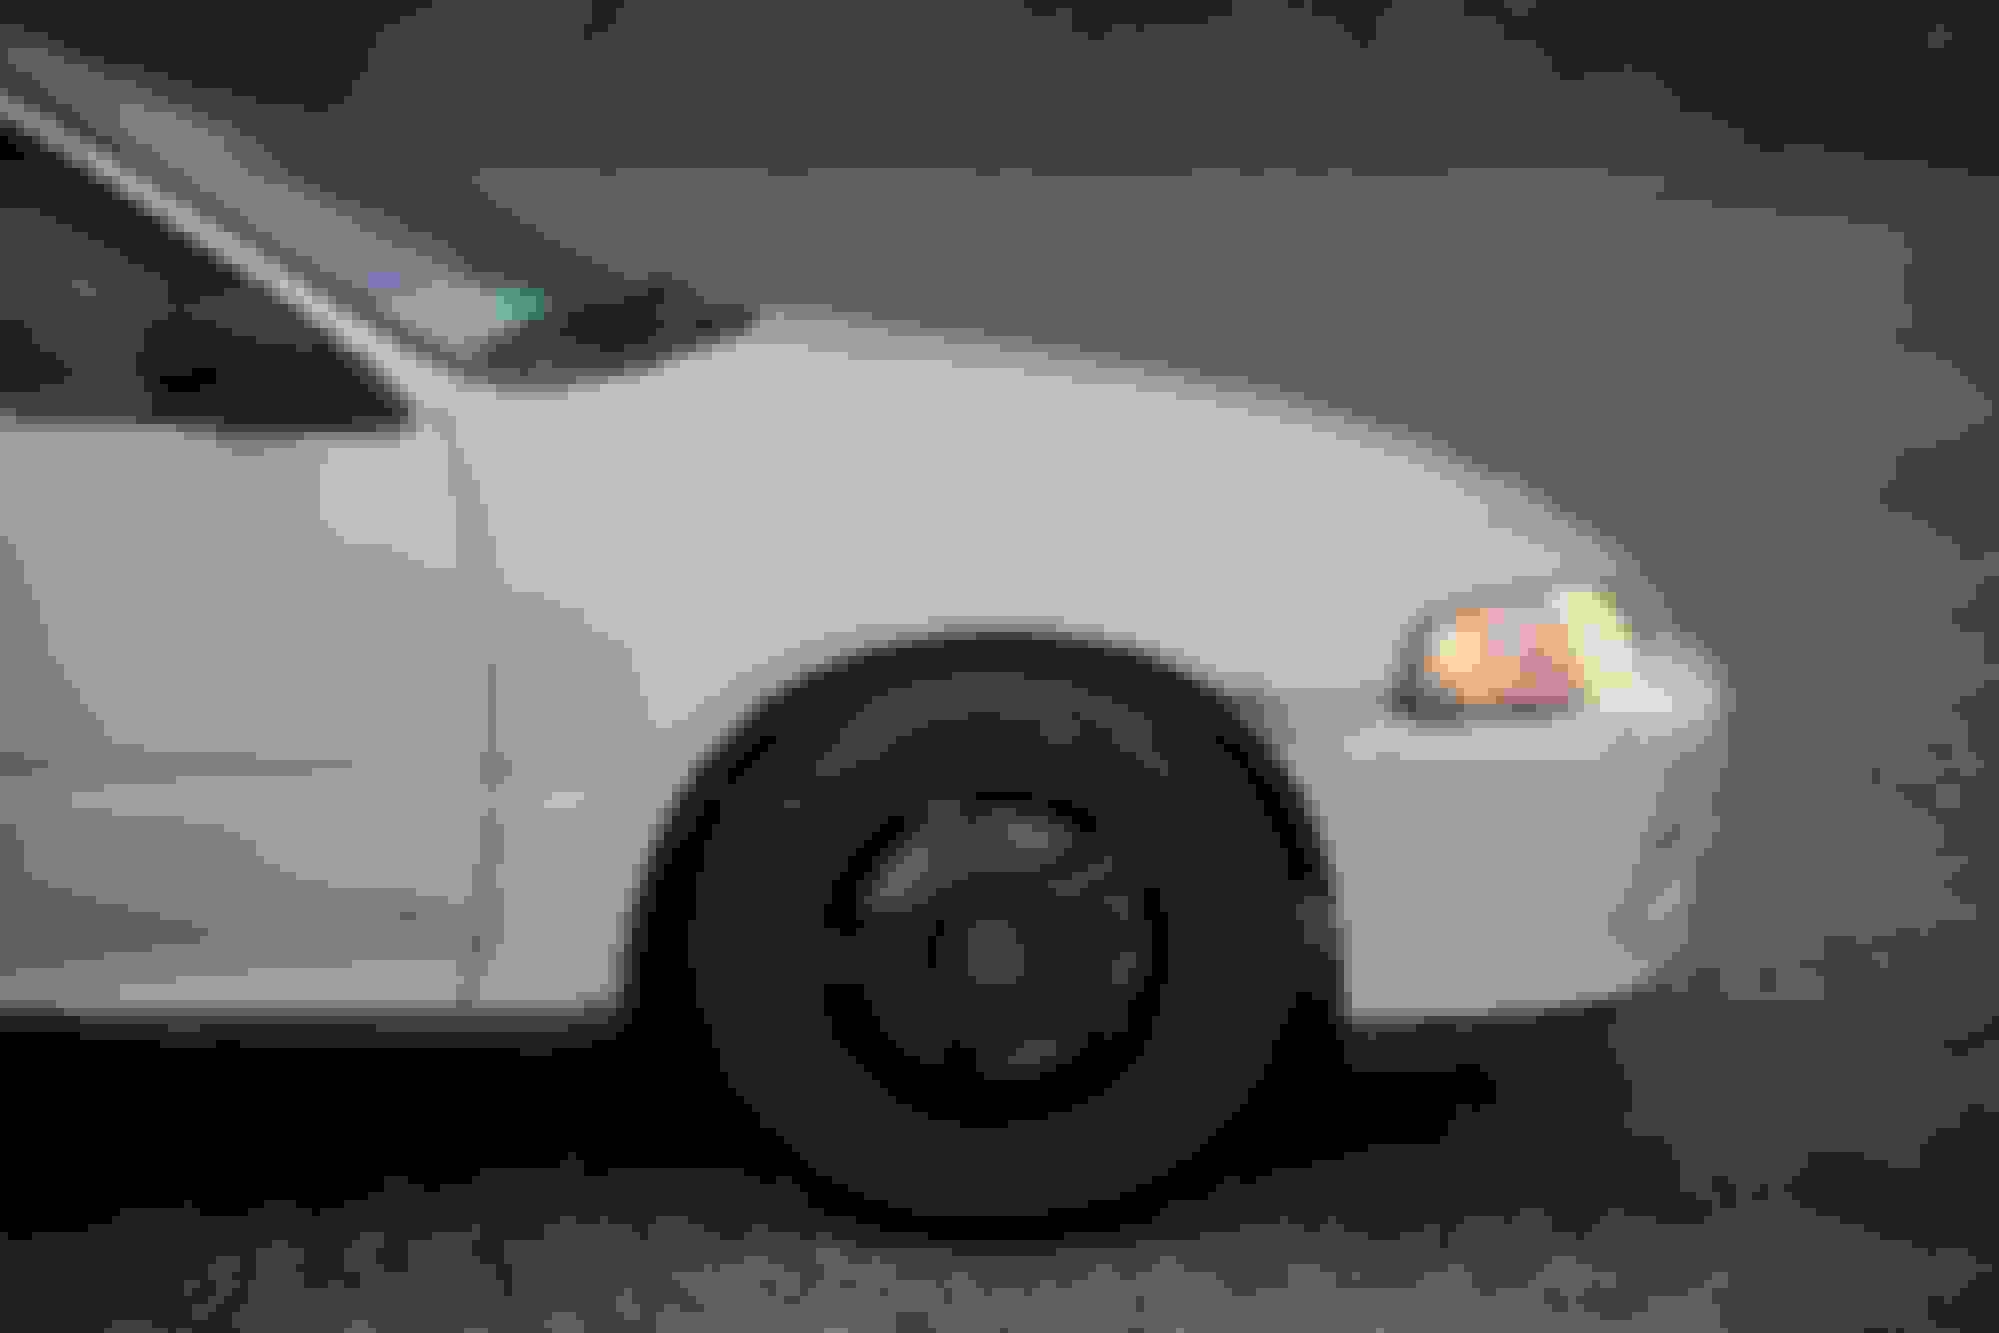
To make the most out of a tighter, more responsive car, some stickier tires were needed. Went with the widest wheel I could fit with minimal bodywork and no spacers in order to futureproof if more horsepower was added. Flat black rota slips in 15x8 paired with 225/45/15 RS4s.
Replaced the old prop valve with one from an Integra RS. Rusty fittings and the tight spot was a nightmare. Not something I ever want to do again.
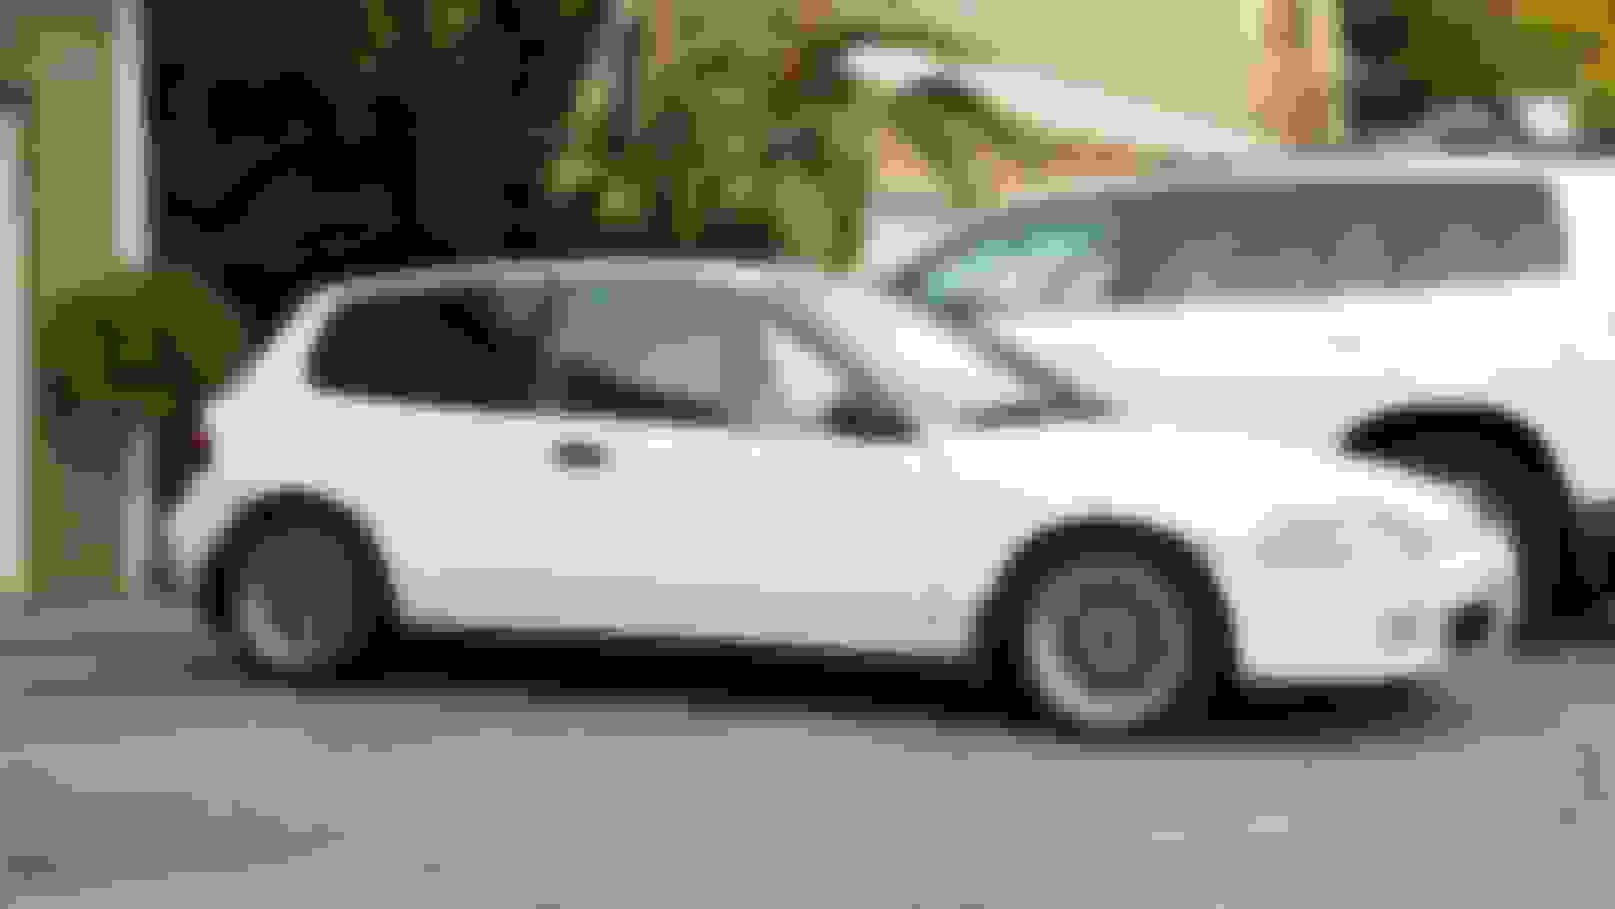
The daily sittin' pretty in the one week of fall weather we got in the bay area. Bled front brakes, put it on the ground, and drove it half a mile to the tire shop for an alignment. It was surprisingly straight for how much guesswork I did with the tie rod ends and new suspension parts all around.
At this point, the car was on the ground and drivable. Its still got a couple of old rotting bushings left so its not as precise as I'd like, but it makes up for that with how light it is. A couple of runs through the hills and a couple more tweaks to suspension and tire pressure and it was set. Some more adjustments are needed to make the car handle to my liking, but as it sat, it was pretty fun to drive.
Now that it was fun and safe to drive, the focus shifted to the interior. I think I had ordered a seat and other interior parts at this stage but was waiting for most of it to arrive.
After that drive pictured above with the fall colors, I ran though a couple things that still needed to be done. The car had a kinda lopey idle. Seemed like it was trying to raise the idle speed, then ran out of air and died, then started itself back up and repeated it. Pulled the IACV and the two coolant lines that fed to it spat out orange water. Probably not good. Cleaned it out with TB cleaner and put it back in, but no improvement. Grabbed some from the junkyard that I still haven't put in yet.
Also, quick question, but are you supposed to be able to flush cleaner through the inlet/outlet with the ICAV not plugged in? I remember reading somewhere that there are two variants; one that is open and one that is closed while not plugged in.
Got a free fire extinguisher from a friend and decided to throw it in just in case something ever did happen. Didn't really want to drill into anything so used quite a bit of VHB which seems to have held up pretty well.
Also found out that week that my nardi wheel was going to be backordered 4-8 weeks. Hopped onto craigslist to look for the cheapest wheel I could find and bought this personal fitti for 50 bucks. Not a fan of the color, but hell, it was better than the stock wheel which was missing the airbag and just had the metal brackets poking out. Not my first choice to slam my face into in an accident. The foam/vinyl of the old wheel had also separated from the steel core, making it a little dangerous.
Also removed the sound deadening on the passenger side and tested the 3m quick strip wheel. Works pretty good. Laid down a quick coat of primer to keep it from rusting, but gonna go back and do a proper job when the dash and firewall mat comes out.
Hopefully my nardi wheel comes soon. I don't like this red. But hey, at least it's built well unlike those 30 dollar ebay specials.
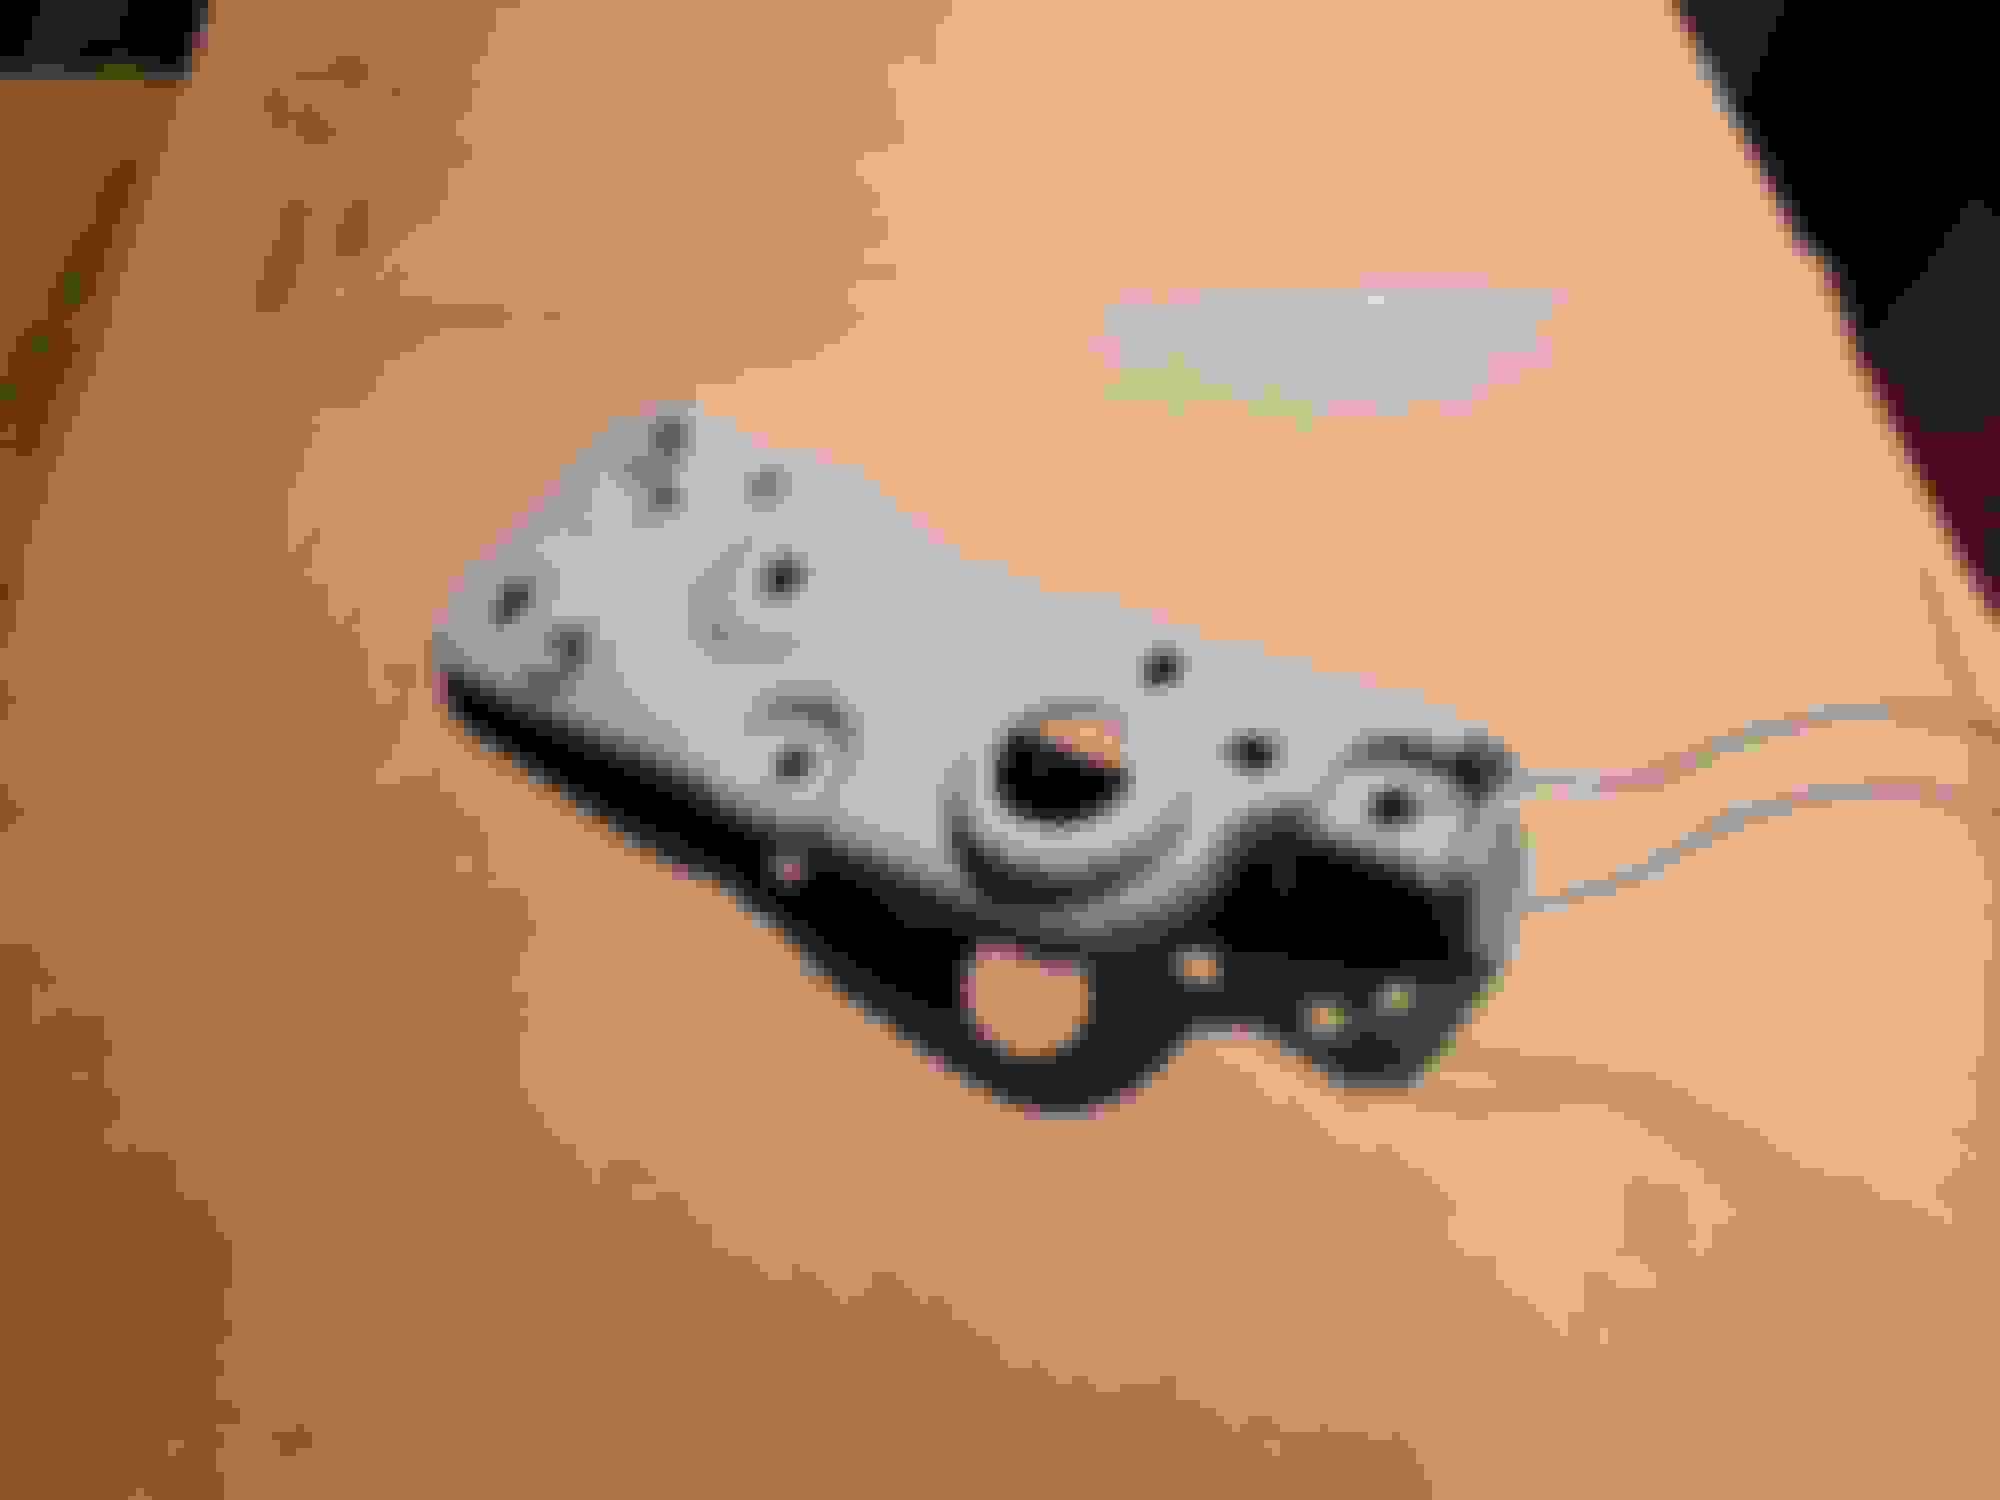
The rear glass hatch was being held down by zip ties at the time. When I took it off to get rid of the tint, all the rubber seals just crumbled. Ordered all new grommets and washers as well as hardware for the lifts.
While the latch assembly was out, I pulled it apart and threw out the cracked plastic. Drilled the wiper motor studs out, then shot some primer onto it to cover up the rusty spots. I think it came out pretty great for someone who's never touched a can of spray paint in their life.
Installed.
At the same time, I pulled the rear bumper as it was just flapping in the wind. The bottom two mounting locations were torn through from the last owner driving it low. (I feel like this is the reason for all the haggard **** I come across in this car). Taped it off then ran a reciprocating saw through it. High bumper cut for that time attack look I guess... Anyways, it solved the issue of the bumper constantly knocking against the chassis at 50+ miles an hour.
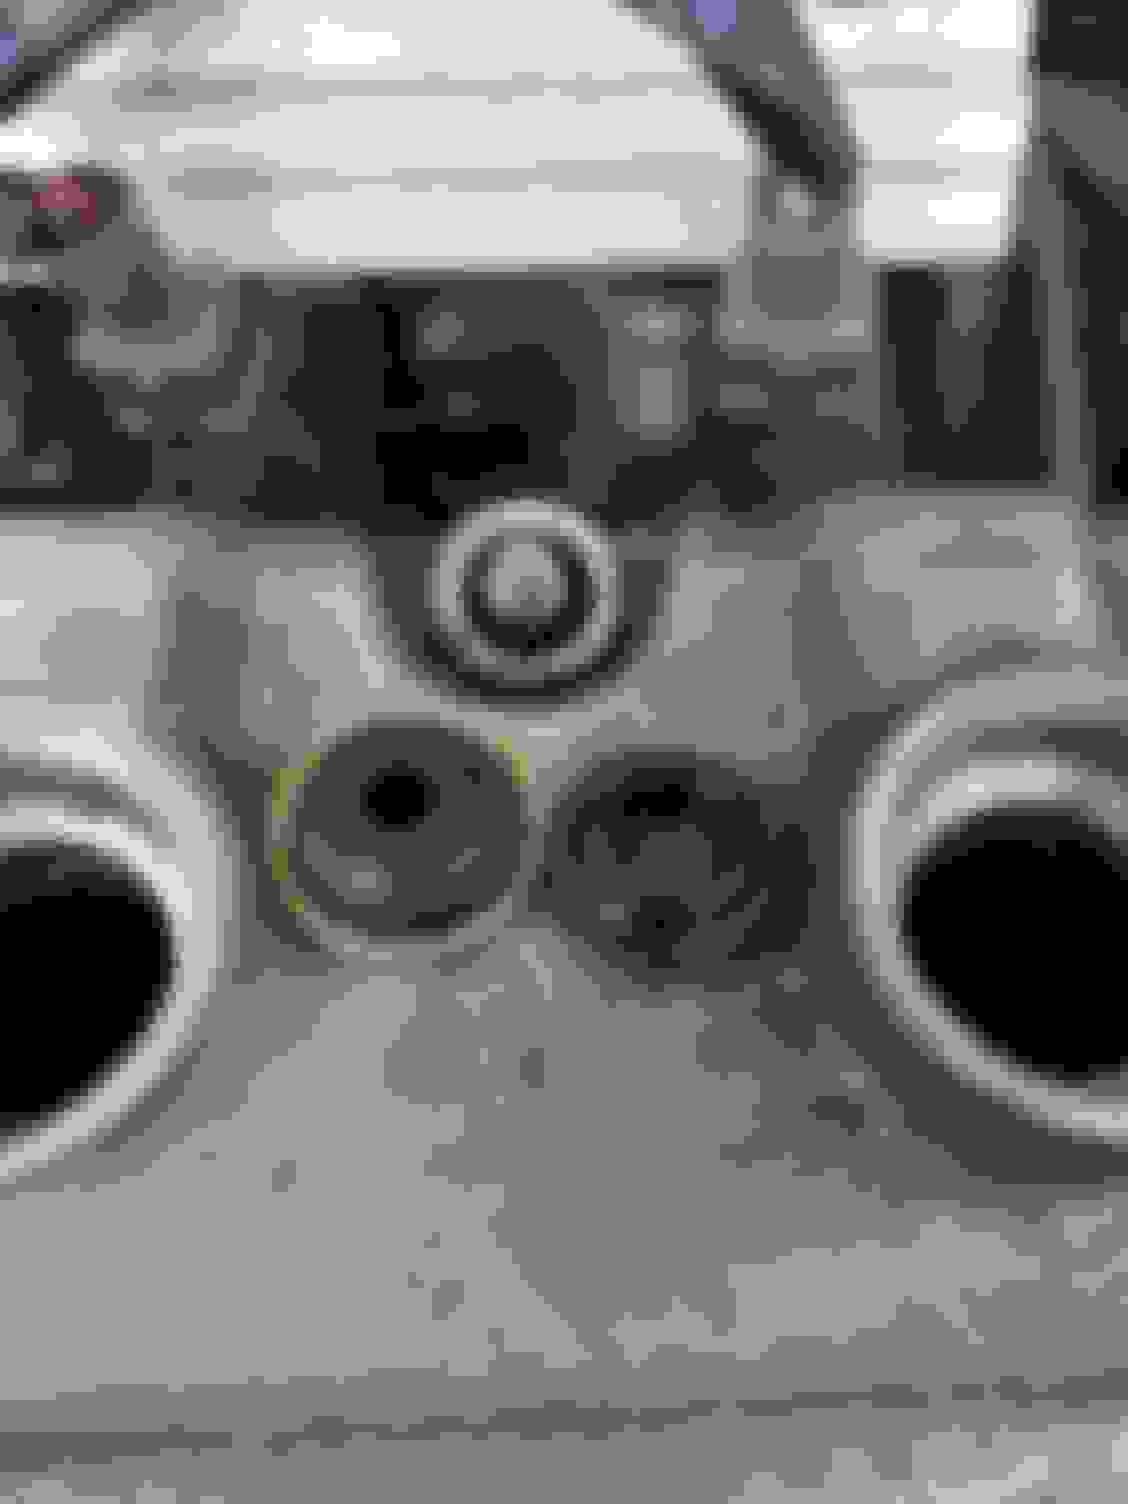
Since the valve cover was leaking like a mf'er, decided to do that next. Completed it in about 30 minutes and threw new plugs in too. Old plugs were pretty much drowning in oil when I pulled them out.
Used Toyota FIPG as that's what I had lying around. Forgot that it needed 2 hours to set and went out for a drive. It leaks at the corners a little, but its far better than how it was before.
It's also surprisingly clean given the last oil change prior to mine was 3 years ago.
The rear seals under the nuts were the wrong size so I reused the old ones. They still leak -_-
Save for the seat install, the build thread is now caught up (I think).
Clean the old ones up and just spread some FIPG on the bottom. Should hold you over until you get the correct ones.
Sounds like a good idea. They aren't leaking much but FIPG should solve the issue. Not sure if I want to spend 16 bucks on replacement gaskets if FIPG will fix it and since a k-series is going to be thrown in sometime in the near future. Though, if I do decide to replace, it's P/N 90441-PK2-000, right?
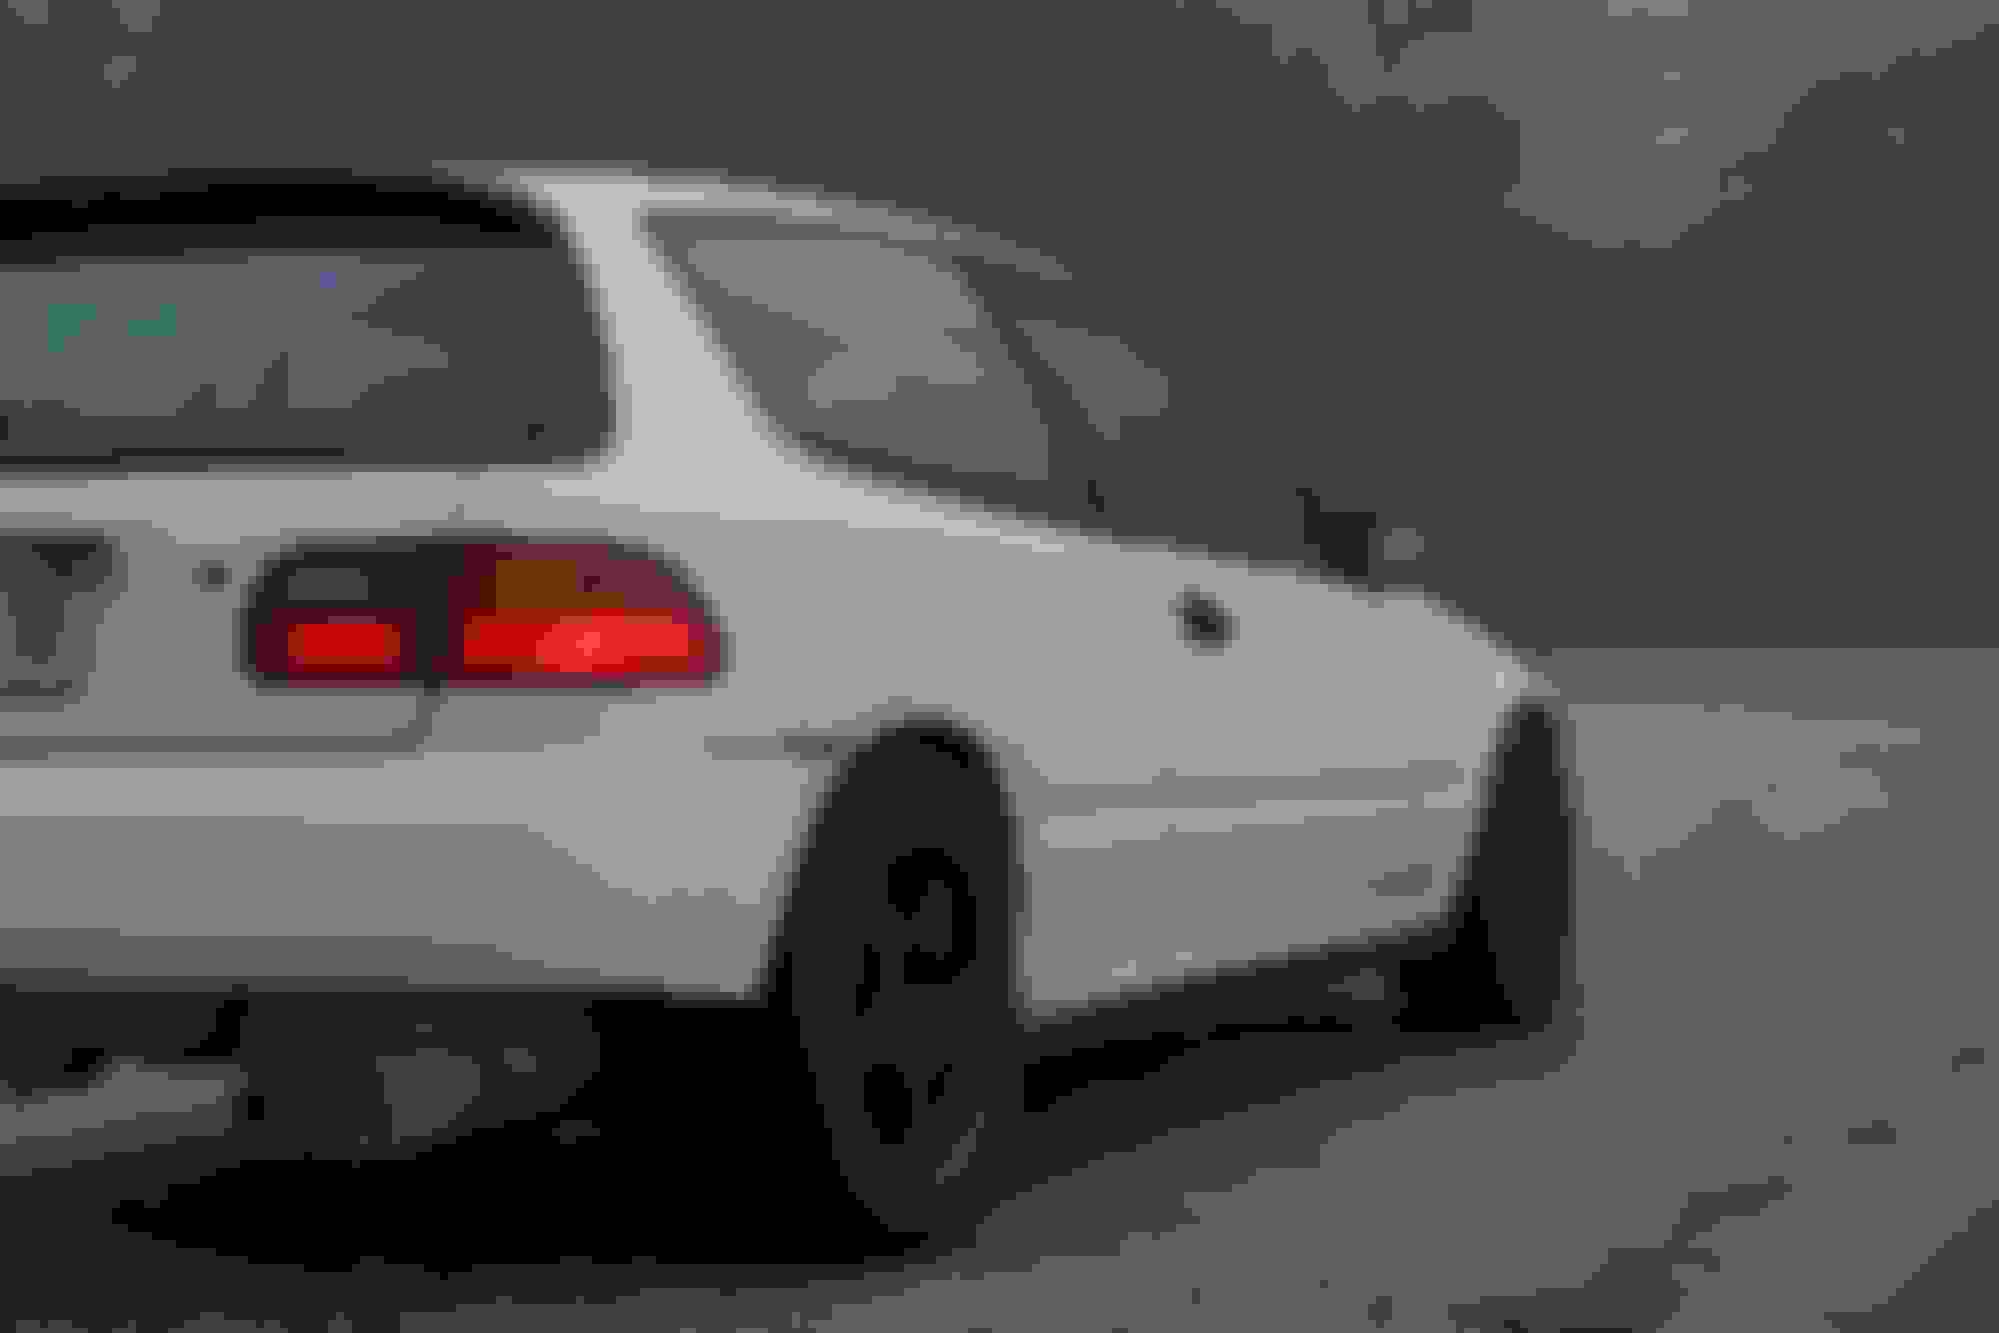
Gallery time! Took the car out for proper pics for the first time. These RS4s don't do cold weather very well. Was like driving on hockey pucks on the way down.
I had debated between a stiffer rubber bushing and the spherical bearing as many of the bearings were designed with a separate element controlling the rotational movement of the trailing arm as horizontal compliance was needed. This meant that there needed to be some room for the "axle" of the bearing to move independent of the spherical element which would inevitably cause a "knocking" sound. Decided to hell with it since I didn't have to go in and measure the angle at which there was zero preload on the bushing. It's certainly loud and not something I'd ever recommend for a daily driver.
Can you 'splain this to me? I have read this a few times, but I am failing to grasp what I think you are trying to convey.
I ask b/c I have gone through the rear suspension on my EG hatch replacing many bushings, but I do have a clunk or knock from the passenger side when going through a low-speed change in terrain. It bugs me...
Unless you have spherical bearings at the RTA pivot, you shouldn't really get any clunking unless something is loose.
(sorry about the crude drawing)
The RTA bushing has to basically move in a couple directions, labeled A, B and C. In a rubber bushing, all movement along those axis are accomplished by the flexing of the rubber. No sliding parts needed, but due to the nature of the material, it can kinda move in whatever direction it wants and will move in more directions than that spec'd as A, B and C in the drawing. This also requires the bushing to be clocked correctly and pressed in at a certain depth so that there's minimal preload on axis C and B.
In a poly bushing, movement along B and C is accomplished between the "axle" of the bushing, and the polyurethane part of the bushing. Because one part is metal and the other is poly, you can size the opening in the polyurethane part ever so slightly smaller and rely on it to flex in order to fit the metal axle without any play. The issue with a poly bushing in this use case is then movement along "A". This then requires the polyurethane part of the bushing to deform in order to comply in that axis. Because of the metal axle that it has to deform around, this stresses the polyurethane part of the bushing in areas it contacts the axle.
In a spherical design, the PCI in particular, movement along B and C is accomplished between the axle of the bushing and the spherical element (the center of it). Movement along axis A is accomplished between the spherical bearing (the center) and the bearing housing (the bit that's fixed to the RTA). These are all metal to metal contact points that don't rely on any components to flex, resulting in a system that's more precise than the other two. The drawback is also that these are metal-to-metal contact points and require a bit of clearance between each component in order to work. AFAIK, the spherical bearing itself has a plastic liner, so it has little or no play. The contact between the axle to the bearing on the PCI unit is a bronze washer, which is not lined with any kind of plastic. Because of this, they have to allow enough room for the two things to rotate and slide freely between each other. Since the pivot take the entire force of the strut extending or the wheel compressing, it shifts to the opposite side of that small gap with each bump, causing the knocking sound.
After writing that wall of text, I realized I should've used "X" "Y" and "Z" for the axis. Also not an engineer so these terms aren't probably used correctly.
Unless you have spherical bearings at the RTA pivot, you shouldn't really get any clunking unless something is loose.
Werd. This was my exact thought, except I have that noise, and it bugs me. It sounds like it is either in the passenger rear quarter, or possible in the passenger door?
I have checked everything in the passenger rear suspension that I can get a wrench on - nothing loose.
I am ready to pull the door card and make sure there is nothing clunking in the door.
The noise does not feel random to me, it seems to accompany suspension flex...
Unless you have spherical bearings at the RTA pivot, you shouldn't really get any clunking unless something is loose.
(sorry about the crude drawing)
The RTA bushing has to basically move in a couple directions, labeled A, B and C. In a rubber bushing, all movement along those axis are accomplished by the flexing of the rubber. No sliding parts needed, but due to the nature of the material, it can kinda move in whatever direction it wants and will move in more directions than that spec'd as A, B and C in the drawing. This also requires the bushing to be clocked correctly and pressed in at a certain depth so that there's minimal preload on axis C and B.
That drawing is money - $$$! I love it! It makes clear what is going on back there for my feeble little brain - thank you!
I did replace the RTA bushings a while back (I will have to dig through my thread to figure out when). I "tried" to do it correctly, in that I used a straight edge to trace a line on the RTA to clock the new bushing in the same orientation as the old. I used a depth gauge to measure the depth of the old bushings and then matched the depth with the new.
As I write this I realize all I did was mimic the old install, so if that install was off, then the new ones are off as well. I got the car w/ ~40k miles on it, so I am pretty sure it had the factory RTA bushings. Not sure how prone to error Honda was at installing these at the factory.
Unless you have spherical bearings at the RTA pivot, you shouldn't really get any clunking unless something is loose.
After writing that wall of text, I realized I should've used "X" "Y" and "Z" for the axis. Also not an engineer so these terms aren't probably used correctly.
A, B & C or X, Y & Z, either way is fine w/ me. And for not being an engineer, you have a pretty good grasp on the technical aspects of the suspension.
Sorry to hijack your thread - I appreciate you trying to help me figure out what is going on in my rear suspension!
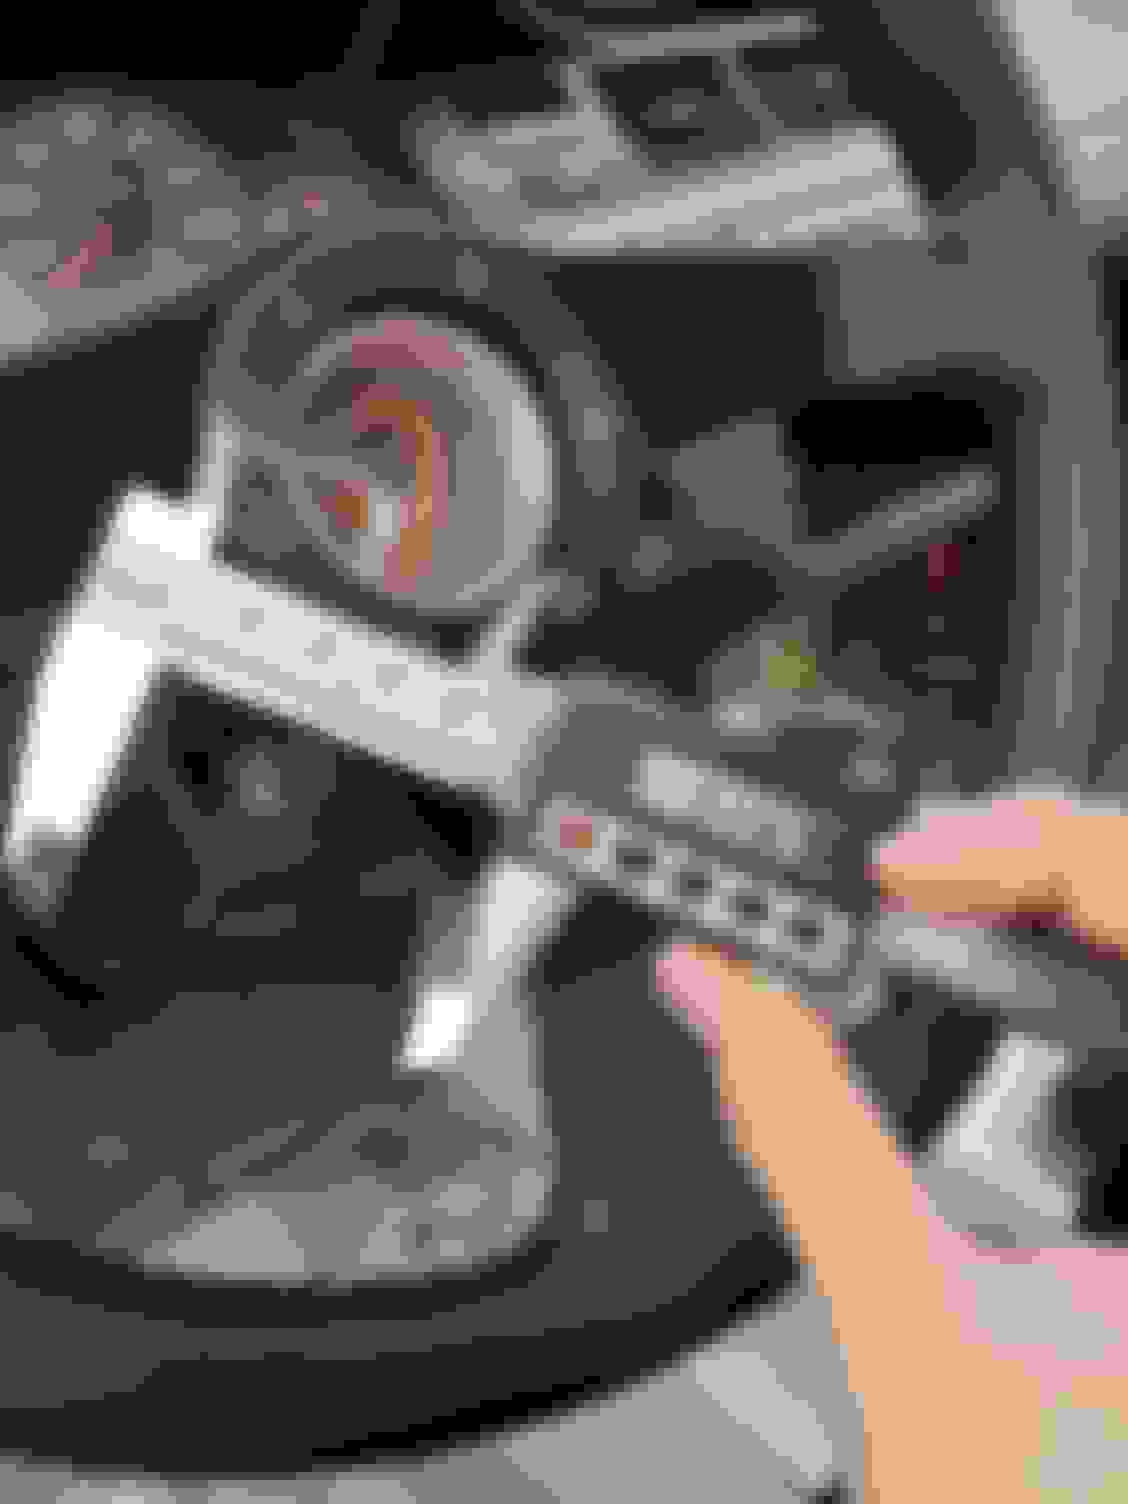
Installed the Nardi wheel that I waited two or three months for. It's shallower than the Personal and improves the seating position a little. The grip section is also a tad smaller in diameter and is scalloped/shaped for your fingers. Neat stuff.
As always, ran into an issue. Horn button is too big. The four prongs that sit on the back that give for a friction fit is way bigger than the bore of the Works Bell hub. They're designed to crush when you put them into a hub of the right size so I think I'll take my chances and see if I can get it to fit with a file.
Also found the source of my coolant loss issue. Will most likely go to a radiator that I can transfer over to the k24 when that goes in.
Also another interesting thing that might be noted, but it seems like a lot of builds seem to be using ITR rear LCAs. The ones that are a "u" cross section made of stamped steel versus the i-beam forged/cast (I think) ones that standard integras and civics have. The strut mounting location visually sits higher compared to standard as well as aftermarket billet style LCAs. The mounting location for the sway endlink also sits nested inside the control arm, inline between the mounting point on the chassis and the trailing arm. Not sure if they're being used just because of 5-lug conversions or if they have a suspension geo advantage, but I might looking into going this direction with this build.
Did an hour or two of work today and started on the last leg of the interior work that needs to be done. The big items are the heater core delete and stripping/painting the floor pan.
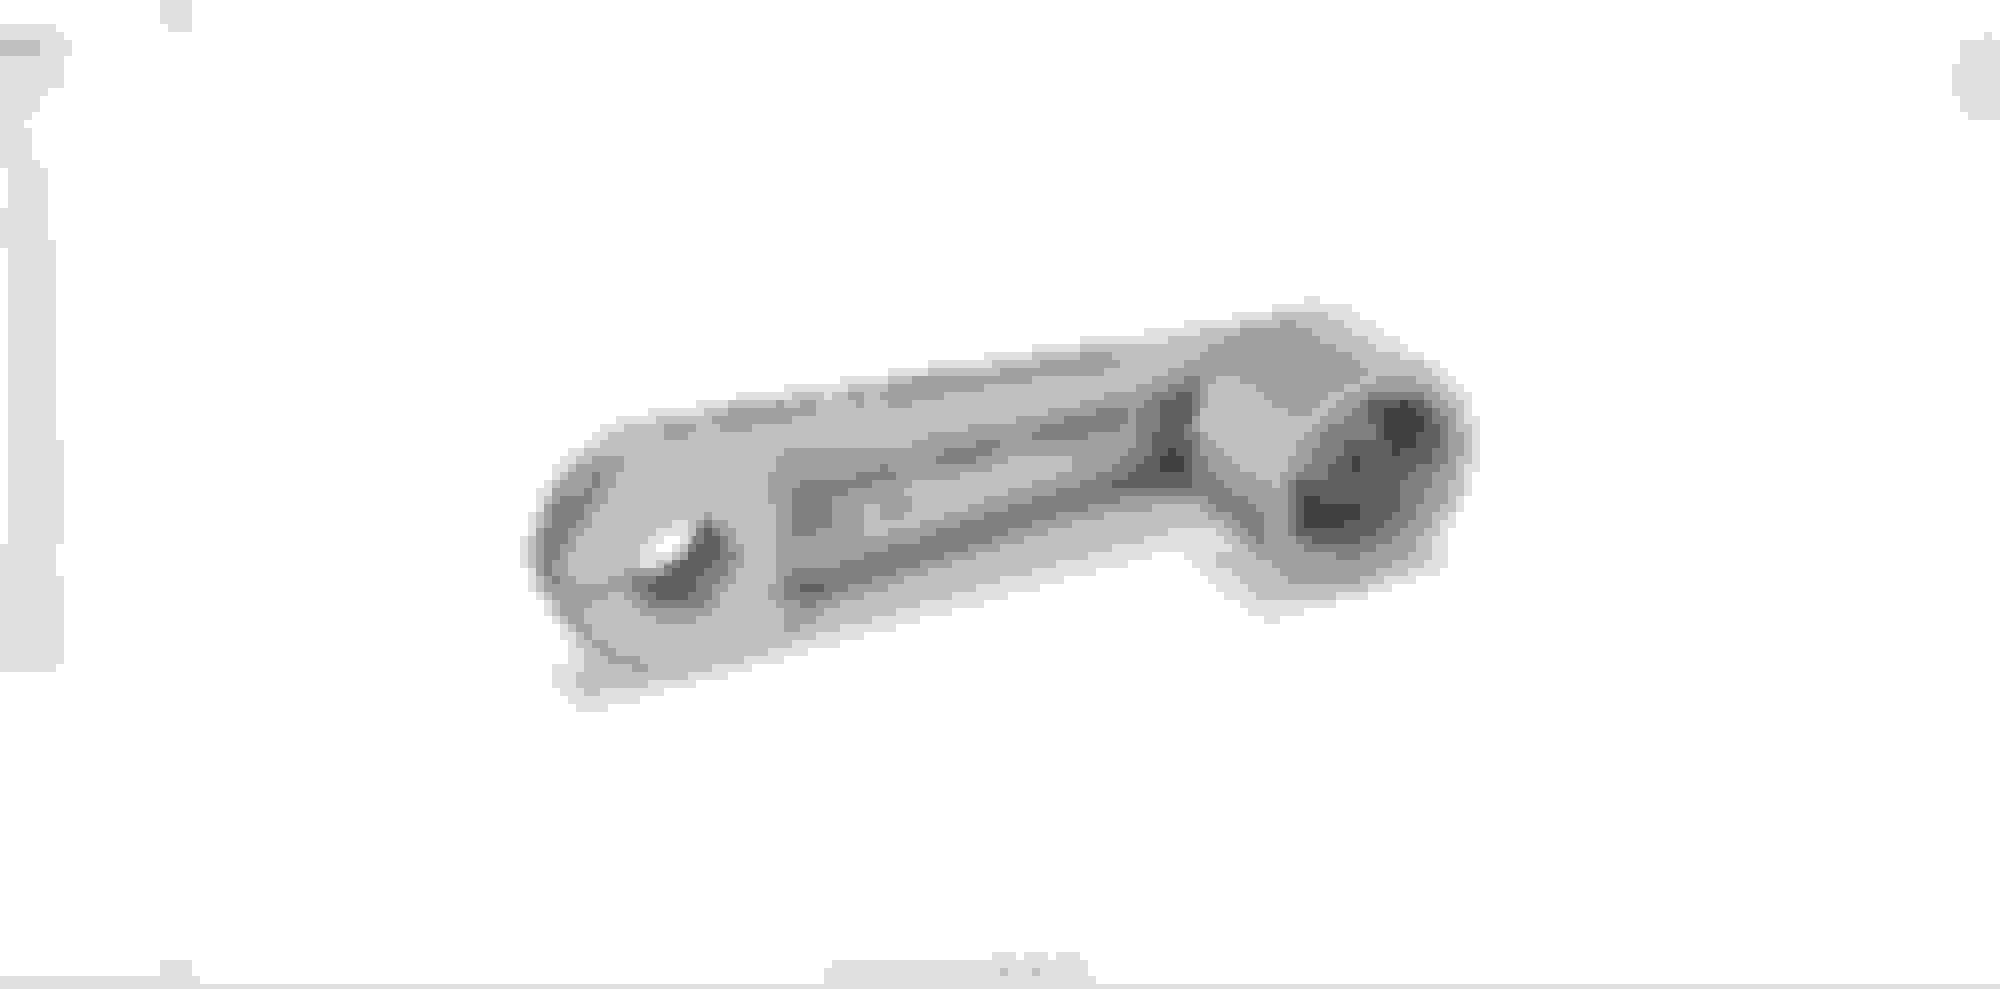
Pulled the gas/hatch opener in prep for paint. Will probably leave the plastic cover off since it's pretty mangled but need to get rid of this nub. Might paint the metal parts or find another one from the junkyard.
The deadening wasn't difficult to remove. Didn't want to waste the money and couldn't be assed to drive to safeway to buy dry ice so with a screwdriver and hammer the job was done in about 15 minutes. It'll be repainted regardless so wasn't worried about any paint damage I'd done with the screwdriver. If you look closely, you can also see the tear in the driver's side floor pan right under the seat. I'm not quite sure how the last owner managed that.
I don't think I've ever turned a screw with this screwdriver. It's more useful when paired with a hammer.
Also started work on the passenger side door to understand what I'd need to do when transferring the guts of the dented drivers side door into the new one. All seems pretty damn simple. The door card and speaker do make up a tad bit of weight. If mine were in good condition, I think I would've kept them, but at this stage, it's easier just to get rid of things.
The window crank is in a really odd place once you remove the door card. It sticks out a ton. I took a glance at the LRB speed alu panel and it still has the same issue. It's a real eye sore and maybe a safety issue? As another plus, my drivers side crank is a vice grip. Don't really want to send my knee into that in an accident or while driving in general.
Did some measurements and what I had suspected was correct. The axle thing that the crank attaches to is a consistent diameter throughout so I can trim it short and make something to replace the plastic crank. Whipped up a quick and simple door handle in fusion. 2 operations for the crank body, a single operation for the **** put the **** on a lathe (that's a little more logical...). Off the shelf hardware from mcmaster and a skateboard bearing. Not sure if the single m4 pinch bolt will be enough to keep it from spinning, but I guess we'll see. Might mock it up in PLA first or maybe just send it and get it made in alu.
Now to figure out what I'm going to do with the heater core. I don't really want to pull the hoses and have coolant dumped all over my driveway (or into the interior).
Nice build man! It's coming along the itr rear lca in japan some EG6 came stock on them the u style one same as itr I think maybe the siR models did
Just took a look and I think you're right. The SiR seems to have come with the ITR style LCAs. Debating on if those might be a better option than PCI or F7 spherical arms since ITR coilovers will bolt right up. Some nicer kits like the ohlins DFV are exclusive to the CTR and the ITR so it'll make those an option in the distant future if I ever plan on something like that.
Nice man I'd get spherical I changed all my business and camber kits to hard race but I think I'm going spherical next year I have the ASR rear lca on eg for sure urethane felt hella better I'm sure spherical is even better I just heard sometimes that they may make a clunk sound I think not to sure it's all personal preference the itr style would be more expensive I wouldn't get them unless I had full suspension for itr/sir but it's on you brotha 👍🏽
Nice man I'd get spherical I changed all my business and camber kits to hard race but I think I'm going spherical next year I have the ASR rear lca on eg for sure urethane felt hella better I'm sure spherical is even better I just heard sometimes that they may make a clunk sound I think not to sure it's all personal preference the itr style would be more expensive I wouldn't get them unless I had full suspension for itr/sir but it's on you brotha 👍🏽
Just remembered that the PCI arms have adjustable sway locations and the stock ITR sways aren't adjustable. Will probably do that since I'm not quite ready to drop 3 grand on a set of DFVs
The PCI trailing arm bearing is very very loud. Think of a loose bottom shock bolt or a loose LCA or something of the likes, but it makes that clunking sound over every bump and at all speeds. It certainly does make the car a lot more predictable compared to the dry rotted rubber bushing I had on there at first though.
👋 Also a fellow bay area resident in the south bay. Is that track in your PFP buttonwillow or thunder hill? Looks familiar.
Did an hour or two of work today and started on the last leg of the interior work that needs to be done. The big items are the heater core delete...
Now to figure out what I'm going to do with the heater core. I don't really want to pull the hoses and have coolant dumped all over my driveway (or into the interior).
Will you take some pics of the heater core delete process?
It looks like a PITA to get to the core to delete, or R&R.
I will be curious how much debris you will find on the core after 25+ years...
I think if you put a drain pan under the firewall you can catch most of the coolant when you pull the hoses off the core.
Whoops. I'll go grab another one tomorrow. 25 year old ABS that's been baked in the sun is quite brittle I guess.
Last owner left me a nice rat's nest behind the DC2 cluster. Gonna need to figure this one out.
Found a bumper reinforcement thing at the junkyard to toss on. Far better than the single random hex bolt the last owner had put there. The bumper was basically just hanging from a bolt. Wasn't even fastened down.
I need to find some slightly bigger countersunk washers since these aren't quite the right size and only clamp one edge of the metal bracket if it's maxed out fore/aft towards one end. The torx is a big improvement. Not having to fight the screw trying to cam out makes life so much easier.

 11-13-2020, 10:54 PM