
HOW TO : DIY EK Hood Dampers using eg rear window dampers
 07-24-2008, 05:44 PM
#1
Junior Member
Thread Starter
Join Date: May 2005
Location: fresno, ca
Posts: 227
Likes: 0
Received 0 Likes
on
0 Posts
***** use a thicker metal than the one i used
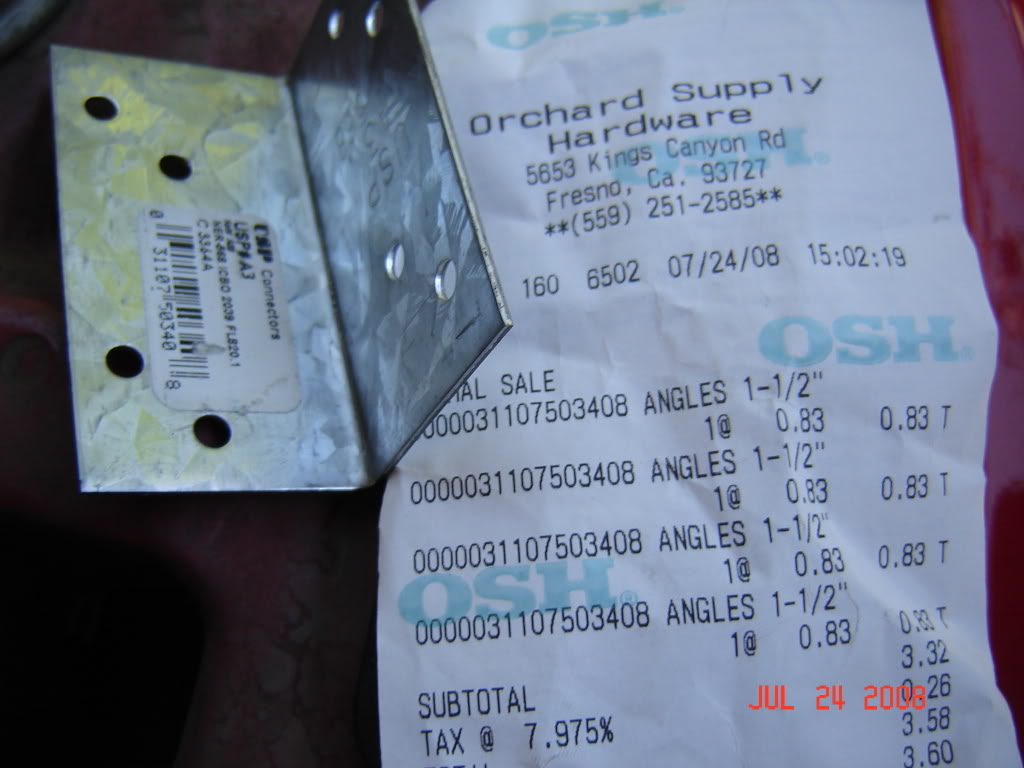
*****also, i found that the hardware store had some thicker pieces of metal that were already 90 degree angles.... if you use those, you dont have to do any bending, only cutting, so it's easier.
dampers were bought used for 15 bucks and total cost was under 20 bucks......
do you need it? no
is it necessary? no
y did i do it? boredom
enjoy...
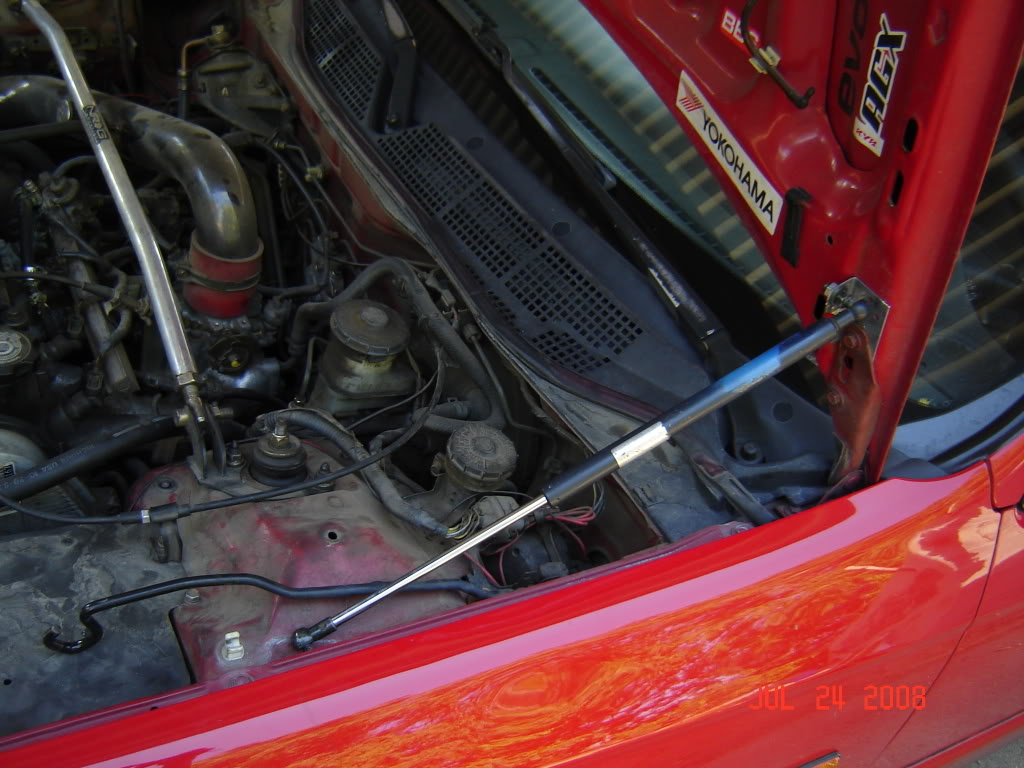
ok here is the first attempt.....
Behold my almight k20 people are talkin about

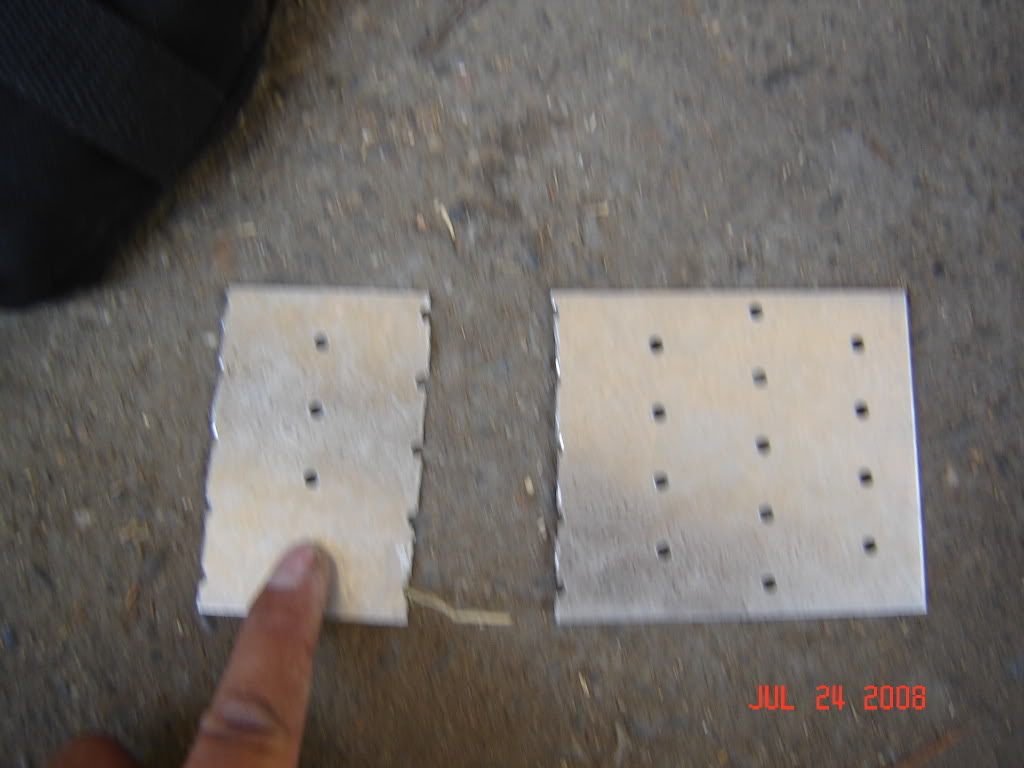
get your dampers and scrap metal.... i used a kind of a thin sheet so that i could bend easily for first measurements
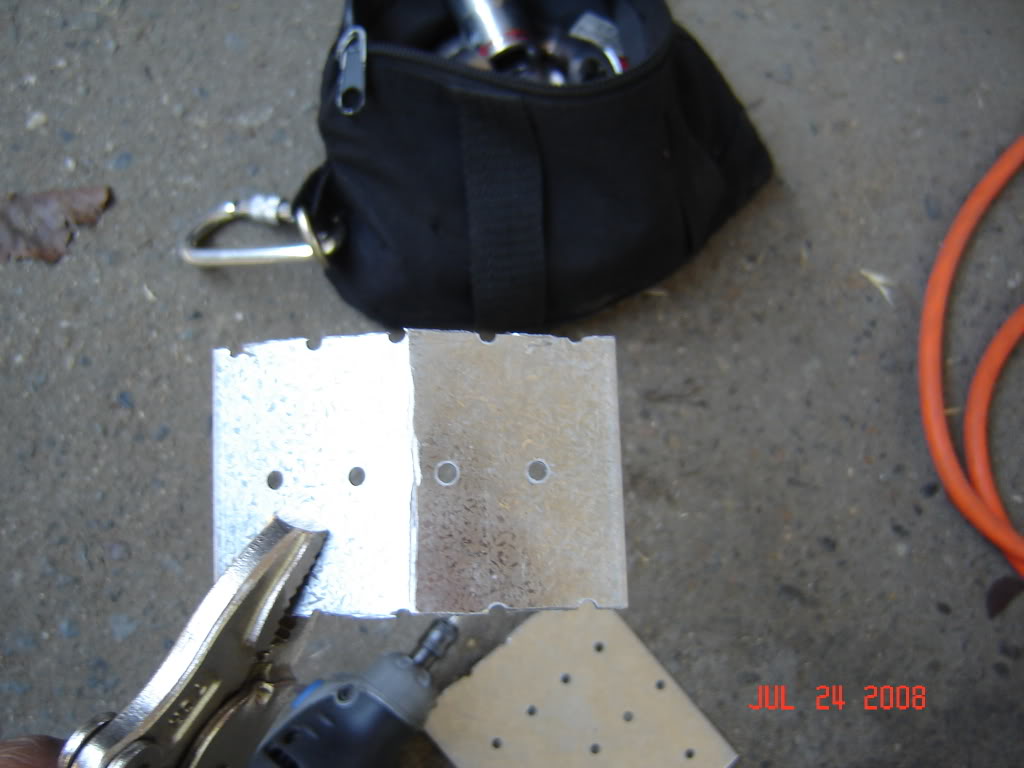
Get your dremmel and extension cord

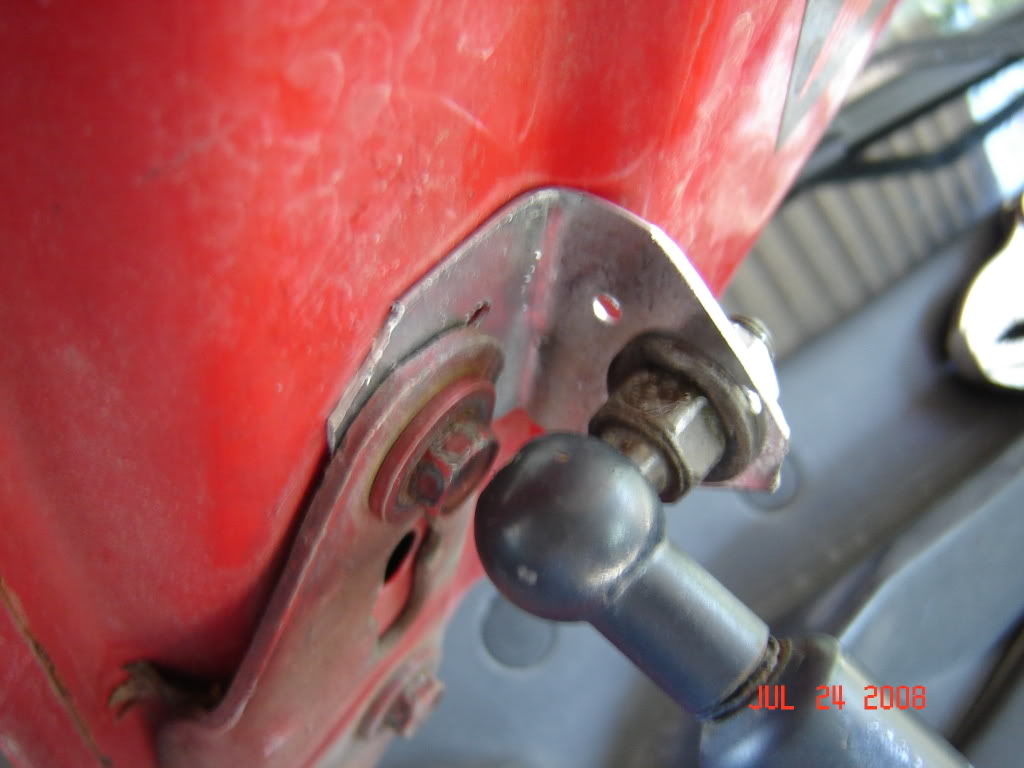
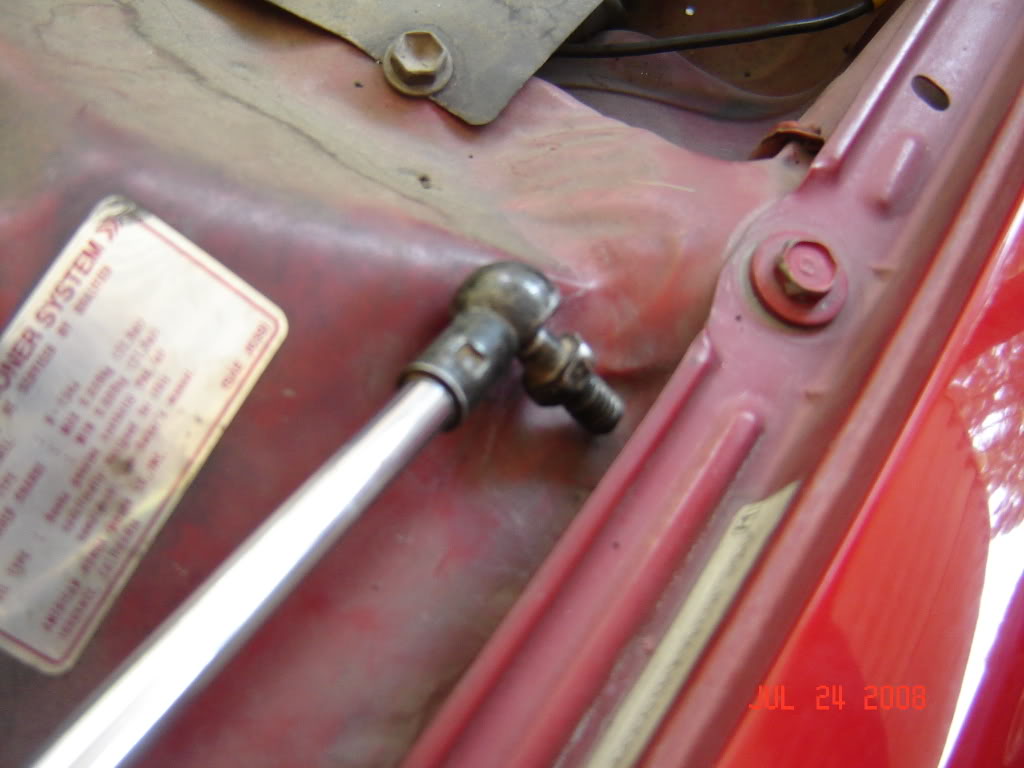
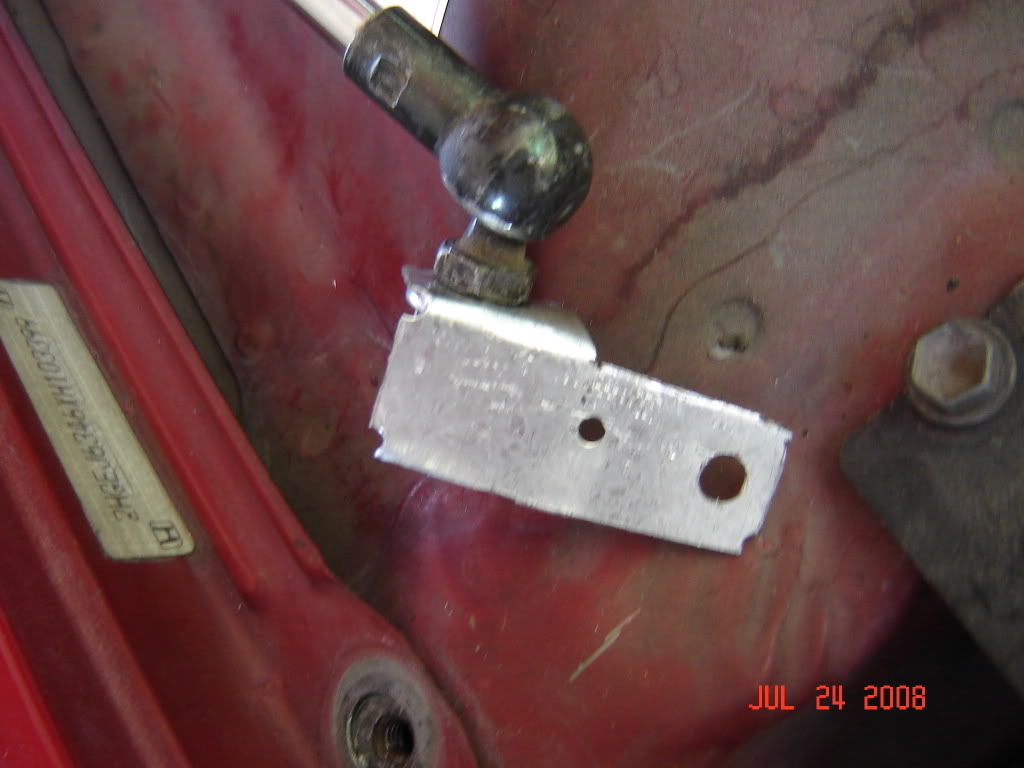
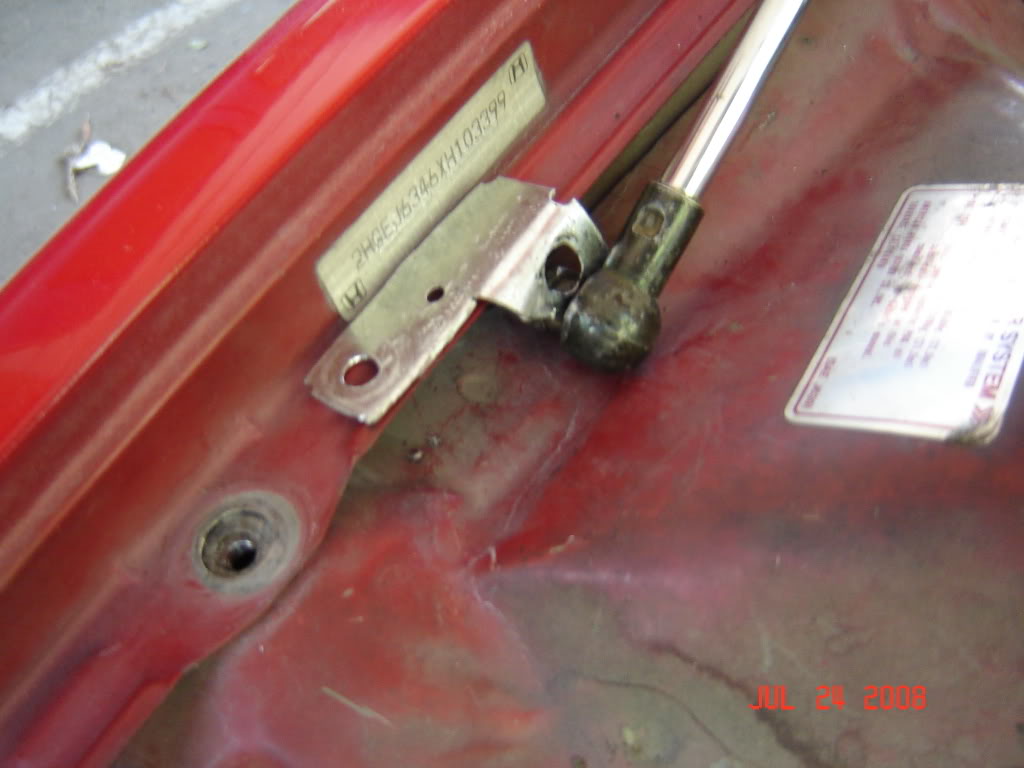
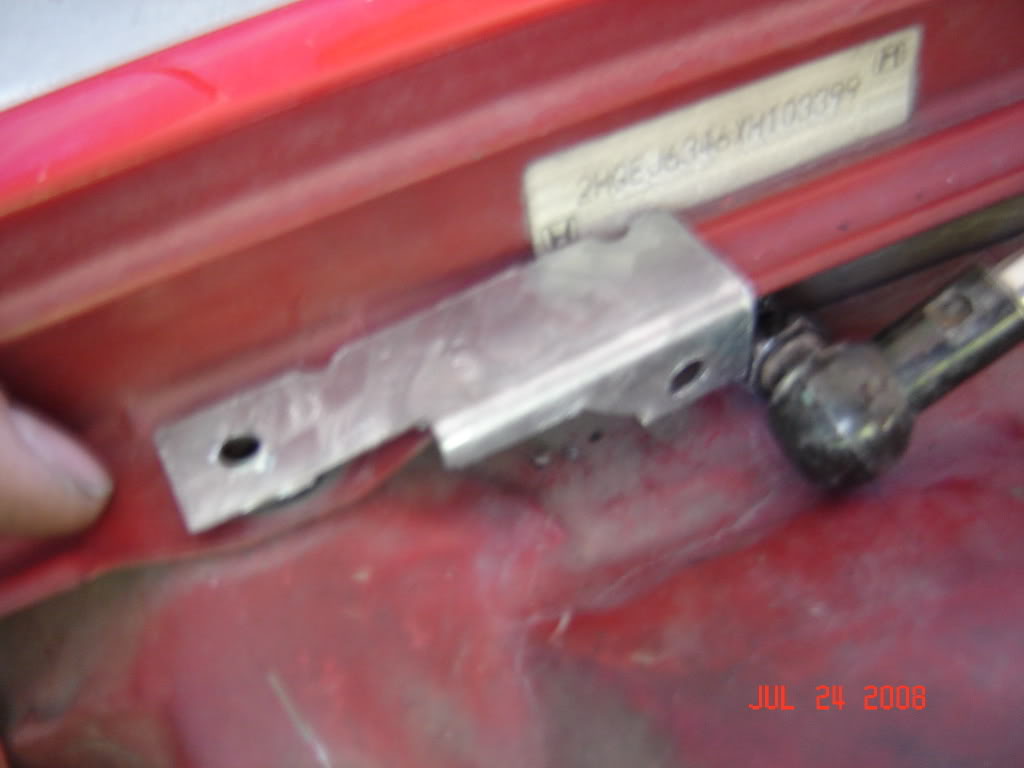
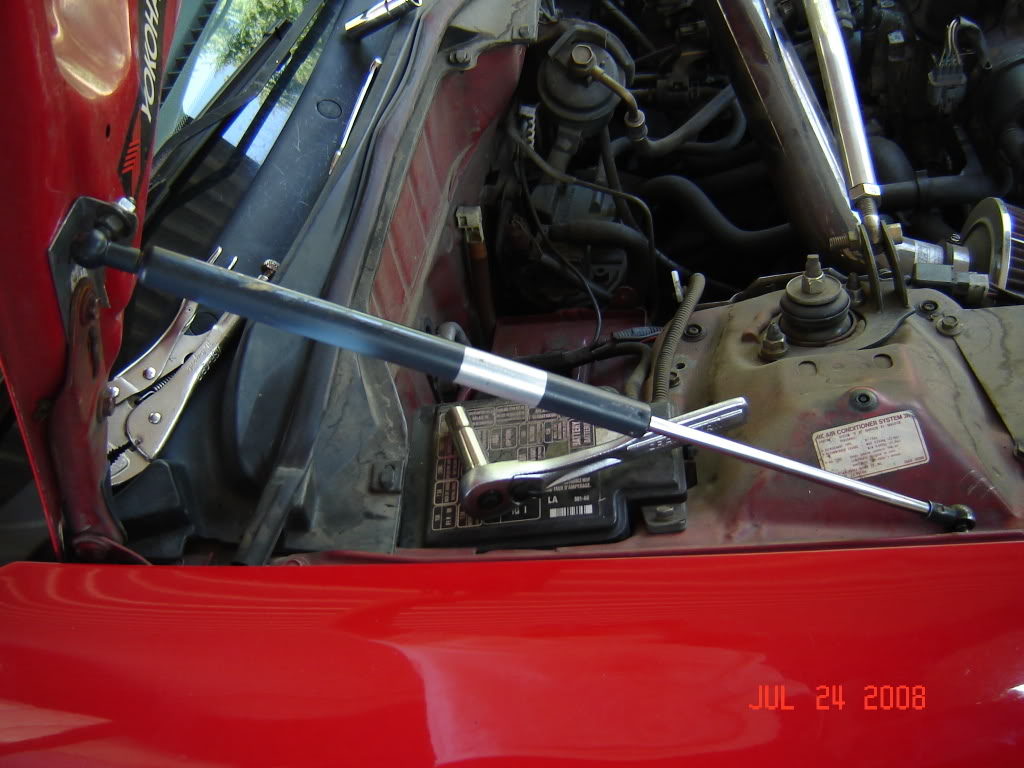
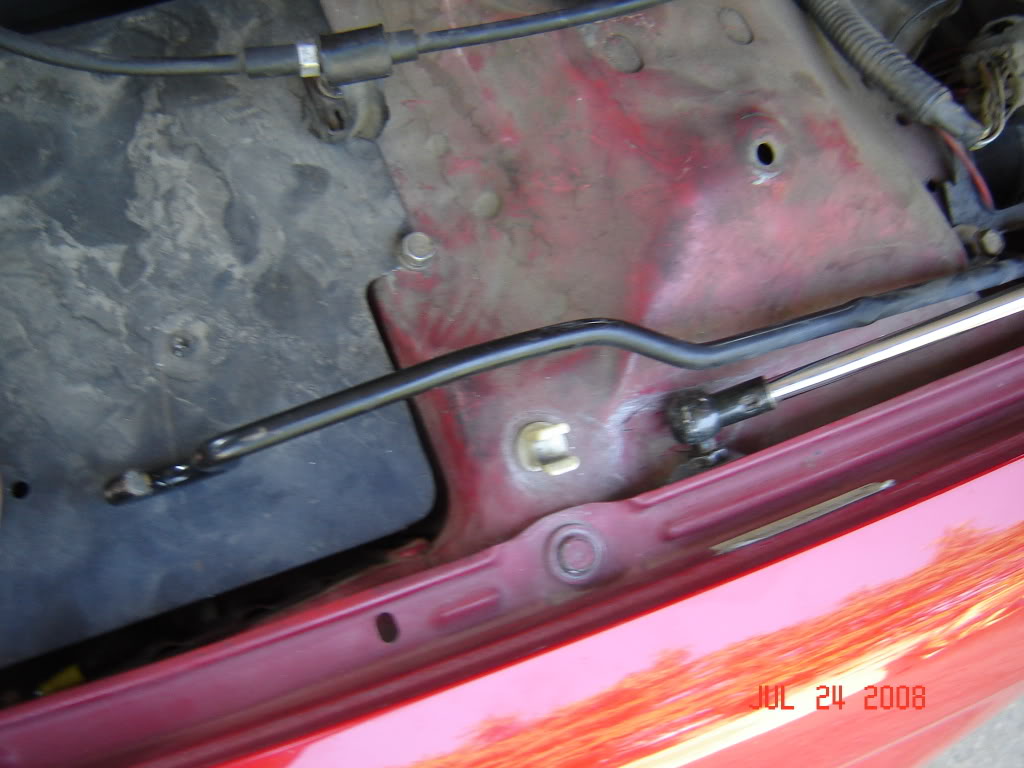
Now, the placement of the dampers in NOT going to be ON the fender as some people (such as me) may think
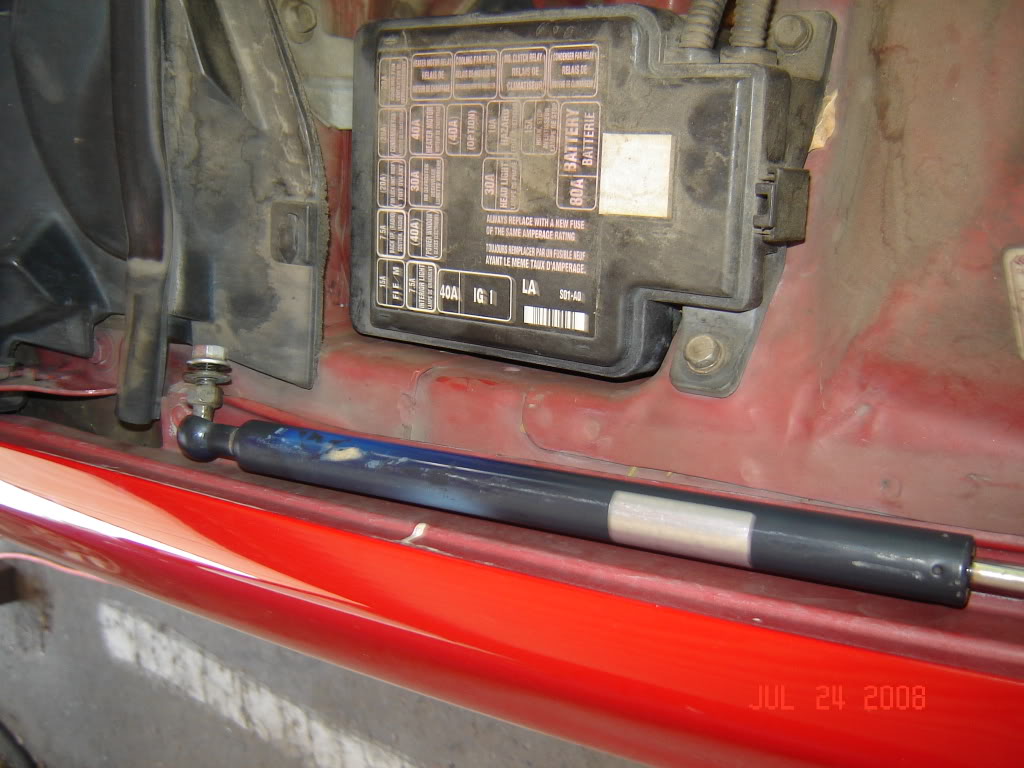
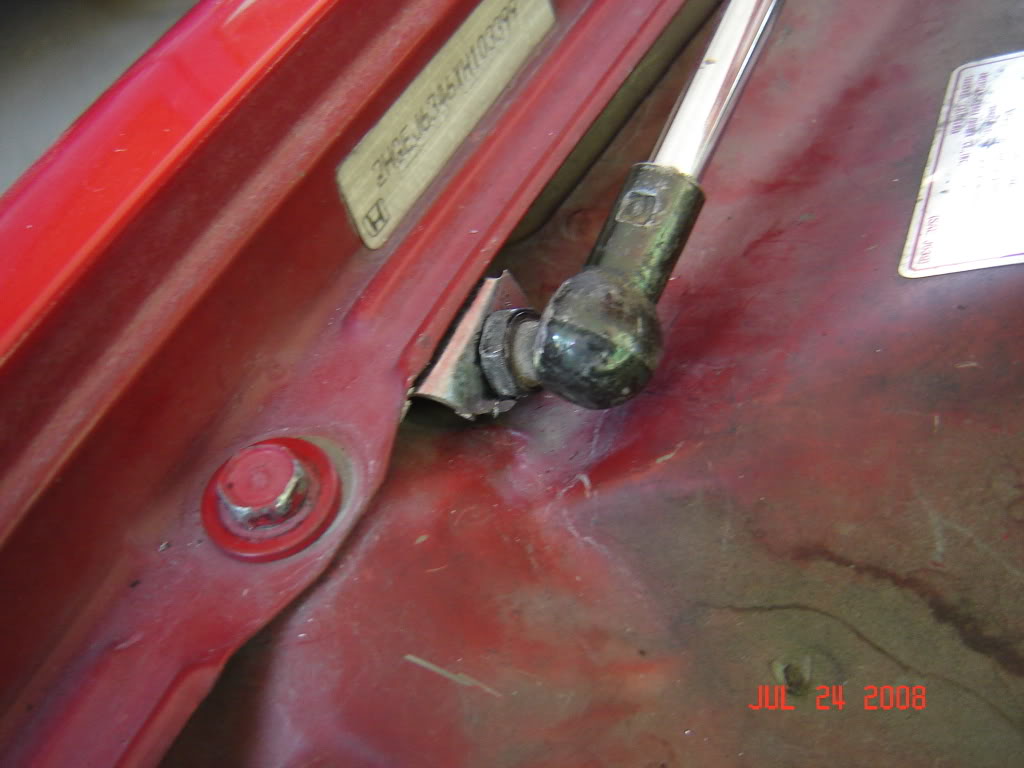
We are goin to put the damper NEXT to the fender like this..
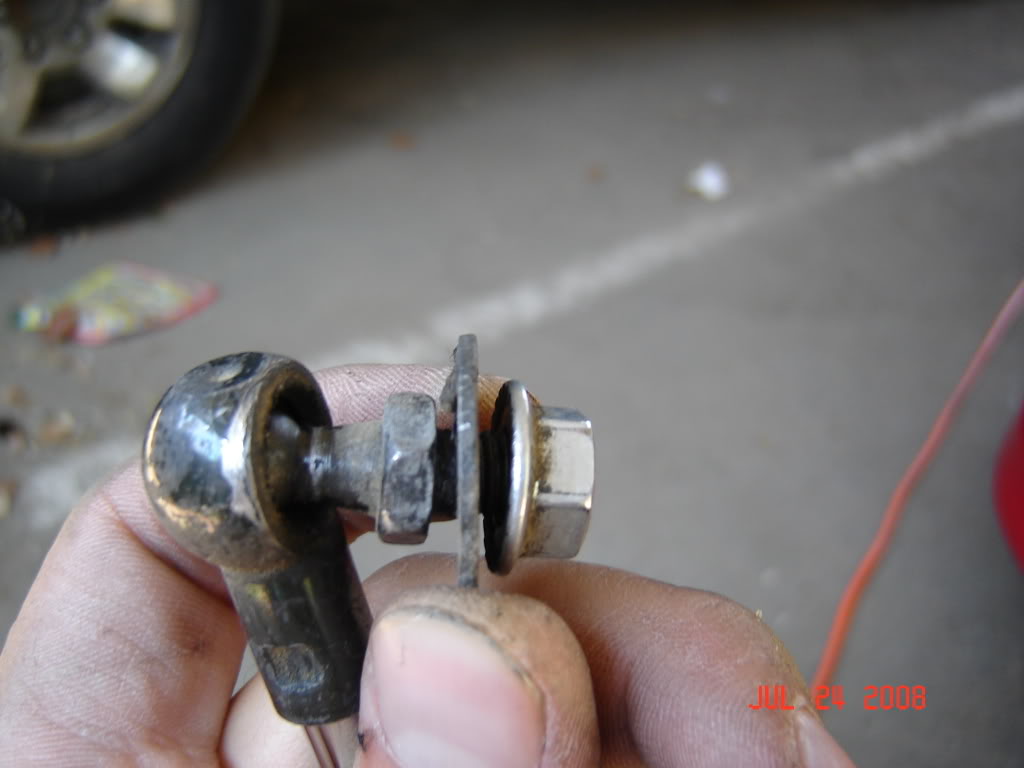
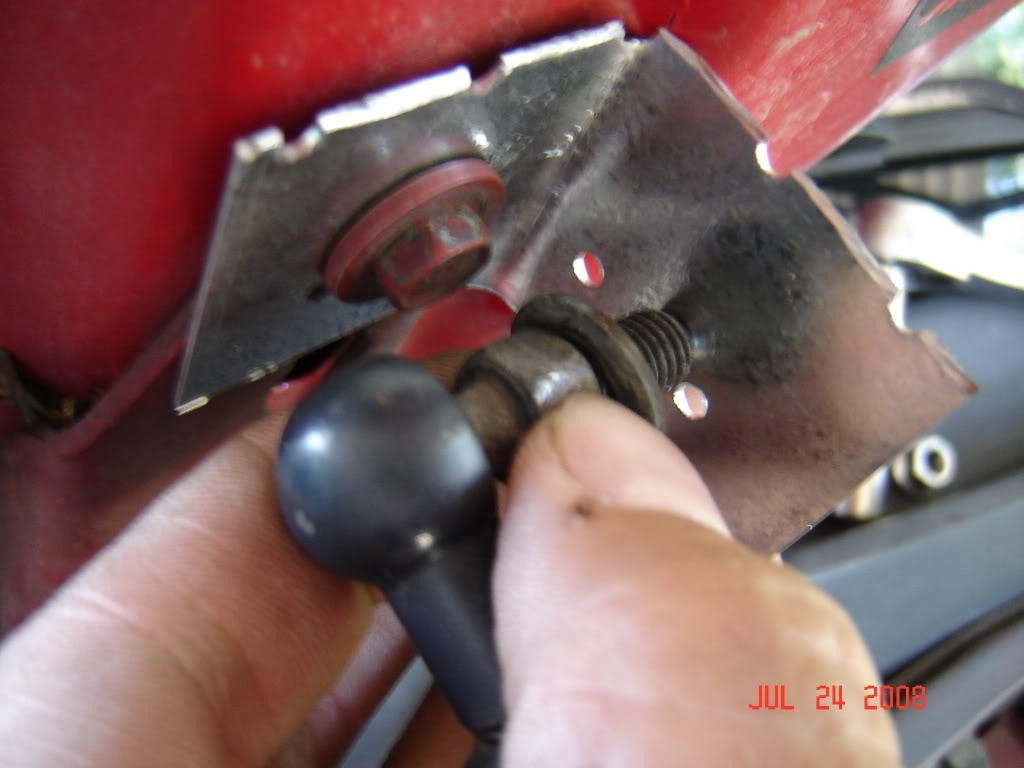
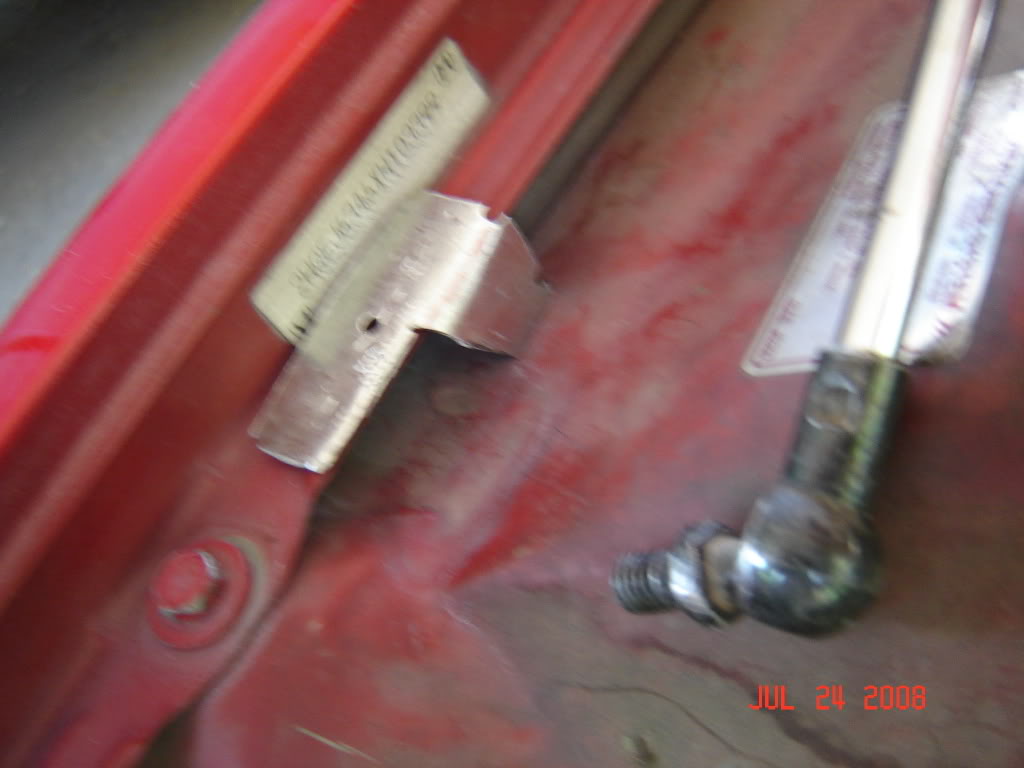
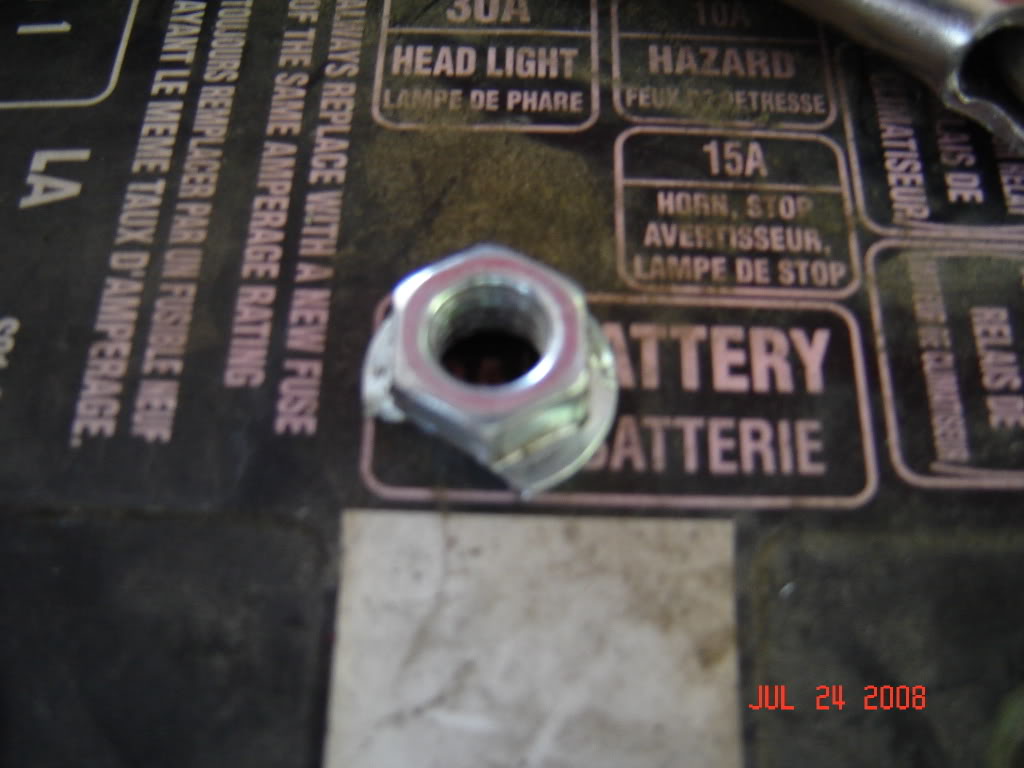
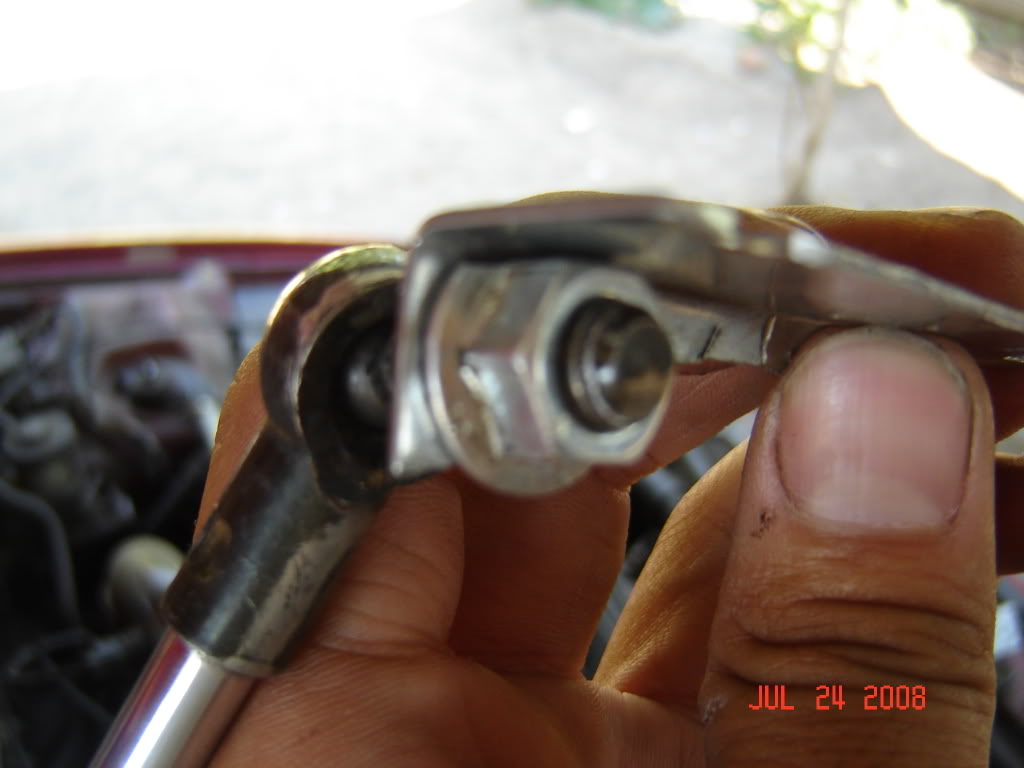
now both sides of the damper have these washers..
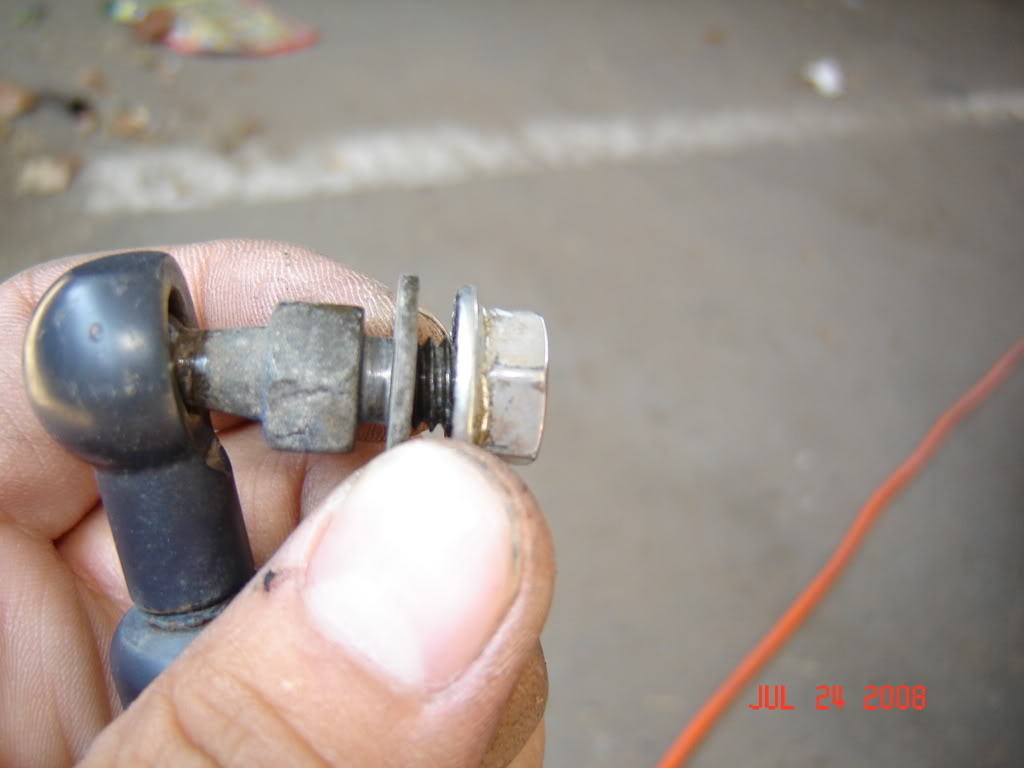
one of these washers is larger than the other, I cut this larger washer off because i though it may make the installation easier.
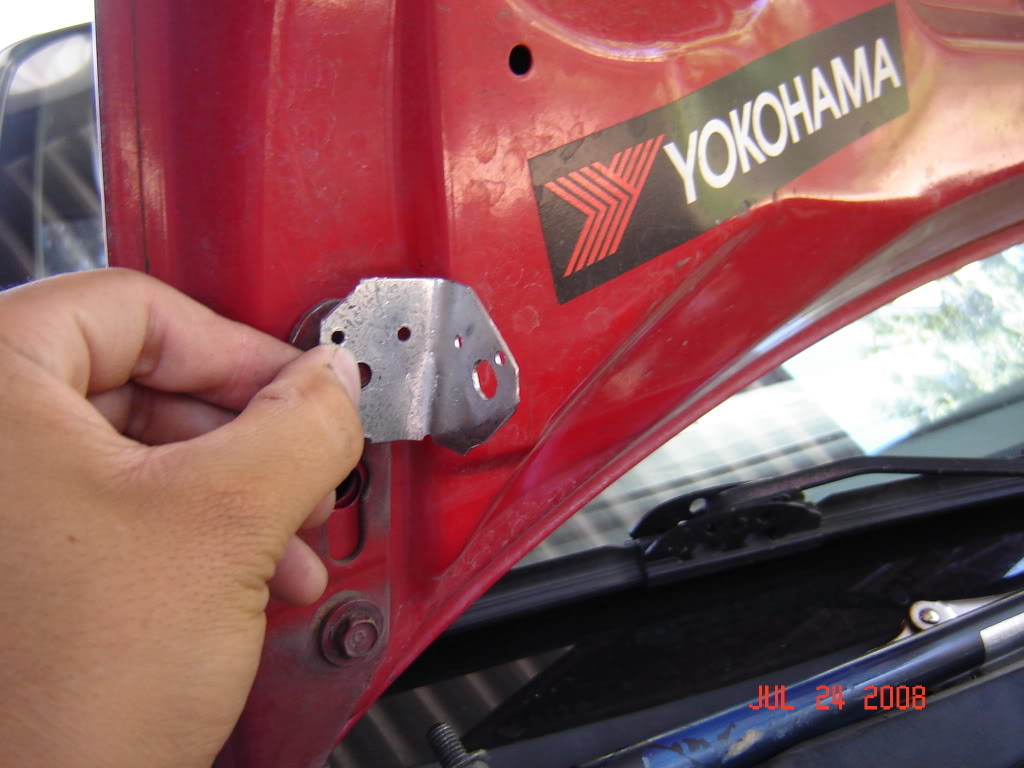
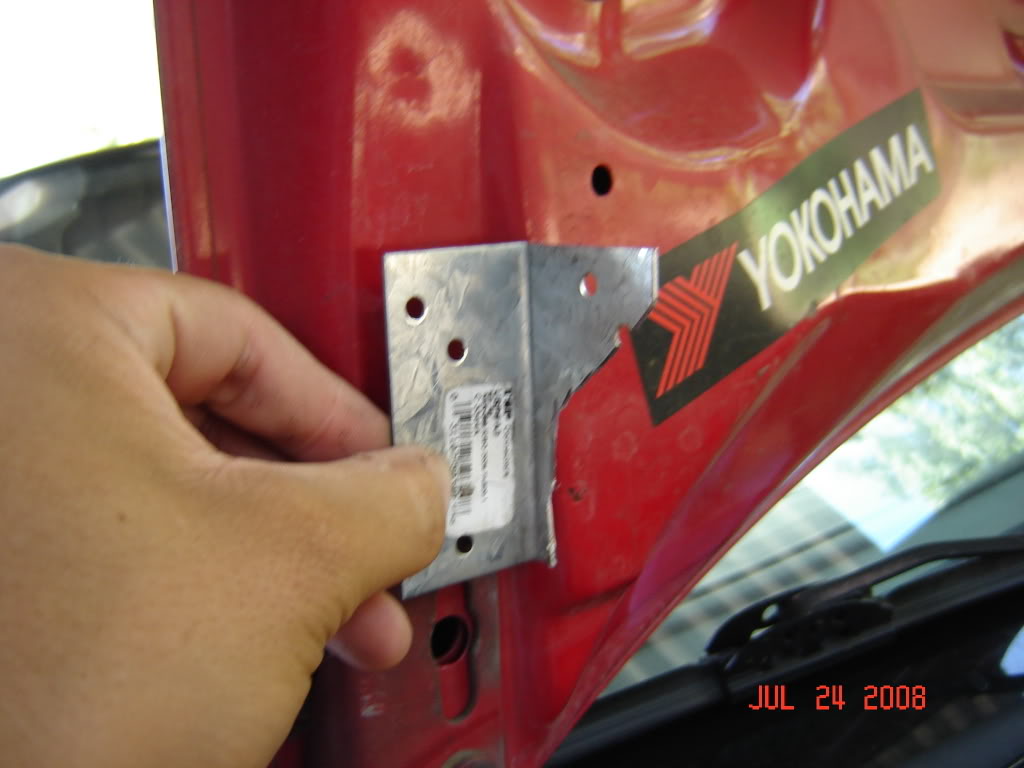
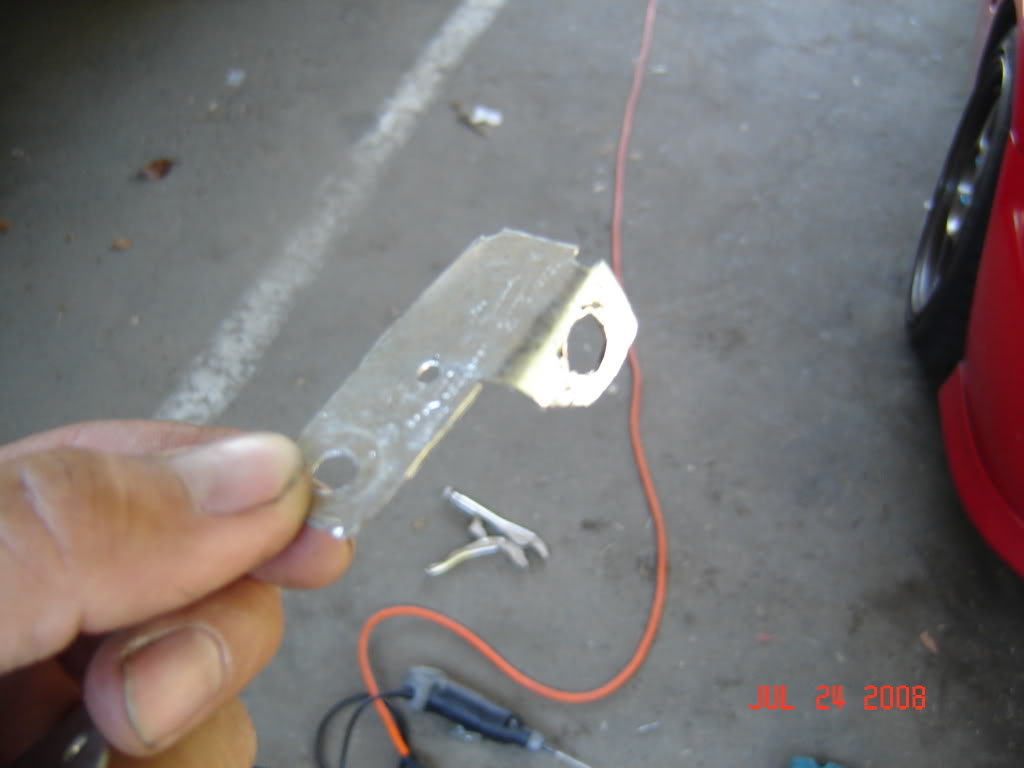
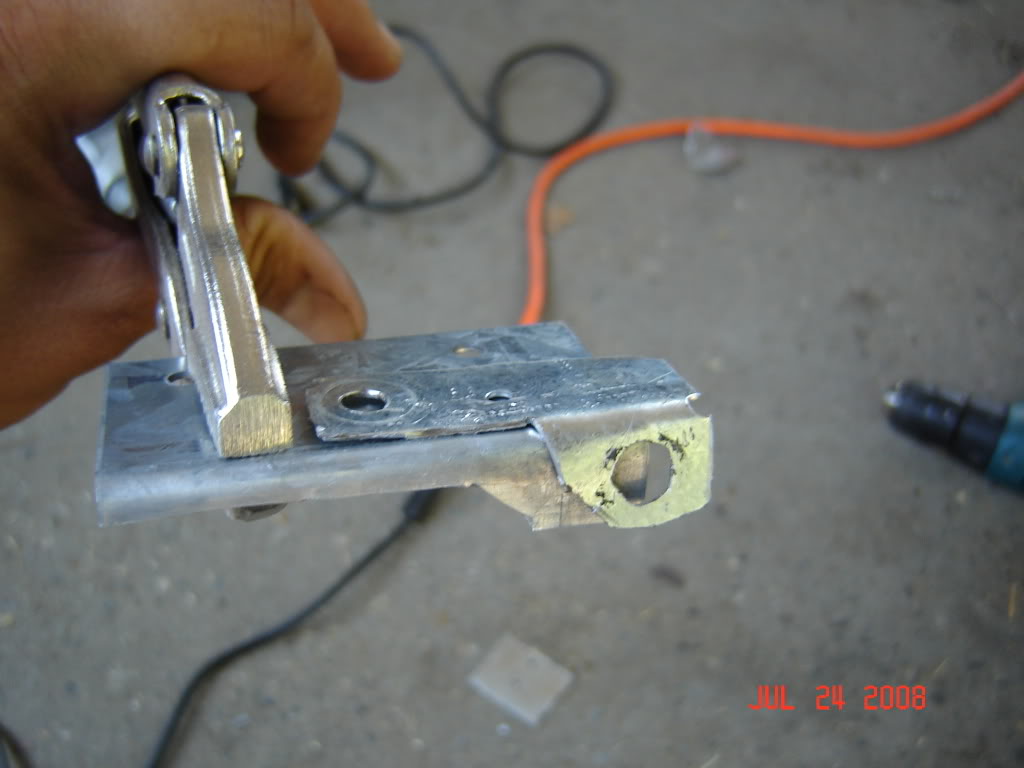
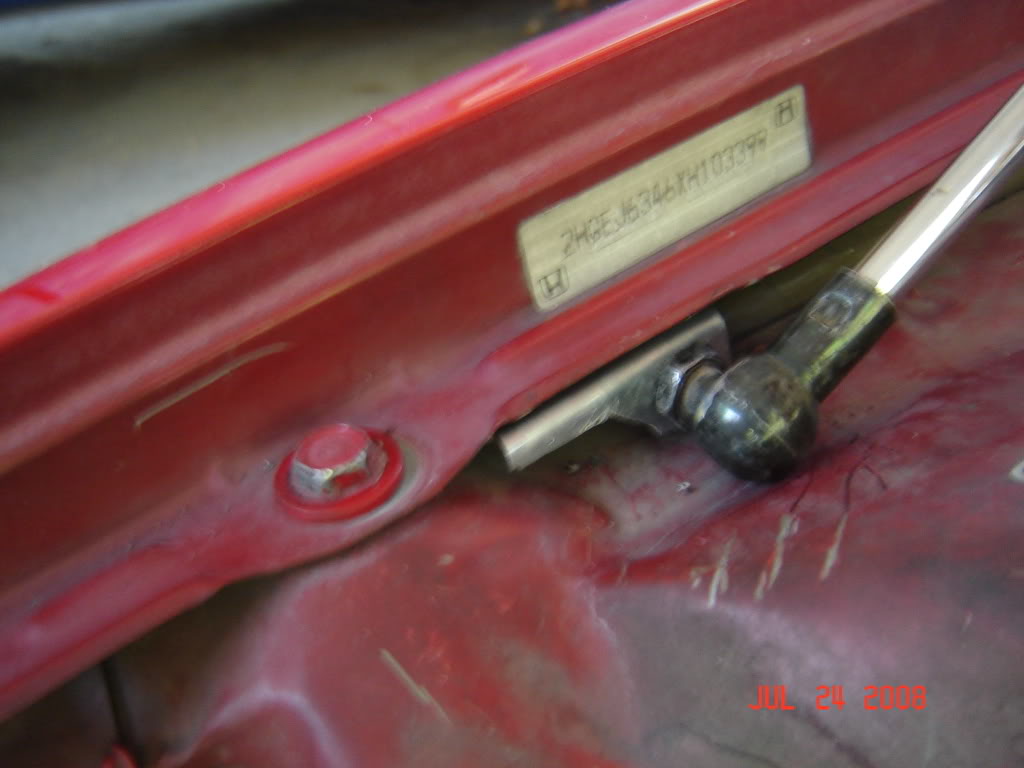
now we are going to need a l bracket so i ghettoed this one.
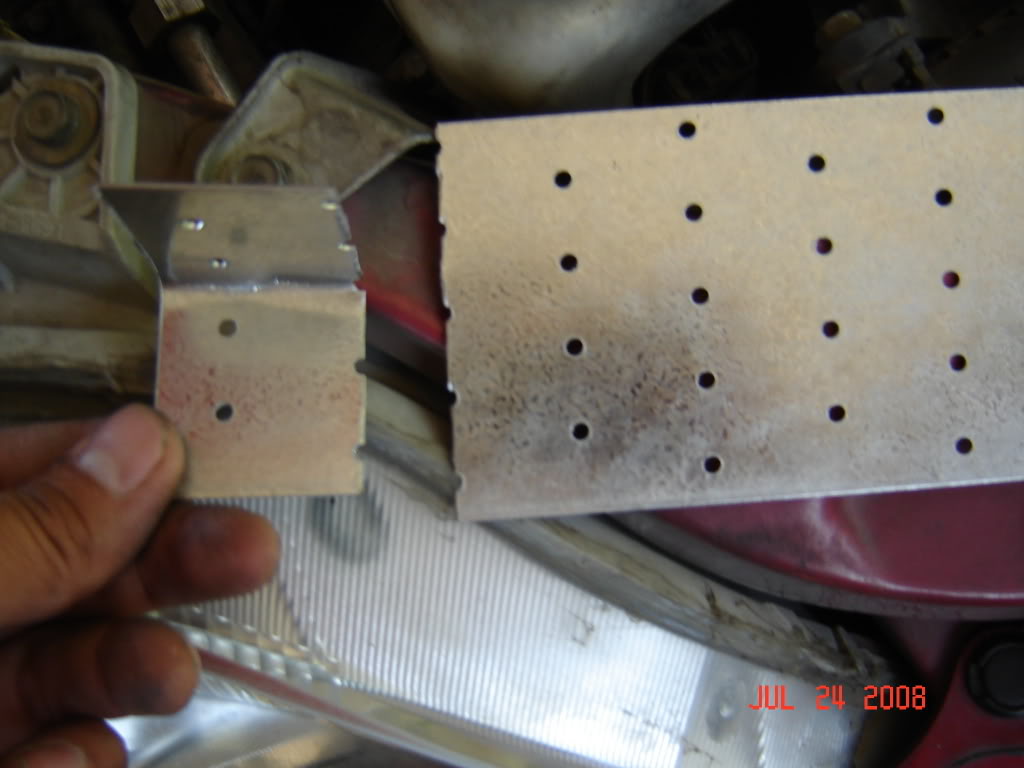
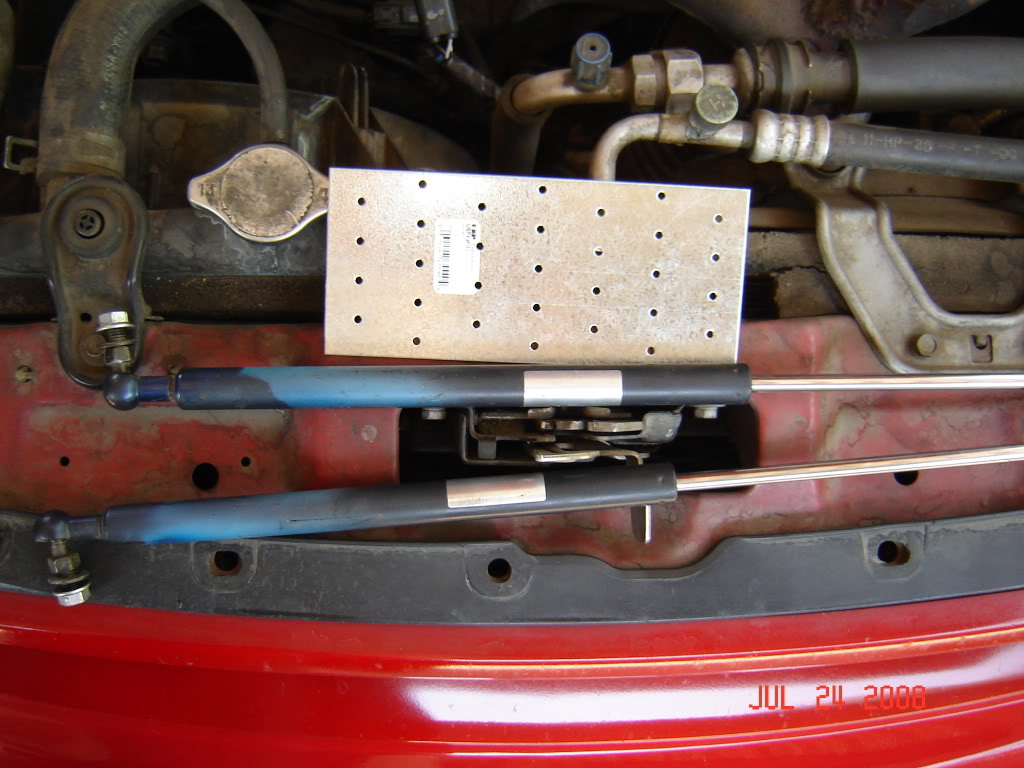
in my first attempt i drilled the hole so that the damper would mount right next to this bolt as you can see
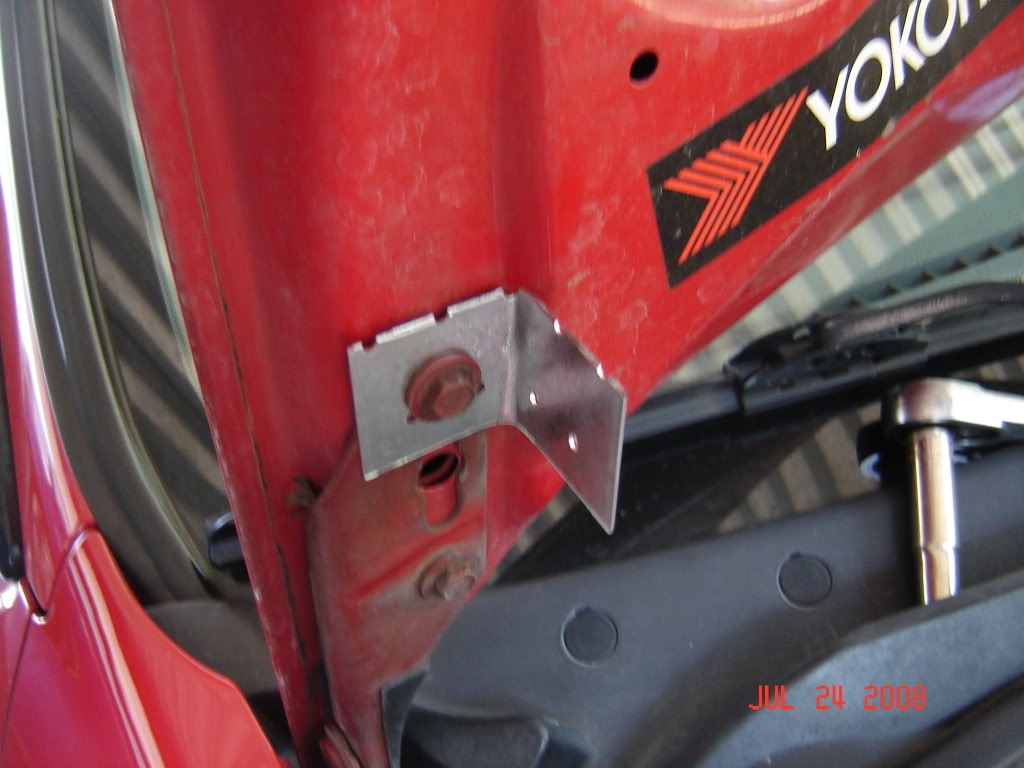
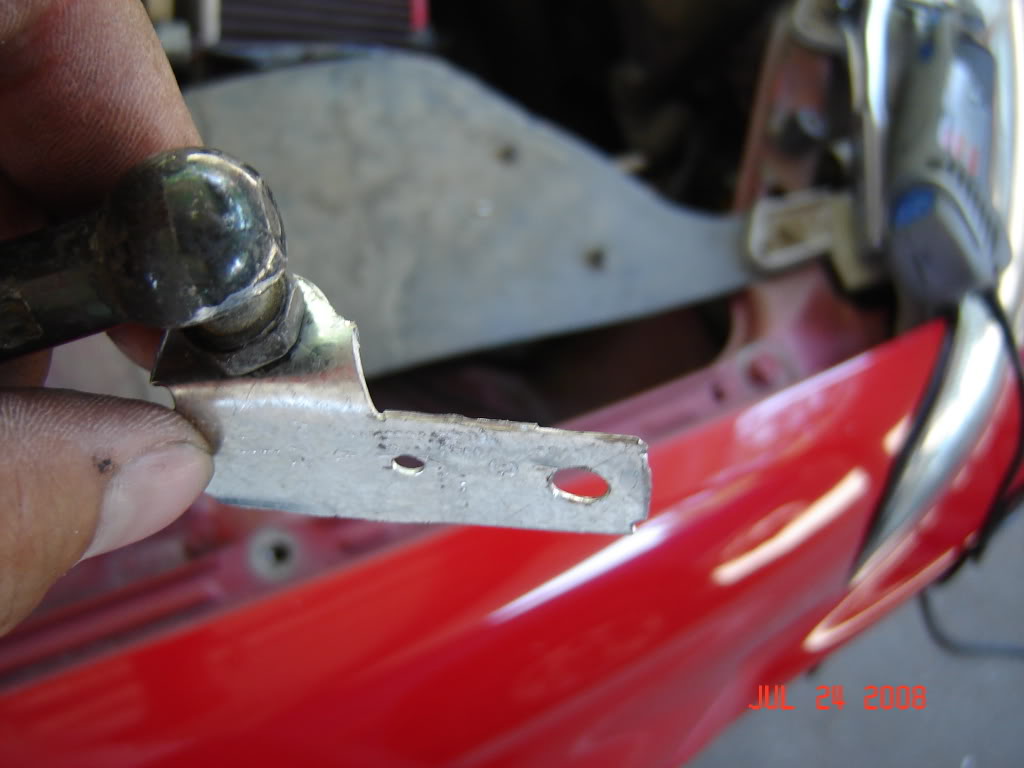
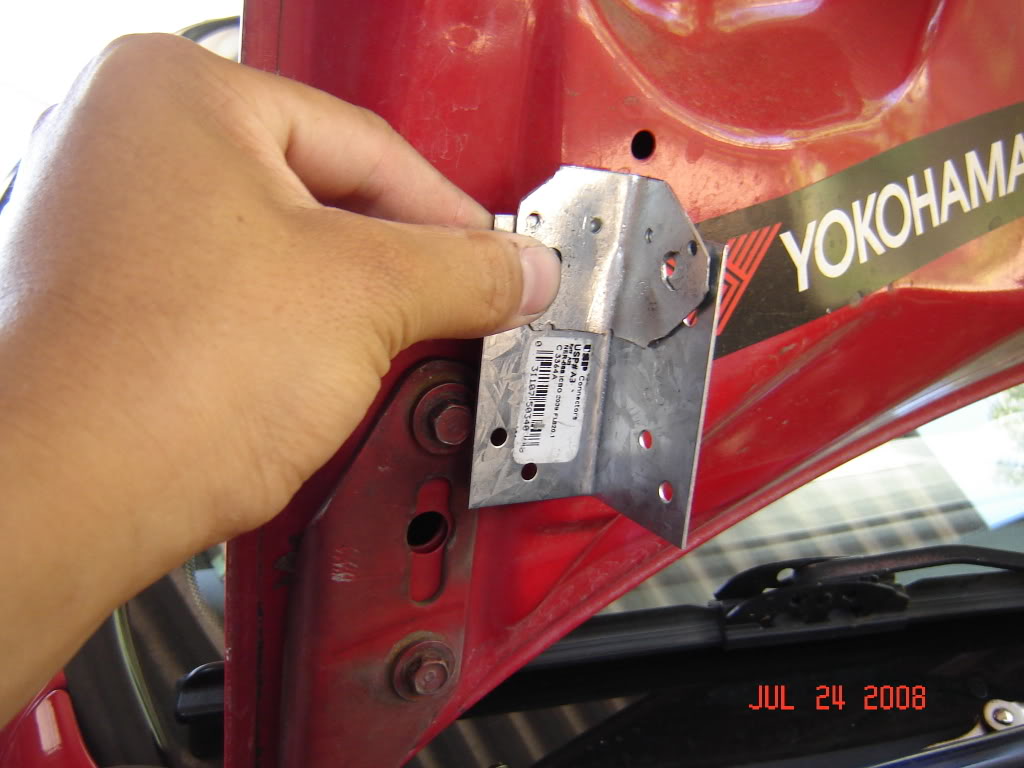
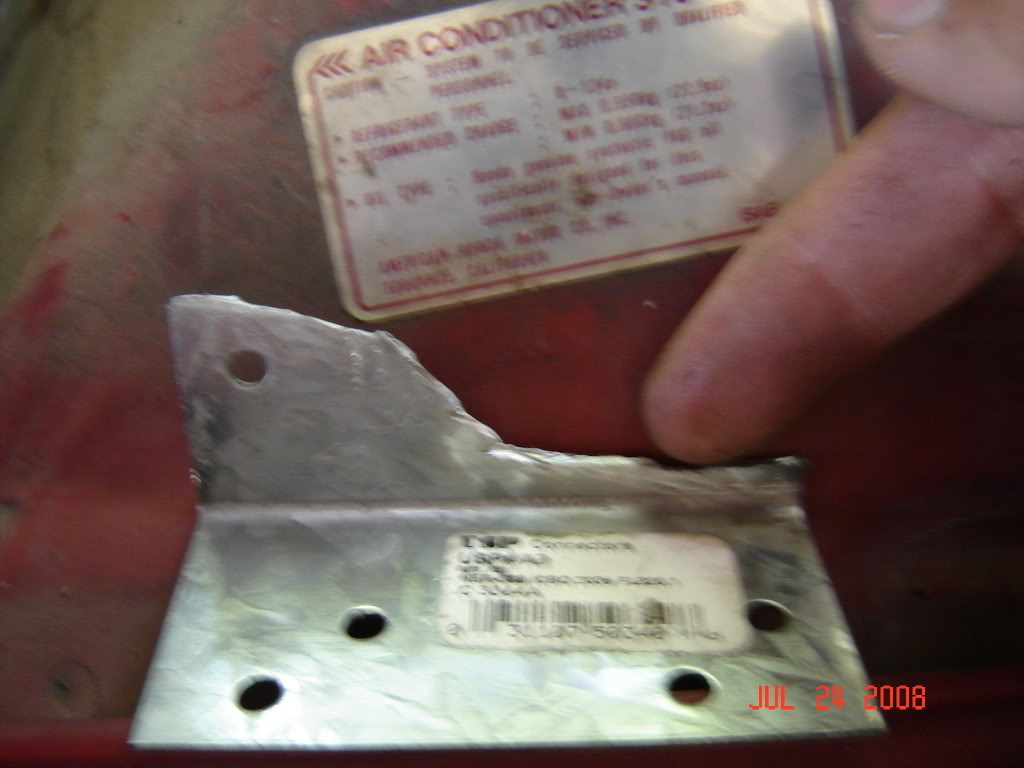
my original measurements looked like this.
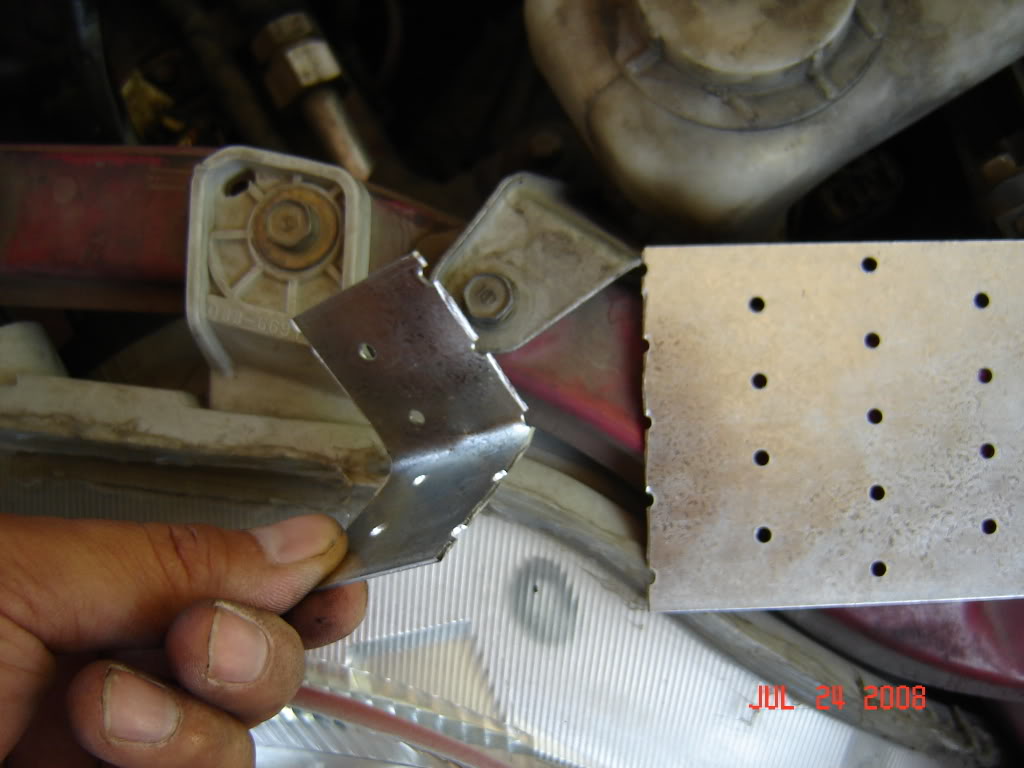
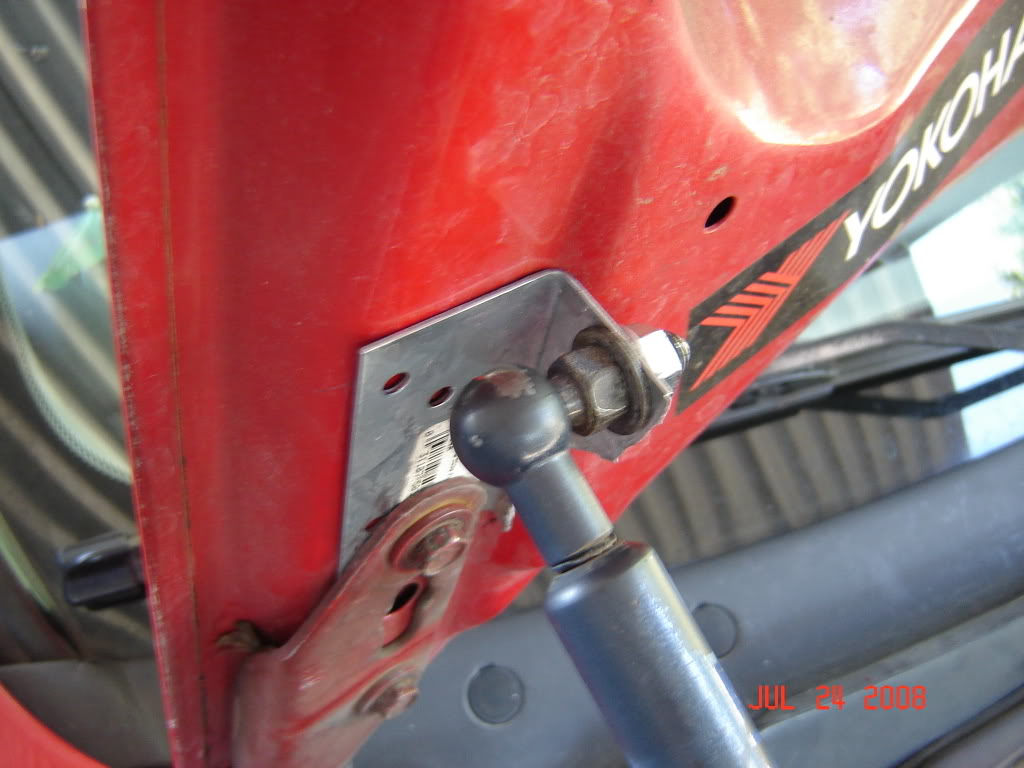
bolt and grind everything up and it should look something like this...
I DID realize that mounting the damper HIGHER above the bolt will give the damper More leverage in opening the hood.
so my finished results will be mounted higher up with thicker metal which i will update when i do finish it.
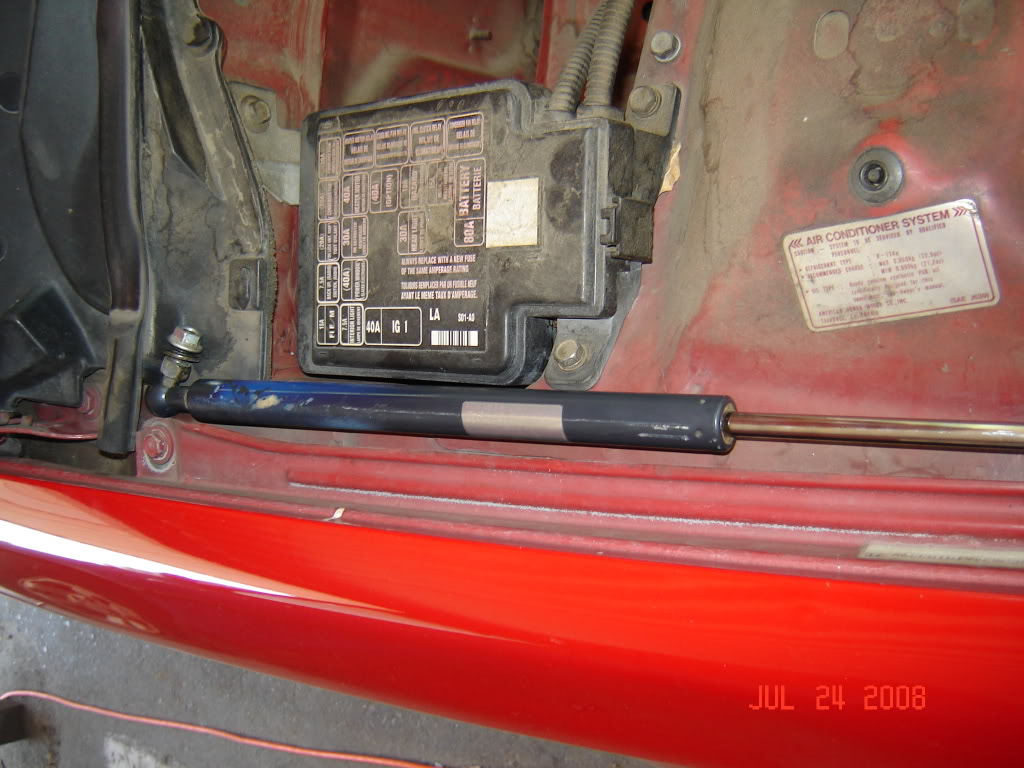
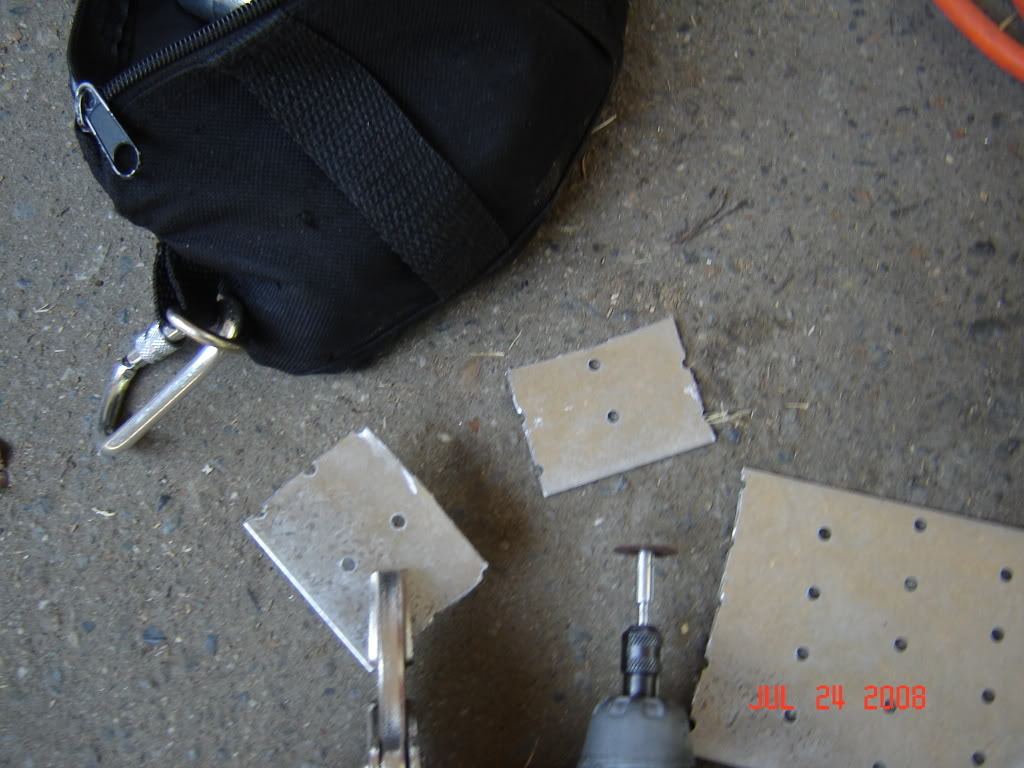
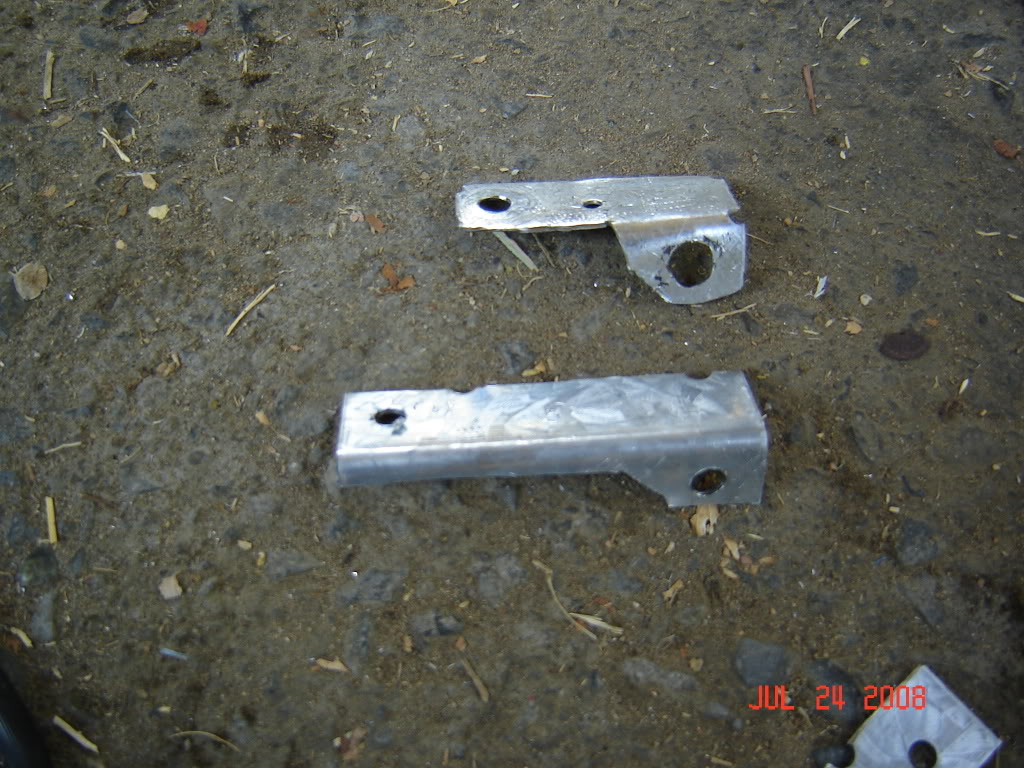
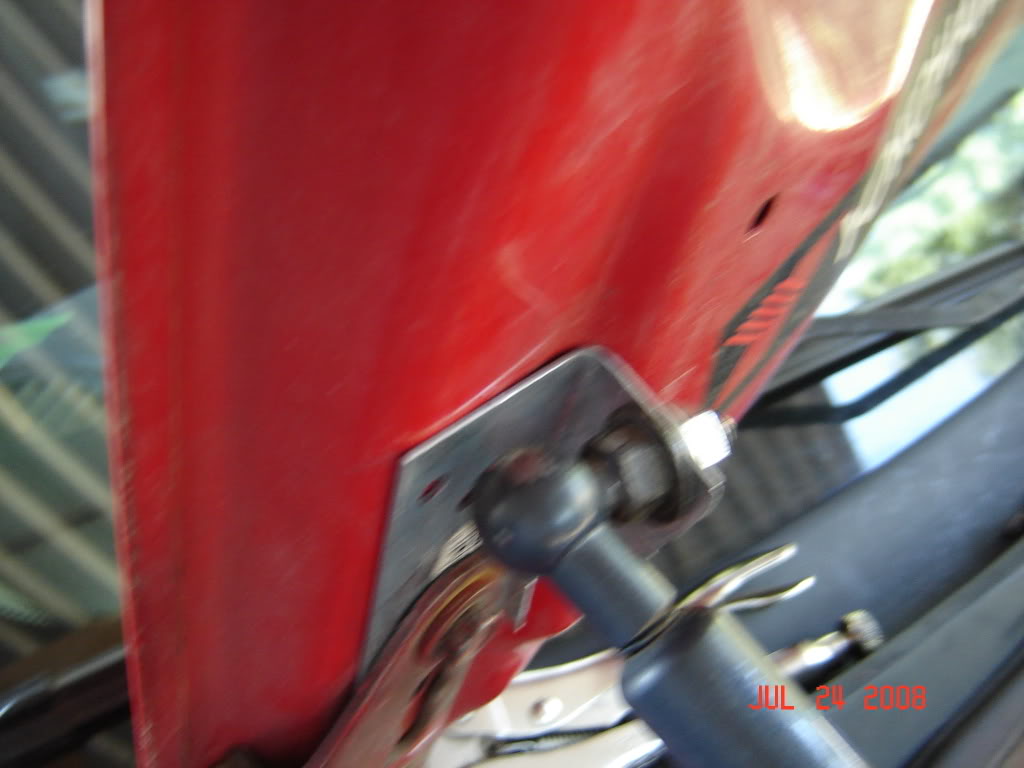
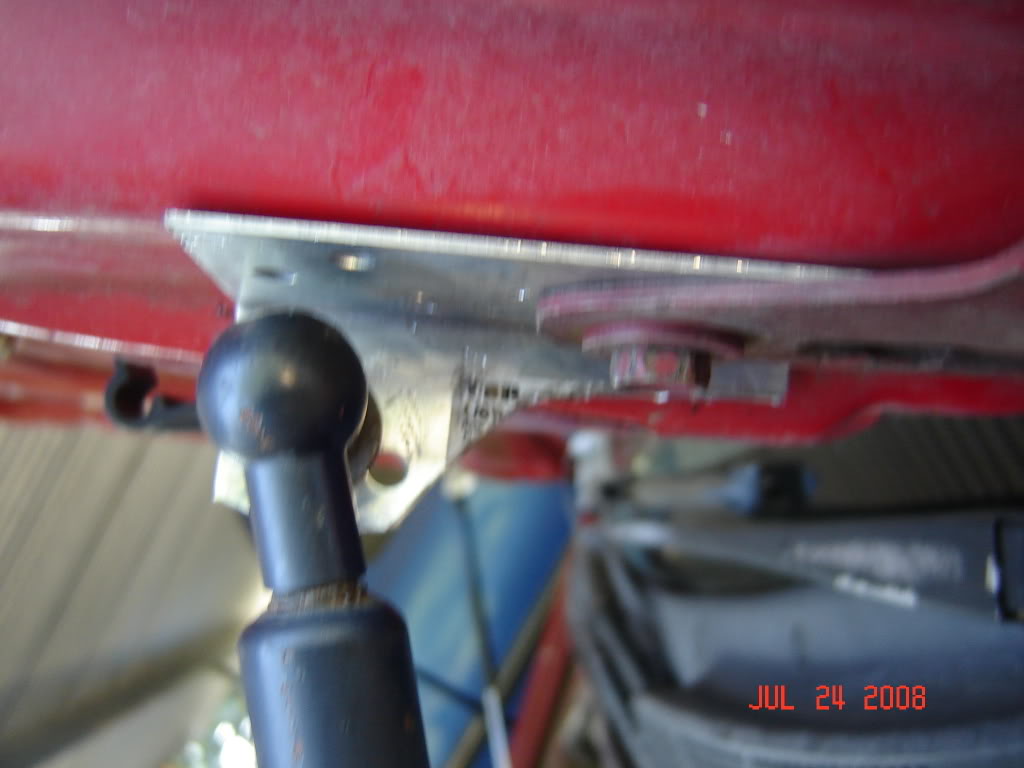
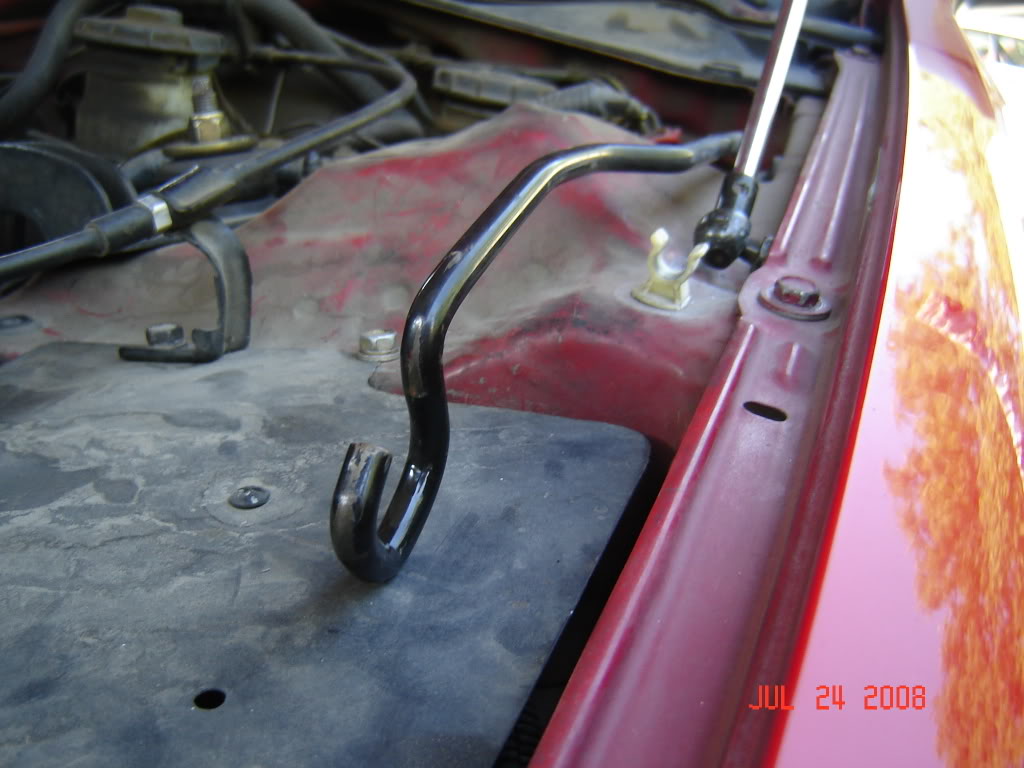
now to the bottom mount.....
well the piks are actually self explainatory so take a look
another l bracket is needed.

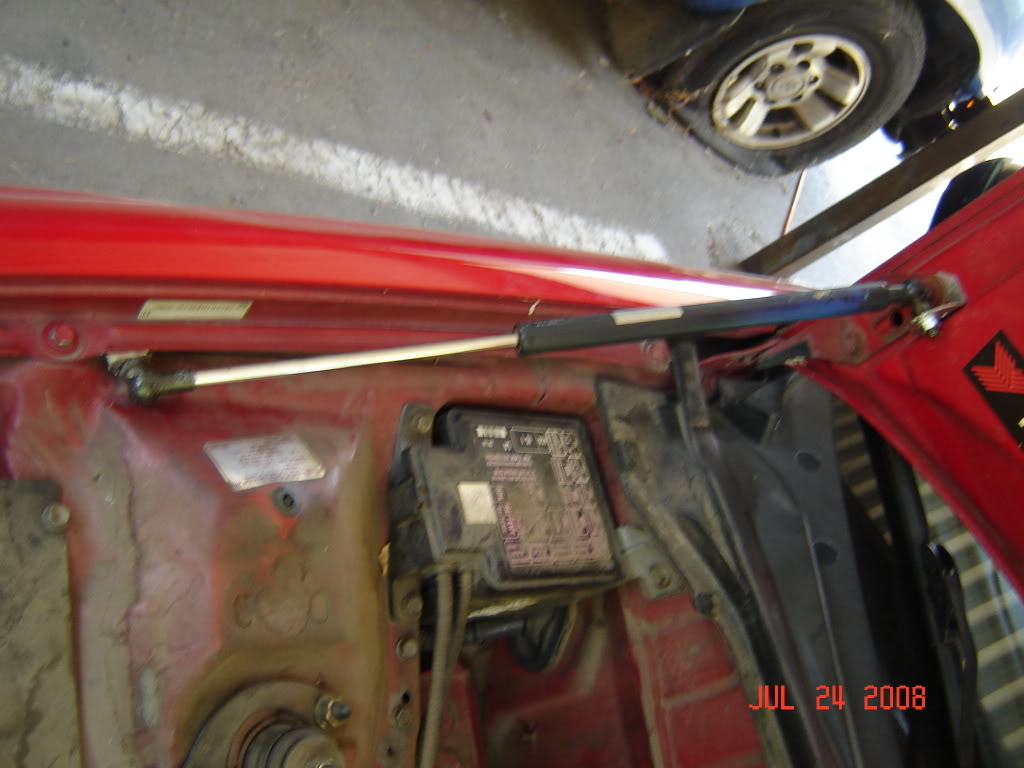
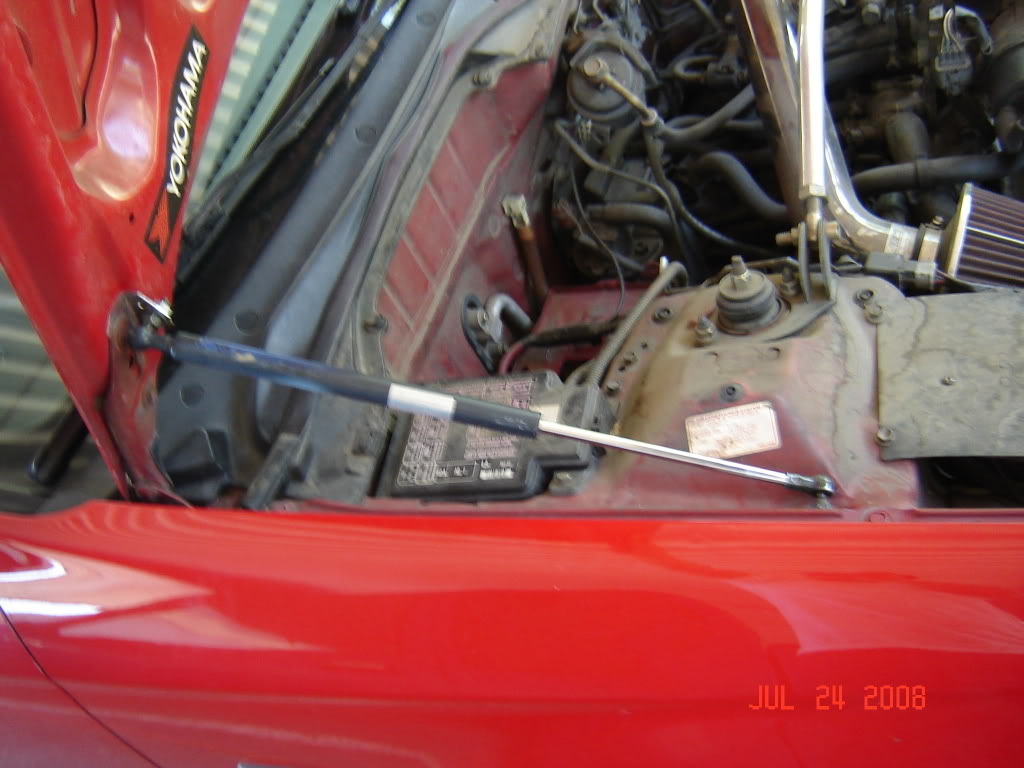


there you go. some final notes, the thin metal i used flex'd a lot. i just bought some thicker metal which i will update when finished.
also the bottom mount will be about an inch closer to the windshield in the final product. the upper mount will also be about an inch higher to increase the leverage of the dampers... the driver side damper is basically the same
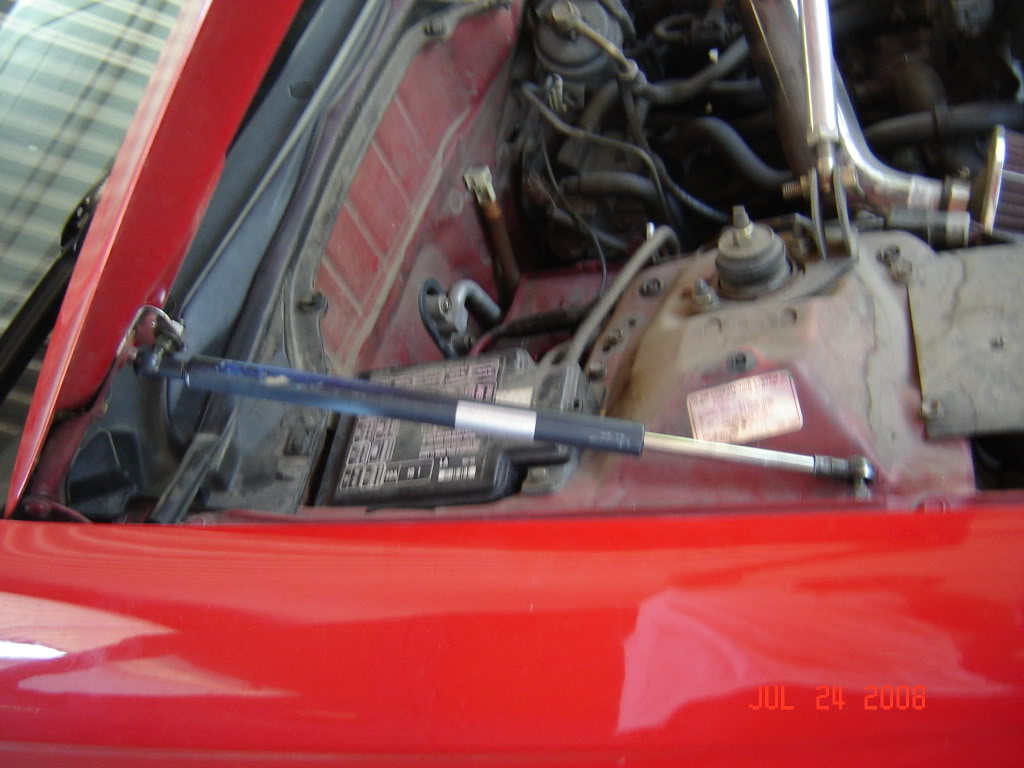
second attempt is finished...... some notes to consider
1. the thicker metal holds up bit better, but the hood mount could still be thicker
2. the new metal that i used for the lower mount is good enough
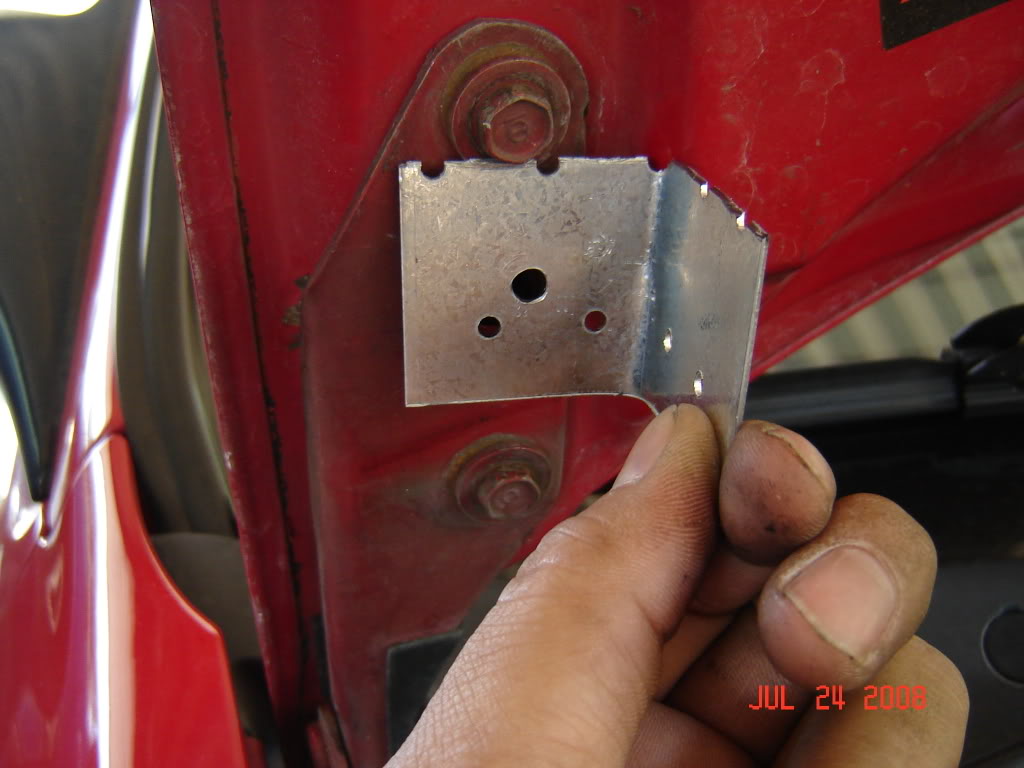
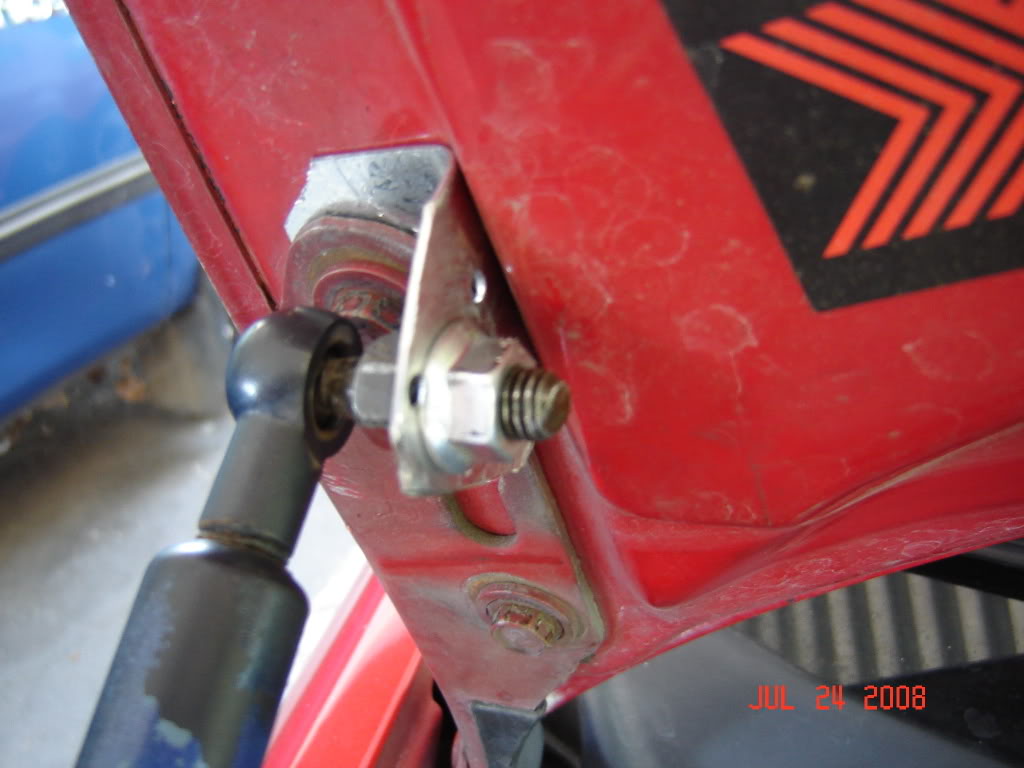
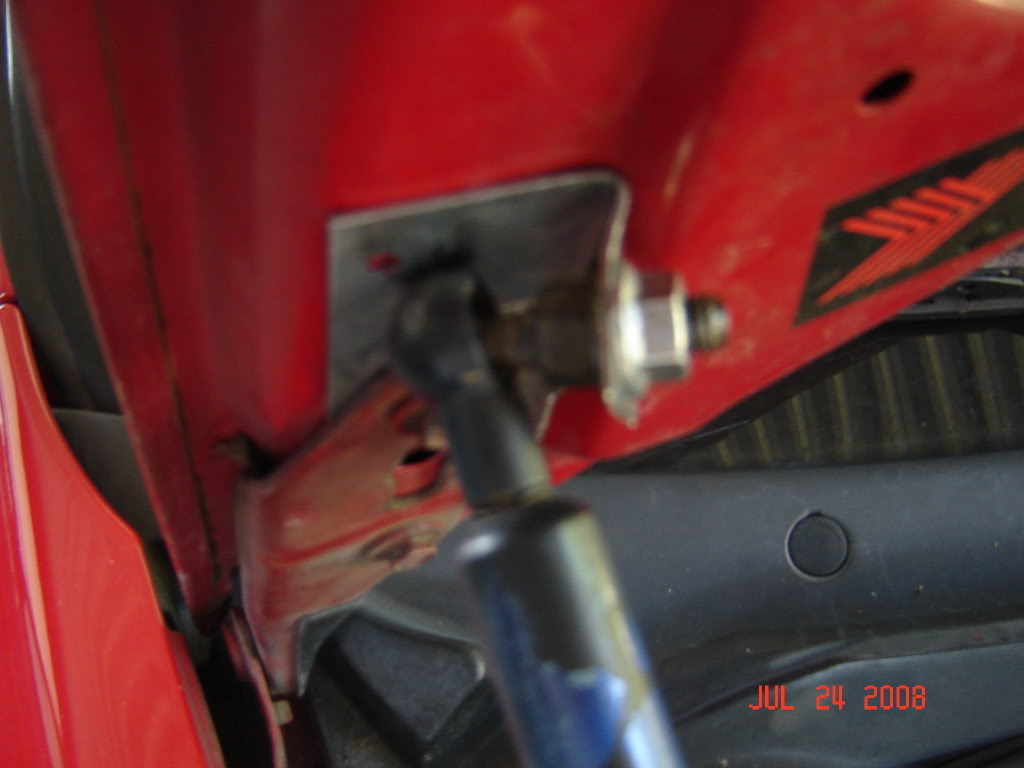
3. when mounting the damper bolt above the hoods bolt, make sure not to mount it too much above the hoods bolt, because it will cause the shock to "bottom out" when you close the hood, forcing the hood mount to bend or cause worse damage.
4. close the hood slowly and look at the damper to make sure it doesn't bottom out
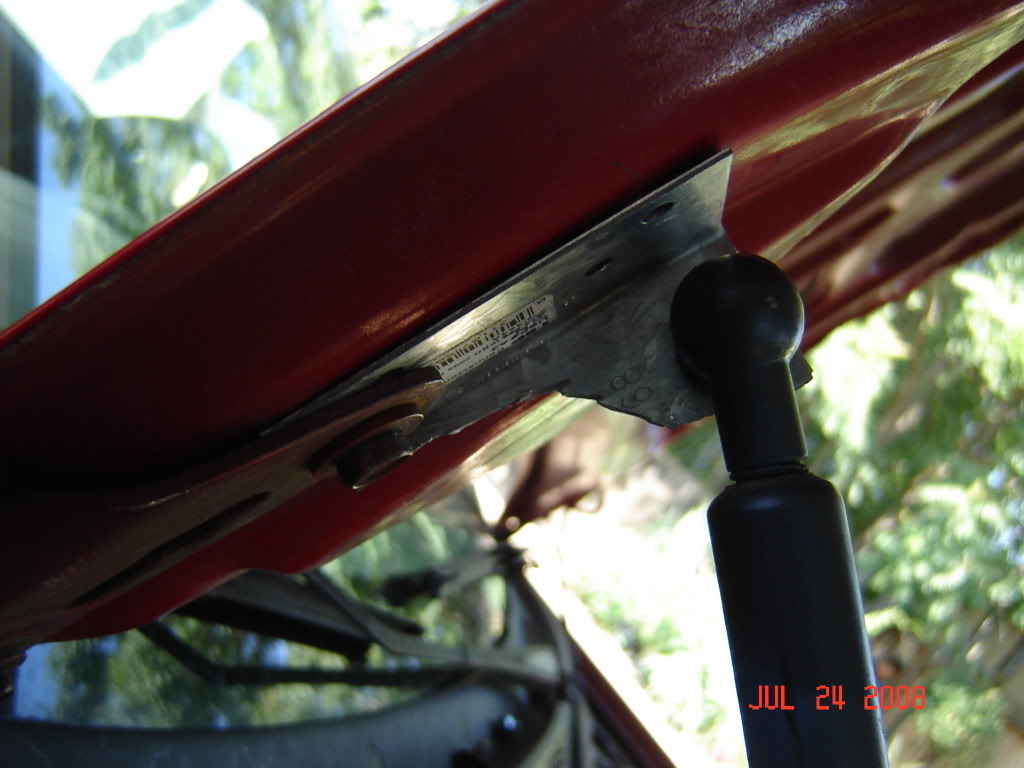


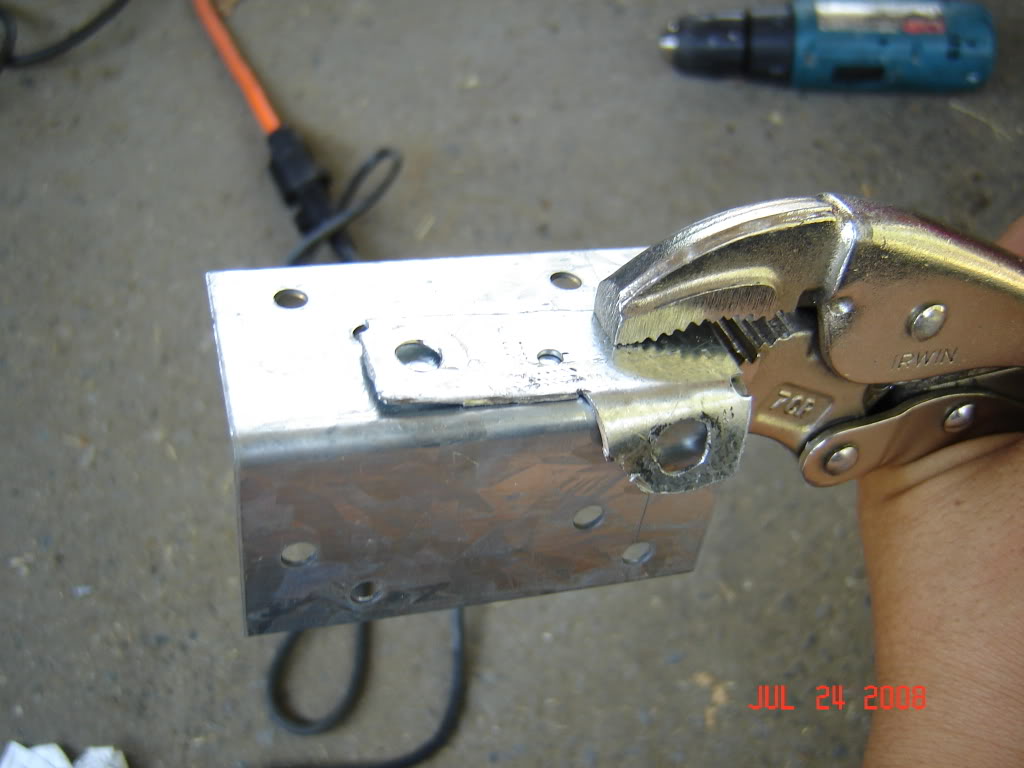
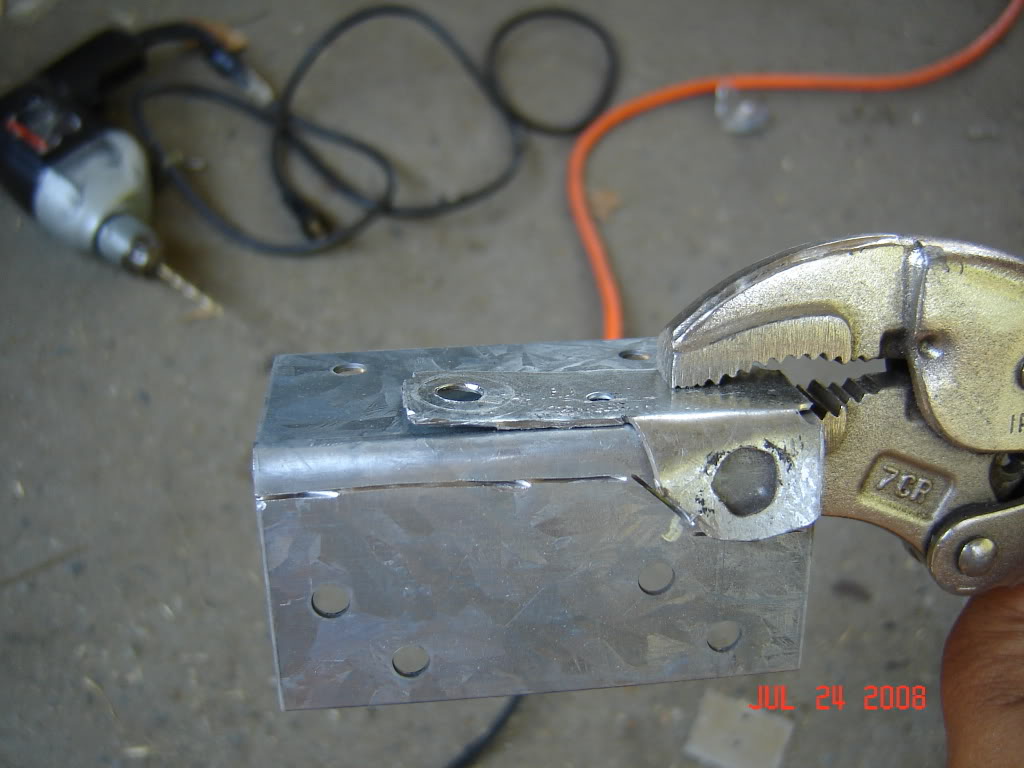


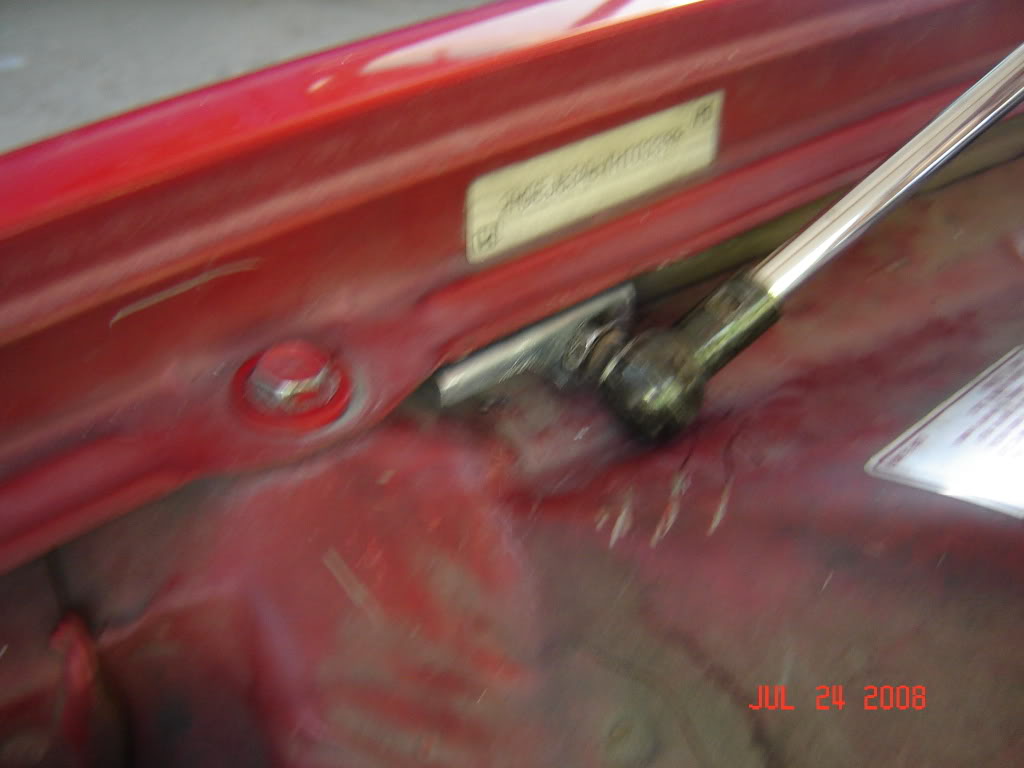

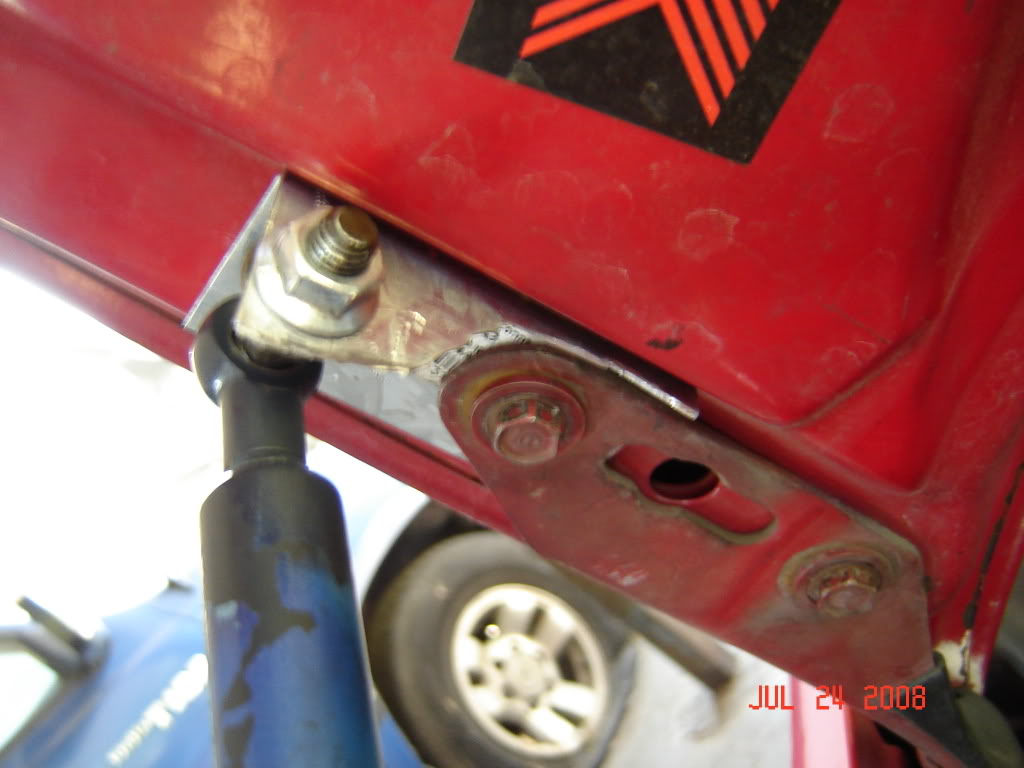
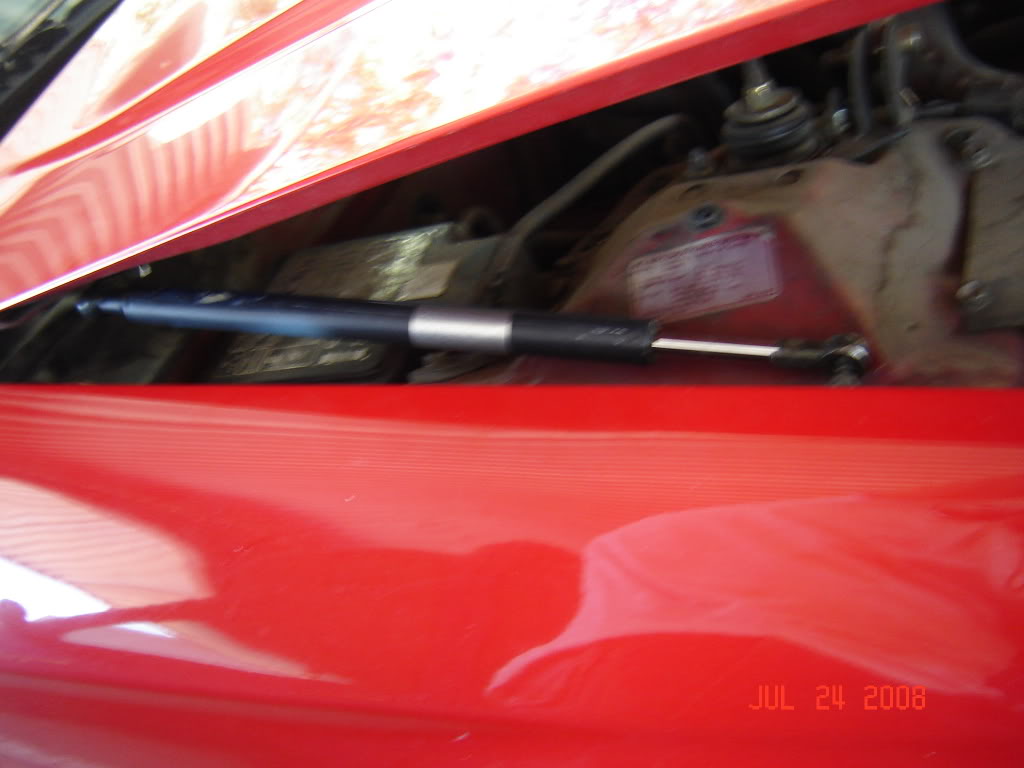
As you can see here, the mount got bent because the damper was mounted too high, the damper "bottomed out" and bent the mount. I slid the mount lower and it fixed the problem.

Modified by importnoodles at 12:57 AM 7/25/2008
Modified by importnoodles at 12:59 AM 7/25/2008
Modified by importnoodles at 2:08 AM 7/26/2008
*****also, i found that the hardware store had some thicker pieces of metal that were already 90 degree angles.... if you use those, you dont have to do any bending, only cutting, so it's easier.
dampers were bought used for 15 bucks and total cost was under 20 bucks......
do you need it? no
is it necessary? no
y did i do it? boredom
enjoy...
ok here is the first attempt.....
Behold my almight k20 people are talkin about
get your dampers and scrap metal.... i used a kind of a thin sheet so that i could bend easily for first measurements
Get your dremmel and extension cord
Now, the placement of the dampers in NOT going to be ON the fender as some people (such as me) may think
We are goin to put the damper NEXT to the fender like this..
now both sides of the damper have these washers..
one of these washers is larger than the other, I cut this larger washer off because i though it may make the installation easier.
now we are going to need a l bracket so i ghettoed this one.
in my first attempt i drilled the hole so that the damper would mount right next to this bolt as you can see
my original measurements looked like this.
bolt and grind everything up and it should look something like this...
I DID realize that mounting the damper HIGHER above the bolt will give the damper More leverage in opening the hood.
so my finished results will be mounted higher up with thicker metal which i will update when i do finish it.
now to the bottom mount.....
well the piks are actually self explainatory so take a look
another l bracket is needed.
there you go. some final notes, the thin metal i used flex'd a lot. i just bought some thicker metal which i will update when finished.
also the bottom mount will be about an inch closer to the windshield in the final product. the upper mount will also be about an inch higher to increase the leverage of the dampers... the driver side damper is basically the same
second attempt is finished...... some notes to consider
1. the thicker metal holds up bit better, but the hood mount could still be thicker
2. the new metal that i used for the lower mount is good enough
3. when mounting the damper bolt above the hoods bolt, make sure not to mount it too much above the hoods bolt, because it will cause the shock to "bottom out" when you close the hood, forcing the hood mount to bend or cause worse damage.
4. close the hood slowly and look at the damper to make sure it doesn't bottom out
As you can see here, the mount got bent because the damper was mounted too high, the damper "bottomed out" and bent the mount. I slid the mount lower and it fixed the problem.
Modified by importnoodles at 12:57 AM 7/25/2008
Modified by importnoodles at 12:59 AM 7/25/2008
Modified by importnoodles at 2:08 AM 7/26/2008
 07-24-2008, 05:55 PM
#2
Junior Member

Join Date: Mar 2008
Location: ....................................................................................................
Posts: 511
Likes: 0
Received 0 Likes
on
0 Posts
not bad very nice write up ^^^ but myself personally would just stick to the original hood latch so i don't have to mess around with to get the fender off and what not
07-24-2008, 08:14 PM
#7
Honda-Tech Member
iTrader: (1)
Join Date: May 2006
Location: NorCal, U.S
Posts: 1,442
Likes: 0
Received 0 Likes
on
0 Posts
<TABLE WIDTH="90%" CELLSPACING=0 CELLPADDING=0 ALIGN=CENTER><TR><TD>Quote, originally posted by EG8R »</TD></TR><TR><TD CLASS="quote">Wash the engine bay too while you are at it... Yikes.  </TD></TR></TABLE>
X2 nice write up though
</TD></TR></TABLE>X2 nice write up though
Trending Topics
07-24-2008, 08:18 PM
#8
Honda-Tech Member
Join Date: Sep 2004
Location: Morgantown, WV, bewbies
Posts: 4,056
Likes: 0
Received 0 Likes
on
0 Posts
<TABLE WIDTH="90%" CELLSPACING=0 CELLPADDING=0 ALIGN=CENTER><TR><TD>Quote, originally posted by blkegcoupe »</TD></TR><TR><TD CLASS="quote">not bad very nice write up ^^^ but myself personally would just stick to the original hood latch so i don't have to mess around with to get the fender off and what not</TD></TR></TABLE>
not sure what you are reading...but he didnt take the fender off..
VERY GOOD DIY i paid 110 for my tiens dampers.
but very nice none the less. I always told my friends that this could be done with rear eg shocks...but most of us were to lazy.
props
not sure what you are reading...but he didnt take the fender off..
VERY GOOD DIY i paid 110 for my tiens dampers.
but very nice none the less. I always told my friends that this could be done with rear eg shocks...but most of us were to lazy.
props
07-24-2008, 11:25 PM
#9
Junior Member
Thread Starter
Join Date: May 2005
Location: fresno, ca
Posts: 227
Likes: 0
Received 0 Likes
on
0 Posts
thanks for the replies guys.. yes i know. im a dirty wh*re.  just too lazy to clean it. but it's ok, i always run mobil1 full synthetic and Honda MTF. It's clean on the inside and thay's all that matters
  thanks for lookin
just too lazy to clean it. but it's ok, i always run mobil1 full synthetic and Honda MTF. It's clean on the inside and thay's all that matters thanks for lookin
 07-25-2008, 04:15 AM
#11
Junior Member
Join Date: May 2006
Location: brownsburg, in, usa
Posts: 435
Likes: 0
Received 0 Likes
on
0 Posts
why not try to match the MADE FOR hood mounts?
i bought my tein hood dampeners and its a much cleaner instal and the mounts are solid.
urs wouldnt look to bad if you used heavier steel and grinded the edges smooth and painted them.
just get some good size angle iron once you have the right locations figured out for the struts travel length.
i bought my tein hood dampeners and its a much cleaner instal and the mounts are solid.
urs wouldnt look to bad if you used heavier steel and grinded the edges smooth and painted them.
just get some good size angle iron once you have the right locations figured out for the struts travel length.
07-25-2008, 09:06 AM
#13
Junior Member
Thread Starter
Join Date: May 2005
Location: fresno, ca
Posts: 227
Likes: 0
Received 0 Likes
on
0 Posts
"MADE FOR" mounts that come on the already made kits are difficult to make. if you compare them to the eg dampers, the ends of the eg dampers are bolts which you put a nut on to tighten. the ready made dampers have a cup at the ends, which secure to a ball mount. That kind of stuff cant be ghetto rigged.
07-26-2008, 06:48 AM
#17
Honda-Tech Member
Nice idea. Cleaner cuts would make it look a lot better. $20 could have been invested in cleaning the motor thouroughly, having lunch, and a movie. But, good write up nonetheless.
09-25-2008, 07:14 AM
#18
Honda-Tech Member
Join Date: Mar 2008
Posts: 551
Likes: 0
Received 0 Likes
on
0 Posts
just did this on a 98 awd manual crv. I couldnt find the 92-95 hatch shocks, so I used 95 Acura Legend hood dampeners instead. This was great, and saved me from having to make a bracket for the hood, so I only had to make 1 Bracket for each side!
09-25-2008, 07:17 AM
#19
Honda-Tech Member
Join Date: Mar 2008
Posts: 551
Likes: 0
Received 0 Likes
on
0 Posts
So instead of buying those $100+ Tien hood dampeners, and after waiting for a set in a trade for a few weeks, I got tired, and went and got some hood dampeners of a 1995 acura legend and fabed them on the crv. I was looking for 92-95 civic hatch glass struts, but couldn't find any.
So the legend struts made it so I only had to make one bracket for each side. The dampeners were $8 for the set, and some grade 8 bolts, nuts and washers were about $2, so a total of $10 and some change for hood dampeners! I also needed a metal bar of some sort. I had a piece of steel lying around at work that a co-worker had used to make a lock set up for his tool box, so i used about 6 inches of that.
They bolt to the hood bracket as any normal set would, and right up front on the fender itself. The bracket is on the fender lip (under really) between the two front fender bolts right next to the vin sticker. The bracket goes straight out, and the shock connects there. I painted the bracket black and did have to drill a hole for the bolt, but it looks fine. I was planning on only drilling a hole under the fender line, so it could never be seen, but that specific area is unreachable to put a nut in, because its behind more metal, and I didn't want to make an access hole. So now the bracket is just samwitched around the fender lip. Thats why the grade 8 bolt. So I could tighten it enough, and not brake the head off the nut, which I did, right before I went and got the grade 8! I obviously had to provide the nuts for the "bolt" (round top that the dampener clips over) the dampener connects to on the bracket as well, because that is actually screwed into the vehicle it came off of. I think I used an exaust/cat bolt.


Modified by shaggyeg6si at 8:23 AM 9/25/2008
Modified by shaggyeg6si at 8:26 AM 9/25/2008
Modified by shaggyeg6si at 12:31 PM 9/27/2008
So the legend struts made it so I only had to make one bracket for each side. The dampeners were $8 for the set, and some grade 8 bolts, nuts and washers were about $2, so a total of $10 and some change for hood dampeners! I also needed a metal bar of some sort. I had a piece of steel lying around at work that a co-worker had used to make a lock set up for his tool box, so i used about 6 inches of that.
They bolt to the hood bracket as any normal set would, and right up front on the fender itself. The bracket is on the fender lip (under really) between the two front fender bolts right next to the vin sticker. The bracket goes straight out, and the shock connects there. I painted the bracket black and did have to drill a hole for the bolt, but it looks fine. I was planning on only drilling a hole under the fender line, so it could never be seen, but that specific area is unreachable to put a nut in, because its behind more metal, and I didn't want to make an access hole. So now the bracket is just samwitched around the fender lip. Thats why the grade 8 bolt. So I could tighten it enough, and not brake the head off the nut, which I did, right before I went and got the grade 8! I obviously had to provide the nuts for the "bolt" (round top that the dampener clips over) the dampener connects to on the bracket as well, because that is actually screwed into the vehicle it came off of. I think I used an exaust/cat bolt.
Modified by shaggyeg6si at 8:23 AM 9/25/2008
Modified by shaggyeg6si at 8:26 AM 9/25/2008
Modified by shaggyeg6si at 12:31 PM 9/27/2008
12-11-2008, 03:47 PM
#20
Junior Member

Join Date: May 2008
Location: Ukiah, Ca, USA
Posts: 13
Likes: 0
Received 0 Likes
on
0 Posts
Another set to use are from a del sol.I have them on my 96 hatchback and my buddy has them on his 01 integra type r.Weve put them on a bunch of integras and civics.
