When you click on links to various merchants on this site and make a purchase, this can result in this site earning a commission. Affiliate programs and affiliations include, but are not limited to, the eBay Partner Network.
A Geo Tracker upper rad hose works perfectly with the QSD neck. Use an o-ring between the plate and snout piece of the QSD neck. Mine leaked pretty bad. Hondabond between the plate and head wasn't enough.
Intake for a GSR has the perfect bends to keep it nice and tidy.
nice build, but why you buy the b n m shifter, and show an extra shifter in pictures?? you trying to go ham on the shifting? lol.. like what u got going on, lol i'm jelly, but hey are you going with an alternator relocater aswell?? i'm currently looking for one for my bseries
nice build, but why you buy the b n m shifter, and show an extra shifter in pictures?? you trying to go ham on the shifting? lol.. like what u got going on, lol i'm jelly, but hey are you going with an alternator relocater aswell?? i'm currently looking for one for my bseries
I'm not sure what "ham on the shifting" means haha but I only have ONE shifter. I'm using QSD alternator relocation kit, great fitment.
Look what I found at the junkyard today! I couldn't believe that an Si was just sitting there and ALL the interior was untouched. I was a kid in a candy store. Unfortunately, the Si driver seat was torn, and it was hard to leave it behind, but a bucket seat is in the near future for this build.
Parts I got: passenger seat, 9/10 condition, complete rear seat 9/10, rear speaker pods, cluster and both door panels to match the seats.
Si vs DX
All the goodies
New amber lenses
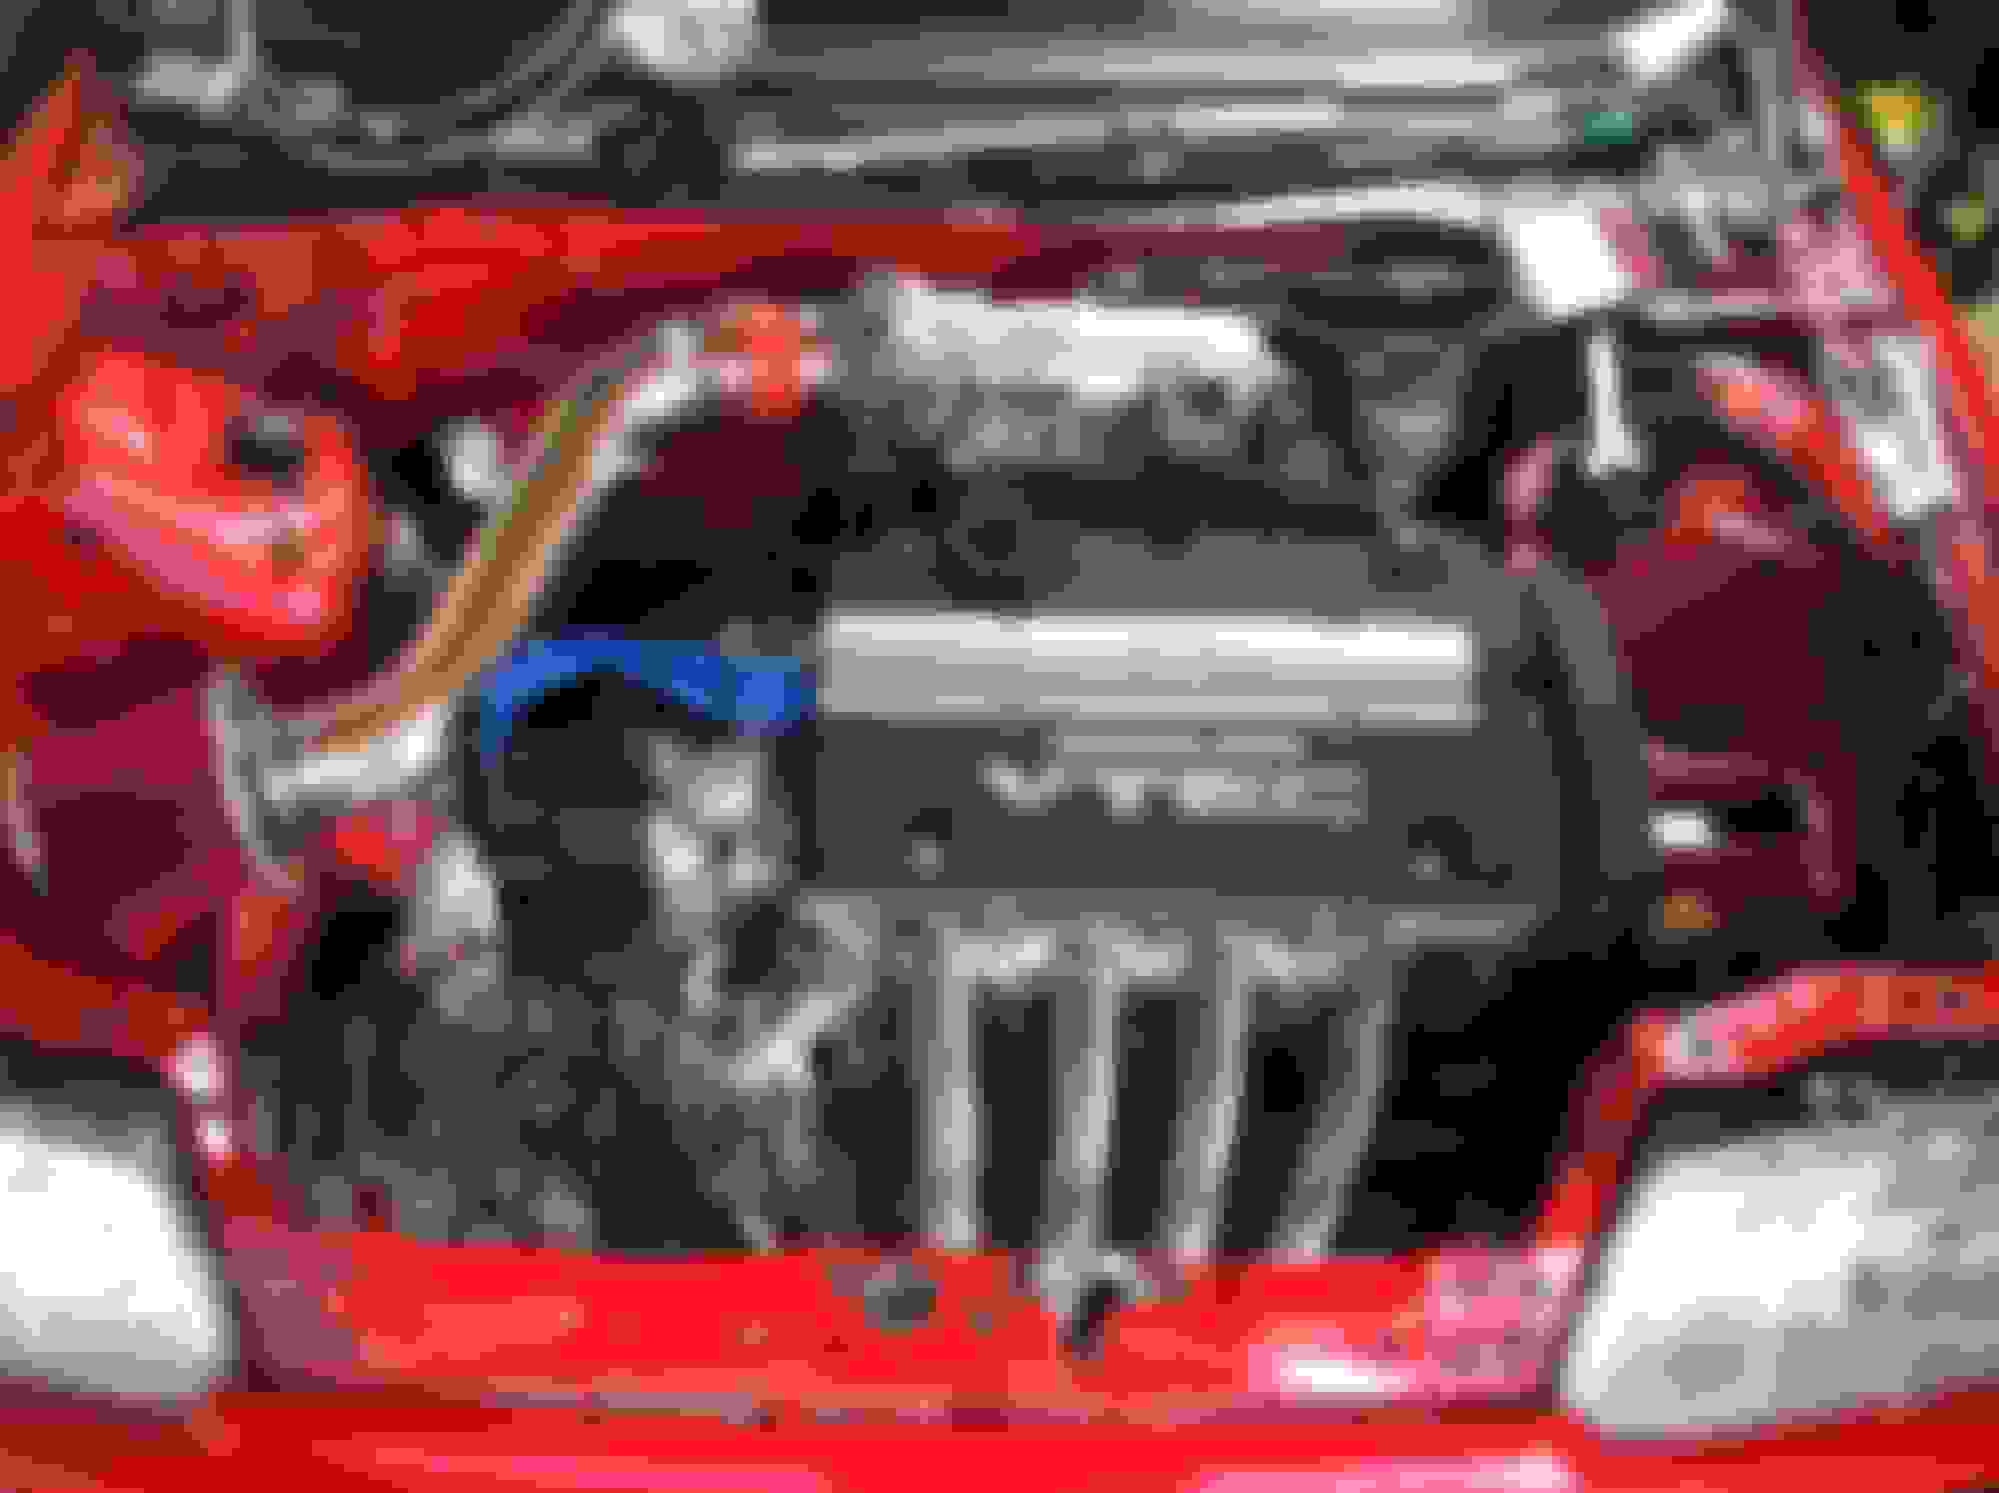
As for the motor, sadly, it's sitting in storage. Time is scarce, but soon enough, it will be alive once again!
Ugg this looks so nice. When I have a job with huge amounts of disposable income it is my goal, being in SD gonna be hard to keep it from thieves lol, to build an EF hatch. Complete interior restoration with the exception of a wheel and front bucket seats, k20 turbo setup, Apexi ws2 complete exhaust setup, the works. JL W7s, ken wood speakers, kenwood navi.
Gonna be like 20 grand but who cares I'll dd the thing lol
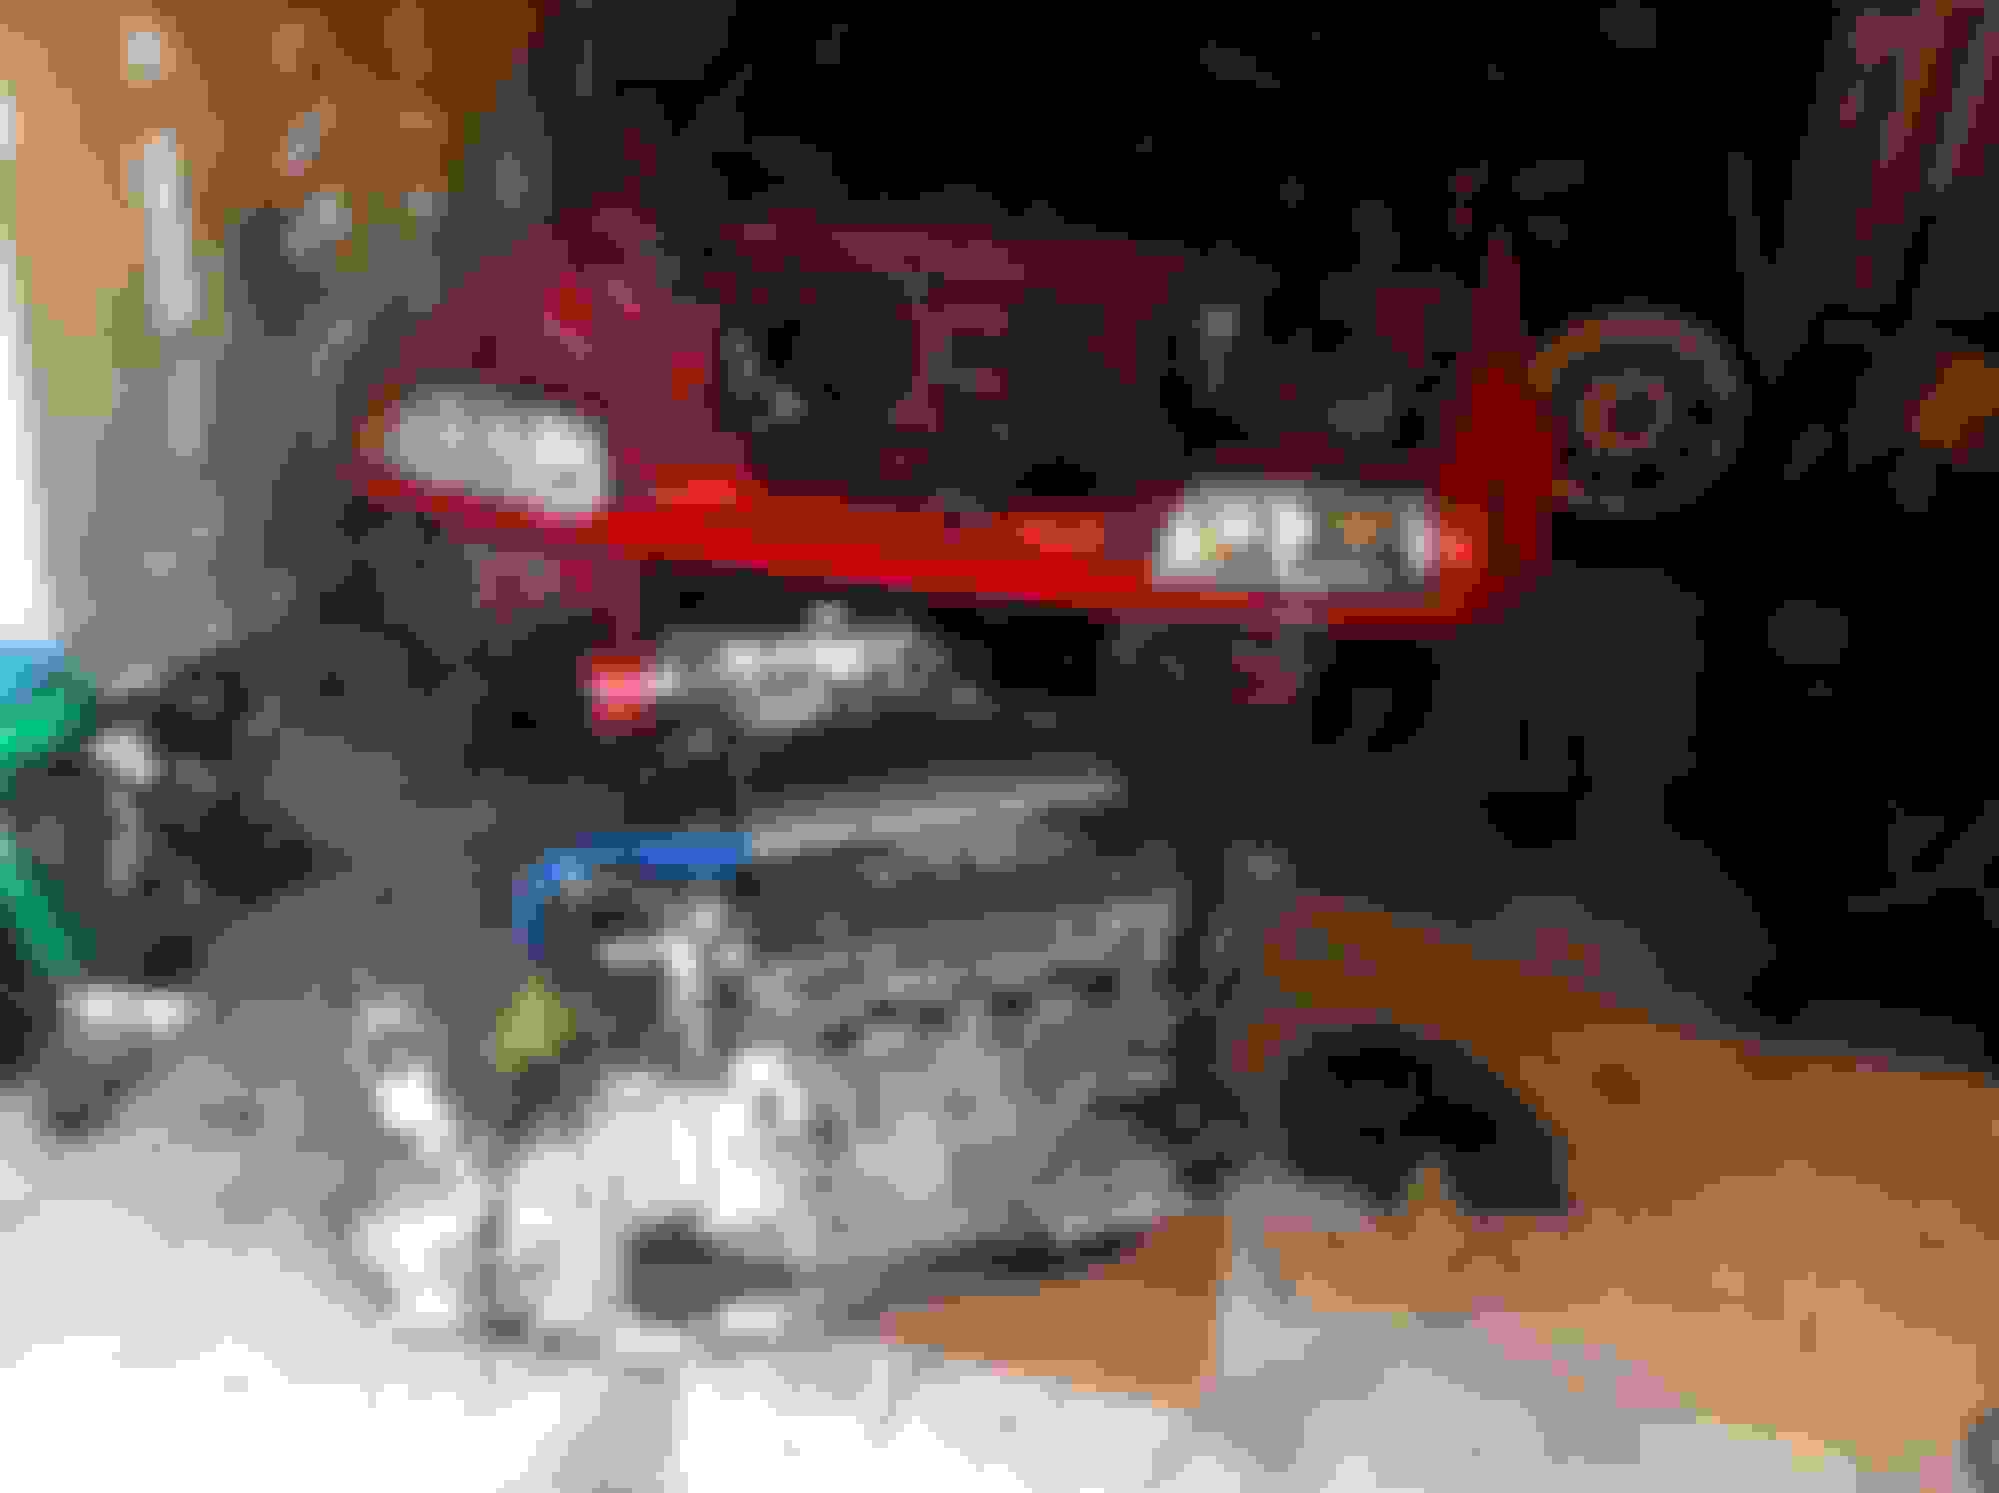
So after a long hiatus, this build thread is back. This time, no more lag, the car is coming along with the help of a buddy. It's been sitting in storage all this time, and now it's finally getting the attention it deserves. Here's a few teaser pics...
Bentley, I used DA trailing arms and new OE spec bushings. Thanks for the link, will def look into it once I get the car running. Looking into tucked radiator, any suggestions? I've been checking out Chasebay and Rywire radiators but they cost a pretty penny. Looks good quality though.
Bentley, I used DA trailing arms and new OE spec bushings. Thanks for the link, will def look into it once I get the car running. Looking into tucked radiator, any suggestions? I've been checking out Chasebay and Rywire radiators but they cost a pretty penny. Looks good quality though.
Nice, I have DA rears and Hardrace RTA's on my project.
Speedfactory makes a tucked radiator too. Cheapest at JHPUSA from what I have seen. You can also use a Scirrocco radiator too.
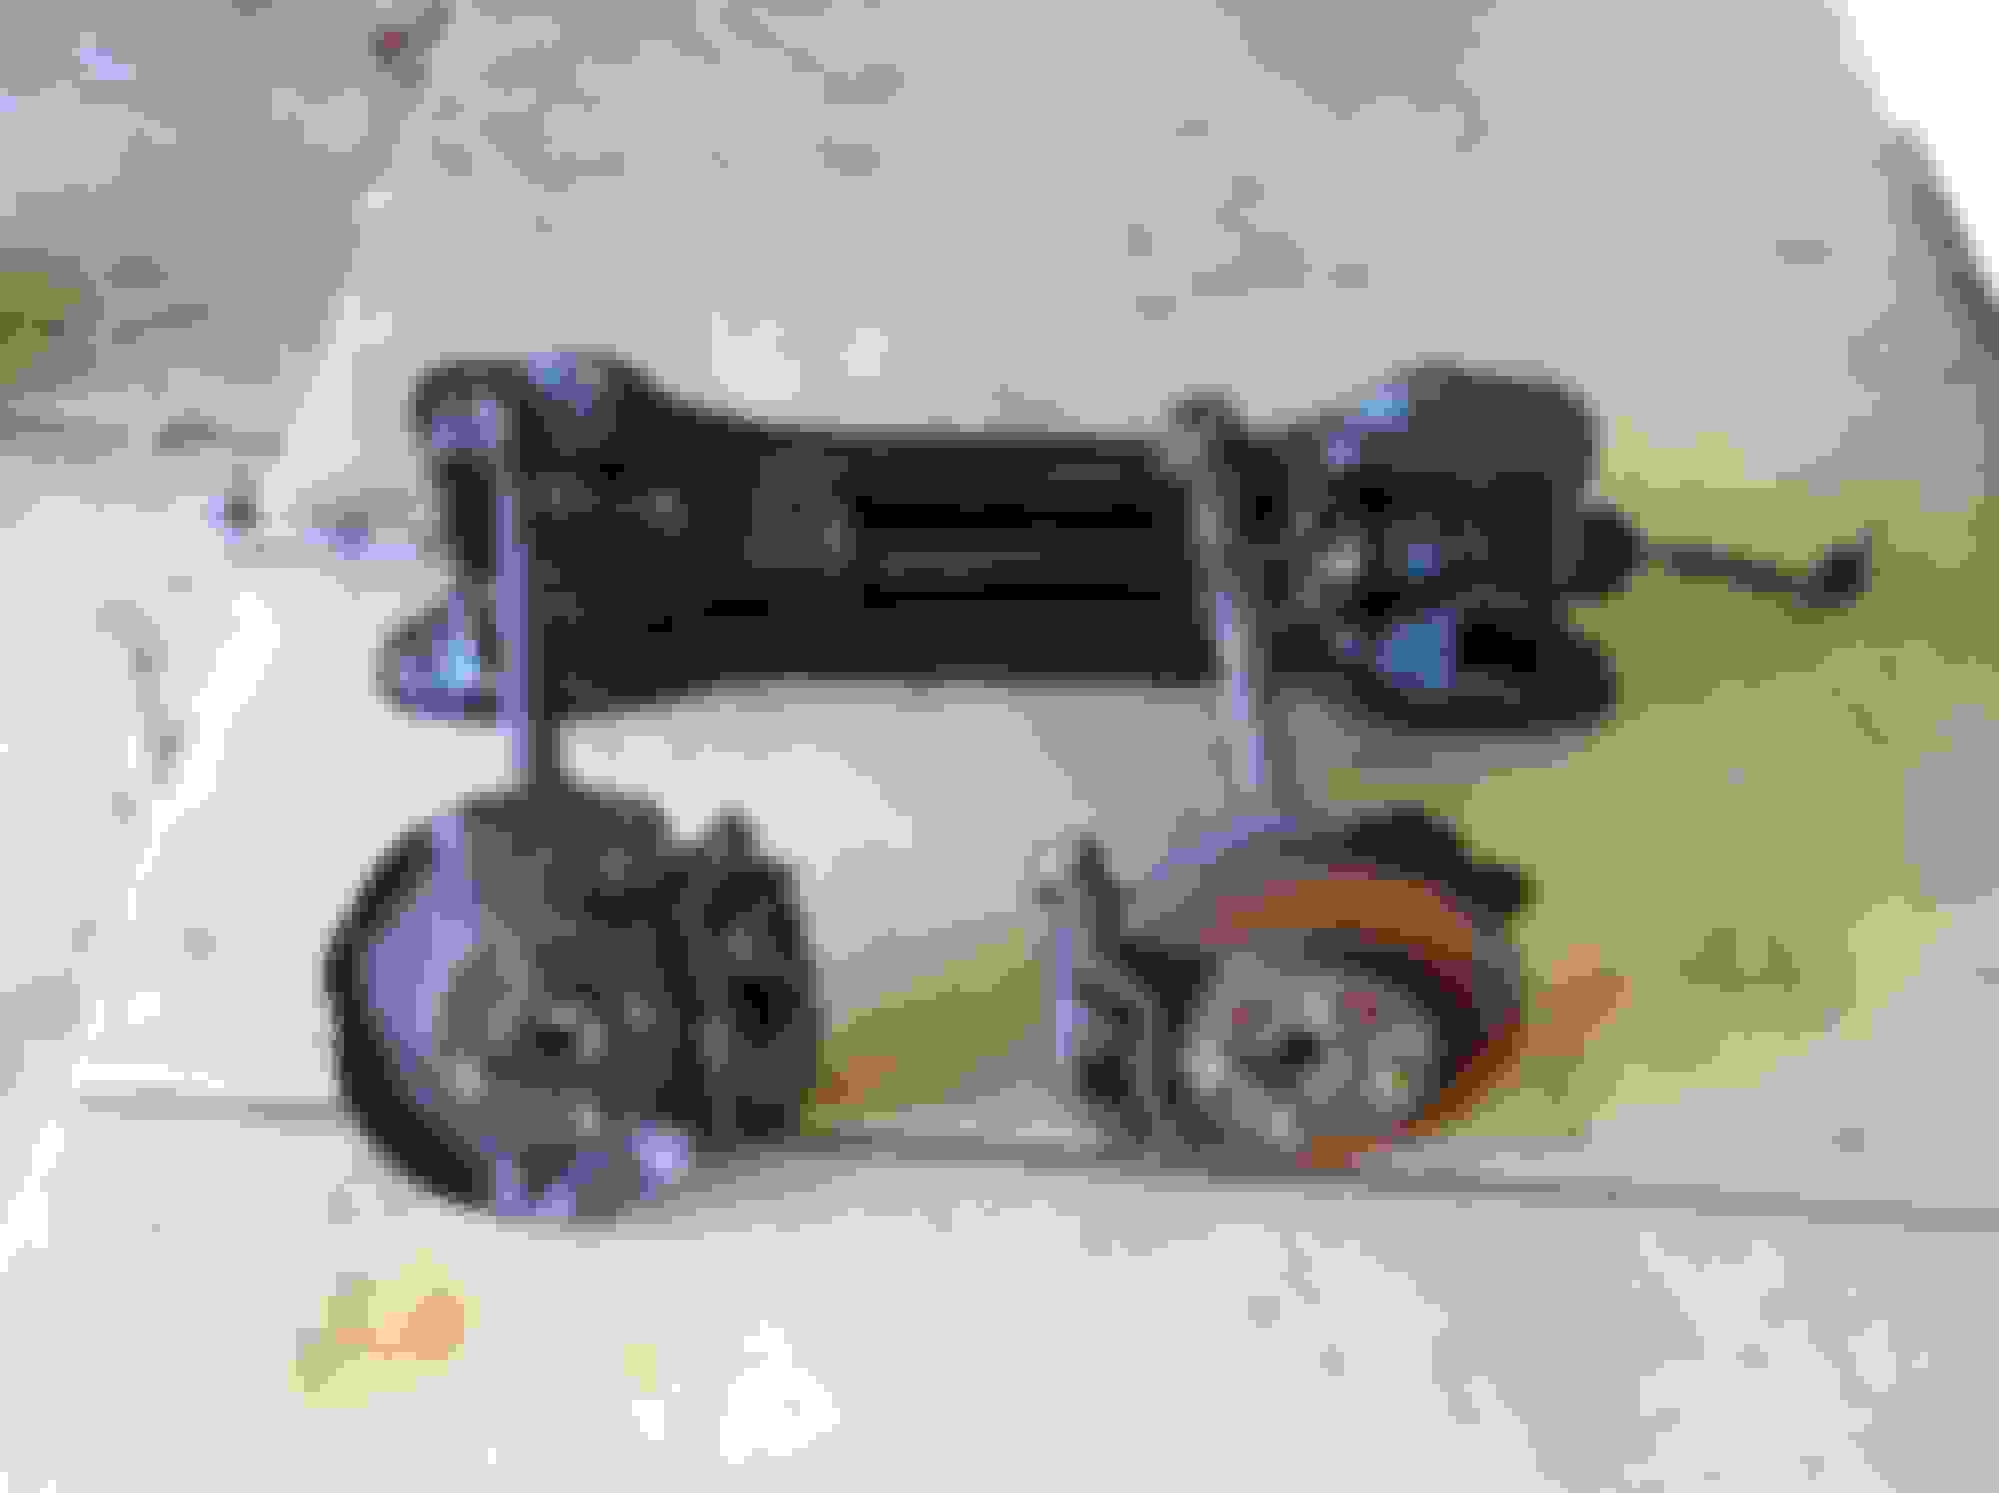
Mini update: a quick run the junkyard landed me �ber rare 90 EX complete 10.3 big brake conversion. Since I already have the 4040 prop valve and 15/16 MC, this will complete the OEM big brake upgrade Thank God for cordless impact! Different story yesterday when I had to use a midpipe as a breaker bar to get the bolts off the manual subframe for my manual steering rack conversion. Anyways, the parts will be cleaned, all new bushings and ball joints, rotors and pads will be put on the knuckles before slapping on the car. The manual rack will eventually be rebuilt with Quaife quick ratio rack. Pics to come.
I'm about to complete my fuel setup. It consists of the following: Walbro 255 pump, 6AN fuel line and fittings, AEM fuel rail, Fuelab adj FPR, Fuelab AN inline fuel filter, B&M fuel gauge, RDX 410cc injectors.
My understanding is this. Mount the FPR after the rail, that way if it fails, you wont starve your motor since the injectors are before the FPR. If you install the FPR before rail, if it fails, the injectors will starve and you will run lean. So, I planned my setup as follow. The fuel feed line will go from firewall to filter to rail, where I will mount the gauge so I know precisely what the pressure is at the rail. The outlet fuel line will then run off the rail to the FPR, mounted on firewal, and back to the return hose to tank.
Opinions, feedback, advice all much appreciated. I will cut and make AN lines to fit. Thanks and look forward to hearing from ya'll.
Fuel setup sounds fine. Do you already have the Fuellab FPR? You should be able to mount it directly to the end of the rail or use a AEM and mount it on top.
Bentley, thanks for your input. Yeah, I already have the FPR, gonna mount it like you suggested. I've seen that adapter from Earl's and it's black so it matches the rest of my fittings. If I'm correct, you're running RDX inj as well right? What fuel pressure are you running them at? I just need a safe pressure to idle before I tune the car.
Busy day, got a lot done. Pulled motor out, swap power steering rack with subframe out for manual rack and corresponding subframe. Weight difference was HUGE!!! Dropped motor back in, installed new alternator/belt, starter. Finished custom hydro clutch line, bled Hush22 hydro conversion, and HOLY COW, the 6 puck Action Clutch/Pressure Plate is stiff. Axles in, car rolling. Looped heater hoses (not running heater core, dash is complete gutted underneath).
Next up, fuel line plumbing and shift linkage and shifter install. Quick question, auto to manual, I need to drill holes for the shifter mount bracket, right? It's not predrilled from factory as far as I can tell.
Oh yeah, hood won't close, webbing hitting valve cover, even with QSD hood spacer. Any suggestions before I proceed to cut the hood?
^^^Hate to do it, but looks like I have no choice.
Finally got the car home. It's been at my buddy's house, he was helping me drop the motor in. Today I installed FPR and gauge, ran -AN fuel line off FPR to return line. Installed shift linkage. Filled tranny with Honda MTF 2.4 qts, 5.5 qts Mobil1 10W30 to motor, OEM Honda oil filter, new plug and washer. Ordered Skunk2 half size radiator (originally planned on tucked, but tight budget). All that's left is waiting on ChaseBay with the custom tucked harness and it'll be time to fire her up. So close!!!
Gotta do something about those gaps
Finally returning home
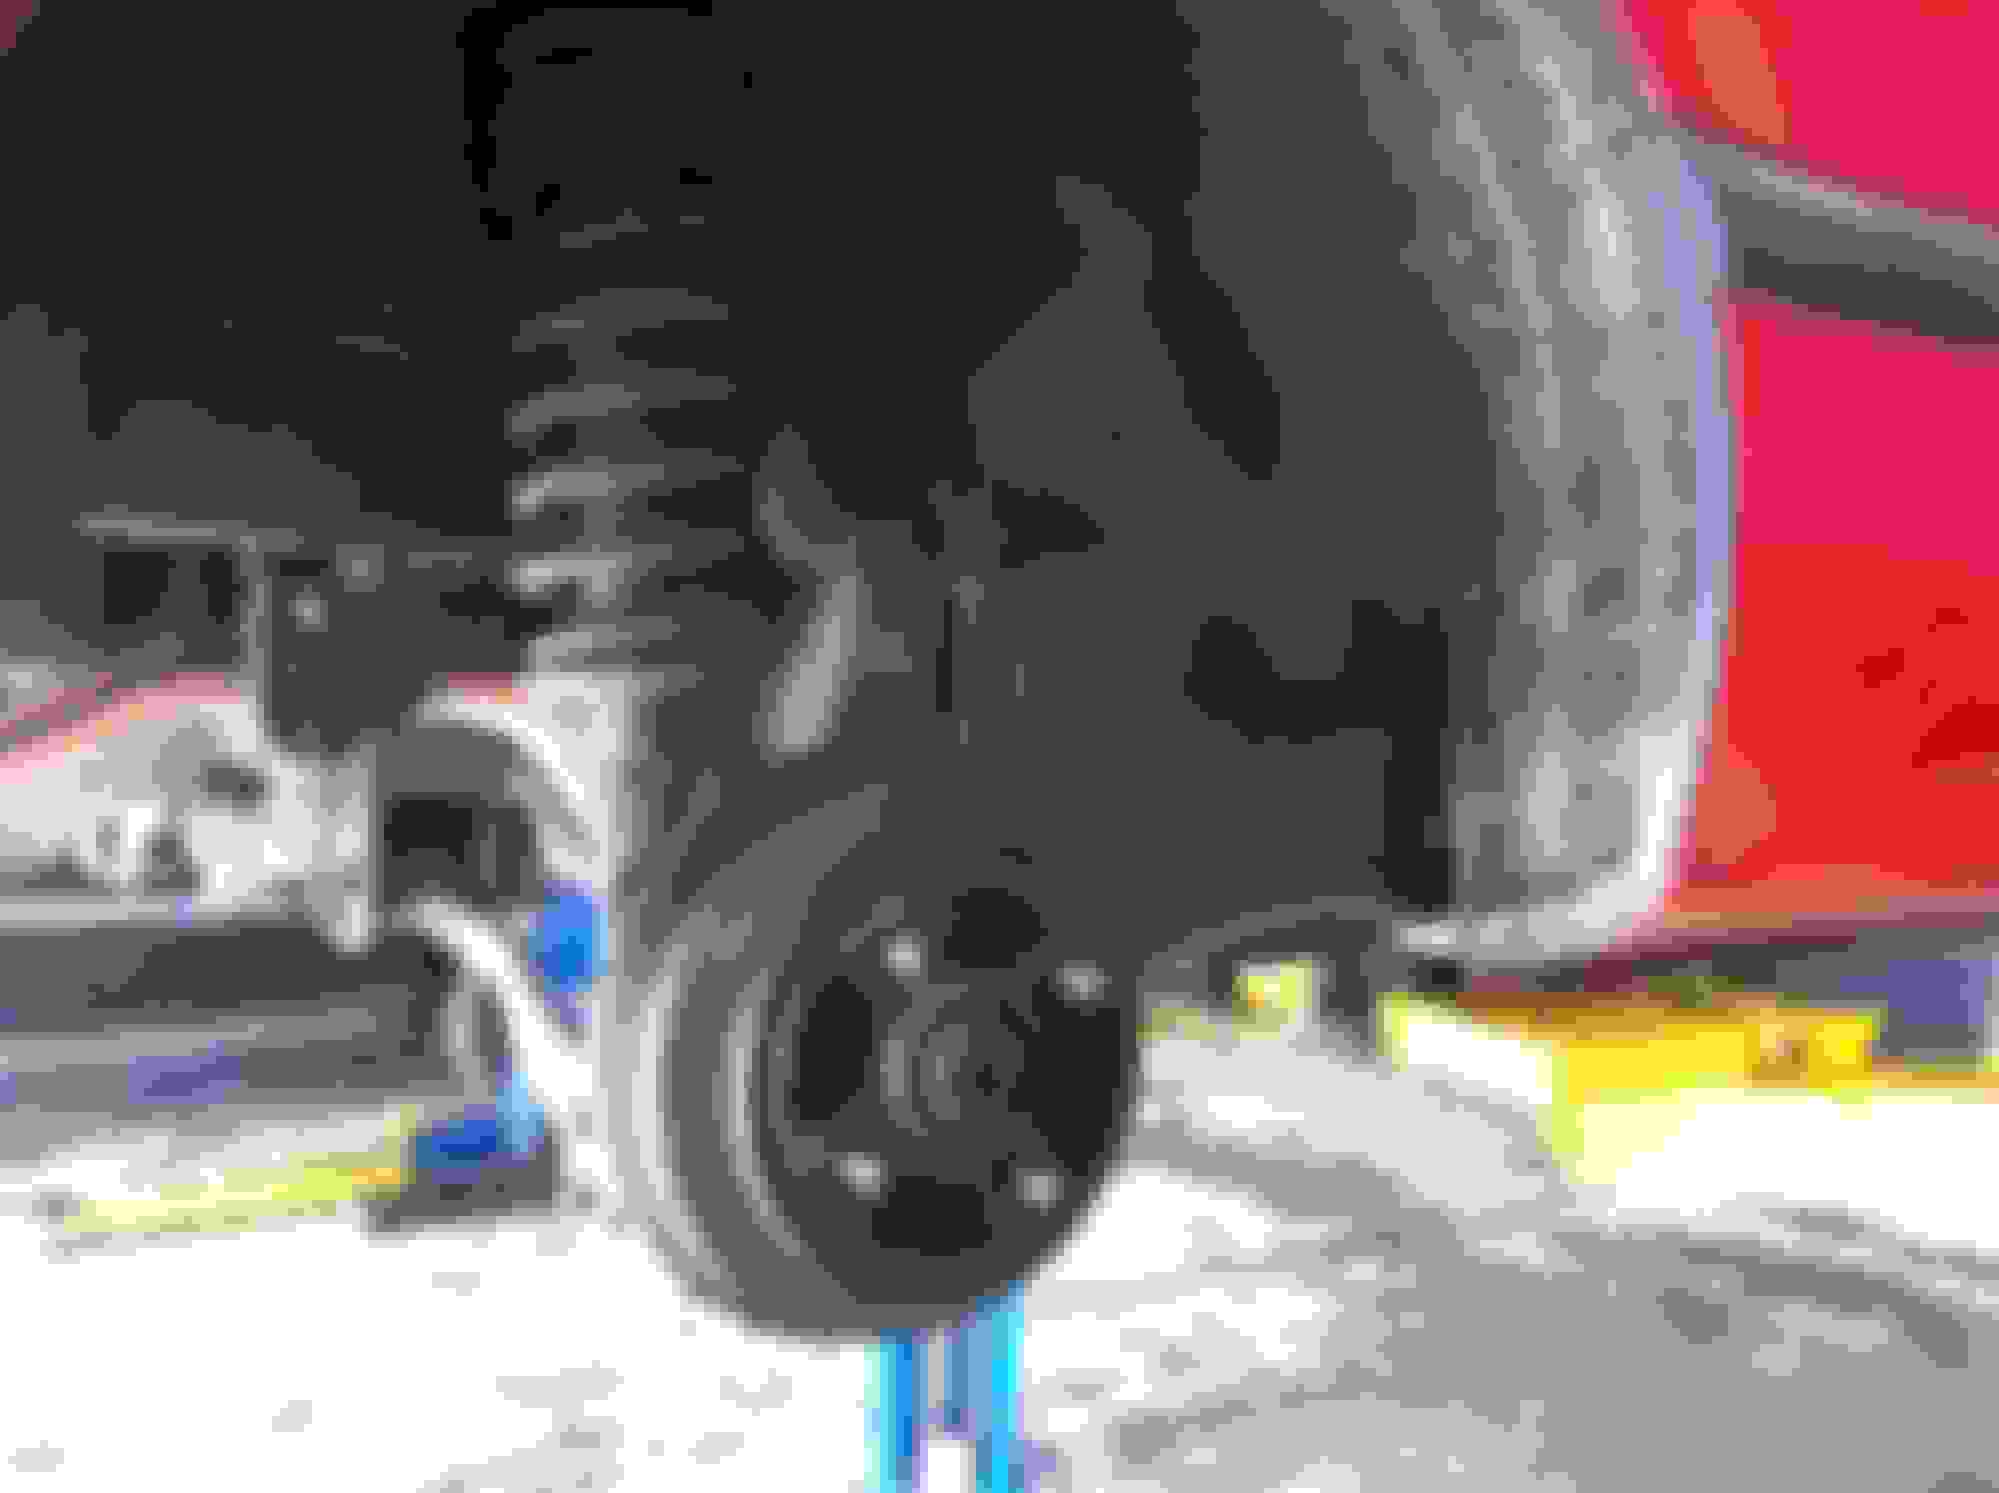
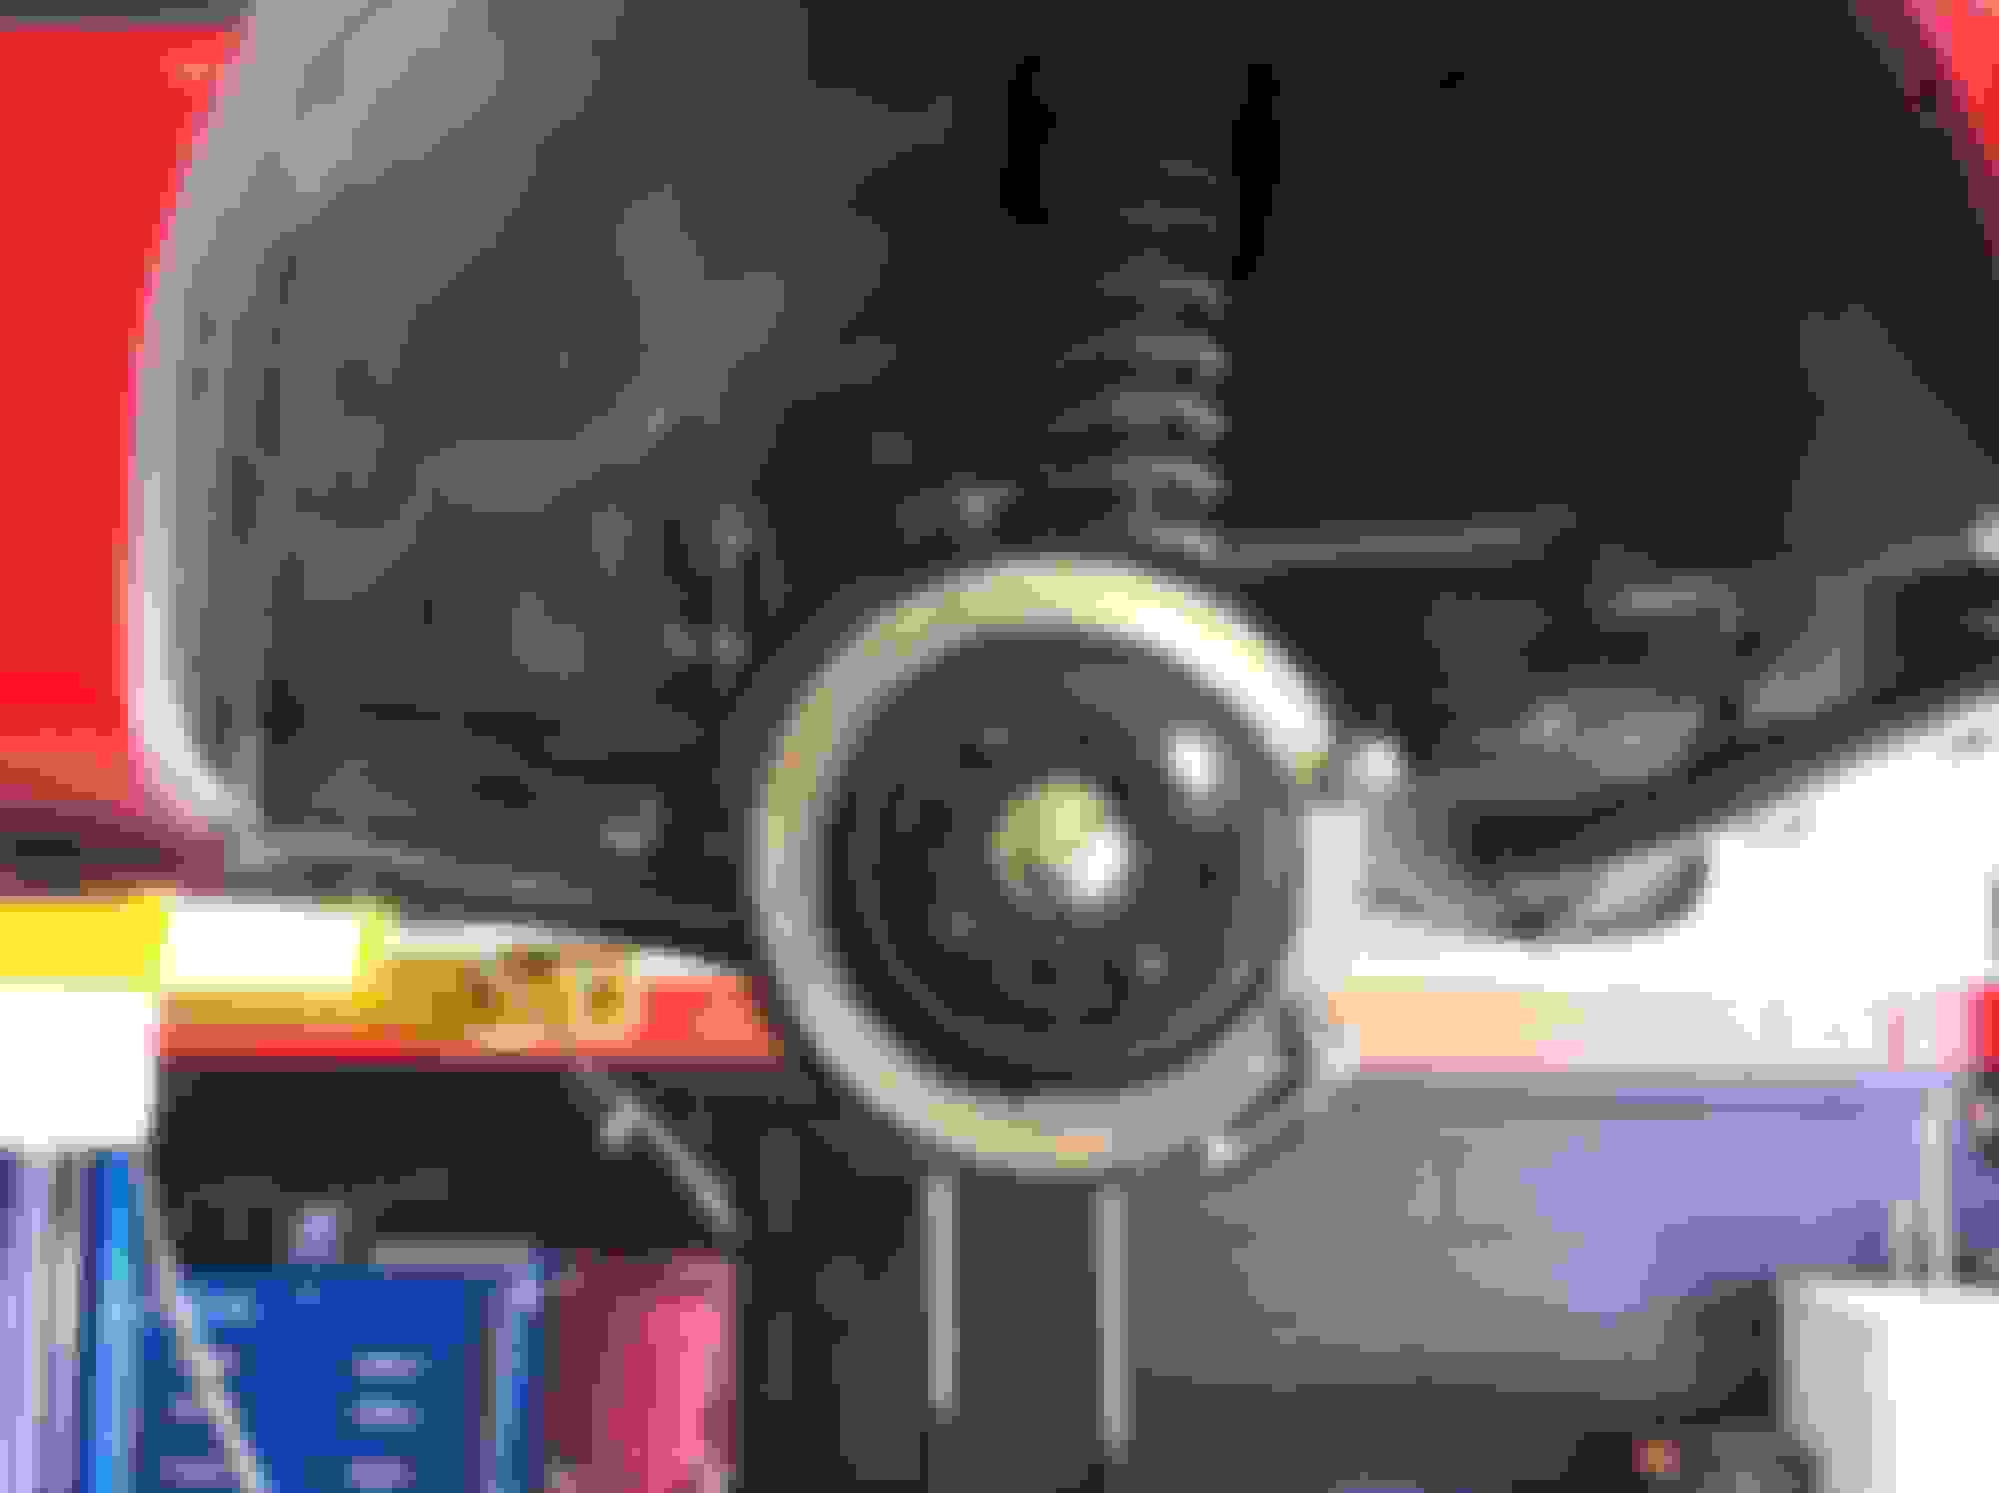
Question: I've searched and have a few options to try to remedy my current problem. Car was hard to roll after swap, pain in the *** to get on the dolly; then it got easy after we unloaded off the dolly and pushed into my garage. Weird. Then it sat overnight, in morning I tightened axle nut to OEM specs, and front wheel won't spin, car won't roll. Loosened LF axle nut, wheel spins freely. Loosened RF axle nut, wheel WONT spin. Either caliper is sticking, or I over tightened axle nut (but I used OEM torque specs and now axle nut is off). I'll take off caliper tomorrow and see if it will spin freely, if not, I don't know what's going on and more diagnosis will be in order.
Any suggestions much appreciated. Hate to see something minor like this stop the progress of the build, so close to finally cranking her over for the first time ever with the motor, pray to God it's a healthy one.
I haven't read your entire thread, so I hope this hasn't already been covered. Using a B-trans in the EF chassis can introduce some complexities with axles. Usually the removal of the dust caps from the hubs is necessary to stop the axles from binding. This is because the axles are essentially too long and will compress to their limits under the load of the car.
You can read more under the "axle compatibility" section.
You can also try googling EF swap dust cover (or dust cap)
Too funny because I overlooked this on my first EF swap and broke an axle at the knuckle. I didn't really know what I was doing at the time, and that was only one of many dume mistakes. It bolted up even though it was not seated properly then 30 miles from the house I'm pushing it into a gas station parking lot from the highway in the middle of summer. ahhh good times.
I hope this is Op's problem because it is super easy to fix.
Originally Posted by GodblessEMS
^^^Hate to do it, but looks like I have no choice.
You could just do what I did LOL
I eventually made a custom hood... which needs to be remade properly.
Last edited by 1991_crxsi; 04-06-2016 at 05:47 PM.
Thanks for the input guys. It's definitely NOT sticking calipers, so I'll have to remove the dust covers like you suggested. I have EX spindle I'm working on, when that's all done, I'll swap it over and hopefully axle problems will be gone. And HOLY BATMAN, your hood bro!! I can't live with myself cutting into a mint hood like that. I'll look for one at junkyard and hack that one up instead. BTW, nice setup, you ever take it to the track? What'd it run?
Thanks. The hood I made doesn't look bad but could be better. In retrospect, I sould have just cut the webbing and used spacers to save all that fab work. For some weird reason I just wanted a hood that sat closed properly. It ran 12.9 with a turd of a 60 foot. Would do better with better tires and better driver.
Oh yea, make sure the ABS ring is not on there too.
I was worried with the extreme angle of the water neck, that I was gonna have problem with finding the right hose. It wasn't bad at all, a little trimming on both ends, and those hose fits perfectly, no kinks at all. Now just gotta grab some OEM Honda coolant, and an overflow tank and I'm set.
Next on the agenda, plumb fuel lines. That's tomorrow, stay tuned.

 06-09-2015, 12:16 PM