
1989 BMW 325i E30 paint correction by Tru Shine
 03-23-2010, 05:57 AM
#1
Honda-Tech Member
Thread Starter
Join Date: Apr 2005
Location: Knoxville, TN, USA
Posts: 923
Likes: 0
Received 0 Likes
on
0 Posts
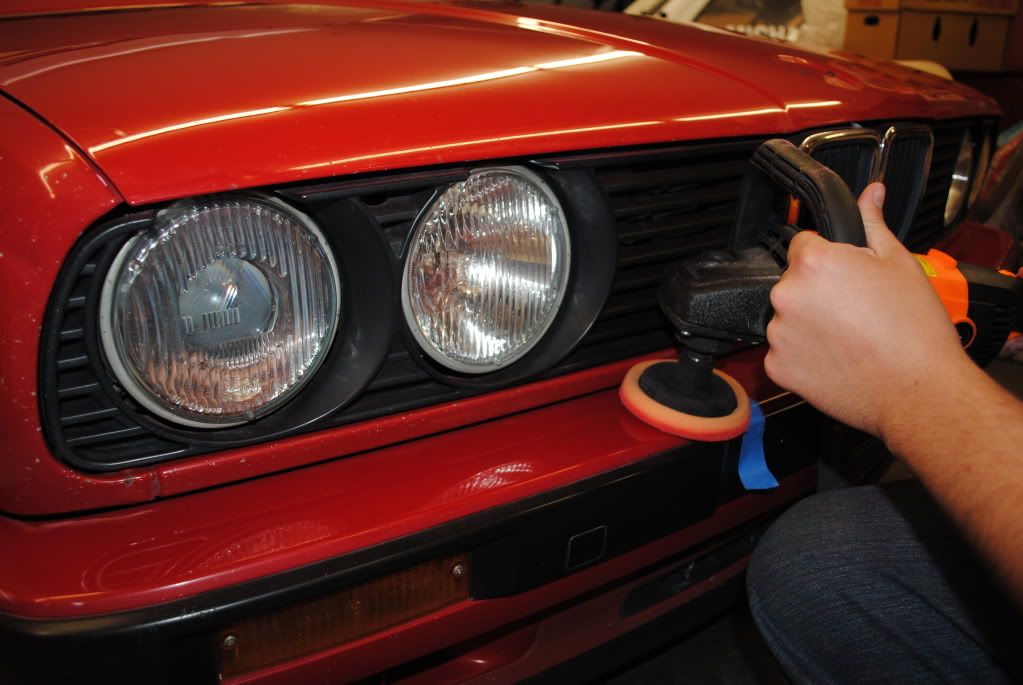
So this past weekend I drove up to Sevierville Tn to wet sand, buff and polish a old BMW 325i that a client of mine had stashed in a barn for awhile. He had previously washed and claybared it but noticed that it was going to take a little bit more to bring this bad boy to a Tru Shine :D
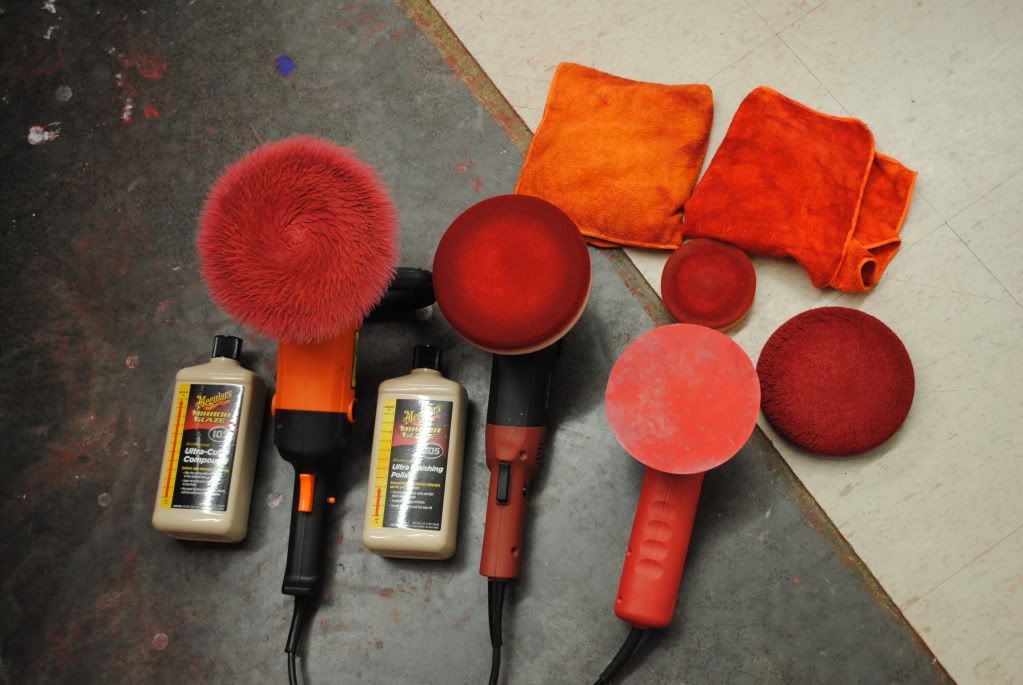
Tools & Products
Highline meter 2 Paint thickness gauge
harbor freight Rotary
Meguiars W66 BP
3" Rotary backing plate
Meguiars M105/M205
Lake country PFW,Orange,cyan,tangerine,white pads
3m Hookit II p1500 wetsanding paper
Eagle p3000 wetsanding paper
Flex 3401 VRG
Brinkman's Duel Xenon light
Blackfire Wet diamond
Griot's Garage 3" orbital with various backing plates
3m blue painters tape
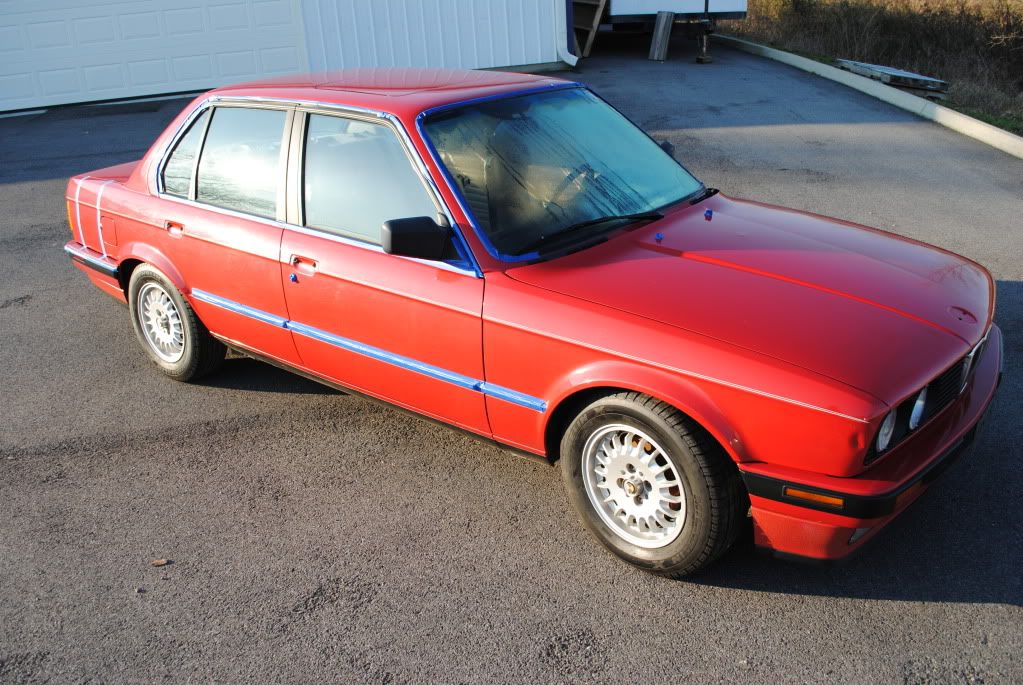
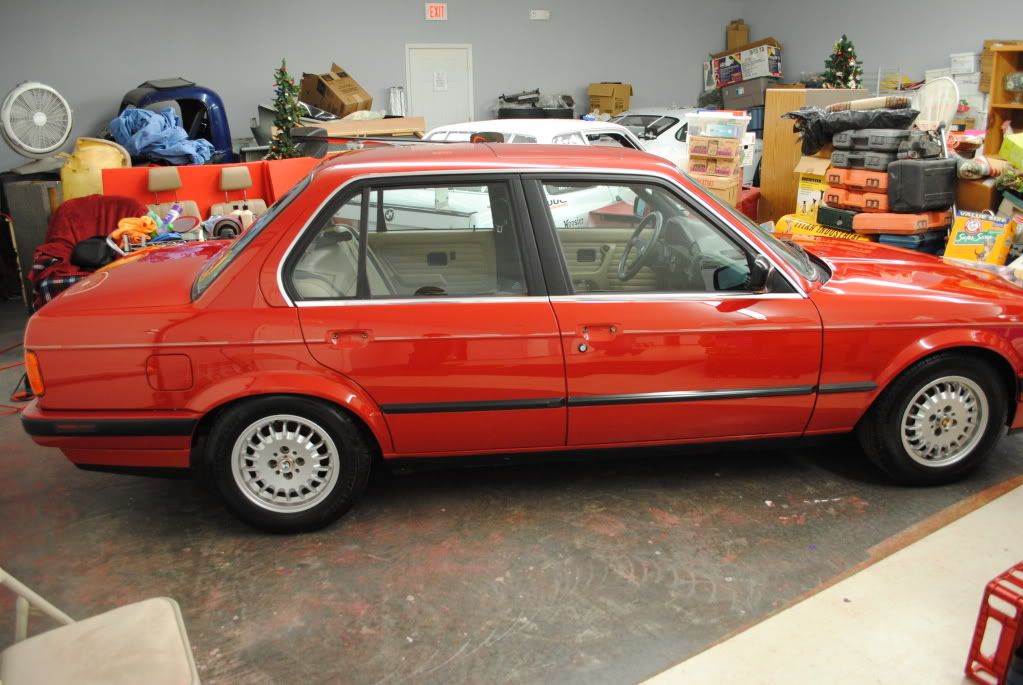
So I got there and he had it washed, taped up and ready to go for me to get right to work.
Here is what I pulled up to


So we pushed it into the Garage and I took measurements of the paint thickness to see what I was working with.
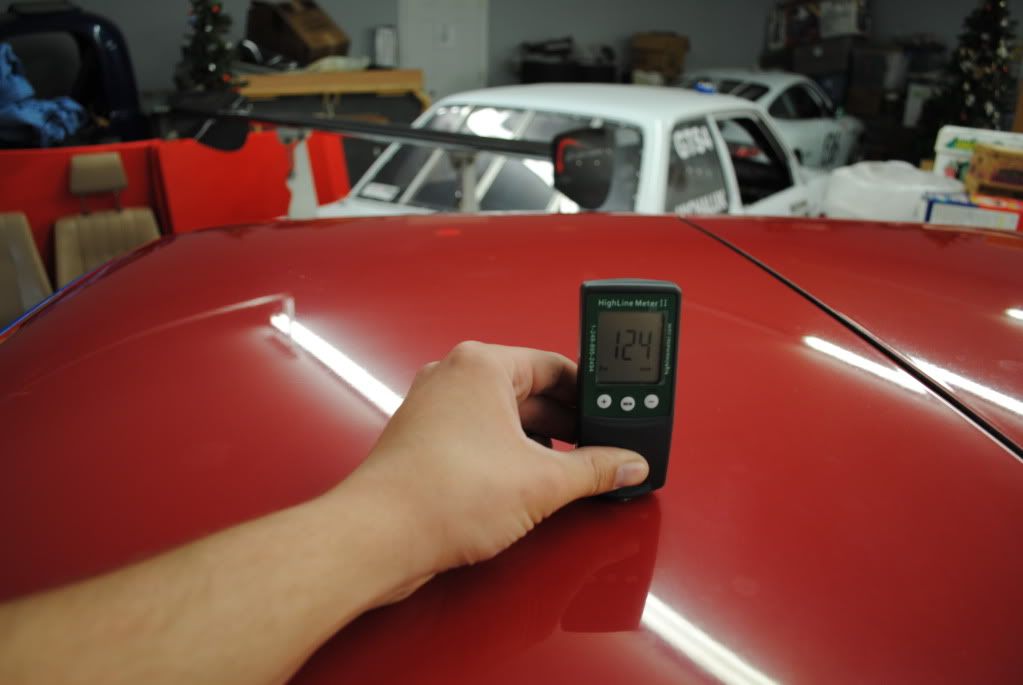
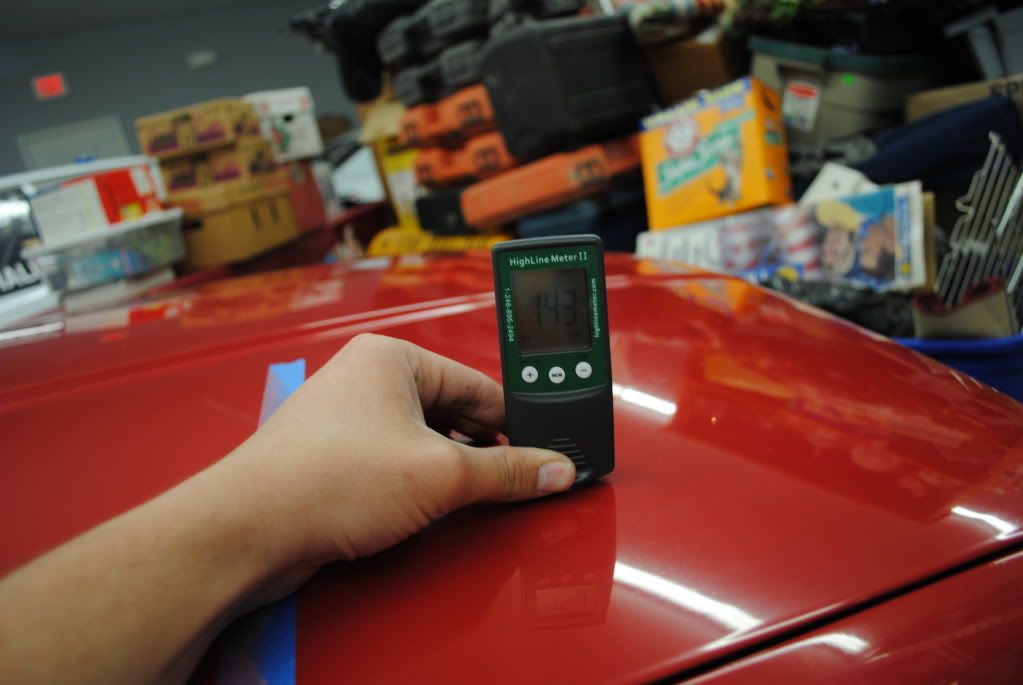
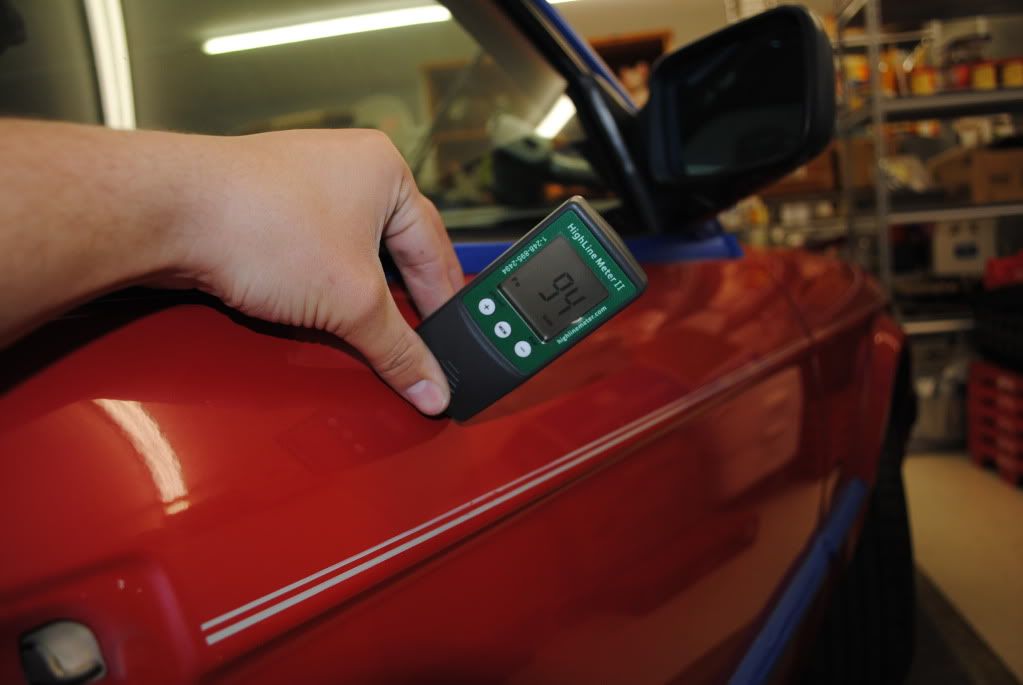

So over all the paint on the horizontal panals were pretty healthy and some of the side panels were a little low.
Well this being an 89 i was not sure if it was 1 Stage paint or 2 Stage so I gave it a little whirl and guess what?
Single Stage!!!! YAY!!!! Now I am going to leave here PINK!!:wall
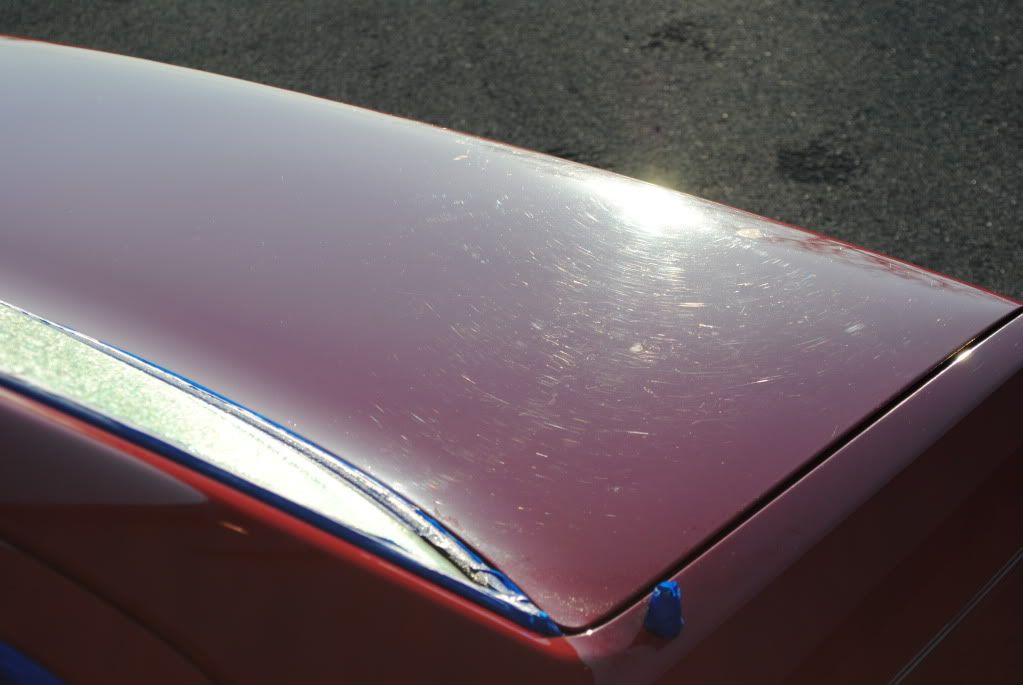
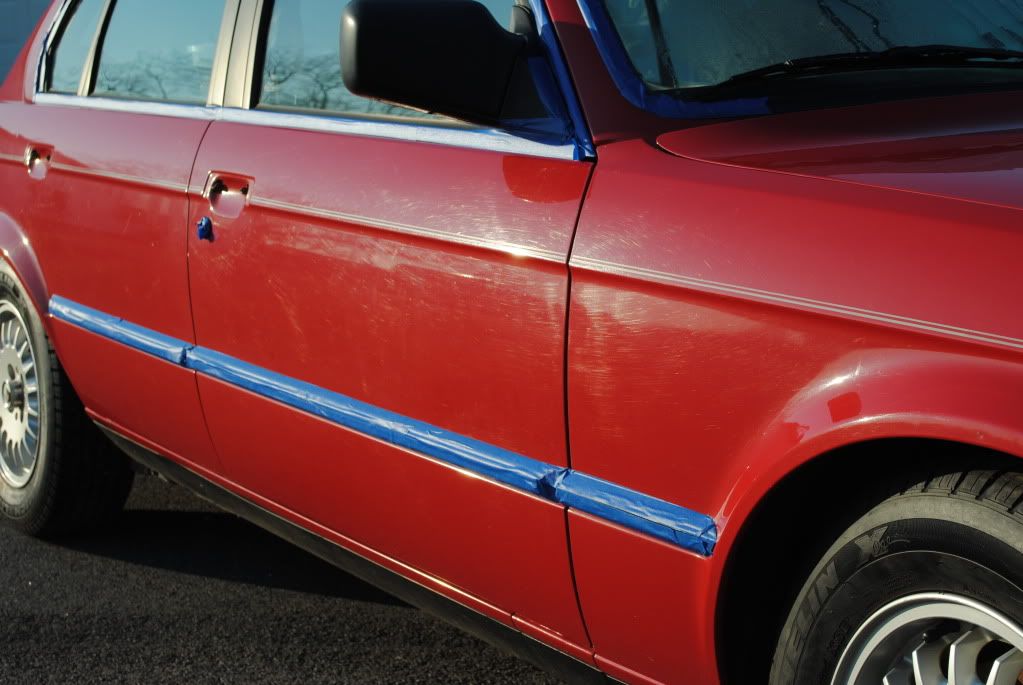
So after examining the 21 year old surface I noticed lots of acid rain spots and deep little pits, and TONS of Scratches. So I wet sanded a little spot to see if the owner wanted to step up the job a little. I wet sanded with p1500 grit and then followed by 3000 grit.
This was the before surface
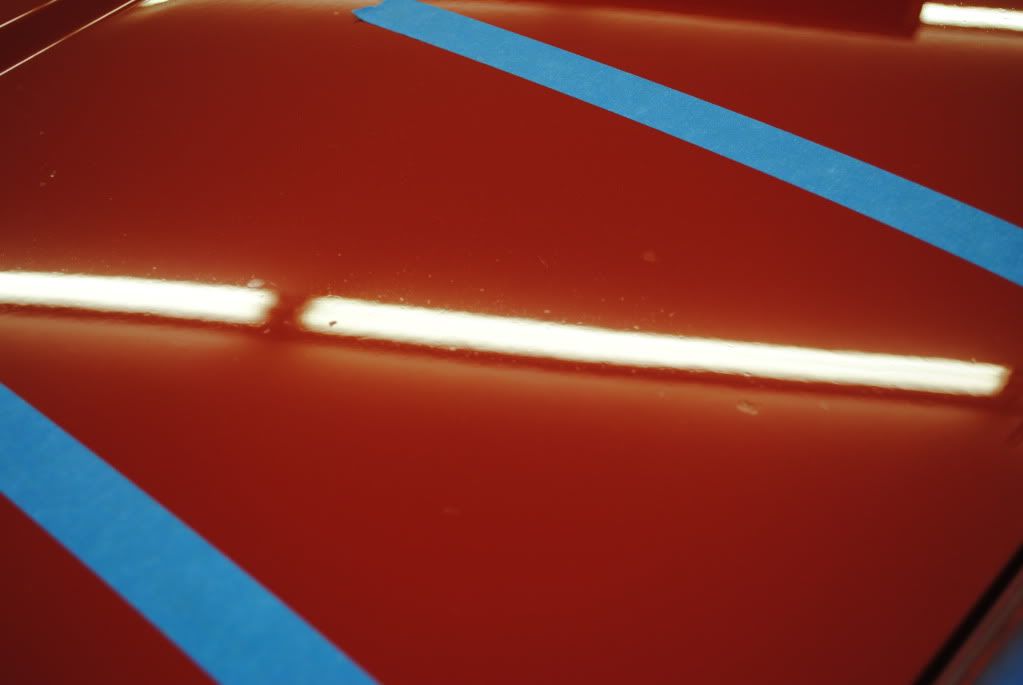
To this!
Looks great but we decided to not do the hood because it was REALLY eaten up by rock chip. But we wetsanded the whole roof and trunk in the end
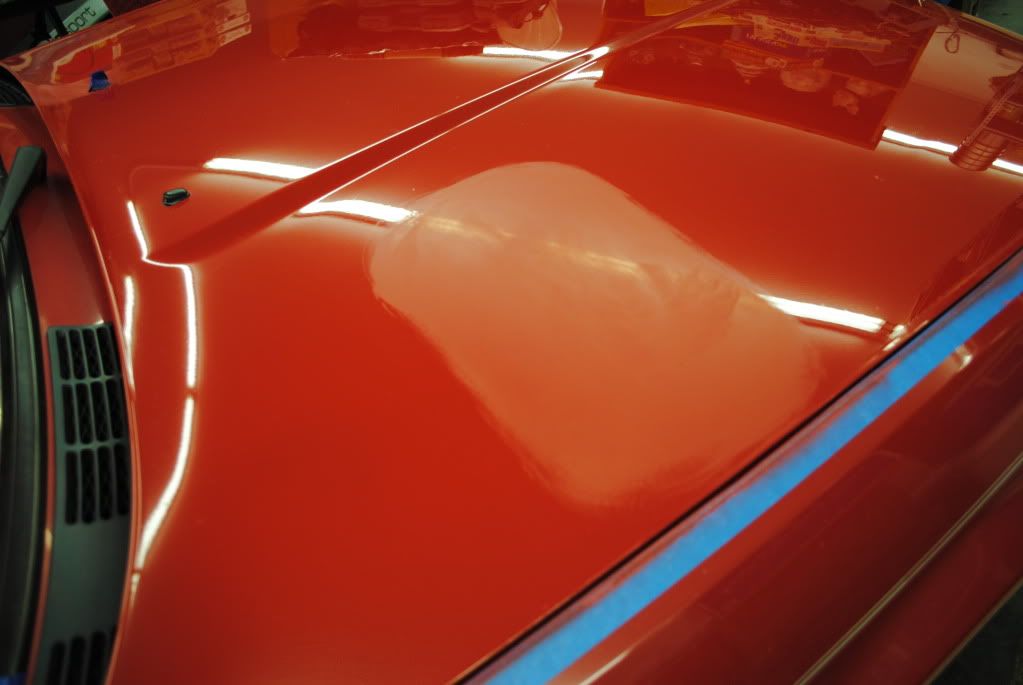
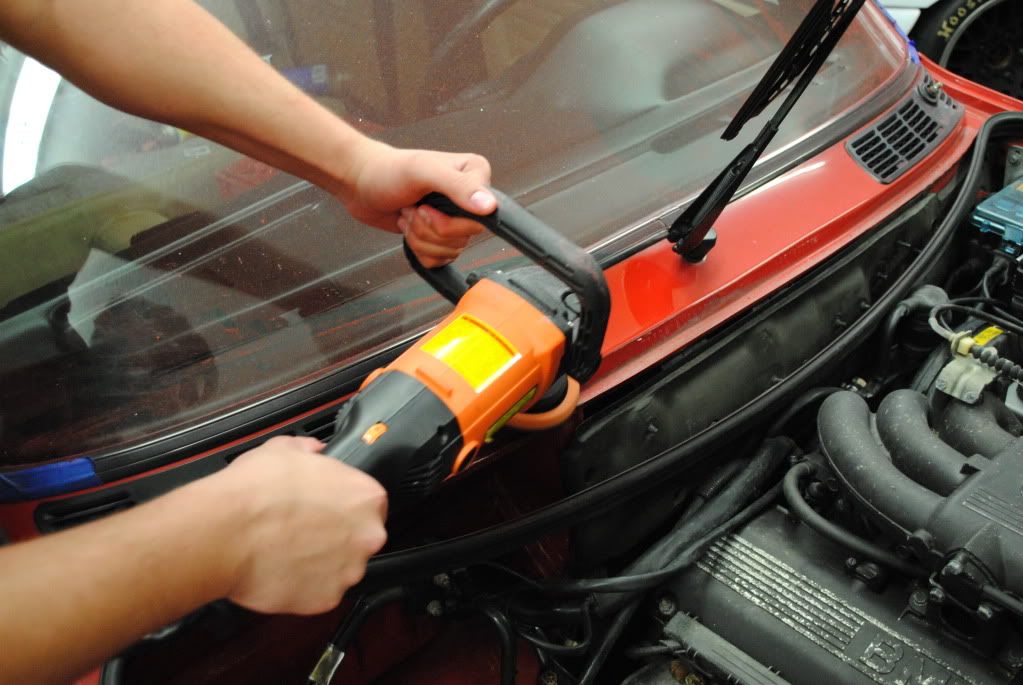
All of the paint was really dull and oxidized and the M105/Purple foamed wool pad really brought out the Shine.
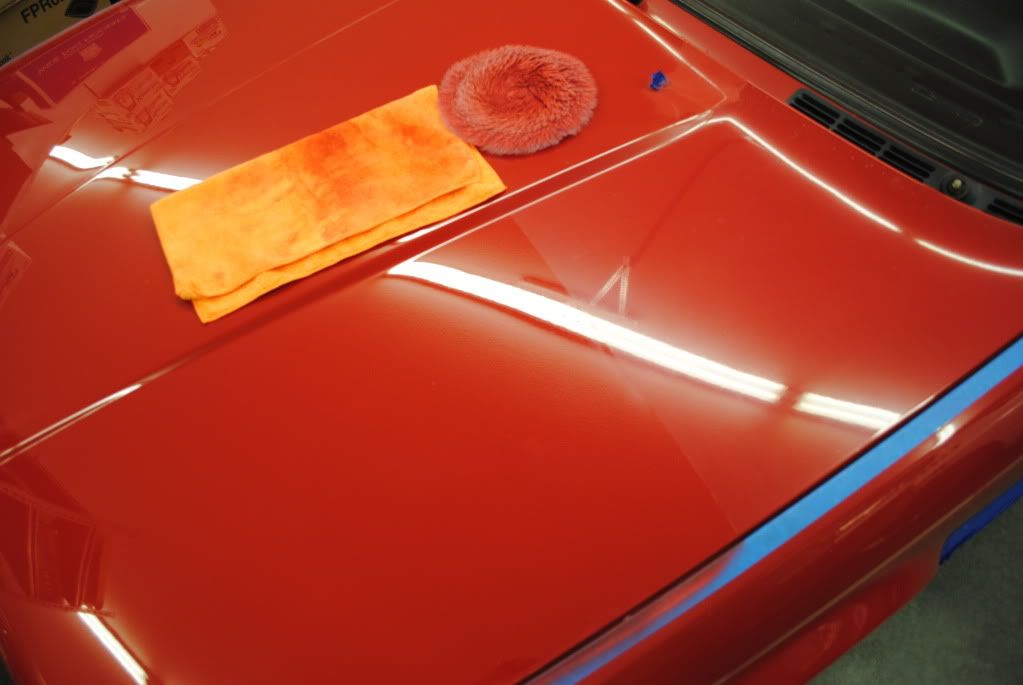
after that step I Polished with the M205/tangerine LC Hydrotech pad
and it came out to this
The Front bumper was Completely pink when I started but came out real nice
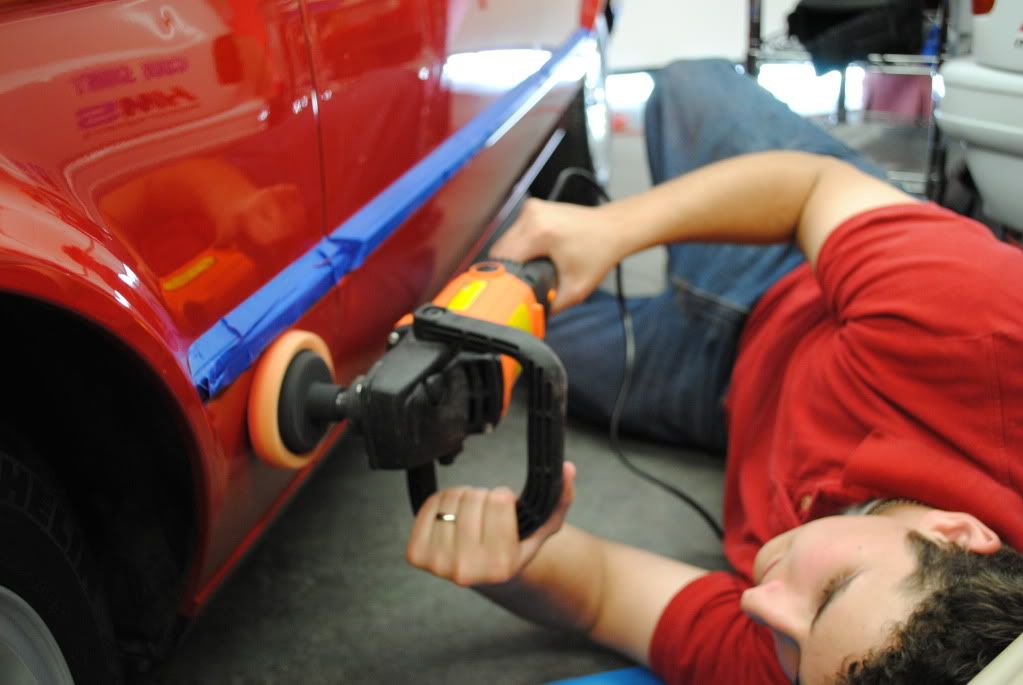
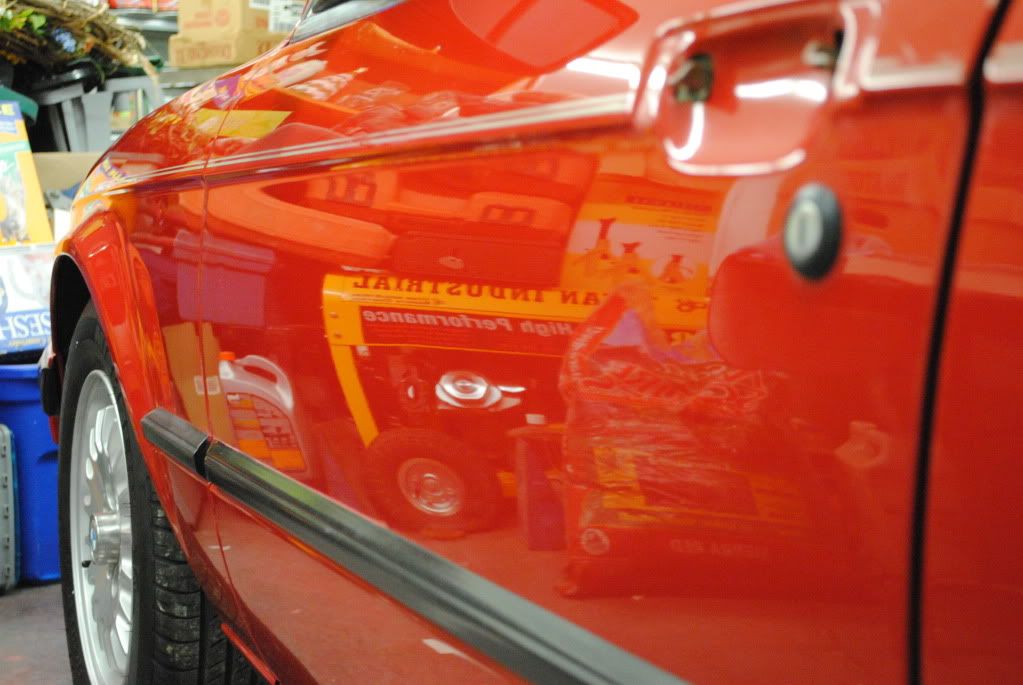
you cant forget the lower panels either
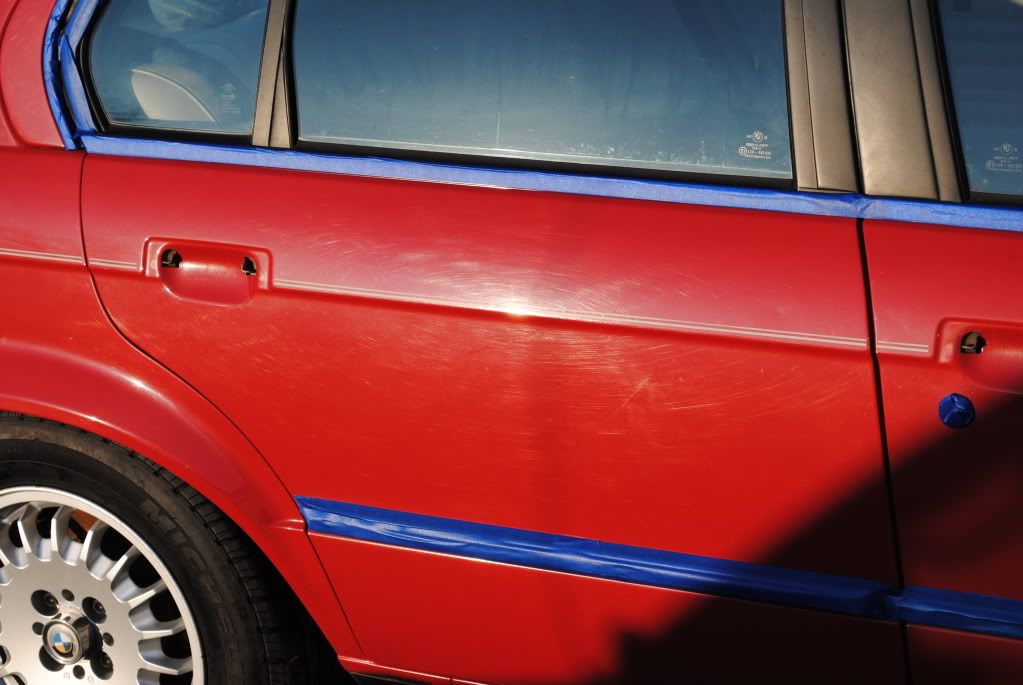
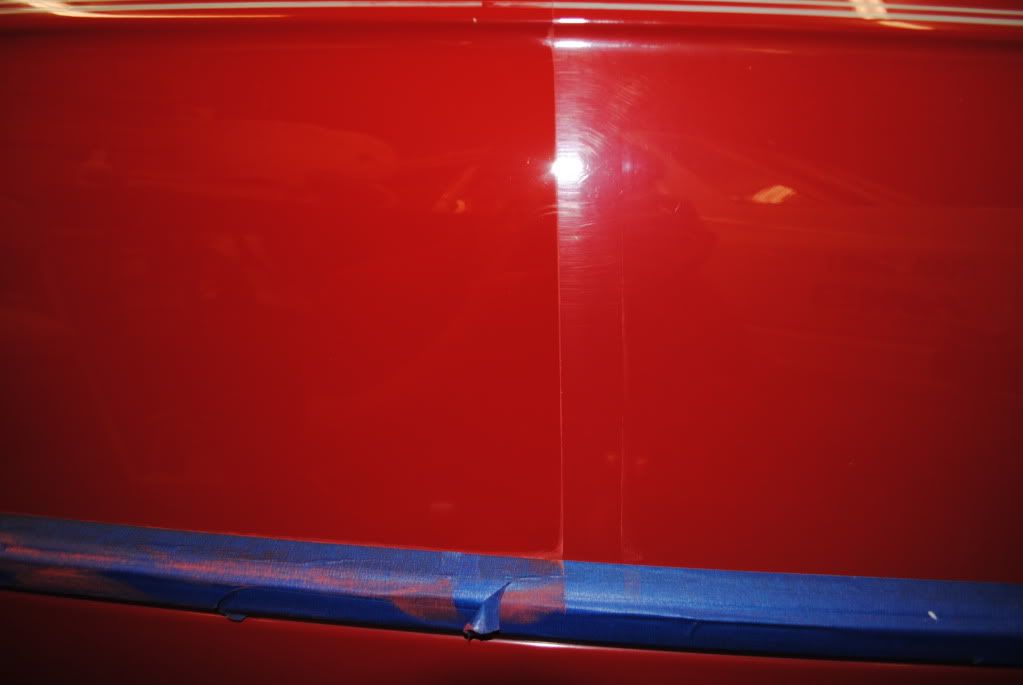
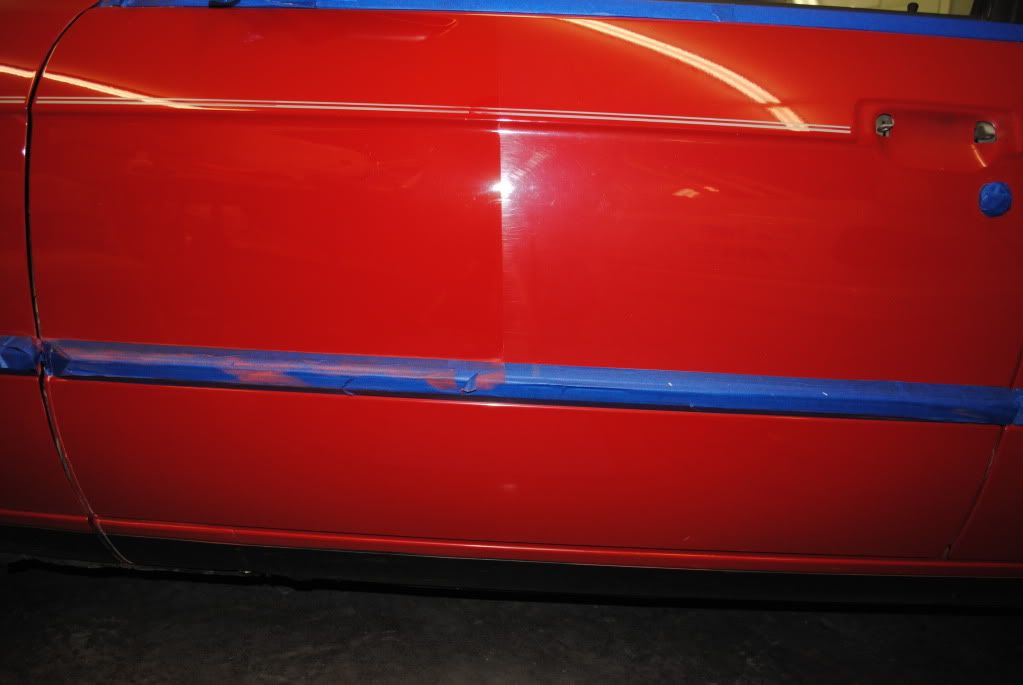
Here is a shot of the door are just M105/PFW
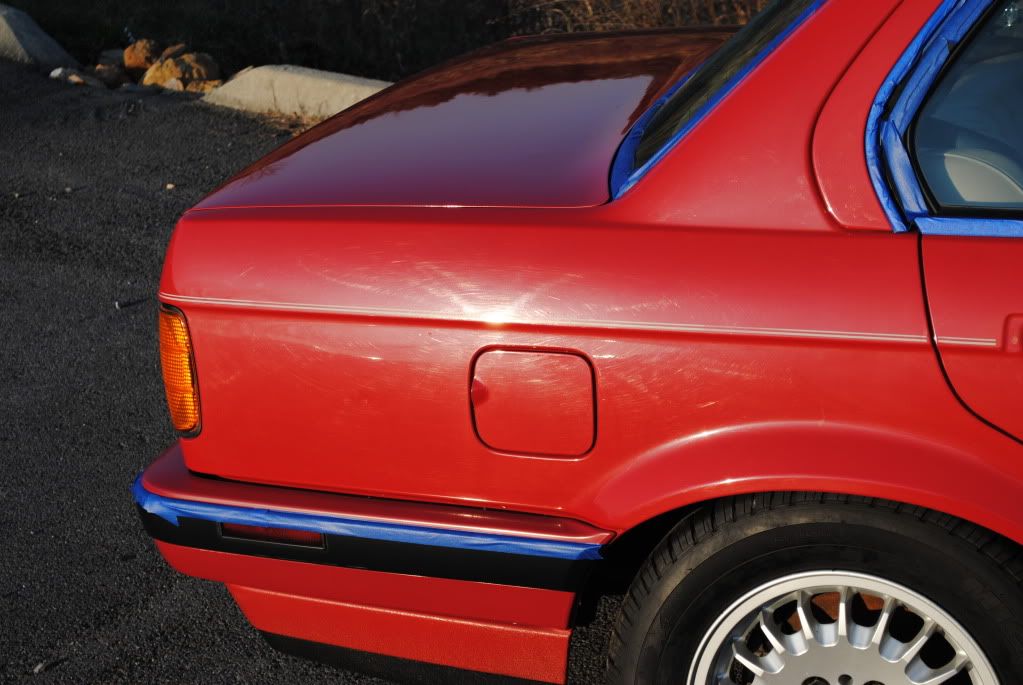
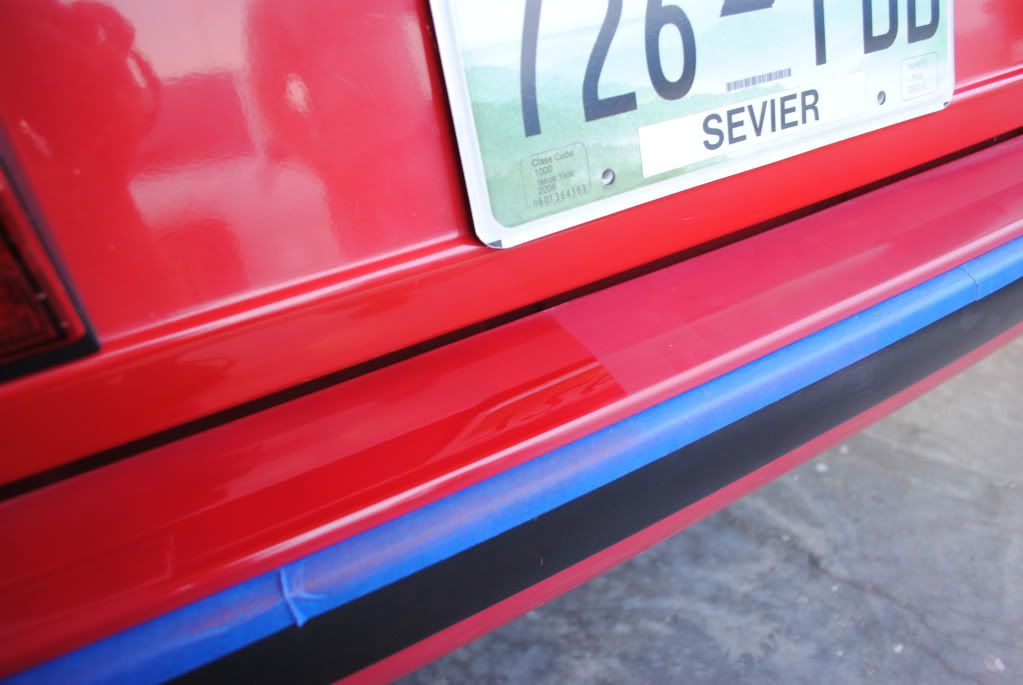
The rear bumper was just the same as the front
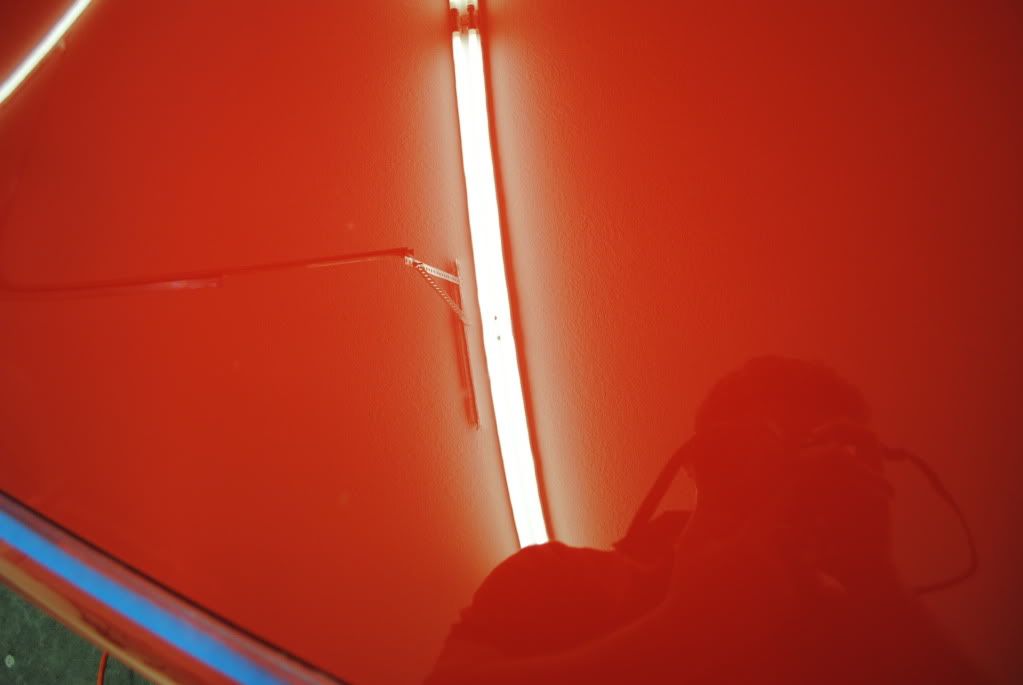
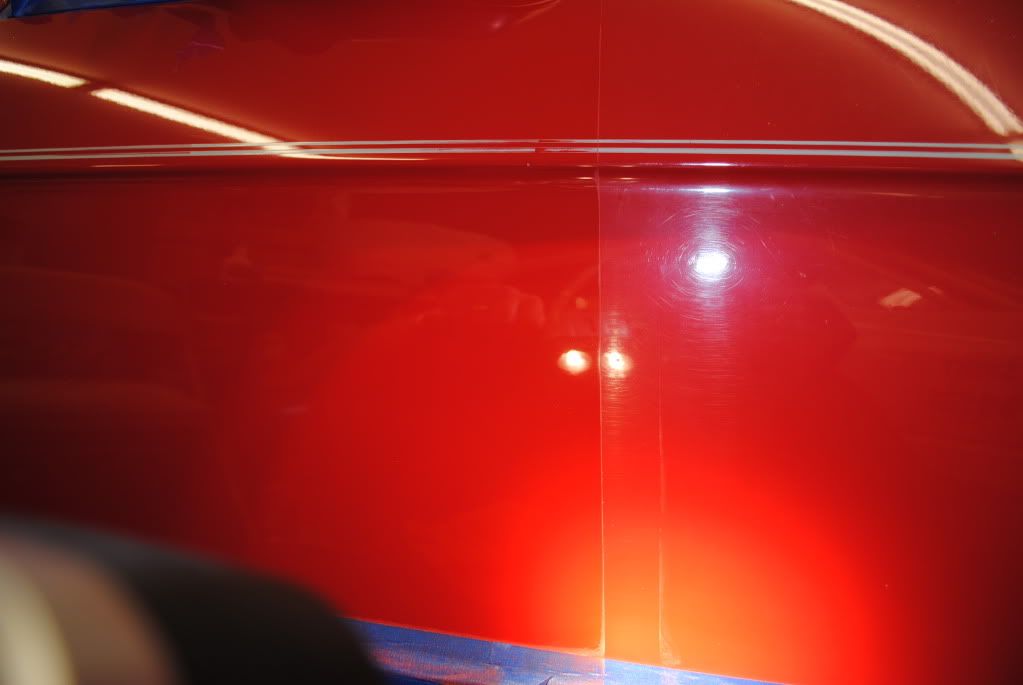
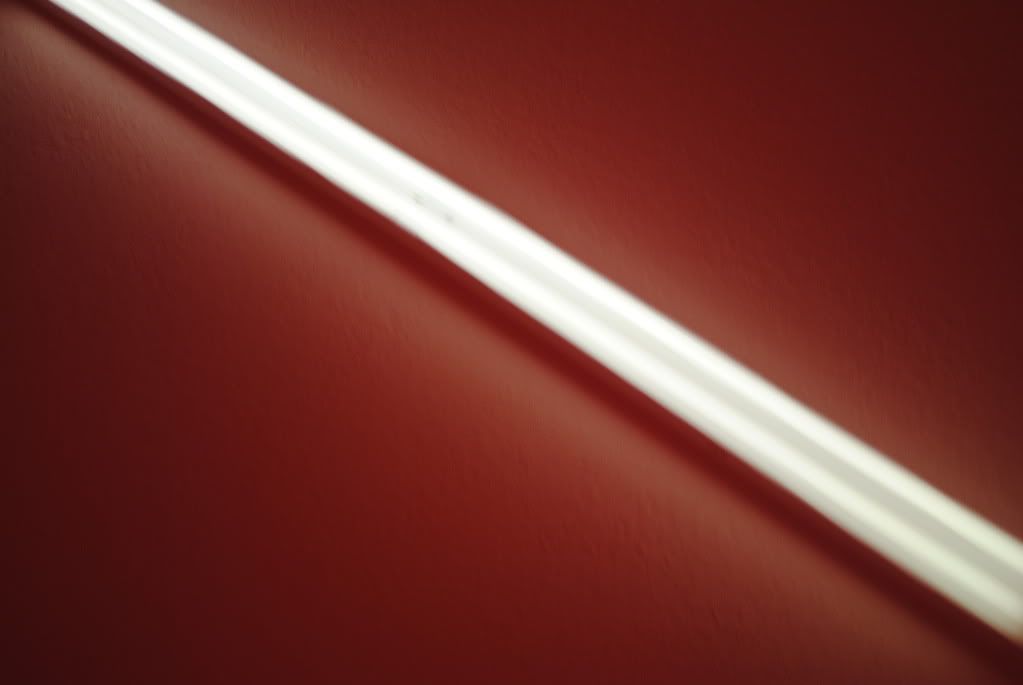
This is a 50/50 using the Brinkman's Duel Xenon swirl finder light
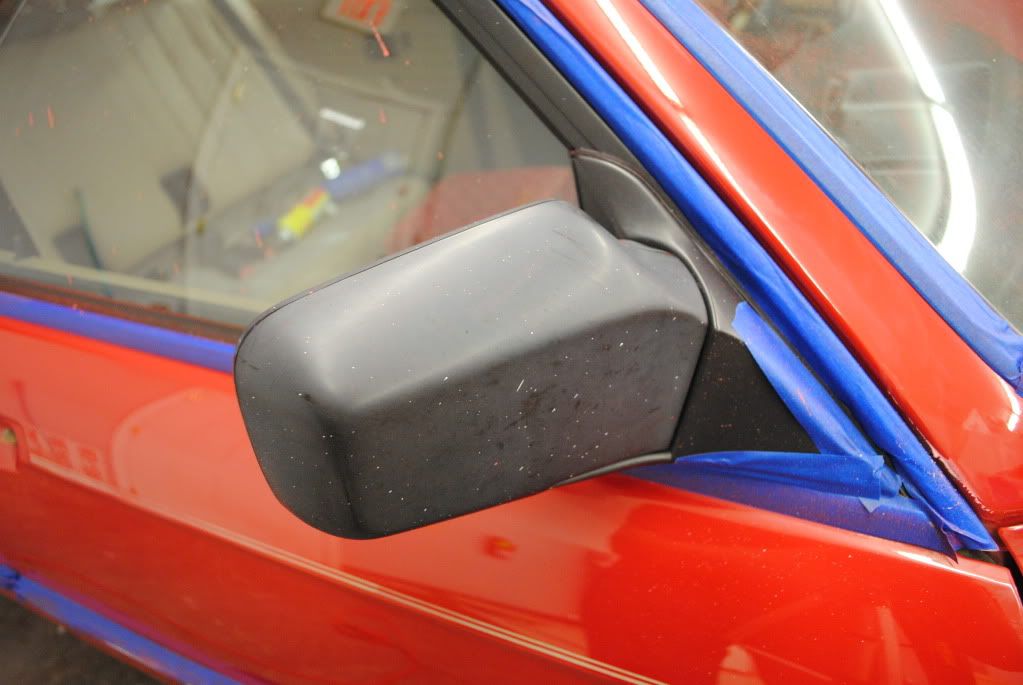
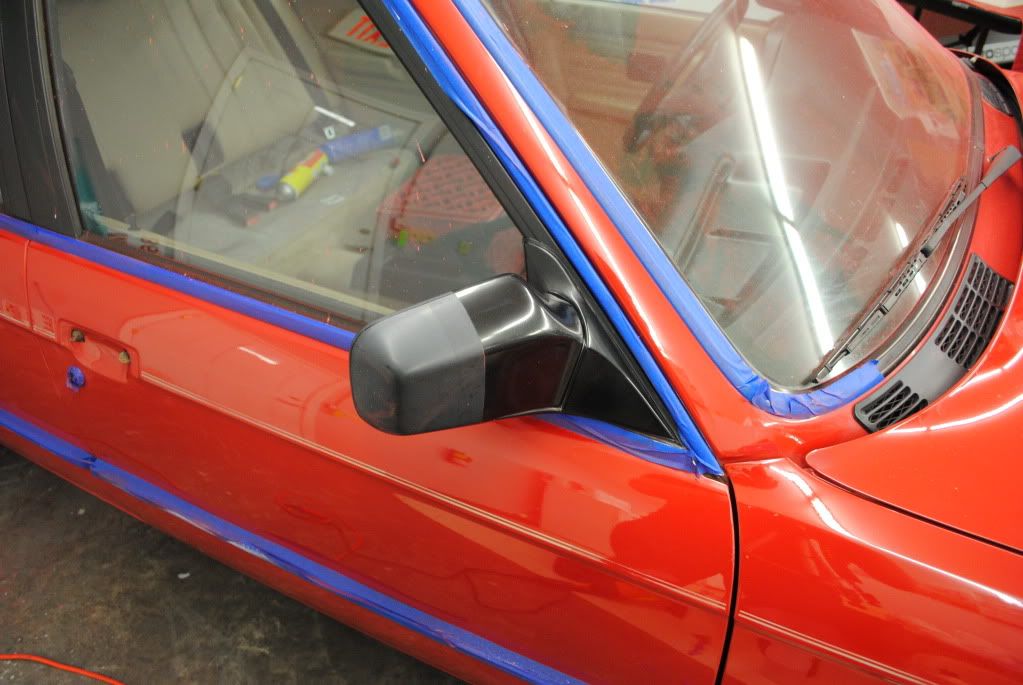
Check out the difference what a little M105/orange pad can do to the mirrors
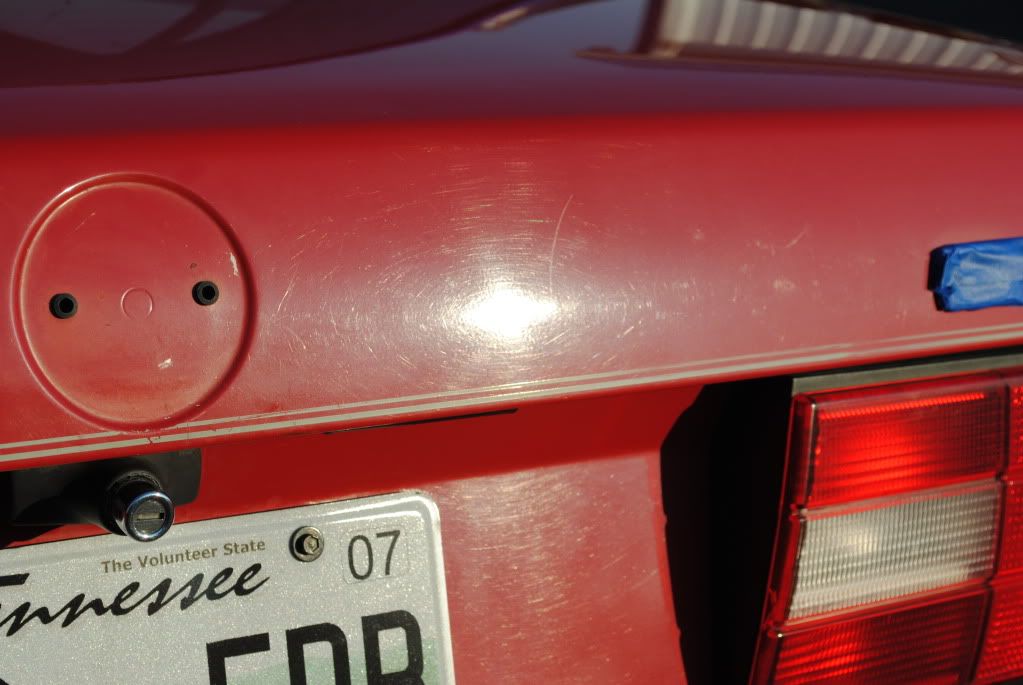
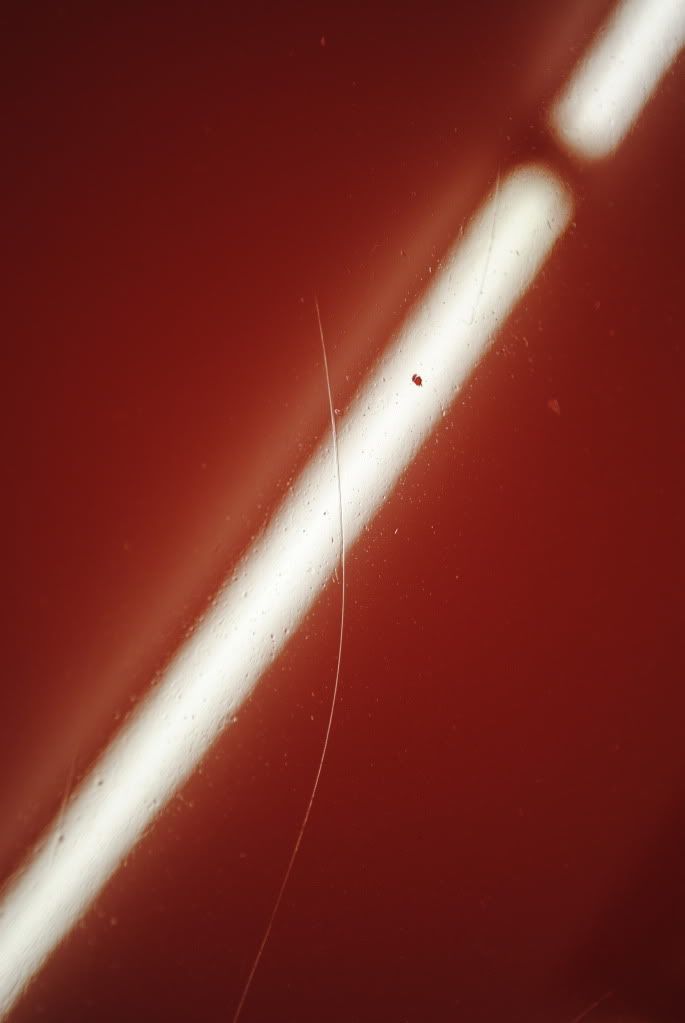
These are the little pits and scratches that I described earlier. This is after the M105/PFW via Rotary
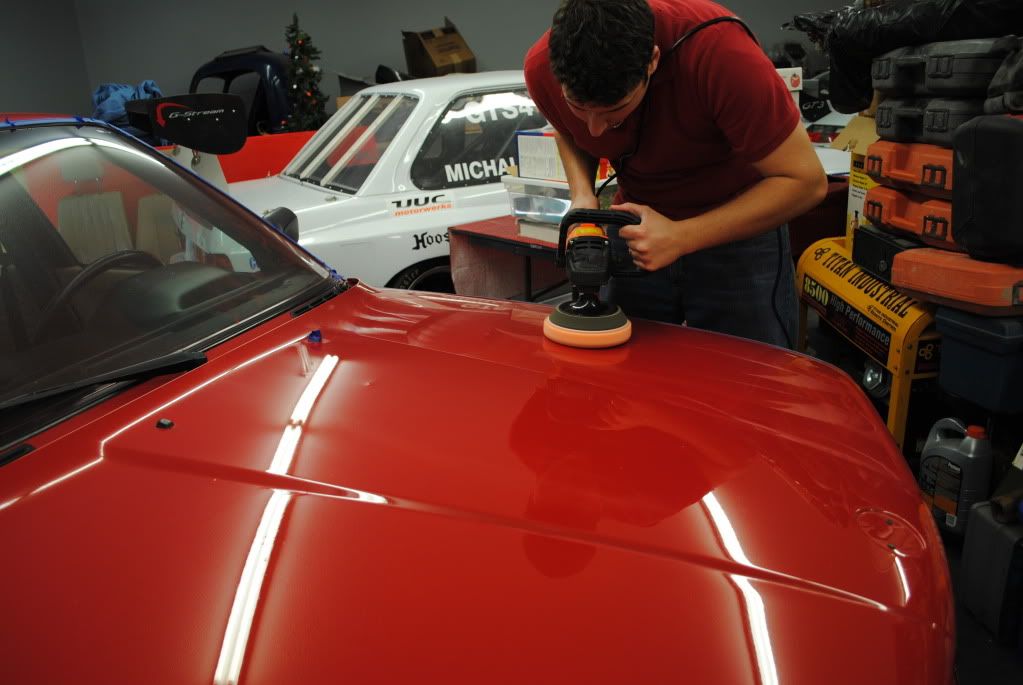
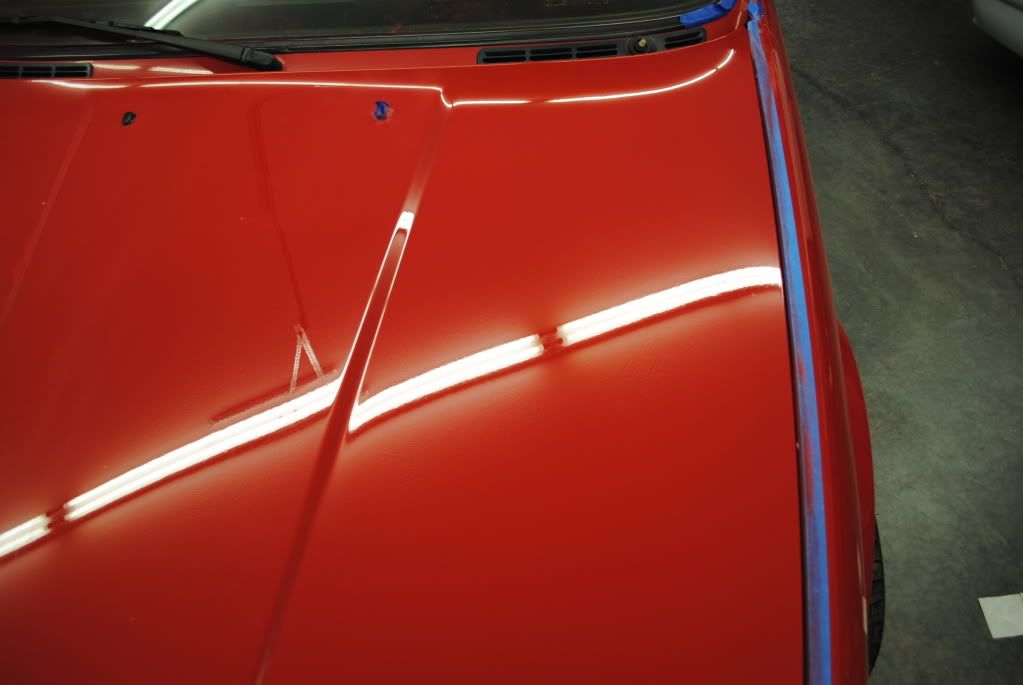
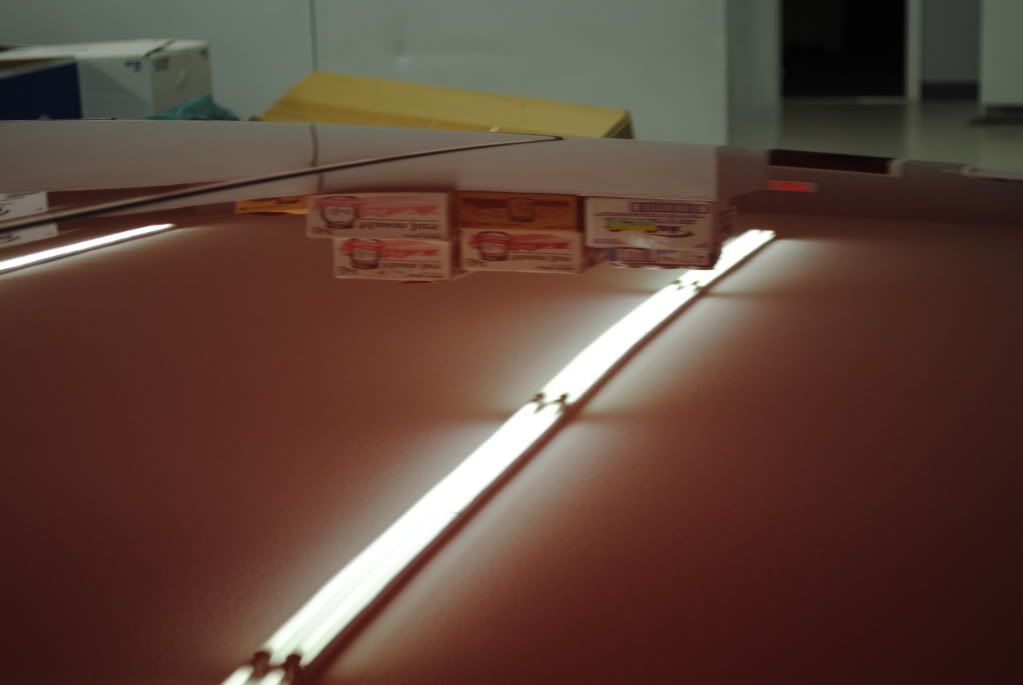
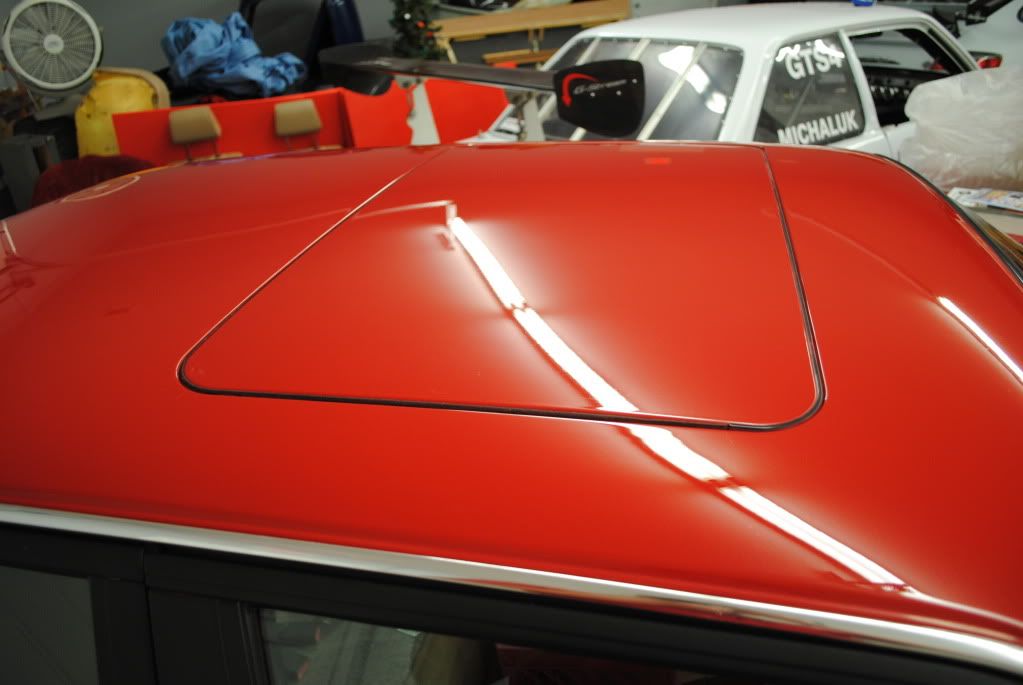
So we wetsanded the roof and trunk and finished buffing the car and here are the Final Shot (sorry there not any sun shots, It was 11:30pm when I finished)
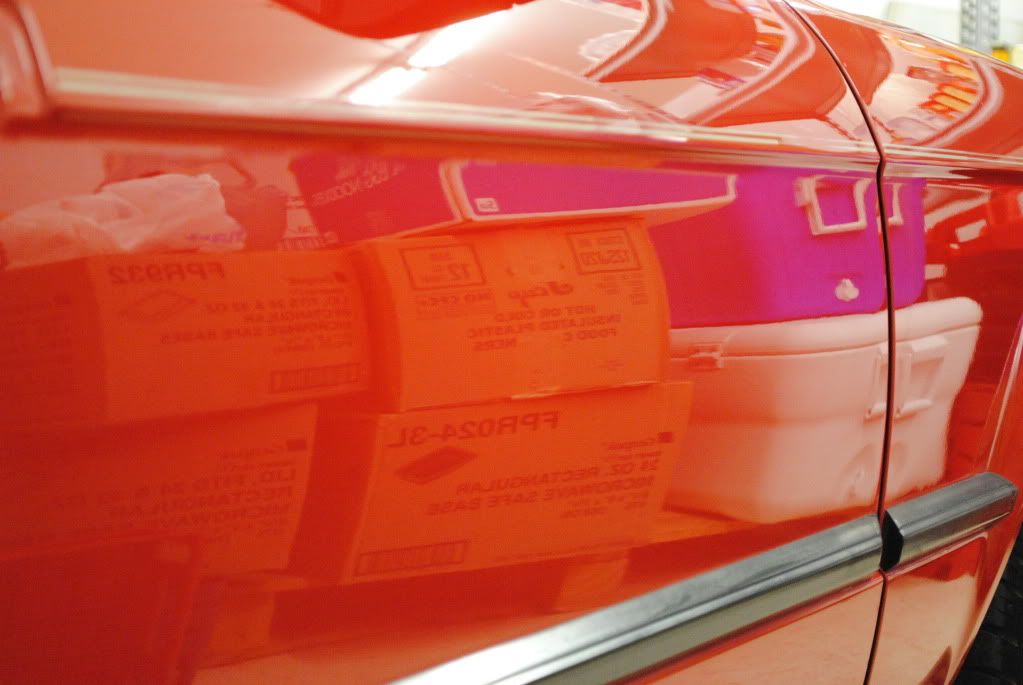
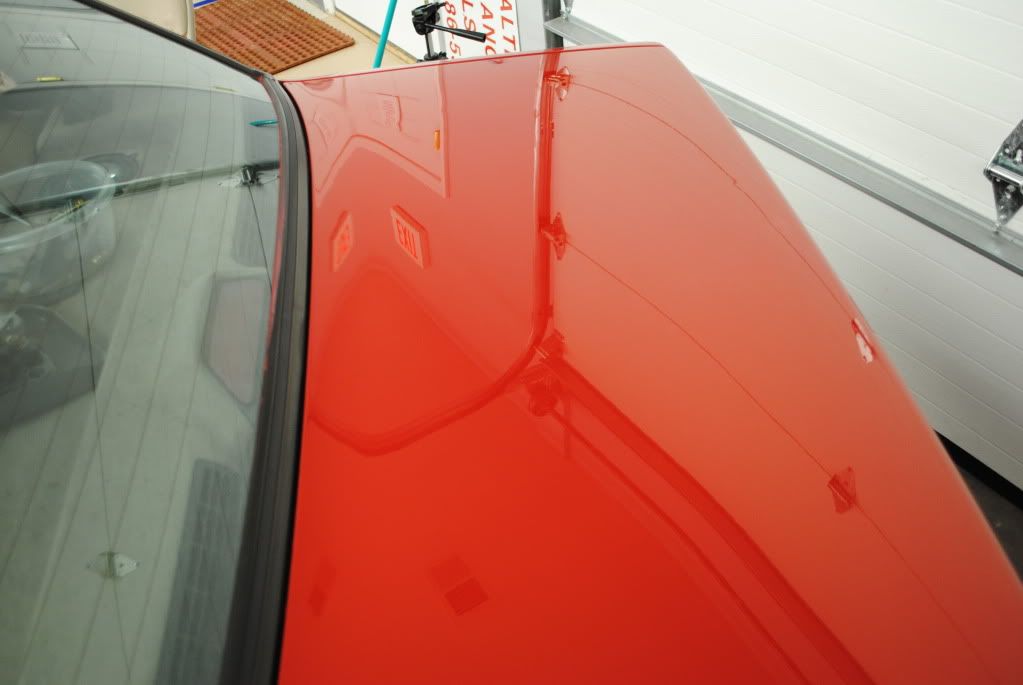
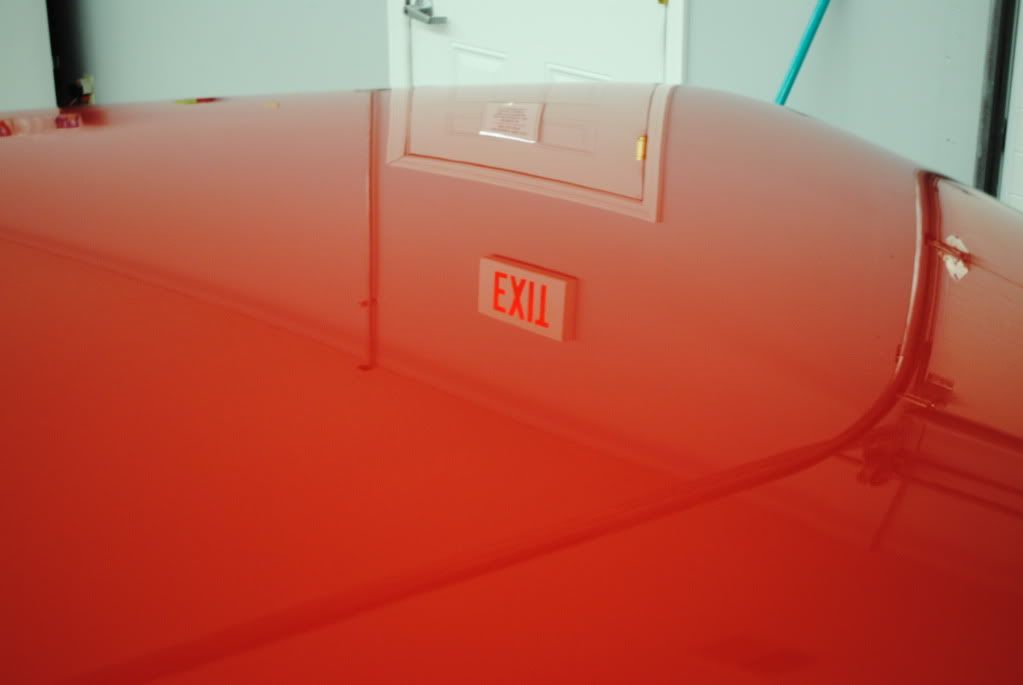
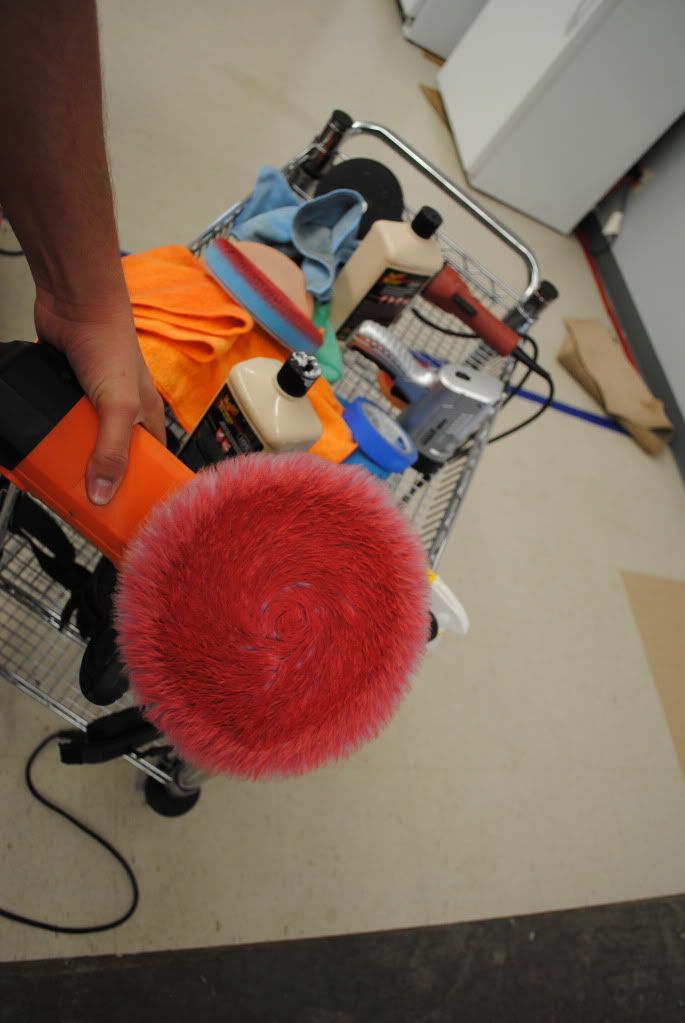
The single stage paint is fun but messy, Everything I had was Pink or red
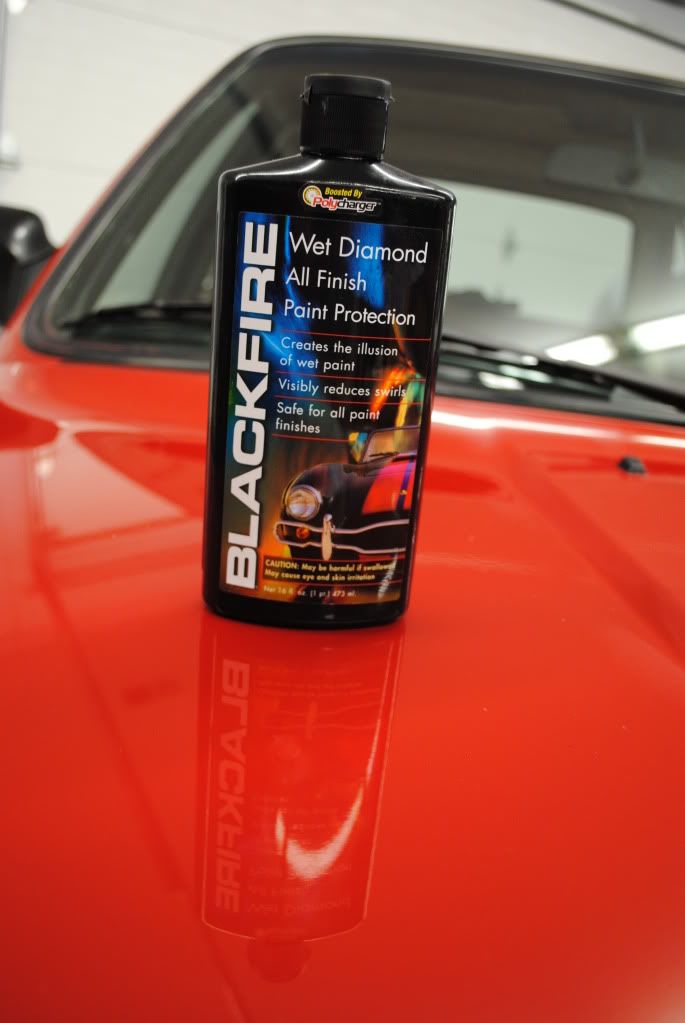
I finished off with a Coat of Black Fire Wet Diamond
And Yes those are Future Detail write ups in the back ground. along with a couple more Suprises
Next week is the 2007 Black Z06 Vette! :dance:dance:waxing::chuckle:
Tools & Products
Highline meter 2 Paint thickness gauge
harbor freight Rotary
Meguiars W66 BP
3" Rotary backing plate
Meguiars M105/M205
Lake country PFW,Orange,cyan,tangerine,white pads
3m Hookit II p1500 wetsanding paper
Eagle p3000 wetsanding paper
Flex 3401 VRG
Brinkman's Duel Xenon light
Blackfire Wet diamond
Griot's Garage 3" orbital with various backing plates
3m blue painters tape
So I got there and he had it washed, taped up and ready to go for me to get right to work.
Here is what I pulled up to
So we pushed it into the Garage and I took measurements of the paint thickness to see what I was working with.
So over all the paint on the horizontal panals were pretty healthy and some of the side panels were a little low.
Well this being an 89 i was not sure if it was 1 Stage paint or 2 Stage so I gave it a little whirl and guess what?
Single Stage!!!! YAY!!!! Now I am going to leave here PINK!!:wall
So after examining the 21 year old surface I noticed lots of acid rain spots and deep little pits, and TONS of Scratches. So I wet sanded a little spot to see if the owner wanted to step up the job a little. I wet sanded with p1500 grit and then followed by 3000 grit.
This was the before surface
To this!
Looks great but we decided to not do the hood because it was REALLY eaten up by rock chip. But we wetsanded the whole roof and trunk in the end
All of the paint was really dull and oxidized and the M105/Purple foamed wool pad really brought out the Shine.
after that step I Polished with the M205/tangerine LC Hydrotech pad
and it came out to this
The Front bumper was Completely pink when I started but came out real nice
you cant forget the lower panels either
Here is a shot of the door are just M105/PFW
The rear bumper was just the same as the front
This is a 50/50 using the Brinkman's Duel Xenon swirl finder light
Check out the difference what a little M105/orange pad can do to the mirrors
These are the little pits and scratches that I described earlier. This is after the M105/PFW via Rotary
So we wetsanded the roof and trunk and finished buffing the car and here are the Final Shot (sorry there not any sun shots, It was 11:30pm when I finished)
The single stage paint is fun but messy, Everything I had was Pink or red
I finished off with a Coat of Black Fire Wet Diamond
And Yes those are Future Detail write ups in the back ground. along with a couple more Suprises
Next week is the 2007 Black Z06 Vette! :dance:dance:waxing::chuckle:
 03-25-2010, 06:02 PM
#3
Honda-Tech Member
Join Date: Apr 2007
Location: the bern, nc, usa
Posts: 756
Likes: 0
Received 0 Likes
on
0 Posts
nice job, good to see someone else using a harbor freight special, lol.
do you know where i could get some more of the foam pads that come with the harbour freight buffer? yeah i already checked h-f.
-tim
do you know where i could get some more of the foam pads that come with the harbour freight buffer? yeah i already checked h-f.
-tim
03-31-2010, 11:33 AM
#7
Honda-Tech Member
Thread Starter
Join Date: Apr 2005
Location: Knoxville, TN, USA
Posts: 923
Likes: 0
Received 0 Likes
on
0 Posts
The orange and Cyan are for cutting and the Tangerine and White are for finishing with polish.
and you can get them here.
Lake country Cyan Pad
Lake country Tangerine Pad
And any other detailing products.
That was the were the customer had my do it at. Its a healthy food delivery business. GOOD FOOD!! the fed me while i was there!
Trending Topics
03-31-2010, 12:35 PM
#8
Honda-Tech Member
Join Date: May 2009
Location: OASAKA, JP-CA
Posts: 3,685
Likes: 0
Received 0 Likes
on
0 Posts
What an amazing contrast of results! I was negative minded entering this thread, now I'd love to have my sedan done. What's the price on materials everything you used to accomplish this? I'd love to own my own set of tool to get the job done. Any recommendations I still have my Honda factory paint. Granada black pearl?
03-31-2010, 06:30 PM
#9
Honda-Tech Member
Thread Starter
Join Date: Apr 2005
Location: Knoxville, TN, USA
Posts: 923
Likes: 0
Received 0 Likes
on
0 Posts
What an amazing contrast of results! I was negative minded entering this thread, now I'd love to have my sedan done. What's the price on materials everything you used to accomplish this? I'd love to own my own set of tool to get the job done. Any recommendations I still have my Honda factory paint. Granada black pearl?
Rotary buffer -$60 at harbor freight
pads- $20-$30
compunds and polish-~$40ish
paint thickness gauge $250
tape-$10
Clay bar - $25
Backing plates-$25
Flex 3401- +$300
holagen lights- $20
Wet sanding supplies- $100
Sealant- $30
Wax-$50-$100
Time and Experience - Priceless, lots of Rotary time and lots of trial and error and lots of expensive mistakes.
you can really tear up a car with a rotary. and if not tear it up, then leave LOTS of swirls in the sunlight.
03-31-2010, 06:32 PM
#10
Honda-Tech Member
Thread Starter
Join Date: Apr 2005
Location: Knoxville, TN, USA
Posts: 923
Likes: 0
Received 0 Likes
on
0 Posts
If you click the link in my Sig they have EVERYTHING you could need to complete a job like this.
03-31-2010, 06:45 PM
#11
Honda-Tech Member
Join Date: May 2009
Location: OASAKA, JP-CA
Posts: 3,685
Likes: 0
Received 0 Likes
on
0 Posts
Thank you! That's a good site. How do you feel about the detail kits seen here? good starter set?
http://www.autogeek.net/griots-garage-car-care.html
http://www.autogeek.net/griots-garage-car-care.html
03-31-2010, 06:50 PM
#12
Honda-Tech Member
Thread Starter
Join Date: Apr 2005
Location: Knoxville, TN, USA
Posts: 923
Likes: 0
Received 0 Likes
on
0 Posts
autogeek.net is a great site. I order alot from them too.
Griots garage Is an amazing company too. lifetime satisfaction guaranteed, no questions asked. Their 6" orbital is great and there 3" is awesome too.
I would highly recomend the Meguiars G110v2 kit with M105/M205 and all the pads. You cant go wrong there. they should have that kit too. and the G110v2 has less vibration then the Griots garage 6". but both are great machines.
you should check out Autopia.org and go down to the Pro before and afters and watch them and watch what everyone uses. and then wander around all the sub forums too.

Thread
Thread Starter
Forum
Replies
Last Post