
Joey's '00 EM1 EBP Restoration
 10-17-2014, 05:05 PM
#26
Honda-Tech Member
Thread Starter
You are correct about the B16A2 being the correct engine for the SI. Now this one is a B16A2 and vin coded EG2. Honda switched the DelSol powerplant from a B16A3 to a B16A2 in 1996(9/95), so this is a USDM DelSol engine.
For some reason I thought I was going to have wiring issues since the cel was on, but it all goes back to the previous owner(whoever did the swap) not installing a secondary o2 sensor and using some cheap crimp connectors on the primary o2 sensor and the wires coming apart.
I have ordered some parts but right now the car is parked for winter. I plan on taking the spoiler to work and figuring out those brackets.

Last edited by joey1320; 10-18-2014 at 01:07 AM.
 10-17-2014, 06:15 PM
#27
Honda-Tech Member
Join Date: Feb 2009
Location: Wisconsin
Posts: 539
Likes: 0
Received 0 Likes
on
0 Posts
Thanks!!
You are correct about the B16A2 being the correct engine for the SI. Now this one is a B16A2 and vin coded EG2. Honda switched the DelSol powerplant from a B16A3 to a B16A2 in 1996(9/95), so this is a USDM DelSol engine.
For some reason I thought I was going to have wiring issues since the cel was on, but it all goes back to the previous owner(whoever did the swap) not installing a secondary o2 sensor and using some cheap crimp connectors on the primary o2 sensor and thw wirirng coming apart.
I have ordered some parts but right now the car is parked for winter. I plan on taking the spoiler to work and figuring out those brackets.
Ahh yes very good! You are correct about the engine I am Sorry I always forget they switched for 96/97!
10-21-2014, 09:31 AM
#28
Honda-Tech Member
Thread Starter
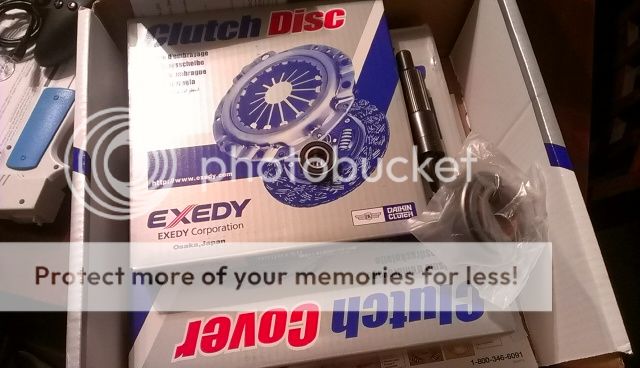
Went ahead an ordered an Exedy clutch kit and secondary o2 sensor from rockauto. Great deal.
Debating if I should get the car inspected for the "out of state" inspection and get some plates for it so I can drive it to work on weekends and work on it. Hmmm.
Debating if I should get the car inspected for the "out of state" inspection and get some plates for it so I can drive it to work on weekends and work on it. Hmmm.
10-21-2014, 05:55 PM
#32
Honda-Tech Member
Thread Starter
Thanks everyone for the replies and motivation
Decided to tackle the spoiler, just to see what I could do. Went ahead and took off the old brackets and cleaned out the mounting area.
Old rusted out brackets.
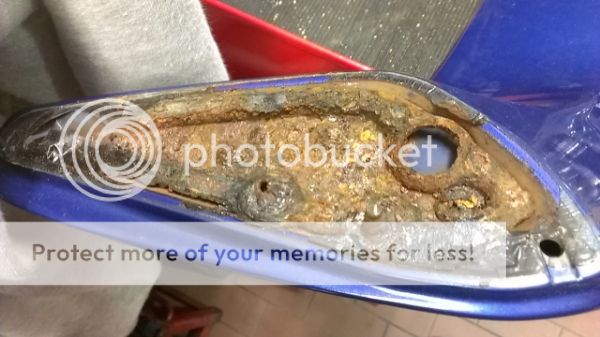
Grinded off the rusted screws and cleaned out the area.
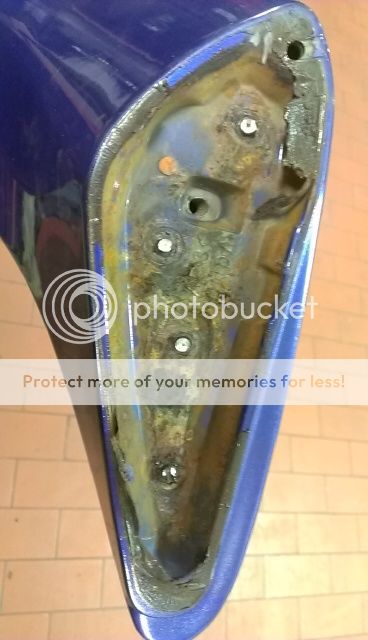

Now my plan is to strip some of the paint from the mounting areas, then install a few ribbets onto it to create a "rebar" for the fiberglass to adhere to and then make a completely flat surface. After that I'll mock it on the trunk and either add studs to the spoiler or use screws from the trunk side. I'm thinking with such a bigger contact arear and some 3M doublesided tape, this spoiler will be properlly secured.
Now while I was messing aorund with the car I found the battery tray/holder in the trunk. It was a bet up and I really didn't want to install it like this. I went ahead and cleaned it and added some paint to it - nothing crazy just for my own sanity ha.
As found:

Super quick wire wheel clean up.

Nice layer of Rustoleum oil based paint, should hold up great. I was thinking of getting black but I already had the blue, plus nobody will ever see this, so why not...
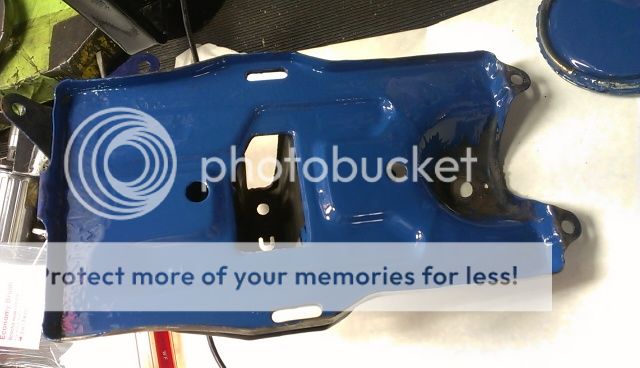
I also used a plastic promo license plate, cut it to size and fitted it as a pad for the battery. Needless to say, I think I won't have any more issues with this holder.
I'll keep updating the thread as I go
Decided to tackle the spoiler, just to see what I could do. Went ahead and took off the old brackets and cleaned out the mounting area.
Old rusted out brackets.
Grinded off the rusted screws and cleaned out the area.
Now my plan is to strip some of the paint from the mounting areas, then install a few ribbets onto it to create a "rebar" for the fiberglass to adhere to and then make a completely flat surface. After that I'll mock it on the trunk and either add studs to the spoiler or use screws from the trunk side. I'm thinking with such a bigger contact arear and some 3M doublesided tape, this spoiler will be properlly secured.
Now while I was messing aorund with the car I found the battery tray/holder in the trunk. It was a bet up and I really didn't want to install it like this. I went ahead and cleaned it and added some paint to it - nothing crazy just for my own sanity ha.
As found:
Super quick wire wheel clean up.
Nice layer of Rustoleum oil based paint, should hold up great. I was thinking of getting black but I already had the blue, plus nobody will ever see this, so why not...
I also used a plastic promo license plate, cut it to size and fitted it as a pad for the battery. Needless to say, I think I won't have any more issues with this holder.
I'll keep updating the thread as I go
 10-23-2014, 05:07 PM
#37
Honda-Tech Member
Thread Starter
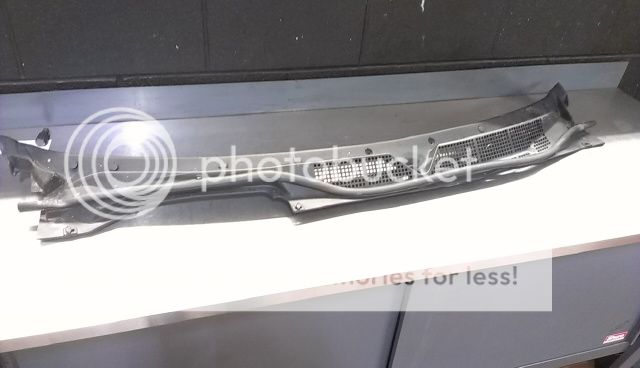
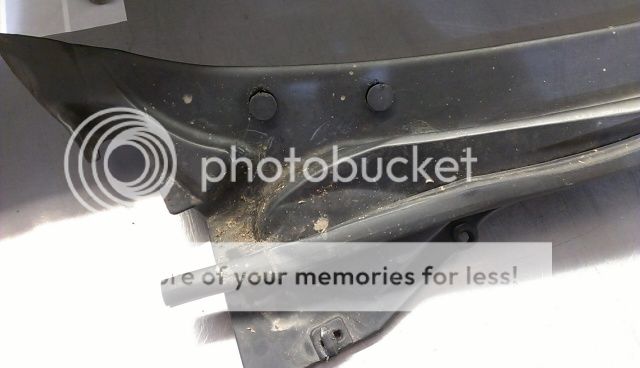
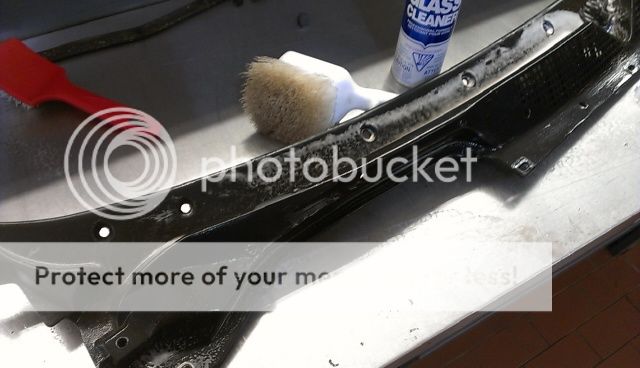
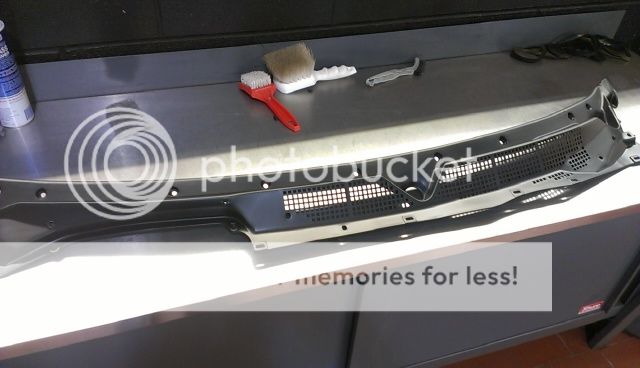
Here's a quick rundown of my cowl panel restoration. I could had gotten a new one but like I posted above, I'm all about survivors and keeping as much equipment original as possible. knowing this cowl panel has probably been in the car since new, it's only right to keep it.
The panel was really beat up, discolored and faded. I first started by giving it a good wash and clean, then removed as much of the pieces sticking up from the gouges as possible and then a quick paint using bumper paint. I gotta say it came out great. It shows age but does it correctly not all whooped.
As removed
Wash and scrub.
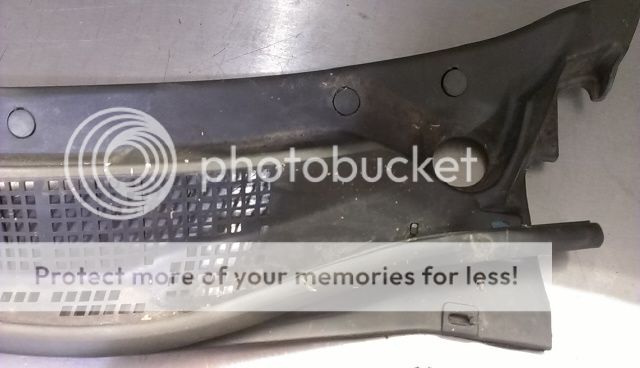
Some gouges.
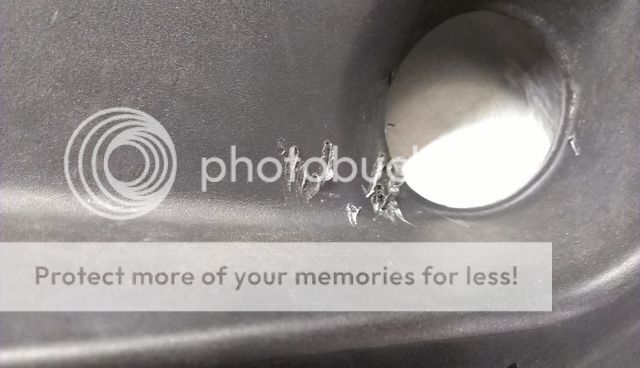
I used this plastic "razor" to remove most of the partssticking up from the gouges.
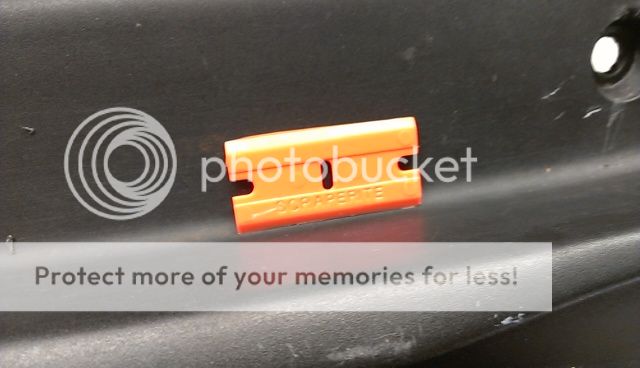
Tiny bit better.

After a bit of steel wool sanding.
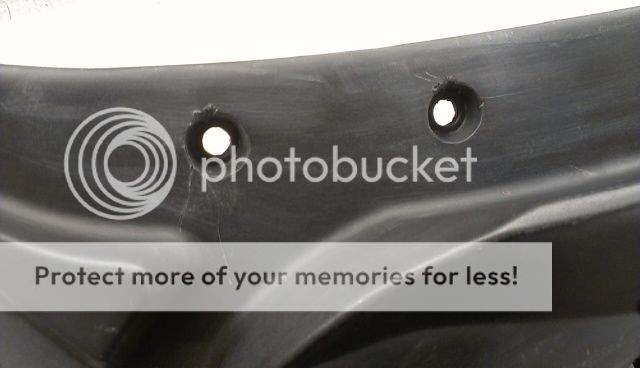
This works amazing but it will destroy your lungs.
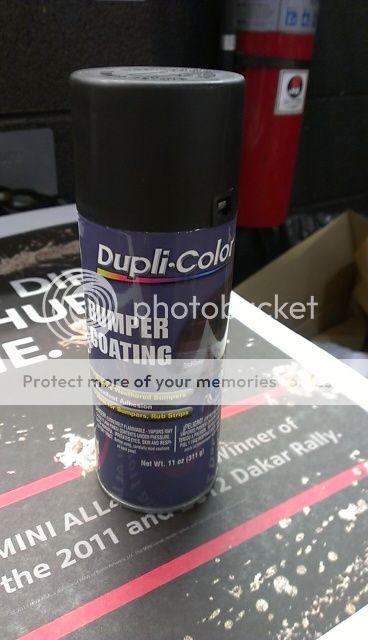
After three light coats of paint.
Better view of the plastic. Don't mind halway-taken-apart MINI.
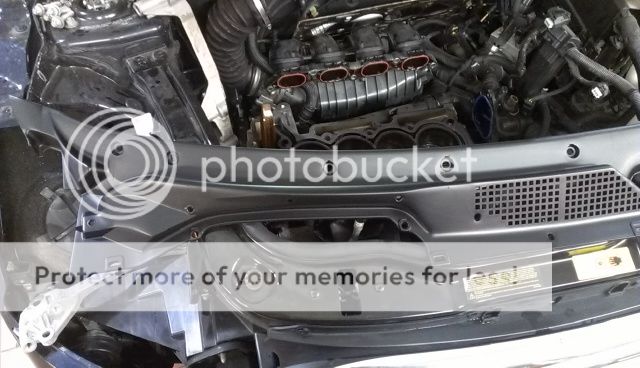

So there you have it. It looks great and will be a nice finishing piece to the engine bay. I'll be getting new clips and seals for it, just wanted to give it a resto.
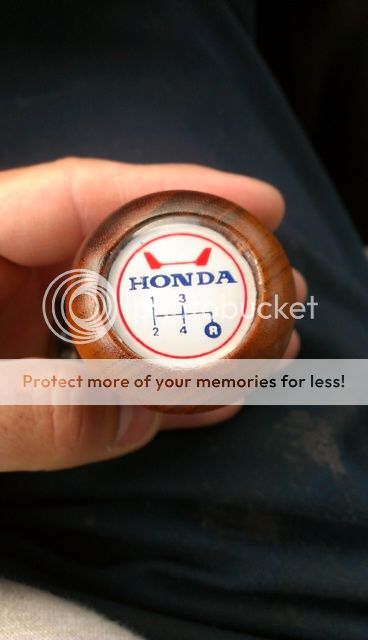
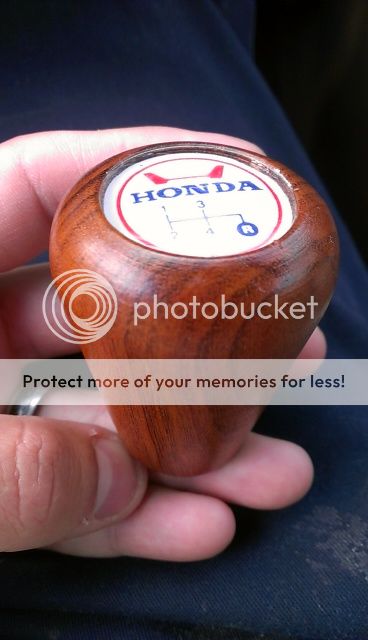
I also bought this shiftknob on ebay, not sure if I'll end up using it but I really wanted it.
The panel was really beat up, discolored and faded. I first started by giving it a good wash and clean, then removed as much of the pieces sticking up from the gouges as possible and then a quick paint using bumper paint. I gotta say it came out great. It shows age but does it correctly not all whooped.
As removed
Wash and scrub.
Some gouges.
I used this plastic "razor" to remove most of the partssticking up from the gouges.
Tiny bit better.
After a bit of steel wool sanding.
This works amazing but it will destroy your lungs.
After three light coats of paint.
Better view of the plastic. Don't mind halway-taken-apart MINI.
So there you have it. It looks great and will be a nice finishing piece to the engine bay. I'll be getting new clips and seals for it, just wanted to give it a resto.
I also bought this shiftknob on ebay, not sure if I'll end up using it but I really wanted it.
10-23-2014, 05:10 PM
#38
Honda-Tech Member
Thread Starter
10-25-2014, 05:08 PM
#41
Honda-Tech Member
Thread Starter
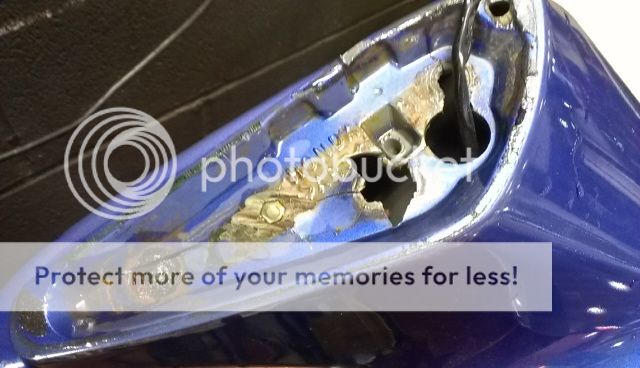
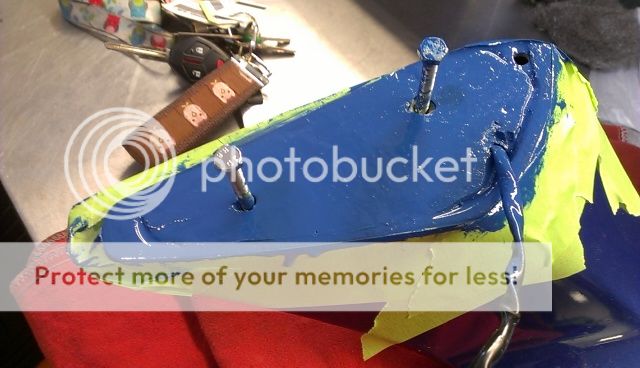
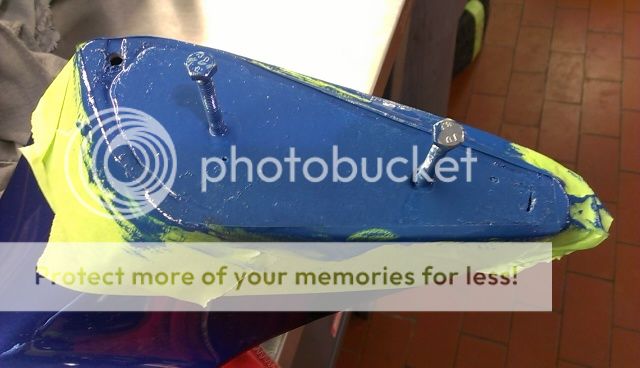
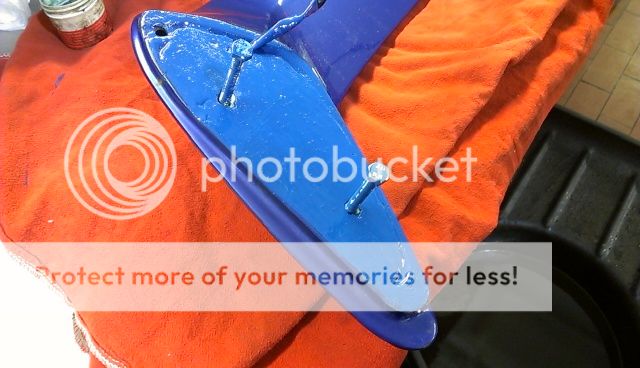
After cleaning the spoiler and sanding down the paint on the bottom of the legs, I dropped it off at my dad's for some repairs. As you can see he went with a mix of fiberglass and bondo as a filler for the mounting area. He also added metal brackets with prewelded nuts and mounted them before applying the fiberglass/bondo resin. The new bolt pattern is different than oe so I still need to decide if I want to use it or find a different way like I had mentioned before.
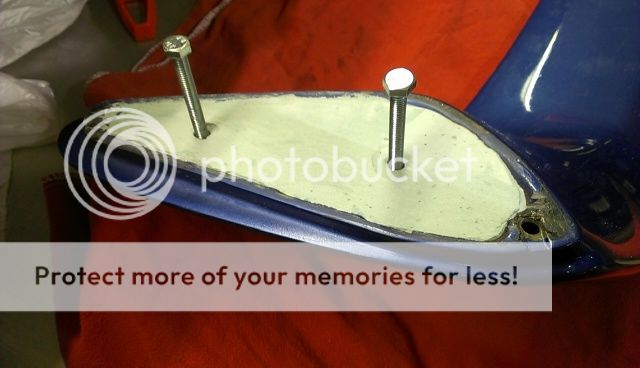
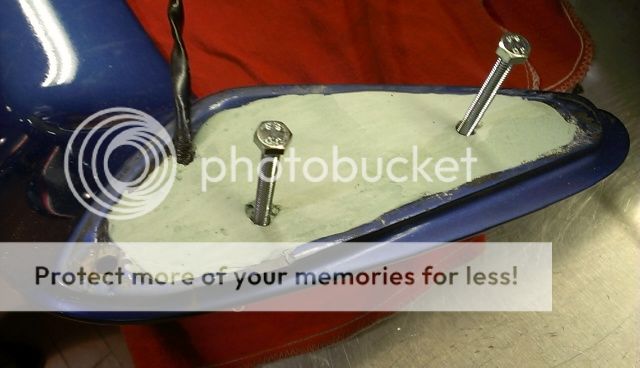
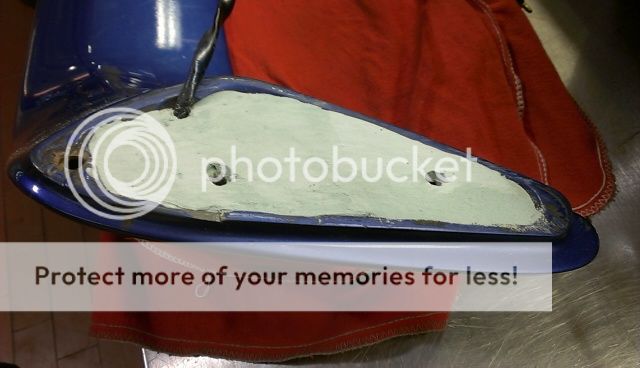
I went ahead and added a layer of oil based paint to seal the resin. I will also add an outer gasket and line the inner area with double sided tape when mounted.
I went ahead and added a layer of oil based paint to seal the resin. I will also add an outer gasket and line the inner area with double sided tape when mounted.
10-27-2014, 03:52 PM
#42
Honda-Tech Member
Thread Starter
Another simple aesthetic update.
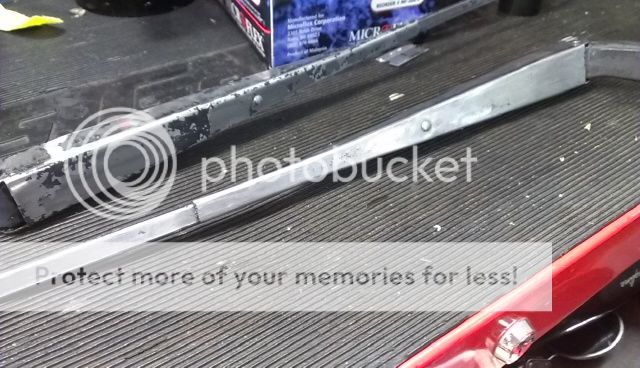
Went ahead and took care of the ugly wiper arms since they were already removed from the cowl resto. This is how they were when I took them off.
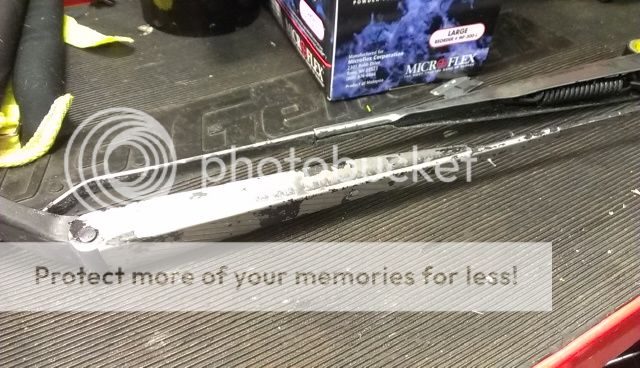
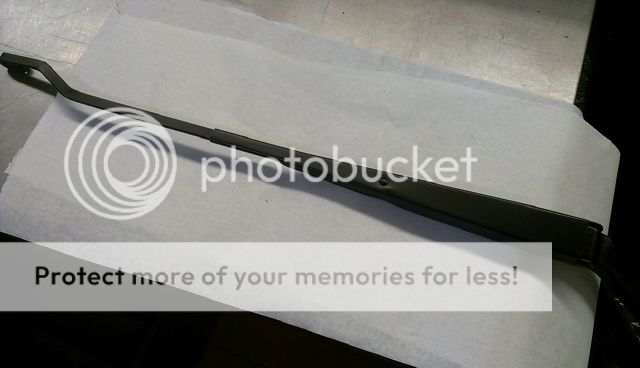
Started sanding them down.
And used the same paint as the cowl panel. They came out perfect.
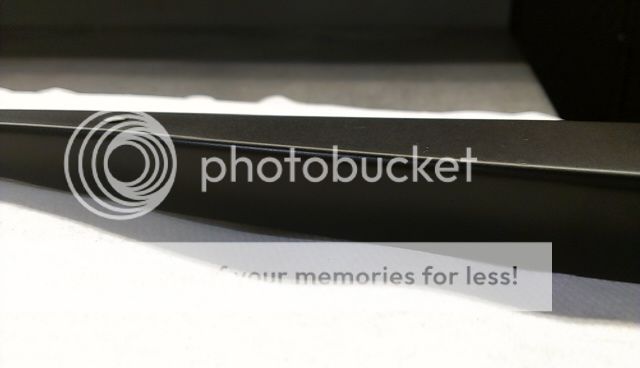
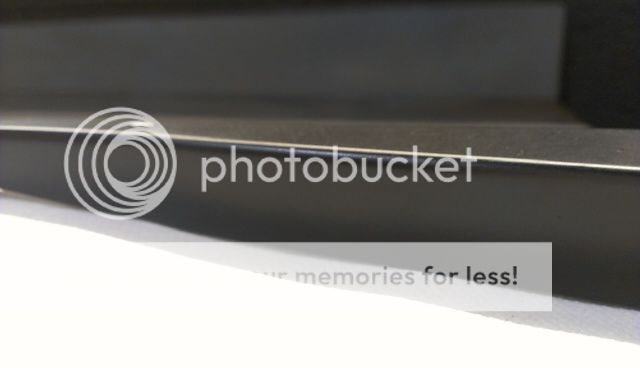
Close up
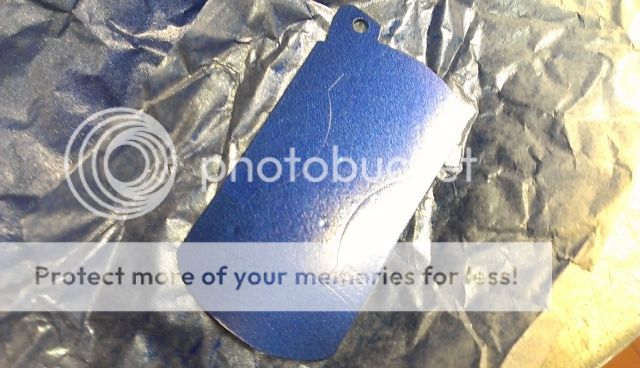
Also since I had removed the fuel/temp gauge with a new oem unit, I had a spare gauge. I decided to make use of it and turn it into a key chain
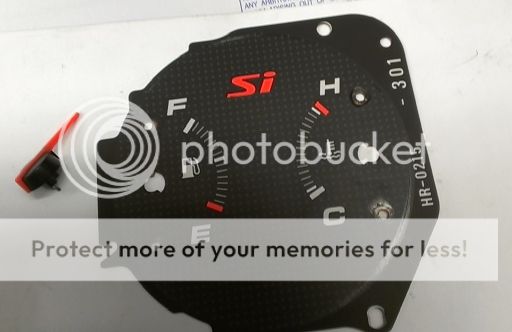
Cut
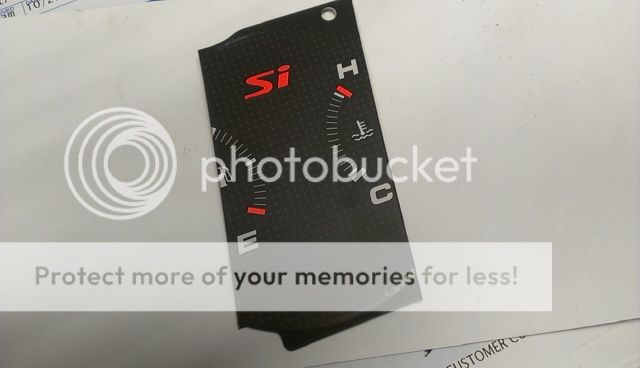
Trimmed
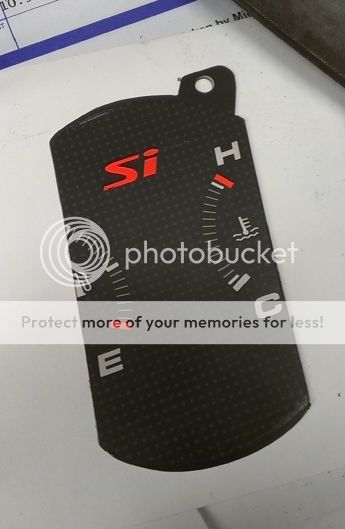
And the back painted B85P. I did a few more layers to cover the sweep design.
Went ahead and took care of the ugly wiper arms since they were already removed from the cowl resto. This is how they were when I took them off.
Started sanding them down.
And used the same paint as the cowl panel. They came out perfect.
Close up
Also since I had removed the fuel/temp gauge with a new oem unit, I had a spare gauge. I decided to make use of it and turn it into a key chain
Cut
Trimmed
And the back painted B85P. I did a few more layers to cover the sweep design.
10-31-2014, 06:04 AM
#43
Honda-Tech Member
Thread Starter
Went on rockauto again and ordered all 4 rotors, both front and rear pads and front lower balljoints. The plan is to replace the upper control arms with adjustable ones, so no need for the upper balljoints.
I also received the secondary oxygen sensor which my car is missing. So little by little all the parts are coming in
I also received the secondary oxygen sensor which my car is missing. So little by little all the parts are coming in
11-05-2014, 07:29 AM
#44
Honda-Tech Member
Thread Starter
Received all my parts yesterday but one of the lower balljoints was opened and missing the cotter pin and c-clip. I contacted rockauto and they are sending me a new one, no questions asked.
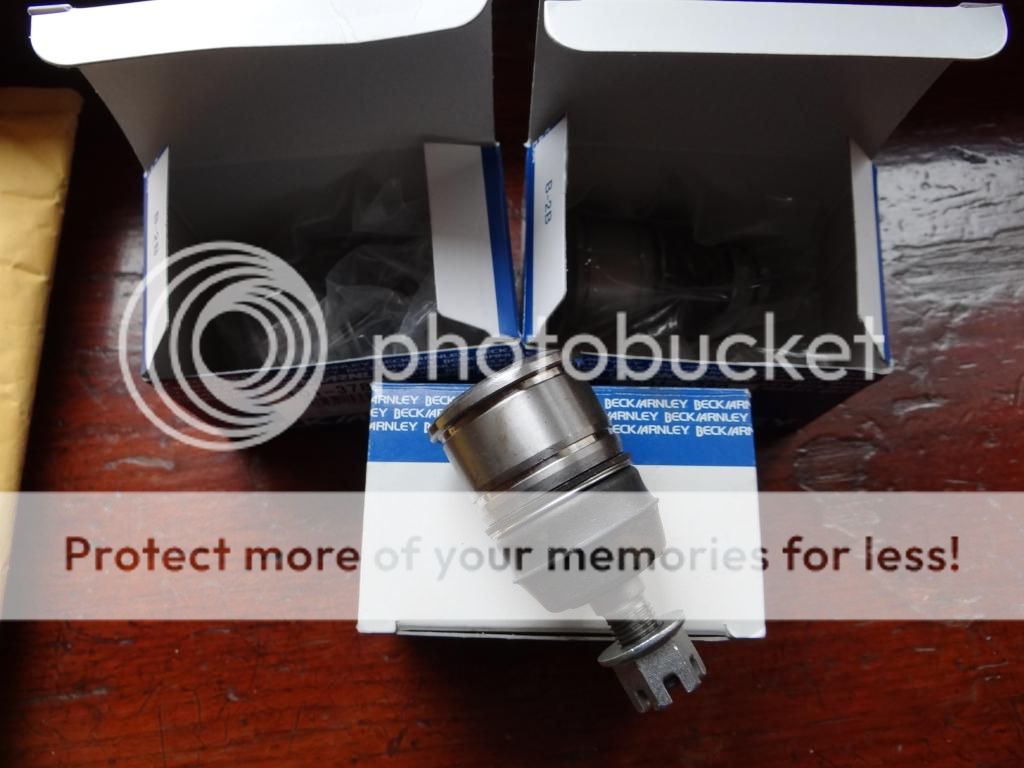
For people looking for lower balljoints and not going OEM, try Beck/Arnley ones.
They are made in Japan and the quality looks amazing!
For people looking for lower balljoints and not going OEM, try Beck/Arnley ones.
They are made in Japan and the quality looks amazing!
11-09-2014, 03:37 PM
#45
Honda-Tech Member
Thread Starter
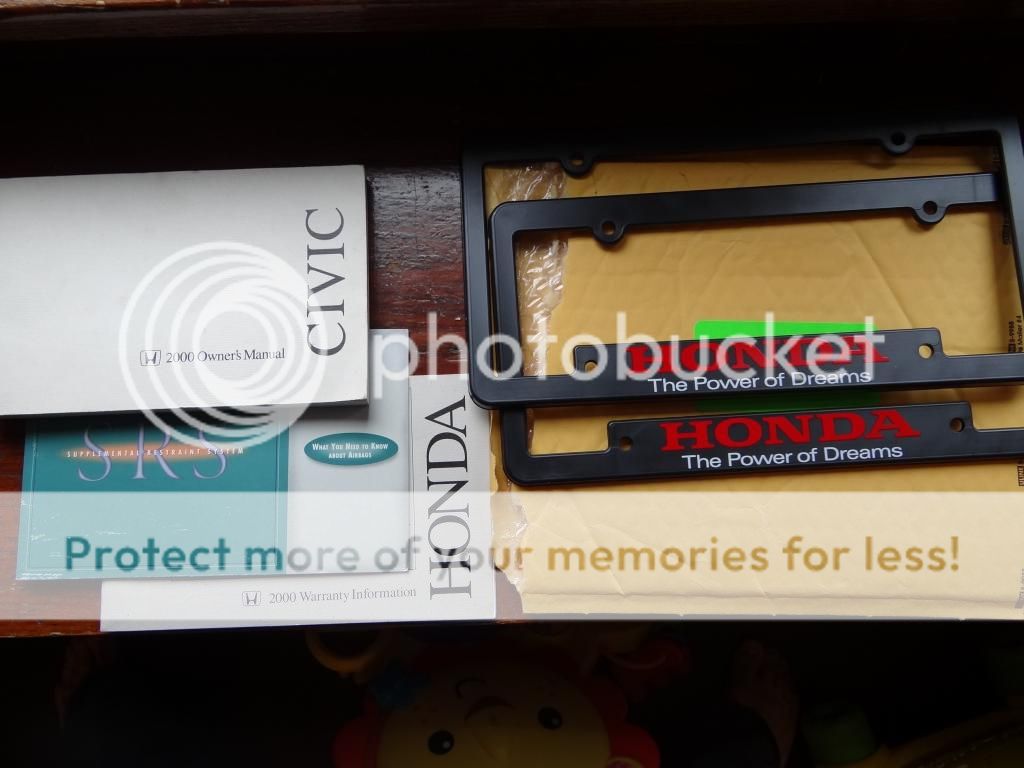
Parts are coming in. Here are some pics!
Found an Owner's Manual Package on ebay for $20.00
Now I need a carrying pouch for it.
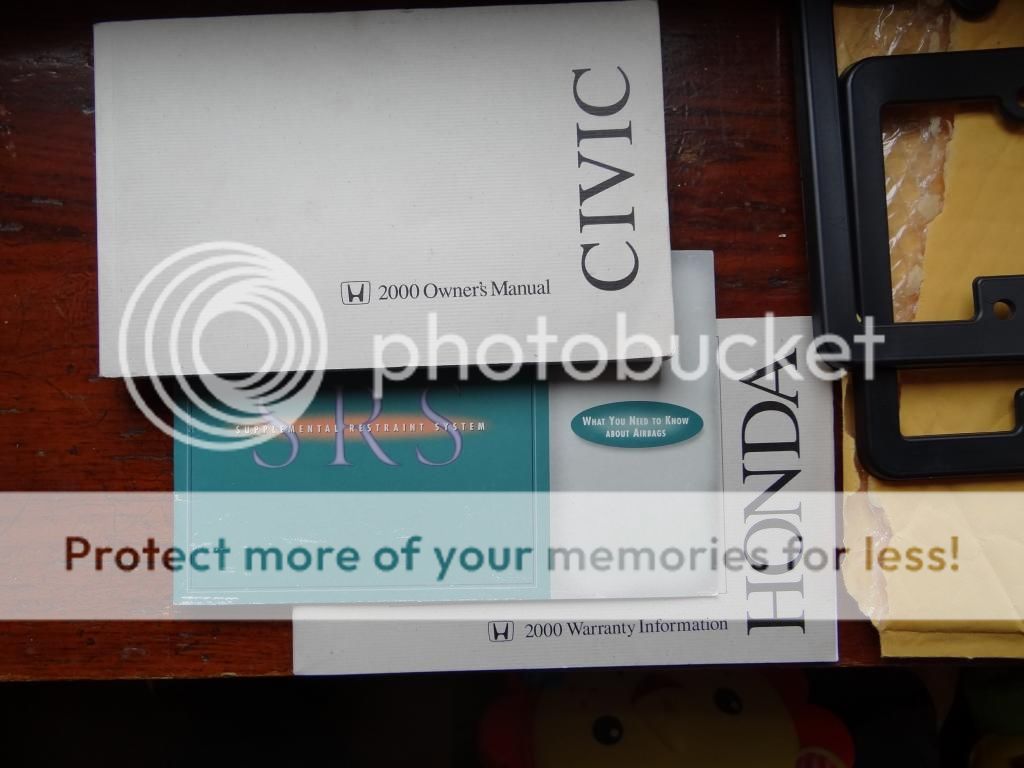
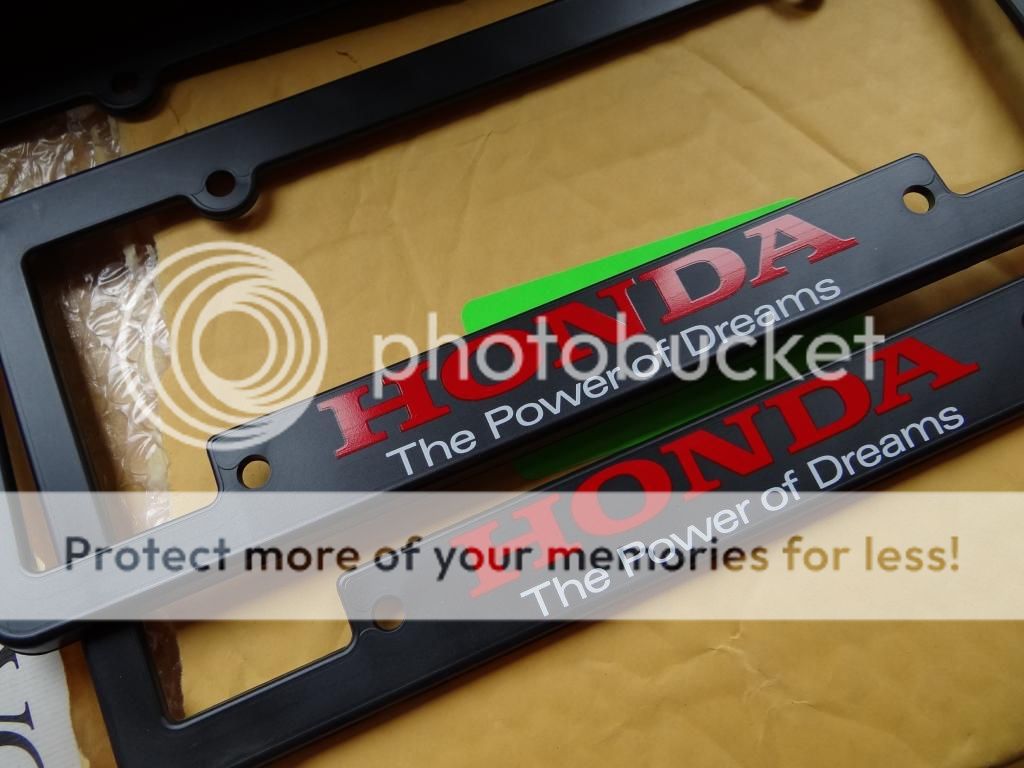
Found the plate frames here fr $20 also.
These are the Beck/Arnley lower balljoints from RockAuto. Great price and made in Japan.
Nice to have an extra one for free, since they sent an opened one.
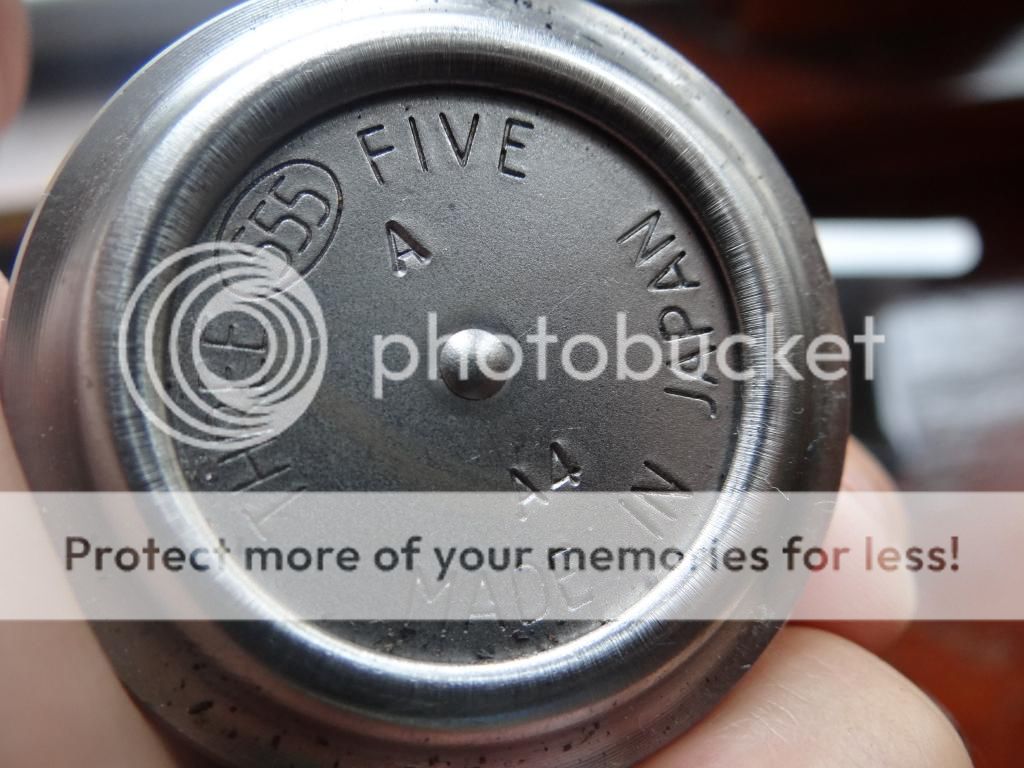
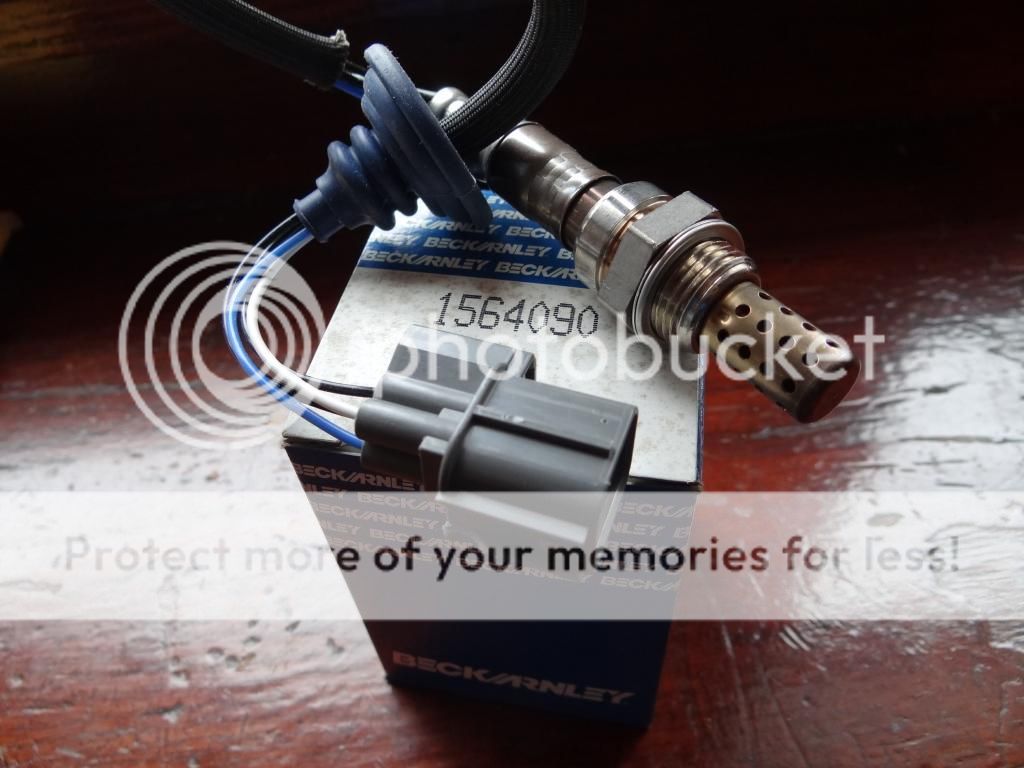
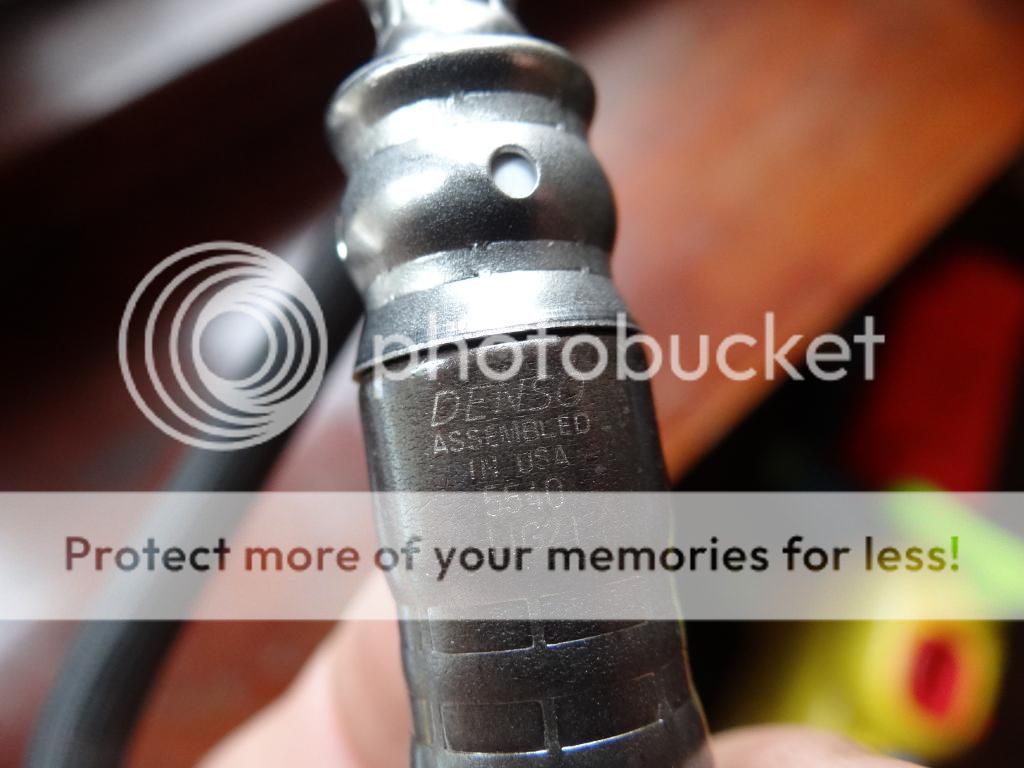
Here's the secondary oxygen sensor. Labeled and sold as Beck/Arnley but in actuality a Denso unit for half the selling price of the Denso labeled one.
These are the brakes I'll be using. The plan is to paint the hub area black to keep them clean. The brand is called "Ultra" and it's the cheapest brand of rotor I have ever used but I would honestly pay 4x the price for them. These are price at $13 for fronts and $11 for rear, for each rotor. Can't beat the price
I learnt about them from the MINI crowd and can't say one bad thing about them. They will only be used for daily driving(and a weekend car at most) so take that into consideration if you're thinking baout getting them. I was going to buy Brembo but after learning of the production moving to China - while still charging full price - I'm not ever buying them again.
Rear
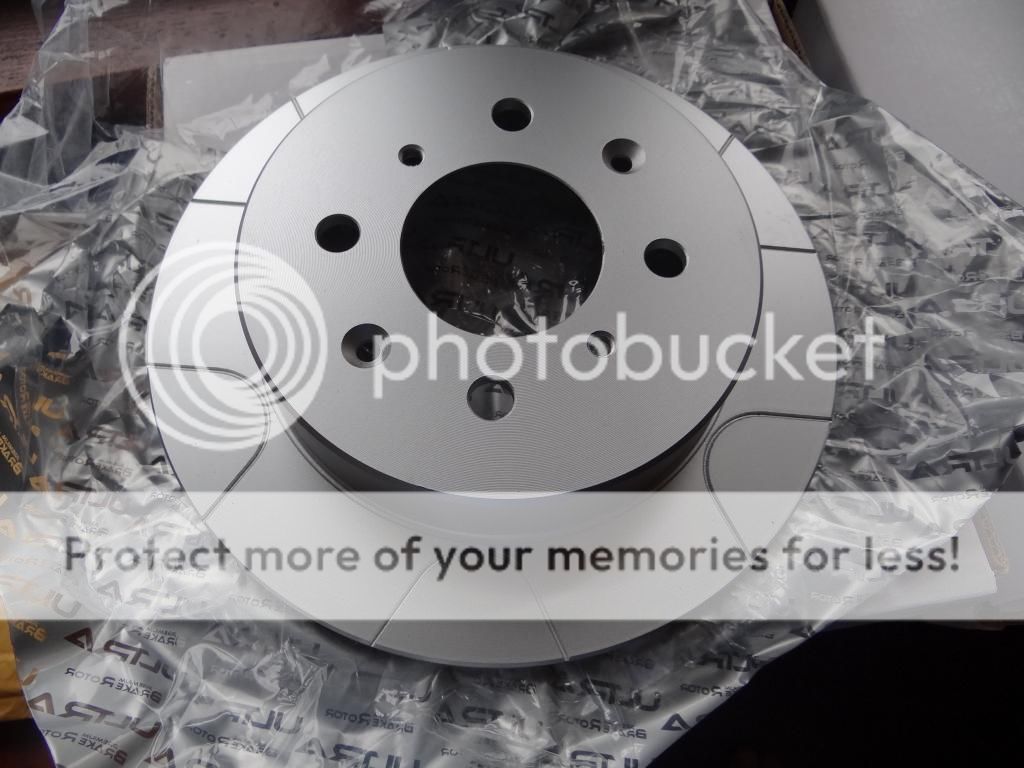
Front

More parts are coming soon!!!
Found an Owner's Manual Package on ebay for $20.00
Now I need a carrying pouch for it.
Found the plate frames here fr $20 also.
These are the Beck/Arnley lower balljoints from RockAuto. Great price and made in Japan.
Nice to have an extra one for free, since they sent an opened one.
Here's the secondary oxygen sensor. Labeled and sold as Beck/Arnley but in actuality a Denso unit for half the selling price of the Denso labeled one.
These are the brakes I'll be using. The plan is to paint the hub area black to keep them clean. The brand is called "Ultra" and it's the cheapest brand of rotor I have ever used but I would honestly pay 4x the price for them. These are price at $13 for fronts and $11 for rear, for each rotor. Can't beat the price
I learnt about them from the MINI crowd and can't say one bad thing about them. They will only be used for daily driving(and a weekend car at most) so take that into consideration if you're thinking baout getting them. I was going to buy Brembo but after learning of the production moving to China - while still charging full price - I'm not ever buying them again.
Rear
Front
More parts are coming soon!!!
11-10-2014, 06:27 PM
#46
Steve at Heart
Parts update and spoiler looks good. Got to like when parts are reboxed like that as well. Picked up a IACV in May for a d16y7 at Autozone. Came in a duralast box and was a denso part, same that was on the car. 
11-12-2014, 07:48 PM
#47
Honda-Tech Member
always had a soft spot for EM1's... had one for 3 whole weeks, being able to only really drive it for about one, before it was lost in a house fire while i was out of town. Would buy a decent condition one in a heart beat if i could find them in my area. Subbed for continued progress on this beauty and some ideas for when i can find my own EBP Si.
11-13-2014, 04:12 AM
#48
Good call on the balljoints and secondary o2! I have used Moog lower ball joints in the past and have no complaints about them so far, however in the future I will definitely switch over to the Japanese brand.
I usually buy the centric rotors on rockauto as well, I'll try out those some time too. Looking good... I see the engine was taken apart, just basic maintenance or repairs?
I usually buy the centric rotors on rockauto as well, I'll try out those some time too. Looking good... I see the engine was taken apart, just basic maintenance or repairs?

