Honda: How to Install a Kill Switch
Adding a kill switch is a cheap and simple modification that can prevent thieves from driving away with your car. This guide will help you through the process of installing one to your Honda Accord or Civic.
This article applies to the Honda Accord (1990-2002), and Civic (1992-2000).
The Honda Accord and Civic are high on the list of the most stolen vehicles in the U.S.A. You can prevent yours from falling to a similar fate by installing a kill switch. It's one of the cheapest security measures you can take. A kill switch is a hidden switch that prevents a car from starting whenever the switch is in the "OFF" position. This simple countermeasure is enough to deter the most persistent and cunning of thieves.

Materials Needed
- Drill
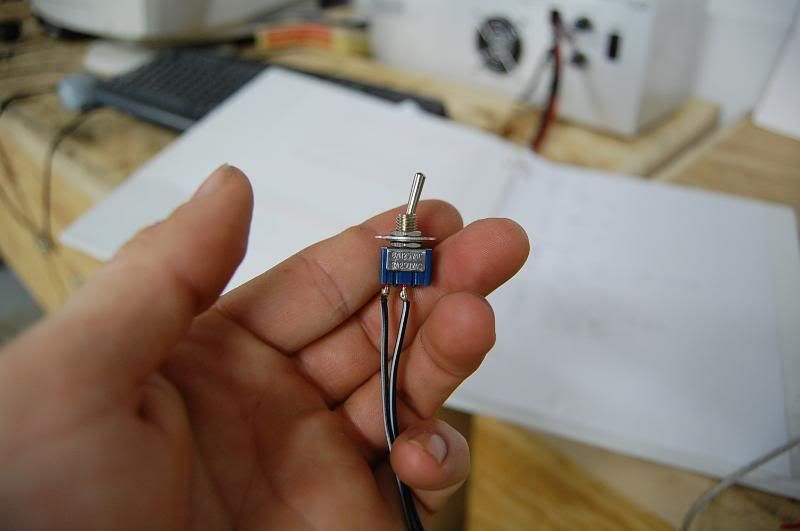
- Rocker (kill) switch rated for 25 amps
- 12 gauge wire
- Wire cutter and stripper
- Soldering iron
- Electrical tape
- Male and female connectors (3 of each)
- Ratchet and 10 mm socket
- Flat head screwdriver
- Blow dryer and heat-shrink tubing (optional)
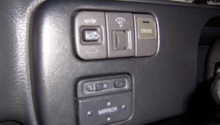
When picking a location to install your kill switch, avoid typical places like in the glove box, center console, or around the dashboard. The advantage of installing a kill switch is that it acts like an anti-theft device in the form of a mechanical failure.
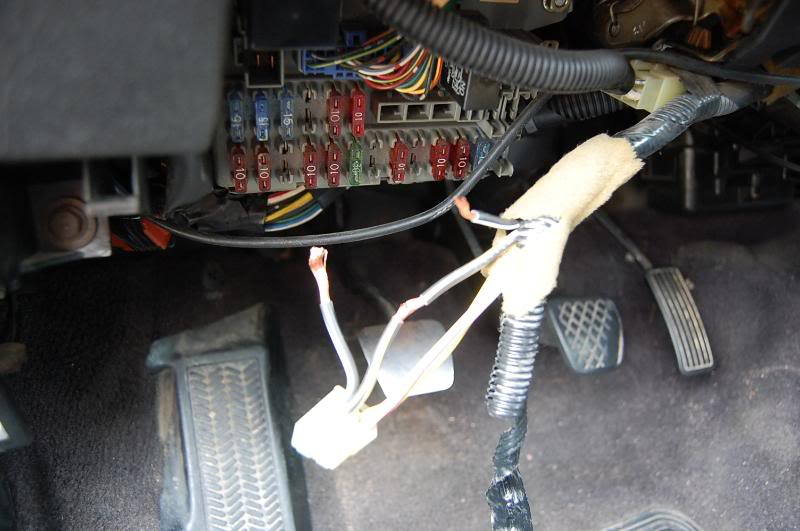
Step 1 – Disconnect battery and remove rear seat cushion
Disconnect the negative (black) terminal of the battery. Then, remove the 10 mm bolt underneath the left and center sections of the rear seats. Pull the cushion out.

Step 2 – Cut the power to the fuel pump
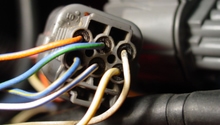
The fuel pump power wire is located beneath the rear passenger's seat. It's in the bundle of wires that come from the fuel pump, through the firewall grommet, and into the cabin under the rear seats. Carefully uncover the wiring bundle to reveal a black and yellow striped wire, and ignore the other two wires. The 12-volt wire allows the ignition to fire up the fuel pump. Cut the wire, and strip the insulation off of both ends. These wires will be soldered to the male and female connectors.

Pro Tip
If you are unsure which is the correct wire, you can use a voltmeter to find the 12-volt wire. You will need to reconnect the battery to do so.
Step 3 – Connect switch to the fuel pump
Strip two ends of a new wire. Make sure it's long enough to extend from the fuel pump to where you will install the kill switch. Solder two male plug connectors to each end of the new wire. Solder a female plug connector to the wire coming from the fuel pump. Then, solder another female plug connector to one wire of the kill switch. Plug in each male plug of the new wire to the female plugs of the kill switch and fuel pump.
Pro Tip
The purpose of soldering the male and female plug connectors is to easily reattach the wiring if a problem arises.
Step 4 – Connect kill switch to the ignition circuit
To connect the switch to the ignition circuit, strip the end of the other kill switch wire and strip the end of the wire coming from the ignition. Solder a female plug connector to the second wire of the kill switch, and solder the male plug connector to the wire coming from the ignition. Then, plug these two connectors together.
Wrap all connectors and soldered wires with electrical tape, and zip tie the wire bundles together to prevent them from disconnecting.
Pro Tip
You can also insulate the soldered wires with the heat-shrink tubing, and heat the tubing with a hair dryer.Step 5 – Install the switch
Find a concealed location under the dash or beneath your seat to install your switch, and make sure all of the wires cannot disconnect. Depending on the location of the switch, you might have to pry off some paneling or cut into the carpet.
Step 6 – Test the switch
Reconnect the battery. When the switch is on the car will run like normal, but the car will stall if the switch is off. Confirm that the switch is working properly and secure it. Then, replace all the paneling to cover your extra wiring. Re-install the rear lower seat cushion and the 10 mm bolt.
Pro Tip
A kill switch can be connected a number of different ways. For example, instead of the fuel pump you can connect it to the ignition or the main relay. And rather than a toggle switch, it could also be a pin or a key you can pull.
Related Discussions
- Install a Fuel Pump Cutoff Switch - Honda-Tech.com
- Accord Kill Switch / Ignition Bypass Discussion - Honda-Tech.com
- Car Security (Kill Switch) - Honda-Tech.com
- CRX Kill Switch Write-Up - Honda-Tech.com