Honda Civic: How to Install Rear Disc Brake Conversion Kit
Drum brakes are quickly becoming a thing of the past. Disc brakes offer better stopping performance for your car. This article will explain how to use a conversion kit to upgrade from drums to rear disc brakes.
This article applies to the Honda Civic/Del Sol (1992-2000).
It is estimated that 60 to 90 percent (figure varies by model) of braking power is created at the front of the vehicle. Because of that, upgrading rear brake components is often overlooked. However, once your Honda Civic has some sticky tires and more power, it will need a rear disc conversion in order to help maintain safe stopping power. Fortunately, Honda offered rear disk brakes as an additional option on several of their Civic models, and as a standard feature on the Si series. Having these parts available allow you to convert those weak rear drums to install rear disk brakes. Professional brake conversions are very costly, and this article will help alleviate the costs by showing you how to safely perform a rear disk brake conversion using a conversion kit on your Honda Civic.

Materials Needed
- 3/8" metric socket set
- Screwdriver
- Metric opened-ended wrench set
- Breaker bar
- 32mm socket
- Flat head screwdriver
- Jack stands
- Rear disc brake conversion kit
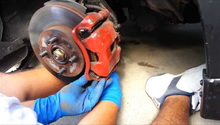
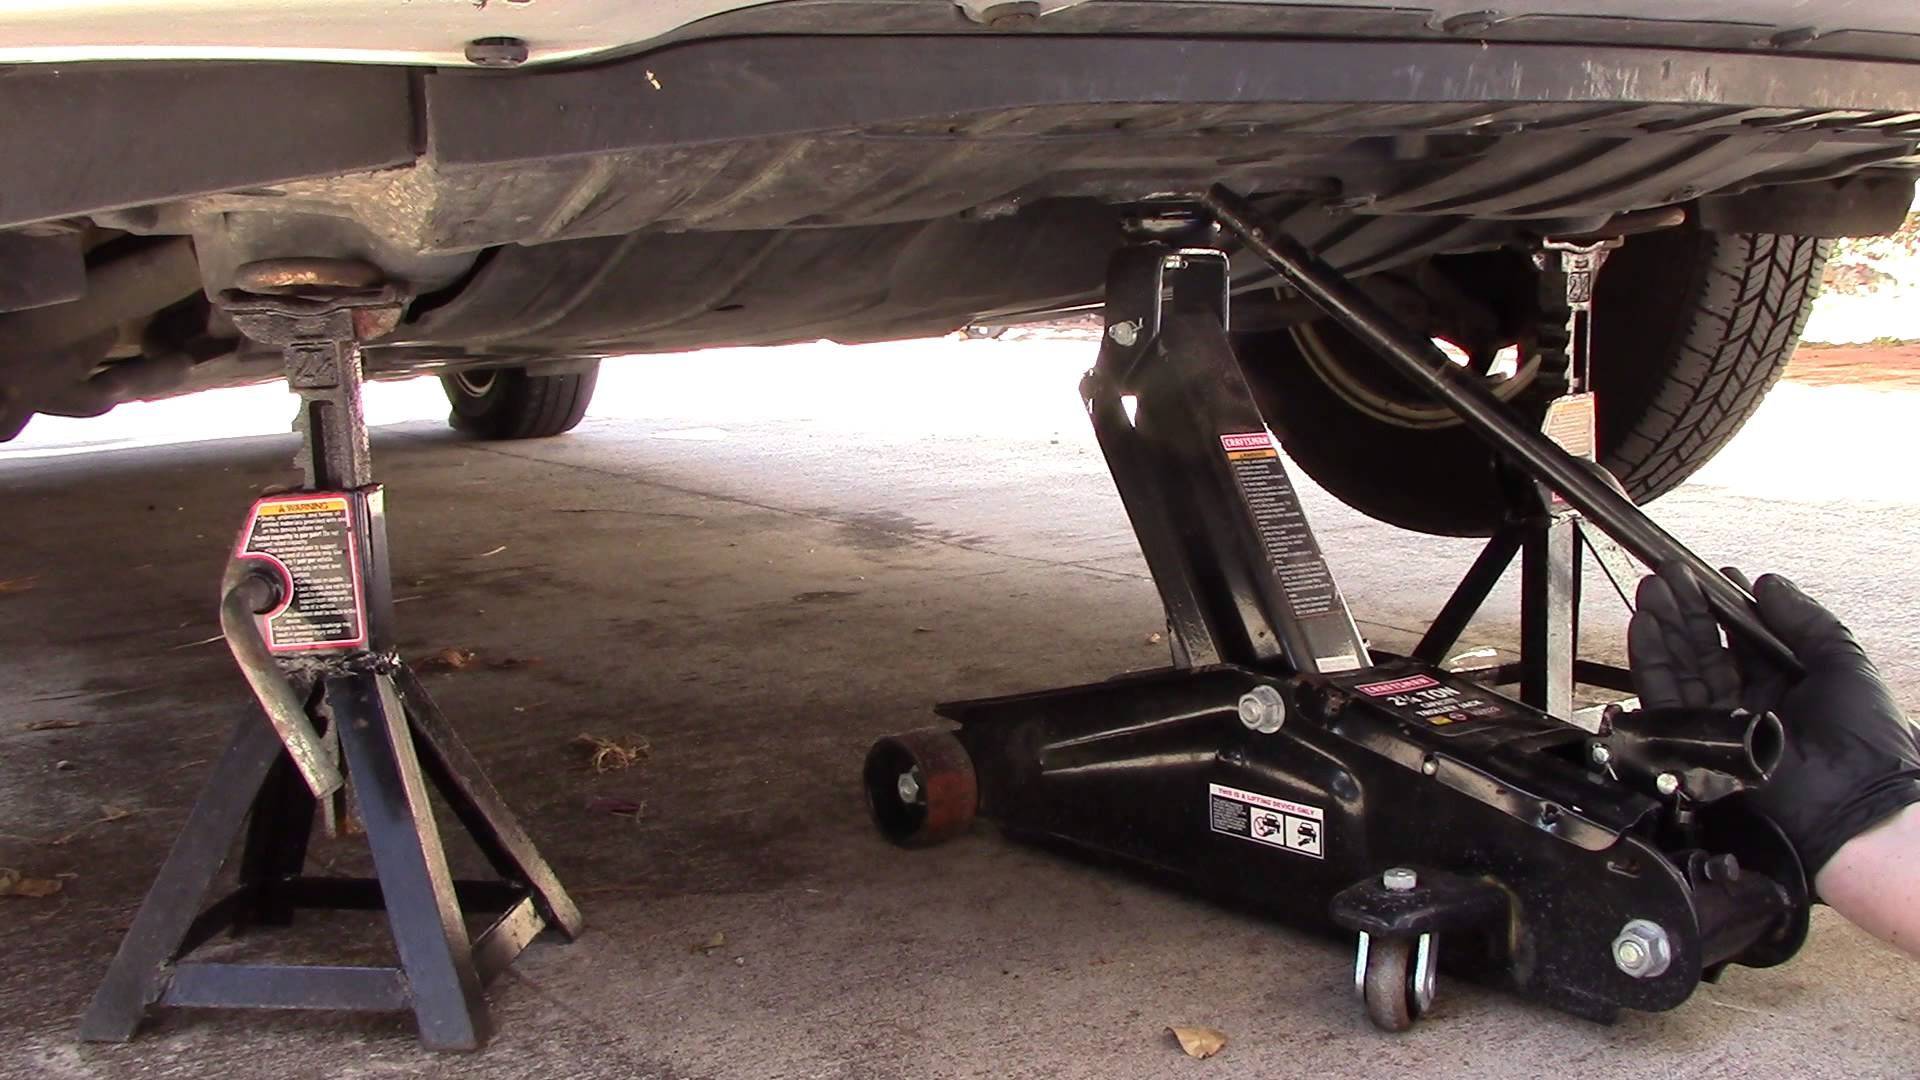
Step 1 – Raise and support the chassis
Use a lift, and raise the rear of the vehicle up. Place jack stands at the correct jacking points under the chassis, and loosen the lug nuts on both wheels.
Pro Tip
Break loose the lug nuts before you raise the car.
(Related Article: How to Jack Up Your Civic - Honda-Tech.com)
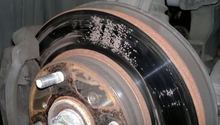
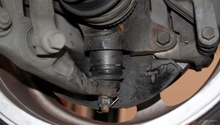
Step 2 – Remove the brake drums and break loose the spindle nut
Use an 8 x 1.25mm bolt and thread it into the drum brake holes. This will lift the drum covers up to reveal the braking assembly. Then, use a flat head screwdriver to remove the dust cap. Use a breaker bar with a 32mm nut to loosen and remove it.
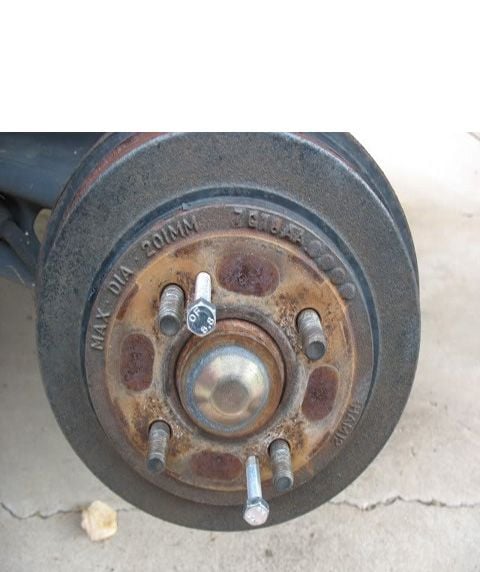
Figure 2. Remove the brake drums. 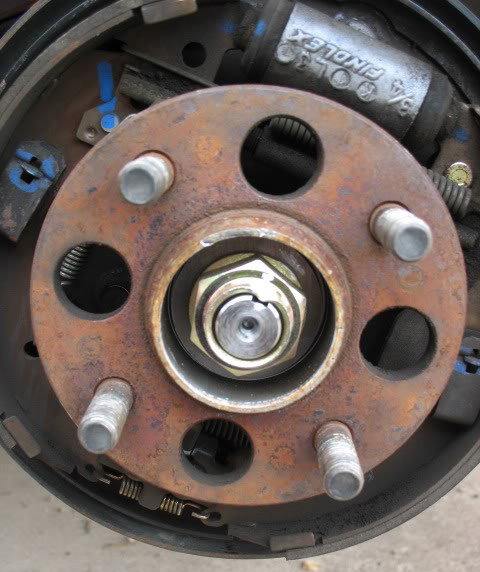
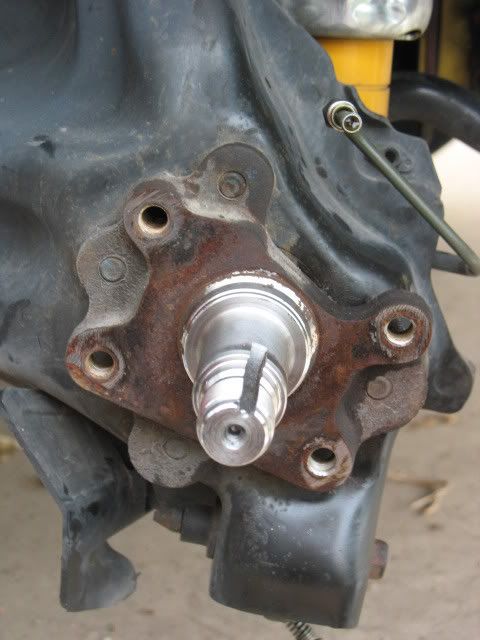
Figure 3. Remove the spindle nut.
Step 3 – Remove the drum brake hardware
Use pliers to remove the retainer springs inside the drum brake assembly, and to safely unhook the emergency brake cable from the brake shoes. Once all the hardware is taken off, use a 12mm open-ended wrench to close the tangs at the end of the brake cable, and pull it from the drum assembly. Lastly, remove the 10mm brake line from behind the drum using a flare wrench.
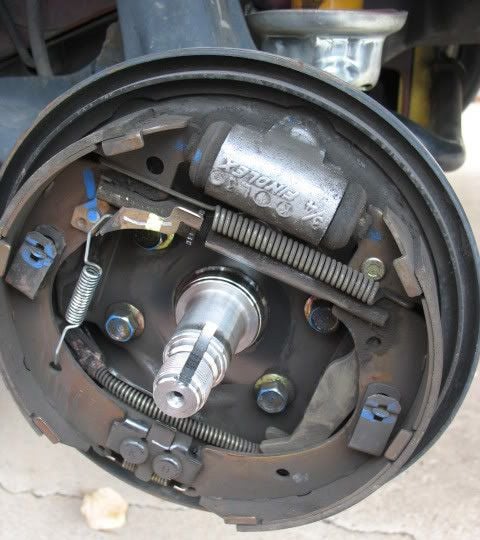
Figure 4. Remove the retainer springs. 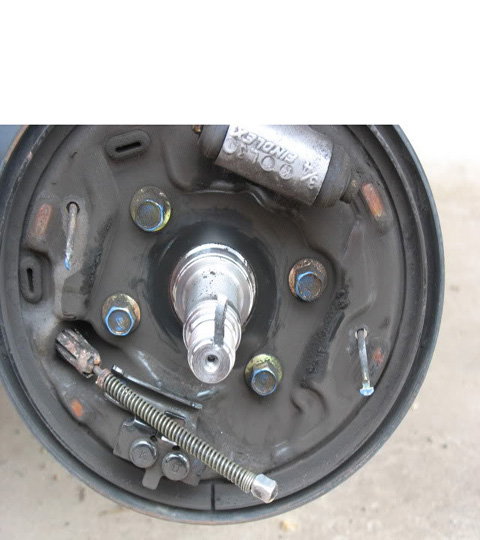
Figure 5. The e-brake cable exposed.
Pro Tip
Be careful when removing the retainer springs as some of them can snap backwards.
Step 4 – Remove the stock backing plate
Remove the four 12mm bolts that hold the backing plate on the spindle.
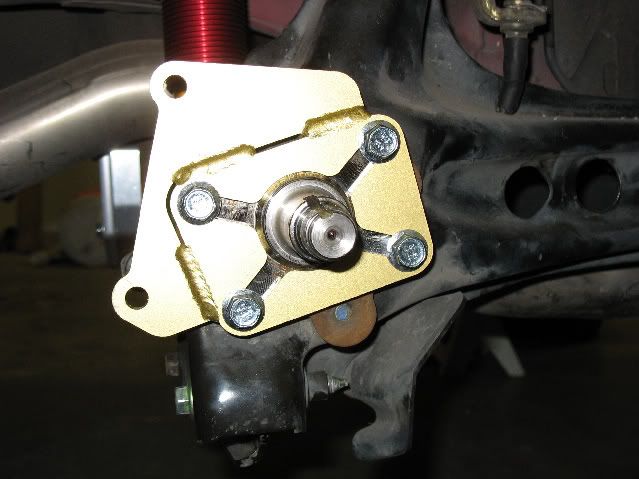
Step 5 – Install the conversion bracket
Slide the new conversion bracket onto the spindle. Make sure the caliper mounting holes are facing the rear of the car. Put a thread lock compound on the bolts to secure the conversion bracket to the chassis.
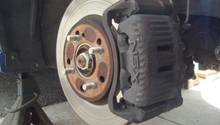
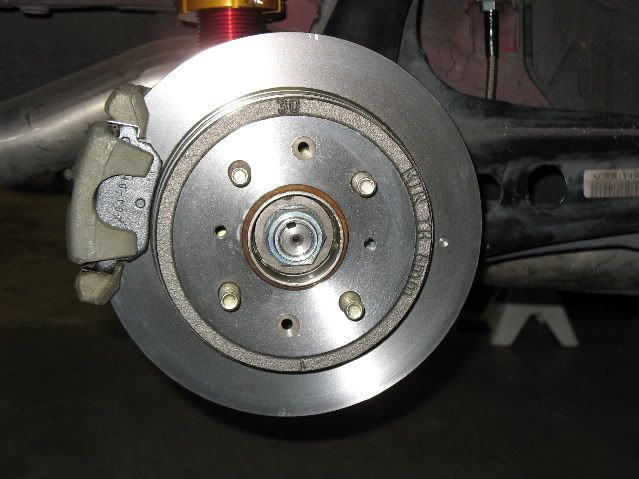
Step 6 – Install the hub, rotor and caliper
Re-install the hub and torque the spindle down to 134 ft/lbs. Mount on the new rotors along with the caliper and brake pads. The new calipers will require a different brake hose. Disconnect the old hose from the chassis, and install a new one. The bracket that holds the hose will also need to be changed.
Step 7 – Install new emergency brake cables
Remove all the clips that mount the e-brake cables to the car. Go inside the cabin, and unhook the cable from the lever inside the center console. Hook the new cables on, and run them through the same places the older cables were removed from. Install them onto the brake calipers. Once installed, adjust them to the desired tension.

Step 8 – Bleed the brakes
With the installation finished all that's left is to bleed the brakes. Open the bleed bolt on the caliper, place a clear vacuum hose on it, and then submerge the other end into a bottled filled with brake fluid. Pump and pedal, while checking the reservoir every several pumps to ensure it stays filled. Continue pumping the brake until it's firm.

Related Discussions
- 96-00 Civic Scarebird brake conversion write up - Honda-Tech.com
- Proportioning Valve Thread - Honda-Tech.com