Honda Civic: How to Replace Tail Light Assembly
Tail lights are crucial for everyday driving, but sometimes normal wear and tear or an accident might require you to install new ones. Read this step-by-step guide on how to replace the tail light assemblies on your Honda Civic.
This article applies to the Honda Civic (1992-2000).
Tail lights (also known as the brake lights) alert the drivers behind you that you are braking. This is their cue to slow down. But besides playing an important safety role, they can also help your car's look with aftermarket tail light components. So whether your tail lights are old and need to be replaced or you've opted for a sportier look, follow this guide to properly replace the tail lights on your Honda Civic. You can take your car to a shop and have it done, but it's just as easy to replace them yourself.

Materials Needed
- Pair of new tail lights
- 8mm socket, extension, and ratchet
Pro Tip
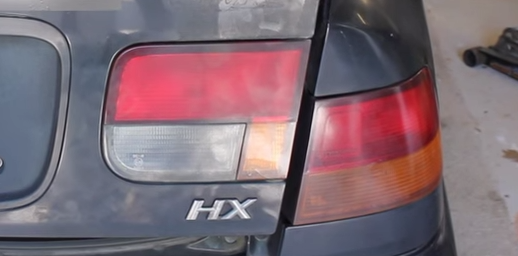
For the 1992 to 2000 Civic models, the tail lights are made up of two different pieces: one located on the trunk lid, and the other on the quarter panel. You will need to remove both pieces.
Step 1 – Remove the quarter panel tail light bolts
- Disconnect the negative terminal (black cover) from the battery. Then, start with the tail light assembly located in the rear quarter panel.
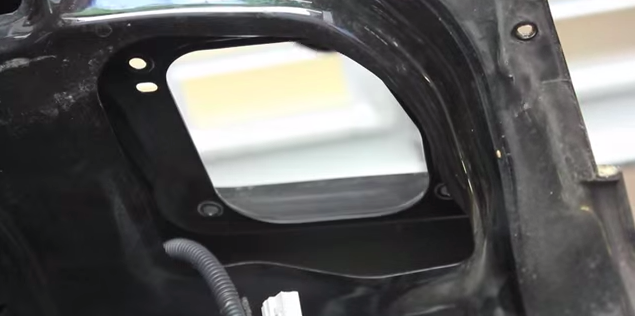
- Pull back on the carpeting directly behind the tail light assembly. You will see four 8mm bolts securing the assembly to the panel.
- Remove all four bolts with an 8mm socket, extension, and ratchet.
- Do the same with the other rear quarter panel.
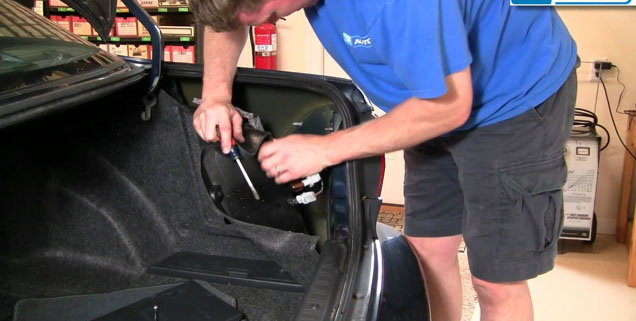
Figure 1. Pull back on the carpeting to access the headlight assembly bolts. 
Figure 2. Remove the four headlight assembly bolts.
Step 2 – Remove the quarter panel tail lights
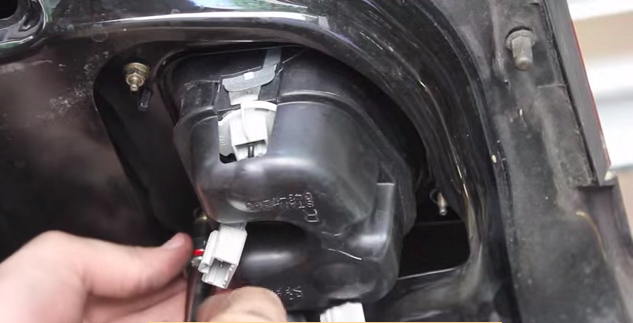
- Unplug the wire harness from the tail light assembly. Simply push down on the tab, and pull it out.
- Gently push out the tail light assembly from inside of the trunk.
- Repeat this step with the other quarter panel tail light assembly.

Figure 3. Unplug the gray wire harness. 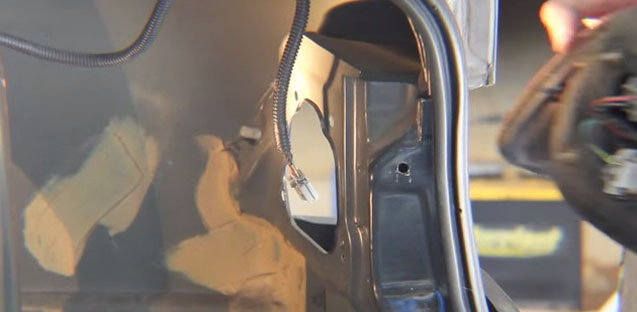
Figure 4. Carefully remove the tail light assembly.
Step 3 – Remove the trunk lid tail light bolts
- On the inner trunk lid, each tail light assembly is held in place with four 8mm bolts, one on each corner.
- Remove all four bolts with the 8mm socket, extension, and ratchet.
- Repeat this step with the other trunk lid tail light assembly.
Step 4 – Remove the trunk lid tail lights
- Unplug the gray wire harness connected to the tail light bulb.
- On each side of the inner tail light assembly, use your thumb to pull back and pop out the two metal tabs.
- Gently remove the tail light assembly from the trunk lid.
Step 5 – Install the new tail light assemblies
Install the new quarter panel and trunk lid tail light assemblies in reverse order to the steps above.
Trunk lid tail lights:
- Insert the new tail light assembly into the trunk lid panel.
- Snap in the tabs, and plug in the wire harness.
- Secure the tail light with all four 8mm bolts.
- Repeat these steps with the other side.
Quarter panel tail lights:
- Insert the new tail light assembly into the rear quarter panel.
- Secure the tail light with all four 8mm bolts.
- Plug in the wire harness to the tail light bulb socket.
- Repeat these steps with the other side.
Reconnect the negative (black) battery terminal, and test the new tail lights.
Featured Video: How to Remove Tail Lights
Related Discussion
- Honda Civic Tail Lights - Honda-Tech.com