

single stage pearl buffing?


Thread Starter
Honda-Tech Member
Joined: Dec 2012
Posts: 7
Likes: 0
hey guys wanna get some tips or advice on how to buff a single stage pearl i got some orange peel the color is firethorne red pearl from tcp global there is no clear coat as it is mixed in with the paint


Honda-Tech Member
Joined: Feb 2009
Posts: 2,339
Likes: 1
very true, Its deff a learned skill.. I havent used to much single stage and dont like it much.. I always use the PPG stuff and havent had the best outcome with it, Some single stage I have used has taken a week to 2 weeks to dry, Even after being baked in our very nice paint booths

Honda-Tech Member
Joined: Nov 2012
Posts: 36
Likes: 0
My advice to you is don't paint your car single stage and expect to cut/buff it lol. When spraying single stage you just wanna get it layed out nice and even and have it look decent.
You risk like gorilla said cutting too much and ruining the UV protection. It will look shiny for a few days or weeks but eventually it will dull out again. Base coat/Clear coat is the way to go man.
You risk like gorilla said cutting too much and ruining the UV protection. It will look shiny for a few days or weeks but eventually it will dull out again. Base coat/Clear coat is the way to go man.
Honda-Tech Member
Joined: Apr 2005
Posts: 1,220
Likes: 0
From: ruckersville, va, usa
single stage pearl and metalics CANT BE SANDED AND BUFFED you will sand away the flake or pearl. If its a solid color single stage with no flake or pearl it can be but you will lose the uv resistance like said above
Trending Topics

Honda-Tech Member
Joined: Nov 2002
Posts: 3,421
Likes: 0
From: 610, PA, US
single stage or BC/CC applications the UV protection is compromised once u cut and buff. your taking away mils, anytime u plan on wetsanding or buffing, throw atleast and extra coat on there to have material to sand off and still have your minimum mils for protection.


Honda-Tech Member
Joined: Feb 2009
Posts: 57
Likes: 0
From: Winchester, TN
Actually, what You should do if it is already shot in single stage is scuff the whole car down with grey or red scotch brite and once its all scuffed well and cleaned, clear the hell out of it, like 4 good coats. Then cut and buff to your hearts desire.
Honda-Tech Member
Joined: Feb 2009
Posts: 57
Likes: 0
From: Winchester, TN
Also, a few things to keep in mind as you do this....
1. STAY AWAY from edges and sharp lines, you WILL NOT cut these areas as much as say your roof.
2. If it is a daily driven car, then only really worry about the area from the mouldings up when cutting and buffing, as it is 75% of the body and the extra effort goes unnoticed below the mouldings/rockers.
3. DO NOT cut any areas that are too tight to buff. For example, if you are working oddly on an area cutting by hand, do you think you are gonna get a 10'' buffing pad on it?
4. ALWAYS keep your buffer perpendicular to the panel you are buffing, as in don't lean the buffer up on one side to hit a small area, always keep the pad flat on the panel.
5. Buff only one panel at a time.
6. Use good quality compounds, such as 3M Perfect-It Extra Cut, you may have to follow with a polishing glaze for swirl removal but its better to have it not dull back after washing.
7. Don't be afraid of heat. After all, the heat tranferred to the panel means your actually buffing, not just applying compound like wax.
8. Use a variable speed buffer and set the speed where your comfortable buffing, not too fast as to burn through, but fast enough so you don't have to setup a mailbox by your car.
9. The polisher that is 10'' and has two handles and a wool pad and oscillates around for waxing IS NOT A BUFFER!!!
10. Be careful on your bumpers, the heat DOES NOT spread out across the plastic bumper like it does your metal hood. You can burn these easily of careless.
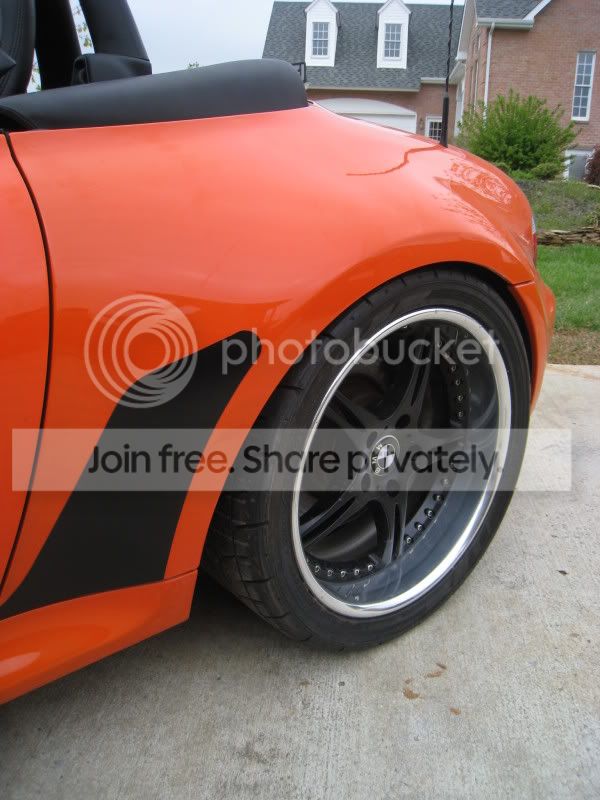
That pretty much sums it up, below is a car I shot in DuPont Ful-Thane urethane single stage and then cut with 320 and cleared because the Inka Orange simply wasn't mixable in BC/CC.


Thread
Thread Starter
Forum
Replies
Last Post
trecool44
Honda / Acura
1
Jul 18, 2006 03:18 PM