

D.I.Y Batter in the trunk

Thread Starter
DC5/EP3 MOD :)
Joined: Sep 2008
Posts: 2,659
Likes: 2
From: WI
Ok this one is kinda long because of all the pictures. But here I go with yet again another DIY. So today, with the help of Gigs, Nick, and Silvia I relocated my new Odyssey Battery to the rear hatch of my Type-S.
So first, you don't have to get everything I did but I would recommend something similar. So for this install you'll need:
Batter
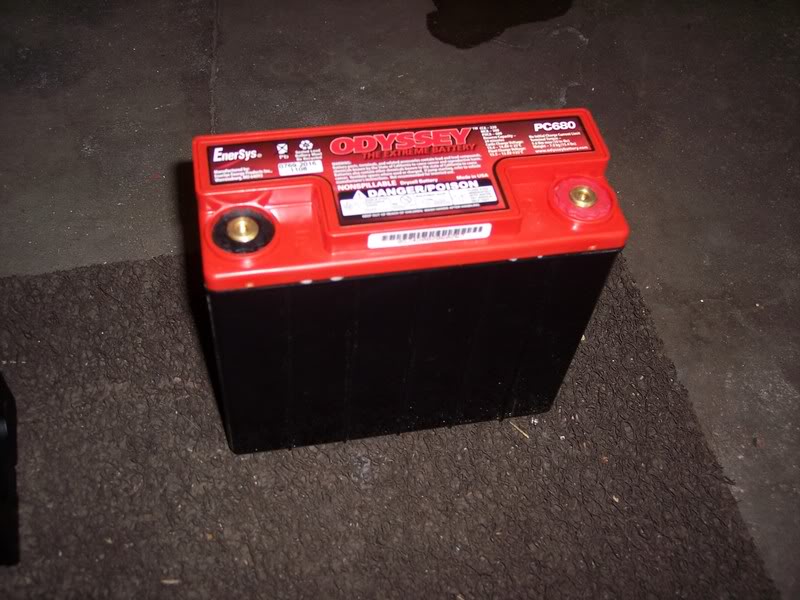
Battery Box
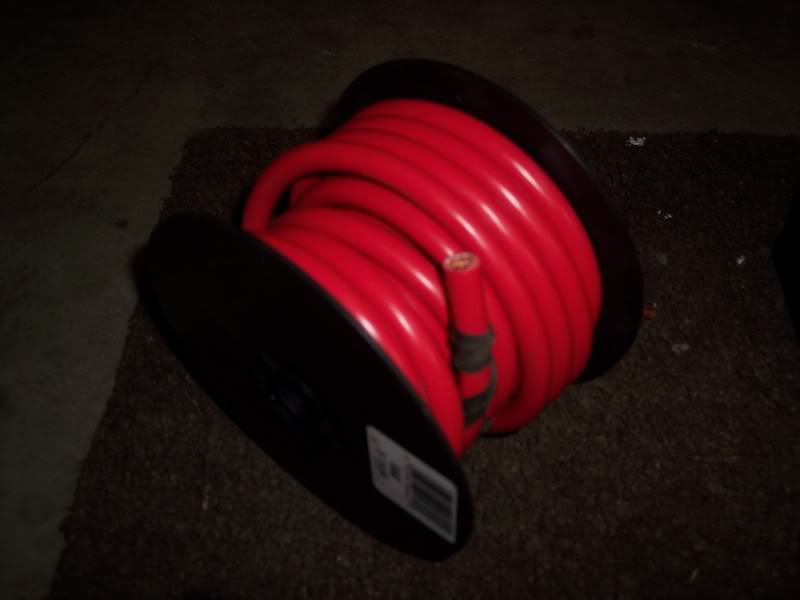
4 Gauge Bulk wire (minimum size I recommend)
Connectors
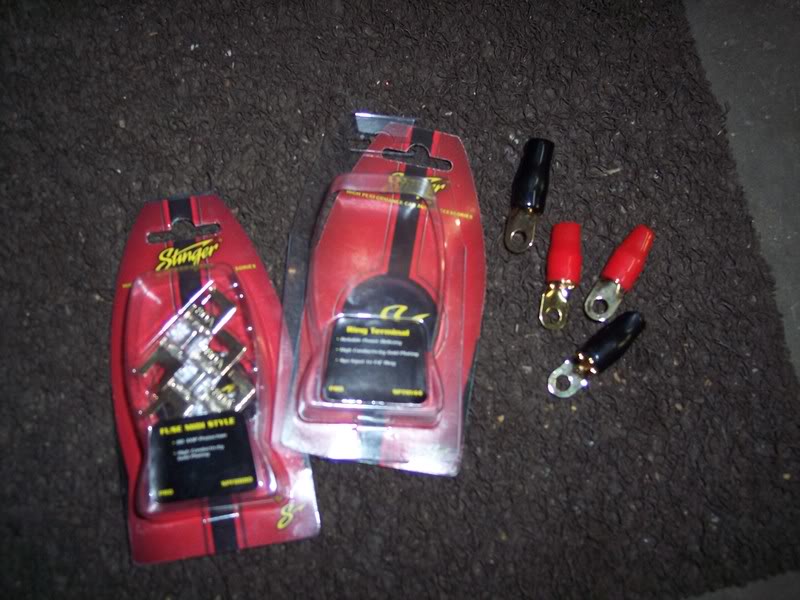
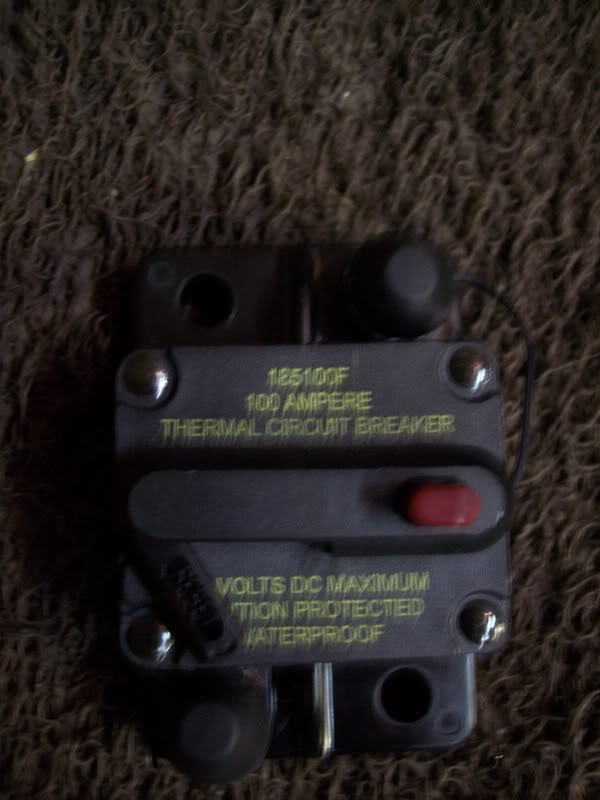
Fuse Box
Splitter Box
and Misc. Tools
Ok So lets begin!
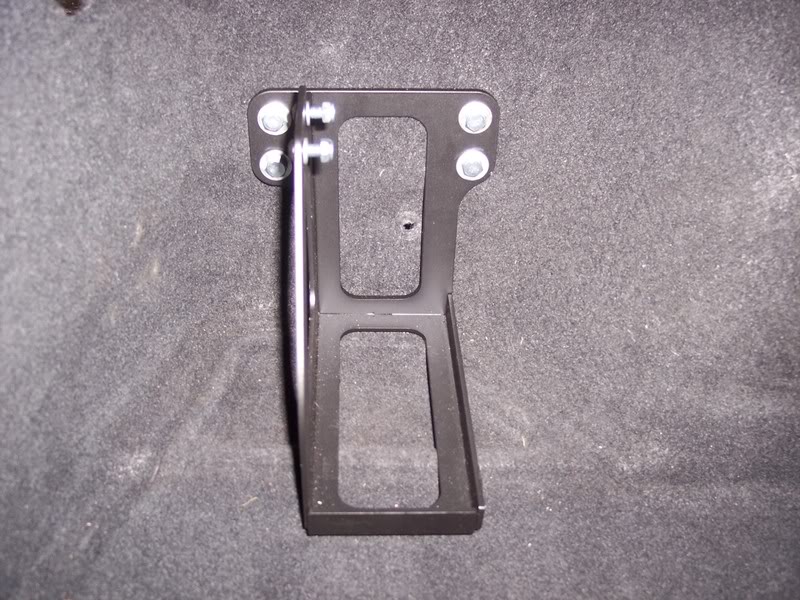
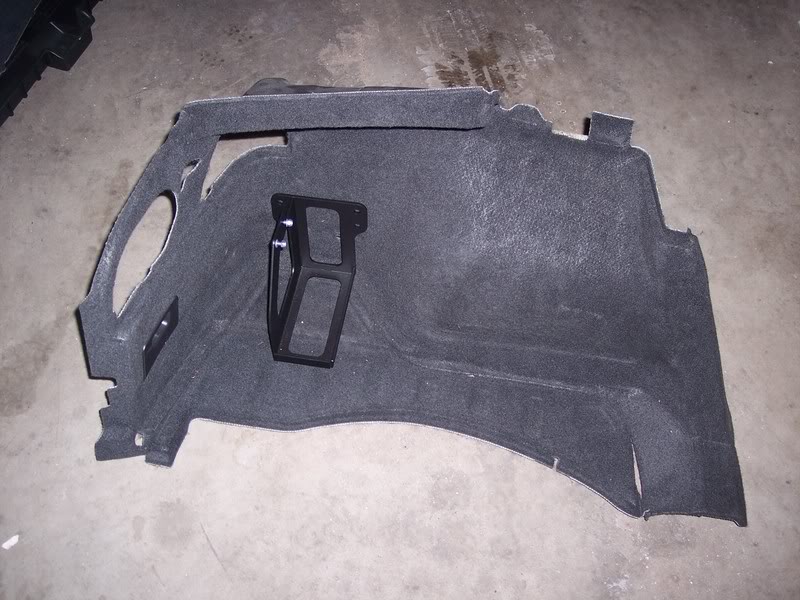
First we started by picking a spot in the hatch where we would locate the new battery. We decided the driver side for my trunk will do
So then we took out the panels inside the hatch so that we can start mocking up wire locations and where we'll bolt down the bracket.
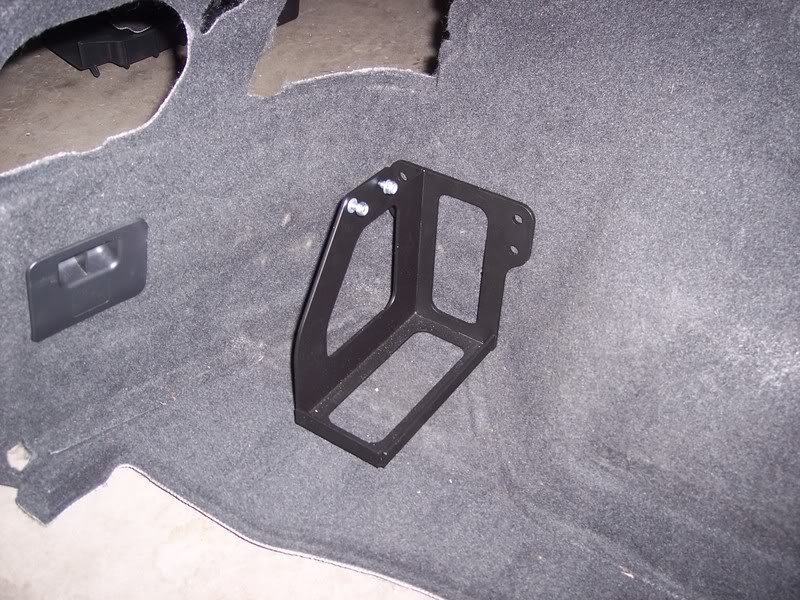
Next we found the exact spot and made marking in the carpet where our holes will be
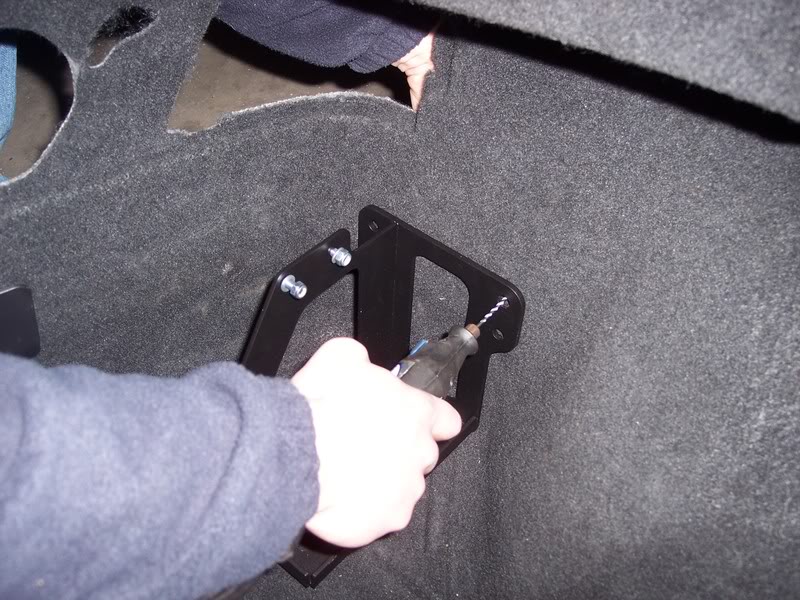
Then take out the drill and begin drilling your holes
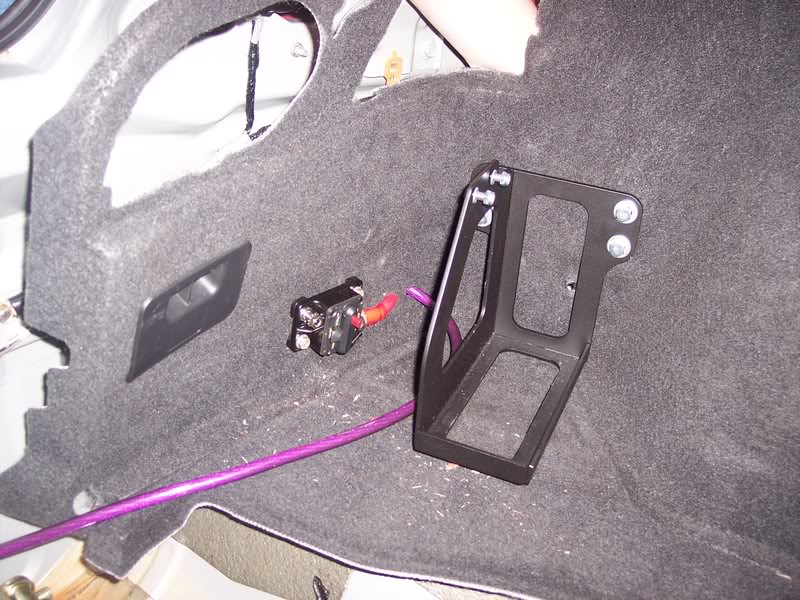
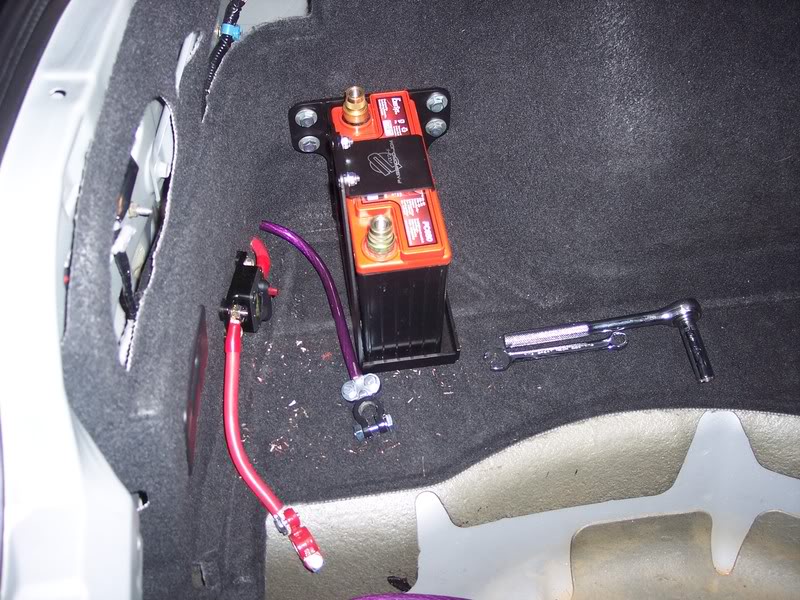
Here is the bracket mounted and bolted down
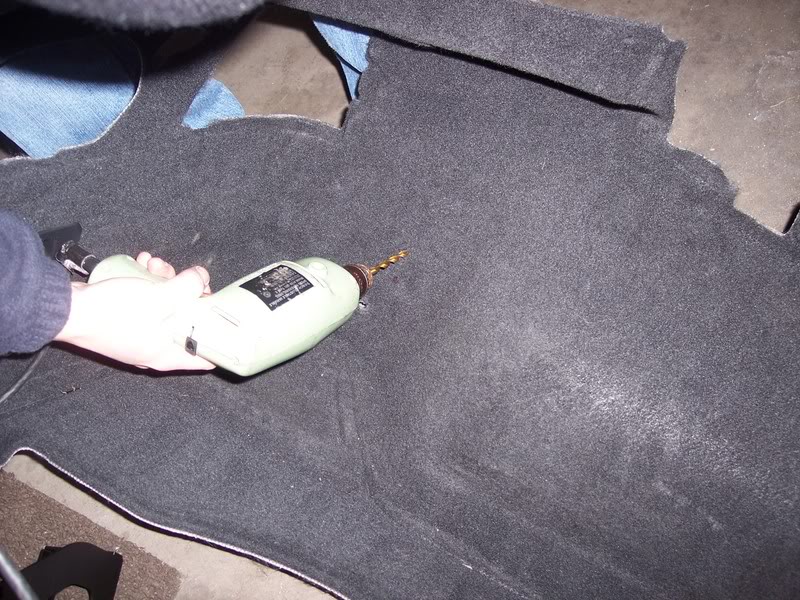
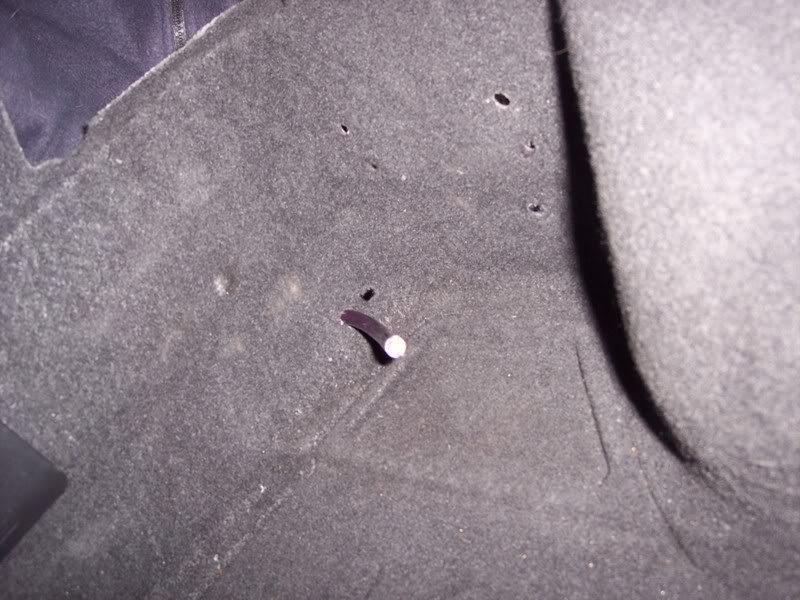
Next we decided where the cables will run down threw the carpet and into the car. We marked our spots and drilled those too.
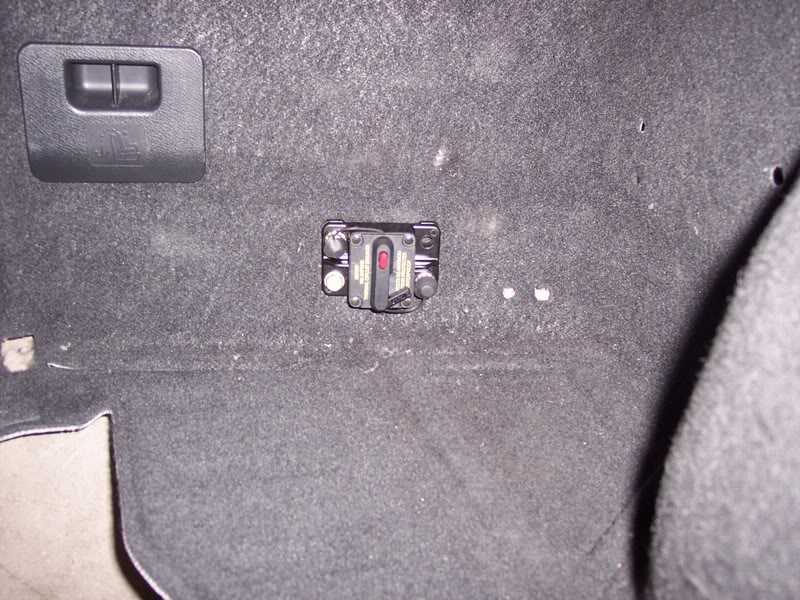
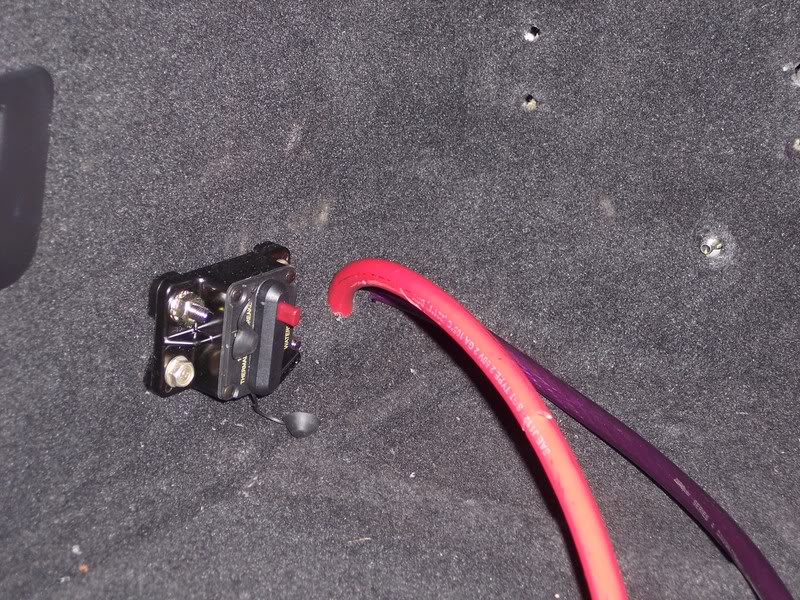
From there we next decided where to put my fuse box. Next to the battery of course. You never want to be more than a 12" away
That was that for the front. Then we moved to the engine bay
So first, you don't have to get everything I did but I would recommend something similar. So for this install you'll need:
Batter
Battery Box
4 Gauge Bulk wire (minimum size I recommend)
Connectors
Fuse Box
Splitter Box
and Misc. Tools
Ok So lets begin!
First we started by picking a spot in the hatch where we would locate the new battery. We decided the driver side for my trunk will do
So then we took out the panels inside the hatch so that we can start mocking up wire locations and where we'll bolt down the bracket.
Next we found the exact spot and made marking in the carpet where our holes will be
Then take out the drill and begin drilling your holes
Here is the bracket mounted and bolted down
Next we decided where the cables will run down threw the carpet and into the car. We marked our spots and drilled those too.
From there we next decided where to put my fuse box. Next to the battery of course. You never want to be more than a 12" away
That was that for the front. Then we moved to the engine bay
Thread Starter
DC5/EP3 MOD :)
Joined: Sep 2008
Posts: 2,659
Likes: 2
From: WI
So first start by taking out the stock batter and it's battery tray
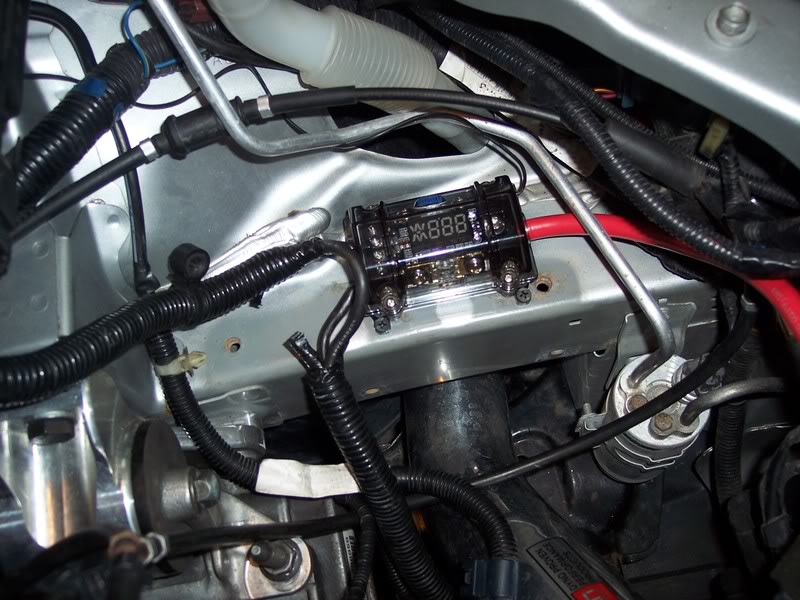
Here is a better shot of my distribution block. Also the fuses installed
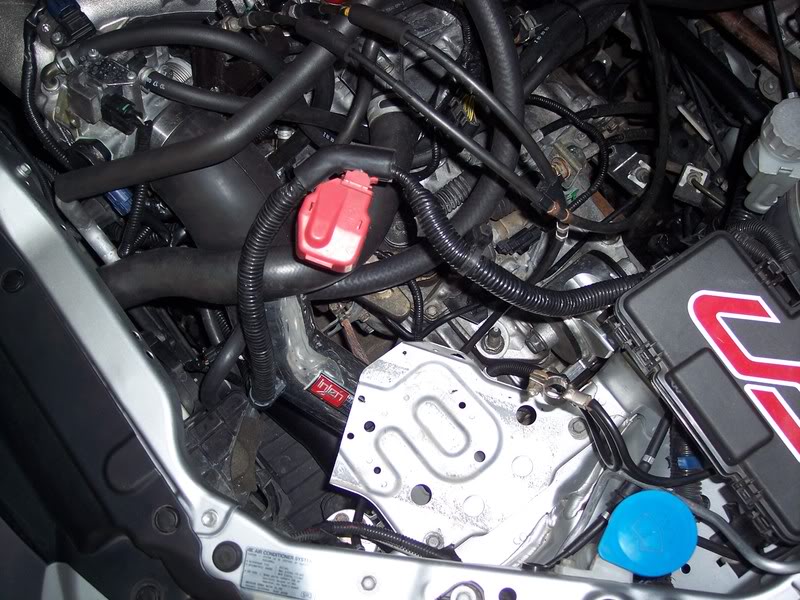
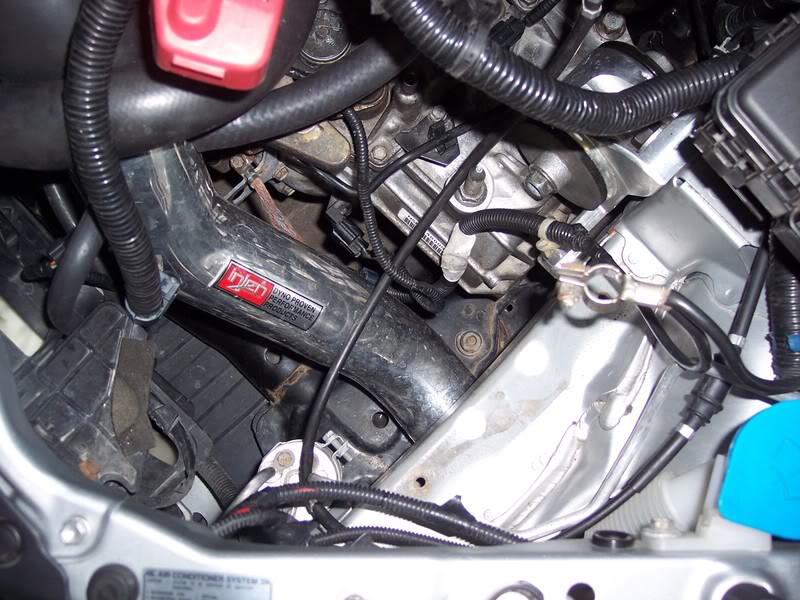
Then we had to find a spot for the wire to come through. We used a stock wiring harness and you can kinda see it through the mess
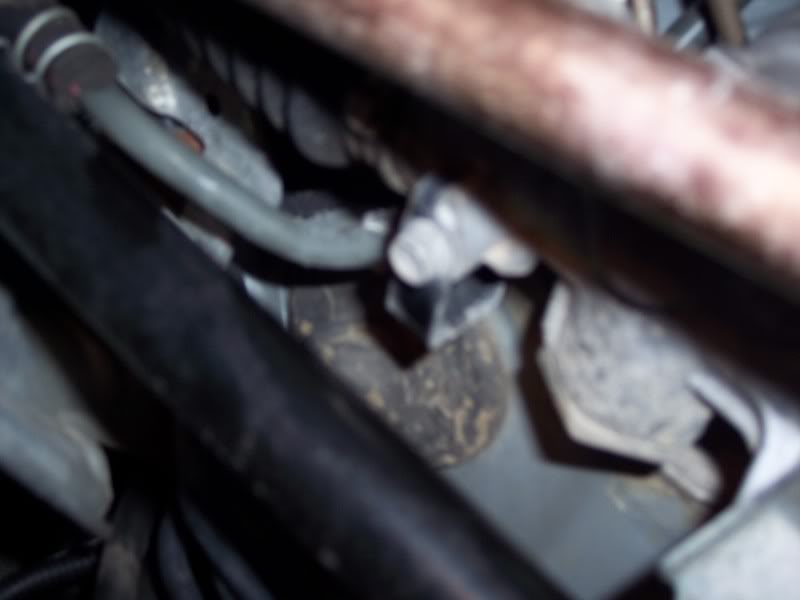
We poked a hole in the rubber from the inside and started feeding the battery cable through it. From the outside to inside
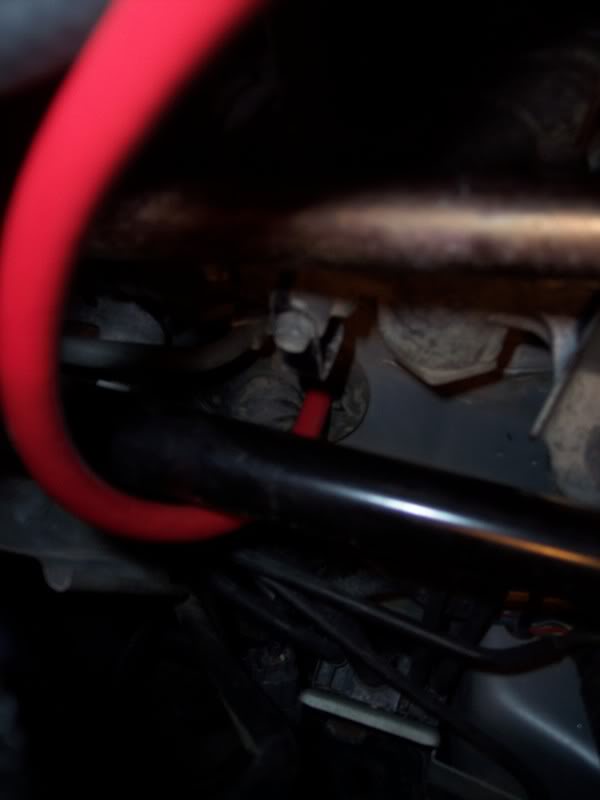
Here is a shot from the inside
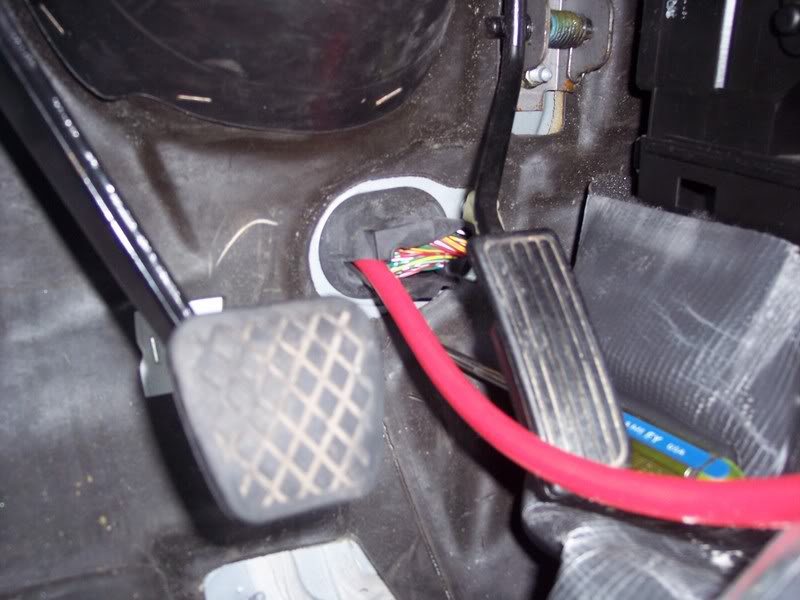
The cable comes in from under the carpet so you will have to lift that up if you use this spot. We then modified the foot rest so the cable would fit comfortably and easy
Here a shot with it installed

Next we started routing the cable. So I took off the side trim and lifted the carpet to place the line down the side of the car
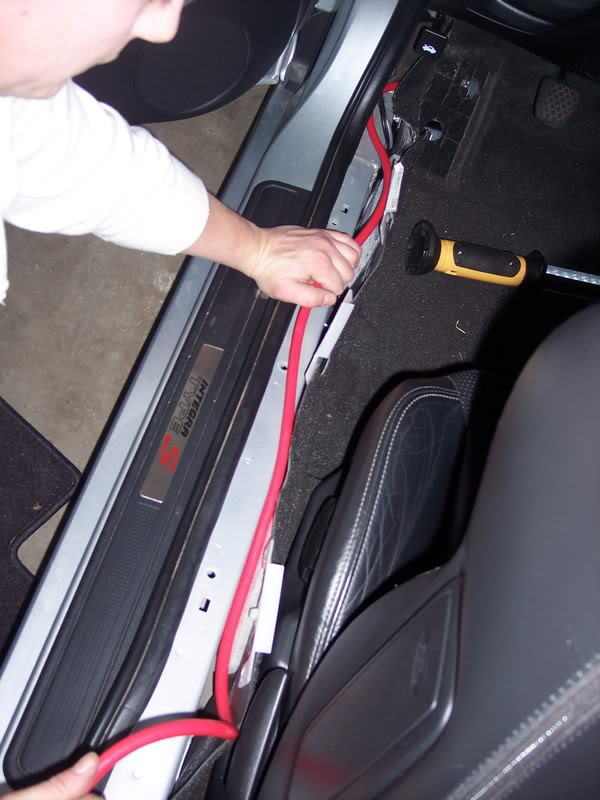
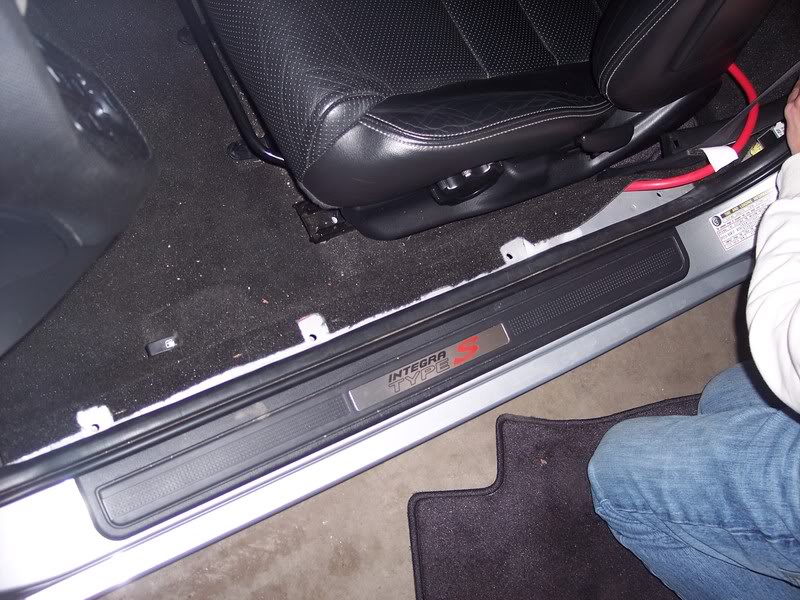
Here it is back together, you can see the line coming out the back
Next route the line under the rear seats and bring it back out the back. We choose the little hole by the struts
We then routed the line down the body line
Here is a better shot of my distribution block. Also the fuses installed
Then we had to find a spot for the wire to come through. We used a stock wiring harness and you can kinda see it through the mess
We poked a hole in the rubber from the inside and started feeding the battery cable through it. From the outside to inside
Here is a shot from the inside
The cable comes in from under the carpet so you will have to lift that up if you use this spot. We then modified the foot rest so the cable would fit comfortably and easy
Here a shot with it installed
Next we started routing the cable. So I took off the side trim and lifted the carpet to place the line down the side of the car
Here it is back together, you can see the line coming out the back
Next route the line under the rear seats and bring it back out the back. We choose the little hole by the struts
We then routed the line down the body line
Thread Starter
DC5/EP3 MOD :)
Joined: Sep 2008
Posts: 2,659
Likes: 2
From: WI
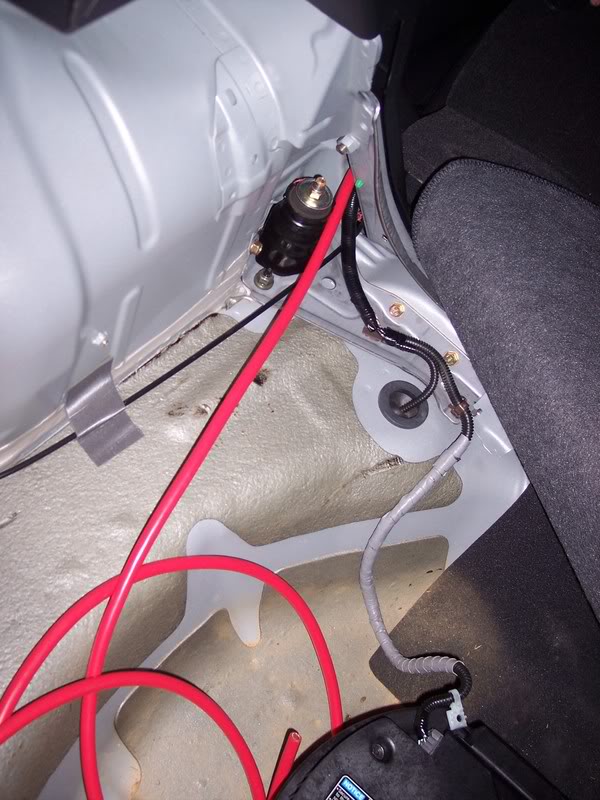
Next it's time to do some wiring. I used the stock ground for the taillights for my battery ground
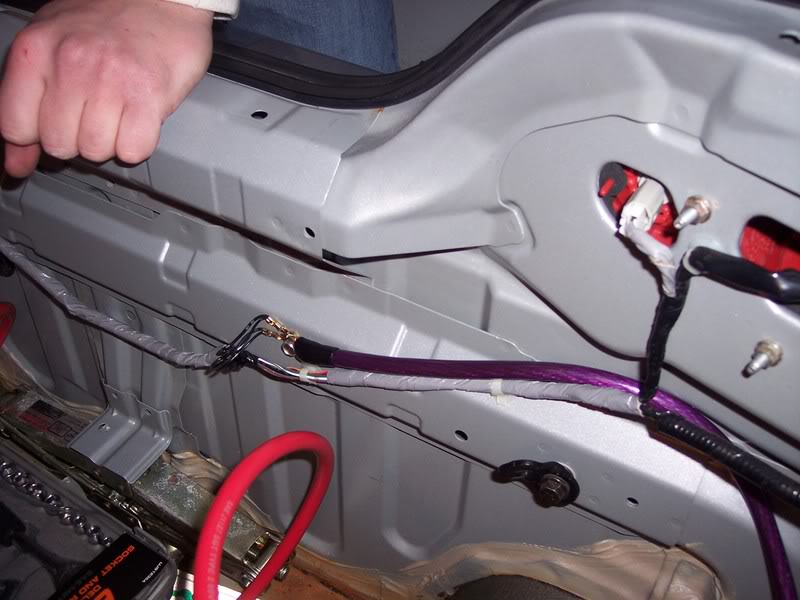
It it's good enough for them, it's good enough for me. Then I place the cable through the carpet and put the carpet back in the car. Don't install the carpet yet, just set it in there.
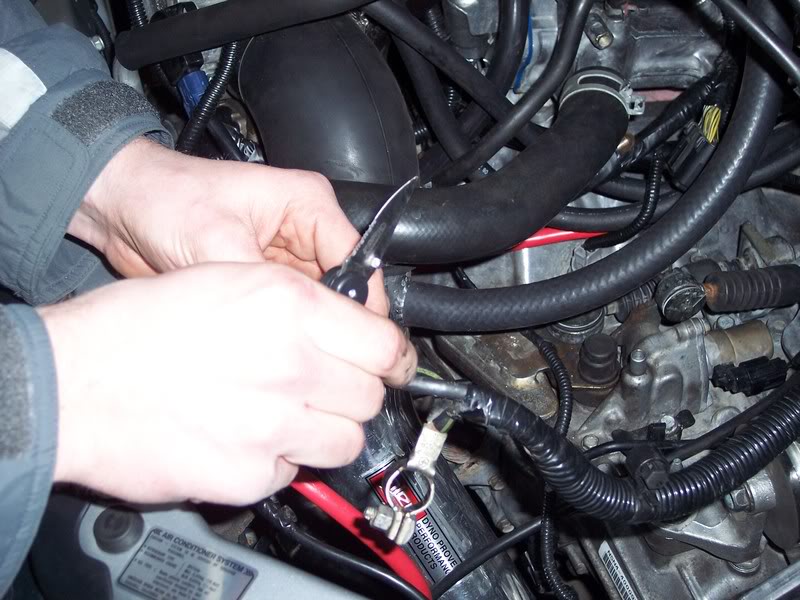
Check all of the lengths and make cuts to the cable to fit how you would like it. We hooked up the power to the fuse box
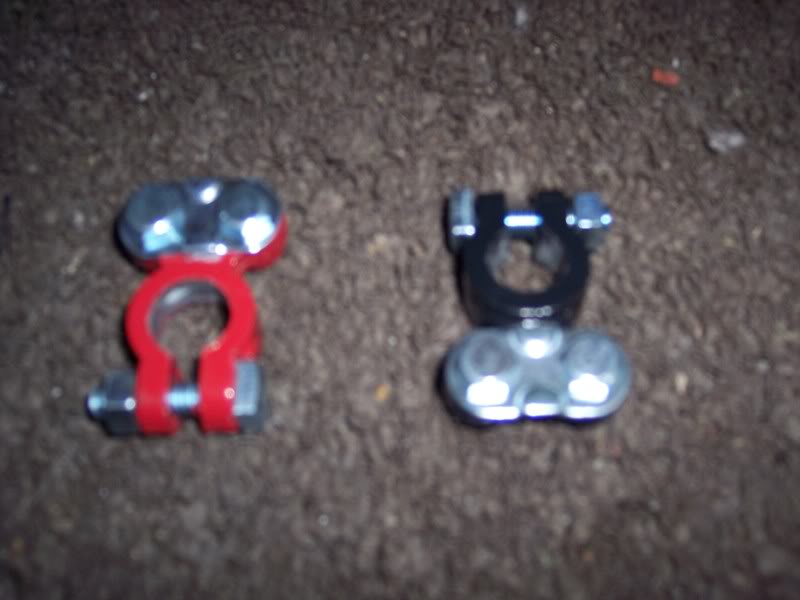
Then did the ground and the other side of the power and attached the battery terminal clamps
Thats it for the batter, now back to the engine bay for the rest of the wiring...
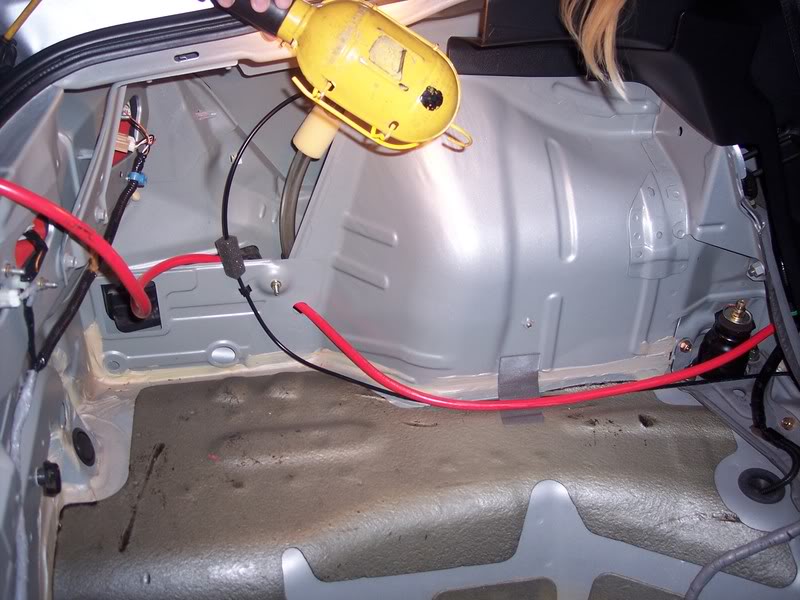
So the distribution box I used uses for holding screws. We were only able to fit two into the spot we used but we also used extreme industrial velcro to hold it down to the frame.
Then we cut the positive cable apart and inserted them into the box
Also hooked up the original transmission ground up to the original grounding spot and grounded out my distribution box. Now you should pretty much be done. Go ahead and connect the battery up and check it out.
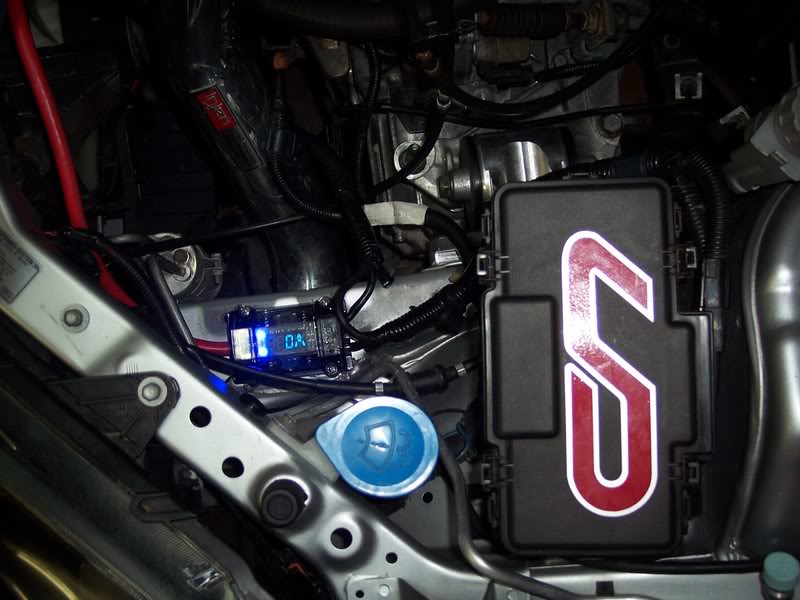

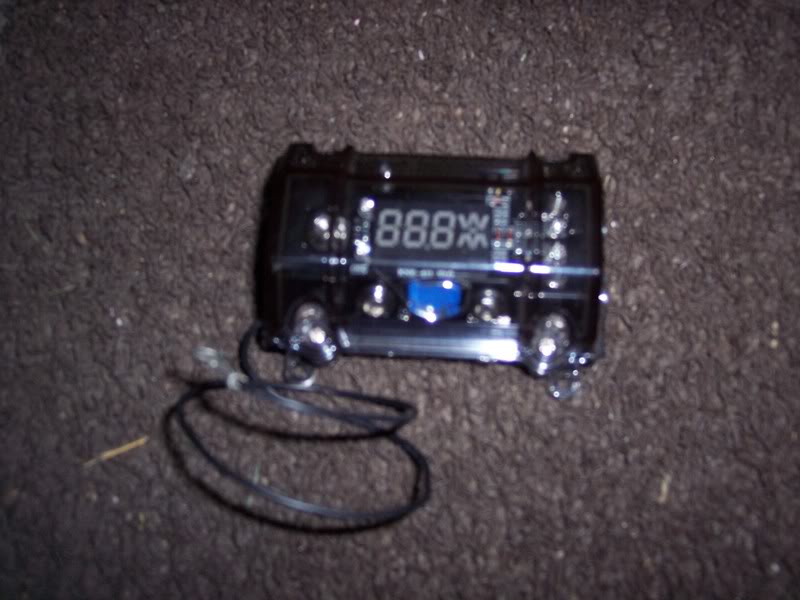
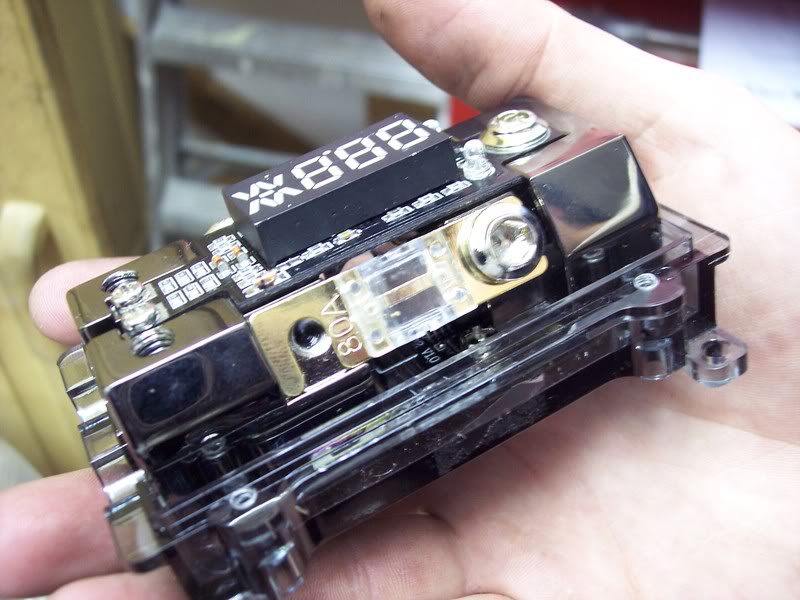
I used a digital distribution box because I wanted to check the voltage and amps being pushing and pulled.
Now you have a battery relocation!
On another note, you should place the battery on the passenger side to help offset your body weight but I didn't nor am I worried about the 11lb battery.
It it's good enough for them, it's good enough for me. Then I place the cable through the carpet and put the carpet back in the car. Don't install the carpet yet, just set it in there.
Check all of the lengths and make cuts to the cable to fit how you would like it. We hooked up the power to the fuse box
Then did the ground and the other side of the power and attached the battery terminal clamps
Thats it for the batter, now back to the engine bay for the rest of the wiring...
So the distribution box I used uses for holding screws. We were only able to fit two into the spot we used but we also used extreme industrial velcro to hold it down to the frame.
Then we cut the positive cable apart and inserted them into the box
Also hooked up the original transmission ground up to the original grounding spot and grounded out my distribution box. Now you should pretty much be done. Go ahead and connect the battery up and check it out.
I used a digital distribution box because I wanted to check the voltage and amps being pushing and pulled.
Now you have a battery relocation!
On another note, you should place the battery on the passenger side to help offset your body weight but I didn't nor am I worried about the 11lb battery.
Trending Topics

 .
.

Thread Starter
DC5/EP3 MOD :)
Joined: Sep 2008
Posts: 2,659
Likes: 2
From: WI
No but I did go back in and put a sleeve around it to act like a grommet. I just never updated that on the DIY a long time ago. But I only had this setup for a season. Then moved the battery into the front bumper.


Honda-Tech Member


Joined: Jan 2013
Posts: 505
Likes: 2
From: Texas
Yeah I wanna just put an inline fuse only I went 2 gage wire. And I thought I would just put the wire to the battery I'm relocating from the back and run it to the wire its supposed to connect to in the front. (The one the battery is supposed to connect to stock) Does anyone see any problems with this? And where could I get an inline fuse like that? How many amps should the inline fuse be?

Thread
Thread Starter
Forum
Replies
Last Post
Highny
Honda CRX / EF Civic (1988 - 1991)
25
Apr 13, 2016 07:07 AM
jc95148
Honda Civic / Del Sol (1992 - 2000)
1
Dec 18, 2012 02:56 PM