

D.I.Y Red Door Inserts / Removing door panels

Thread Starter
DC5/EP3 MOD :)
Joined: Sep 2008
Posts: 2,659
Likes: 2
From: WI
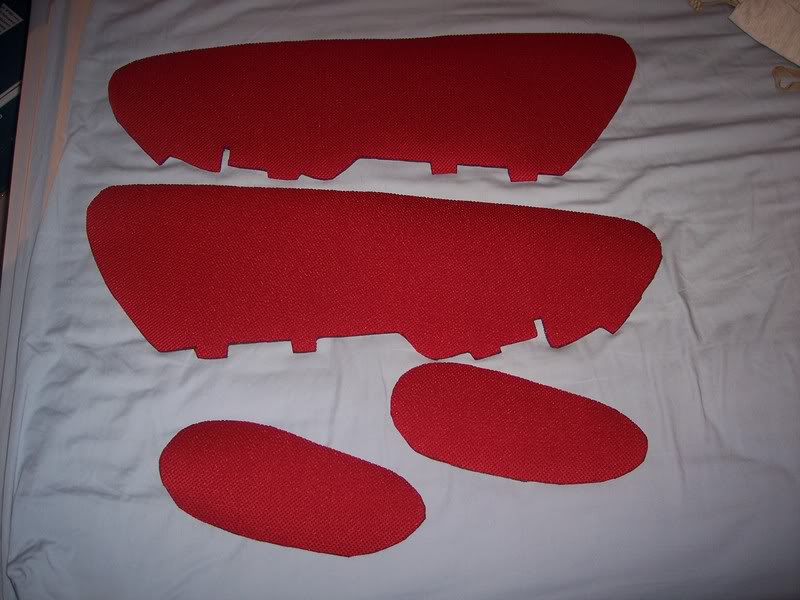
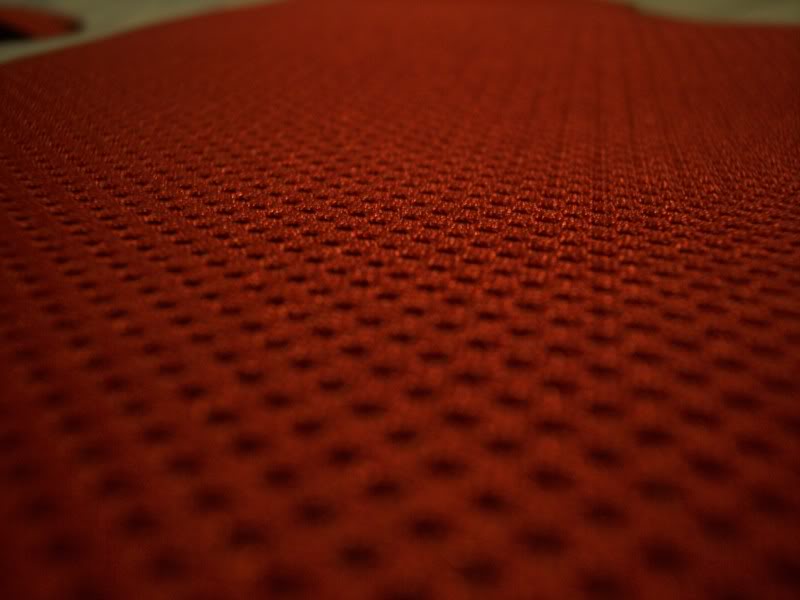
Well here I am at it again with another do it yourself. Today I'm exploring the world of fabric by installing red door inserts. Here is the fabric I'm working with
:drool:
Well lets begin!
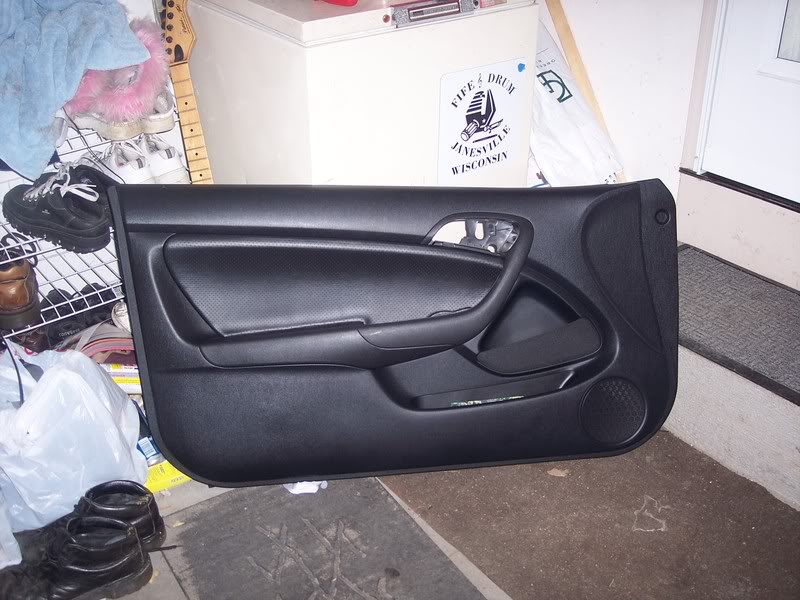
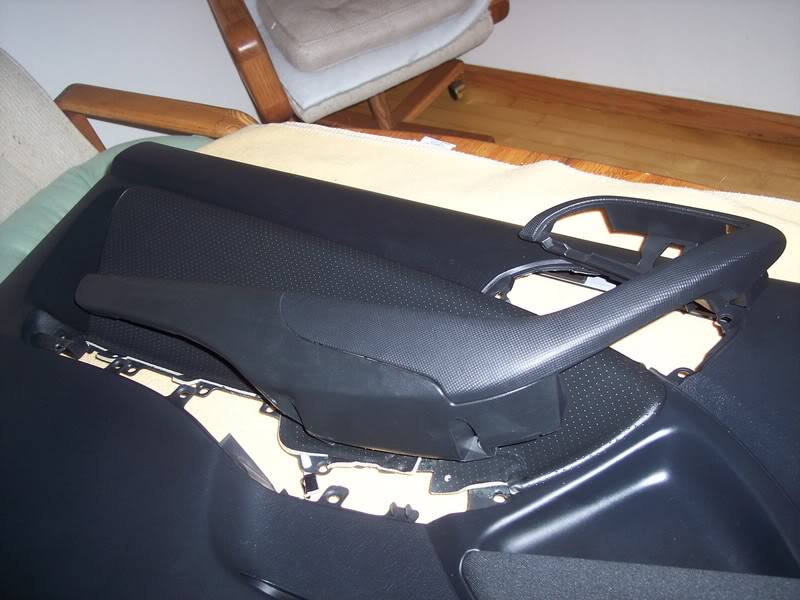
Here is what we are starting with... boring....
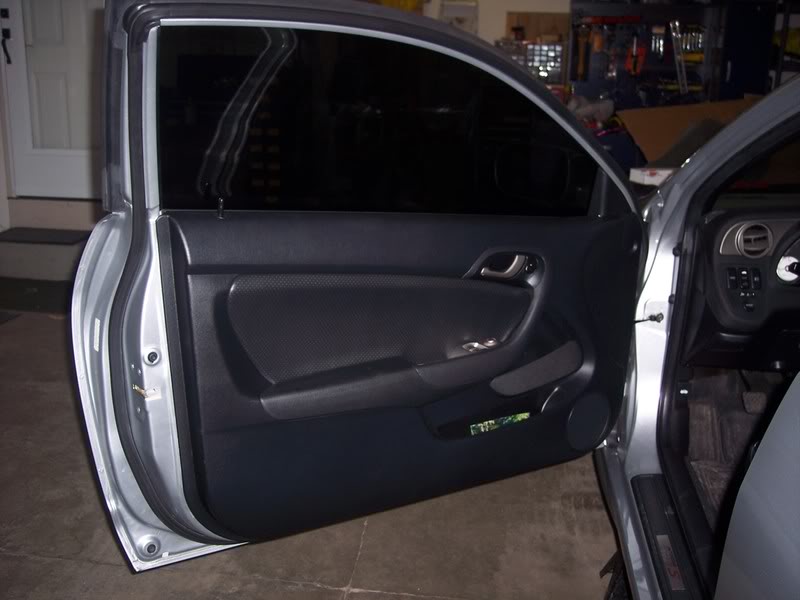
First pop out the triangular corner piece covering the mirror screws. Just grab a hold and pull.
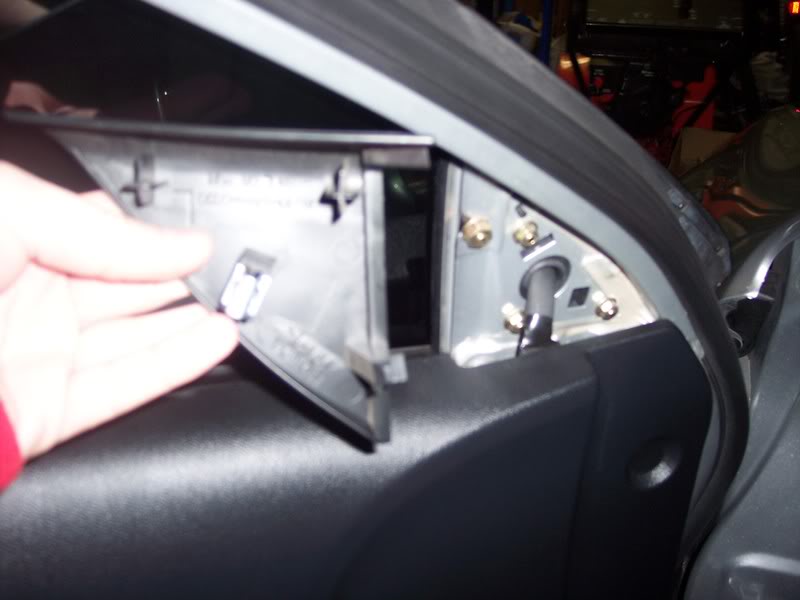
Now lets remove the handle. Stick a small flathead screwdriver inside the handle to remove the black plastic covering the screws
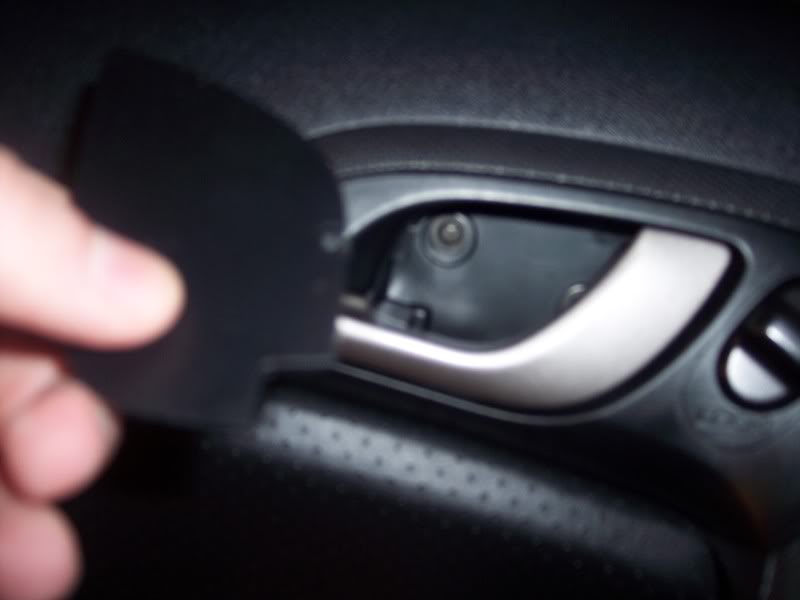
You can see two screws we need to remove. They are all phillips head. Remove them and pull forward.
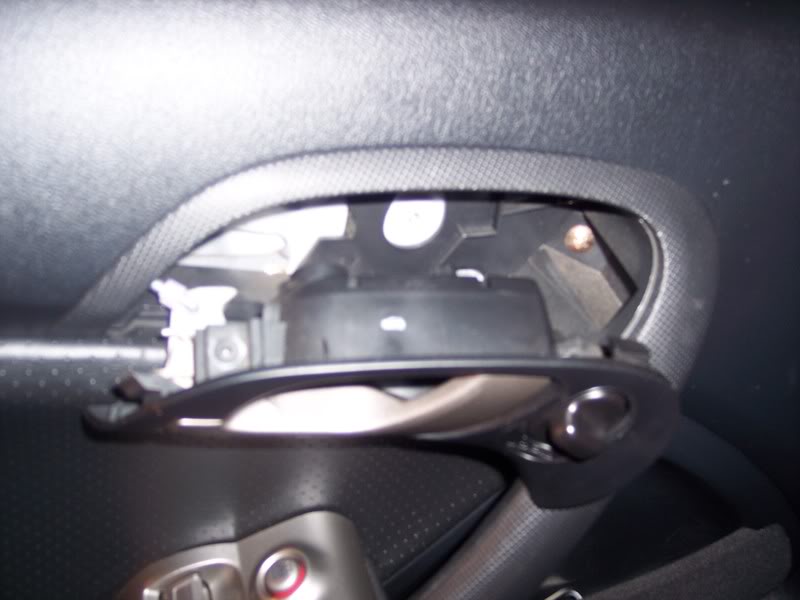
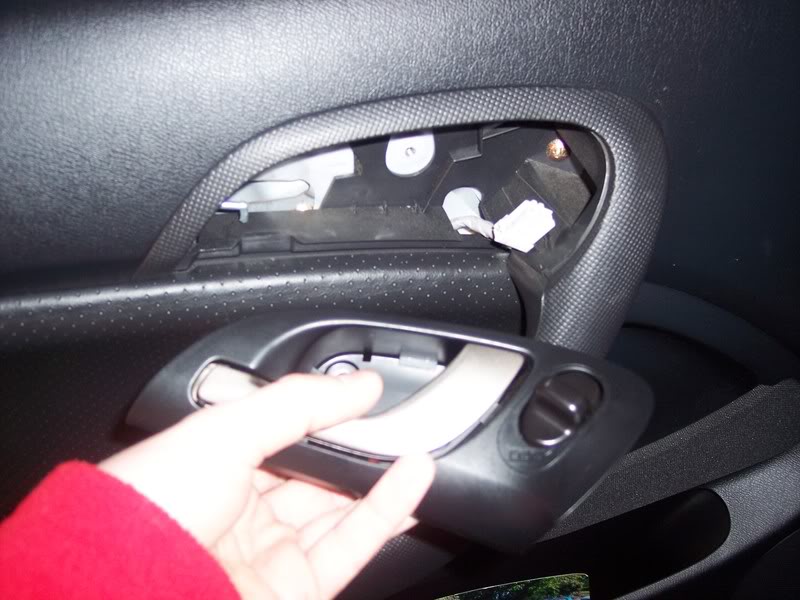
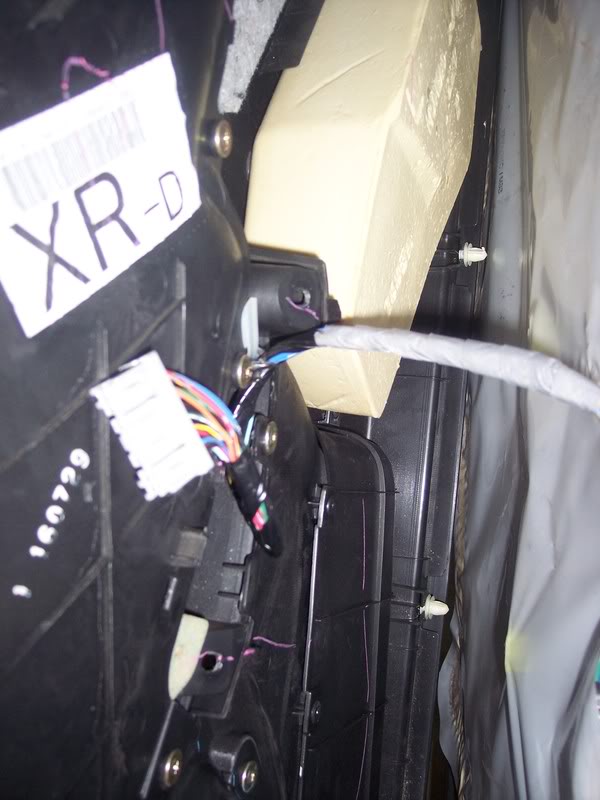
Unclip the wiring harness and the tab for the handle and the handle will come free. There is one more gold screw you must remove you can see in the last picture.
Here is the freed handle
Next lets move down to the window switch. Take the same small phillips screw driver and pry from the front upwards (green object is my screwdriver)
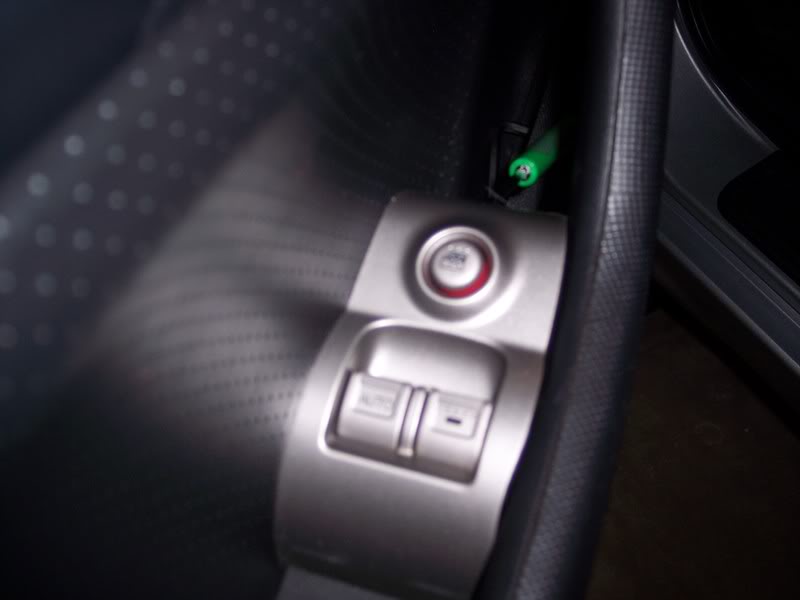
Then lift up
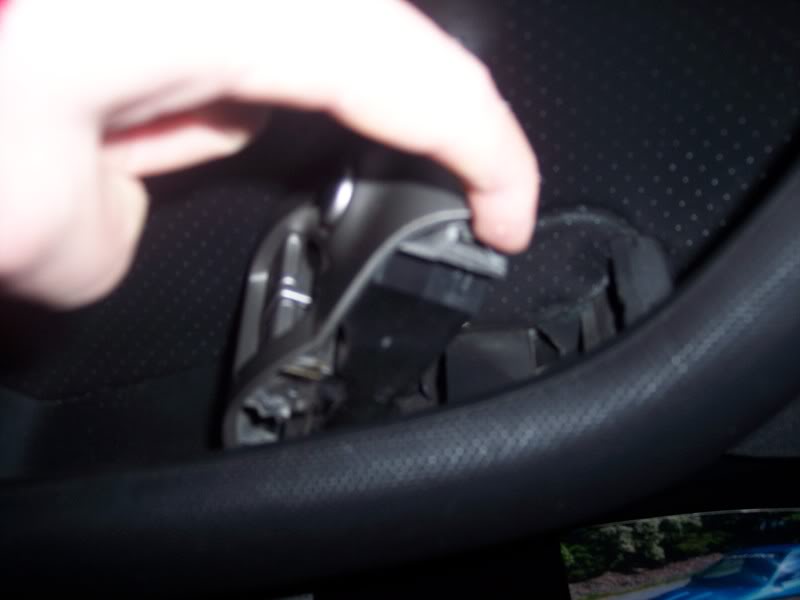
Now unclip its wiring harness and set it aside
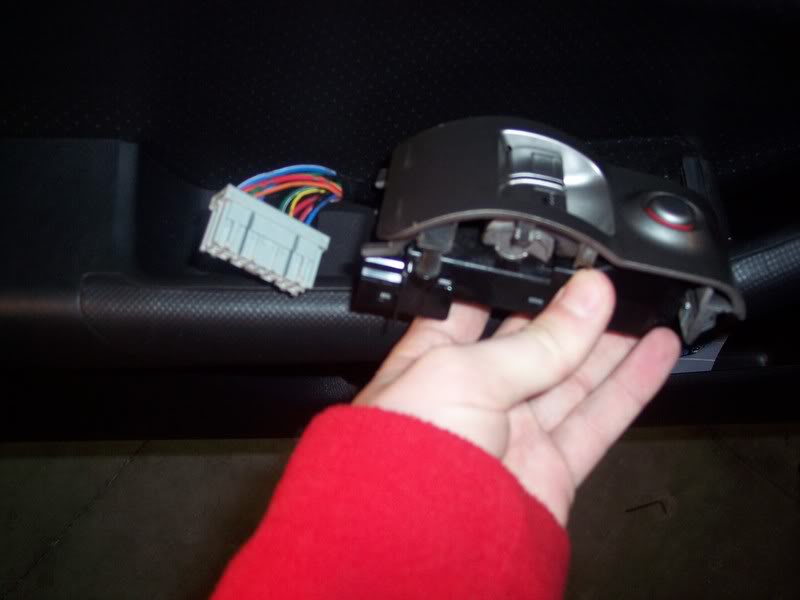
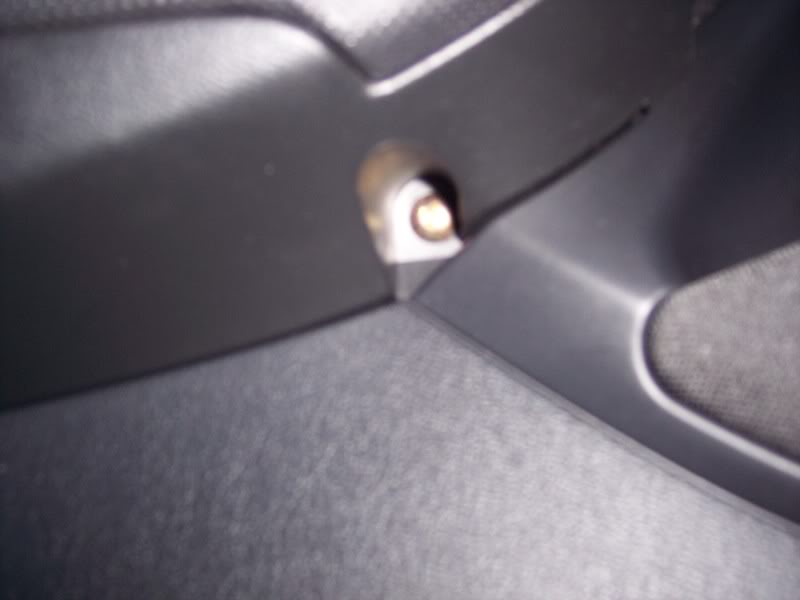
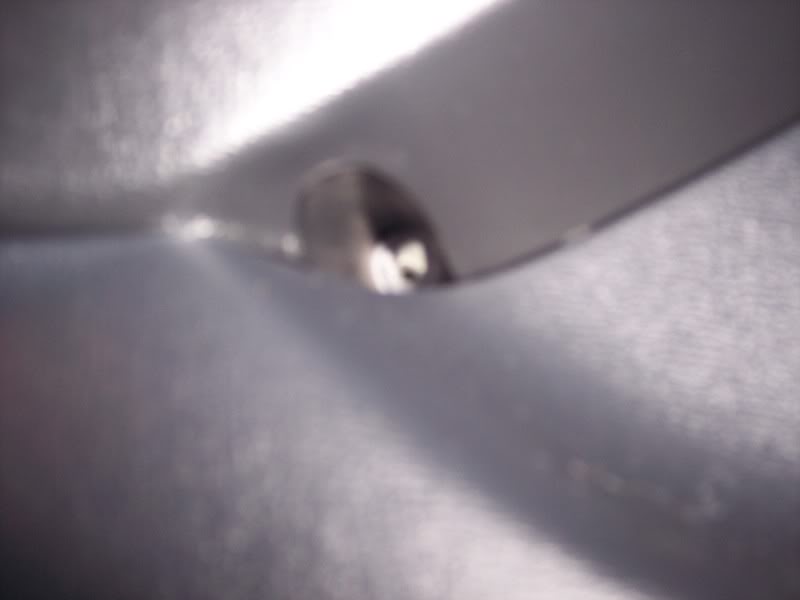
Under the switch there are two more screws we need to remove.
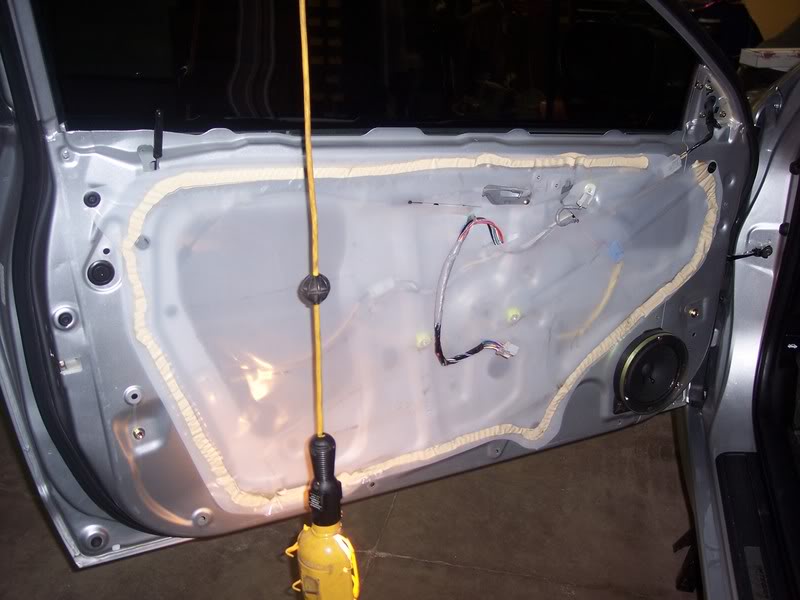
Now were ready to begin taking the door panel off. Start in the corner were we removed the corner piece and pry the panel out going in a clockwise direction. Then just lift the door upwards. Don't pull because we need remove a clip in the back holding the window switch
Now remove the panel and set it aside
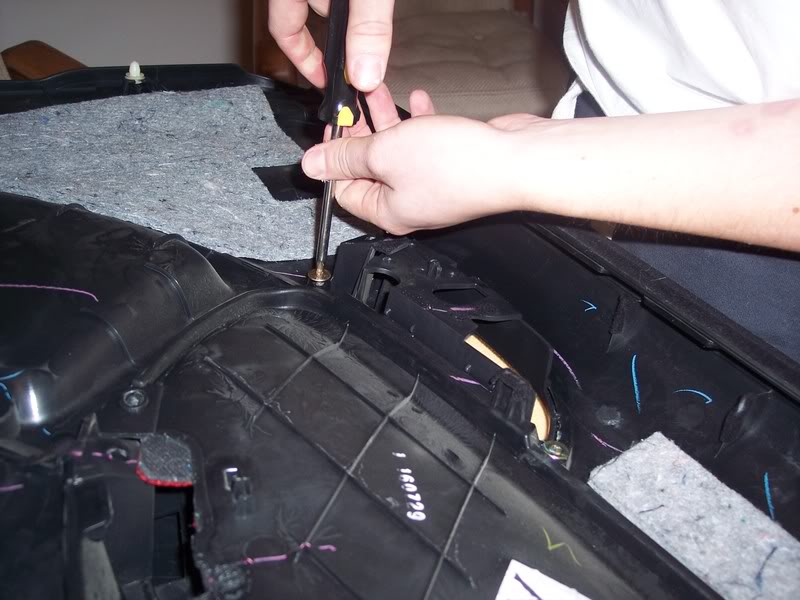
I took my door inside and laid it on the table. Flip it over and grab a phillips screw driver we need remove the door handle
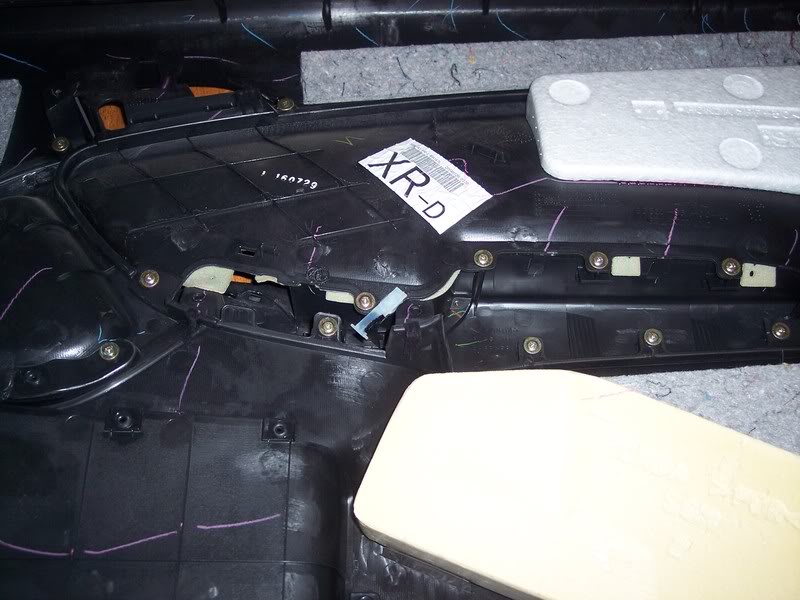
flip back over and just pull the handle off
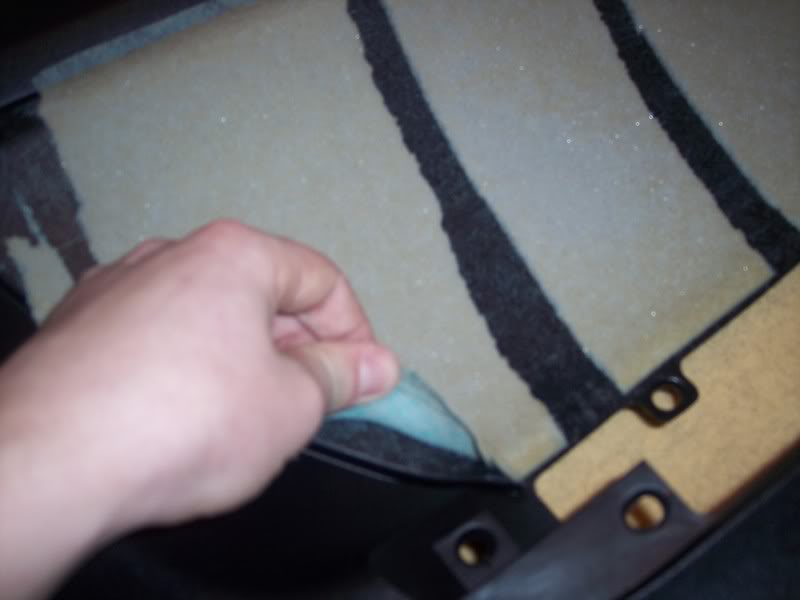
Now the hard part... see this leather.. it needs to be pulled off.. what a serious pain in the ***
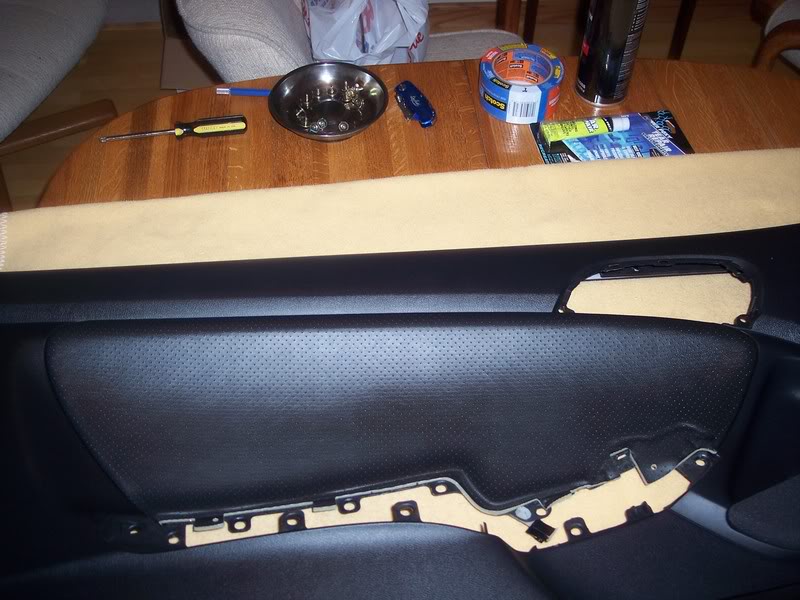
I started from the top by the handle and just started pullng
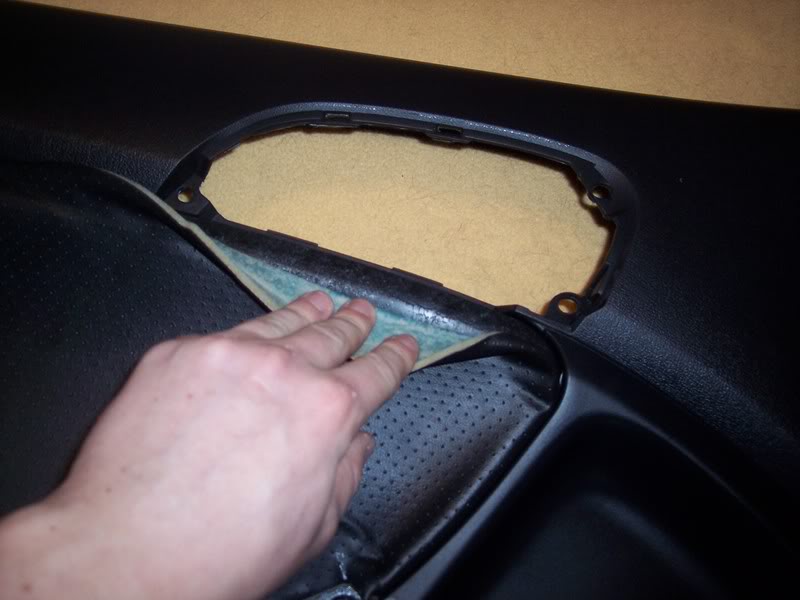
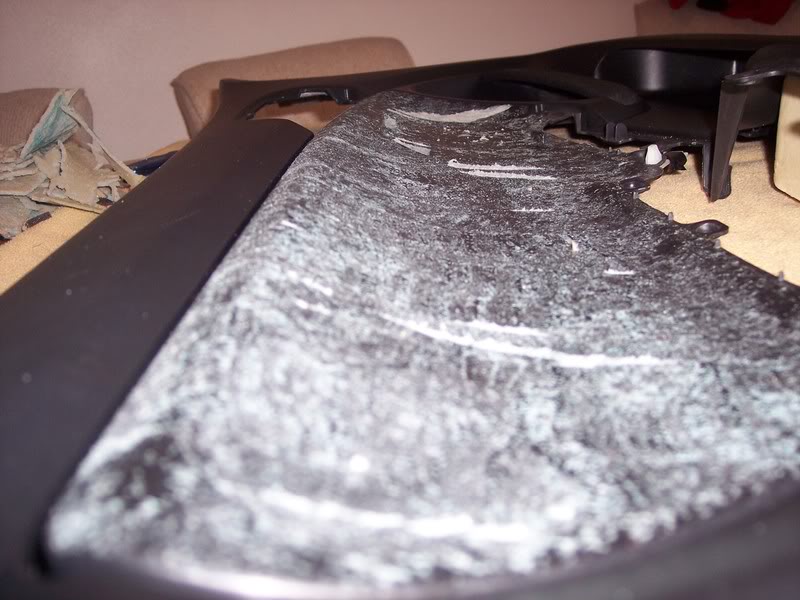
You'll never get it off clean... here is all my foam padding left over
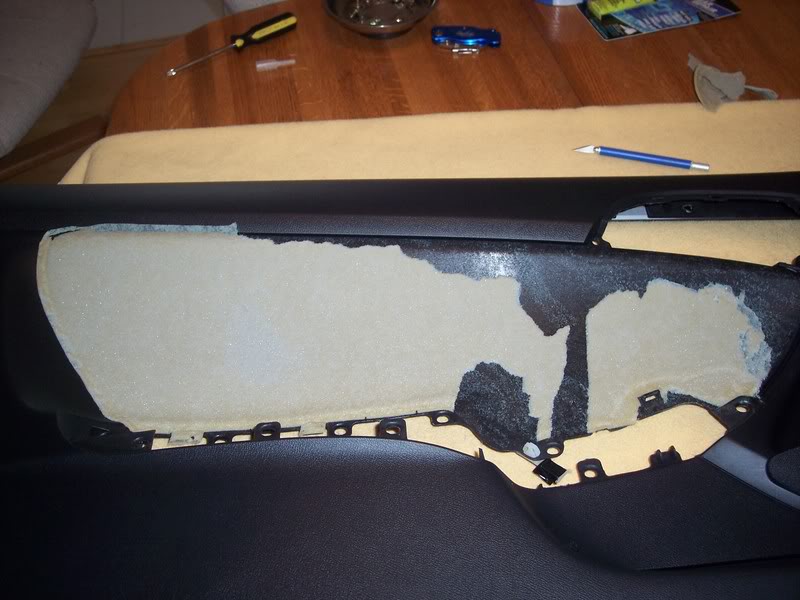
Start peeling all of this off... get it as clean as possible
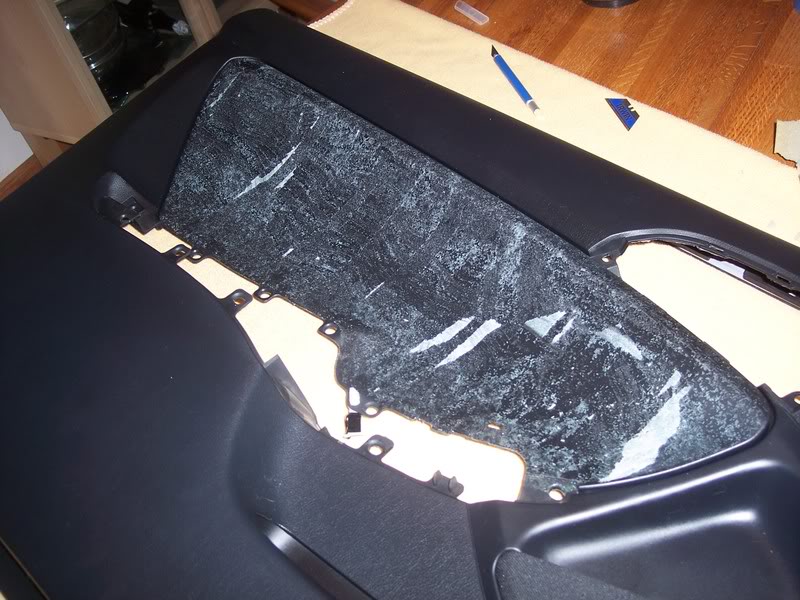
Here is my final clean dooor
:drool:
Well lets begin!
Here is what we are starting with... boring....
First pop out the triangular corner piece covering the mirror screws. Just grab a hold and pull.
Now lets remove the handle. Stick a small flathead screwdriver inside the handle to remove the black plastic covering the screws
You can see two screws we need to remove. They are all phillips head. Remove them and pull forward.
Unclip the wiring harness and the tab for the handle and the handle will come free. There is one more gold screw you must remove you can see in the last picture.
Here is the freed handle
Next lets move down to the window switch. Take the same small phillips screw driver and pry from the front upwards (green object is my screwdriver)
Then lift up
Now unclip its wiring harness and set it aside
Under the switch there are two more screws we need to remove.
Now were ready to begin taking the door panel off. Start in the corner were we removed the corner piece and pry the panel out going in a clockwise direction. Then just lift the door upwards. Don't pull because we need remove a clip in the back holding the window switch
Now remove the panel and set it aside
I took my door inside and laid it on the table. Flip it over and grab a phillips screw driver we need remove the door handle
flip back over and just pull the handle off
Now the hard part... see this leather.. it needs to be pulled off.. what a serious pain in the ***
I started from the top by the handle and just started pullng
You'll never get it off clean... here is all my foam padding left over
Start peeling all of this off... get it as clean as possible
Here is my final clean dooor
Thread Starter
DC5/EP3 MOD :)
Joined: Sep 2008
Posts: 2,659
Likes: 2
From: WI
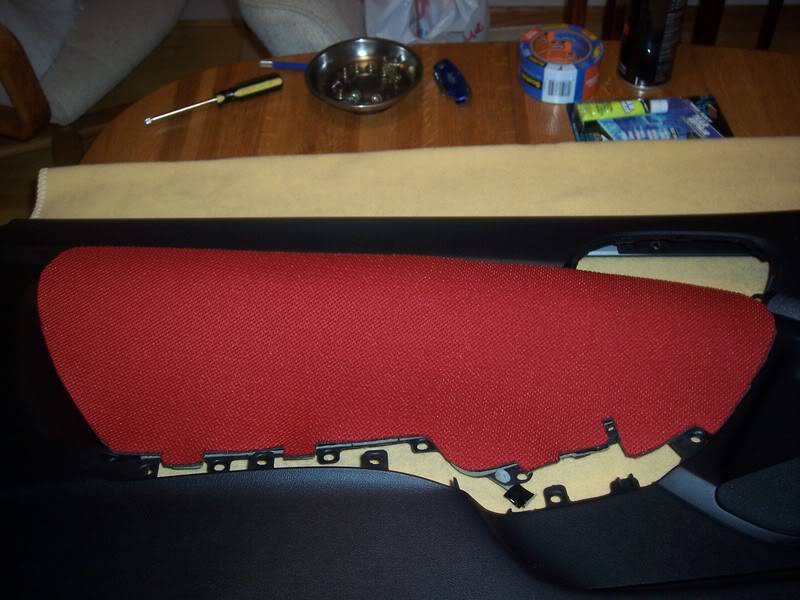
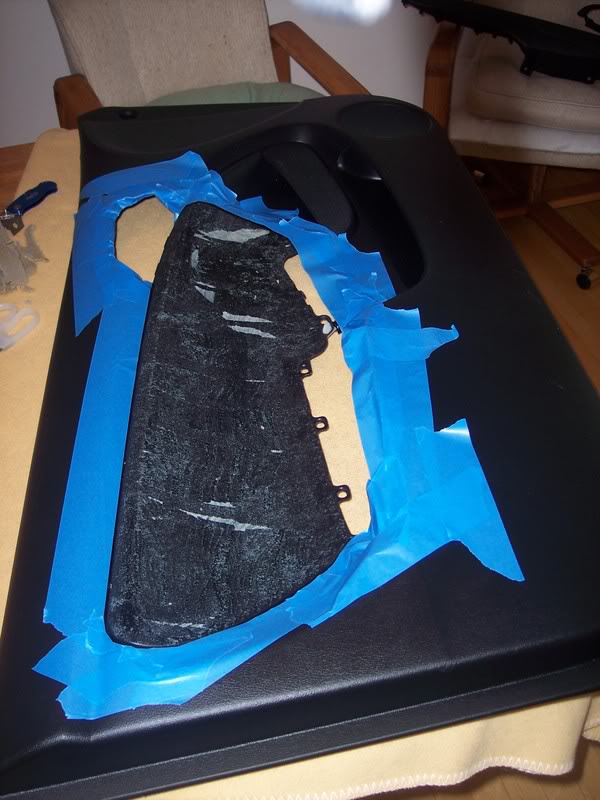
Now test fit the door insert. My inserts were pre-cut but needed some adjusting. If you don't have pre-cut inserts use the old leather as a template
Then I masked off the door with blue painters tape
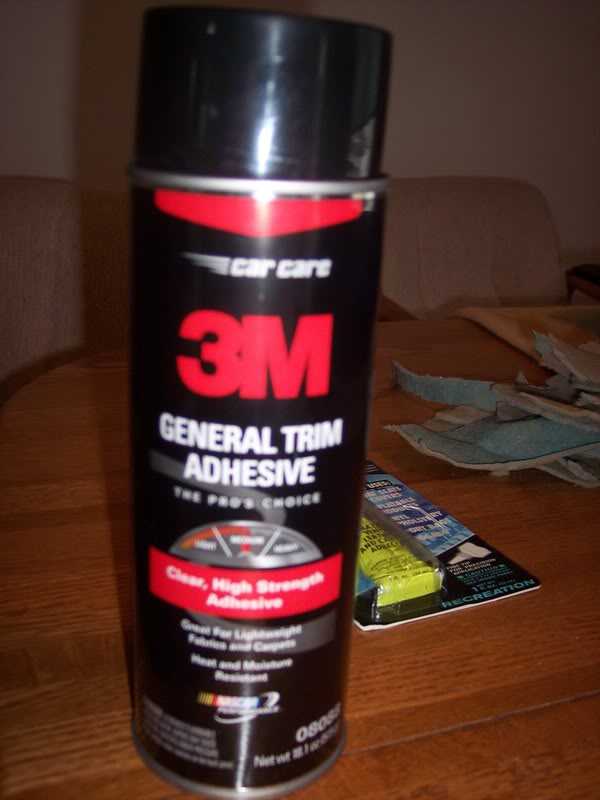
For the glue I used 3m trim adhesive
I then went back out to the garage and laid out the door and covered it up with towels to be safe
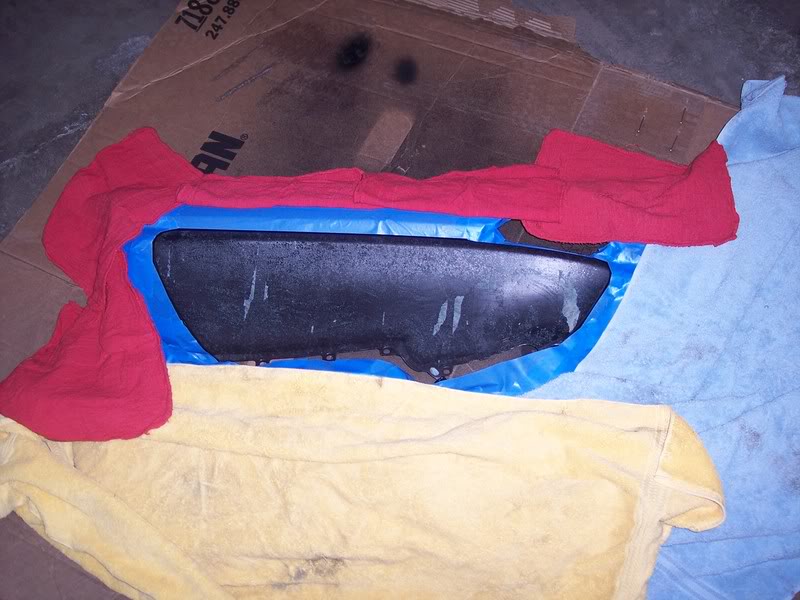
Spray two light coats of glue down and wait a couple minutes for it to get tacky. Spray both the door and back of the inserts. Now put the two together and start firmly applying pressure to the fabric
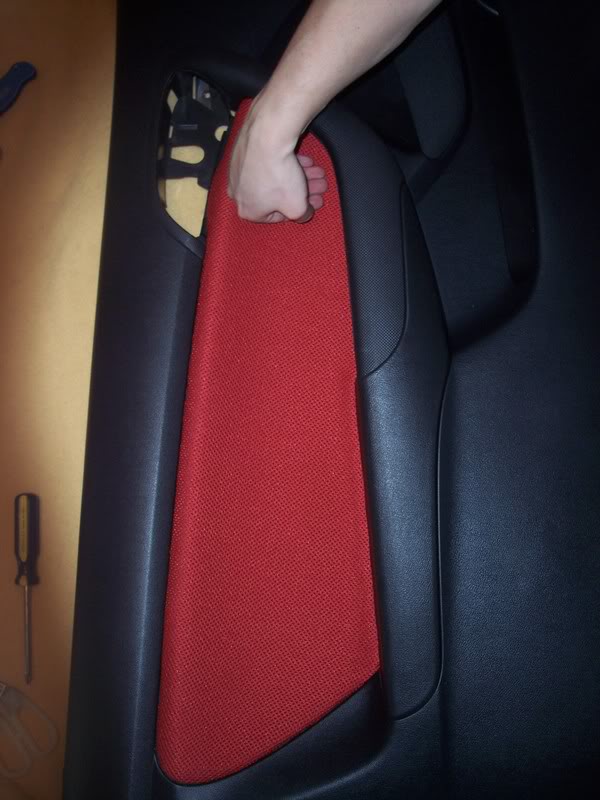
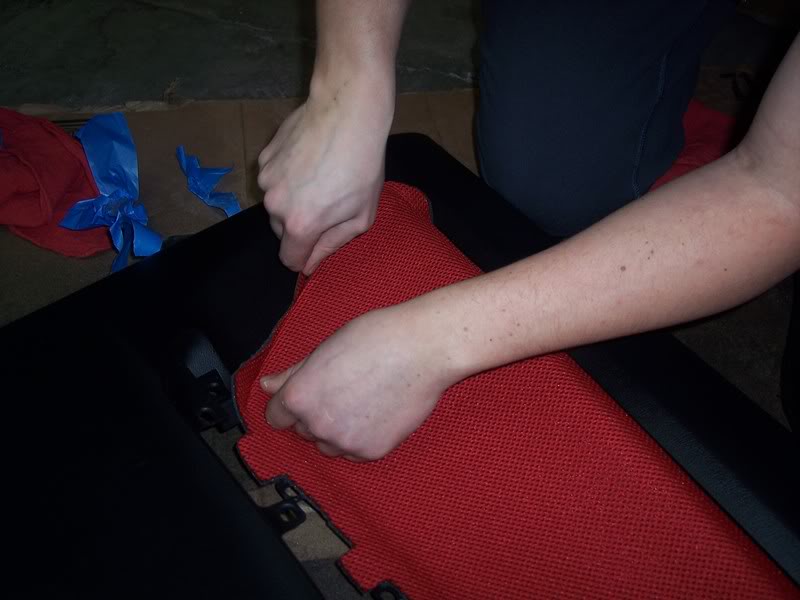
Then start tucking in the sides. I used a butter knife to press in the sides
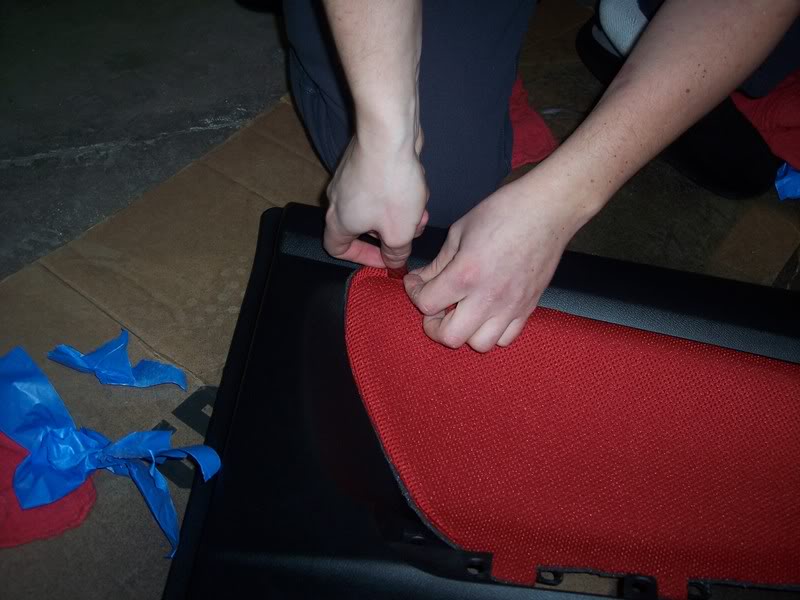
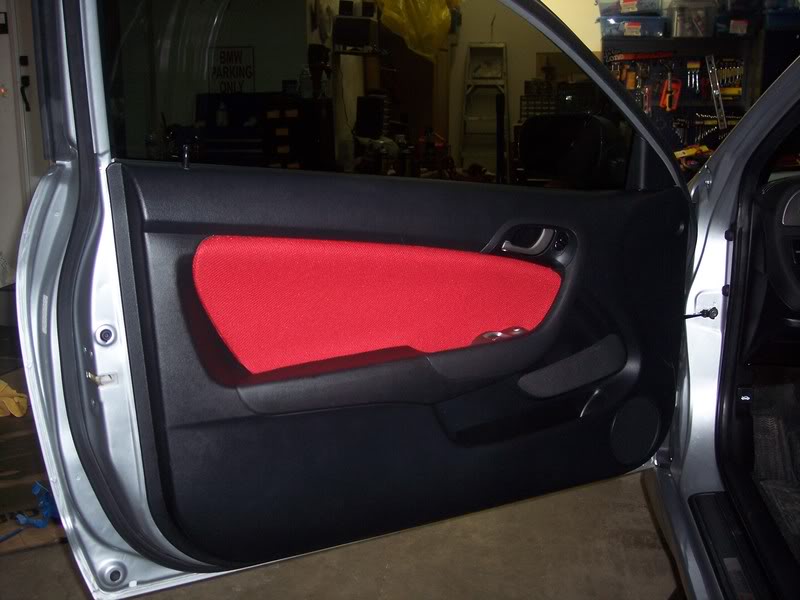
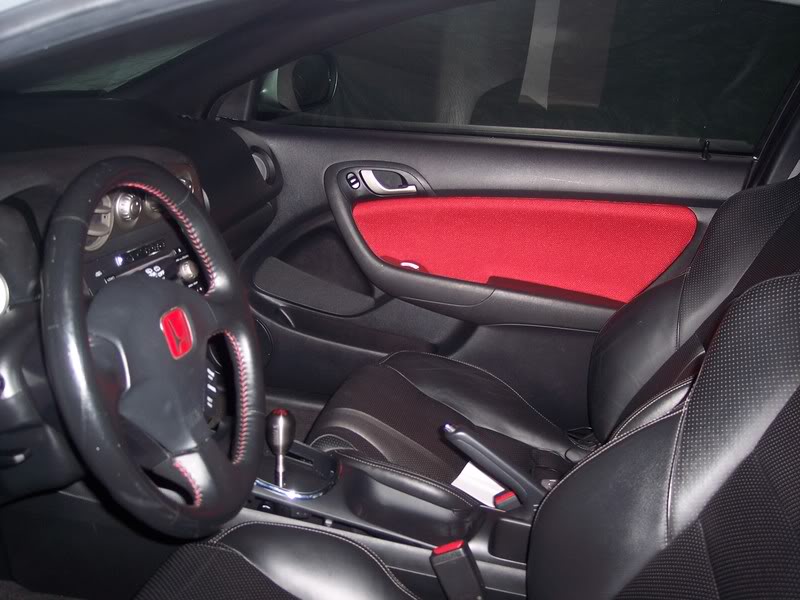
And BAM!

Now screw on the handles and reinstall the door panel
Before

after
Drivers side!
Passenger Side!
Then I masked off the door with blue painters tape
For the glue I used 3m trim adhesive
I then went back out to the garage and laid out the door and covered it up with towels to be safe
Spray two light coats of glue down and wait a couple minutes for it to get tacky. Spray both the door and back of the inserts. Now put the two together and start firmly applying pressure to the fabric
Then start tucking in the sides. I used a butter knife to press in the sides
And BAM!
Now screw on the handles and reinstall the door panel
Before
after
Drivers side!
Passenger Side!

Honda-Tech Member
Joined: Sep 2009
Posts: 1,803
Likes: 0
From: Chicago
I used Beacon Adhesives Fabri-Tac per Evan's recommendation. Just need to be careful because it is very potent adhesiveness. Absolutely no sagging at all!
Thread Starter
DC5/EP3 MOD :)
Joined: Sep 2008
Posts: 2,659
Likes: 2
From: WI
Trending Topics


Thread
Thread Starter
Forum
Replies
Last Post
eddie1681
Honda Civic / Del Sol (1992 - 2000)
3
Feb 24, 2003 10:33 PM
*Boostwerks*
Honda CRX / EF Civic (1988 - 1991)
1
Sep 13, 2002 08:52 AM