

How To: Aerocatch Hood Pins!!!

Thread Starter
Honda-Tech Member
Joined: Mar 2005
Posts: 2,141
Likes: 1
From: OOOOOREGON.
Not sure if this is the right section but I haven't seen any write ups on the Aerocatch hood pins.
Aerocatch plus flush locking hood pins ($83 @ jhpusa.com
Estimated time: 3-4 hours depending on how brave you are cutting through carbon fiber!
Car: 95 Honda Civic HB

I first started by placing the pin in the hole between the headlight brackets:
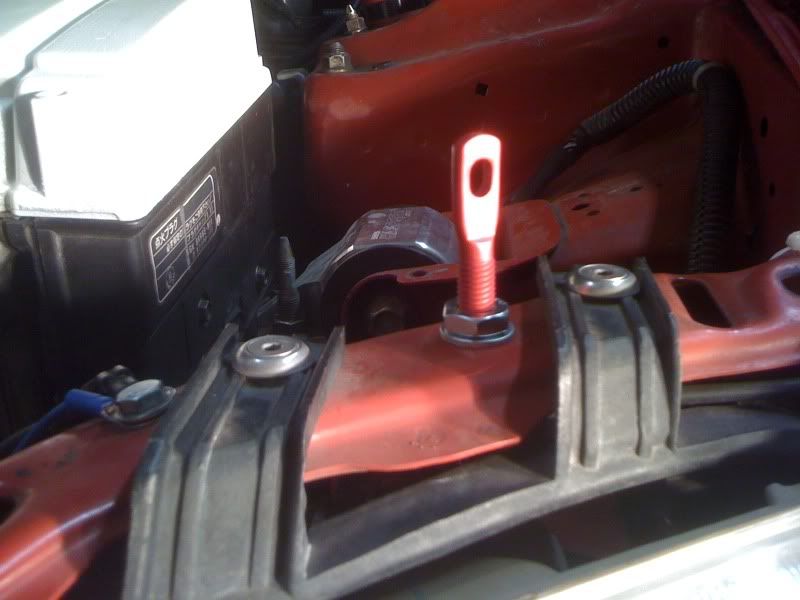
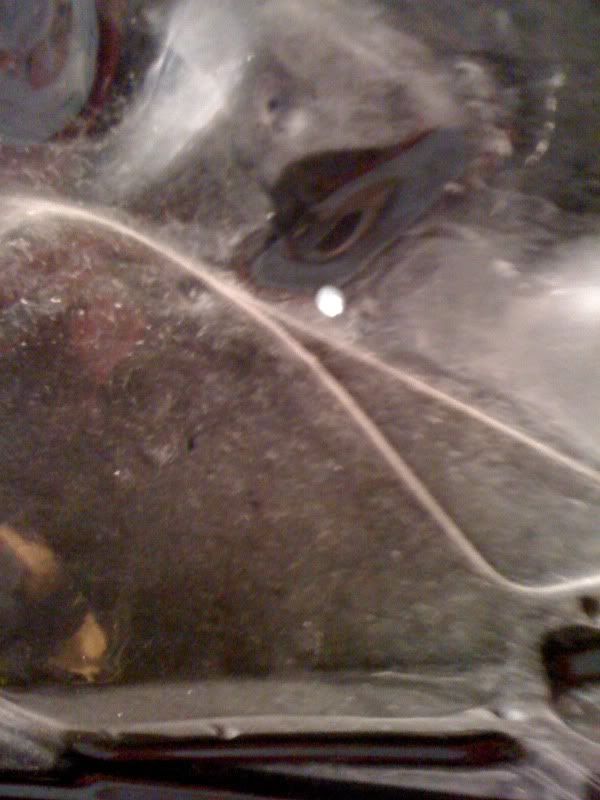
Next I put some toothpaste on top of the pin and close the hood so I could get an idea of where to drill the hole.

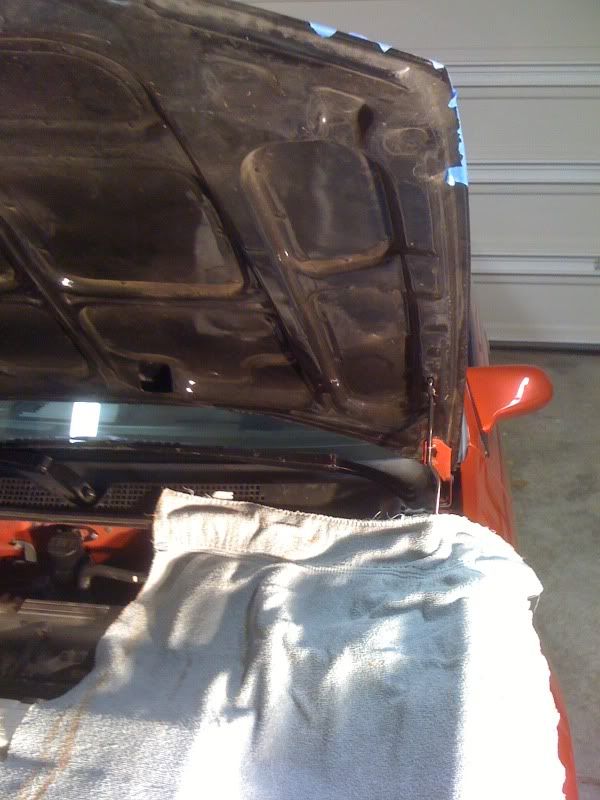
I recommend putting a towel down so you don't get all the fiberglass and dust everywhere.
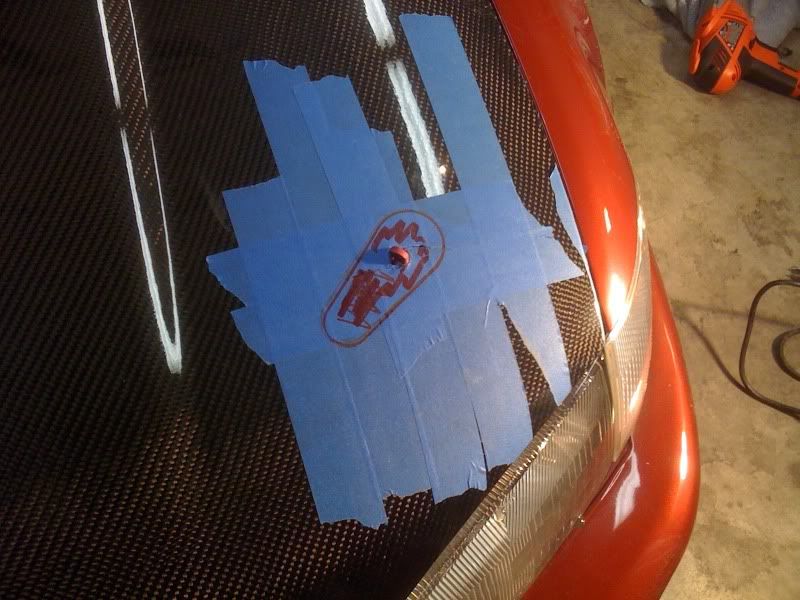
Next tape the top of the hood to prevent cracking.

Now start drilling where you marked your hole..start with a small bit and move on to a larger one..I think the final hole was 1/4"


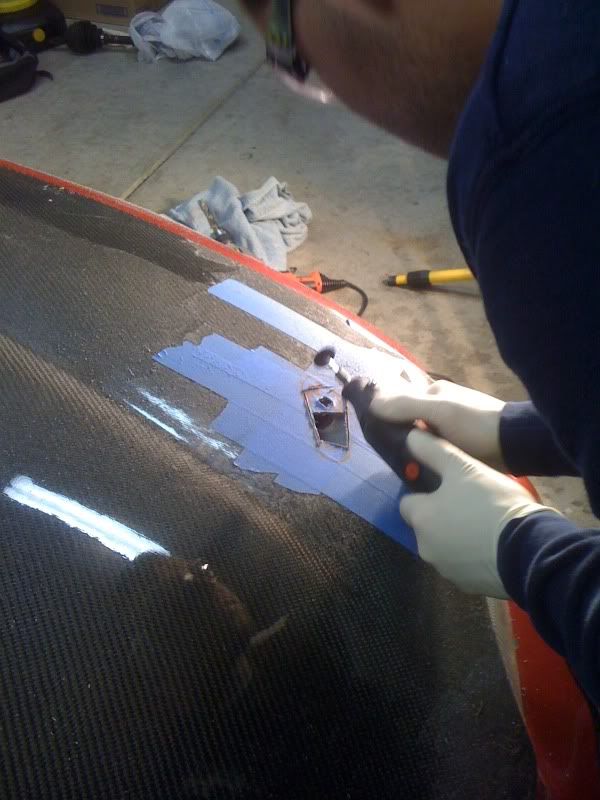
Next I placed the hood locking piece on top of the hood and got the right angle I wanted (I was trying to make it flow with the headlights) and then I used the supplied template to get the measurements.

Here is the scariest part...go slow!!! Start cutting with the dremel!
Once you have the piece in..mark the 6 holes where you want to drill for the supplied bolts.


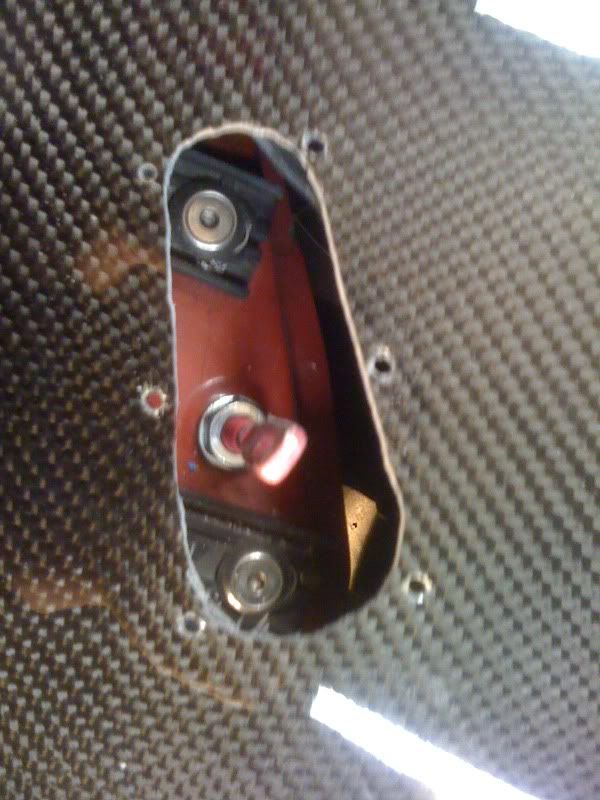
Tighten up the six bolts and nuts and adjust the hood pins so they fit correctly and BAM! One side done! Follow the same directions for the other side.
NOTE: I had to trim the hood pin because it was hitting the back of the headlight.
FINISHED!


This is my first write up so be nice! Hope this helps everybody!
Aerocatch plus flush locking hood pins ($83 @ jhpusa.com
Estimated time: 3-4 hours depending on how brave you are cutting through carbon fiber!
Car: 95 Honda Civic HB
I first started by placing the pin in the hole between the headlight brackets:
Next I put some toothpaste on top of the pin and close the hood so I could get an idea of where to drill the hole.
I recommend putting a towel down so you don't get all the fiberglass and dust everywhere.
Next tape the top of the hood to prevent cracking.
Now start drilling where you marked your hole..start with a small bit and move on to a larger one..I think the final hole was 1/4"
Next I placed the hood locking piece on top of the hood and got the right angle I wanted (I was trying to make it flow with the headlights) and then I used the supplied template to get the measurements.
Here is the scariest part...go slow!!! Start cutting with the dremel!
Once you have the piece in..mark the 6 holes where you want to drill for the supplied bolts.
Tighten up the six bolts and nuts and adjust the hood pins so they fit correctly and BAM! One side done! Follow the same directions for the other side.
NOTE: I had to trim the hood pin because it was hitting the back of the headlight.
FINISHED!
This is my first write up so be nice! Hope this helps everybody!

")
Trending Topics


Thread Starter
Honda-Tech Member
Joined: Mar 2005
Posts: 2,141
Likes: 1
From: OOOOOREGON.
Honda-Tech Member
Joined: Oct 2007
Posts: 806
Likes: 0
From: San Mateo, ca, USA
Honda-Tech Member
Joined: May 2004
Posts: 4,222
Likes: 1
From: Tracys Landing, MD


Thread
Thread Starter
Forum
Replies
Last Post