

Project 97 coupe shaved tucked lots pics

Thread Starter
Honda-Tech Member
Joined: Oct 2009
Posts: 238
Likes: 0
From: Follow the yellow brick road
Well im a noob here. Here is some pictures of my project Ive been building for the last year. Let me know what you think This is my first time on honda-tech. I have took pictures throughout the entire build so i have lots more. I have done all the work myself including body/paint and tuck of coarse.
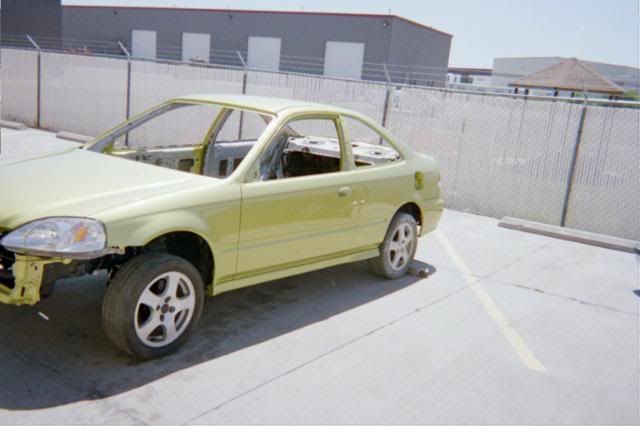
Just after being polished rolled out side to check it out in the sun
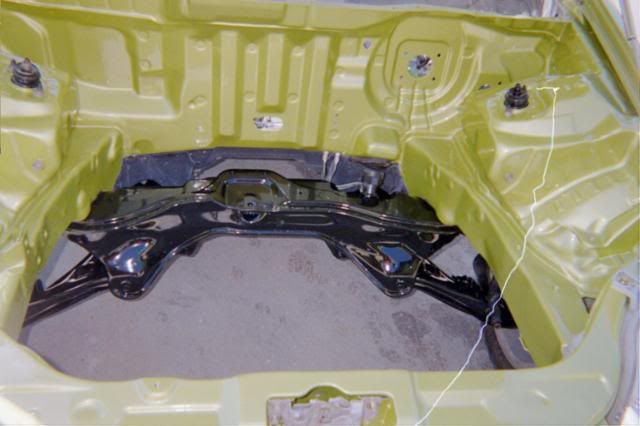
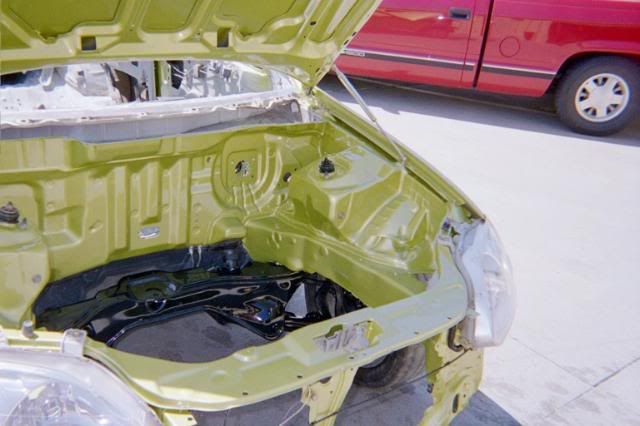
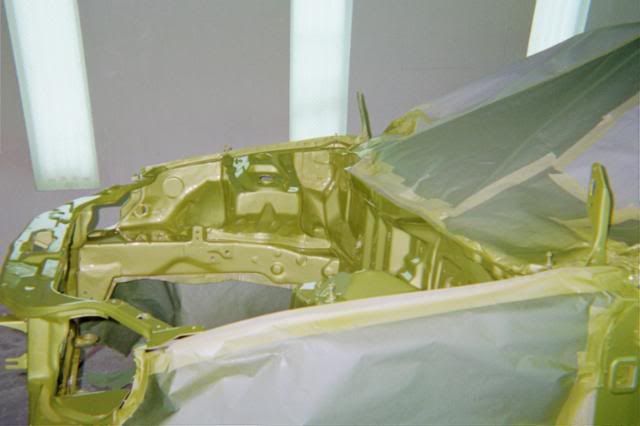
Engine Bay all smoothed over and freshly painted
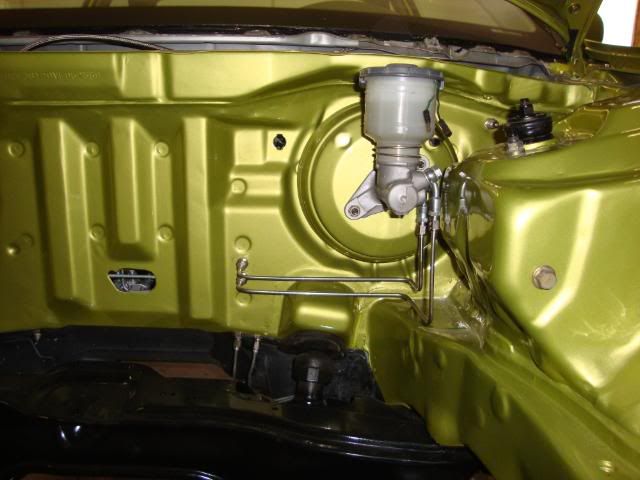
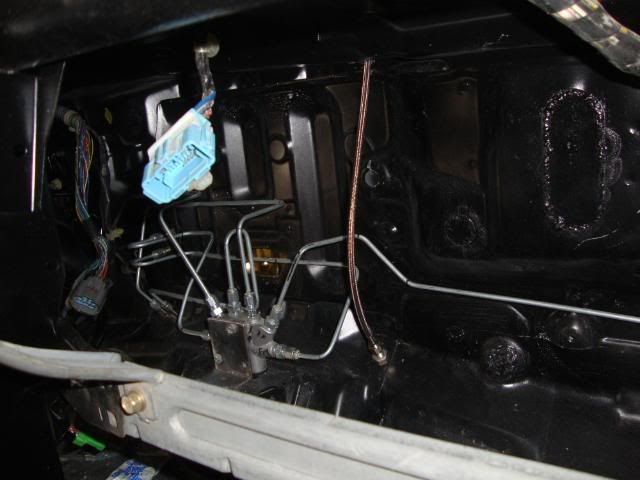
Brake booster/master with tucked stainless hardlines
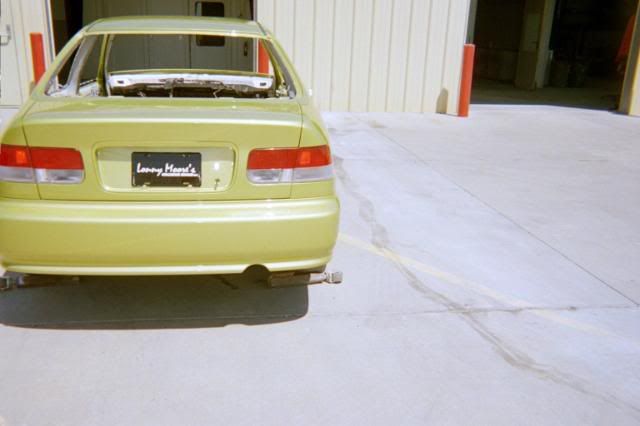
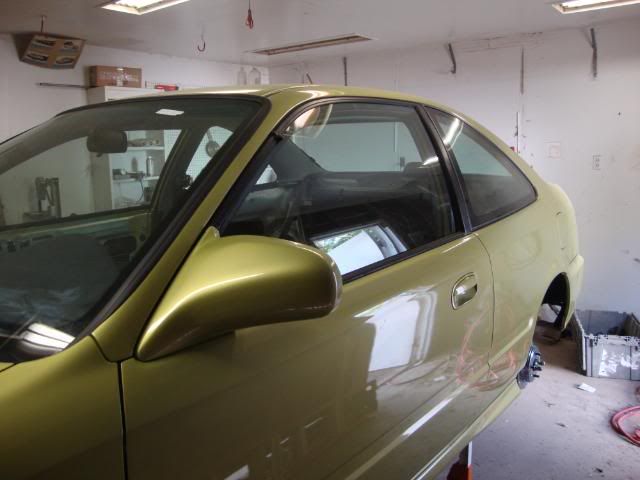
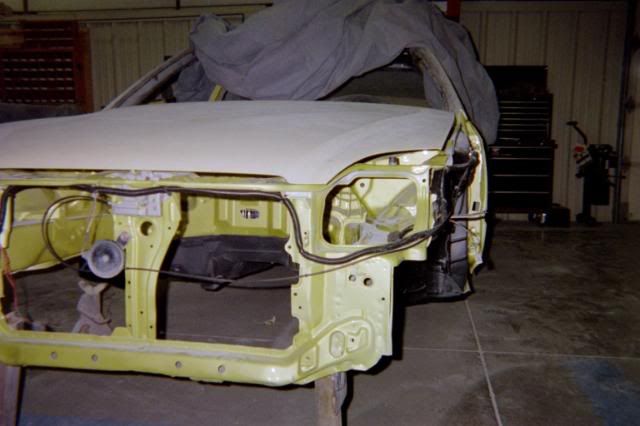
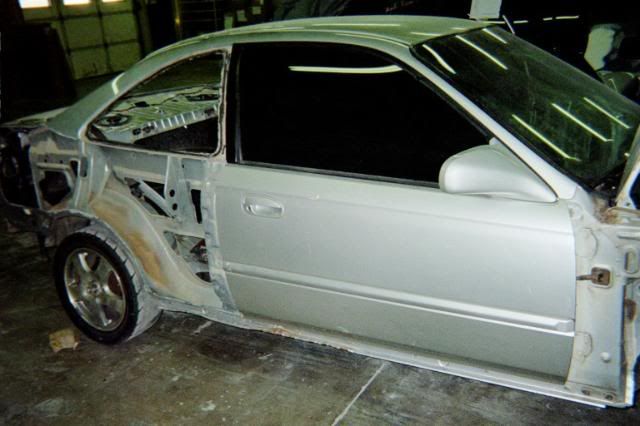
Side pic with glass installed
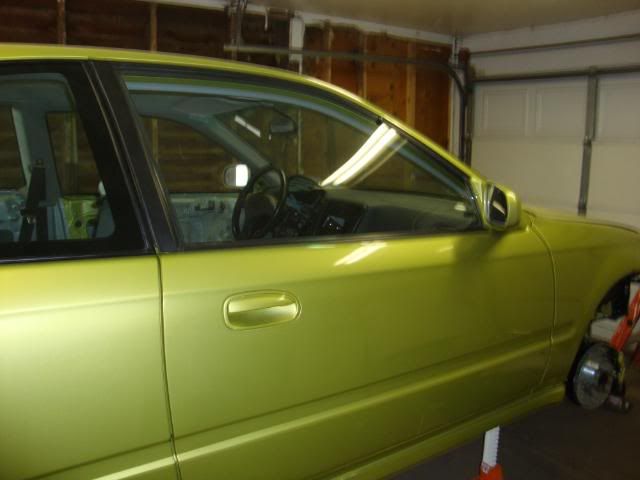
Passenger side pic
My chassis harness tuck

Inside pic of dash
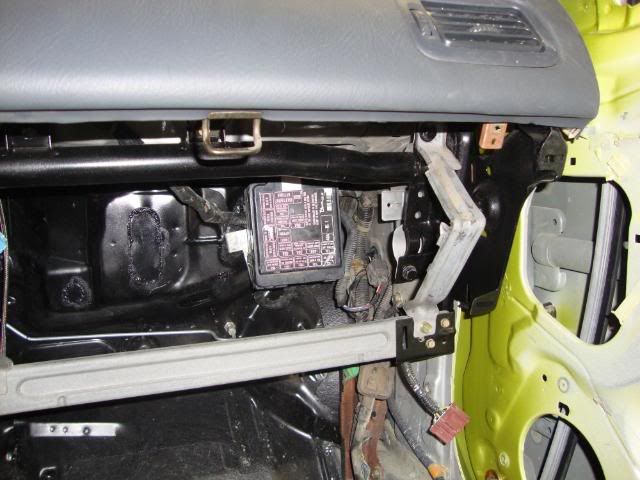
Relocated Fuse block

Rear disc brake conversion with drilled and slotted rotors
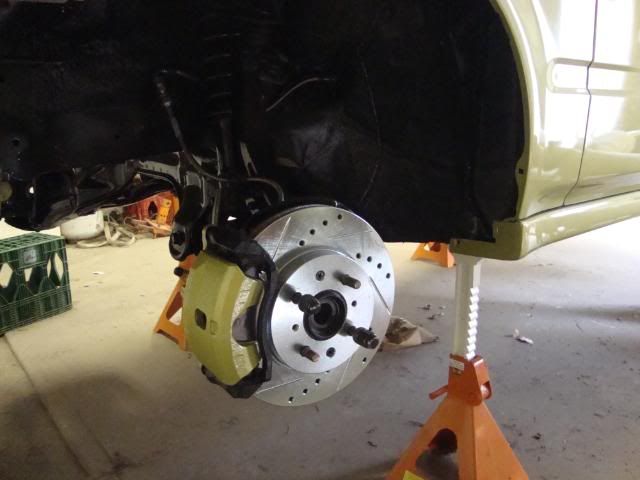
Civic si front suspension conversion with new rotors
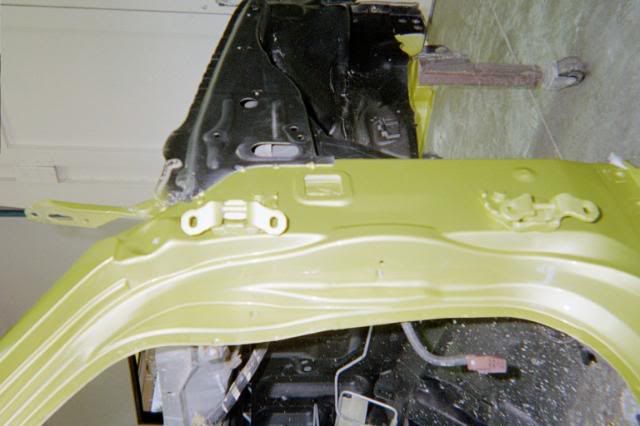
Bay with filler on it
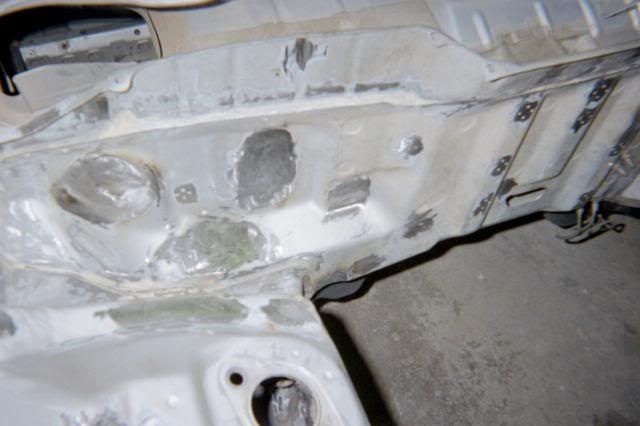
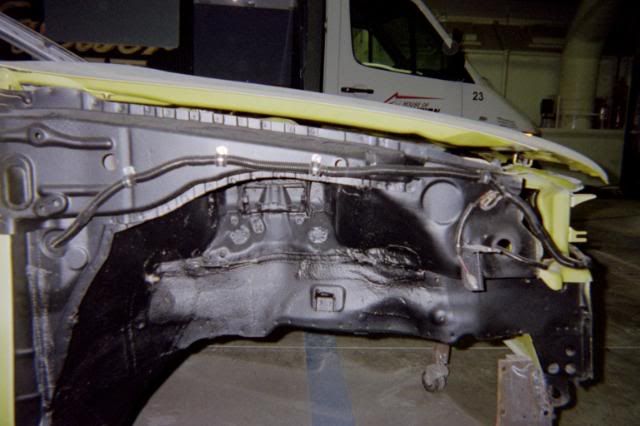
Bay after being welded and grinded
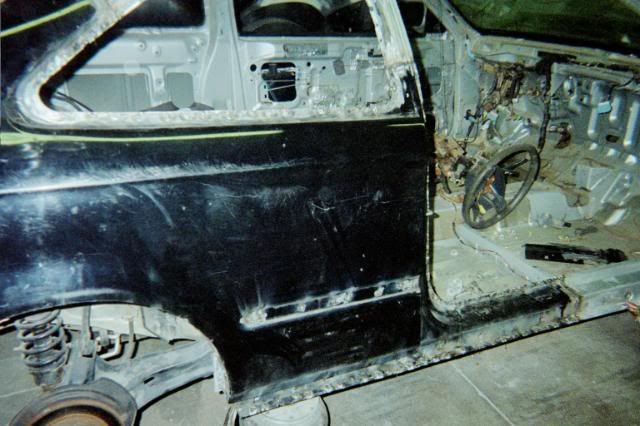
Just cut the 1/4 off getting ready to replace
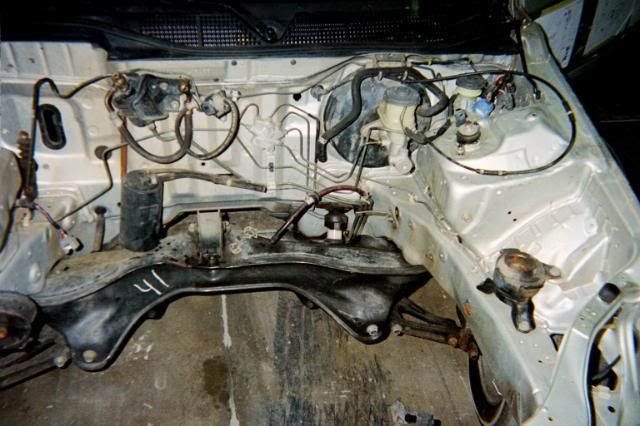
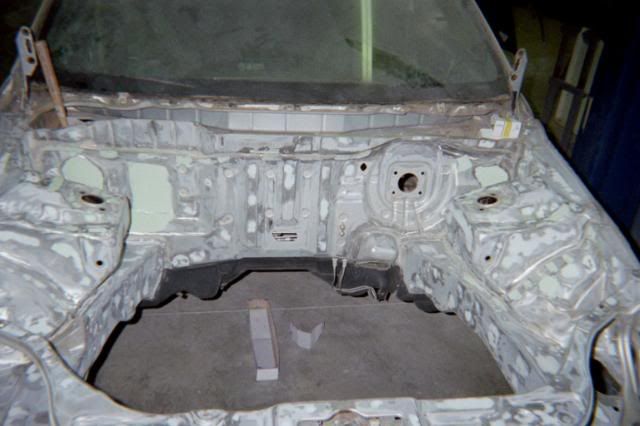
Stock Bay
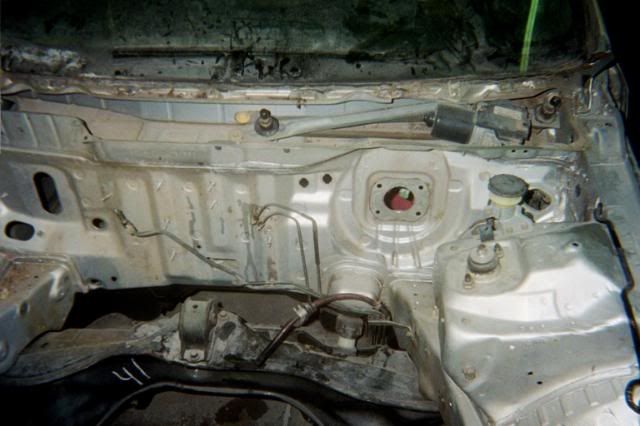
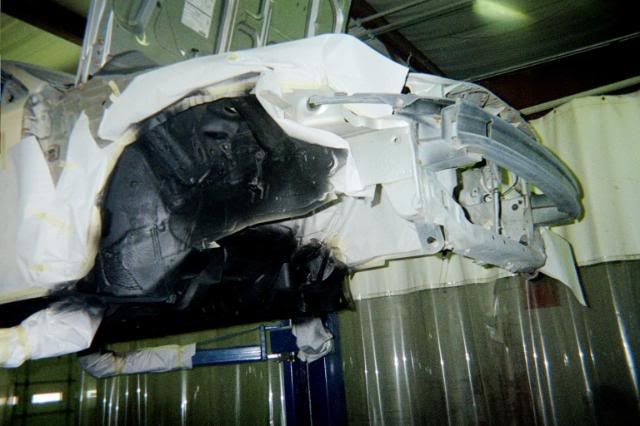
Stock bay after being stripped
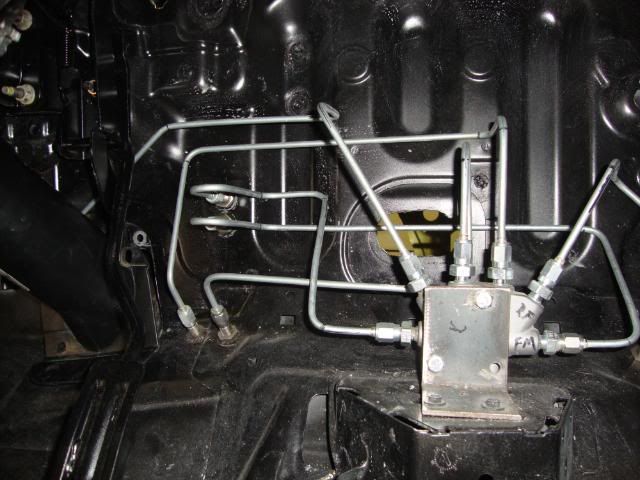
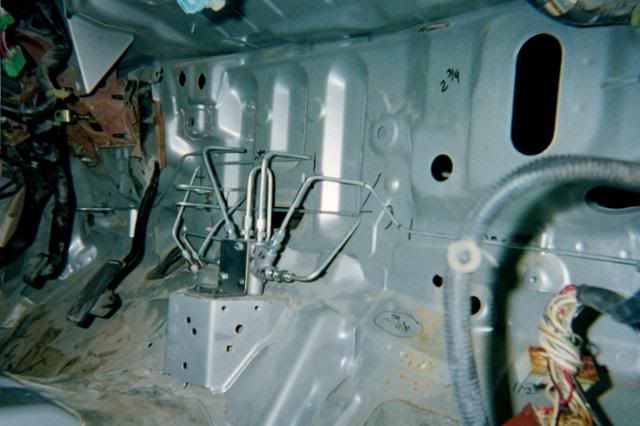
My first brake tuck
Chassis being undercoated

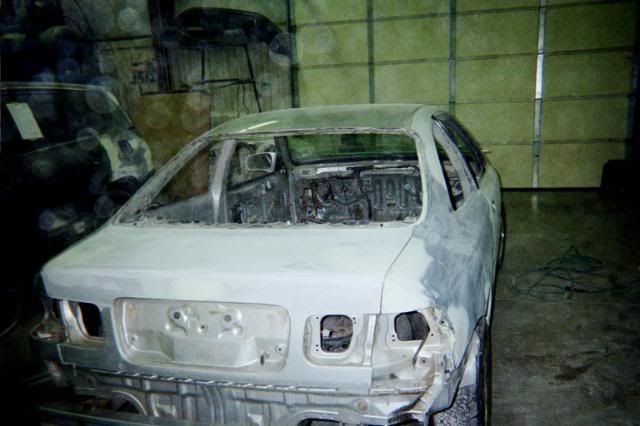
Just after being primed
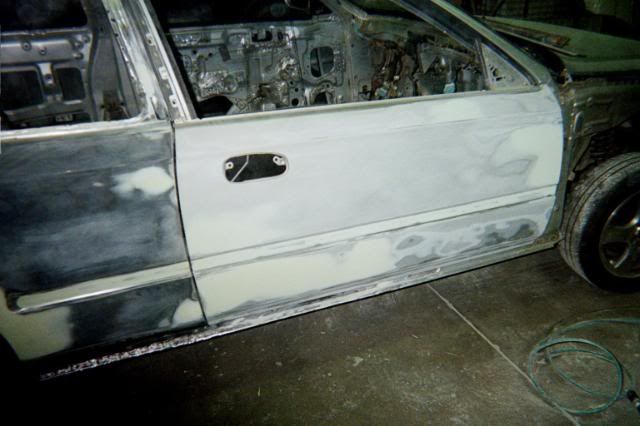
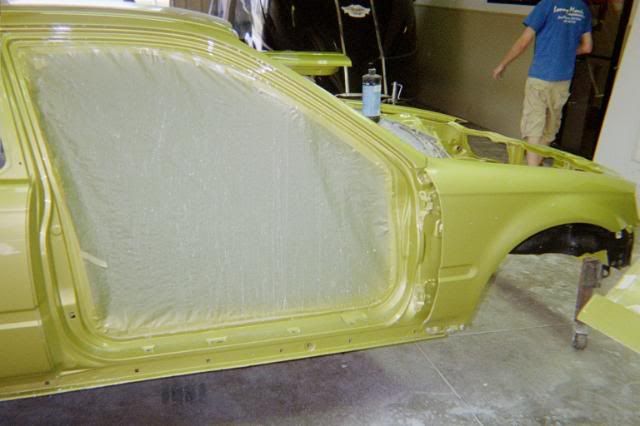
Doing the body work
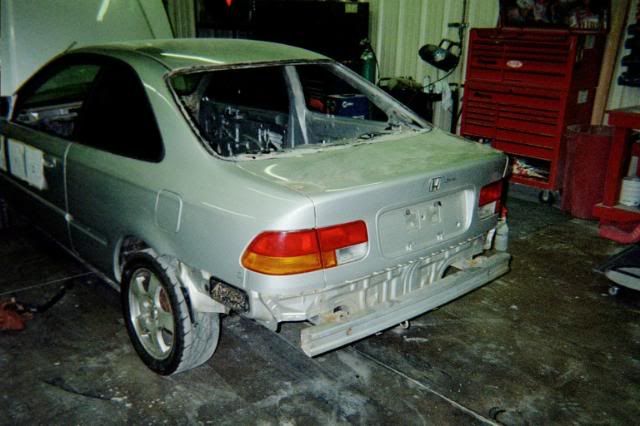
Body work done after new (used) 1/4 was installed
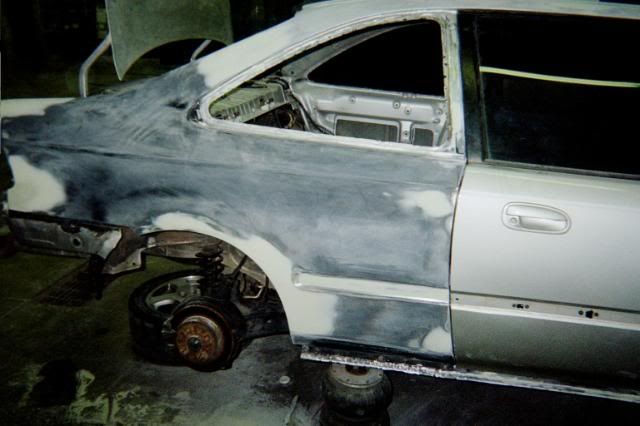
Used 1/4 welded on
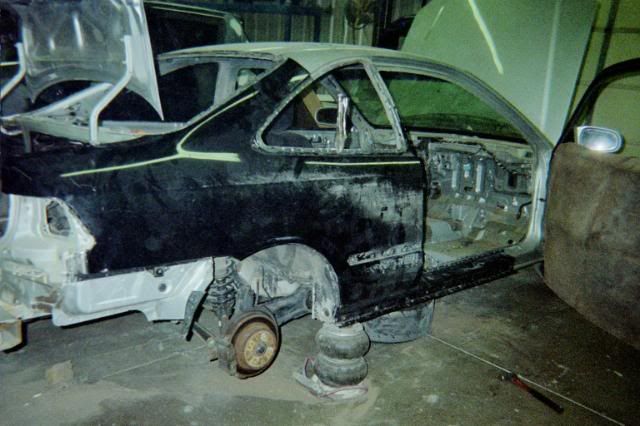
Fitting the 1/4
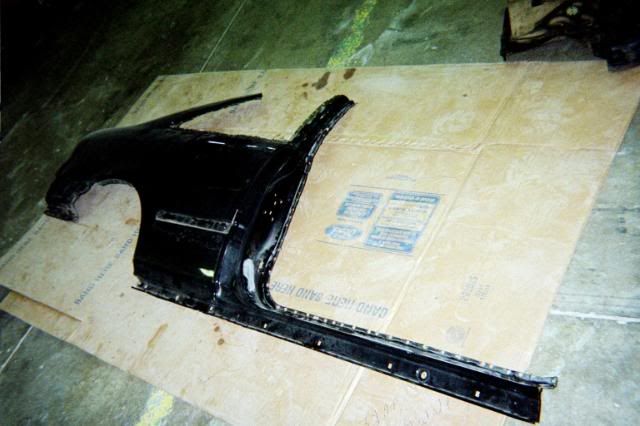
Used 1/4 drilled and ready to be fit
All stock
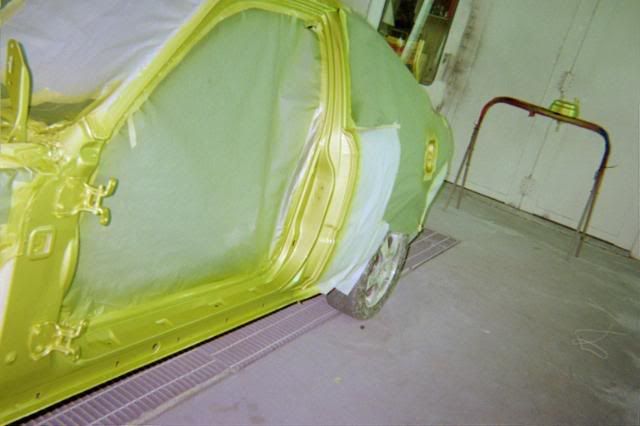
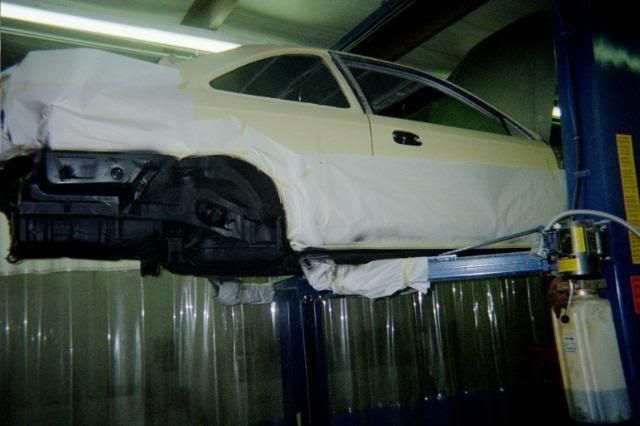
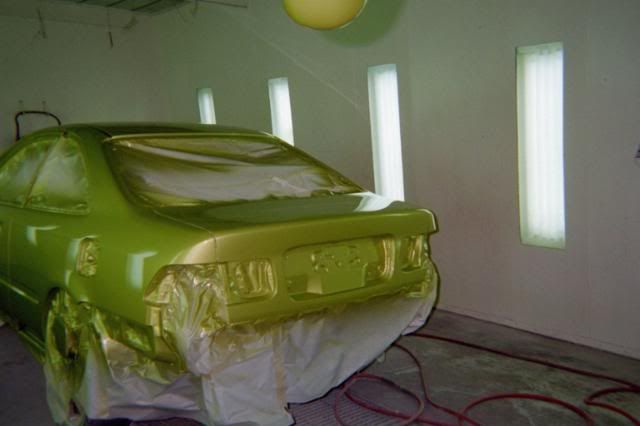
in the booth jambed
Being polised
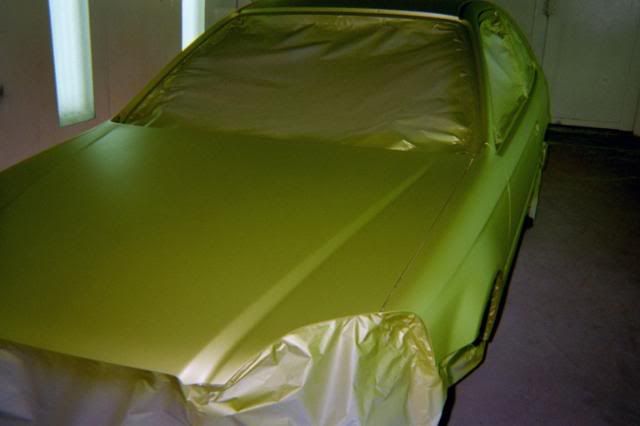
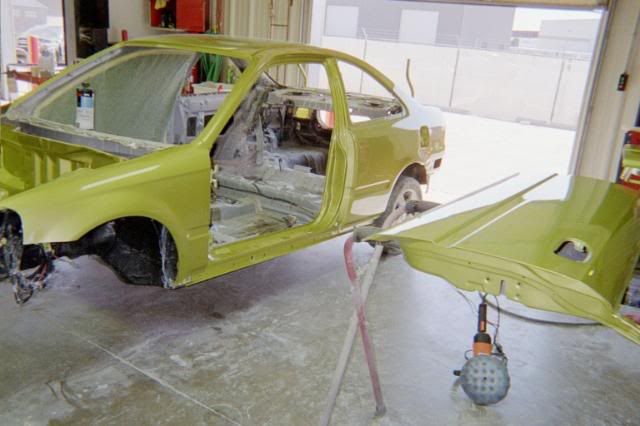
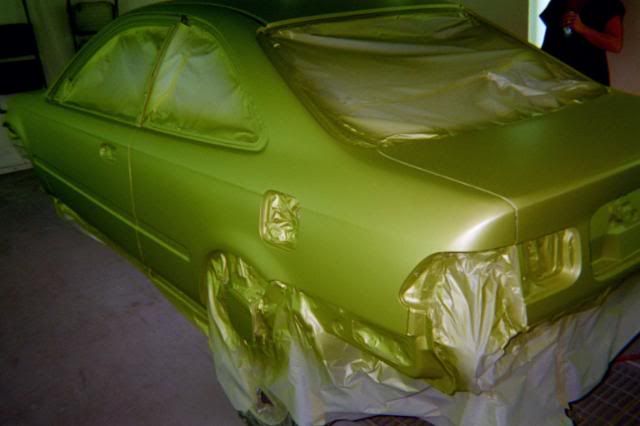
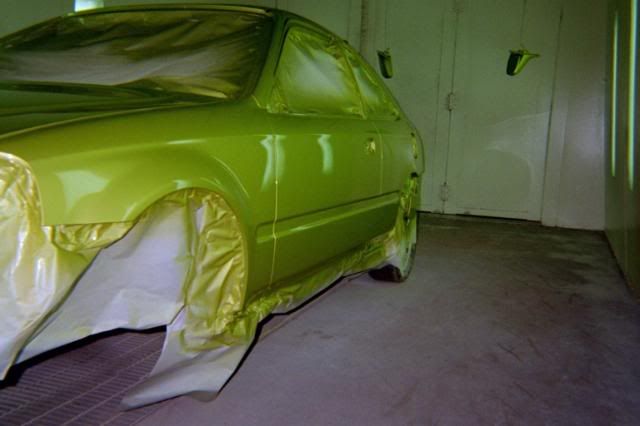
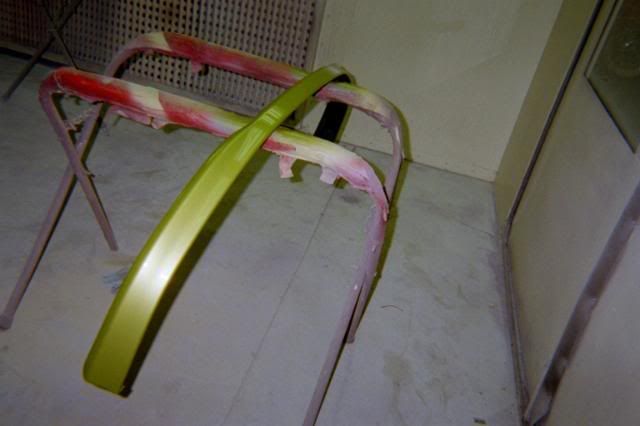
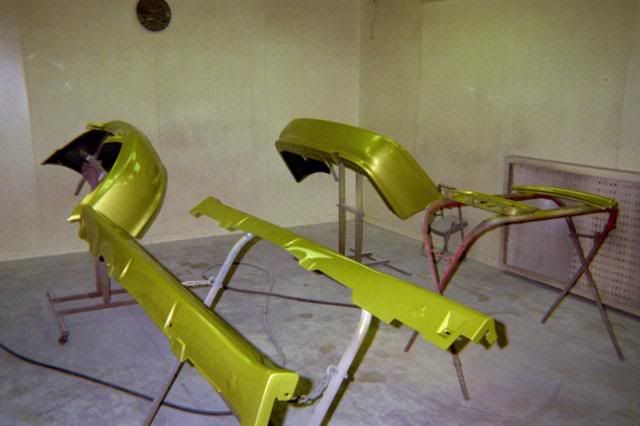
The car in base
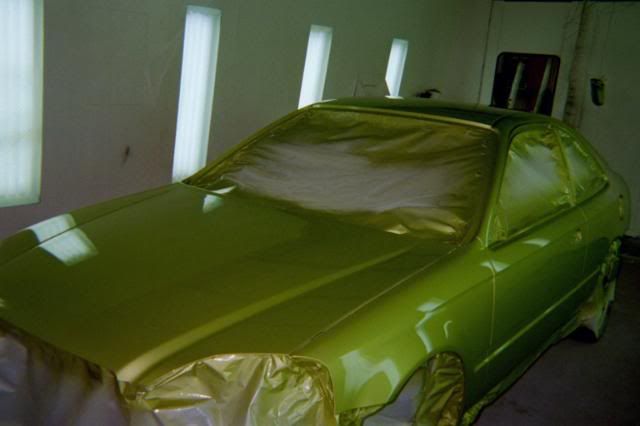
Cleared
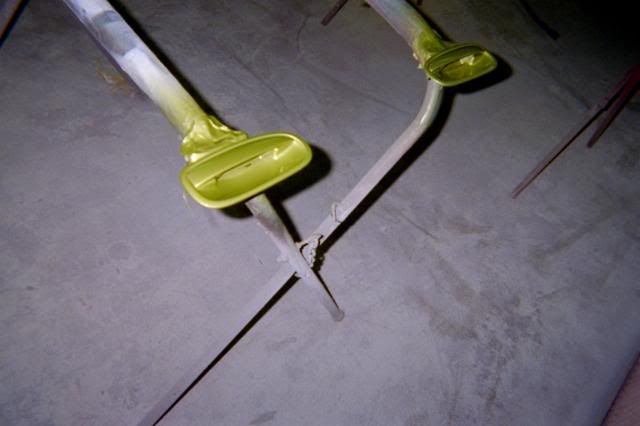
4door handles
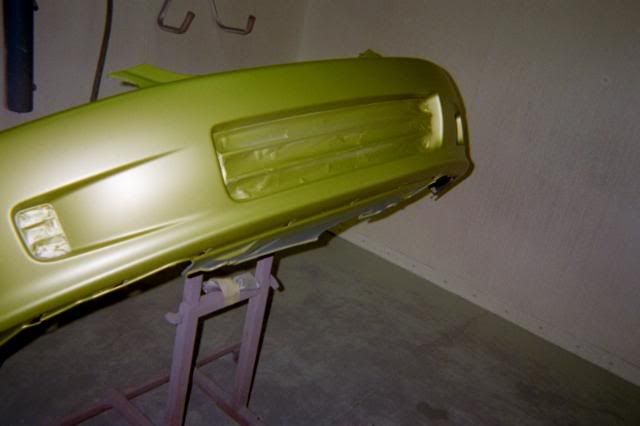
Si lip
Parts
I have lots of pictures let me know what you guys think
Just after being polished rolled out side to check it out in the sun
Engine Bay all smoothed over and freshly painted
Brake booster/master with tucked stainless hardlines
Side pic with glass installed
Passenger side pic
My chassis harness tuck
Inside pic of dash
Relocated Fuse block
Rear disc brake conversion with drilled and slotted rotors
Civic si front suspension conversion with new rotors
Bay with filler on it
Bay after being welded and grinded
Just cut the 1/4 off getting ready to replace
Stock Bay
Stock bay after being stripped
My first brake tuck
Chassis being undercoated
Just after being primed
Doing the body work
Body work done after new (used) 1/4 was installed
Used 1/4 welded on
Fitting the 1/4
Used 1/4 drilled and ready to be fit
All stock
in the booth jambed
Being polised
The car in base
Cleared
4door handles
Si lip
Parts
I have lots of pictures let me know what you guys think
Honda-Tech Member
Joined: Aug 2004
Posts: 4,196
Likes: 0
From: Nah man, Yemen
Looks like a really thorough job, and I can appreciate that a lot. Just for saving future headaches, I would lose the drilled/slotted rotors and just use OEM blanks though.
Thread Starter
Honda-Tech Member
Joined: Oct 2009
Posts: 238
Likes: 0
From: Follow the yellow brick road
Thanks but i have never had a problem with my other drilled and slotted rotors on my hatch. what is the prob with them?
Trending Topics
Thread Starter
Honda-Tech Member
Joined: Oct 2009
Posts: 238
Likes: 0
From: Follow the yellow brick road
Yes i do. I have put in many hours sanding cars
Thanks and its lime yellow effect off of an 04 saab
Thanks and its lime yellow effect off of an 04 saab

Thread Starter
Honda-Tech Member
Joined: Oct 2009
Posts: 238
Likes: 0
From: Follow the yellow brick road
Thread Starter
Honda-Tech Member
Joined: Oct 2009
Posts: 238
Likes: 0
From: Follow the yellow brick road
Thread Starter
Honda-Tech Member
Joined: Oct 2009
Posts: 238
Likes: 0
From: Follow the yellow brick road
Honda-Tech Member
Joined: Mar 2004
Posts: 2,488
Likes: 0
From: waukeagan, il, lake
Thread Starter
Honda-Tech Member
Joined: Oct 2009
Posts: 238
Likes: 0
From: Follow the yellow brick road

Honda-Tech Member
Joined: May 2008
Posts: 131
Likes: 0
From: The Bay, Ca, usa
Looks rad I'm about to take my first venture into prepping a car for paint. Any advice or good resources I should check out? Yours looks so epic nice work.
Thread Starter
Honda-Tech Member
Joined: Oct 2009
Posts: 238
Likes: 0
From: Follow the yellow brick road
go to the book store and buy a book call how to paint believe it or not good info in there. Other then that just remember paint dont stick to unsanded surfaces
Honda-Tech Member
Joined: May 2008
Posts: 131
Likes: 0
From: The Bay, Ca, usa
Honda-Tech Member
Joined: May 2008
Posts: 131
Likes: 0
From: The Bay, Ca, usa
Is this the book you speak of?
http://www.amazon.com/How-Paint-Your...6497564&sr=1-2
http://www.amazon.com/How-Paint-Your...6497564&sr=1-2