

Presidential Detailed: CONTAMINATED GT and an 08' Shelby GT500

Thread Starter
Joined: Oct 2005
Posts: 1,470
Likes: 0
From: Tampa, FL
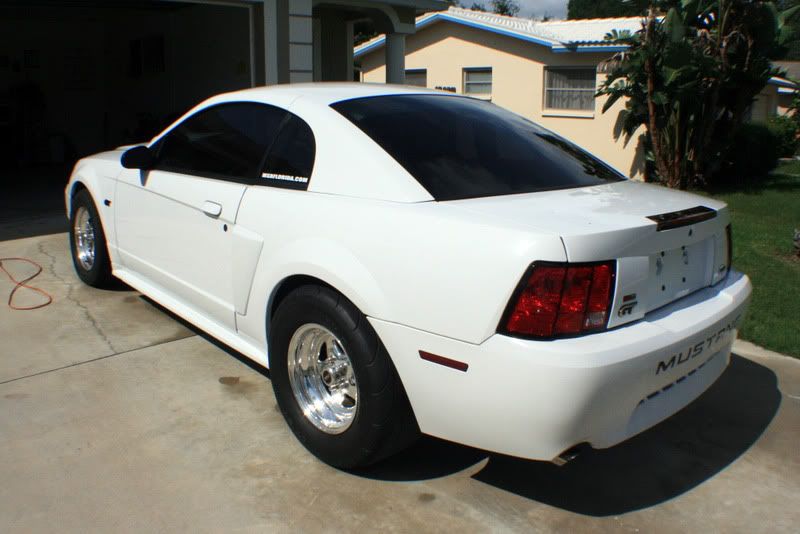
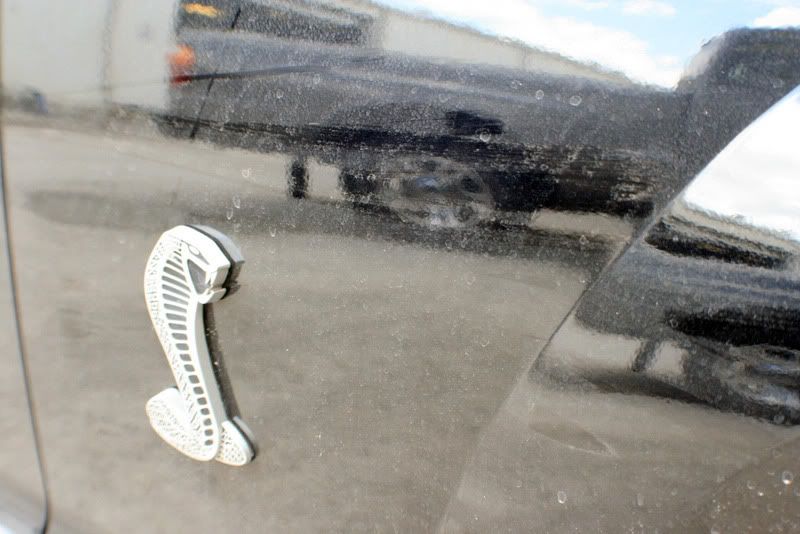
Ill start with the Mustang GT. This car is meticulously cared for, but unfortunately while sitting in a shop it somehow received a heavy dosing of contamination. I was called out to perform a test on a small portion, and was able to remove the contamination with a bit of work and sealed the deal for the job. While I knew I would be able to get the car back in shape, I also knew that it was going to be A LOT of work! Ill begin with the pictures and comment from there. 
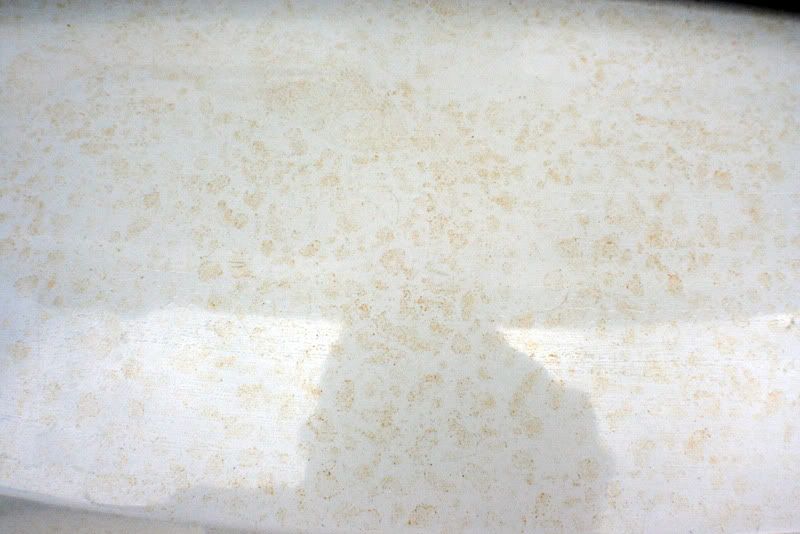
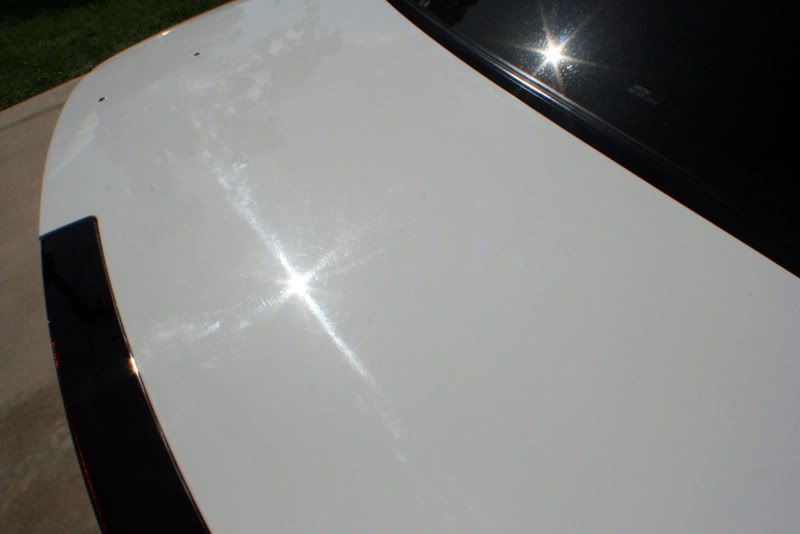
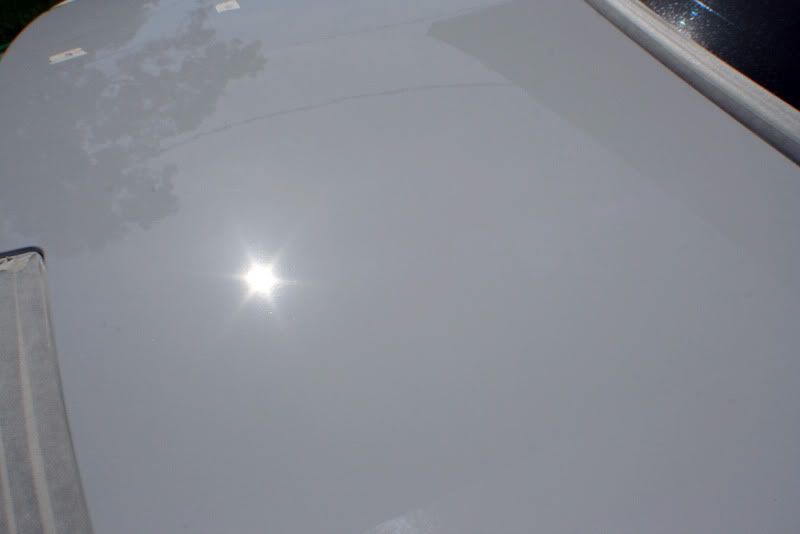
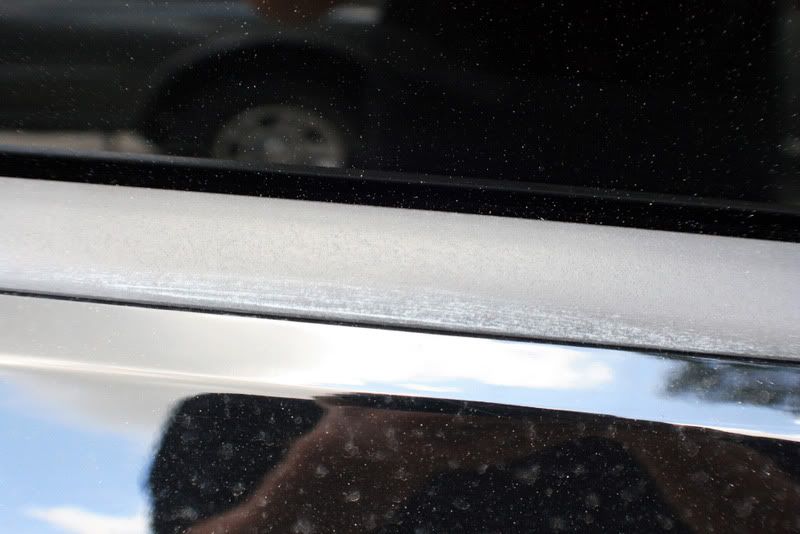
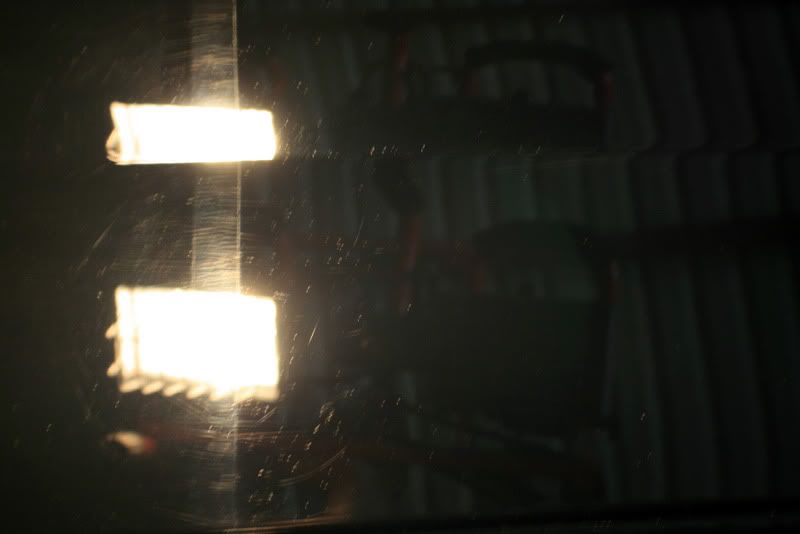
Here is a section of the trunk before any work was performed.
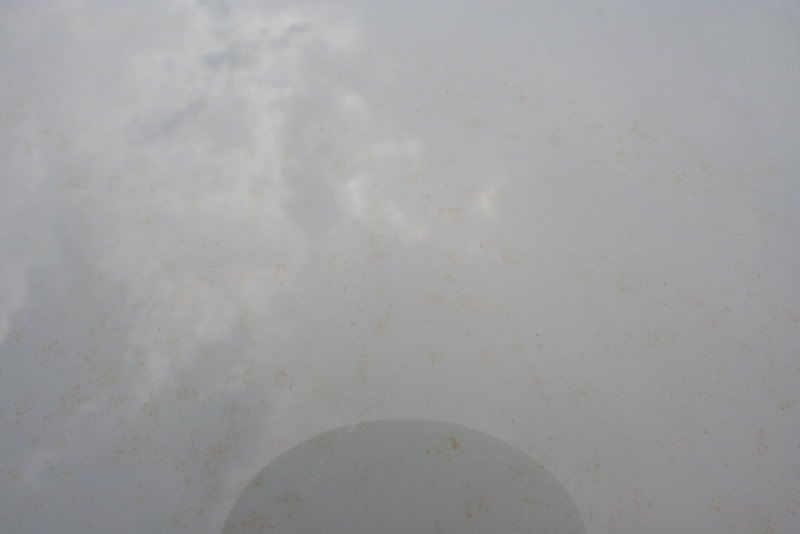
Doesnt look bad? Well lets reverse the image..how about now? ops:
ops:
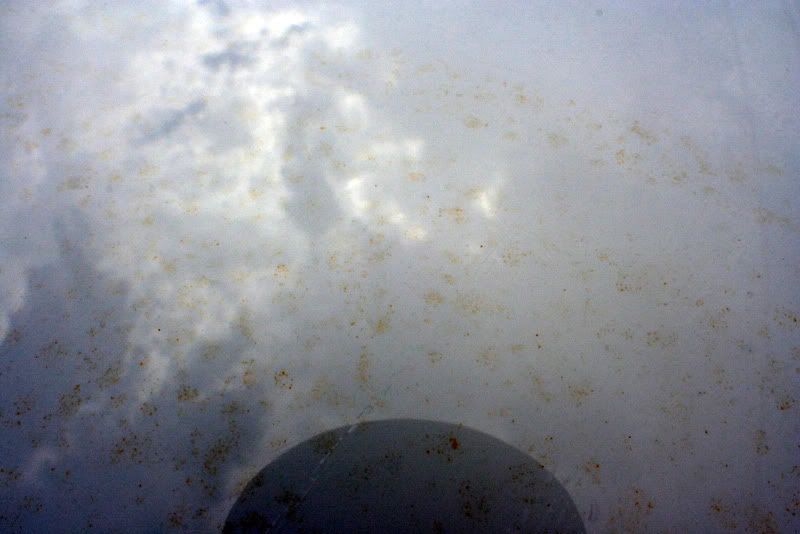

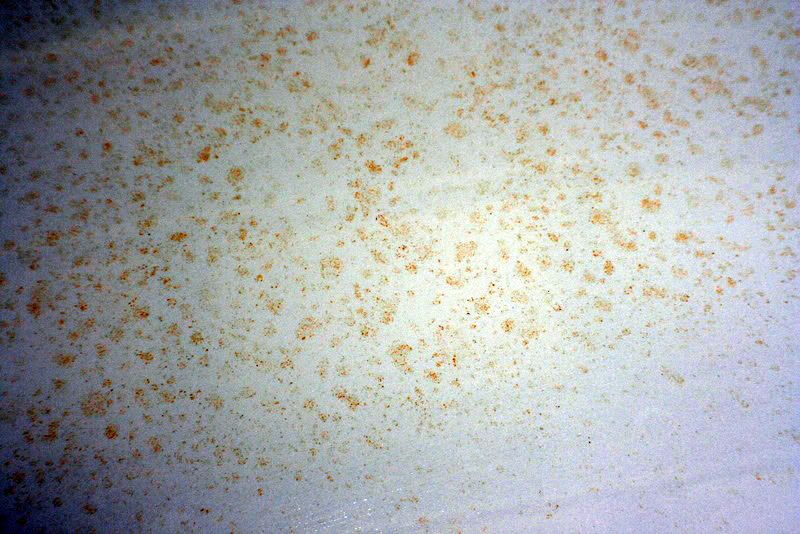
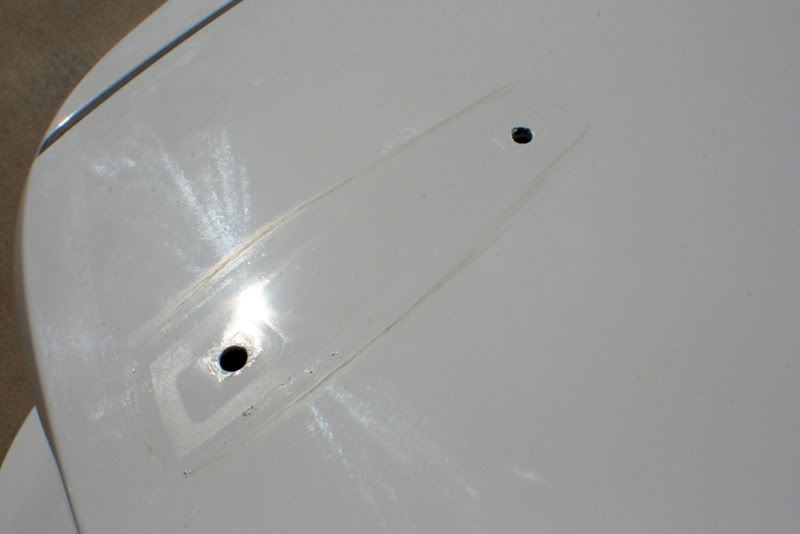
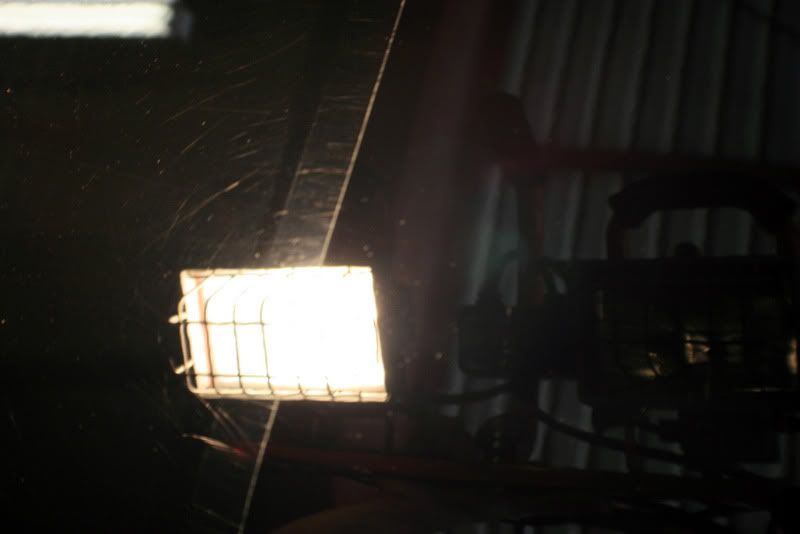
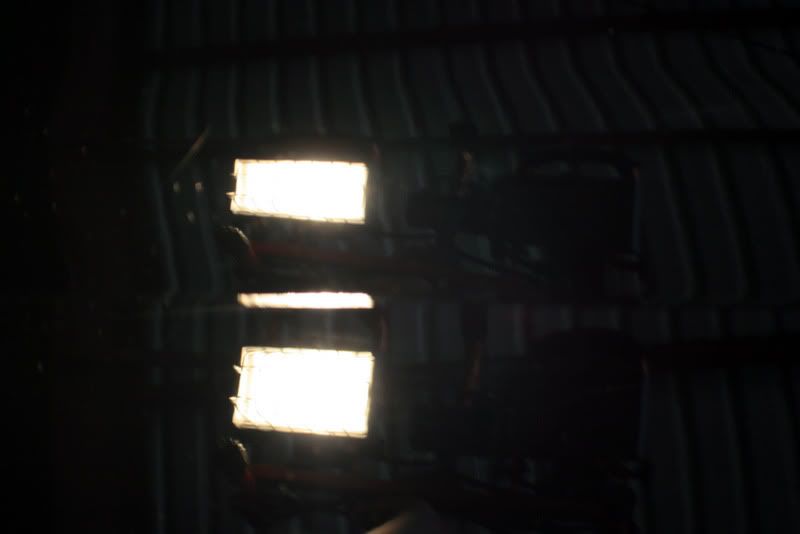
Here is another look..
Once again, reversed..
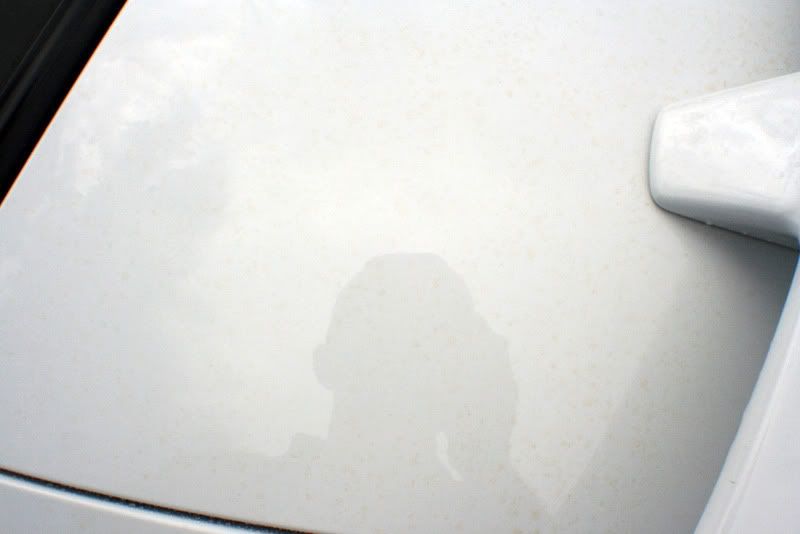
Here is a section of the trunk before any work was performed.
Doesnt look bad? Well lets reverse the image..how about now?
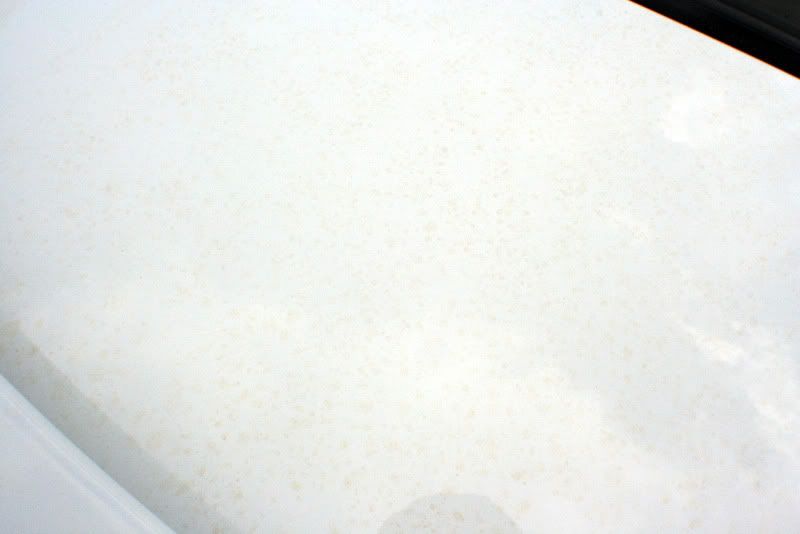
ops:Here is another look..
Once again, reversed..
Thread Starter
Joined: Oct 2005
Posts: 1,470
Likes: 0
From: Tampa, FL
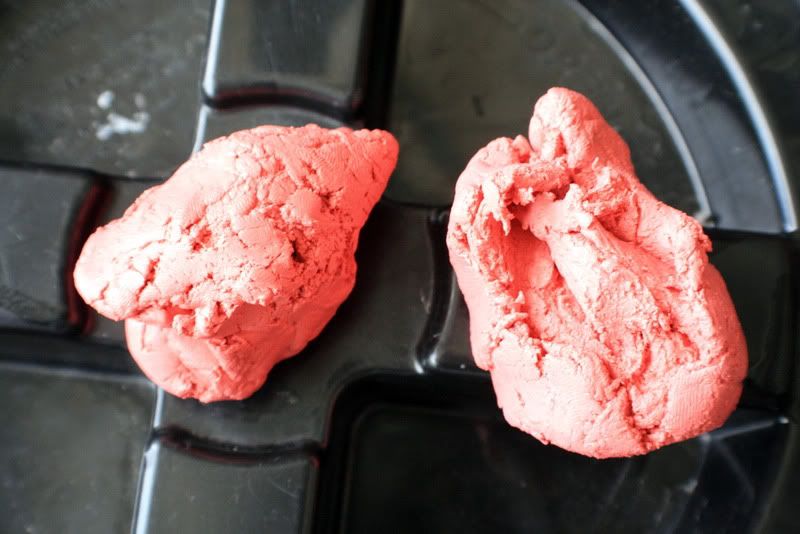
To fully removed the heavy contamination, I used a heavy dosing of Meguairs APC+ with their "Aggressive" Clay Bar from the Professional Line. While this did pretty much ruin my entire clay bar, it was working better than anything else I tried.
The damage done to my clay bars. They were literally disintegrating in my hand as I used them with the APC and I barely made it around the entire car.
The next pictures are after the heavy clay bar work which took SEVERAL hours. I spent most of the first half of the day simply claying the car to remove all the contaminants.
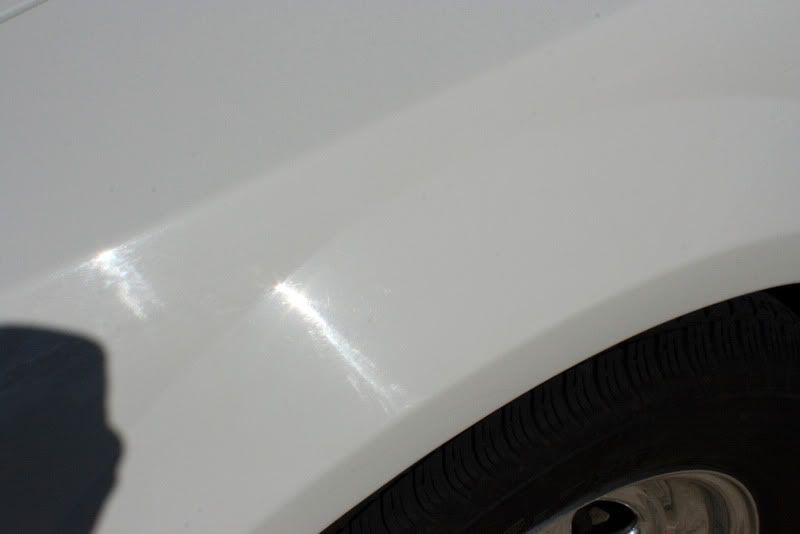
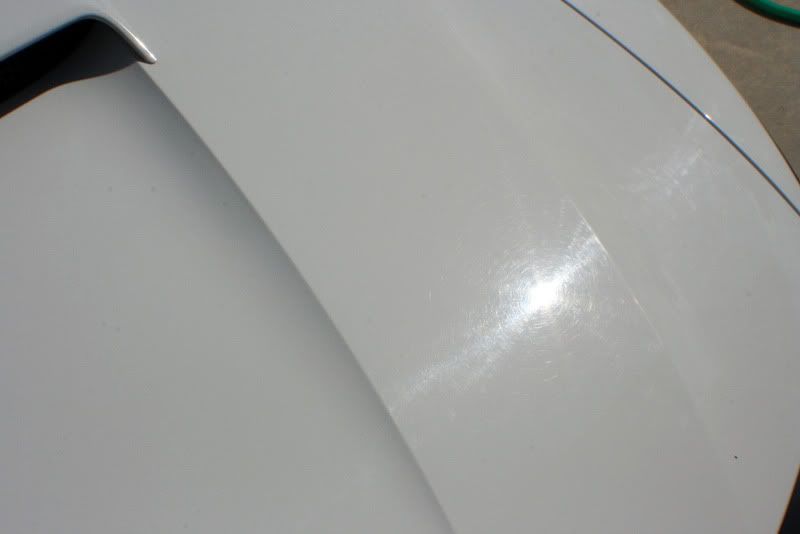
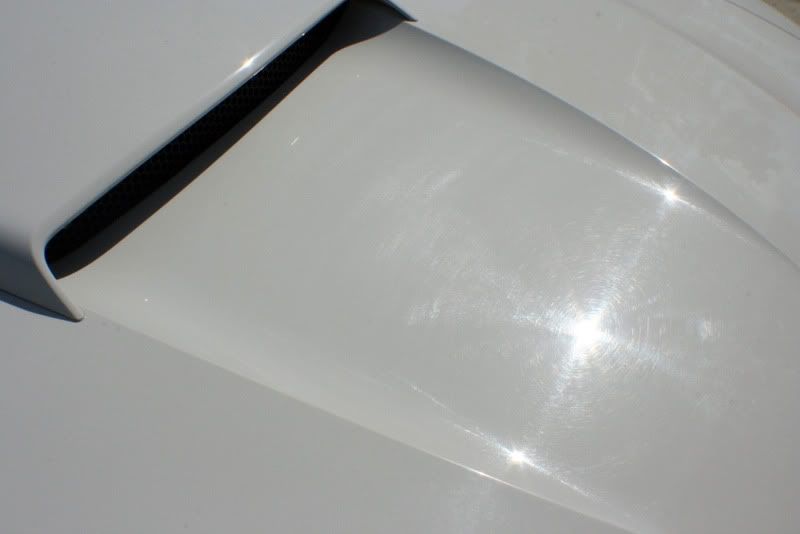
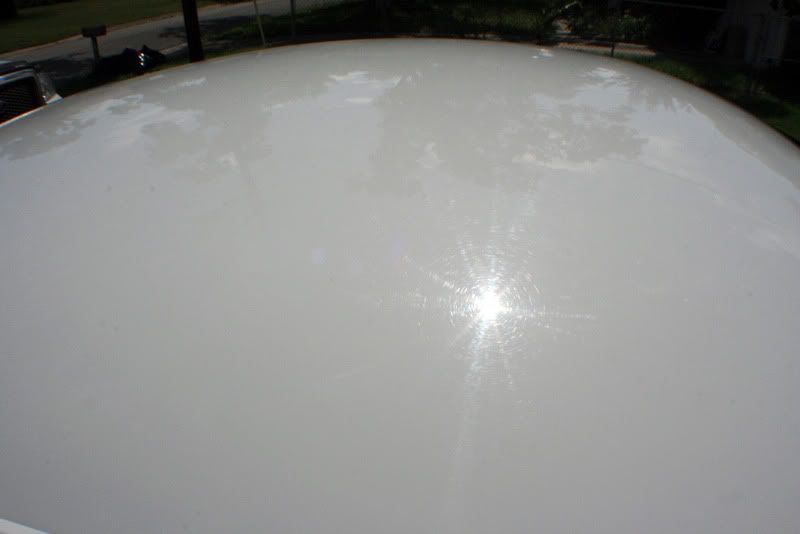
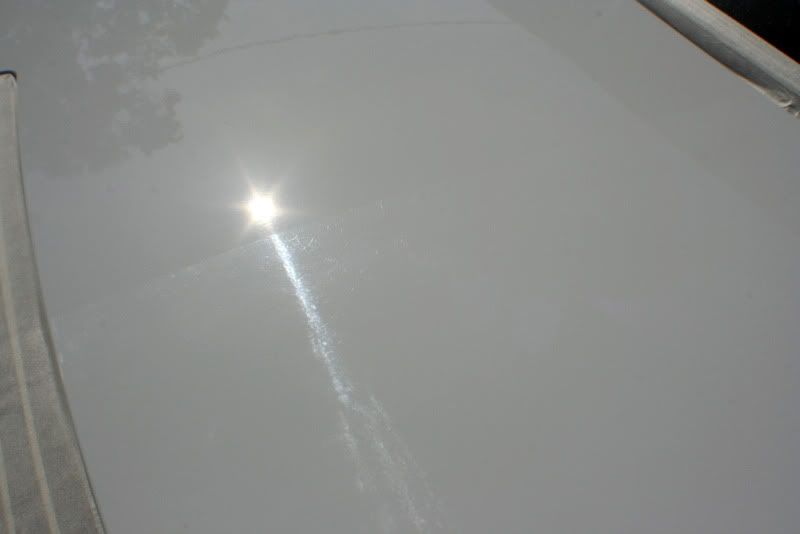
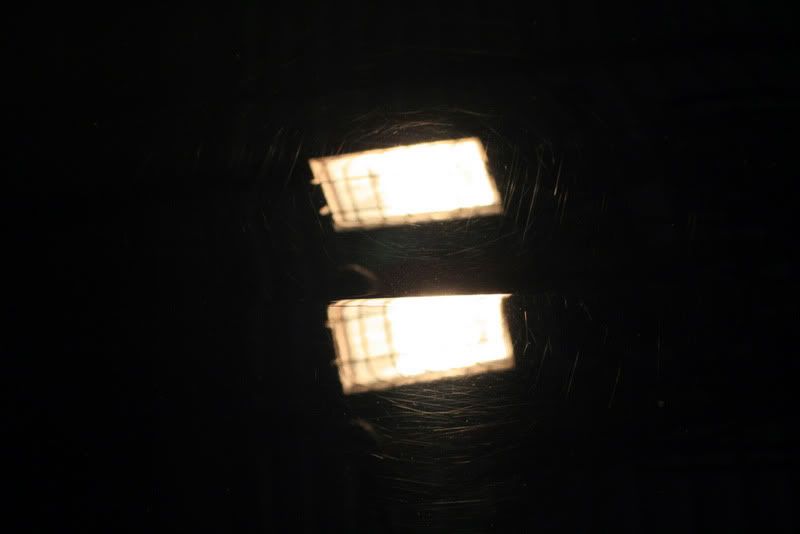
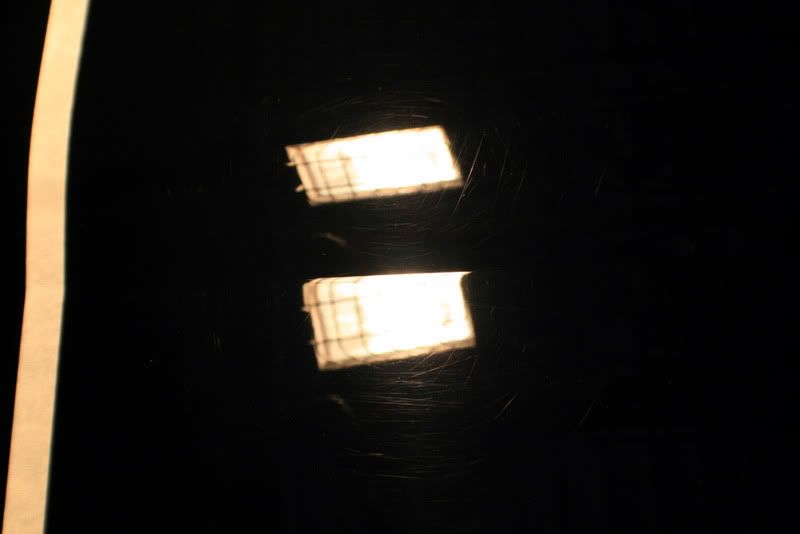
The paint was also pretty heavily swirled as you can see in these shots.
The damage done to my clay bars. They were literally disintegrating in my hand as I used them with the APC and I barely made it around the entire car.
The next pictures are after the heavy clay bar work which took SEVERAL hours. I spent most of the first half of the day simply claying the car to remove all the contaminants.
The paint was also pretty heavily swirled as you can see in these shots.
Thread Starter
Joined: Oct 2005
Posts: 1,470
Likes: 0
From: Tampa, FL
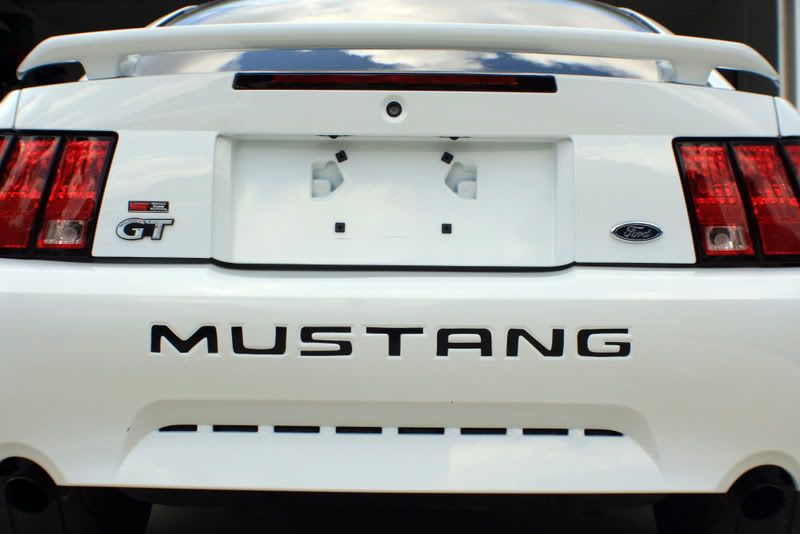
I then removed the license plate to further remove the hidden contaminants.
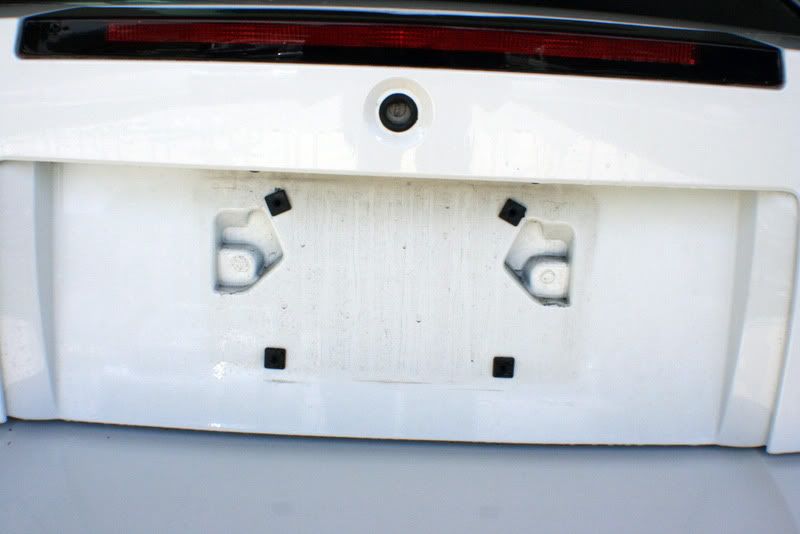
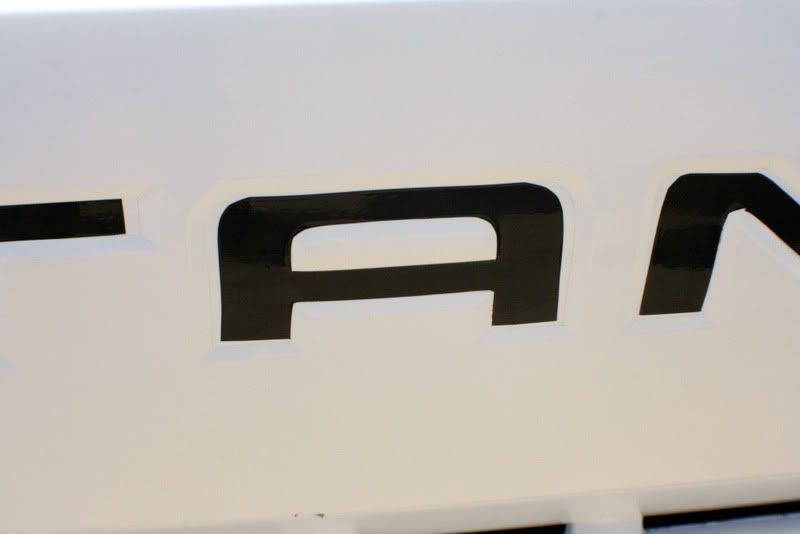
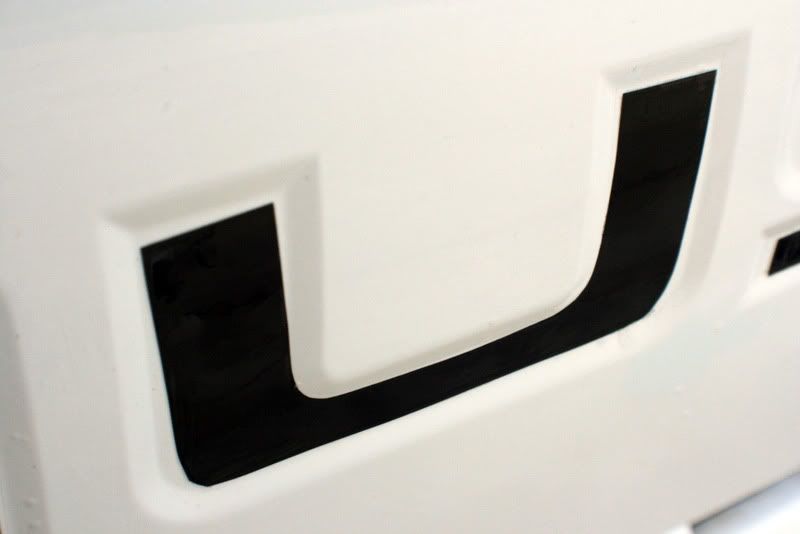
The vinyl letters seemed to have shrunk over the years, leaving a black residue which the dirt was sticking to.
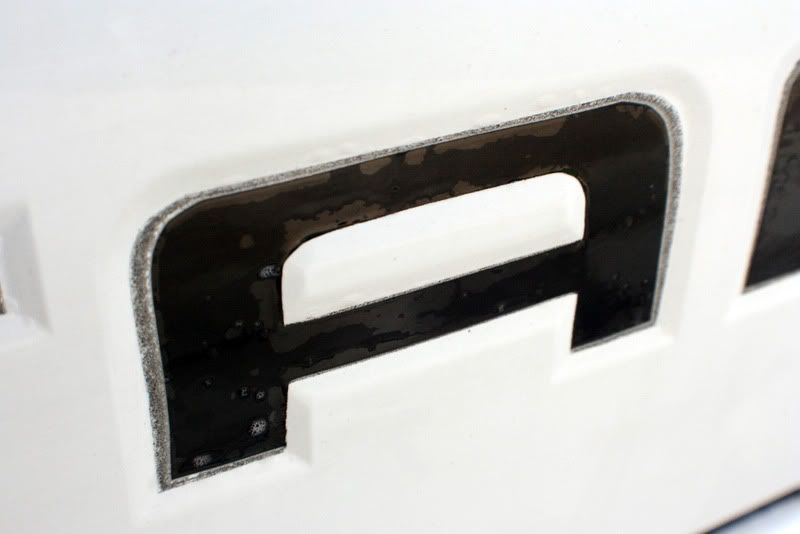
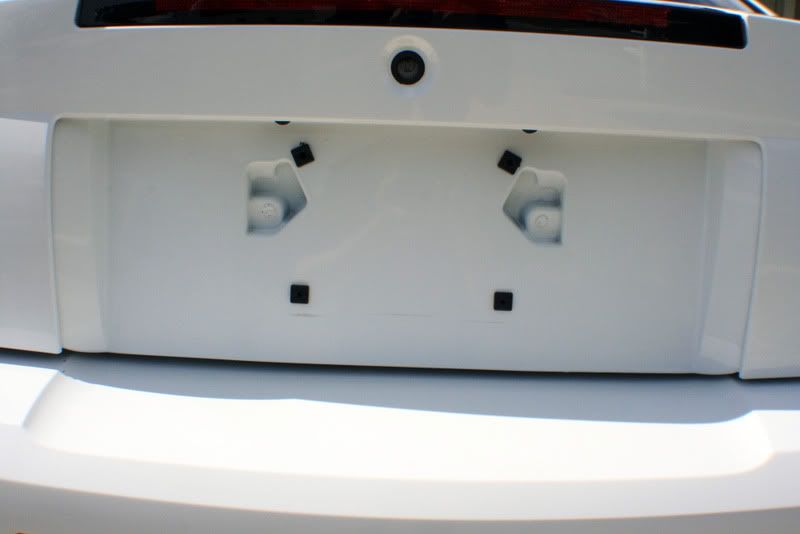
Each letter was cleaned around the edges to remove the residue/dirt.
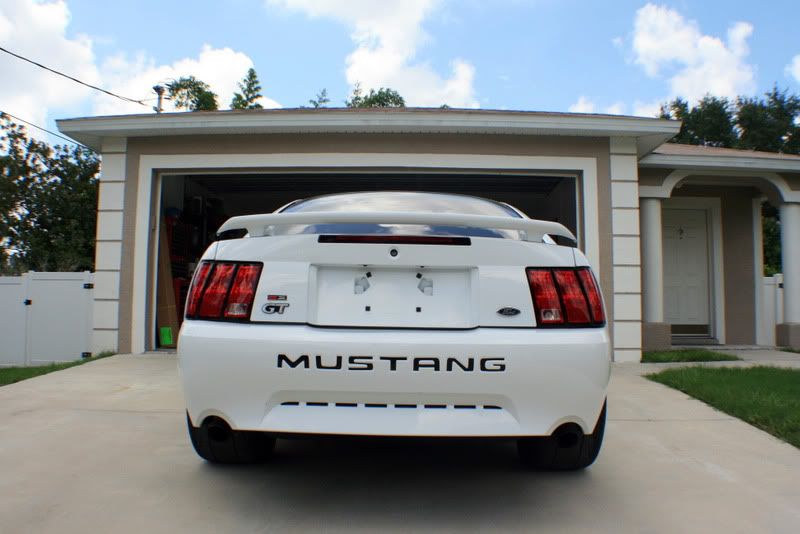
The car was then washed once again to further remove any loose contaminants. Its WHITE again!
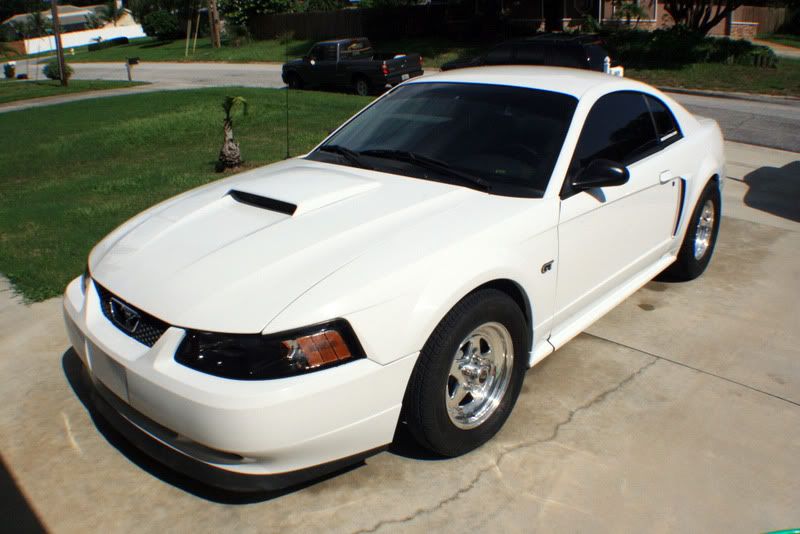
After seeing the car without its wing, we both loved how the car looked and now the owner is searching for a wingless trunk to switch out.
The vinyl letters seemed to have shrunk over the years, leaving a black residue which the dirt was sticking to.
Each letter was cleaned around the edges to remove the residue/dirt.
The car was then washed once again to further remove any loose contaminants. Its WHITE again!
After seeing the car without its wing, we both loved how the car looked and now the owner is searching for a wingless trunk to switch out.
Thread Starter
Joined: Oct 2005
Posts: 1,470
Likes: 0
From: Tampa, FL
The owner and I agreed on a 2-step polishing process since it was removing a majority of the defects and the work was mostly focused on solely removing the contamination. Luckily, the Ford paint was fairly workable and white. I was able to get near full correction after a pass with M105/PFW followed with M205/Orange via DA.
Before.

50/50.
After.
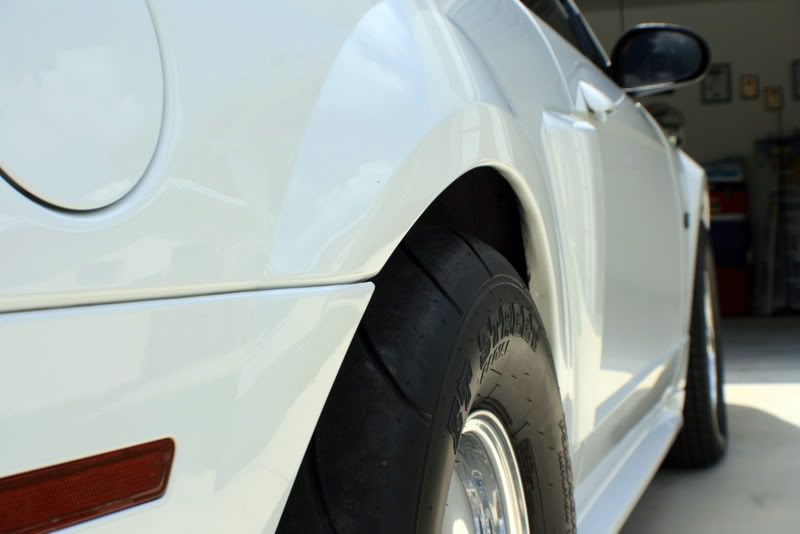
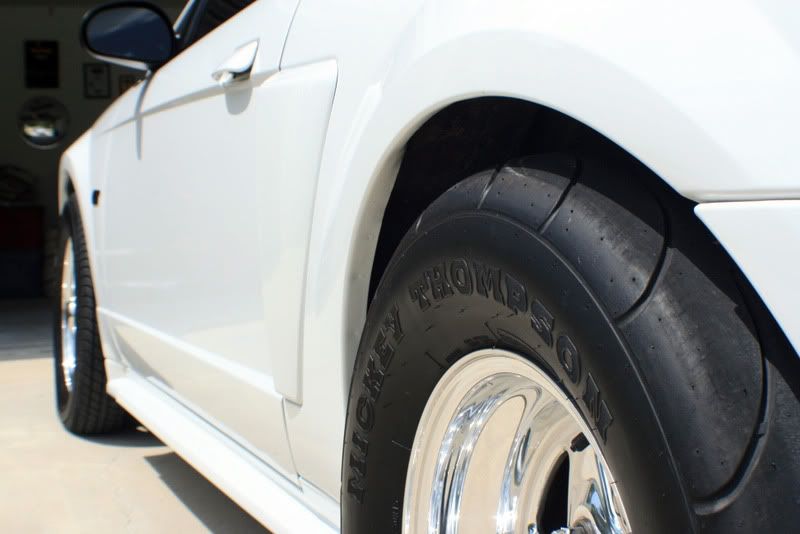
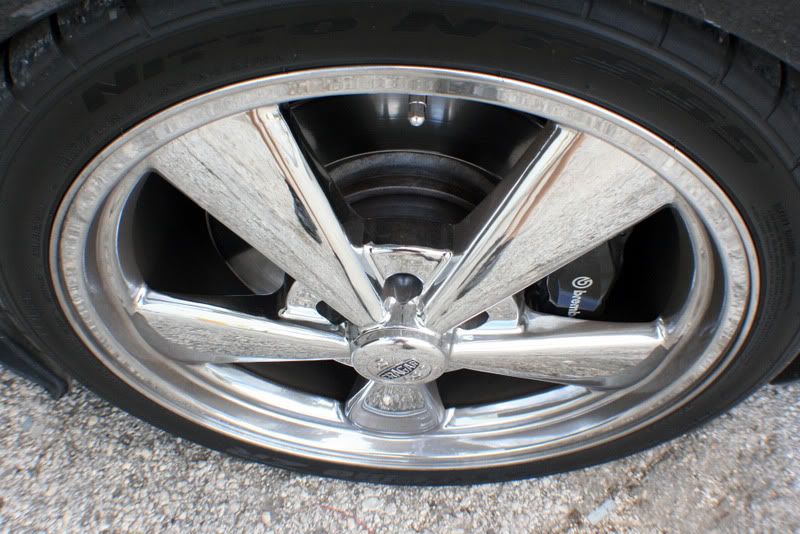
I performed the same process around the entire car, although it was hard to capture on camera and I was short on time. I then moved onto the wheels which need a light polish to brighten them up a little.
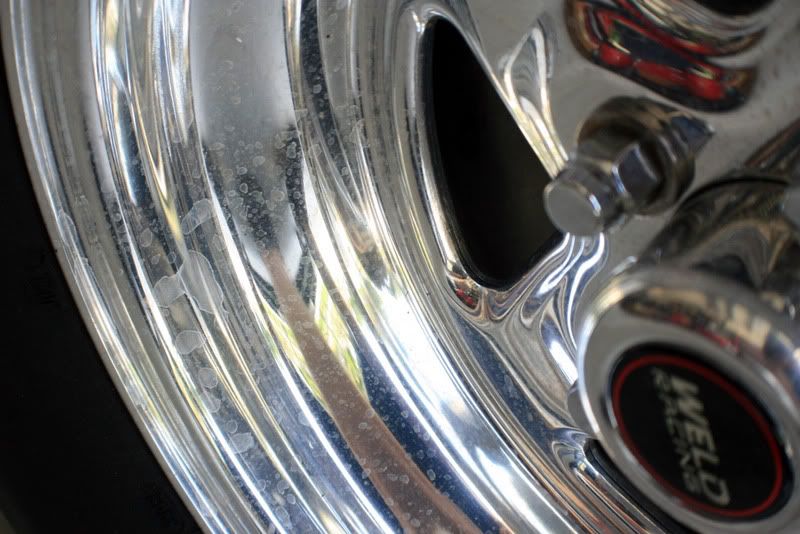
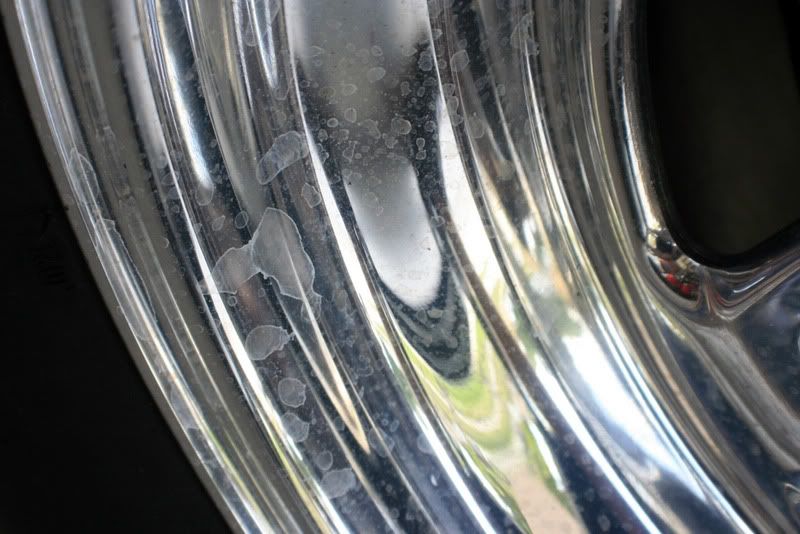
After a quick hand polish with Adams Metal Polish #2.
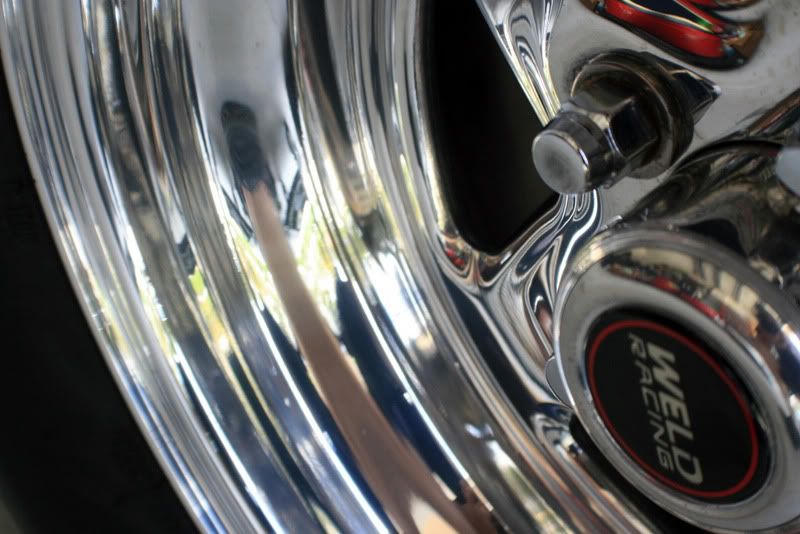
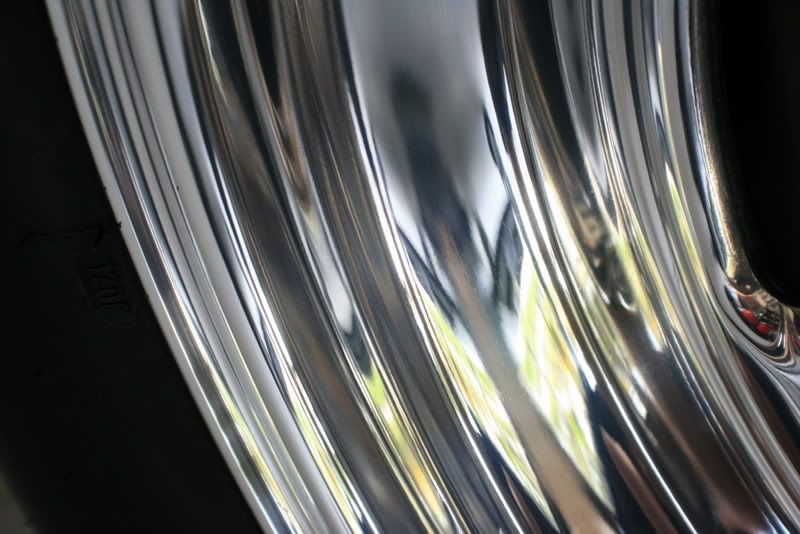
Before.
50/50.
After.
I performed the same process around the entire car, although it was hard to capture on camera and I was short on time. I then moved onto the wheels which need a light polish to brighten them up a little.
After a quick hand polish with Adams Metal Polish #2.
Thread Starter
Joined: Oct 2005
Posts: 1,470
Likes: 0
From: Tampa, FL
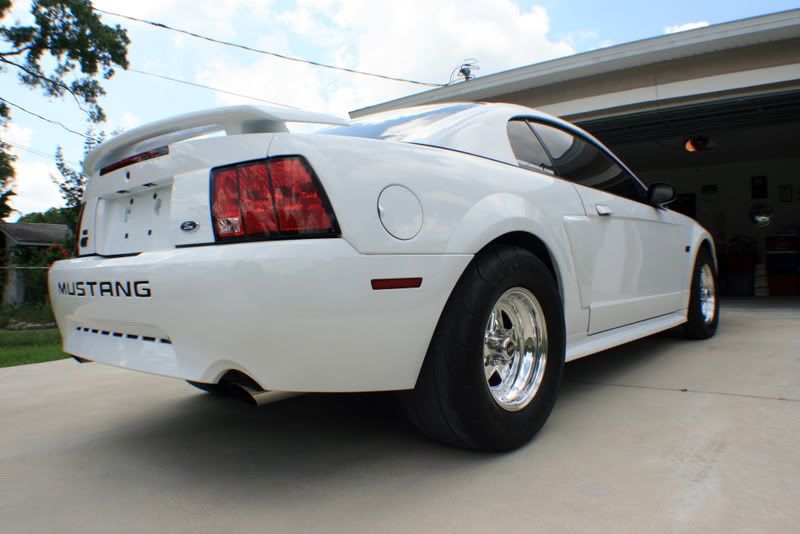
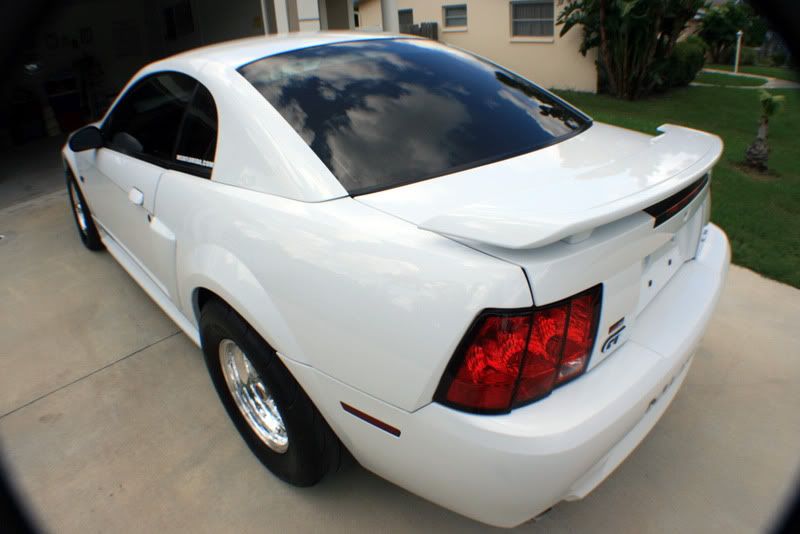
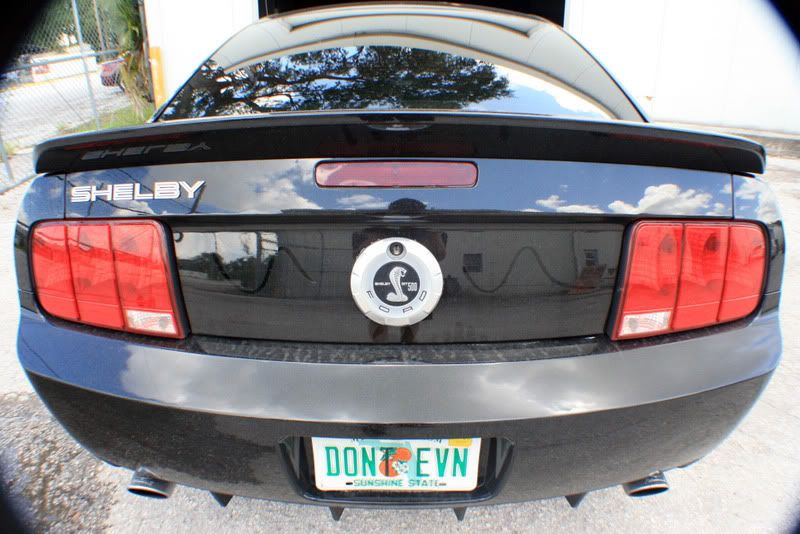
Now the long awaited afters! I sealed the car with two coats of Blackfire Paint Sealant and pulled the car out in the sun for the final results!
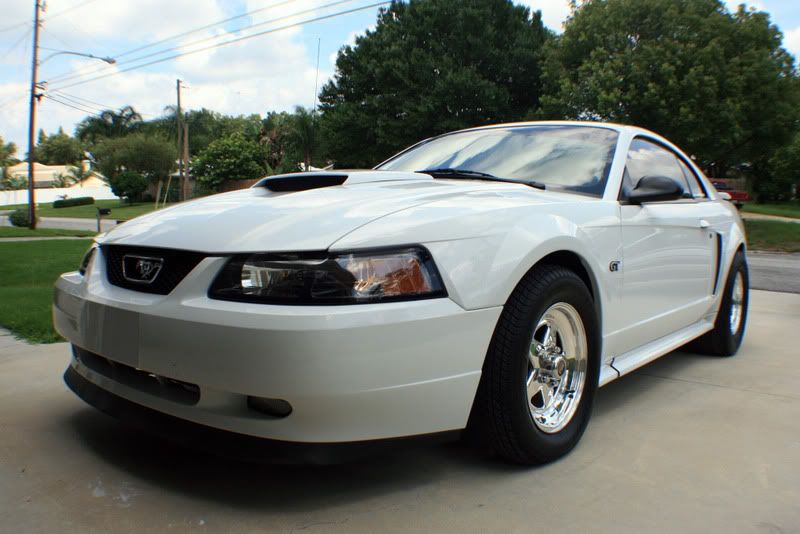
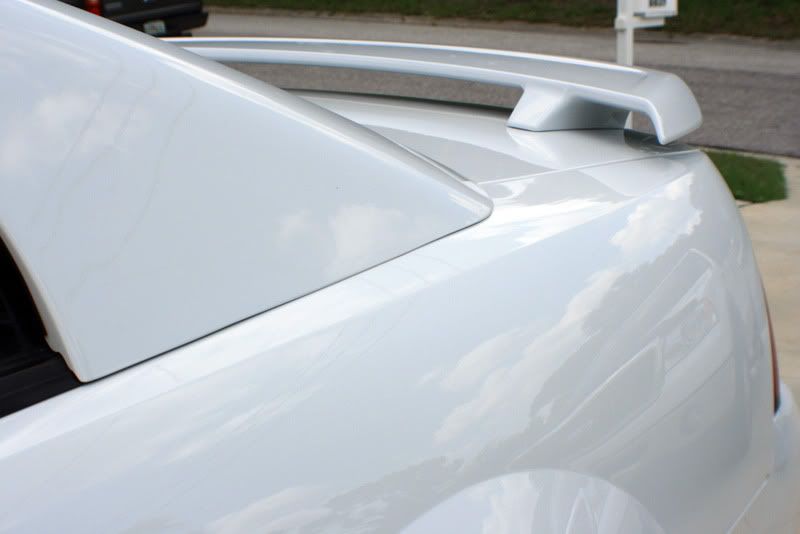
You can really see the gloss from the Blackfire here, even on white.
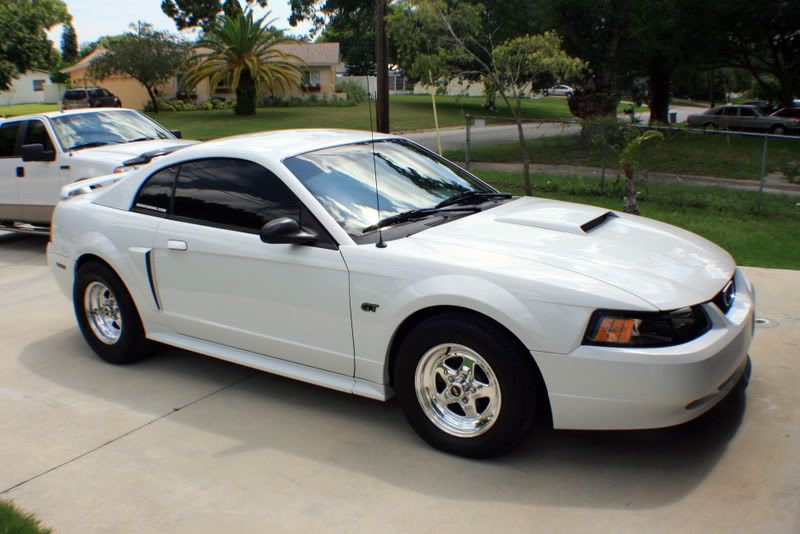
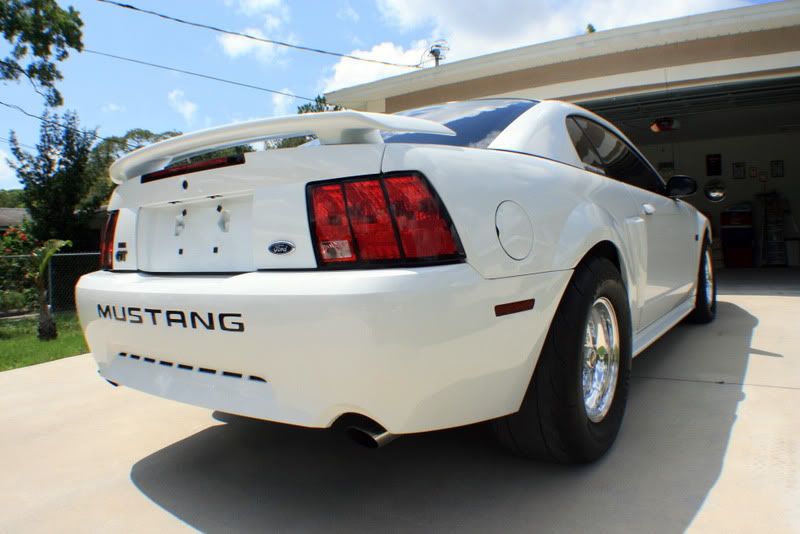
You can really see the gloss from the Blackfire here, even on white.
Thread Starter
Joined: Oct 2005
Posts: 1,470
Likes: 0
From: Tampa, FL
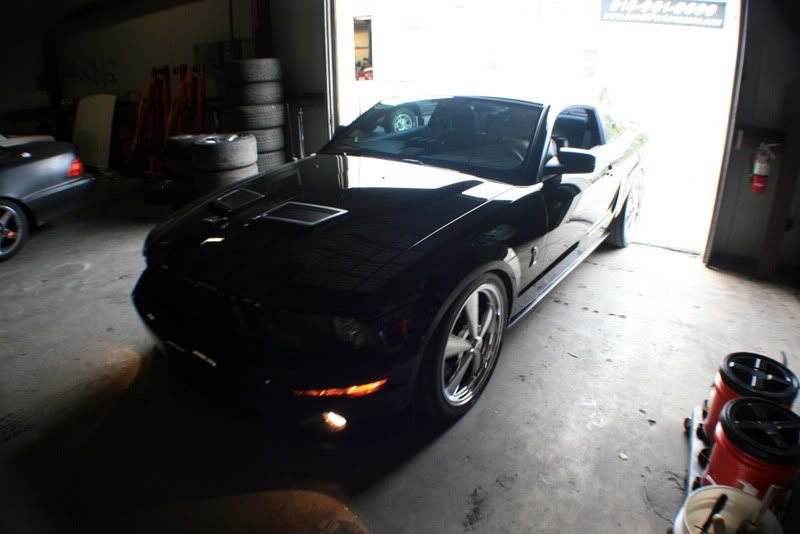
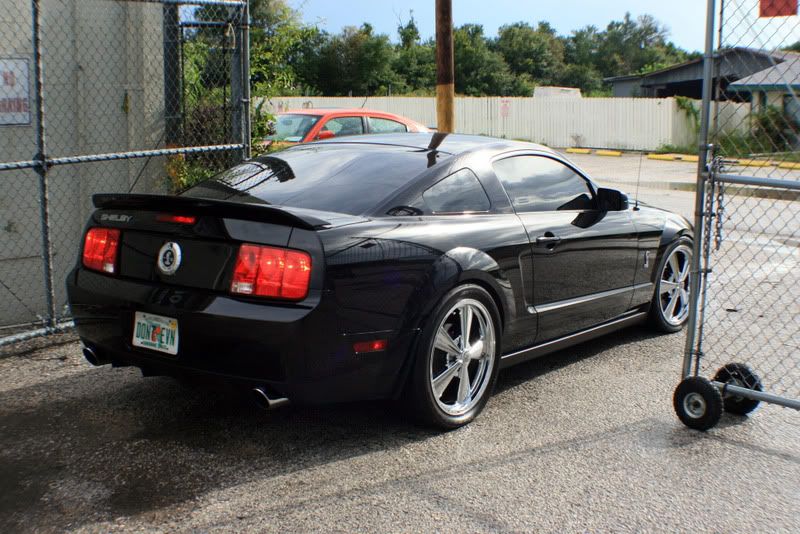
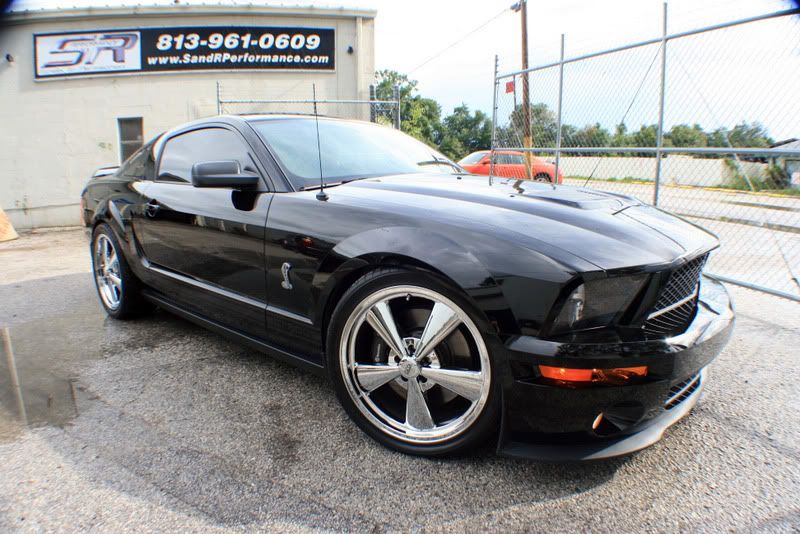
I later got a call from Bobby at SR Performance wanting a quick 1-step exterior job performed. I was on a tough time table but was able to finish this car in 5 hours total from start to finish, and the results even stunned me!
I started by snapping a couple shots before I began working. The car was actually quite dirty.
There were a couple areas where someone had gotten wax on the trim.
The wheels were quite foggy as well..
I started by snapping a couple shots before I began working. The car was actually quite dirty.
There were a couple areas where someone had gotten wax on the trim.
The wheels were quite foggy as well..
Thread Starter
Joined: Oct 2005
Posts: 1,470
Likes: 0
From: Tampa, FL
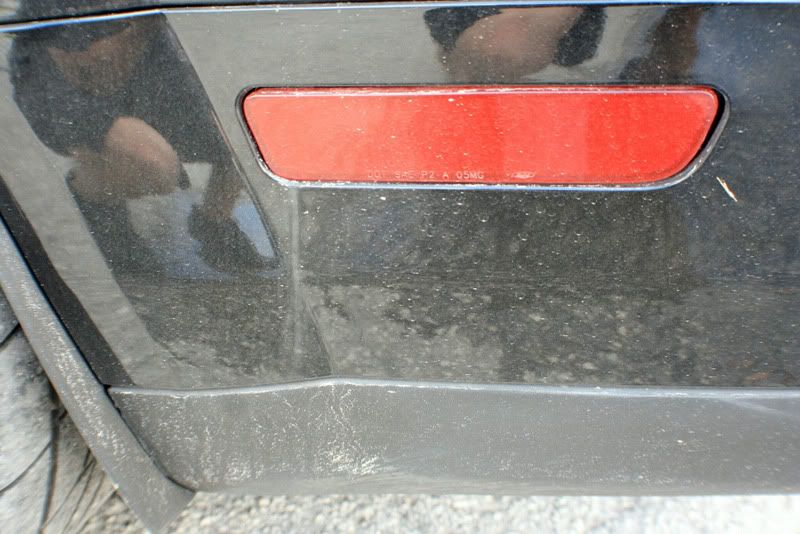
I started with an ONR wash. Here is half the bumper before touching it.
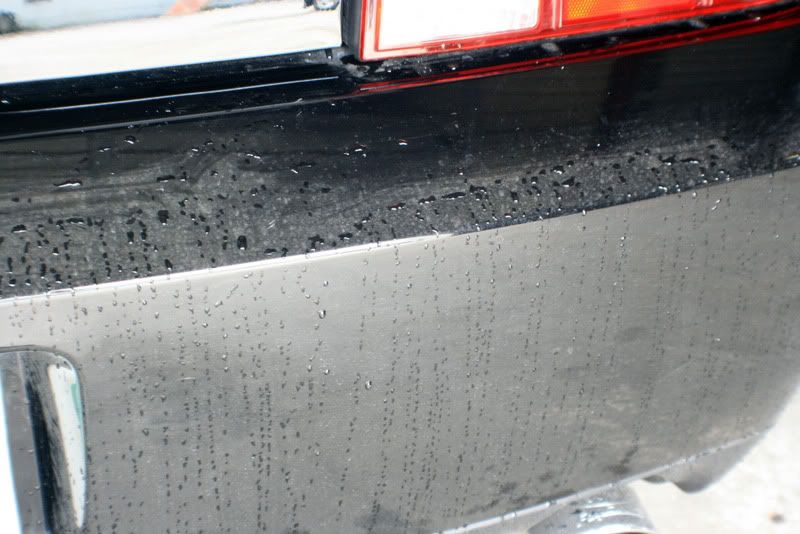
After an ONR wash.
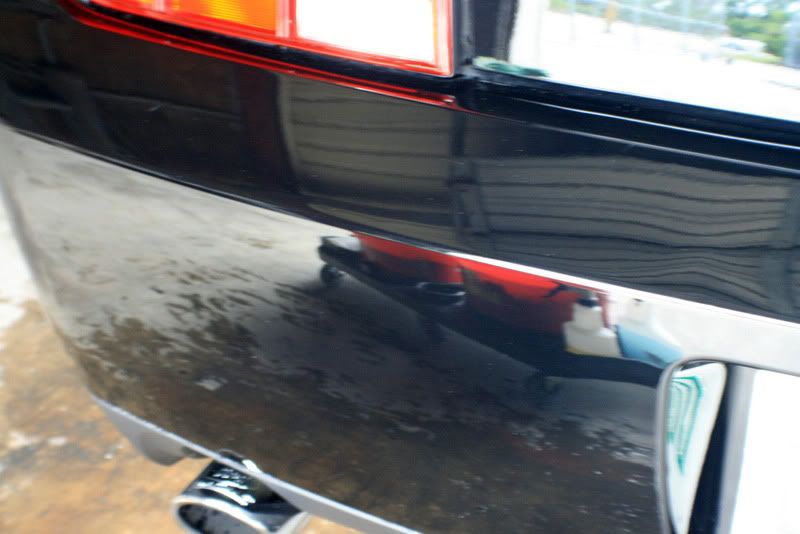
The car had its fair share of defects, which the owner may have removed the next time. We were on a tight schedule for this detail so we opted for the 1-step.
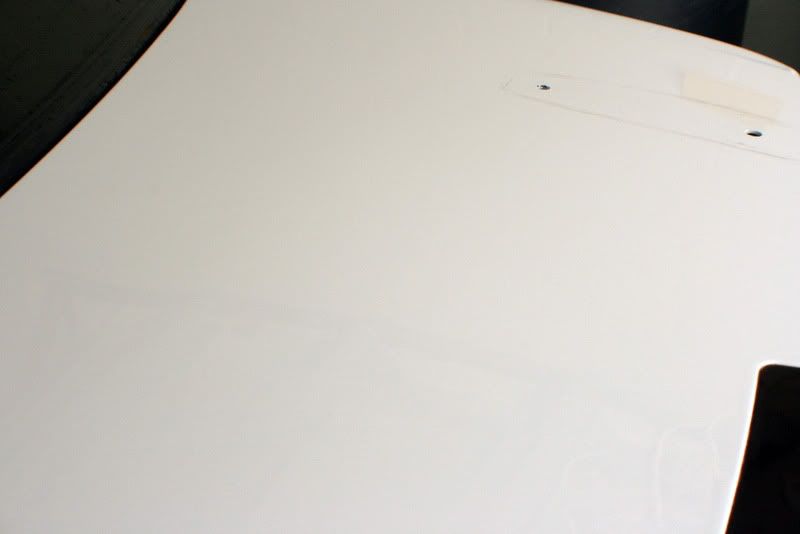
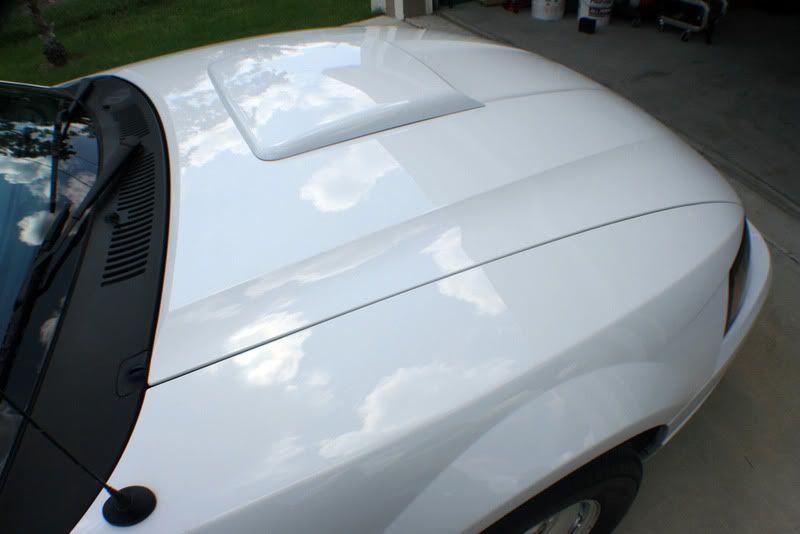
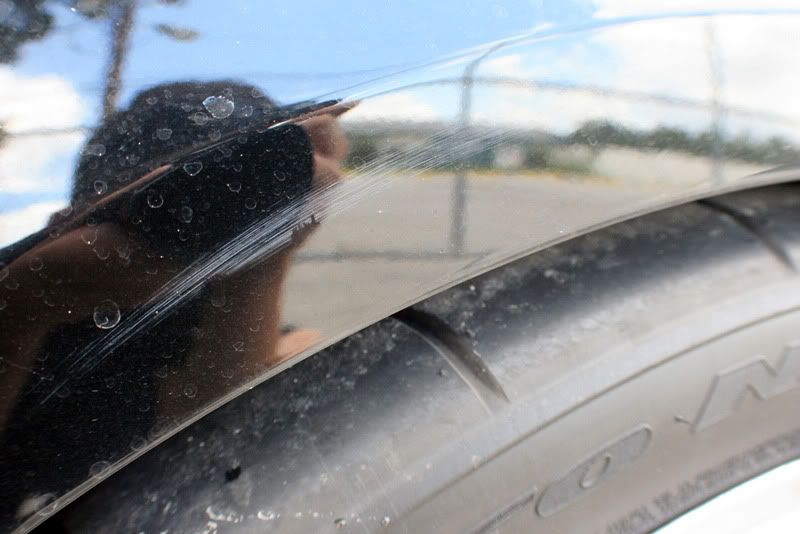
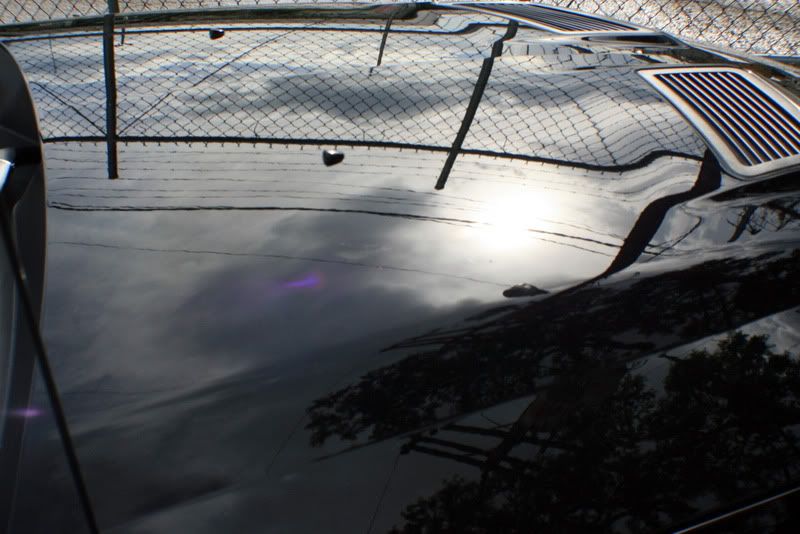
I taped off a section of the hood to determine how hard the clear was.
I ended up using SIP on an Orange LC pad using a G110 DA polisher for a little longer work time. The results.
After an ONR wash.
The car had its fair share of defects, which the owner may have removed the next time. We were on a tight schedule for this detail so we opted for the 1-step.
I taped off a section of the hood to determine how hard the clear was.
I ended up using SIP on an Orange LC pad using a G110 DA polisher for a little longer work time. The results.
Trending Topics
Thread Starter
Joined: Oct 2005
Posts: 1,470
Likes: 0
From: Tampa, FL
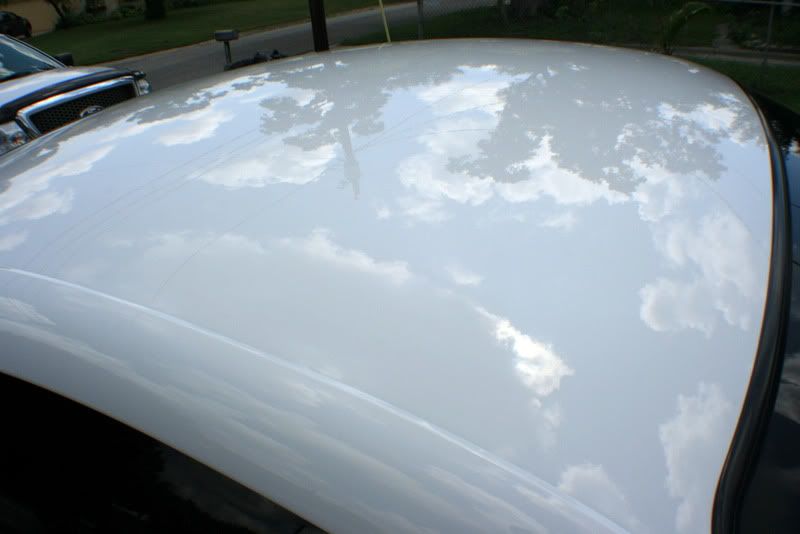
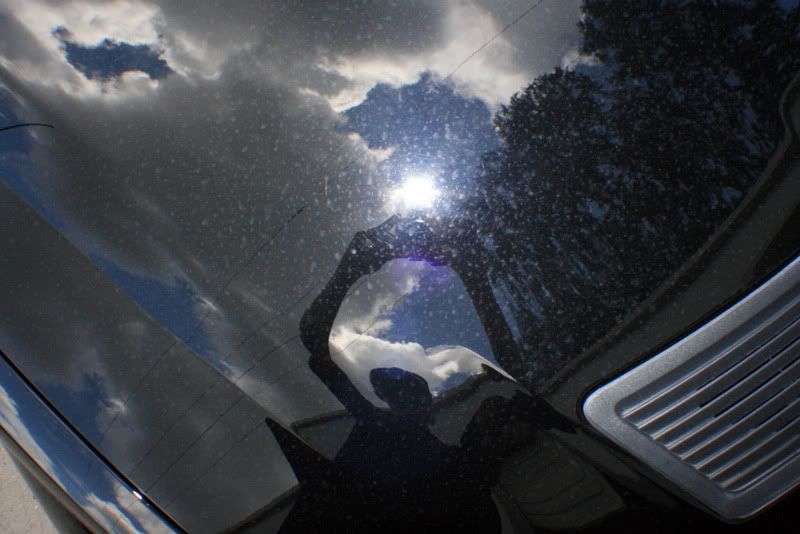
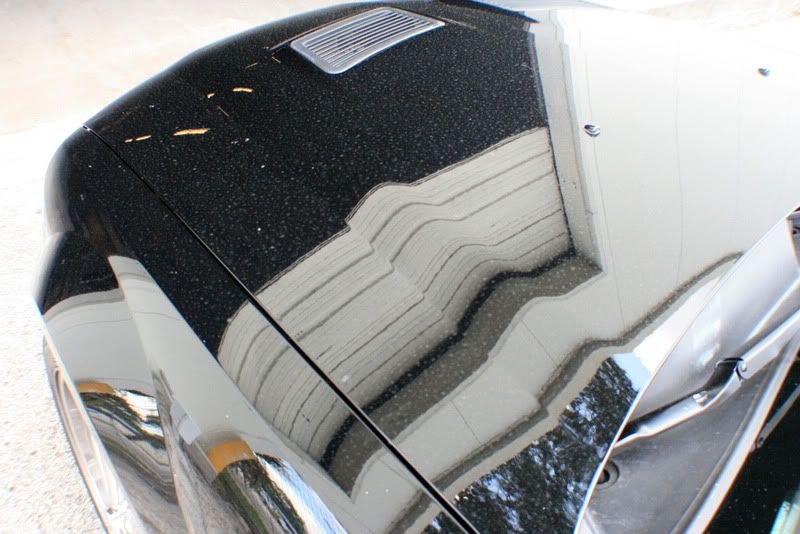
We were running out of time and unfortunately it began to downpour right as I was finishing up. The owner tried to wait it out but had no choice but to leave, luckily it was no longer raining but the roads were still wet.
This is FL for you, rain one second, pure sunlight the next but to my surprise I couldnt find any defects!
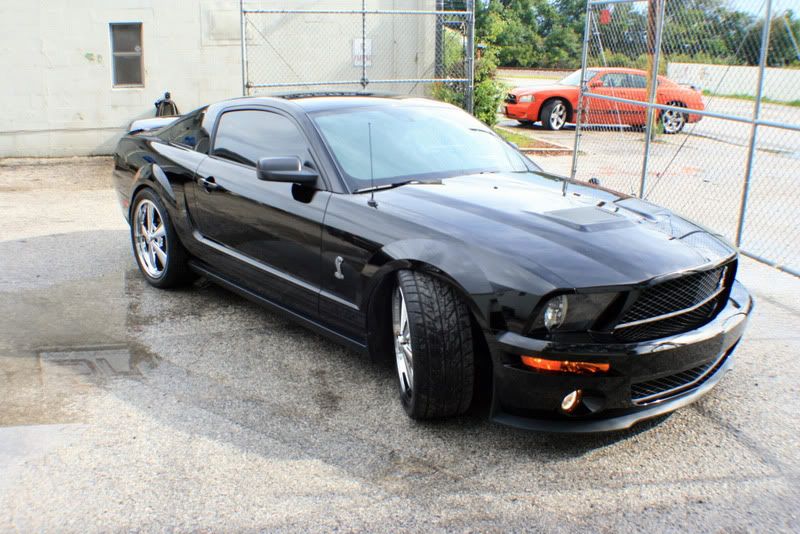
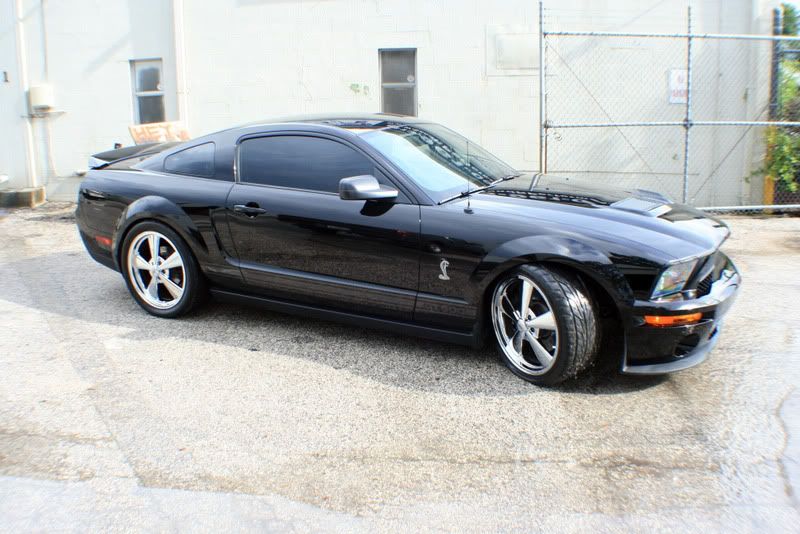
The money shot. :D
This is FL for you, rain one second, pure sunlight the next but to my surprise I couldnt find any defects!
The money shot. :D

B*a*n*n*e*d
Joined: Feb 2006
Posts: 347
Likes: 0
From: Chicago, Il, United States
I like how you use the exact process on every car, M105/PFW followed with M205/Orange via DA. Seems to me that you can do 99% of your cars this way. I wonder though how much of it can be done simply with the DA a few LC pads and Menzerna products that's what I used in the past on various surfaces cars, bikes, and planes. Results were great I'm thinking of stepping it up to the rotary though for those really nasty jobs.
Thread Starter
Joined: Oct 2005
Posts: 1,470
Likes: 0
From: Tampa, FL
I like how you use the exact process on every car, M105/PFW followed with M205/Orange via DA. Seems to me that you can do 99% of your cars this way. I wonder though how much of it can be done simply with the DA a few LC pads and Menzerna products that's what I used in the past on various surfaces cars, bikes, and planes. Results were great I'm thinking of stepping it up to the rotary though for those really nasty jobs.
Honda-Tech Member
Joined: May 2008
Posts: 3,032
Likes: 0
From: Sykesville, MD, USA
man that white GT looks bad *** with the welds. You have any links to a setup of that car possibly? Also, how did you find the hardness of the paints? I have 2 fords i will be working on in the future and im not sure which product will be best, one is pretty heavily swirled and the other is a fairly new truck thats in decent shape. Also, i know that when i went to use the Aggresive clay from megs. on my car with the quick detailer it scratched the hell out of my clear, any suggestion to prevent this or just not use it?
Thread Starter
Joined: Oct 2005
Posts: 1,470
Likes: 0
From: Tampa, FL
man that white GT looks bad *** with the welds. You have any links to a setup of that car possibly? Also, how did you find the hardness of the paints? I have 2 fords i will be working on in the future and im not sure which product will be best, one is pretty heavily swirled and the other is a fairly new truck thats in decent shape. Also, i know that when i went to use the Aggresive clay from megs. on my car with the quick detailer it scratched the hell out of my clear, any suggestion to prevent this or just not use it?


MiG-21 superfan
Joined: Mar 2001
Posts: 8,628
Likes: 3
From: near the ocean, Moderator City, NJ
that stuff is really a last resort type of product, in my opinion, though i have to ask if you are using too much pressure with it? i find that the pinnacle poly, or in the meguiars line, their white bar or mild tub, are more of frequent use items that will work for most types of fall out and contamination.
Thread Starter
Joined: Oct 2005
Posts: 1,470
Likes: 0
From: Tampa, FL
Yes, I would agree. If your using a clay bar that aggressive you only HAVE to expect to polish it afterwards. If you do not plan to polish, you need to stick to a very soft clay bar such as the ones you find in the "smooth surface" kit from Megs.
Honda-Tech Member
Joined: May 2008
Posts: 3,032
Likes: 0
From: Sykesville, MD, USA
i planed to polish but as soon as i started using it i could see serious marks. I guess having a black car doesnt help  but i had some serious contamination on my roof and trunk but i didnt end up using it, i just used what i had left from the smooth surface kit. When i clay im usually very light unless its a stubborn defect im trying to get rid of
but i had some serious contamination on my roof and trunk but i didnt end up using it, i just used what i had left from the smooth surface kit. When i clay im usually very light unless its a stubborn defect im trying to get rid of
bump, i saw a gt40 yesterday lol. im glad i saw this post before it dissapeared. (idk why the detailing section is so short) I always check out your work.. the transformations are so sick! Good work. nice photography catching all the details too.
MiG-21 superfan
Joined: Mar 2001
Posts: 8,628
Likes: 3
From: near the ocean, Moderator City, NJ
Thread Starter
Joined: Oct 2005
Posts: 1,470
Likes: 0
From: Tampa, FL
My guess would be the way his preferences are set up.
Honda-Tech Member
Joined: Apr 2006
Posts: 1,290
Likes: 0
From: Arizona
In the detalining sub forum go down to the lower left where it says display options. On your drop down it probably says "from this week." Adjust accordingly.

Thread
Thread Starter
Forum
Replies
Last Post