

Newbie, looking for critique on welds and collector


Thread Starter
OG Fabricator
Joined: Jun 2009
Posts: 606
Likes: 0
From: DFW, TX
Hey guys, ive been lurking HT fab section for about a year now and decided to join to try to learn as much as i can and hopefully contribute here.
about a year ago i played with a tig for ~30 hrs or so and then due to various reasons didnt weld till now. so i want to get a little bit of practice to be able to do some decent fab work.
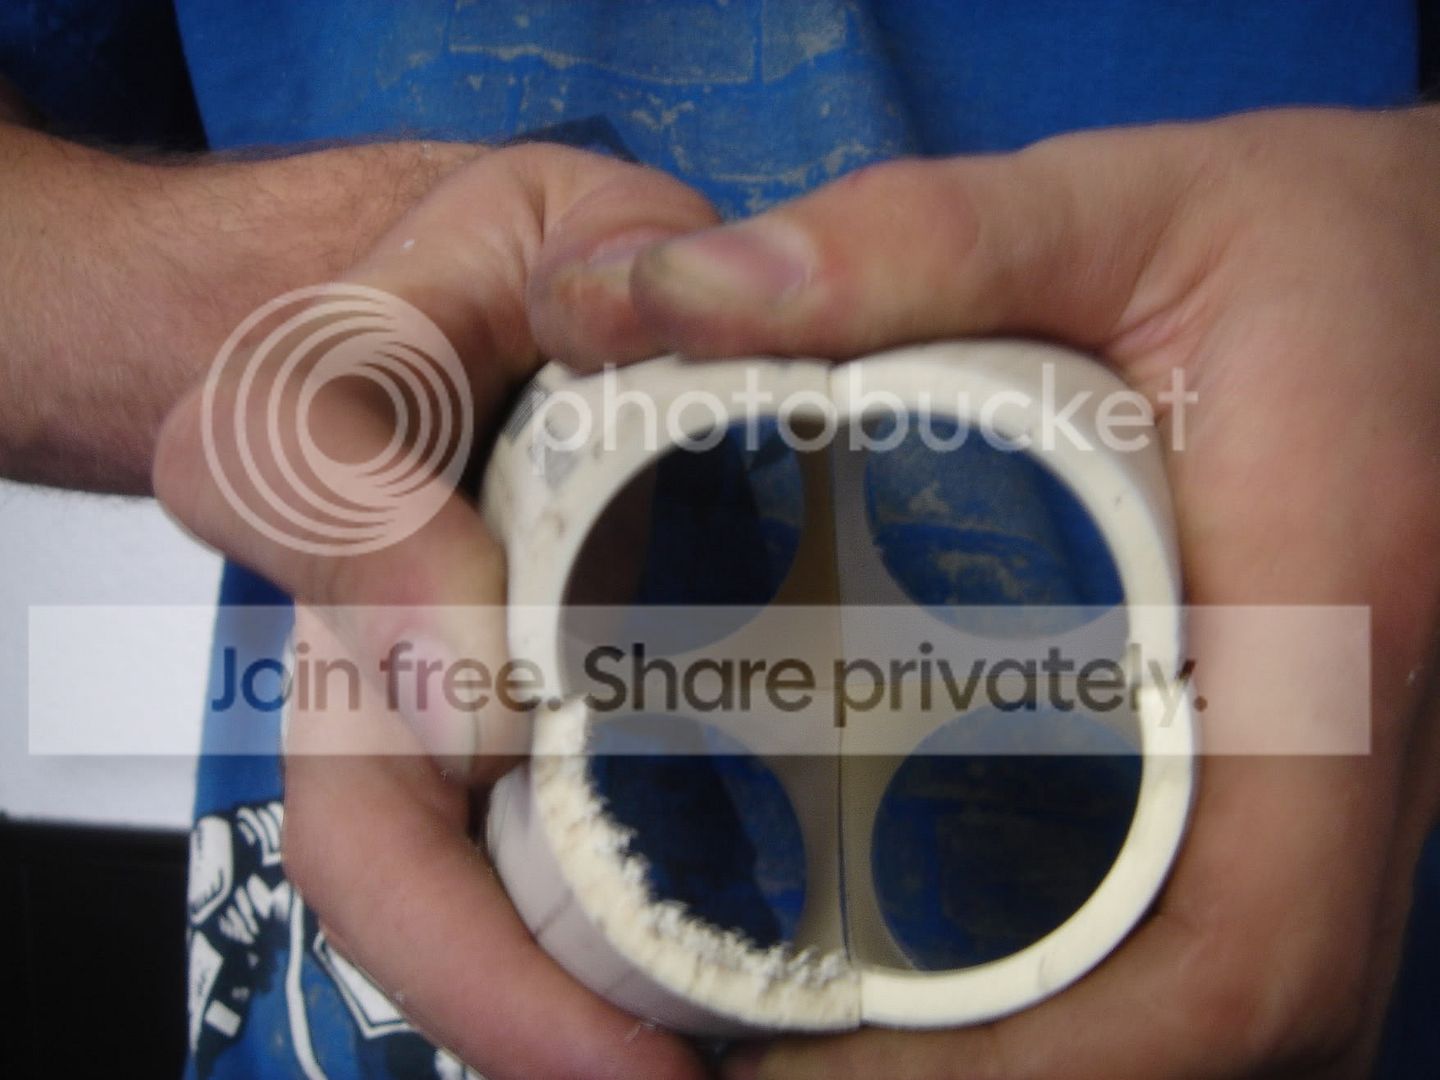
Decided to start with a 4-1 collector with big help from the collector jig thread i made my own version. its not 100% precise but works OK for now so i wont complain.
i knew craftsman tools were good for something!
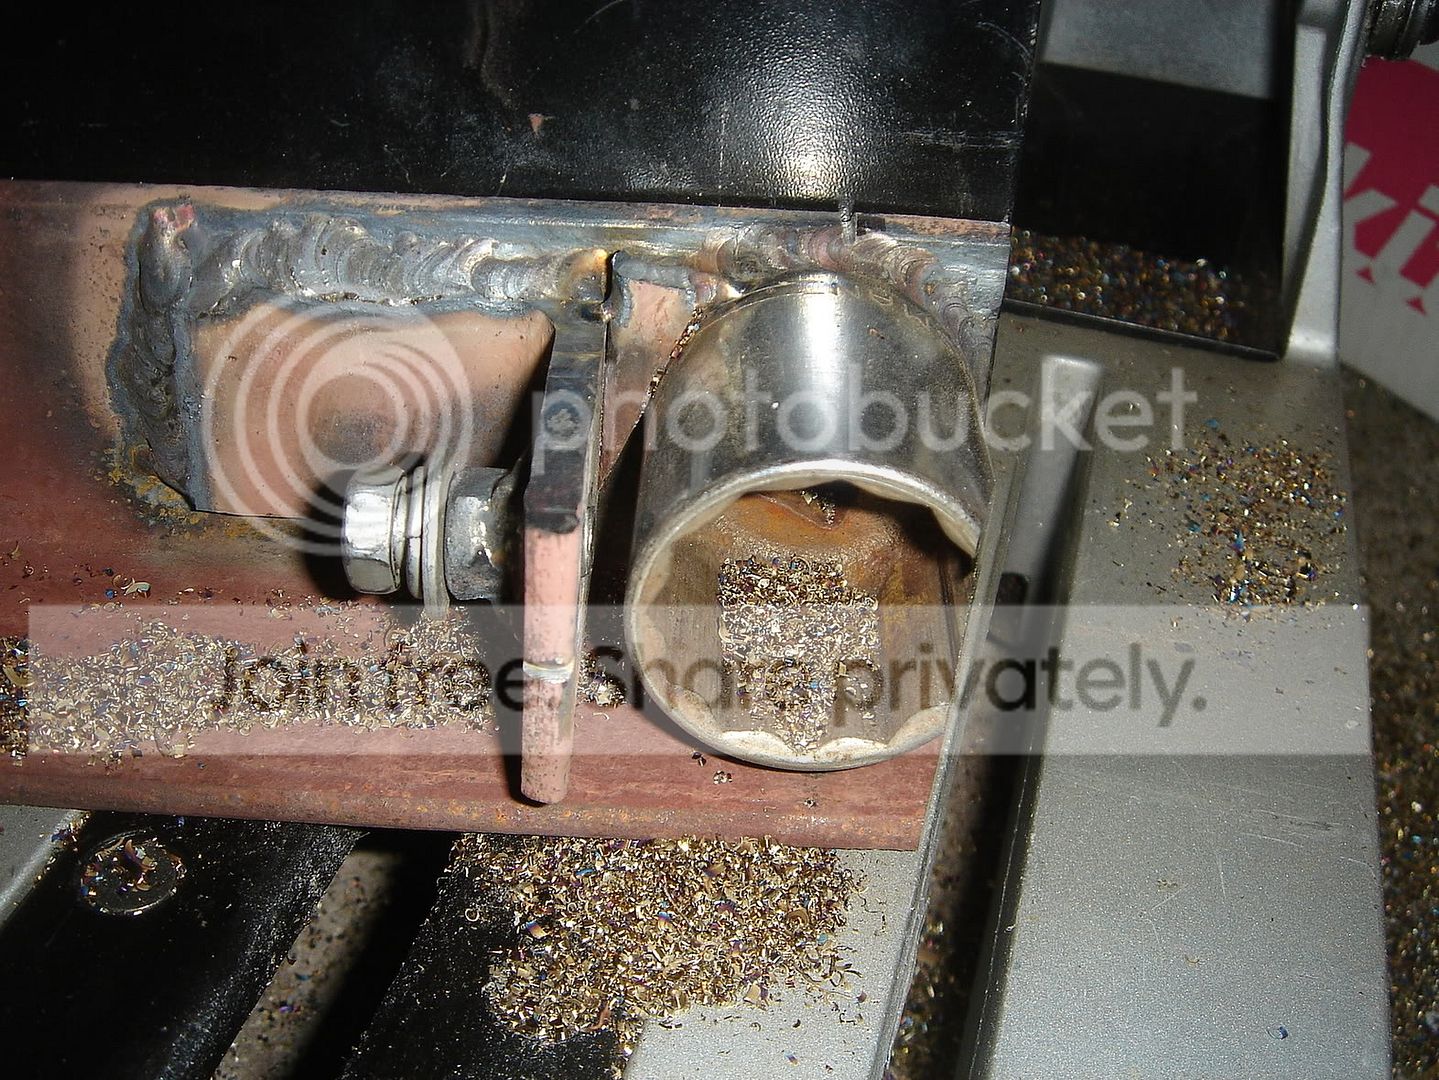
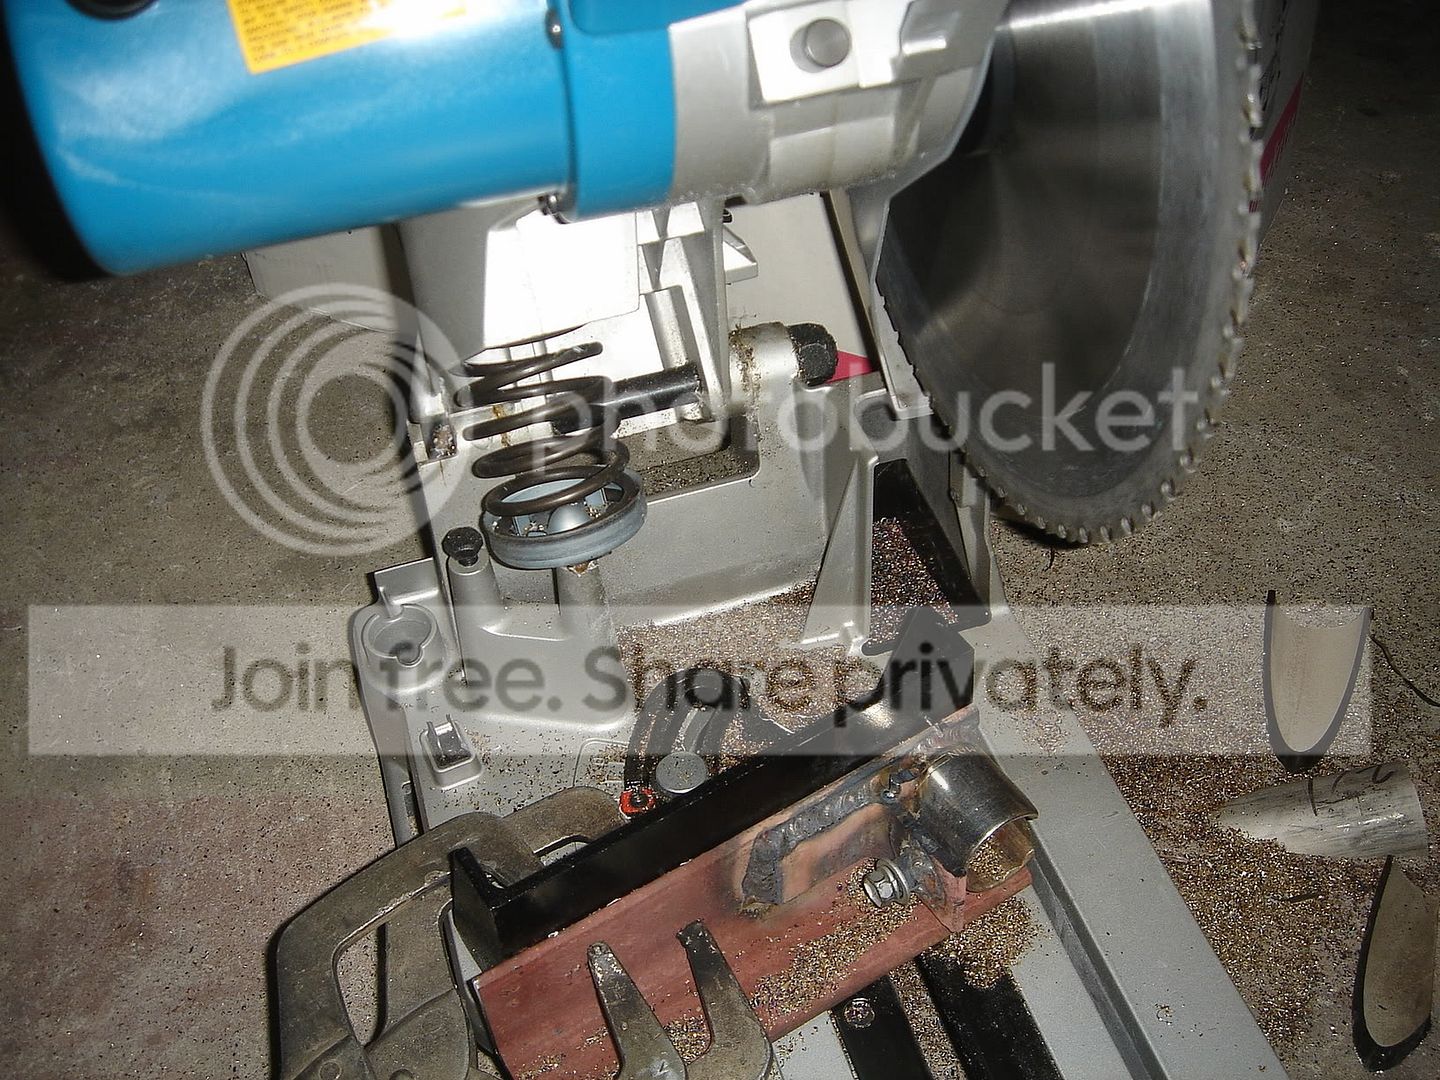
Cold cut saw FTMFW!
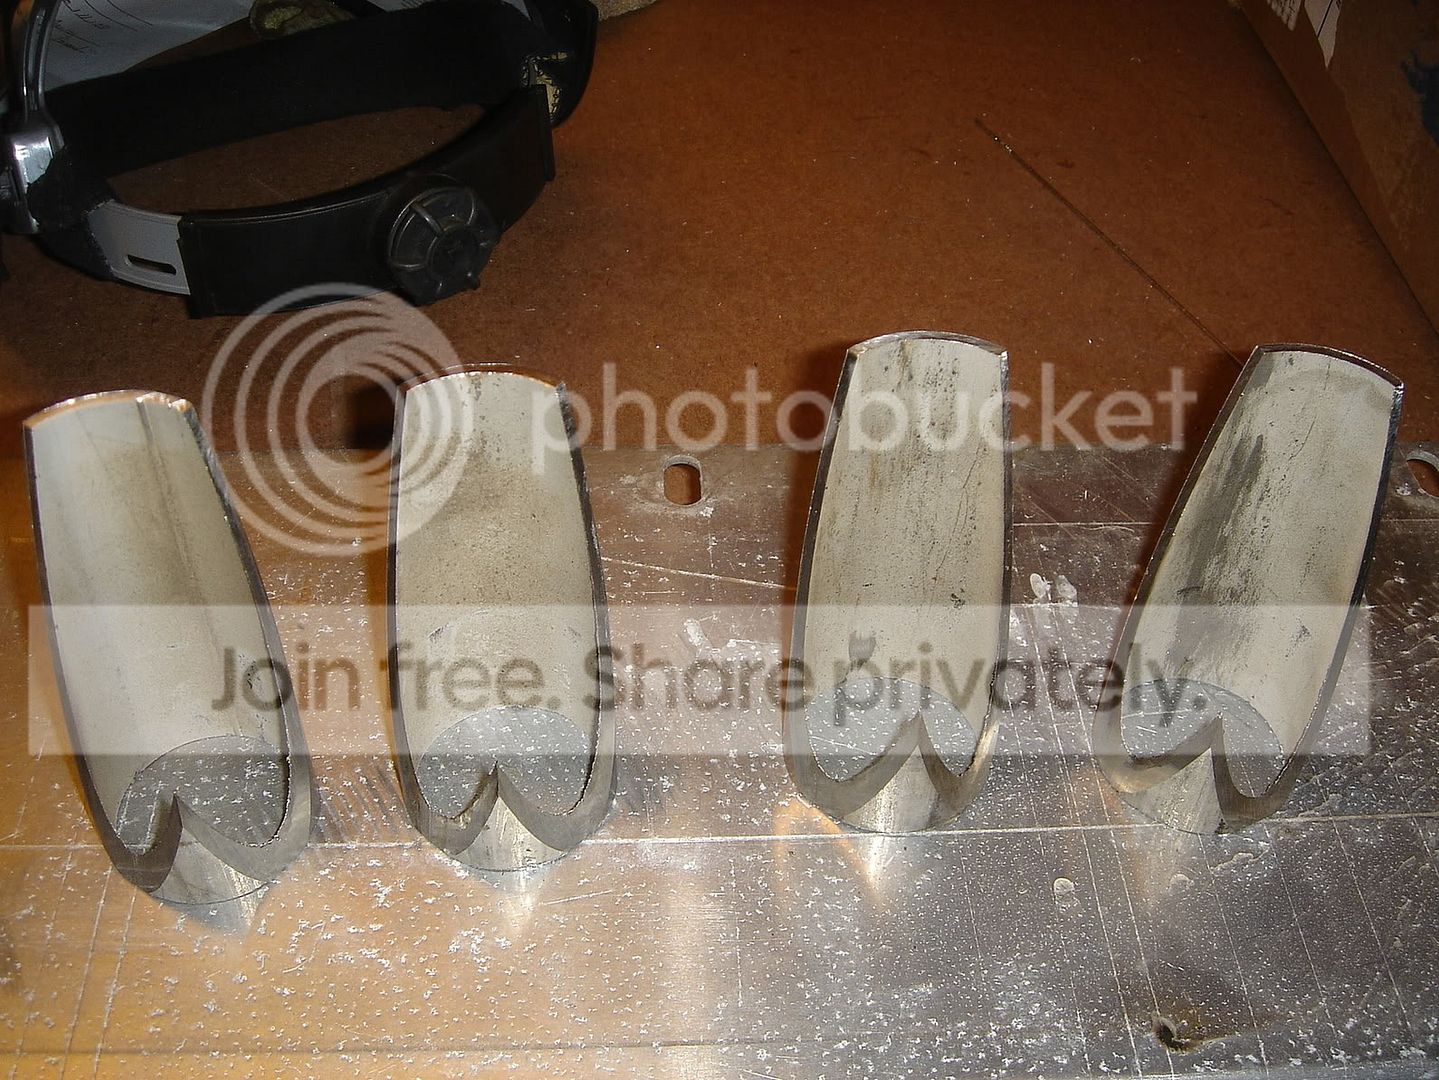
Started with some 1.5" PVC pipe, not too shabby
On to sch 10 1.5"
again, cold cut saws are WIN!
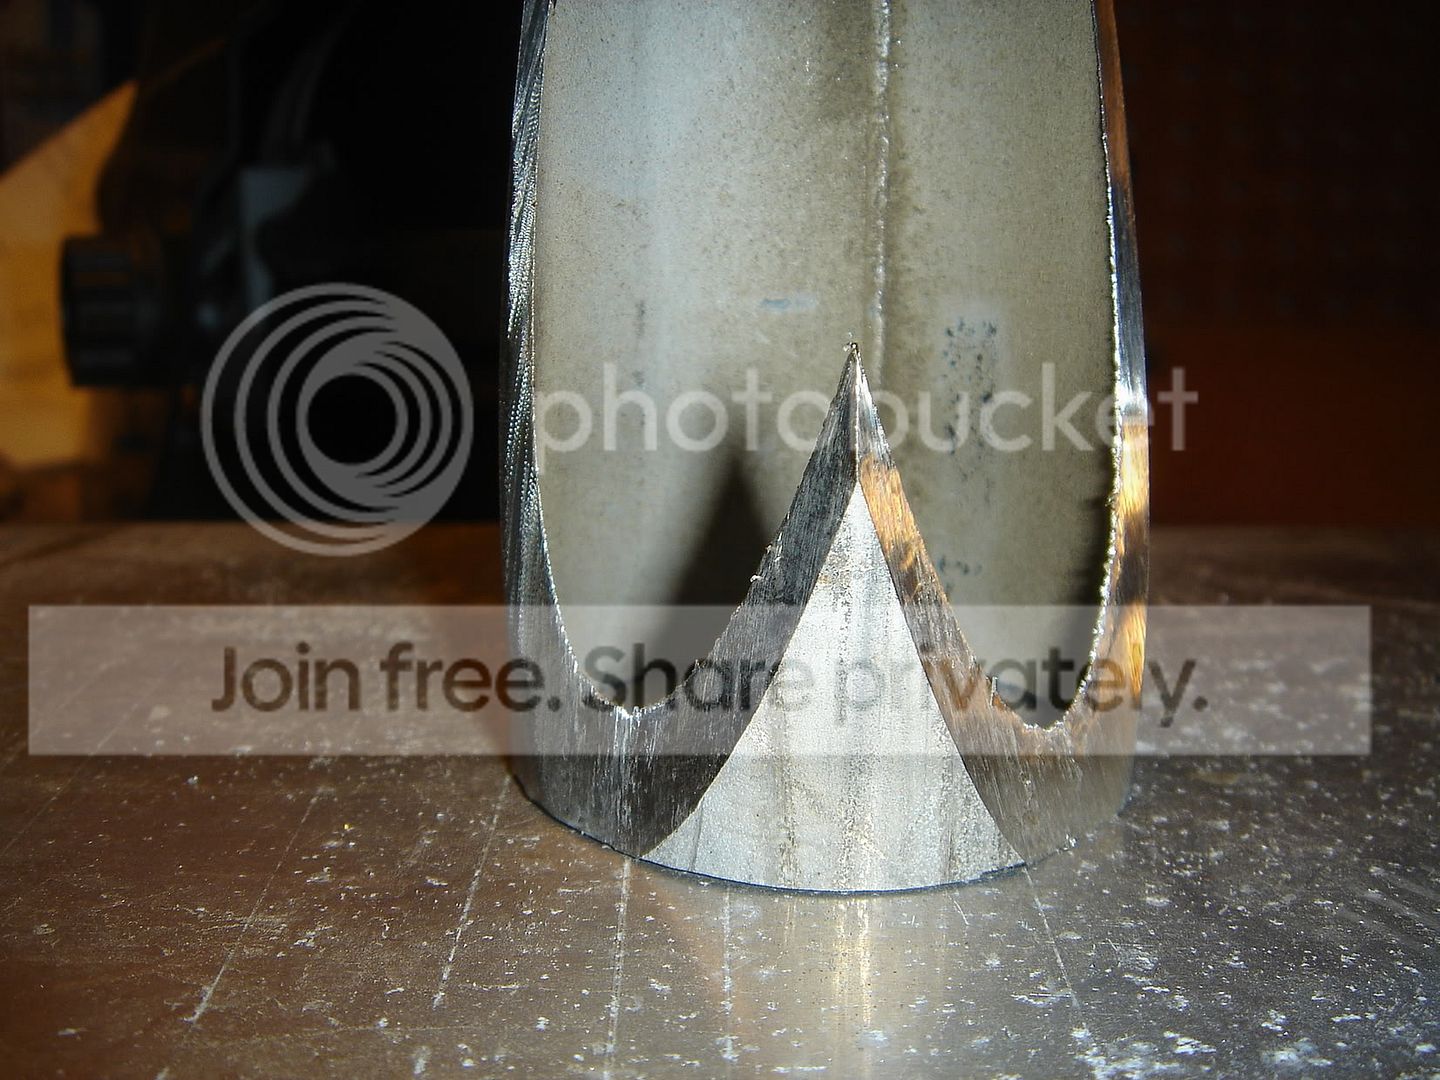
Jig needs a few tweaks to be 100% accurate

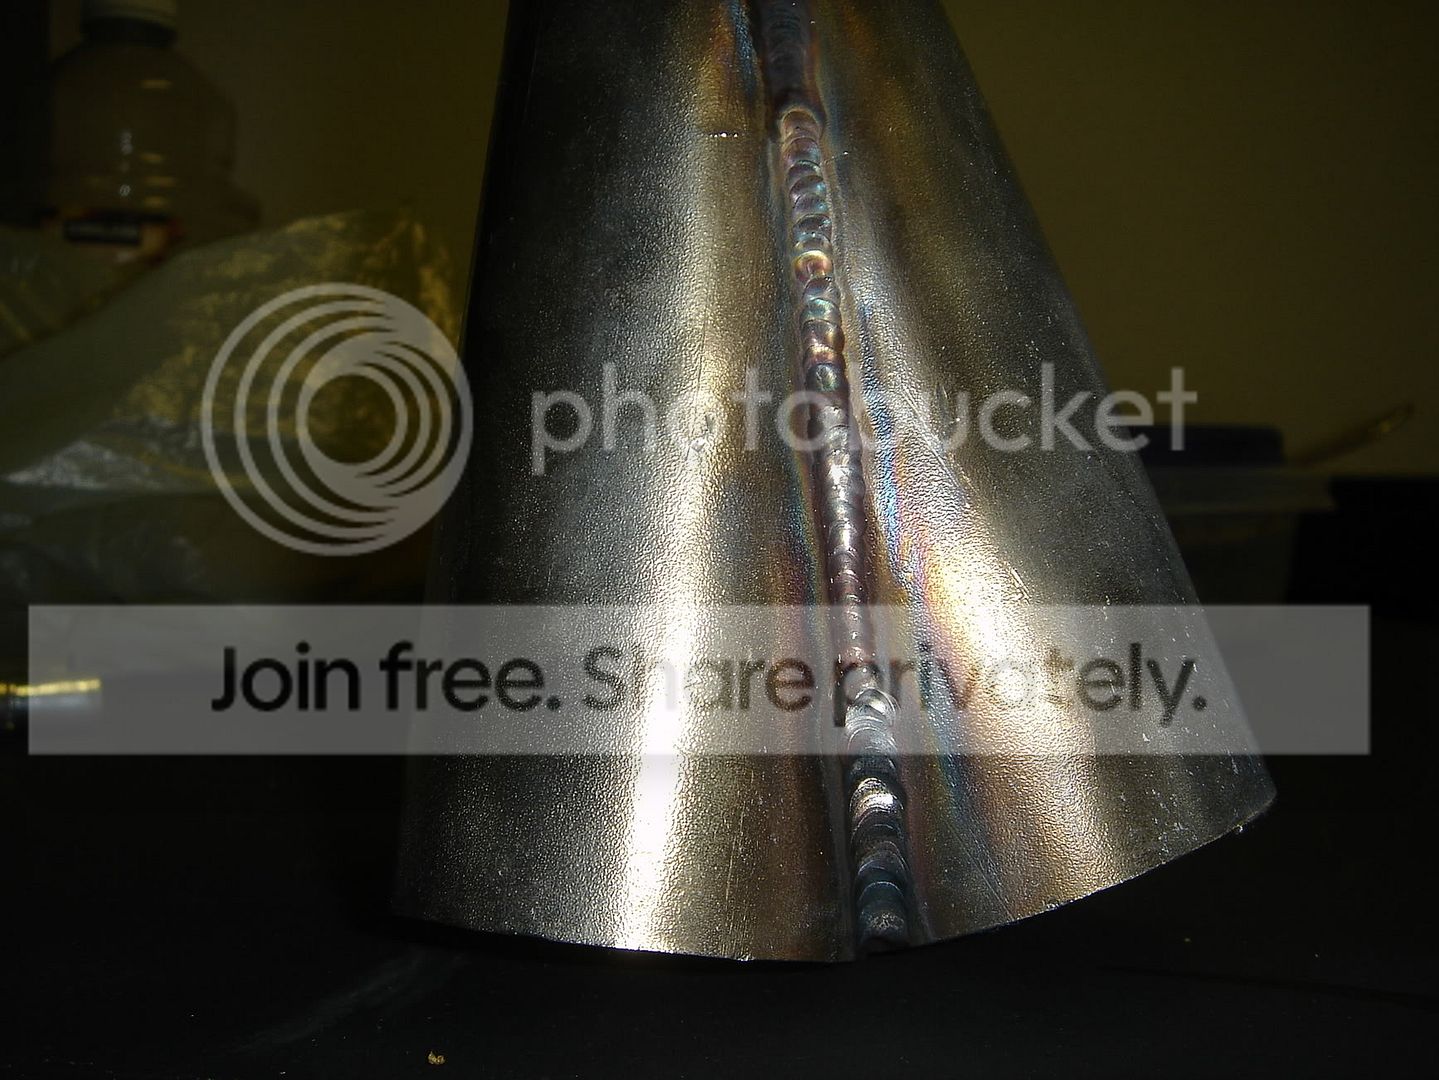
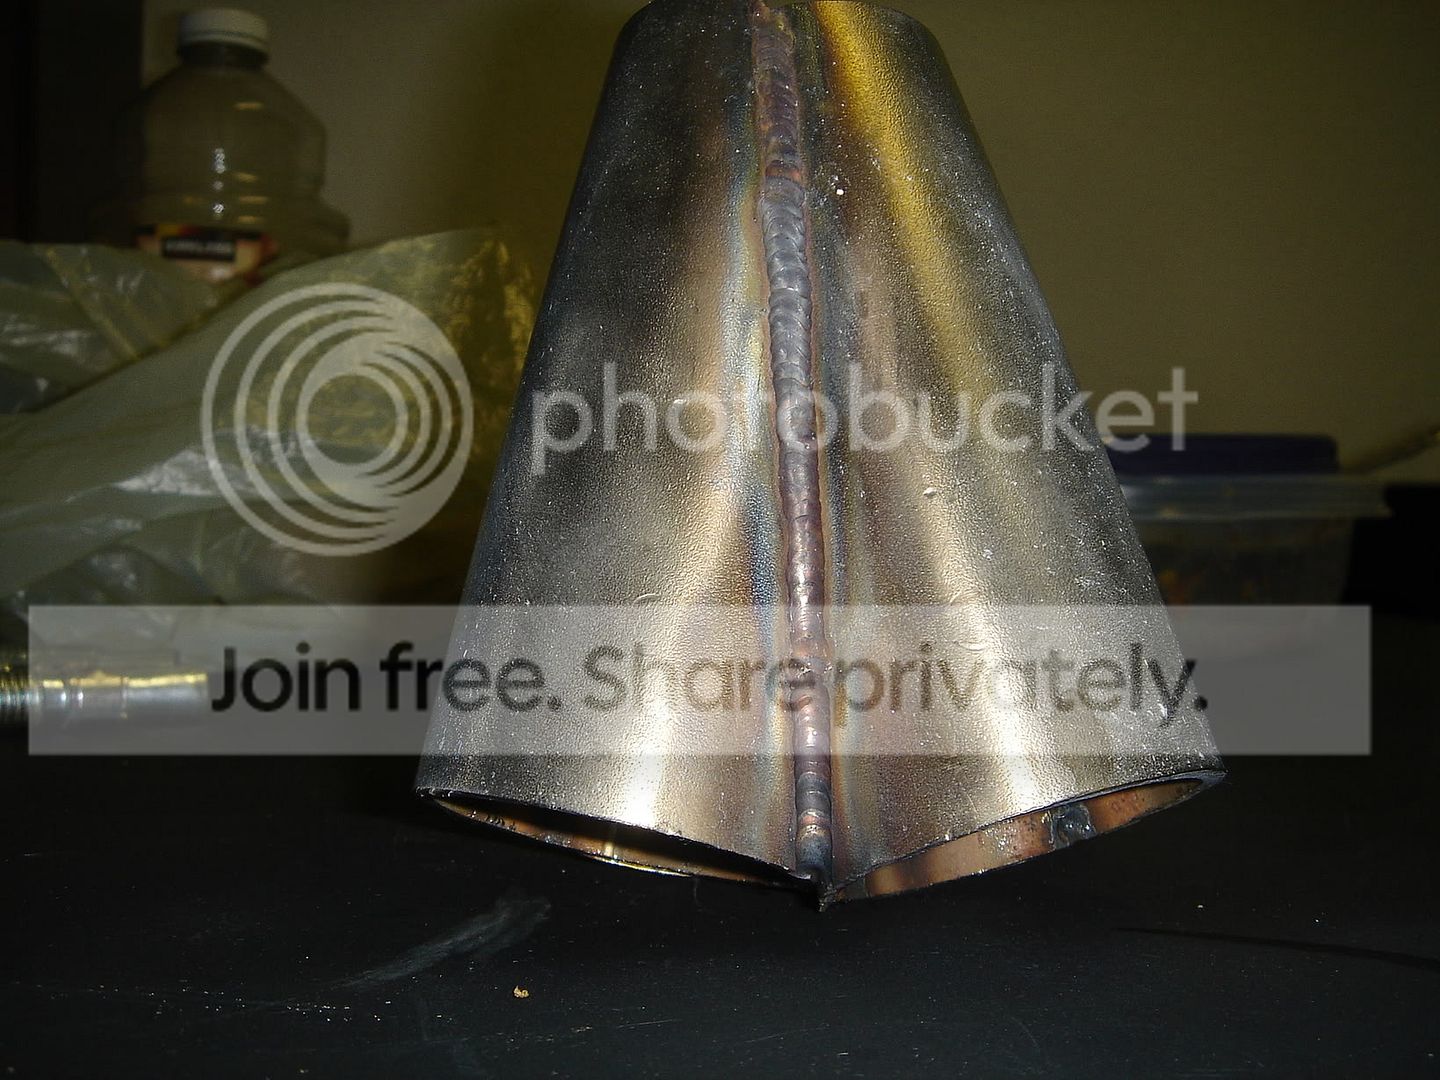
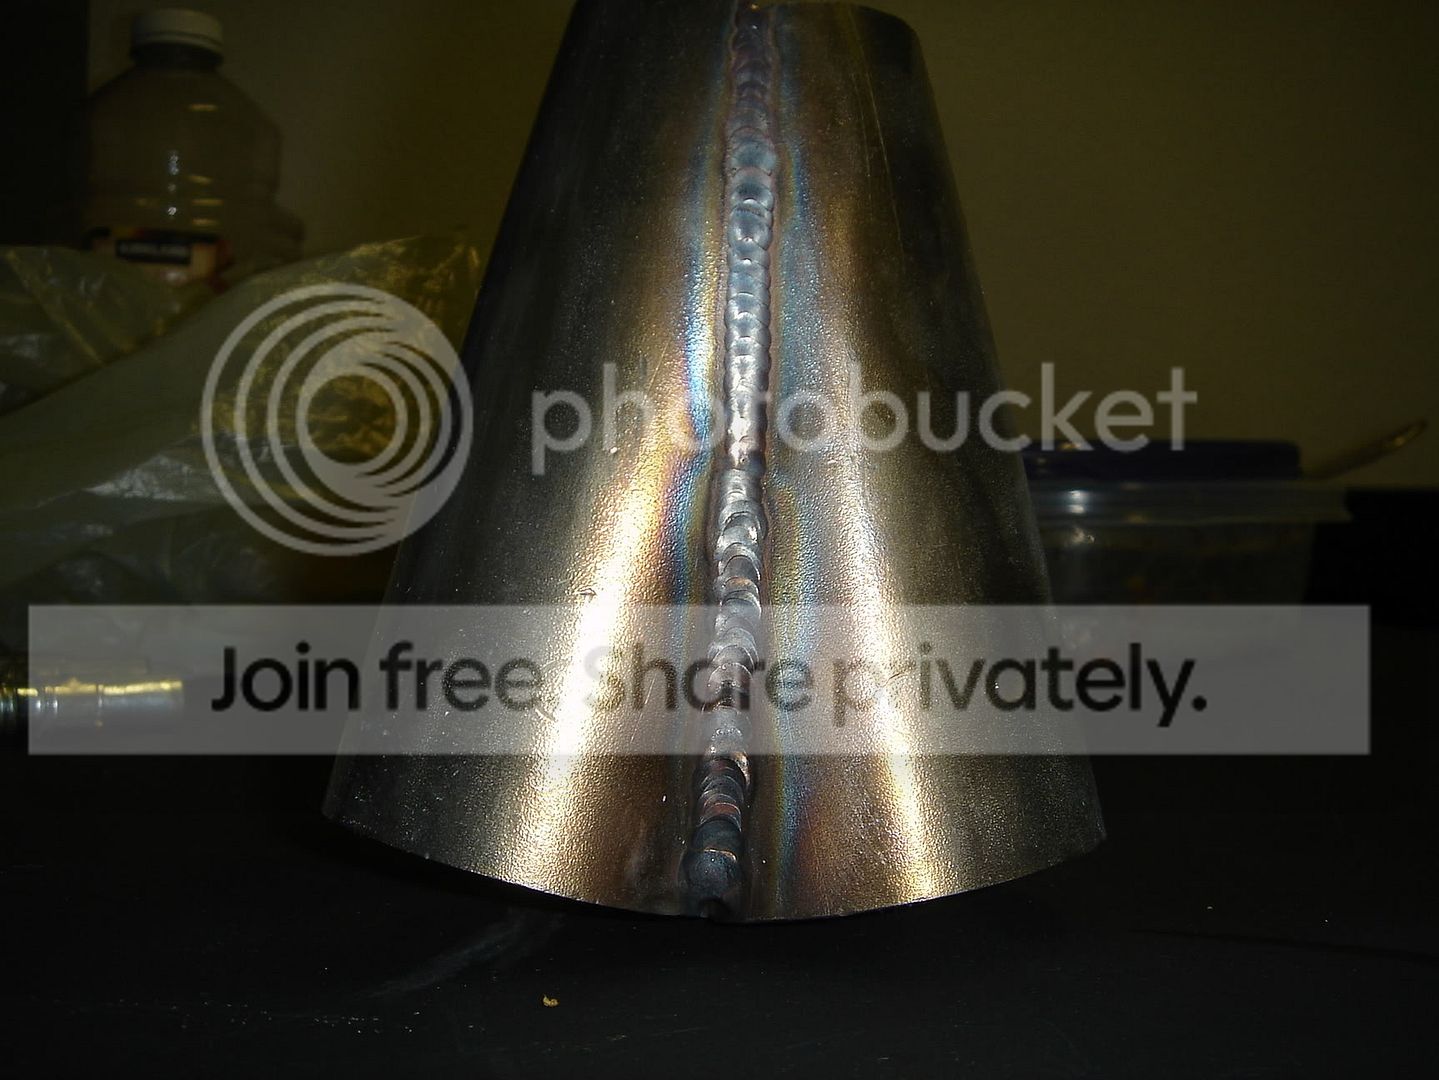
Here comes the shitty part, my welds. Im starting to get a little pissed at steel. start at 75ish amps and my color is ok but NO penetration, if i turn up the heat to >100 amps i get 'ok' penetration but the weld turns black
Im using a 3/32 red tungsten with 1/16 308 rod with regulator set at 22CFH on my syncrowave 200. Aluminum seems so much easier for me, i can lay down pretty decent beads no problem on that, just steel is being a pain in the ***

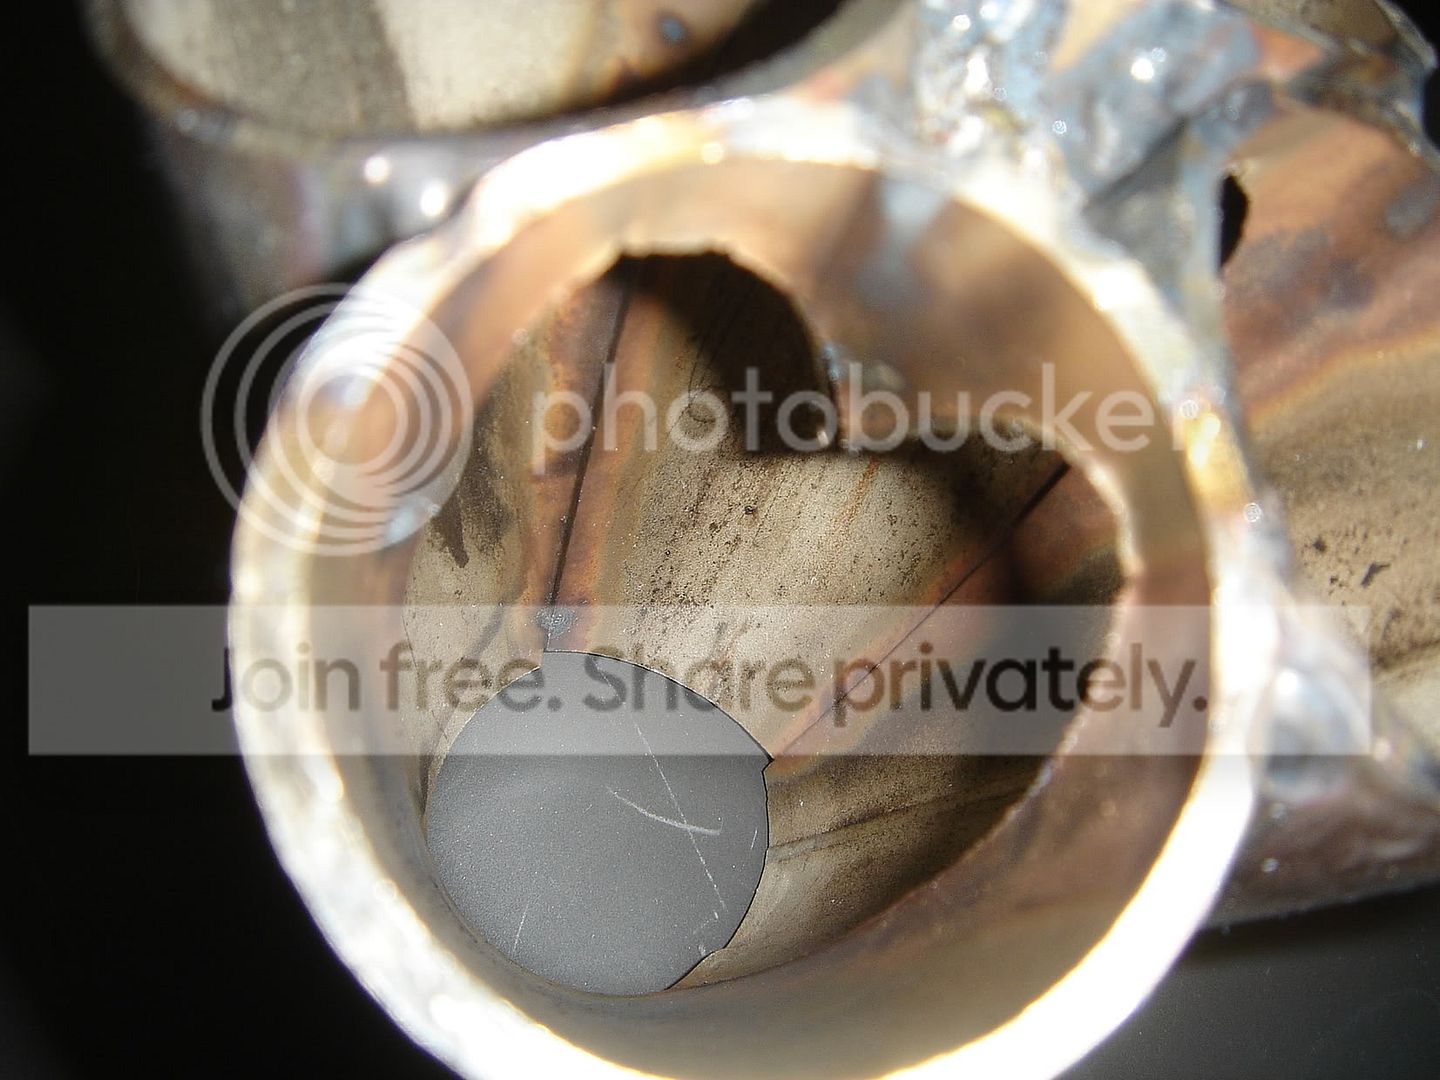
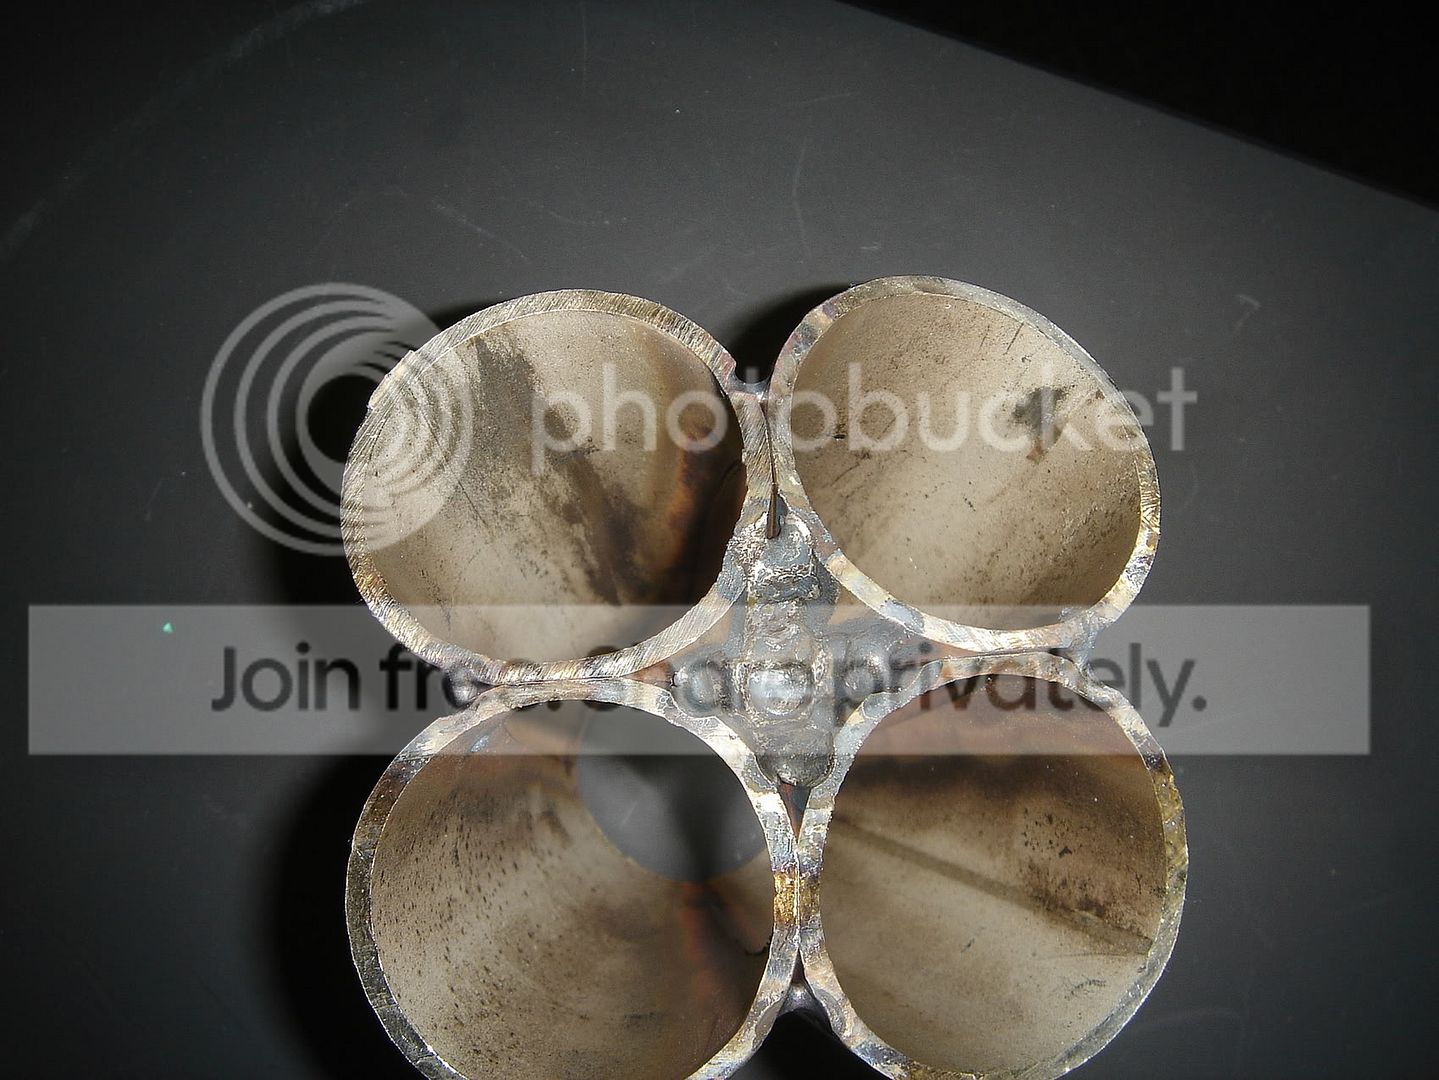
this part sucked the most, got some contamination in there and a little too much heat, what a pain to get in there!
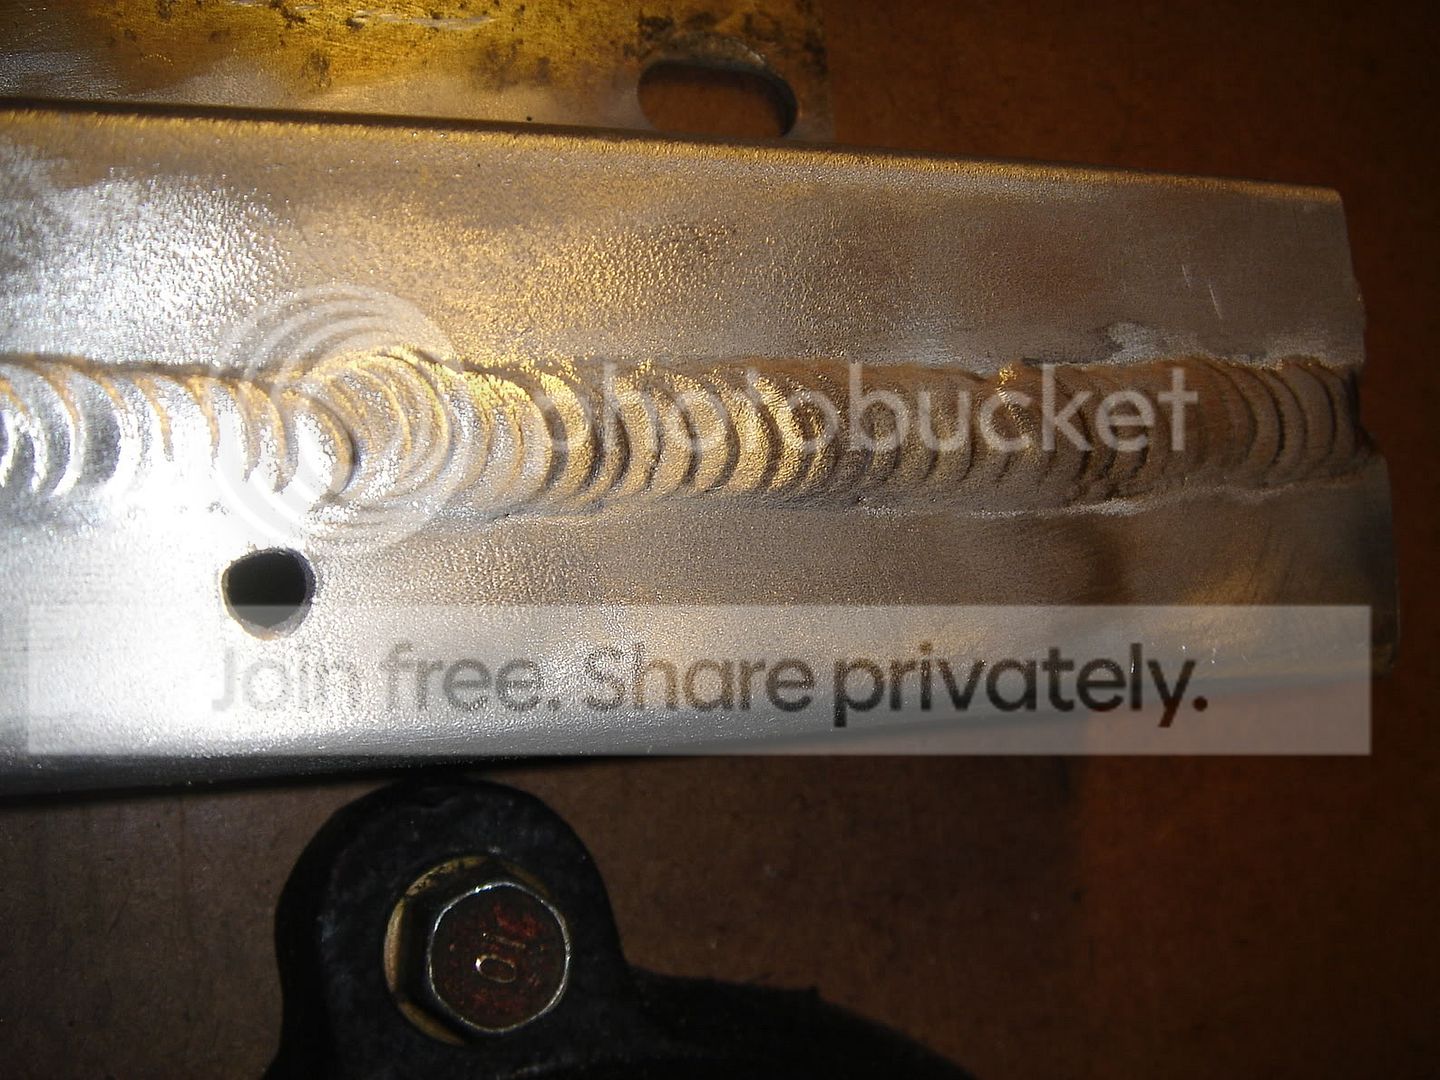
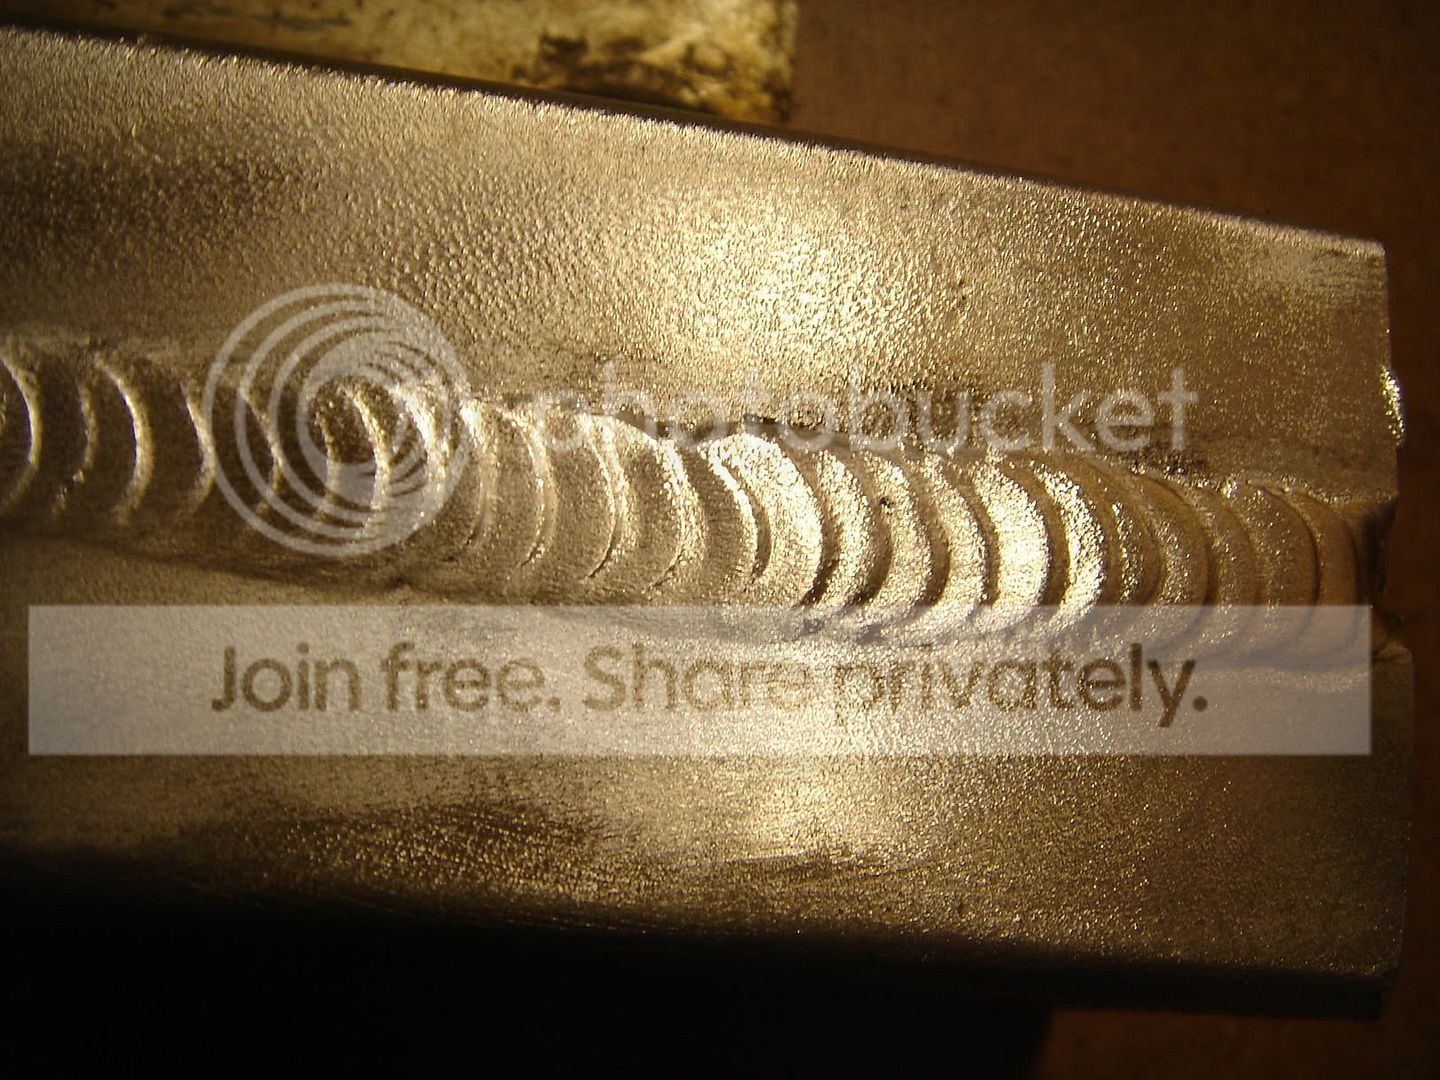
here are some of my aluminum welds.
Thanks for looking, If any pros feel like helping me out with suggestions/critique etc i'd appreciate it
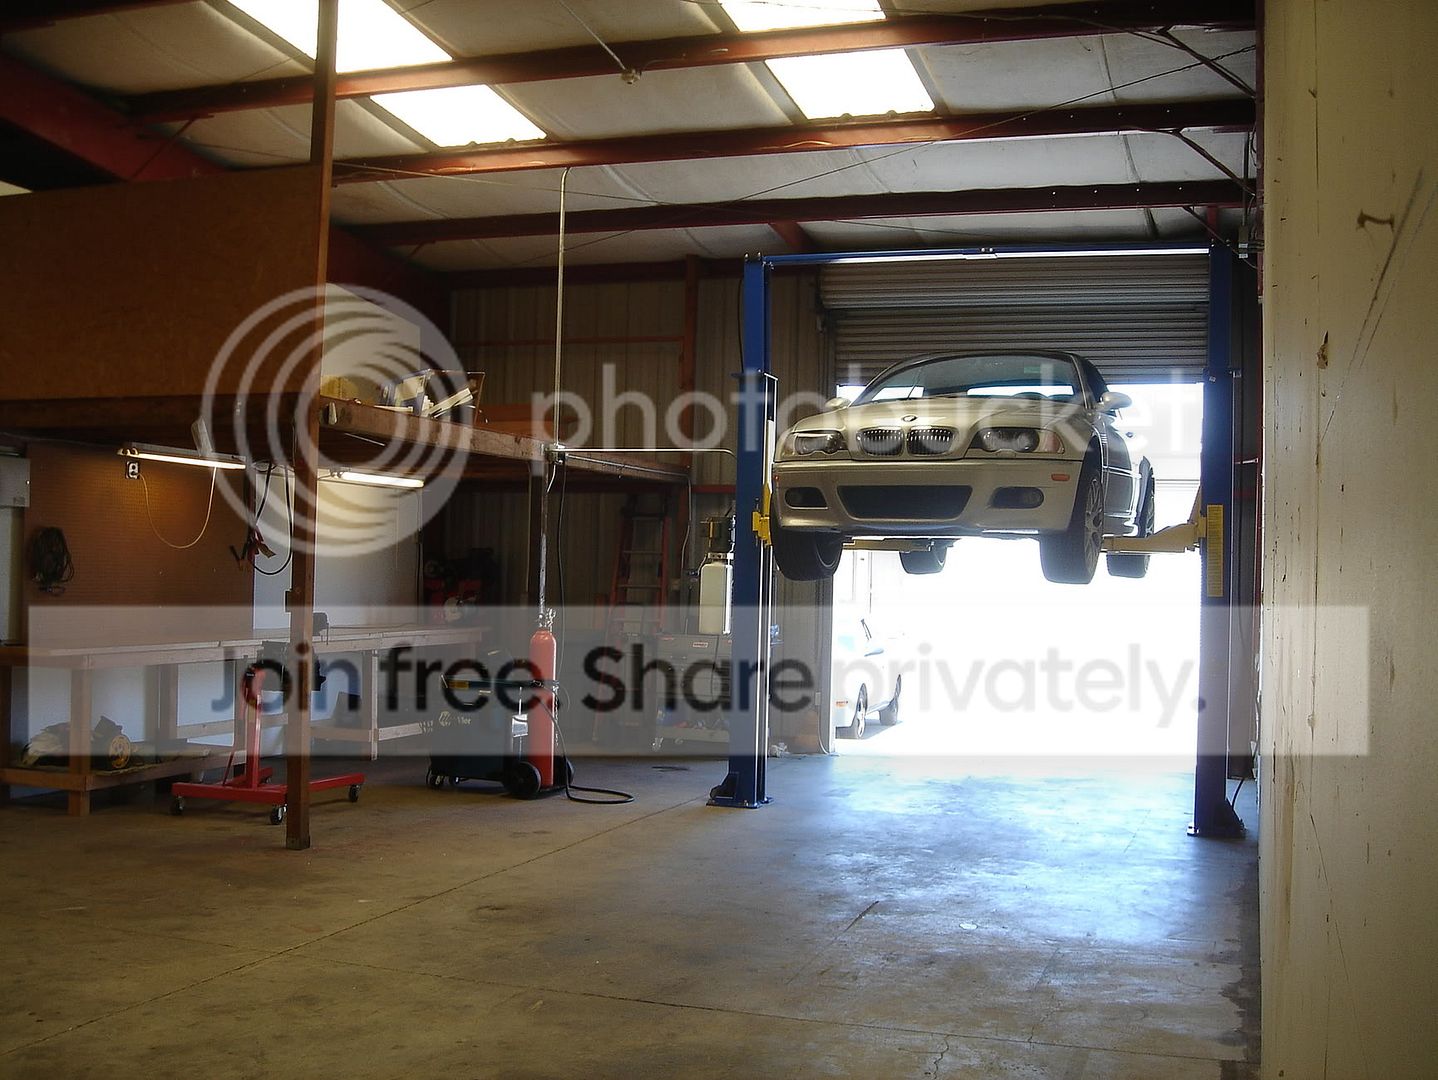
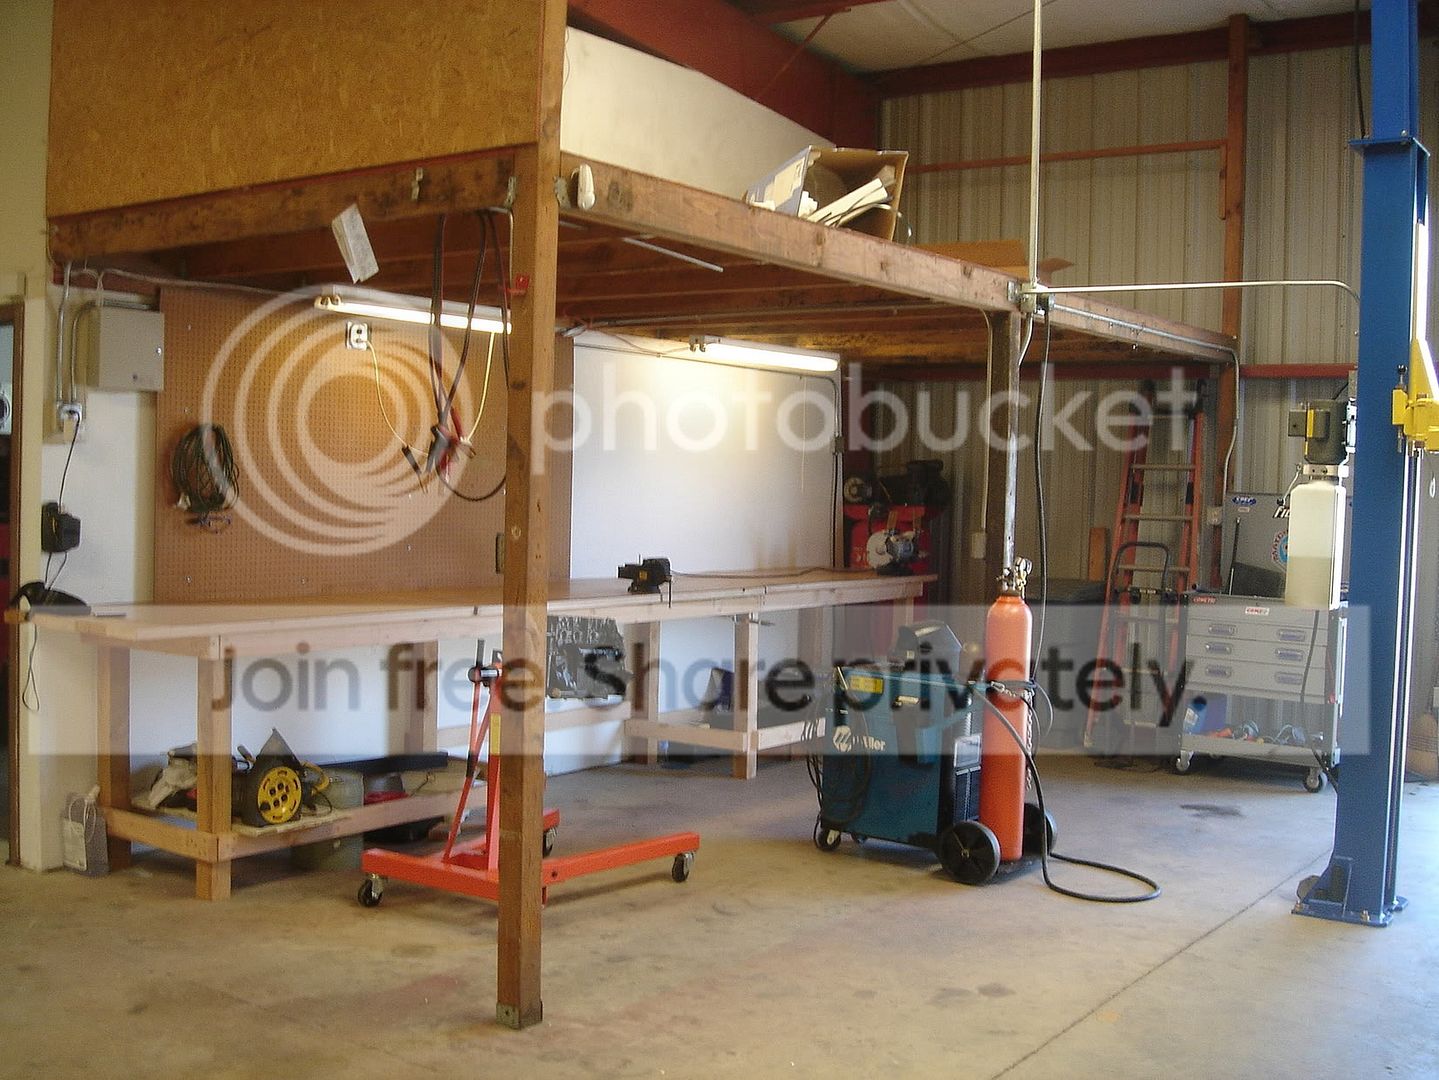
also here's a pic of my workplace
about a year ago i played with a tig for ~30 hrs or so and then due to various reasons didnt weld till now. so i want to get a little bit of practice to be able to do some decent fab work.
Decided to start with a 4-1 collector with big help from the collector jig thread i made my own version. its not 100% precise but works OK for now so i wont complain.
i knew craftsman tools were good for something!
Cold cut saw FTMFW!
Started with some 1.5" PVC pipe, not too shabby
On to sch 10 1.5"
again, cold cut saws are WIN!
Jig needs a few tweaks to be 100% accurate
Here comes the shitty part, my welds. Im starting to get a little pissed at steel. start at 75ish amps and my color is ok but NO penetration, if i turn up the heat to >100 amps i get 'ok' penetration but the weld turns black
Im using a 3/32 red tungsten with 1/16 308 rod with regulator set at 22CFH on my syncrowave 200. Aluminum seems so much easier for me, i can lay down pretty decent beads no problem on that, just steel is being a pain in the ***
this part sucked the most, got some contamination in there and a little too much heat, what a pain to get in there!
here are some of my aluminum welds.
Thanks for looking, If any pros feel like helping me out with suggestions/critique etc i'd appreciate it
also here's a pic of my workplace
Junior Member
Joined: Jan 2007
Posts: 186
Likes: 0
From: colorado
bevel your ss pipe, that will help with you penetration and not overheating your base material.also clean the inside of the pipe as the same as you would on the outside and backpurge for sure. possibly get a gas lense if you dont have one yet. keep up the practice and good luck.
Last edited by dart2.2; Jun 16, 2009 at 04:37 AM.
Honda-Tech Member
Joined: Sep 2003
Posts: 8,357
Likes: 5
From: CT
I don't know how you're going to put pipe meeting up to the collector.... good luck with that.
Looks like you need to prep your work better and move faster, but that's just me. I'm not a pro by any means.
Looks like you need to prep your work better and move faster, but that's just me. I'm not a pro by any means.
Honda-Tech Member
Joined: Sep 2008
Posts: 428
Likes: 1
From: Oregon, US
looks like you need to clean/prep the material better, also the get a gas lense the bigger the better! I'de put a milk jug on the end of my torch if I could :-) Also, torch angle plays a big part in the color, you need that argon to shield the puddle that you just put down while it is also sheilding the next puddle...hope that makes since. I weld my sch 10 with a syncrowave 200 also, and a good amprage is around 55, with 20cfm on the regulator.
Thread Starter
OG Fabricator
Joined: Jun 2009
Posts: 606
Likes: 0
From: DFW, TX
what do you guys do for prep? i use a wire wheel then acetone. anything else i should be doing?
just picked up my gas lense, lets see if it improves.
just picked up my gas lense, lets see if it improves.
Thread Starter
OG Fabricator
Joined: Jun 2009
Posts: 606
Likes: 0
From: DFW, TX
no i dont have a backpurge setup YET. i did some adjustments and i think i finally got the grasp of it, now i just need a steadier hand.
heres a few new pics.


heres a few new pics.
Trending Topics

Honda-Tech Member
Joined: May 2009
Posts: 64
Likes: 0
From: Germany
ahh that looks awesome, yea just a bit messy but thats all a practice thing i guess... im in the same boat once my welder is here haha. right now i only got the theory more or less right.
oh btw, no offense but could you do us a favour and resize the pictures when you upload them? to like 800x600 makes it WAY easier to load the page and look at the pics
oh btw, no offense but could you do us a favour and resize the pictures when you upload them? to like 800x600 makes it WAY easier to load the page and look at the pics

Honda-Tech Member
Joined: Feb 2005
Posts: 1,590
Likes: 1
From: Ohio
Are you actually using a coldcut saw, or did you just put a blade on an abrasive chop saw? Ive been toying with the idea of just using a blade and slowing the saw down with a regulator

Honda-Tech Member
Joined: Sep 2004
Posts: 1,257
Likes: 0
From: Fargo, ND, US
those saws scare the **** out of me, i had a peice come loose on me, and it flew into the wall.
clamp that **** down tight... haha
clamp that **** down tight... haha
Honda-Tech Member
Joined: Jun 2009
Posts: 206
Likes: 0
Well you're off to a good start. Keep at it. Ok, since all your welds look to be on the burnt side, I'm wondering if first,you have your postflow set correctly and secondly, you are allowing the metal to be protected after each stop by simply holding the torch over what you just welded. Remember, you must not breath on, move your torch or let a gust of wind blow out that postflow. When the metals molecules heat up, they start to drift apart which allows impurities in the air to get in between, causing the metal to be weak(dark looking) due to a lack of tightly bonded molecules. The argon that you use creates a cloud that drives out the oxygen, allowing the molecules to safely separate when heating up, and join back together while cooling. Just like it was stated above, set your regulator at 20 cfm( no greater or you have a problem with either a leaky line or your gas lens is clogged) and always crack your valve quickly everytime before you install your regulator on a new bottle. You don't want dust to be rammed into you regulator at 1500plus psi. It's crazy how many details go into welding, so feel free to ask all the questions you want. Here is an example of good gas coverage throughout the weld.
Honda-Tech Member
Joined: Sep 2004
Posts: 1,257
Likes: 0
From: Fargo, ND, US
You need to find a good book on welding or read way more online.
Honda-Tech Member
Joined: May 2009
Posts: 64
Likes: 0
From: Germany

honestly ive never touched a tig torch yet and my machine should be here this week, i hope

Thread Starter
OG Fabricator
Joined: Jun 2009
Posts: 606
Likes: 0
From: DFW, TX
Well you're off to a good start. Keep at it. Ok, since all your welds look to be on the burnt side, I'm wondering if first,you have your postflow set correctly and secondly, you are allowing the metal to be protected after each stop by simply holding the torch over what you just welded. Remember, you must not breath on, move your torch or let a gust of wind blow out that postflow. When the metals molecules heat up, they start to drift apart which allows impurities in the air to get in between, causing the metal to be weak(dark looking) due to a lack of tightly bonded molecules. The argon that you use creates a cloud that drives out the oxygen, allowing the molecules to safely separate when heating up, and join back together while cooling. Just like it was stated above, set your regulator at 20 cfm( no greater or you have a problem with either a leaky line or your gas lens is clogged) and always crack your valve quickly everytime before you install your regulator on a new bottle. You don't want dust to be rammed into you regulator at 1500plus psi. It's crazy how many details go into welding, so feel free to ask all the questions you want. Here is an example of good gas coverage throughout the weld.
yes i do hold the torch untill the postflow is over. i think i got the coloring down now, just have to work on dropping a steady bead now and thats just going to be practice.
one question, how much do you guys weld at a time before you stop and let the metal cool off a bit? 1/2" 1"?
Honda-Tech Member
Joined: Jun 2009
Posts: 206
Likes: 0
After the dips you turn off the arc. You need to see if you had gone too far and the earlier dips had darkened. Try this: On a single piece of 1 1/2" sch 40 stainless pipe. Weld, normally, as if there were a joint with a bevel. Same amperage, dip spacing... all that stuff. But go for as long as you can travel in one pass. Once you stop, only let completely off the pedal. DO NOT MOVE YOUR TORCH. When the hssssss of the post flow stops. Then count how many dips are colored. This should give you a good rule of thumb on how far to travel each time you push that pedal.
Honda-Tech Member
Joined: Sep 2004
Posts: 1,257
Likes: 0
From: Fargo, ND, US
After the dips you turn off the arc. You need to see if you had gone too far and the earlier dips had darkened. Try this: On a single piece of 1 1/2" sch 40 stainless pipe. Weld, normally, as if there were a joint with a bevel. Same amperage, dip spacing... all that stuff. But go for as long as you can travel in one pass. Once you stop, only let completely off the pedal. DO NOT MOVE YOUR TORCH. When the hssssss of the post flow stops. Then count how many dips are colored. This should give you a good rule of thumb on how far to travel each time you push that pedal.
OG Fabricator
Joined: Feb 2005
Posts: 1,864
Likes: 1
From: Burlington, Ont., Canada
does the colour/haz not have something to do with lense/cup size, argon flow, amperage setting, thickness of base metal, type of filler used, temperature of the base metal when starting an arc and torch angle as well? i find colour in the haz is effected greatly by those things. i think there is more to it than just post flow and how far you travel.
Thread Starter
OG Fabricator
Joined: Jun 2009
Posts: 606
Likes: 0
From: DFW, TX
After the dips you turn off the arc. You need to see if you had gone too far and the earlier dips had darkened. Try this: On a single piece of 1 1/2" sch 40 stainless pipe. Weld, normally, as if there were a joint with a bevel. Same amperage, dip spacing... all that stuff. But go for as long as you can travel in one pass. Once you stop, only let completely off the pedal. DO NOT MOVE YOUR TORCH. When the hssssss of the post flow stops. Then count how many dips are colored. This should give you a good rule of thumb on how far to travel each time you push that pedal.