

Water 4 Gas (Hydrogen Injection) Increase MPG? Putting it to the test. (56k beware)

Thread Starter
Honda-Tech Member

Joined: Mar 2004
Posts: 855
Likes: 1
From: Edmonton, AB, Canada
Hello all,
I'm testing this system in my 1991 Civic EF Hatch:
The ones online look like this: (The guy who made this sells nothing put 400 pages of a manual) all parts have to be sourced from other companies, or created from parts you have to find yourself. (Easy to do)
These are sold from US companies and a basic idea what everything looks like.


There is much skepticism about this system, and i'm going to try it out, and see if it works, the theory says you can increase your gas mileage from 10%-100% by burning HHO (Gas Form) with Gasoline, as opposed to Just Oxygen & Gasoline.
I'll keep you posted with results and pictures, video once it's altogether.
Please, don't tell me why this is stupid, i could care less, i'm going to try it out, and let you know what happens. So positive replies only, and anyone else testing their system, let me know.
This is One Part of a 6 part system
These are all the parts I've bought. I'm currently making the system for part 1.

Modified by rival12 at 10:31 PM 6/14/2008
I'm testing this system in my 1991 Civic EF Hatch:
The ones online look like this: (The guy who made this sells nothing put 400 pages of a manual) all parts have to be sourced from other companies, or created from parts you have to find yourself. (Easy to do)
These are sold from US companies and a basic idea what everything looks like.
There is much skepticism about this system, and i'm going to try it out, and see if it works, the theory says you can increase your gas mileage from 10%-100% by burning HHO (Gas Form) with Gasoline, as opposed to Just Oxygen & Gasoline.
I'll keep you posted with results and pictures, video once it's altogether.
Please, don't tell me why this is stupid, i could care less, i'm going to try it out, and let you know what happens. So positive replies only, and anyone else testing their system, let me know.
This is One Part of a 6 part system
These are all the parts I've bought. I'm currently making the system for part 1.
Modified by rival12 at 10:31 PM 6/14/2008

Thread Starter
Honda-Tech Member
Joined: Mar 2004
Posts: 855
Likes: 1
From: Edmonton, AB, Canada
The container i'm going to use costed $4.01 CDN It's 1 Gallon Canister (3.8L)
I bought this container at walmart, they say to use a glass jar with a plastic cap, but i figure this will do. It's got more volume, so i in theory should be able to produce more gas, we'll see how it goes.
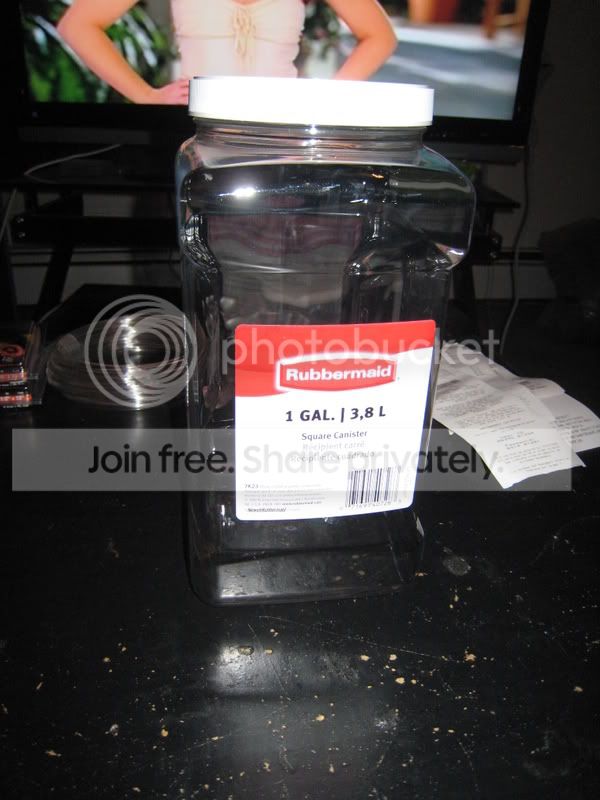
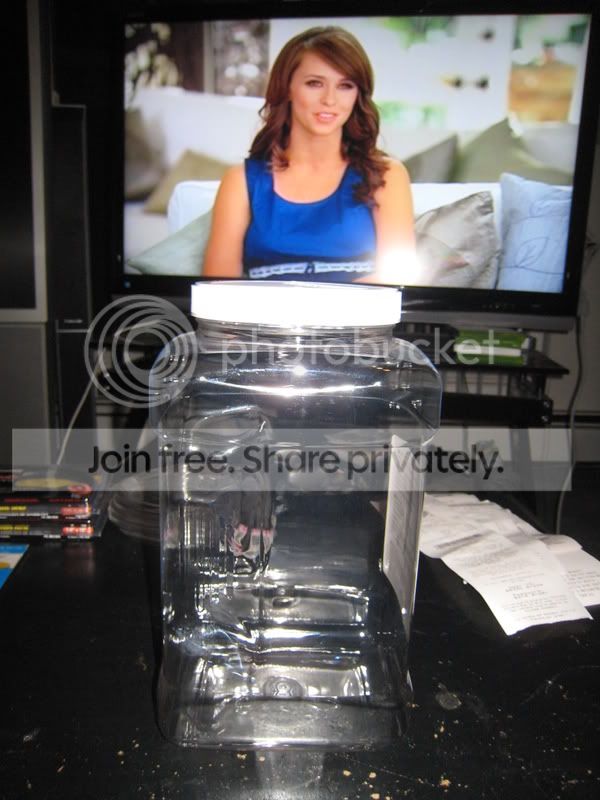
I didn't plan the commercial on the TV, haha.
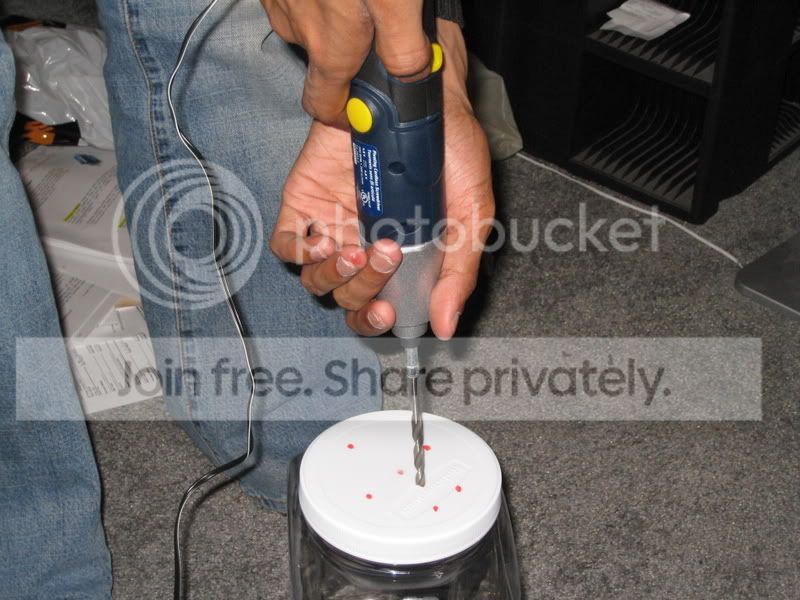
I've got to drill the cap to put the terminals, check valve, and bubbler cap.
I think the plastic should work a little nicer in the bay, the car is a stiff ride as is, don't want the recommended glass jar shaking around....
Modified by rival12 at 5:46 AM 6/15/2008
I bought this container at walmart, they say to use a glass jar with a plastic cap, but i figure this will do. It's got more volume, so i in theory should be able to produce more gas, we'll see how it goes.
I didn't plan the commercial on the TV, haha.
I've got to drill the cap to put the terminals, check valve, and bubbler cap.
I think the plastic should work a little nicer in the bay, the car is a stiff ride as is, don't want the recommended glass jar shaking around....
Modified by rival12 at 5:46 AM 6/15/2008
Honda-Tech Member
Joined: Nov 2007
Posts: 671
Likes: 0
From: Vaughan, ontario, canada
dude i made one of theas out of a old battery  from a atv thoes acid ones with the plugs dran the acid and put water and add bakeing soda
and put power scraw fitings to each hole and u got a cheep gen it also works if u hook a glass jar with a air tight seal to a vac line it works well under vac the bubles will be pulled off the plates insted of riseing off slowly whitch will make more hydrogen it works well try it out
from a atv thoes acid ones with the plugs dran the acid and put water and add bakeing soda and put power scraw fitings to each hole and u got a cheep gen it also works if u hook a glass jar with a air tight seal to a vac line it works well under vac the bubles will be pulled off the plates insted of riseing off slowly whitch will make more hydrogen it works well try it out
Honda-Tech Member
Joined: Sep 2005
Posts: 2,758
Likes: 0
From: CA
<TABLE WIDTH="90%" CELLSPACING=0 CELLPADDING=0 ALIGN=CENTER><TR><TD>Quote, originally posted by Saosinx »</TD></TR><TR><TD CLASS="quote">subscribed to this! good luck  </TD></TR></TABLE>
</TD></TR></TABLE>

Trending Topics
Thread Starter
Honda-Tech Member
Joined: Mar 2004
Posts: 855
Likes: 1
From: Edmonton, AB, Canada
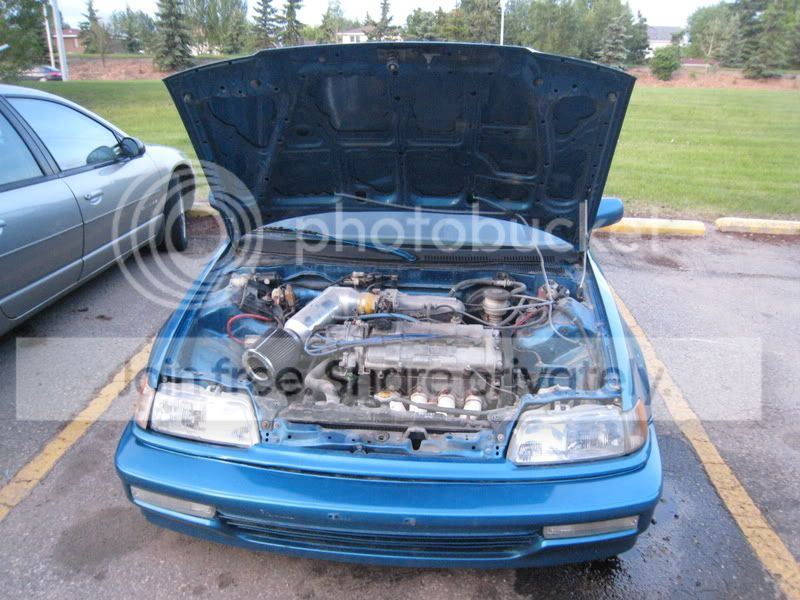
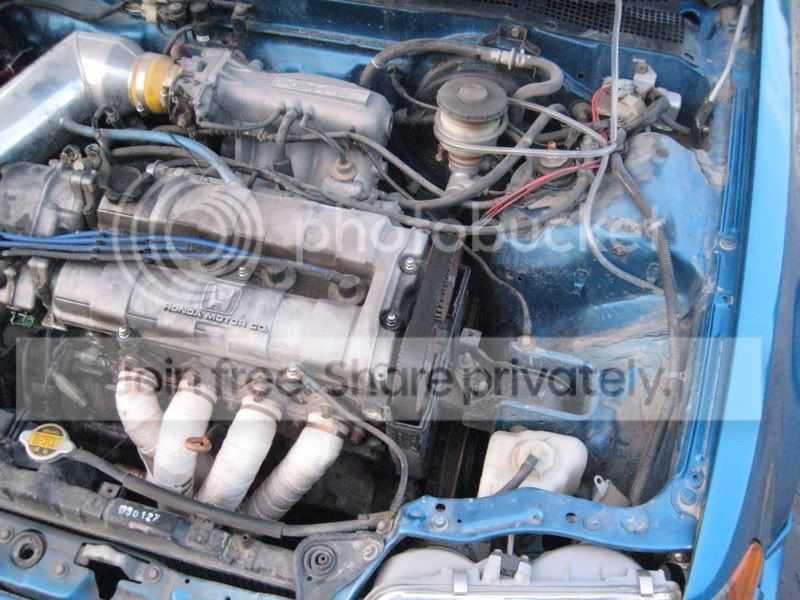
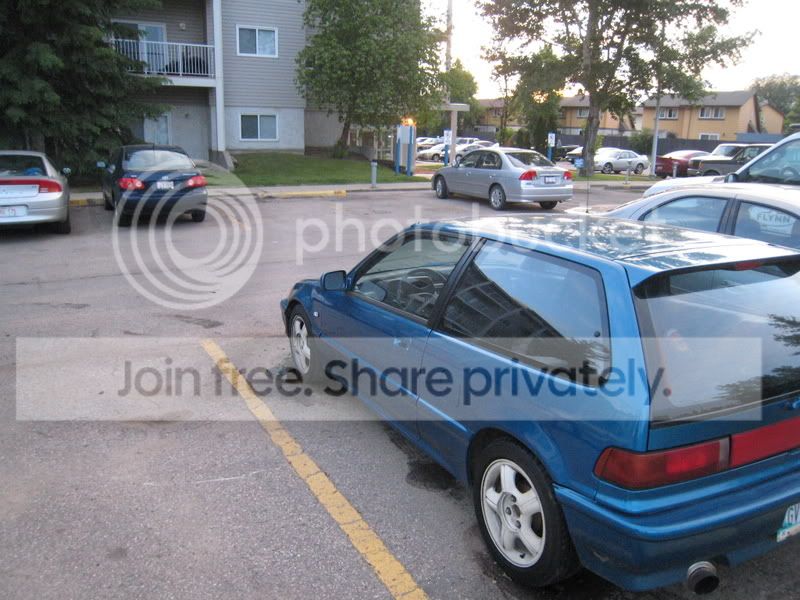
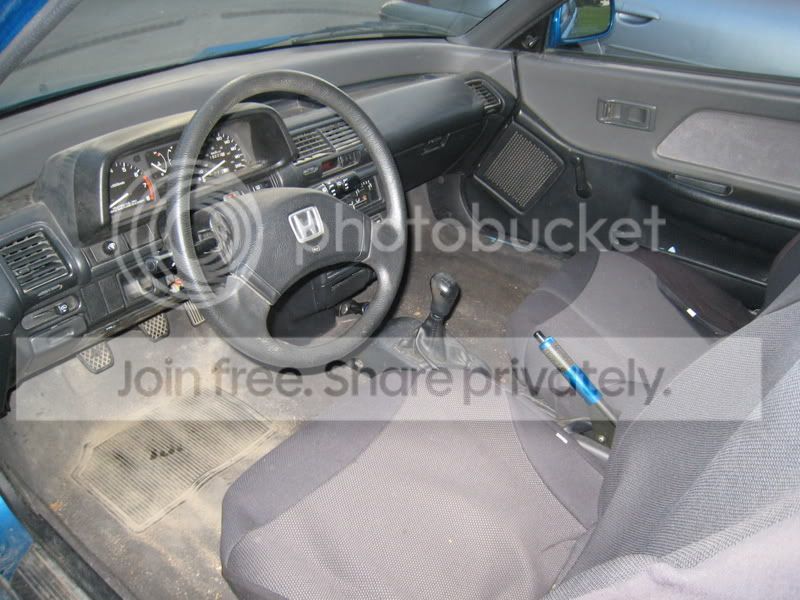
I'm getting to it tomorrow, apparently i left my drill at my buddies place. Here's some pics of the engine bay & car.
Mods on the Car:
Big Honker Intake (i have no idea what brand it is), Trust Header (wrapped), Custom Exhaust (Straight Pipe no catalytic converter)
ZC Dohc Motor (running clean)
Stripped Rear Interior
Rear Battery (For now, putting a smaller/lighter one in the front on tuesday or wednesday)
It's got bilstein shocks and neuspeed race springs (doesn't affect the motor, but just to keep you all informed)
See Below:
Yes i agree, celestial blue is a nice stock colour.
My vehicle has 118,000 KM's = 73,200 Miles (That's the conversion i think 1.61 ratio)
I have three cars, and this one gets driven the least, and only in the summer.


Modified by rival12 at 5:58 AM 6/15/2008
Mods on the Car:
Big Honker Intake (i have no idea what brand it is), Trust Header (wrapped), Custom Exhaust (Straight Pipe no catalytic converter)
ZC Dohc Motor (running clean)
Stripped Rear Interior
Rear Battery (For now, putting a smaller/lighter one in the front on tuesday or wednesday)
It's got bilstein shocks and neuspeed race springs (doesn't affect the motor, but just to keep you all informed)
See Below:
Yes i agree, celestial blue is a nice stock colour.
My vehicle has 118,000 KM's = 73,200 Miles (That's the conversion i think 1.61 ratio)
I have three cars, and this one gets driven the least, and only in the summer.
Modified by rival12 at 5:58 AM 6/15/2008
Honda-Tech Member
Joined: Mar 2007
Posts: 11,399
Likes: 69
From: East Coast 506, Canada
Up for some results.
I'm wondering if this system will have any adverse effects on regular steel exhaust pipes. I've read that this gas turns to 100% water vapor when burned. It may have a bit more of an internal rusting effect than the normal amount of water vapor produced by pumped gas????
Good luck hope all those rich oil guys out there don't shut you down.
Thread Starter
Honda-Tech Member
Joined: Mar 2004
Posts: 855
Likes: 1
From: Edmonton, AB, Canada
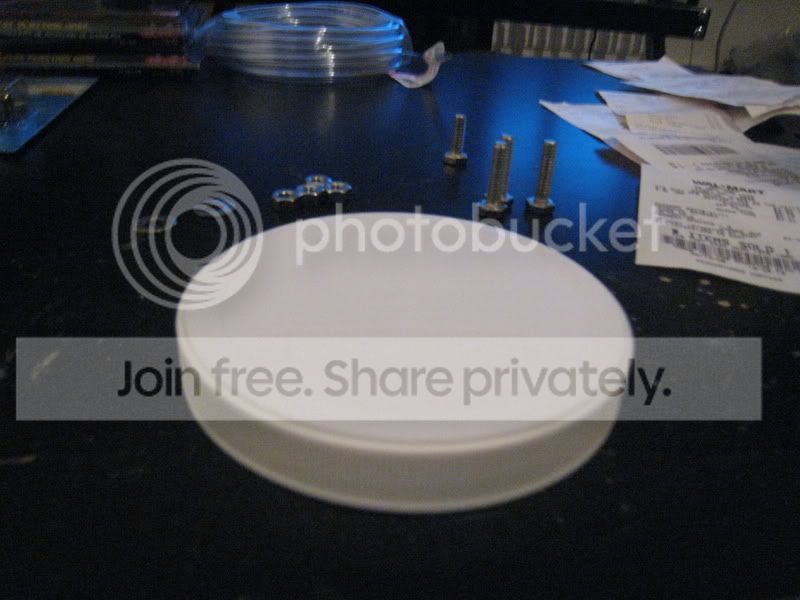
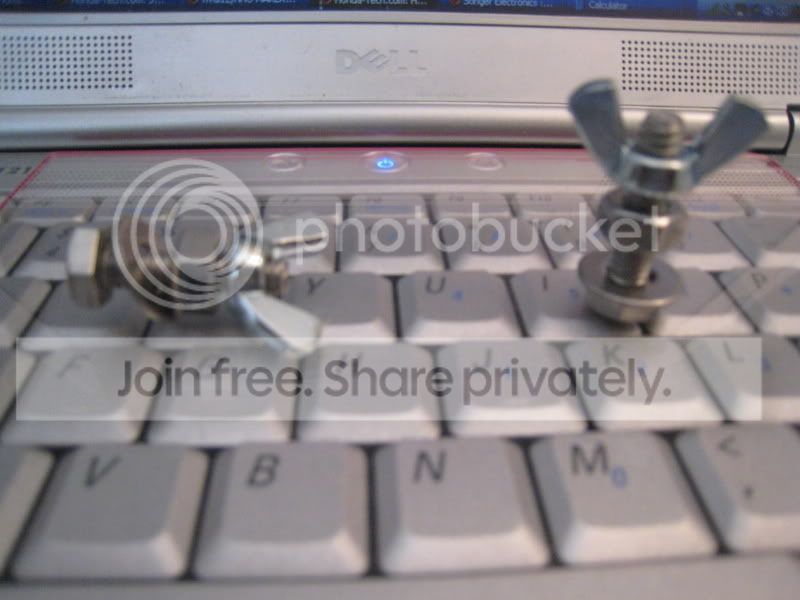
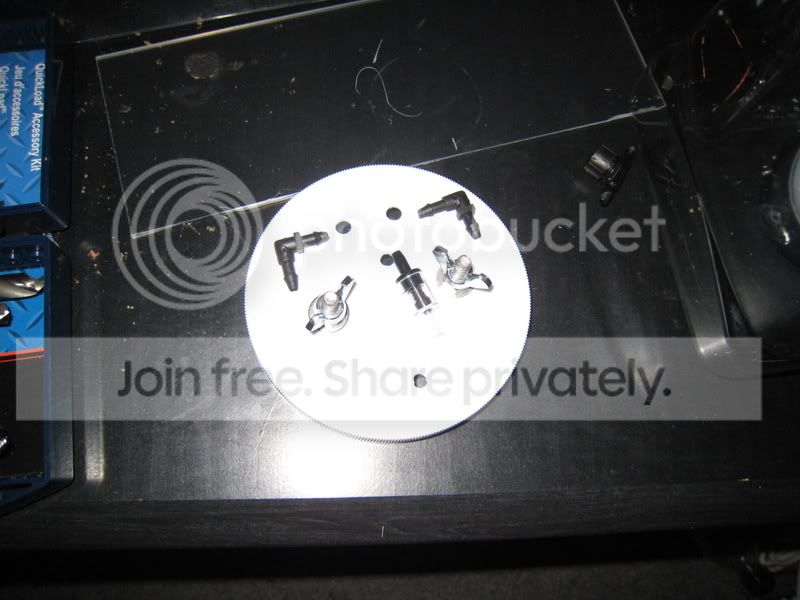
Here's everything i'm putting into the cap/lid, it should look like this when i'm done, and then i'll start to rig up the wiring, and go from there.
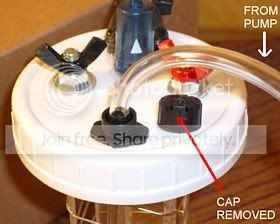
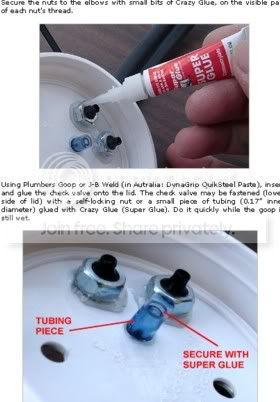
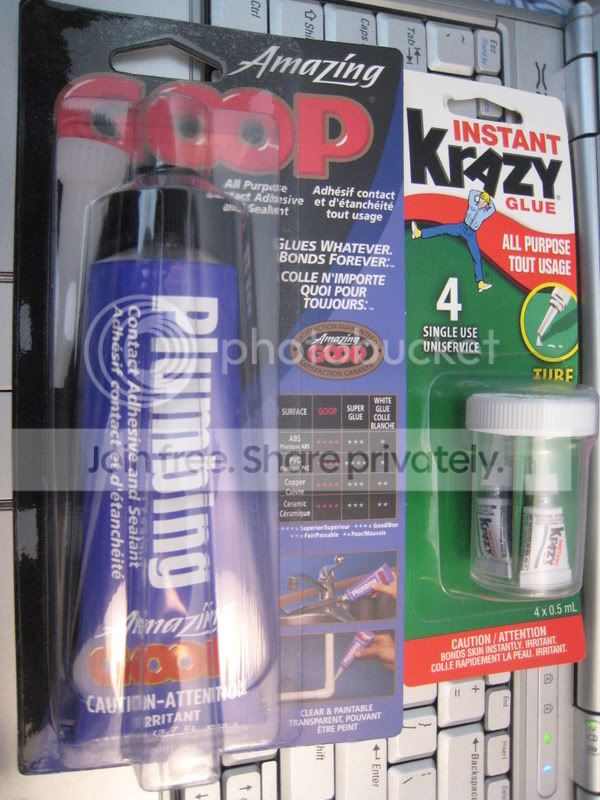
I'm going to use "Plumbing Goop" & "Krazy Glue"
These next parts i found at Home Depot, in the plumbing section (or close to) more to do with irrigation than anything, the guys there were no help....they assured me they didn't carry these...
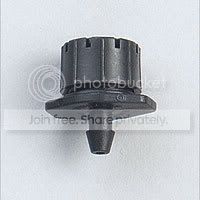
The Adjustable Dripper (Bubbler Valve or Bubbler Cap) Labelled Inline Dripper. (Home Depot) Costed $3.69 CDN (2 pack)

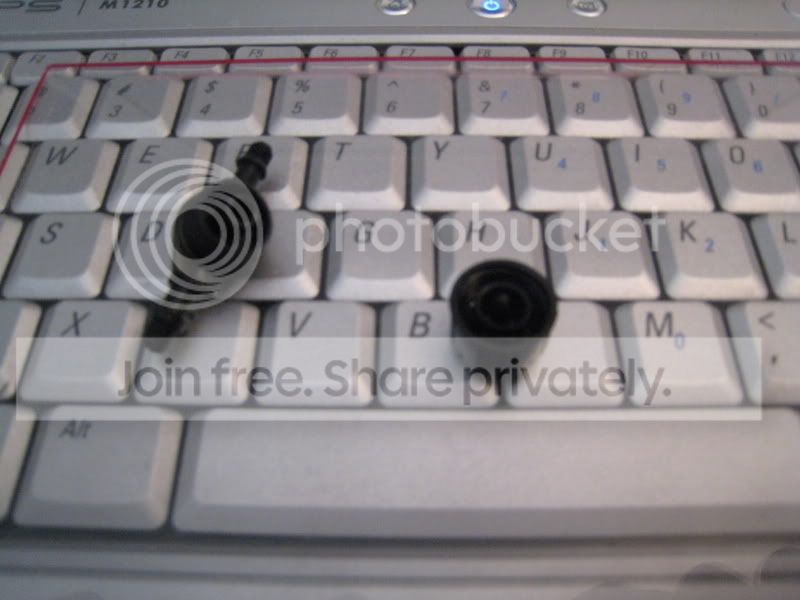

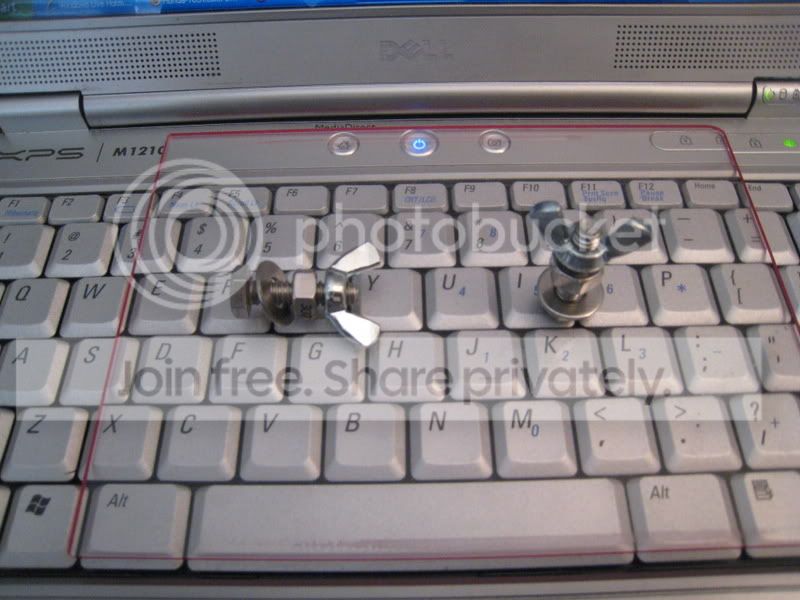
The 1/4x90 degree elbow, i found this right beside the dripper above @ home depot. for $3.59 CDN (4 pack)

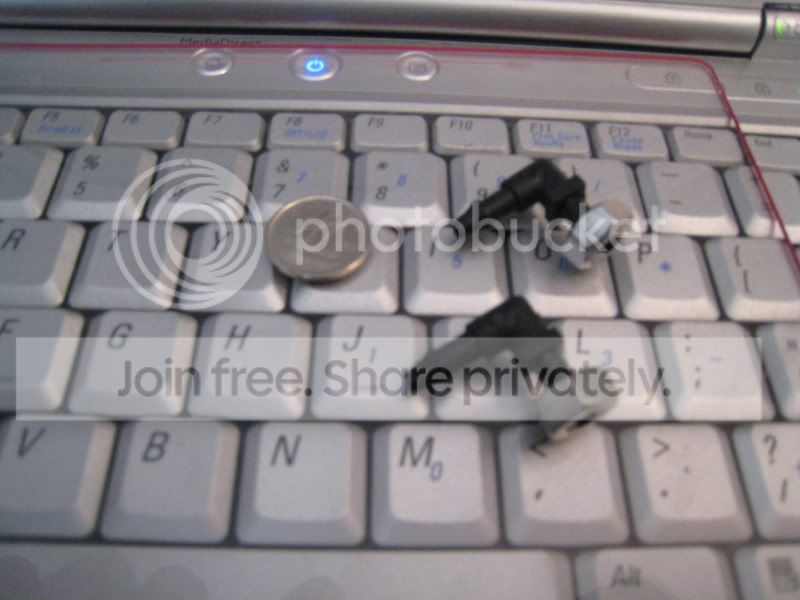
Then the terminal screws with 1/4" wingnuts, i think it was 2$ total.....1/4" x 1" bolt, and then flat washers, and 1/4" nuts... (at home depot)

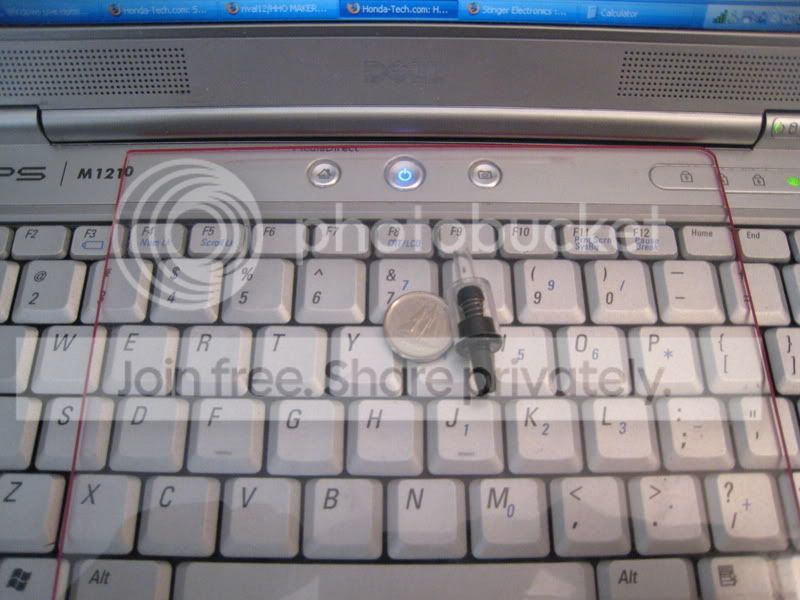
The next part was the check valve, i'm not sure if mine is the right one, in the manual it looks bigger. I went to a pet store that sold aquariums, and they had them, i picked it up for $3.52 CDN i'm going to have a look at another aquarium store to see if there are bigger valves.....before i put it in. Looks like this anyhow.

I'm going to drill all the holes later today. I'll keep you posted!
I'm going to use "Plumbing Goop" & "Krazy Glue"
These next parts i found at Home Depot, in the plumbing section (or close to) more to do with irrigation than anything, the guys there were no help....they assured me they didn't carry these...
The Adjustable Dripper (Bubbler Valve or Bubbler Cap) Labelled Inline Dripper. (Home Depot) Costed $3.69 CDN (2 pack)
The 1/4x90 degree elbow, i found this right beside the dripper above @ home depot. for $3.59 CDN (4 pack)
Then the terminal screws with 1/4" wingnuts, i think it was 2$ total.....1/4" x 1" bolt, and then flat washers, and 1/4" nuts... (at home depot)
The next part was the check valve, i'm not sure if mine is the right one, in the manual it looks bigger. I went to a pet store that sold aquariums, and they had them, i picked it up for $3.52 CDN i'm going to have a look at another aquarium store to see if there are bigger valves.....before i put it in. Looks like this anyhow.
I'm going to drill all the holes later today. I'll keep you posted!
Thread Starter
Honda-Tech Member
Joined: Mar 2004
Posts: 855
Likes: 1
From: Edmonton, AB, Canada
<TABLE WIDTH="90%" CELLSPACING=0 CELLPADDING=0 ALIGN=CENTER><TR><TD>Quote, originally posted by sixgunsound »</TD></TR><TR><TD CLASS="quote">I hope this works out for you man. They say gas is gonna be $2.00/litre by next May.</TD></TR></TABLE>
Yikes, $1.30 here.......brother says it was $1.80 in Winnipeg.
This is step 1, after this I've got to build 5 more things to make the system efficient.
Yikes, $1.30 here.......brother says it was $1.80 in Winnipeg.
This is step 1, after this I've got to build 5 more things to make the system efficient.
Thread Starter
Honda-Tech Member
Joined: Mar 2004
Posts: 855
Likes: 1
From: Edmonton, AB, Canada
<TABLE WIDTH="90%" CELLSPACING=0 CELLPADDING=0 ALIGN=CENTER><TR><TD>Quote, originally posted by 0c00l »</TD></TR><TR><TD CLASS="quote">Your gunna laugh Rival but my container is the same as yours, I got mine from peanut butter filled pretzels! lol</TD></TR></TABLE>
Hahaha excellent, how did you cut your plexi glass?
Hahaha excellent, how did you cut your plexi glass?
Thread Starter
Honda-Tech Member
Joined: Mar 2004
Posts: 855
Likes: 1
From: Edmonton, AB, Canada
Well, i got all the parts except the 316L Grade Steel Wire, i need to head to a welding shop to find it.....i do have 20GA Steel Wire.....which is supposed to work....but apparently it will rust after a month, and then you need to take it out....
Let's go for wednesday or thursday to have part 1 all installed for the 1st test run.
I'll build the water vaporizer in the mix also, that's the easy part. (Part2)
I'm just finishing the cap, and going to start on the Plexiglas. I'll post up pics later.
Update: Should look like this once complete, i just hope it snaps evenly.....

Modified by rival12 at 7:47 PM 6/15/2008
Let's go for wednesday or thursday to have part 1 all installed for the 1st test run.
I'll build the water vaporizer in the mix also, that's the easy part. (Part2)
I'm just finishing the cap, and going to start on the Plexiglas. I'll post up pics later.
Update: Should look like this once complete, i just hope it snaps evenly.....
Modified by rival12 at 7:47 PM 6/15/2008
i remember making hydrogen in chemistry class...not like this though. i don't recall anything really getting hot, and worse case scenario you just leak water on the ground.
as far as rusting, supposedly this thing helps keep the motor clean...kind of like steam cleaning, which makes sense to me. oil and the pcv system will do the job of keeping it lubed
as far as rusting, supposedly this thing helps keep the motor clean...kind of like steam cleaning, which makes sense to me. oil and the pcv system will do the job of keeping it lubed
Thread Starter
Honda-Tech Member
Joined: Mar 2004
Posts: 855
Likes: 1
From: Edmonton, AB, Canada
I don't think it will get too hot, if it does melt, i'll convert to glass....
I apparently bought the wrong adjustable dripper (bubbler cap/valve)
This is the correct one below.
so I've got to head back to Home Depot.....the one i got had two barbs, and i only need one.....
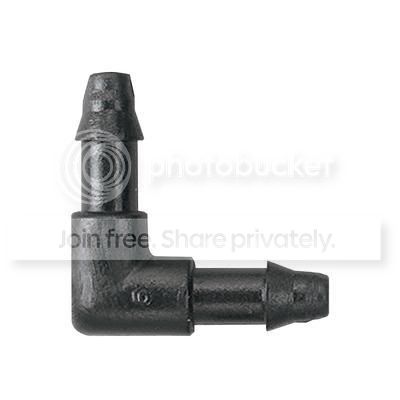
Apparently the elbows i got have a little lip that is preventing the barb from going in.... so I've got to take those back also.... and find new ones also.....they should look like this:
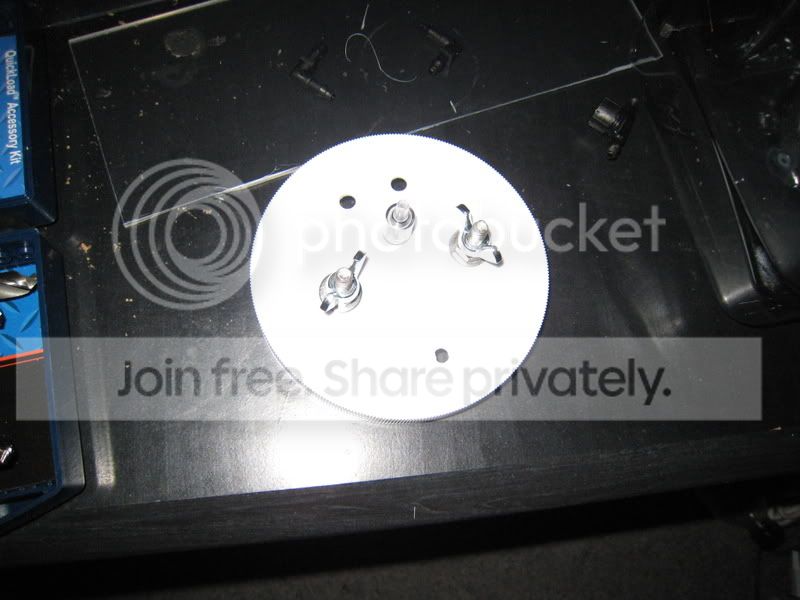
Back to the drawing board for now, I've got all the holes drilled in the cap now, and i just finished splitting the Plexiglas (Plexiglas is fun to split..... ) Haven't put the slots into it yet, i think i may have to find somewhere with a table saw......Here's my progress so far....
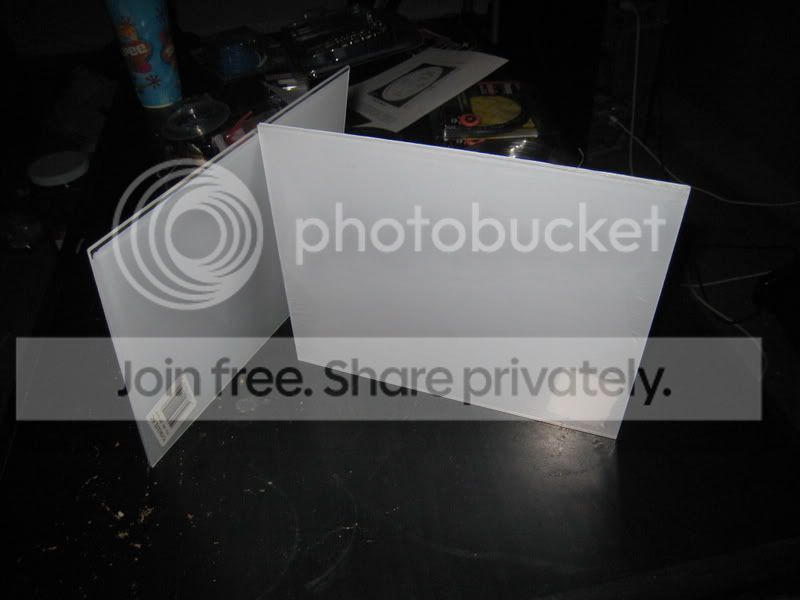
Plexiglass Two Sheets
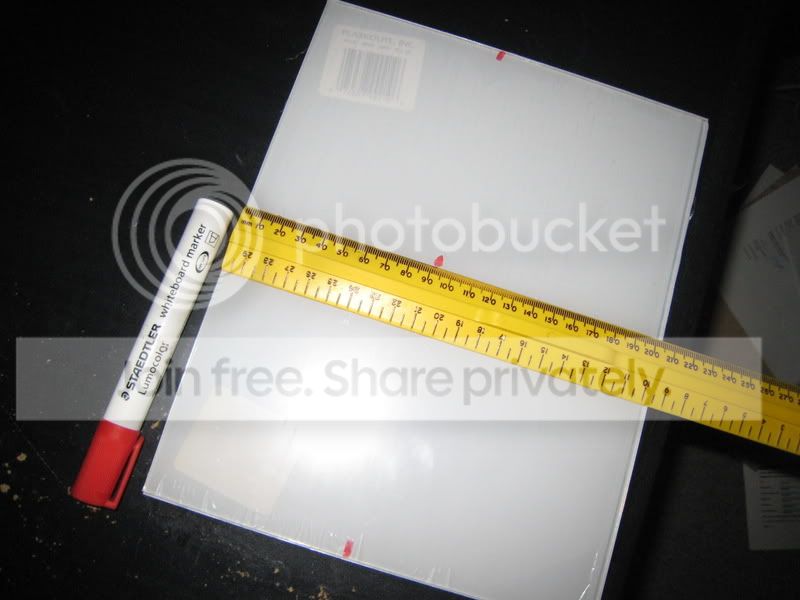
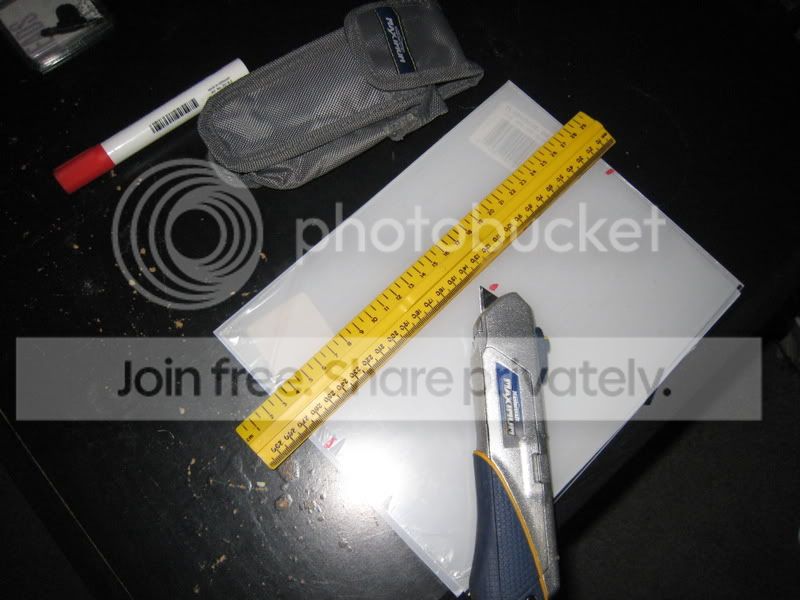
Measuring & Marking with a white board marker, keep in mind you can't cut right through it, i'm just creating a groove with an exacto knife.
After creating a groove on each side....i had to snap the plastic, it doesn't feel like it will, but it worked out all right.
After i started drilling holes in the lid/cap
The terminals & check valve are all set to go, but until i get the net 1/4" 90 degree elbows, i'm on hold, and the bubbler cap too.
Well that's as far as i'm going tonight, i'll keep you posted tomorrow.
I apparently bought the wrong adjustable dripper (bubbler cap/valve)
This is the correct one below.
so I've got to head back to Home Depot.....the one i got had two barbs, and i only need one.....
Apparently the elbows i got have a little lip that is preventing the barb from going in.... so I've got to take those back also.... and find new ones also.....they should look like this:
Back to the drawing board for now, I've got all the holes drilled in the cap now, and i just finished splitting the Plexiglas (Plexiglas is fun to split.....
) Haven't put the slots into it yet, i think i may have to find somewhere with a table saw......Here's my progress so far....Plexiglass Two Sheets
Measuring & Marking with a white board marker, keep in mind you can't cut right through it, i'm just creating a groove with an exacto knife.
After creating a groove on each side....i had to snap the plastic, it doesn't feel like it will, but it worked out all right.
After i started drilling holes in the lid/cap
The terminals & check valve are all set to go, but until i get the net 1/4" 90 degree elbows, i'm on hold, and the bubbler cap too.
Well that's as far as i'm going tonight, i'll keep you posted tomorrow.