

DIY: 4th Gen USDM Black Housing Headlights

Thread Starter
Member
Joined: Dec 2006
Posts: 1,177
Likes: 0
From: Burbz, of Illinois, Iran
As many of you know, I'm 16 - Which means I'm broke. I've always liked the JDM black housing lights and always wanted them but didn't have that much cash to spend on them.
I saw this thread a while back and thought it was pretty cool how the guy took 100 dollar lights and made them look like 200 dollar lights. I was thinking about it for a little bit and I thought since I was broke, why not take these USDM lights (free), get some black krylon paint (about 5 bucks), and make my own 2 piece black housing lights for 5 bucks and some free time.
First, take your headlights off the car.
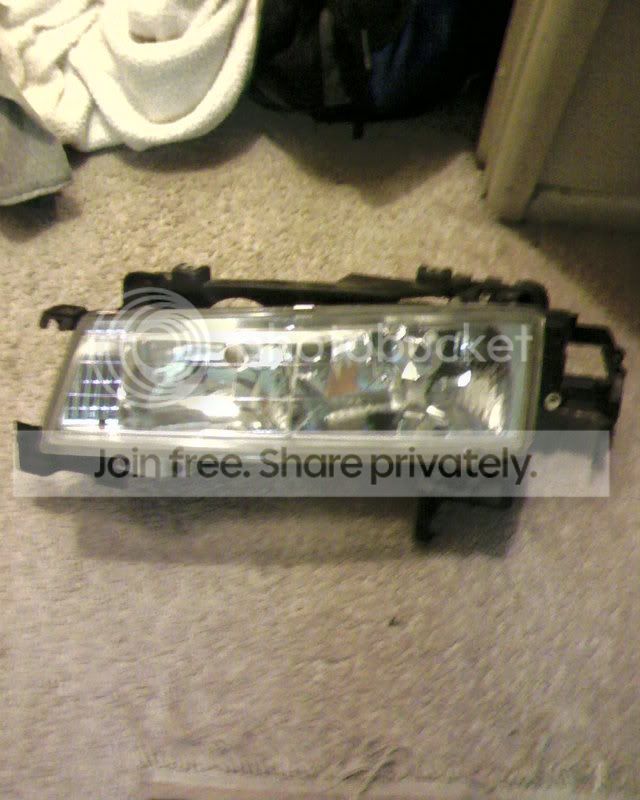
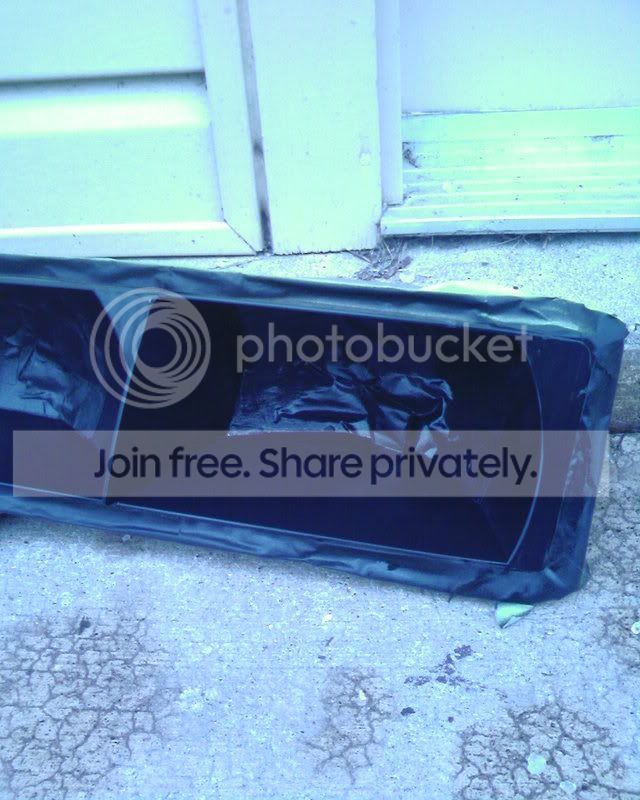
Once the headlight is off the car, start taking out the bulbs and the rear housing and stuff that you wouldn't want going in an oven. You should end up wit this.

Then, preheat your oven to 300 degrees and place the headlights on a oven,safe tray covered with foil.
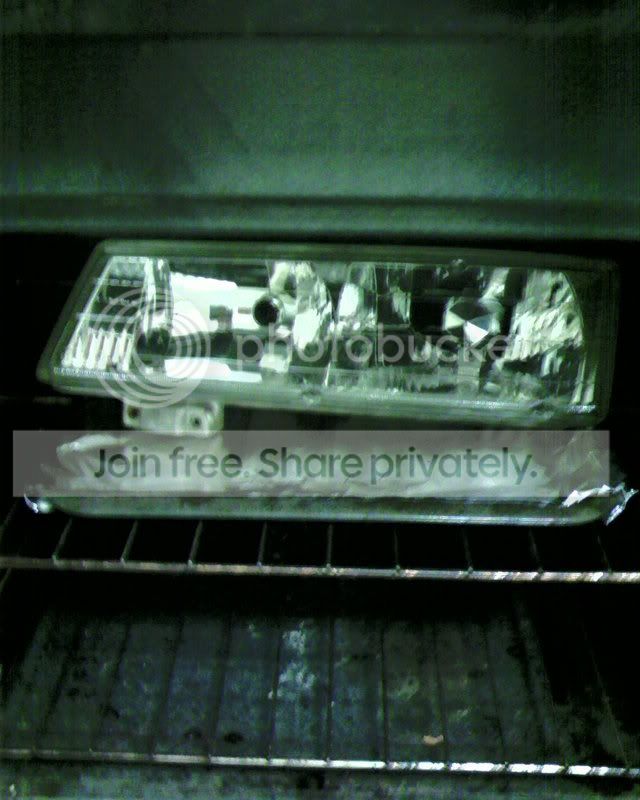
Keep them in there until glue starts melting. Start slowly prying on the glass until you can eventually stick your hand in there and pull it off.
BE CAREFUL WHEN PRYING ON THE GLASS! THE GLASS CHIPS EASILY.
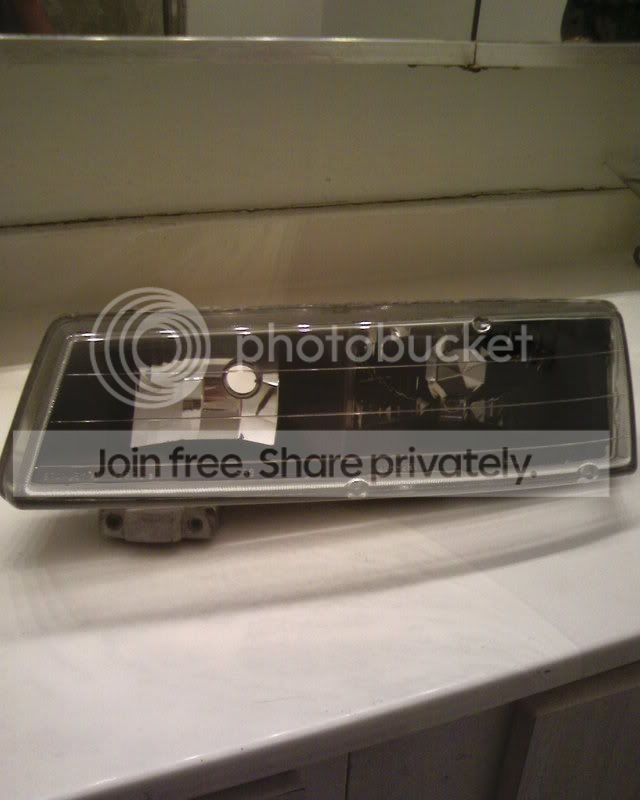
You should end up with this.
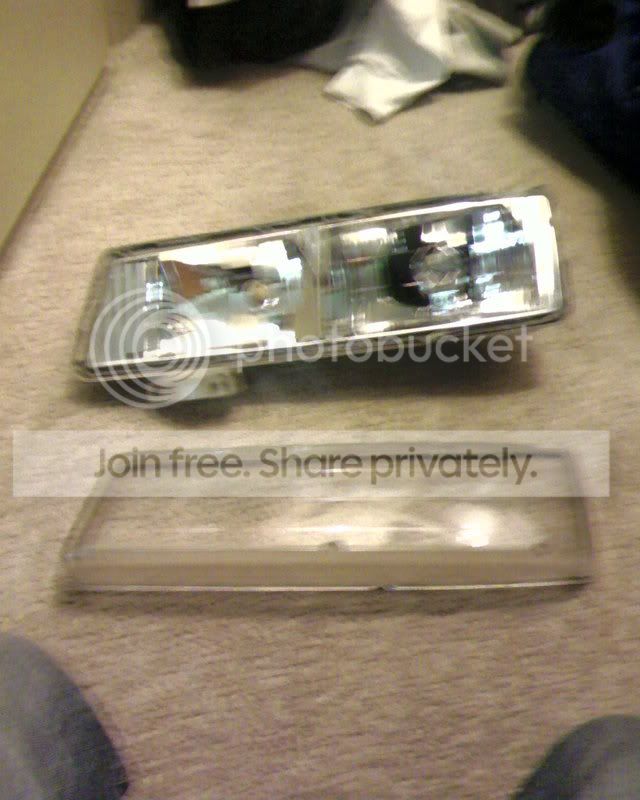
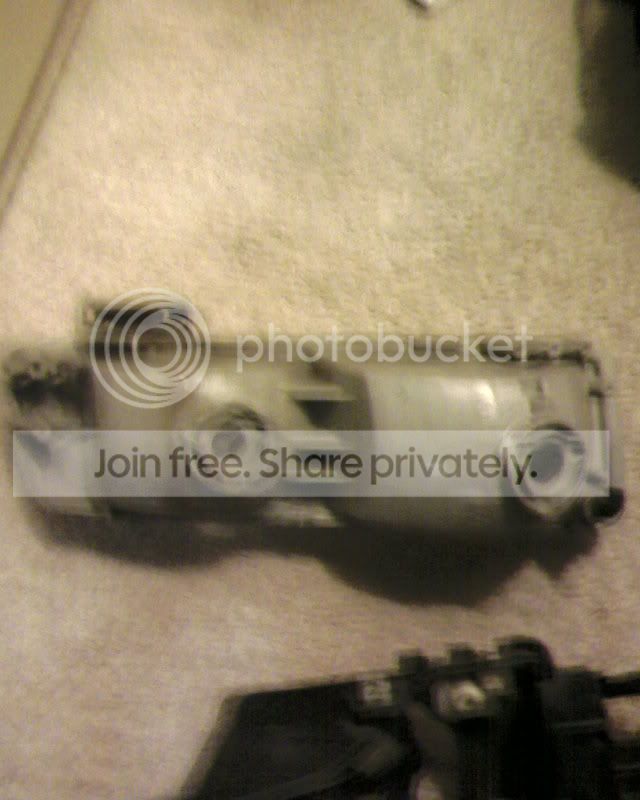
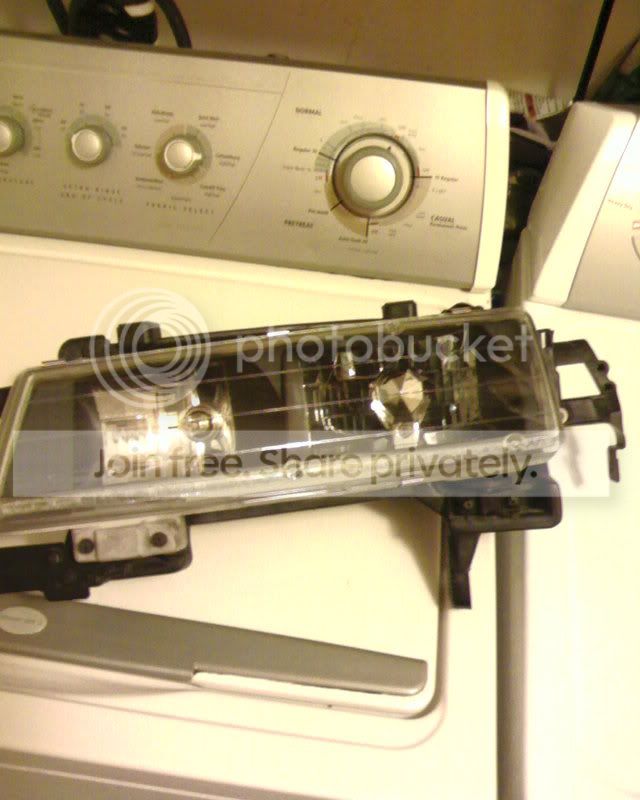
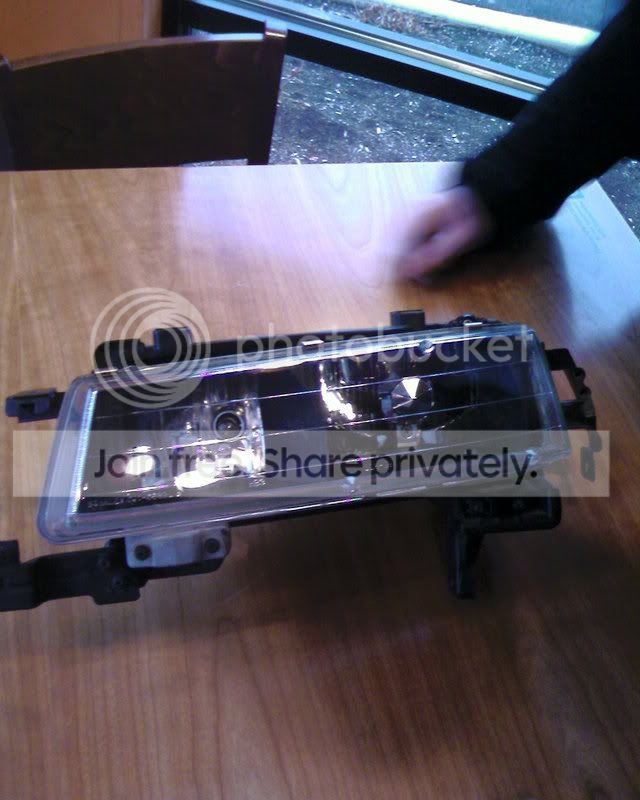
Now take the bulb cover off - There is one screw holding it in.
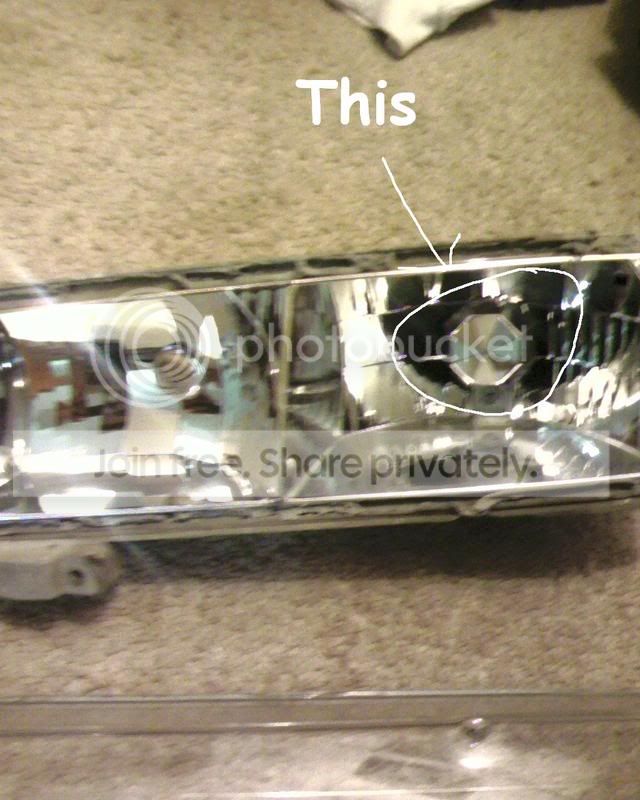
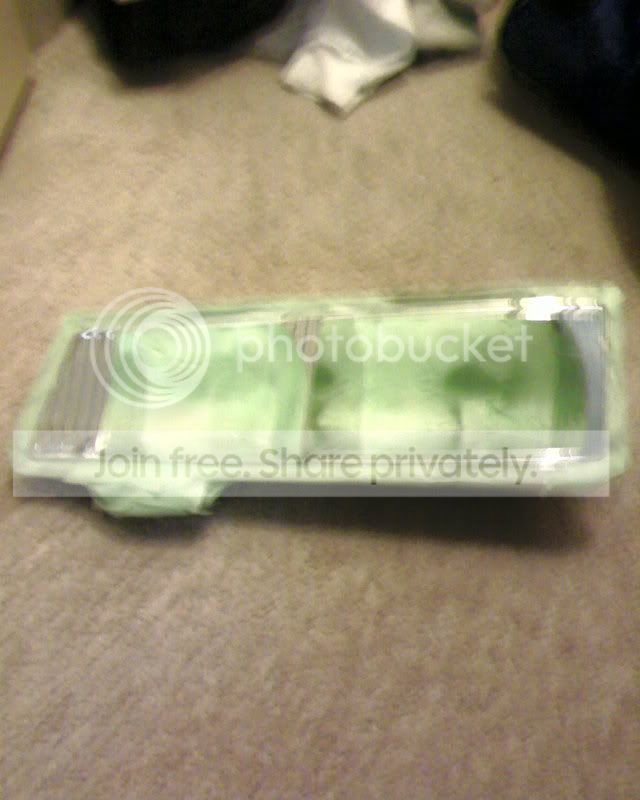
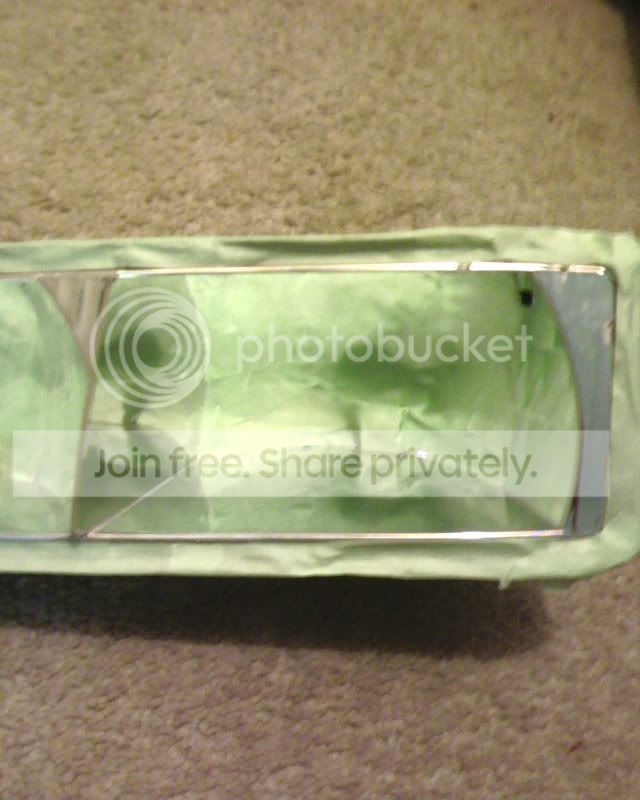
Now start the prep work. Tape up everything you don't want to get painted just like this.
I looked at this pic to see what parts I should keep chrome.
Sorry for the bad pic quality ( taken from my phone)
I'm going to start spraying tomorrow and I'll take some more pics.
Propz to Clint (NirVtec) for giving me a headlight to try this on.
I saw this thread a while back and thought it was pretty cool how the guy took 100 dollar lights and made them look like 200 dollar lights. I was thinking about it for a little bit and I thought since I was broke, why not take these USDM lights (free), get some black krylon paint (about 5 bucks), and make my own 2 piece black housing lights for 5 bucks and some free time.
First, take your headlights off the car.
Once the headlight is off the car, start taking out the bulbs and the rear housing and stuff that you wouldn't want going in an oven. You should end up wit this.
Then, preheat your oven to 300 degrees and place the headlights on a oven,safe tray covered with foil.
Keep them in there until glue starts melting. Start slowly prying on the glass until you can eventually stick your hand in there and pull it off.
BE CAREFUL WHEN PRYING ON THE GLASS! THE GLASS CHIPS EASILY.
You should end up with this.
Now take the bulb cover off - There is one screw holding it in.
Now start the prep work. Tape up everything you don't want to get painted just like this.
I looked at this pic to see what parts I should keep chrome.
Sorry for the bad pic quality ( taken from my phone)
I'm going to start spraying tomorrow and I'll take some more pics.
Propz to Clint (NirVtec) for giving me a headlight to try this on.
Interesting...I was trying to give people some alternative ideas on prelude power, but I never imagined this. I'm actually interested in seing the results. A 2 piece black housing.
Junior Member
Joined: Dec 2006
Posts: 48
Likes: 0
From: Pensacola, FL, U.S.
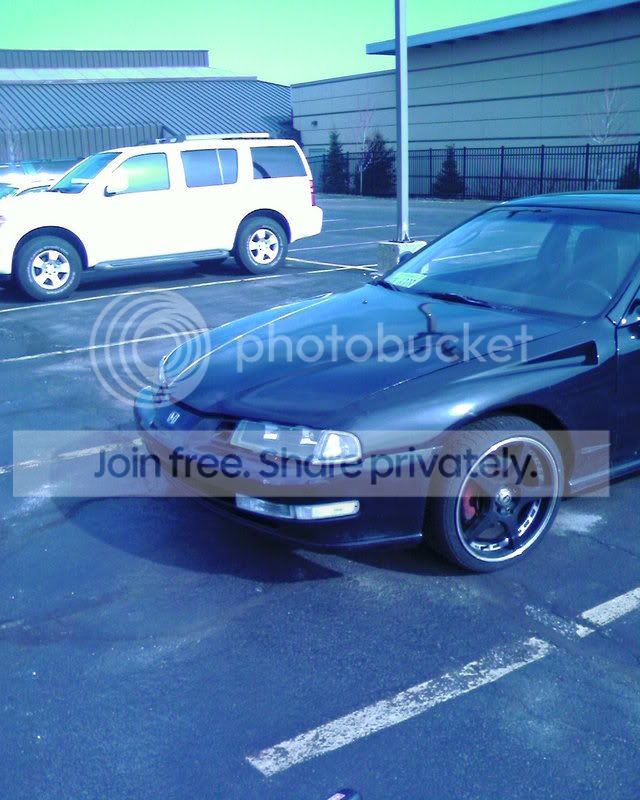
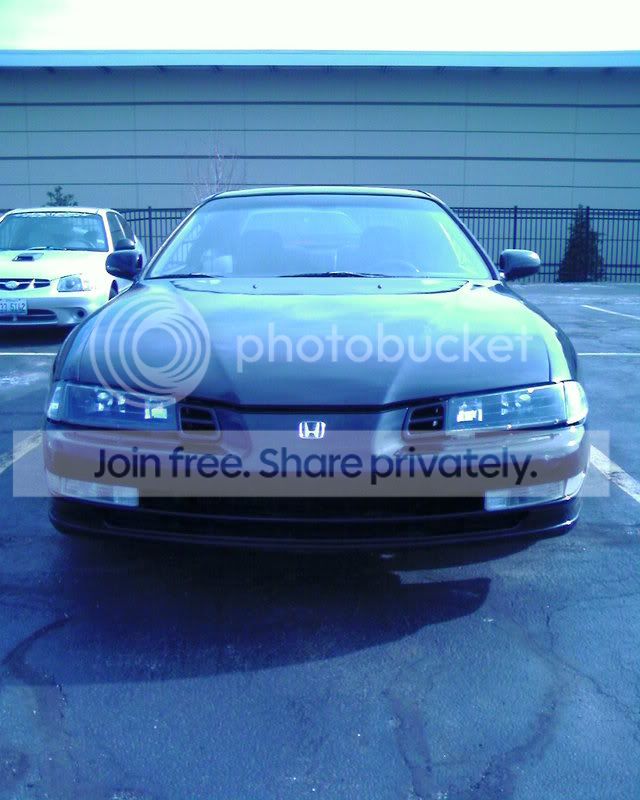
Here's a few pairs that I've done:


Retrofitted-black housing USDM headlights:


I don't see too many people do this to their USDMs, as they go for the JDM ones (as I have), but I do think they look very good.
Retrofitted-black housing USDM headlights:
I don't see too many people do this to their USDMs, as they go for the JDM ones (as I have), but I do think they look very good.
Thread Starter
Member
Joined: Dec 2006
Posts: 1,177
Likes: 0
From: Burbz, of Illinois, Iran
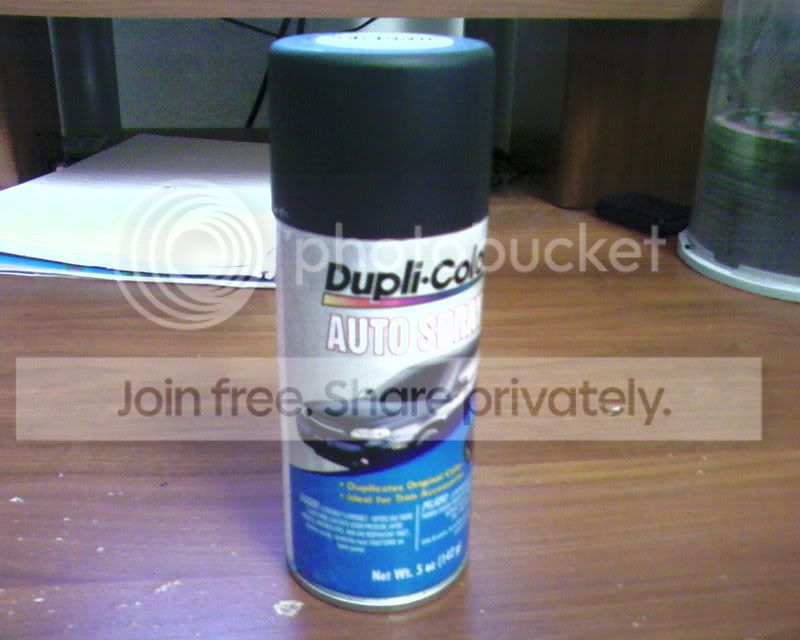
Well I spent all day trying to find krylon flat black for plastic and got irritated when I couldn't find it so I just bought Dupli-color Universal Flat black.
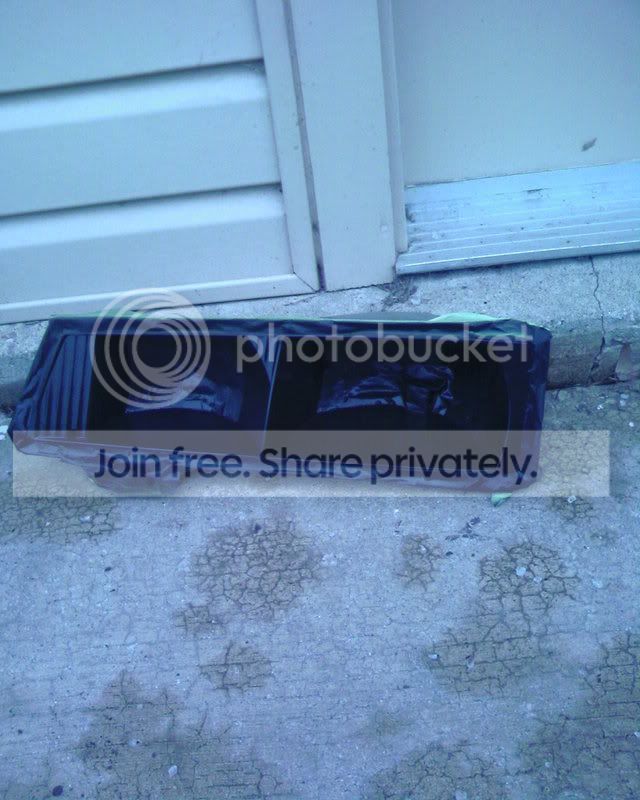
Started spraying and here's where I am right now
This would also be a good time to tint your glass if you wanted to
Paint I used
After this, I took out the tape

Then, clean the glass inside and out.
Place the glass on top of the housing and squeeze down a bit.
Now take your cookie tray and preheat over again to 300 degrees.
Keep it in for about 3 minutes and then take it out
Then take an oven mit and start squeezing down on the glass so it goes in place
You might have to do this a couple of times before it is in all the way
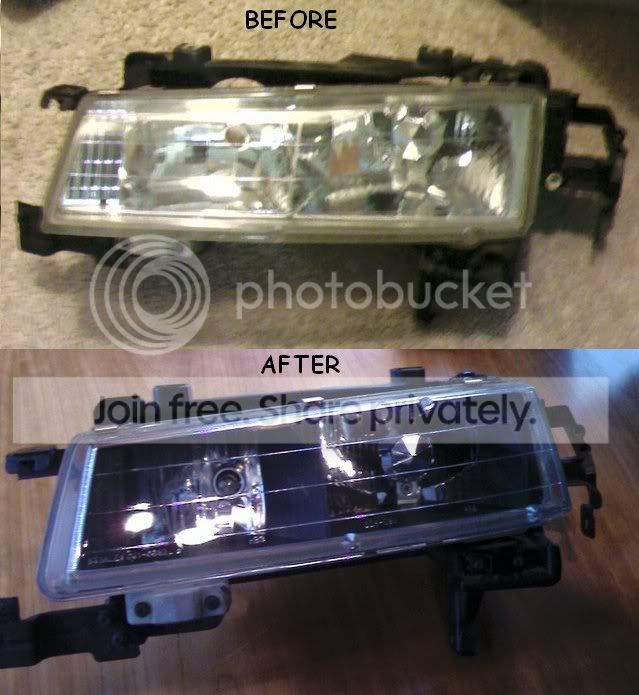
You should end up with this
Start putting housing back together and WA-LA. Here's the finished product
This cost me only 5 dollars for the paint and my free time and I did this all with 2 screwdrivers and an oven (not including taking the headlight off the car ) You might also want to get some sealant and go around the headlight to make sure they seal right.
Modified by prelude_93vtec at 8:06 PM 3/30/2008
Started spraying and here's where I am right now
This would also be a good time to tint your glass if you wanted to
Paint I used
After this, I took out the tape
Then, clean the glass inside and out.
Place the glass on top of the housing and squeeze down a bit.
Now take your cookie tray and preheat over again to 300 degrees.
Keep it in for about 3 minutes and then take it out
Then take an oven mit and start squeezing down on the glass so it goes in place
You might have to do this a couple of times before it is in all the way
You should end up with this
Start putting housing back together and WA-LA. Here's the finished product
This cost me only 5 dollars for the paint and my free time and I did this all with 2 screwdrivers and an oven (not including taking the headlight off the car
) You might also want to get some sealant and go around the headlight to make sure they seal right.Modified by prelude_93vtec at 8:06 PM 3/30/2008
Trending Topics
Joined: Mar 2008
Posts: 3
Likes: 0
From: Portland, OR, USA
I've done this with several headlights on VW's I've owned. The only bit of advise I'd add is to use flat black high temp. paint because it heats up quite a bit inside the housing. The first pair I did got ruined because I used normal paint and the paint cracked and blistered. I also recommend using GE window and door silicone sealant (in black). After disassembling the headlights they tend to fog up rather easily. I use this stuff all around to prevent fogging. I mean, why risk it after you've put so much work into it? Nice job though, looks real clean. 
Honda-Tech Member
Joined: May 2006
Posts: 954
Likes: 0
From: York, PA, United States
slam that beotch yooo! haha jp dude but the headlight look good for what they are . You catch a lotta crap for 4x4 status I assume...I know I did...for like a year untill I got the skunk2 and koni yellows?
. You catch a lotta crap for 4x4 status I assume...I know I did...for like a year untill I got the skunk2 and koni yellows?
Junior Member
Joined: Jun 2007
Posts: 505
Likes: 0
From: N.O., Louisiana, United States
Haha I usually get thrown the term "monster truck" for my 18s on the stock suspension (working on a fix). Anyway great job on the lights, they came out beautiful. Best alternative to $300 JDMs or leak prone after markets! I could actually pick up a set of black JDMs really cheap if I could figure out a way to repair peeling in the reflective area...


Thread
Thread Starter
Forum
Replies
Last Post
rickashay
Honda Accord (1990 - 2002)
6
Apr 12, 2009 03:04 PM