

Very Amber Guage Cluster DIY

Thread Starter
Joined: May 2006
Posts: 1,567
Likes: 0
From: in yo fridge eatin yo foodz
Alright, well my Mom has a Toyota Tacoma, and her guage cluster is a nice amber color. I wanted my del slow to have the same color guage cluster so I started trying different stuff, and finally founf what I was look in for  Before we start, please forgive me for the horrible pics...
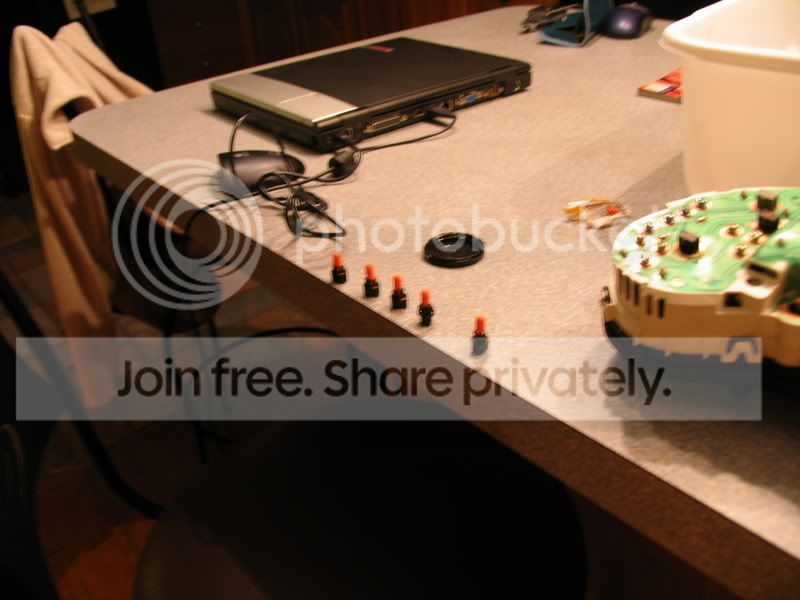
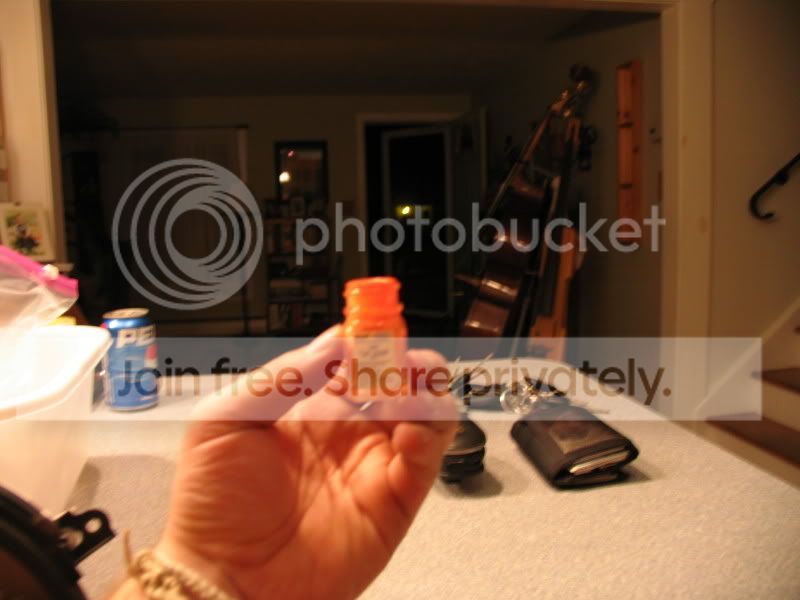
Alright, well what we will be using to make this nice deep color amber is ORANGE testors paint! Who would have thought?
1.) Pull the guage cluster out of your car. If you're not sure how, there are plenty of articles here on how to do it to your model Honda.
2.)Get yourself some orange ACRYLIC testors paint (available at your local walmart.
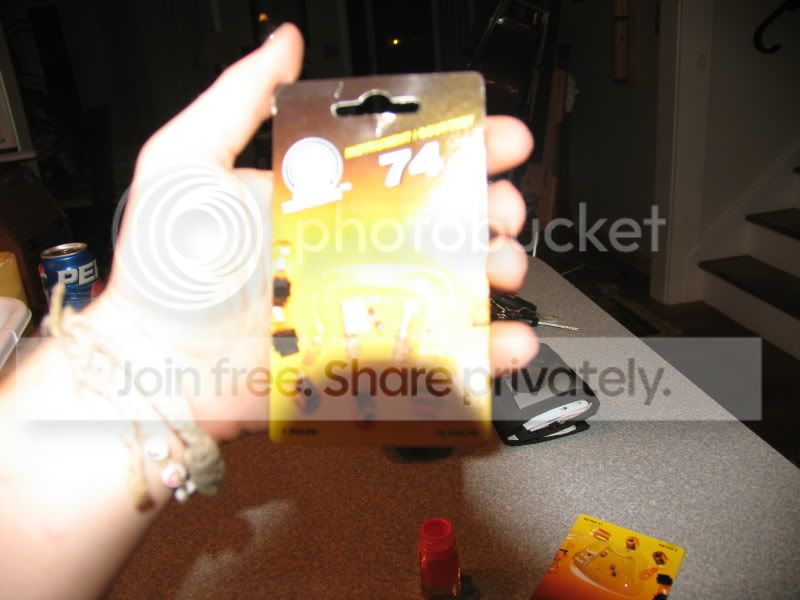
3.)Also, while you're doing this anyways, I suggest changing ALL the bulbs! When I did this I only bought one packet of light bulbs (2 bulbs per packet) and later that night noticed that I had 3 dead bulbs!!

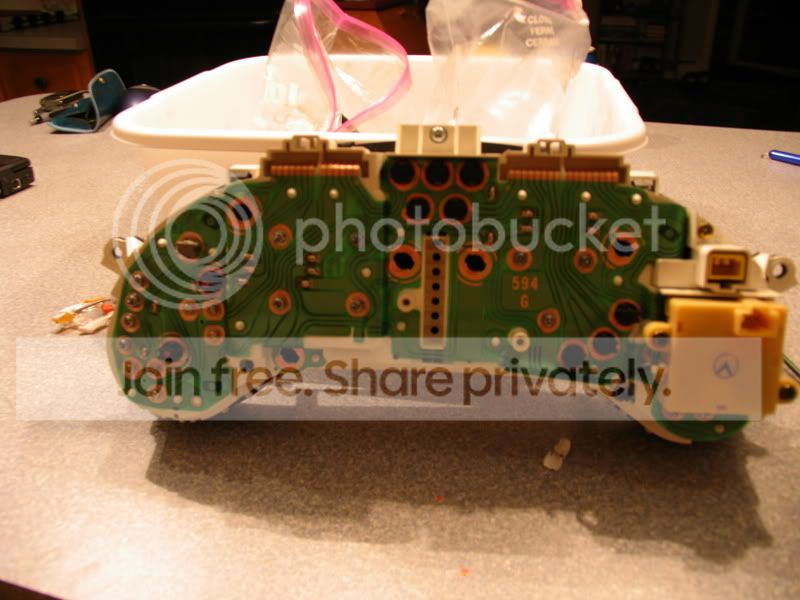
4.) Take all the necessary bulbs out of the cluster, change them, and get ready to paint!! I noticed on my gauge cluster that all the bulbs used to provide light on the speedo, tach, ect where marked with a little pink dot.
5.) Paint the bulbs with one coat of the orange testors paint. Make sure you cover the whole bulb with paint!
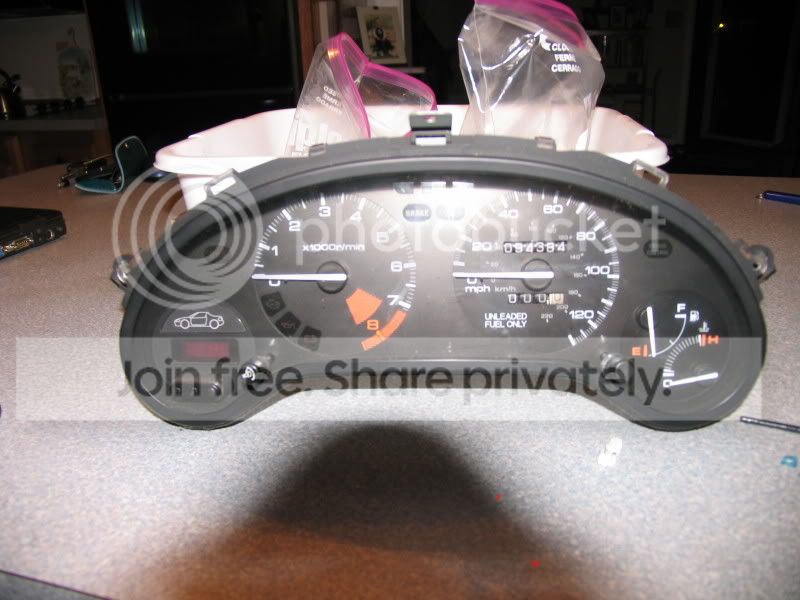
6.) Reinstall the bubls when dry. And replace cluster. Should look like this.

If you notice, where the 100mph mark is on the speedo is a little darker then it should be. This was due to me not replacing a burned out bulb.
So far, I love them. NIce and easy on the eyes, and look really nice IMHO. Hope this helped!
-James-
Before we start, please forgive me for the horrible pics... Alright, well what we will be using to make this nice deep color amber is ORANGE testors paint! Who would have thought?
1.) Pull the guage cluster out of your car. If you're not sure how, there are plenty of articles here on how to do it to your model Honda.
2.)Get yourself some orange ACRYLIC testors paint (available at your local walmart.
3.)Also, while you're doing this anyways, I suggest changing ALL the bulbs! When I did this I only bought one packet of light bulbs (2 bulbs per packet) and later that night noticed that I had 3 dead bulbs!!
4.) Take all the necessary bulbs out of the cluster, change them, and get ready to paint!!
I noticed on my gauge cluster that all the bulbs used to provide light on the speedo, tach, ect where marked with a little pink dot. 5.) Paint the bulbs with one coat of the orange testors paint. Make sure you cover the whole bulb with paint!
6.) Reinstall the bubls when dry. And replace cluster. Should look like this.
If you notice, where the 100mph mark is on the speedo is a little darker then it should be. This was due to me not replacing a burned out bulb.
So far, I love them. NIce and easy on the eyes, and look really nice IMHO. Hope this helped!
-James-

Thread Starter
Joined: May 2006
Posts: 1,567
Likes: 0
From: in yo fridge eatin yo foodz
aah yeah, i an integra too. you can get premade amber bulbs (194 i believe), but it looks kinda yellow-ish to me. when you do it this way it has that nice deep amber color.
i also couldnt find amber 74 bulbs. just clear
i also couldnt find amber 74 bulbs. just clear

Thread Starter
Joined: May 2006
Posts: 1,567
Likes: 0
From: in yo fridge eatin yo foodz
ive been looking for more info on del sols on this site, but everytime i use the quick search function and type "del sol" i get like 30 results...? this site is huge, why do i get so little?
Trending Topics
Honda-Tech Member
Joined: Apr 2004
Posts: 2,273
Likes: 0
From: Staples Center, CA
<TABLE WIDTH="90%" CELLSPACING=0 CELLPADDING=0 ALIGN=CENTER><TR><TD>Quote, originally posted by 97gsrjames »</TD></TR><TR><TD CLASS="quote">bump for an answer</TD></TR></TABLE>
you just need this thread https://honda-tech.com/zerothread?id=757567 ....which it seems that you already found...all your questions can be answered in there
you just need this thread https://honda-tech.com/zerothread?id=757567 ....which it seems that you already found...all your questions can be answered in there
Honda-Tech Member
Joined: Oct 2004
Posts: 11,416
Likes: 0
From: Big Canada, Minnesota
<TABLE WIDTH="90%" CELLSPACING=0 CELLPADDING=0 ALIGN=CENTER><TR><TD>Quote, originally posted by Rev Hard9999 »</TD></TR><TR><TD CLASS="quote">looks nice man good job </TD></TR></TABLE>
</TD></TR></TABLE>
Thread Starter
Joined: May 2006
Posts: 1,567
Likes: 0
From: in yo fridge eatin yo foodz
alright guys. im off to sleep. thank you again for all the comments! and polite ones at that!
ill be doing the climate control tomarrow morning, along with the rest of my sub install! i think you'll like it. very subtle, takes up very little room, looks classy, and pounds hard when you want! its very nice. cant wait to post it!
-James-
ill be doing the climate control tomarrow morning, along with the rest of my sub install! i think you'll like it. very subtle, takes up very little room, looks classy, and pounds hard when you want! its very nice. cant wait to post it!
-James-
Honda-Tech Member
Joined: Sep 2005
Posts: 2,305
Likes: 0
From: red sox, massachusetts
<TABLE WIDTH="90%" CELLSPACING=0 CELLPADDING=0 ALIGN=CENTER><TR><TD>Quote, originally posted by ekay. jay »</TD></TR><TR><TD CLASS="quote">Looks good, but why not just buy some amber bulbs?</TD></TR></TABLE>

Honda-Tech Member
Joined: Oct 2004
Posts: 1,559
Likes: 0
From: VietNam, USA
i tried it, i went to walmart but they didnt have it. so i went to michaels, but they didnt have acrylic i used ethinal orange paint, brand name testor. It isnt as bright 
actually its bright as those jdm eg clusters to give you an idea.
actually its bright as those jdm eg clusters to give you an idea.
Honda-Tech Member
Joined: Apr 2004
Posts: 2,273
Likes: 0
From: Staples Center, CA
<TABLE WIDTH="90%" CELLSPACING=0 CELLPADDING=0 ALIGN=CENTER><TR><TD>Quote, originally posted by 97gsrjames »</TD></TR><TR><TD CLASS="quote">alright guys. im off to sleep. thank you again for all the comments! and polite ones at that!
ill be doing the climate control tomarrow morning, along with the rest of my sub install! i think you'll like it. very subtle, takes up very little room, looks classy, and pounds hard when you want! its very nice. cant wait to post it!
-James-</TD></TR></TABLE>
bump for climate control pics...can you post pics on how to take off cliimate control?
Thread Starter
Joined: May 2006
Posts: 1,567
Likes: 0
From: in yo fridge eatin yo foodz
<TABLE WIDTH="90%" CELLSPACING=0 CELLPADDING=0 ALIGN=CENTER><TR><TD>Quote, originally posted by fastertyper »</TD></TR><TR><TD CLASS="quote">
bump for climate control pics...can you post pics on how to take off cliimate control? </TD></TR></TABLE>
i will make a post on how to take i out. its pretty straight forward. all you do is take your radio out, and there is a screw towards the top of where the radio sits. take that out and it'll slide out.
bump for climate control pics...can you post pics on how to take off cliimate control?
</TD></TR></TABLE>i will make a post on how to take i out. its pretty straight forward. all you do is take your radio out, and there is a screw towards the top of where the radio sits. take that out and it'll slide out.
Thread Starter
Joined: May 2006
Posts: 1,567
Likes: 0
From: in yo fridge eatin yo foodz
<TABLE WIDTH="90%" CELLSPACING=0 CELLPADDING=0 ALIGN=CENTER><TR><TD>Quote, originally posted by TURBODC4TEG »</TD></TR><TR><TD CLASS="quote">friend did that and the paint burned off good luck</TD></TR></TABLE>
thats why we use acrylic paint, not enamel ... thanks though. I'm also willing to bet he used sharpie.
anything alcohol based will burn off
thats why we use acrylic paint, not enamel
... thanks though. I'm also willing to bet he used sharpie.anything alcohol based will burn off
Honda-Tech Member
Joined: Apr 2004
Posts: 2,273
Likes: 0
From: Staples Center, CA
<TABLE WIDTH="90%" CELLSPACING=0 CELLPADDING=0 ALIGN=CENTER><TR><TD>Quote, originally posted by 97gsrjames »</TD></TR><TR><TD CLASS="quote">thats why we use acrylic paint, not enamel ... thanks though. I'm also willing to bet he used sharpie.
anything alcohol based will burn off</TD></TR></TABLE>
yeh still post a pic up...all my interior is out of my car right now...i know there are 4 screws to pull out the headunit...i haven't really looked under to find any other screws but it will just be easier for me if you just take a pic...when you actually do the install and paint the lights behind the climate control