

Wildout’s Motor Build-Up with nuff pics, you've been warned

Thread Starter
Honda-Tech Member
Joined: Dec 2005
Posts: 360
Likes: 8
From: Whitby, Ontario, Canada
So I finally had enough time to write up a progress thread of my engine build up. The whole reason why I ended up having to rebuild the motor this year was because of a burnt 4th cylinder exhaust valve, so I decided I might as well fix all the problems now while I had the time…i.e. valve seals and oil control rings.
So it begins, with what my motor looked like just after pulling it from the engine bay.
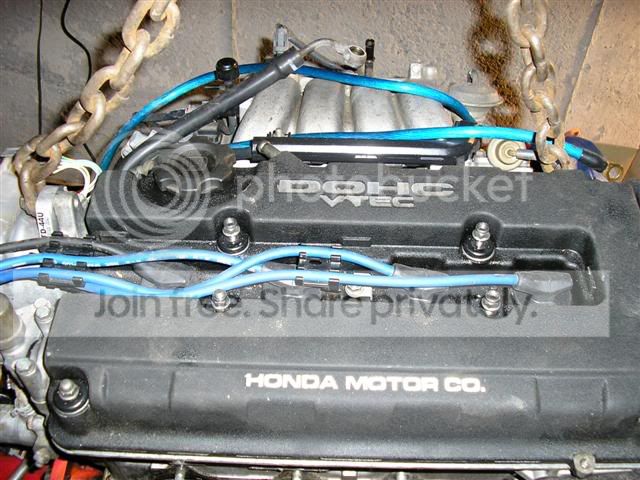
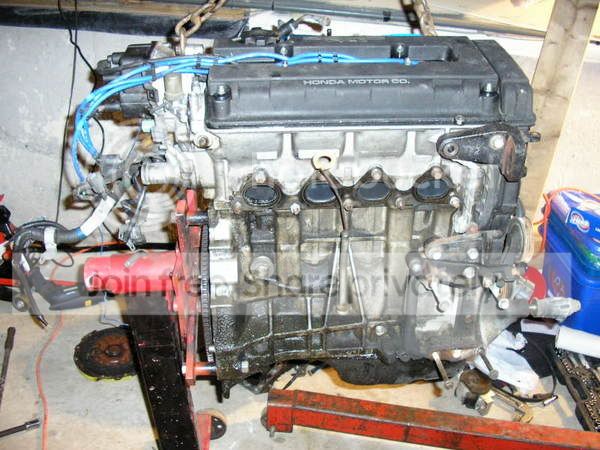
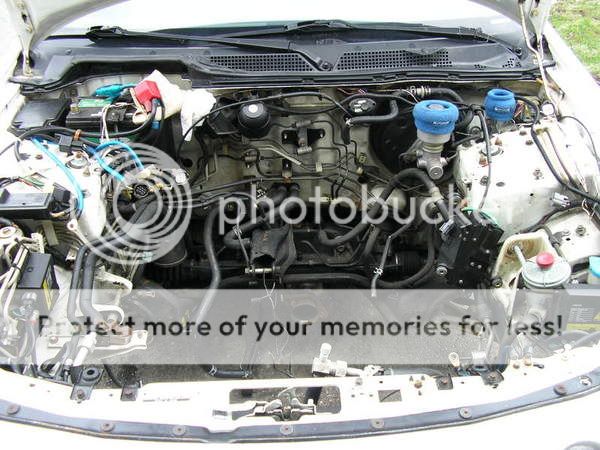
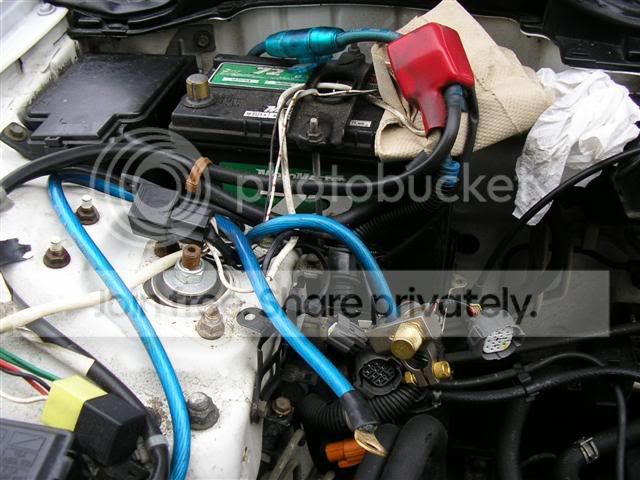
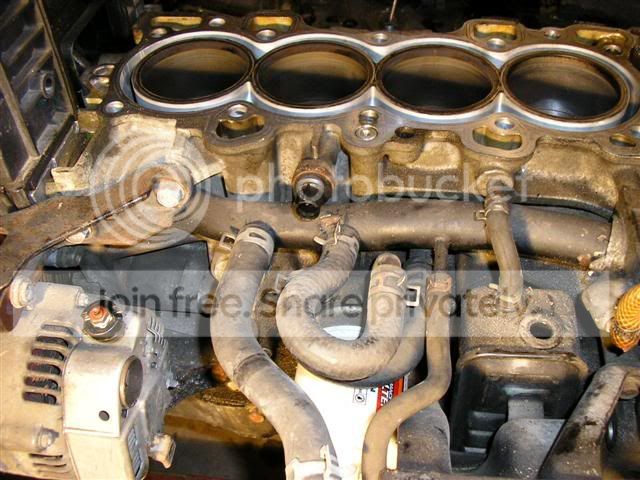
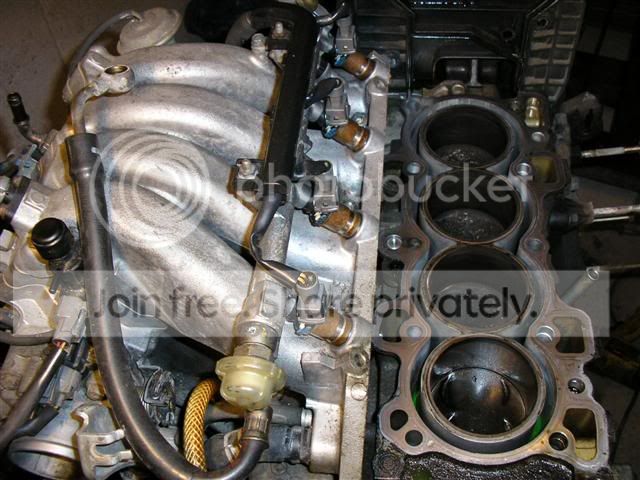
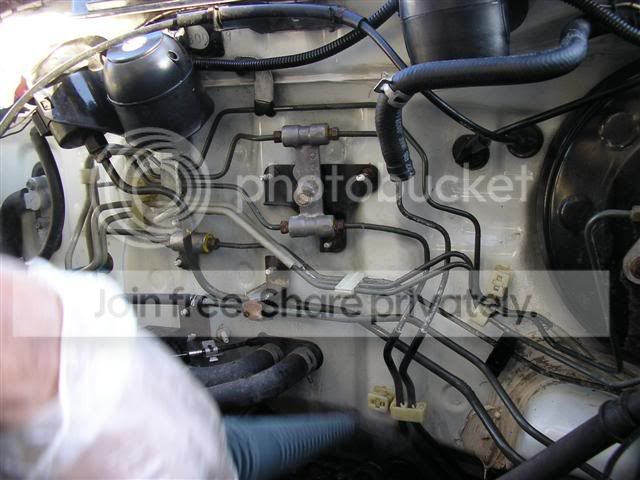
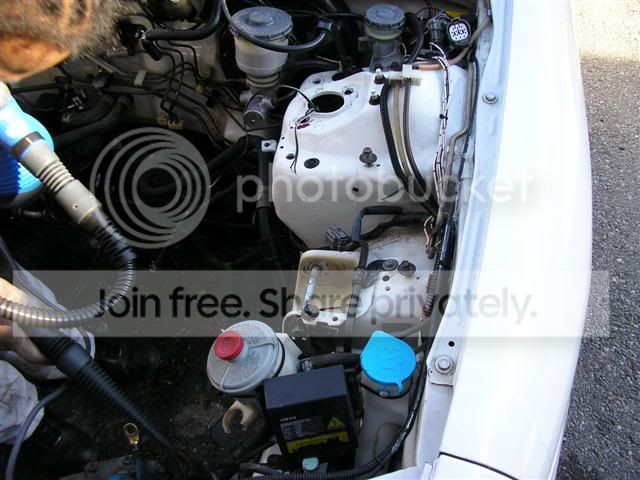
How the engine bay looked, dirty as expletive, with wires everywhere
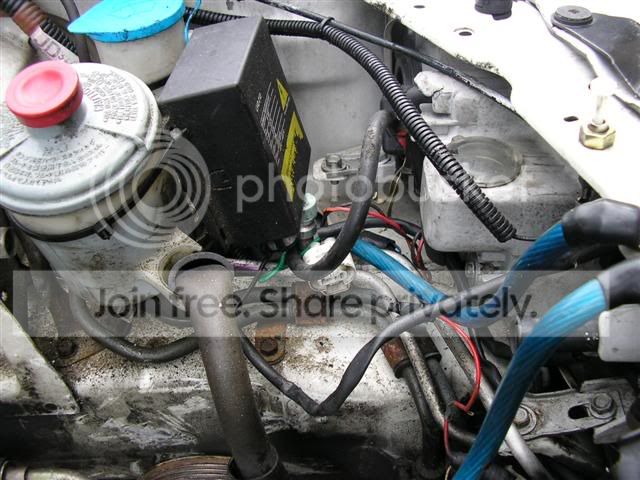
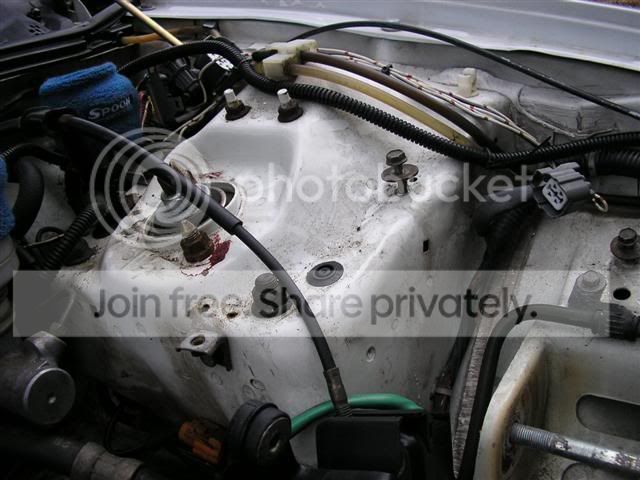
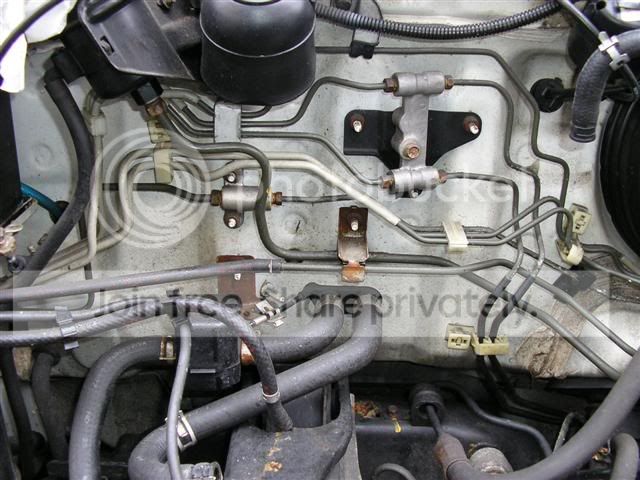
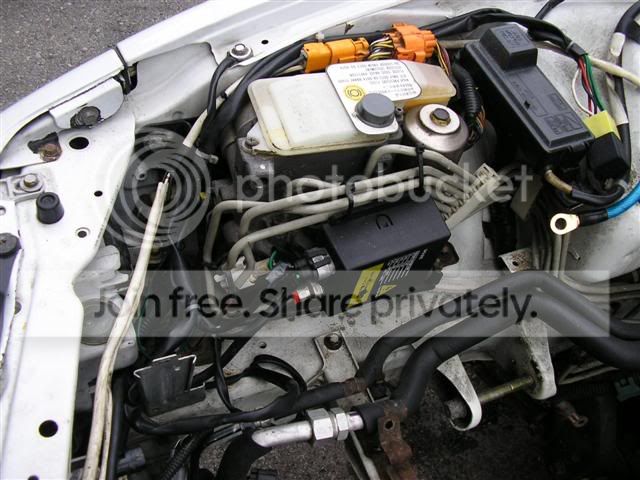
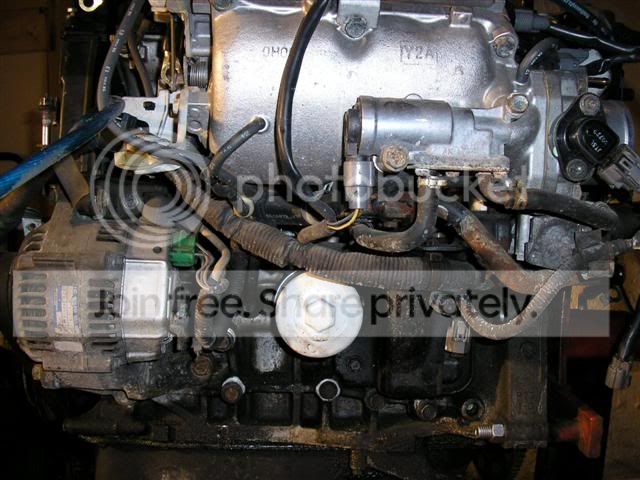
Random pics of the dirty engine
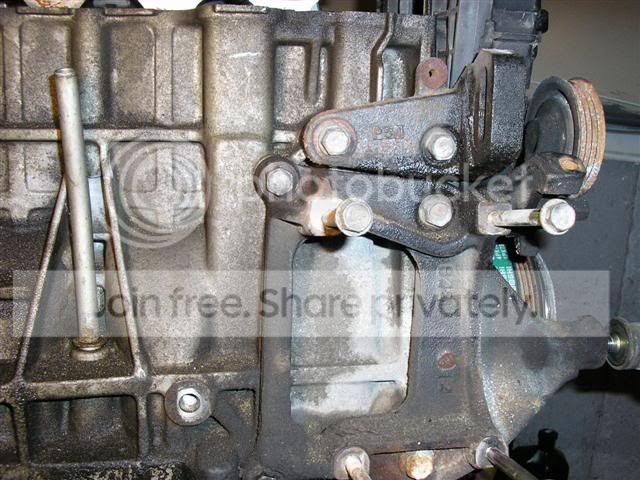
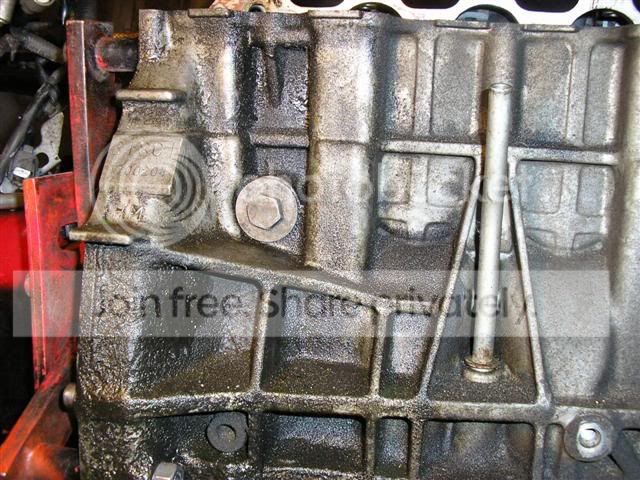
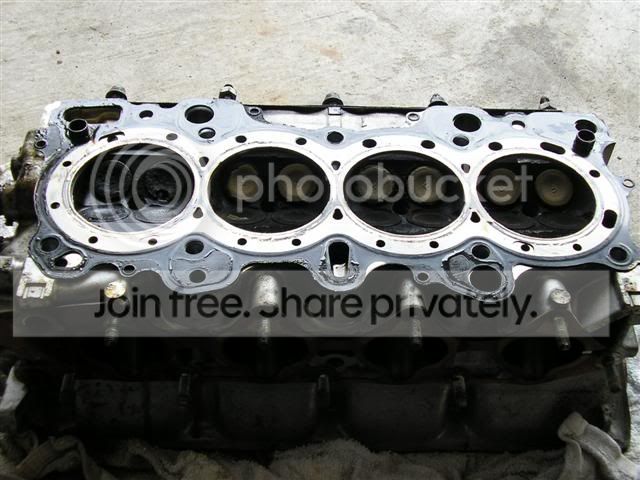
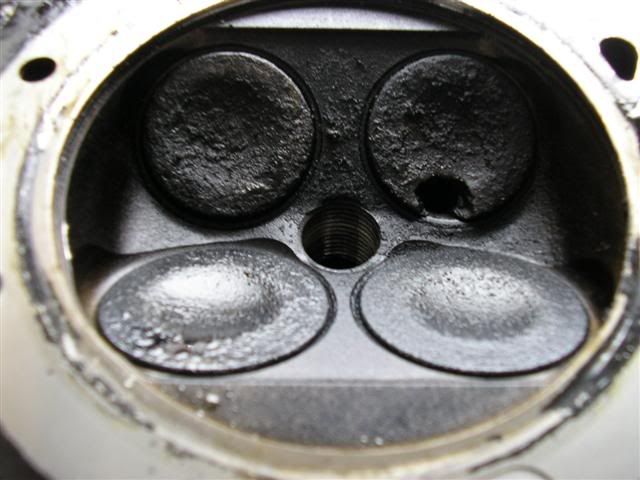
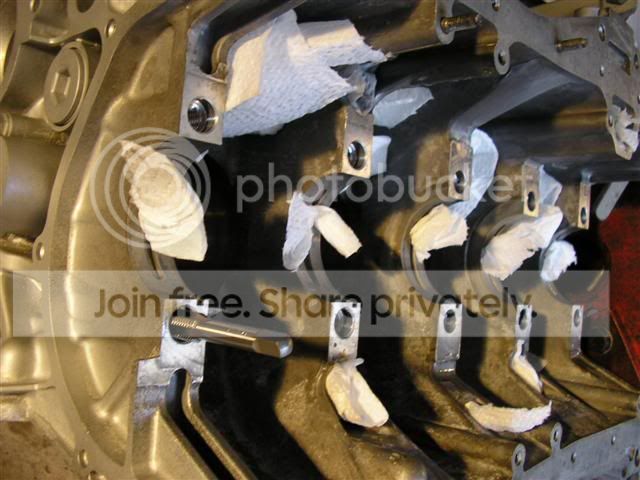
With the head off

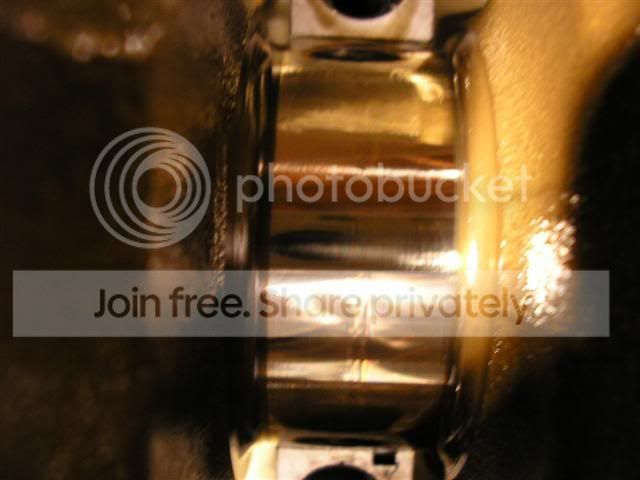
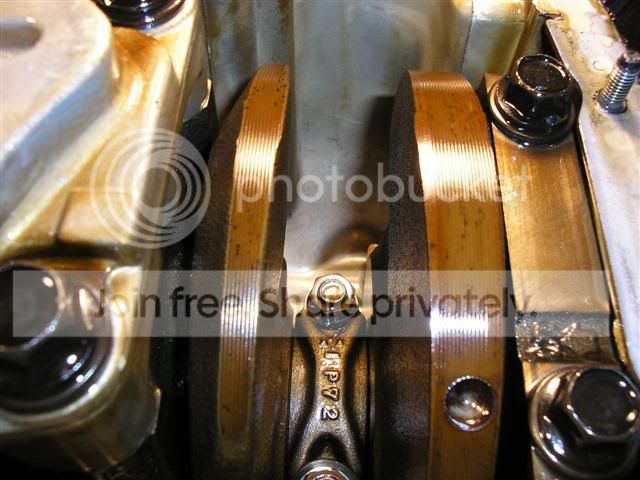
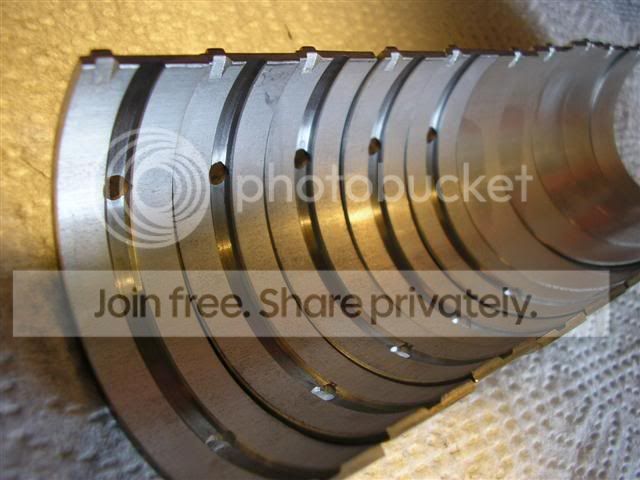
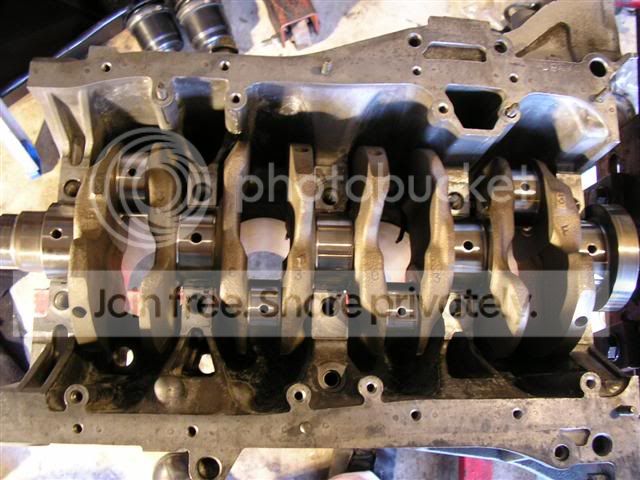
The crankshaft, bearings, girdle, main cap, oil pickup and windage tray
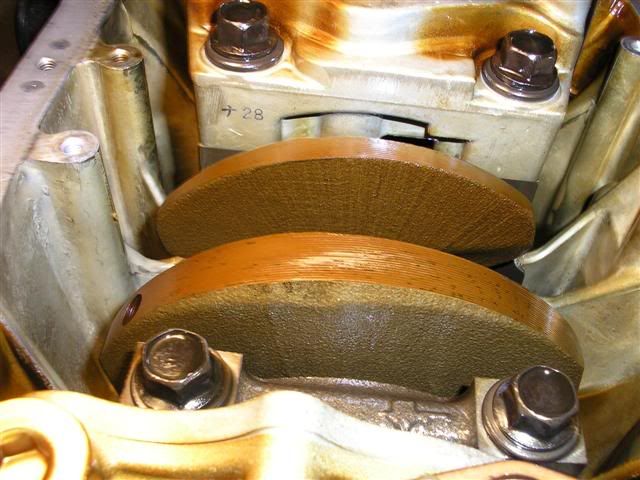
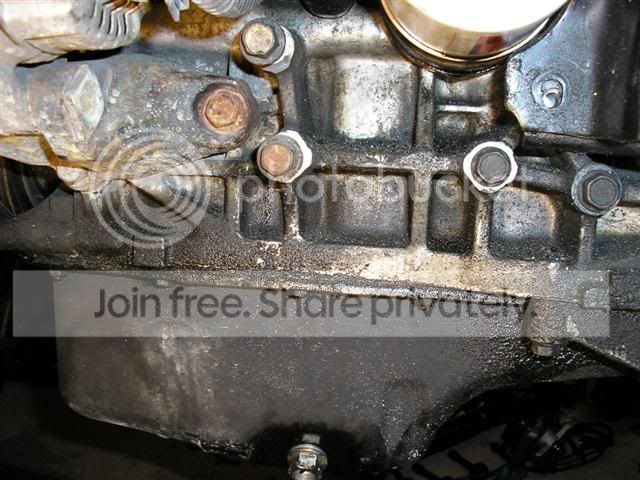
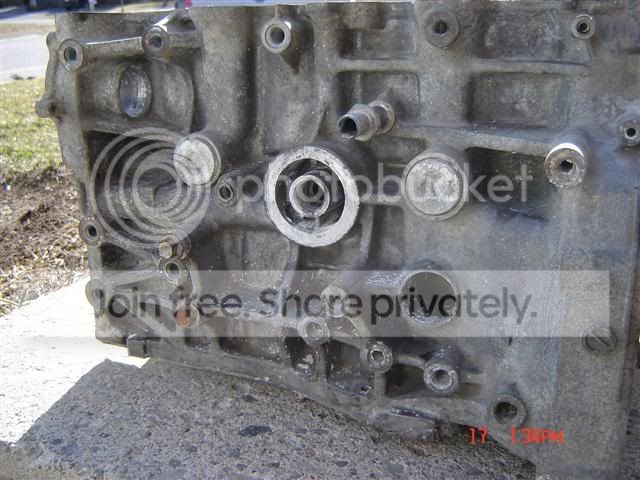
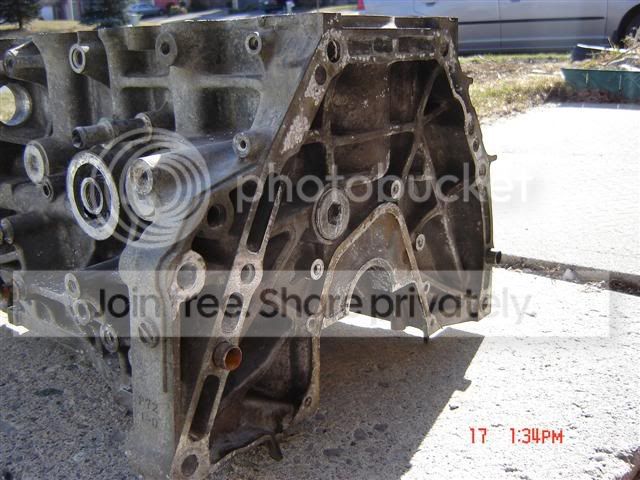
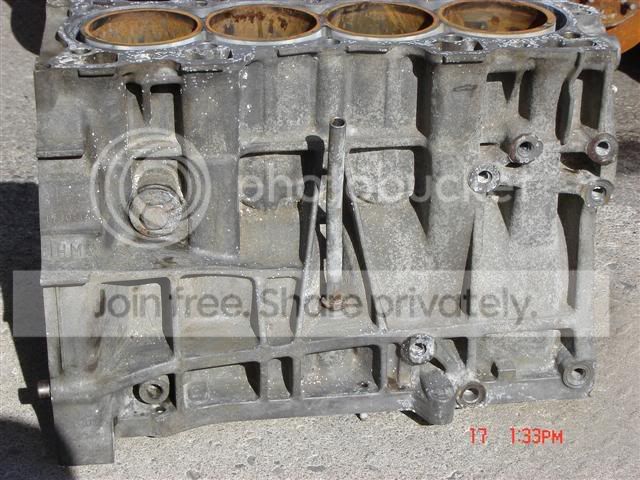
The almost bare block
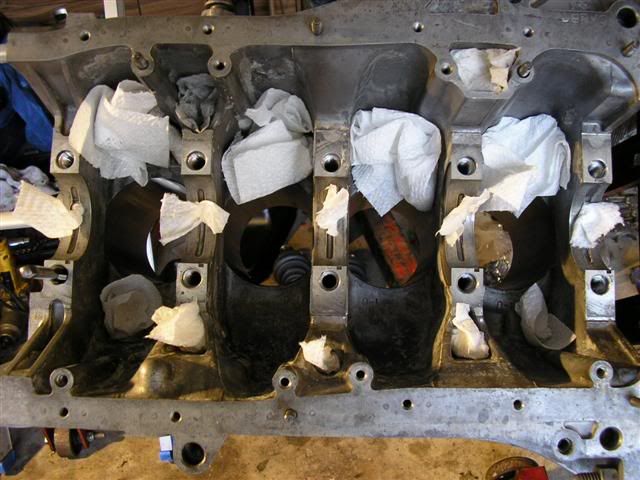
How my garage looked after removing everything off the block and head, then putting them in label sandwich bags
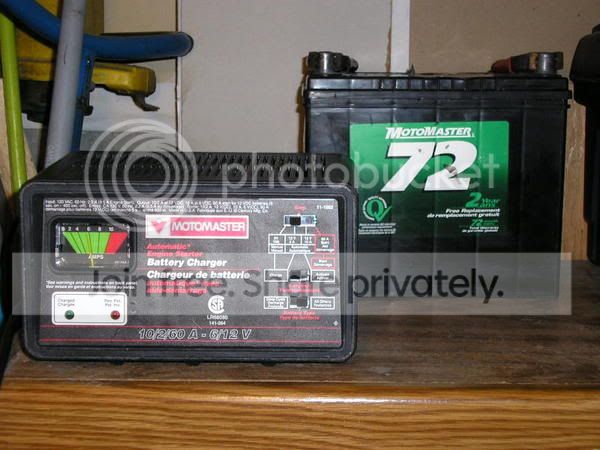
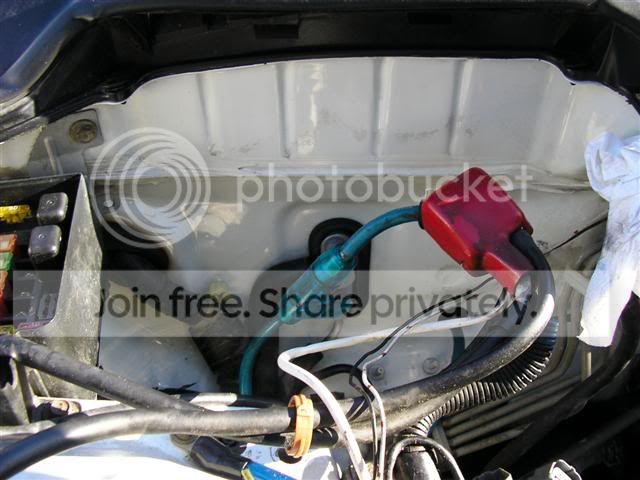
What kept my battery charged the whole time while building my engine
Modified by wildoutwhitegsr at 2:43 PM 4/26/2006
So it begins, with what my motor looked like just after pulling it from the engine bay.
How the engine bay looked, dirty as expletive, with wires everywhere
Random pics of the dirty engine
With the head off
The crankshaft, bearings, girdle, main cap, oil pickup and windage tray
The almost bare block
How my garage looked after removing everything off the block and head, then putting them in label sandwich bags
What kept my battery charged the whole time while building my engine
Modified by wildoutwhitegsr at 2:43 PM 4/26/2006
Thread Starter
Honda-Tech Member
Joined: Dec 2005
Posts: 360
Likes: 8
From: Whitby, Ontario, Canada
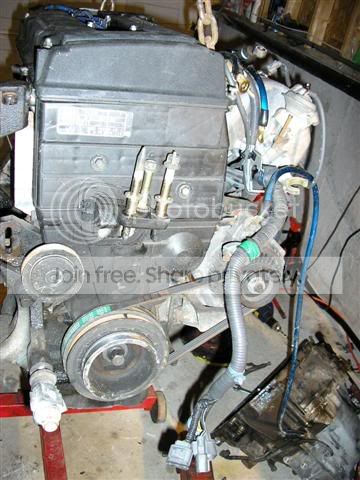
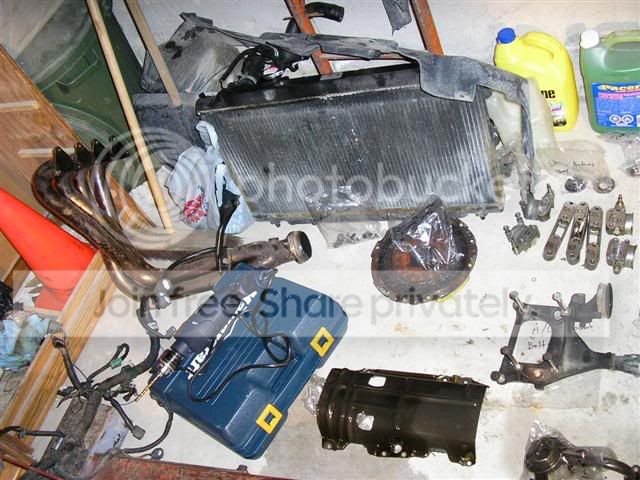
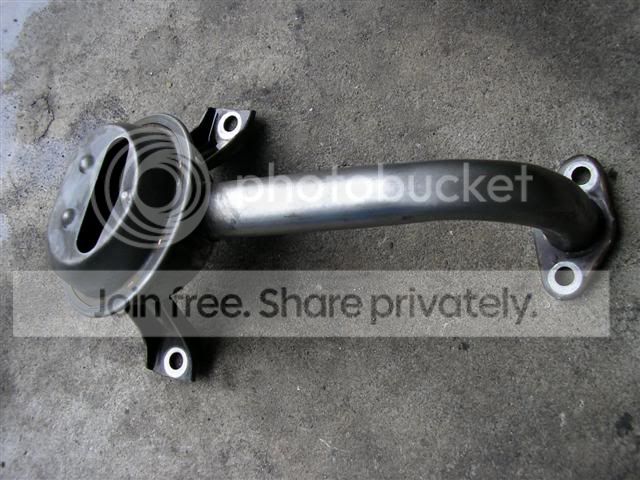
The other parts I took off the car for the time being.
The starter opened up
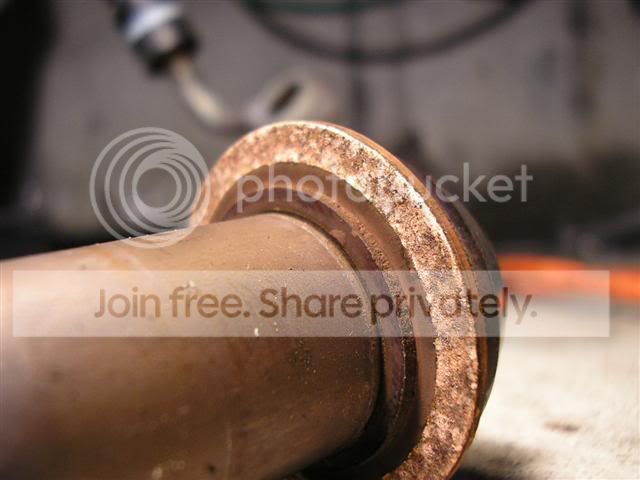
The old driveshafts and intermediate shaft

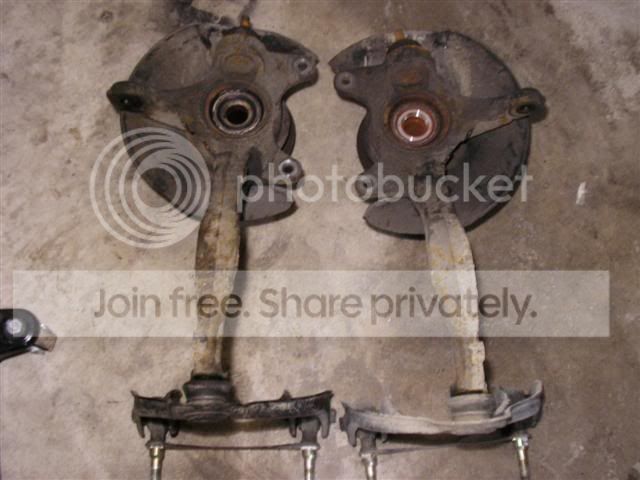
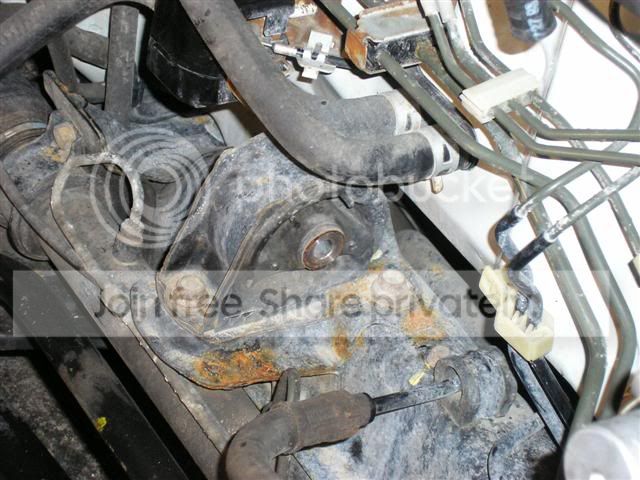
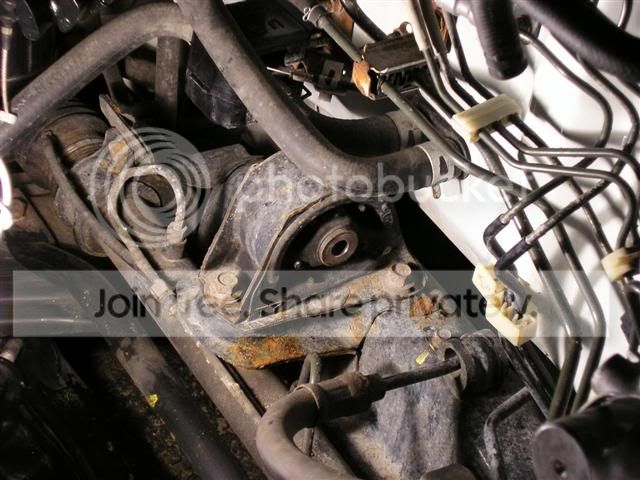
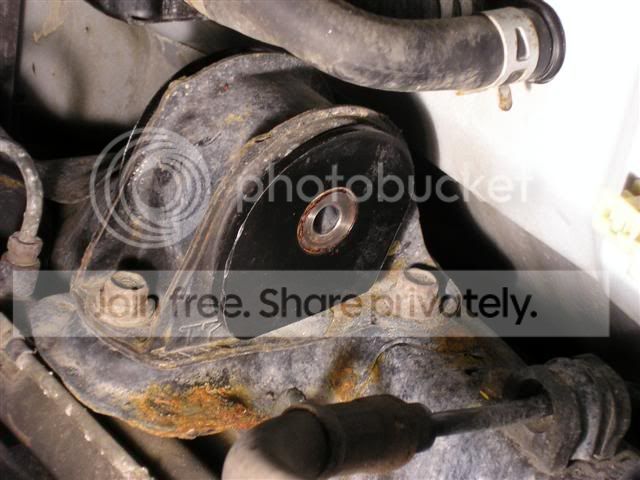
The knuckles and upper control arms
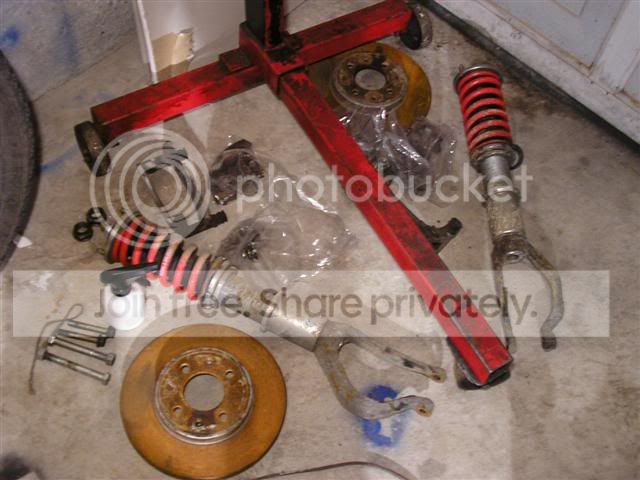
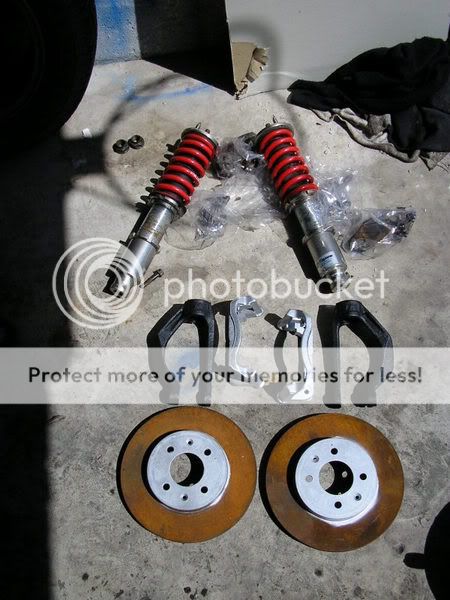
The brake caliper brackets, rotors, lower forks and my Hayame full coilover suspension
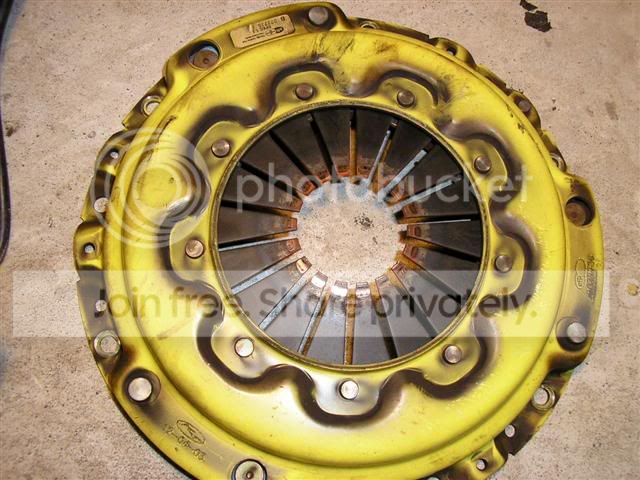
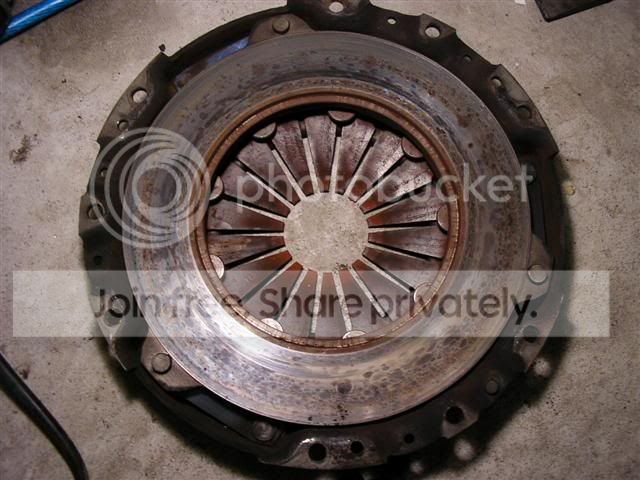
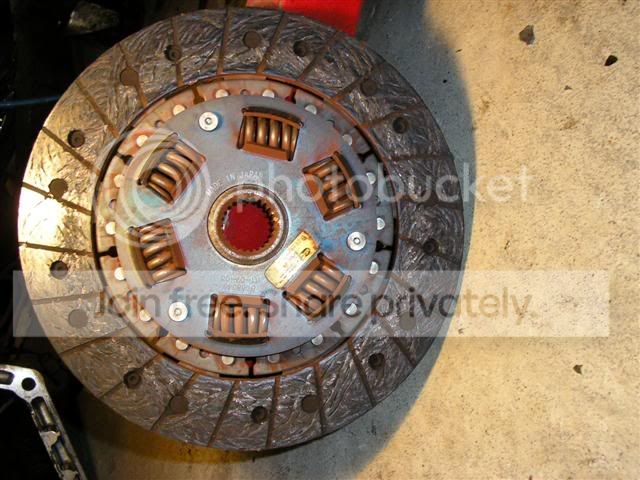
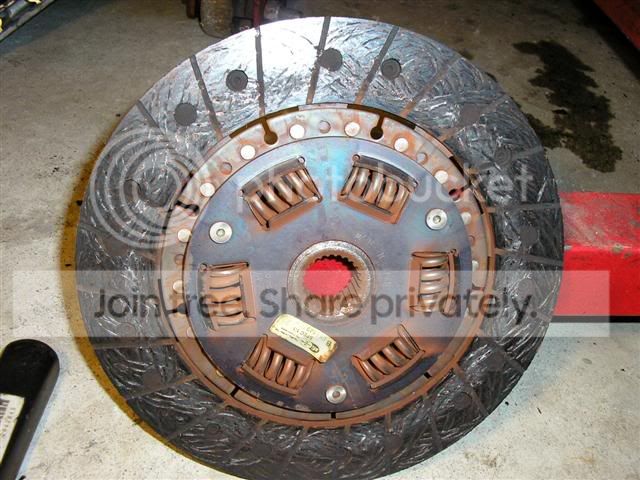
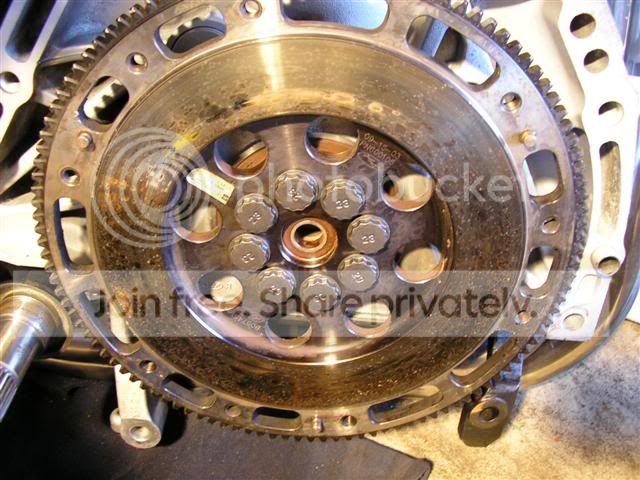
The clutch and flywheel
Now onto the progress pictures
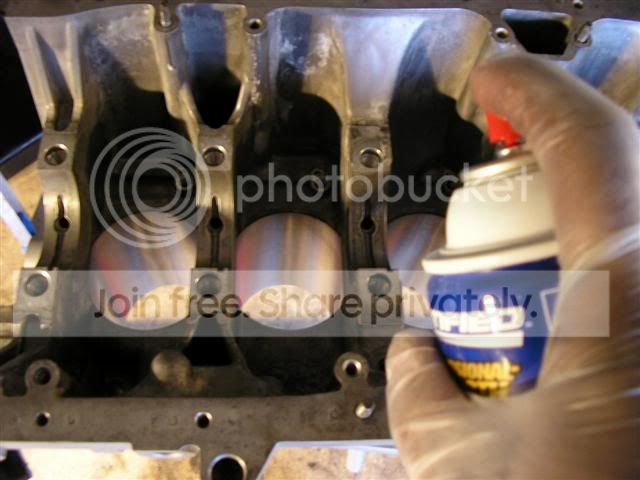
I took the block to my backyard and got some engine degreaser and brake cleaner to clean it up. Then rinse it off with some high pressure water.
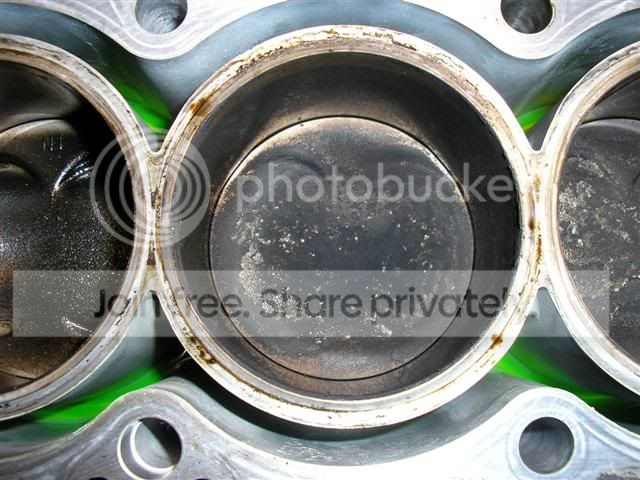
How it looked after I finished cleaning it up and done drying
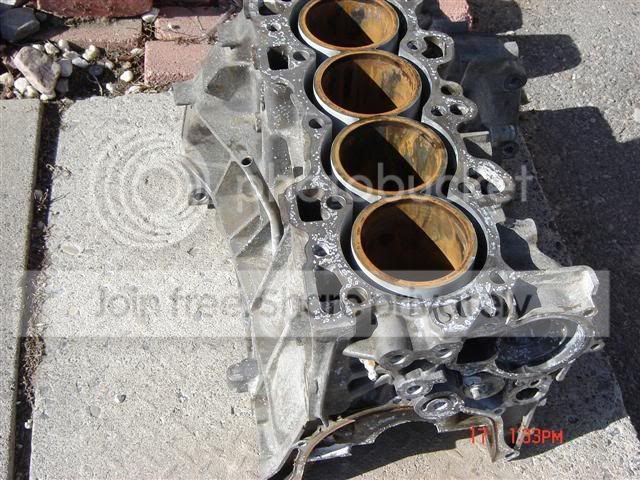
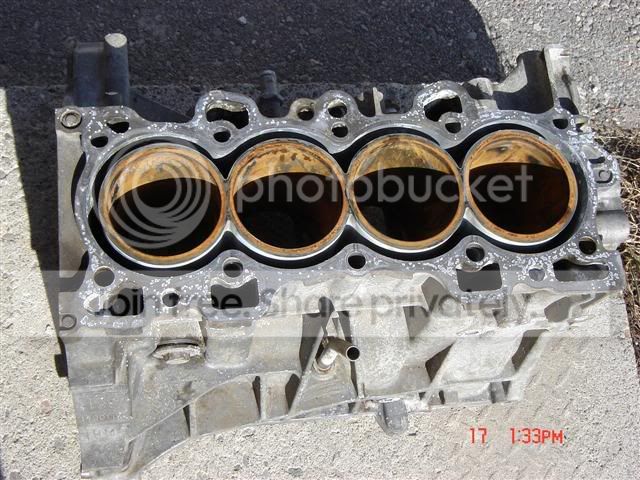
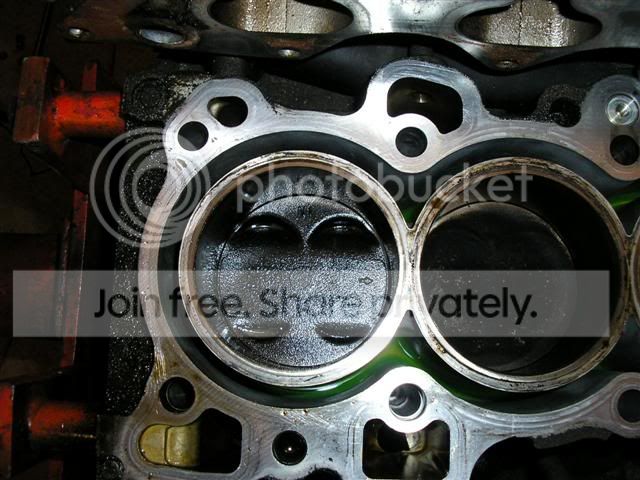
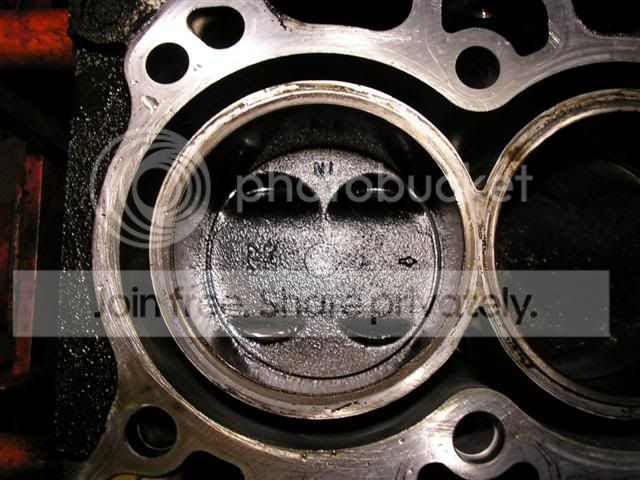
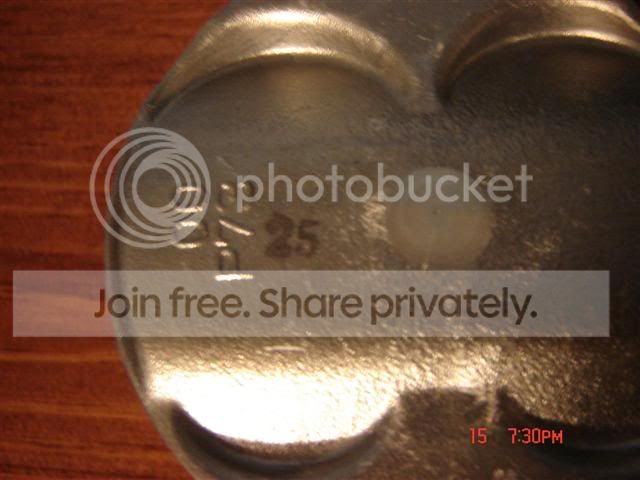
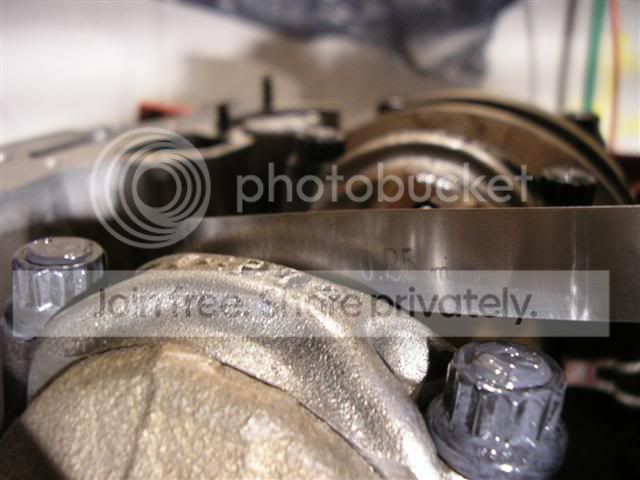
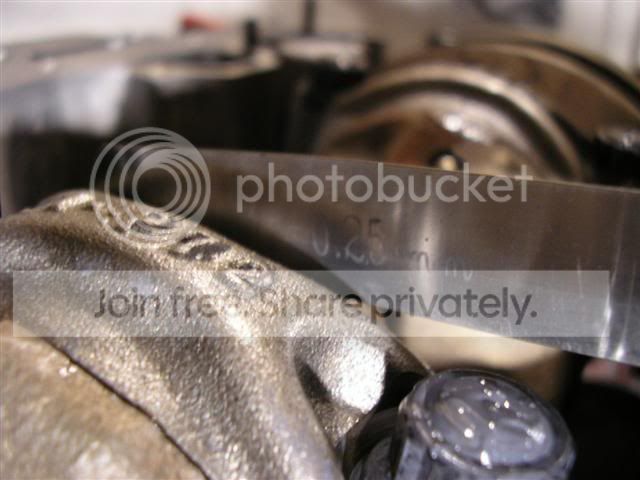
Notice the rusty looking cylinders; it was just surface rust, so I wasn’t worried at all. It came off by just wiping it with your finger. I was also boring .25 over so nothing the machine shop can’t get rid of.
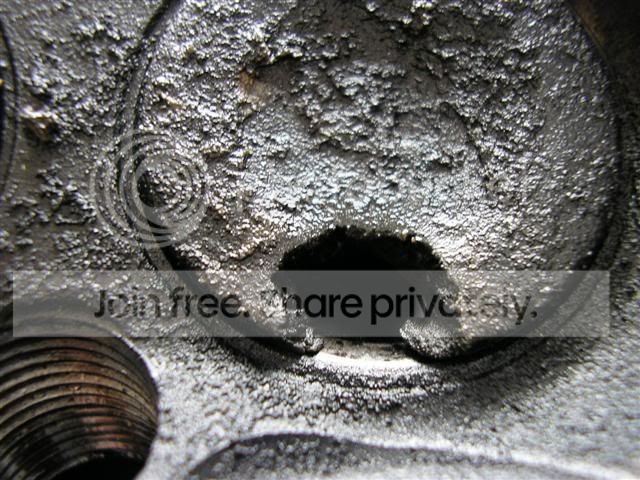
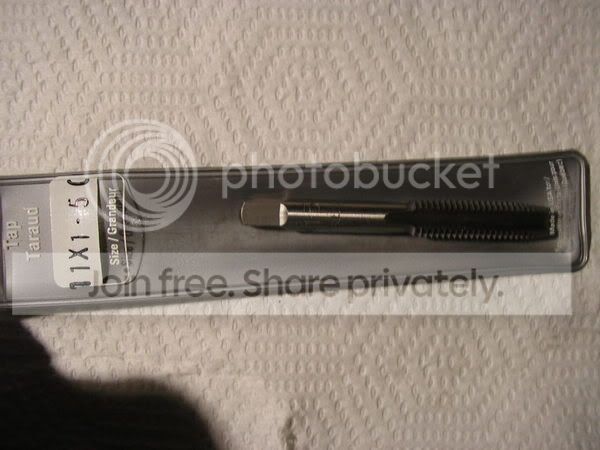
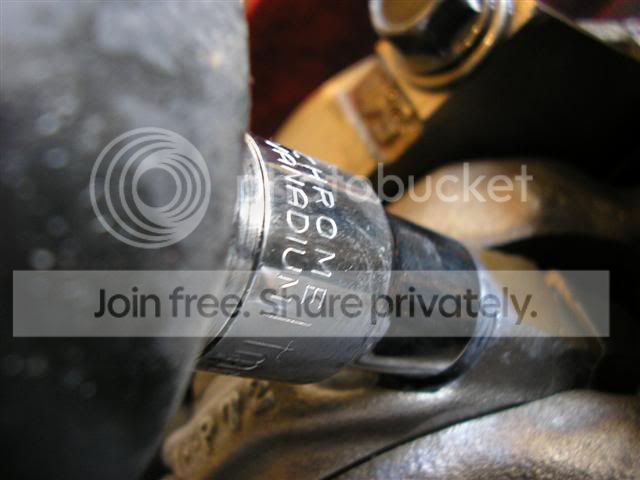
Now onto the most time consuming and looked over parts of building a motor; cleaning up the threads of the head studs and main studs holes.
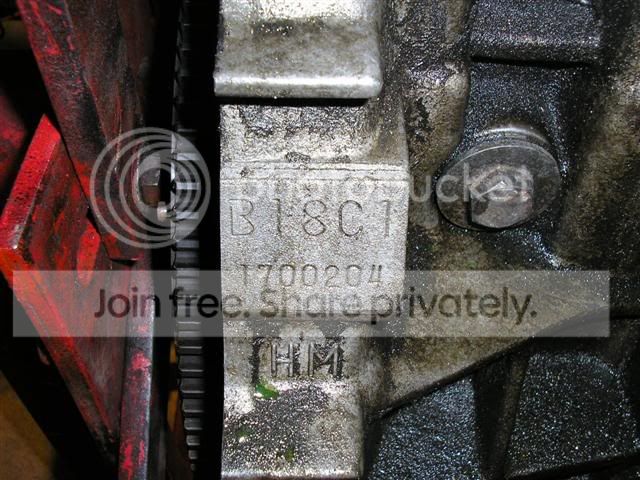
First got to make sure you buy the right sized tap. In my case it was 11mm x 1.5mm. Confirmed by the Helms manual and checking the old head bolts and main bolts that came out of the block.

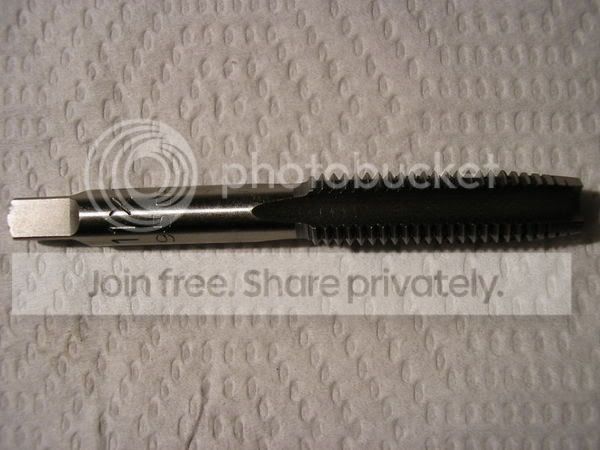
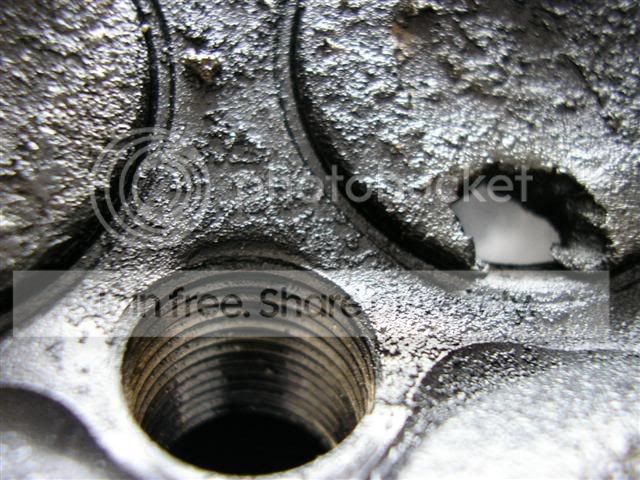
More proof, the head bolt screws into the main bolt hole perfectly. All the confirmation I need.
The starter opened up
The old driveshafts and intermediate shaft
The knuckles and upper control arms
The brake caliper brackets, rotors, lower forks and my Hayame full coilover suspension
The clutch and flywheel
Now onto the progress pictures
I took the block to my backyard and got some engine degreaser and brake cleaner to clean it up. Then rinse it off with some high pressure water.
How it looked after I finished cleaning it up and done drying
Notice the rusty looking cylinders; it was just surface rust, so I wasn’t worried at all. It came off by just wiping it with your finger. I was also boring .25 over so nothing the machine shop can’t get rid of.
Now onto the most time consuming and looked over parts of building a motor; cleaning up the threads of the head studs and main studs holes.
First got to make sure you buy the right sized tap. In my case it was 11mm x 1.5mm. Confirmed by the Helms manual and checking the old head bolts and main bolts that came out of the block.
More proof, the head bolt screws into the main bolt hole perfectly. All the confirmation I need.
Thread Starter
Honda-Tech Member
Joined: Dec 2005
Posts: 360
Likes: 8
From: Whitby, Ontario, Canada
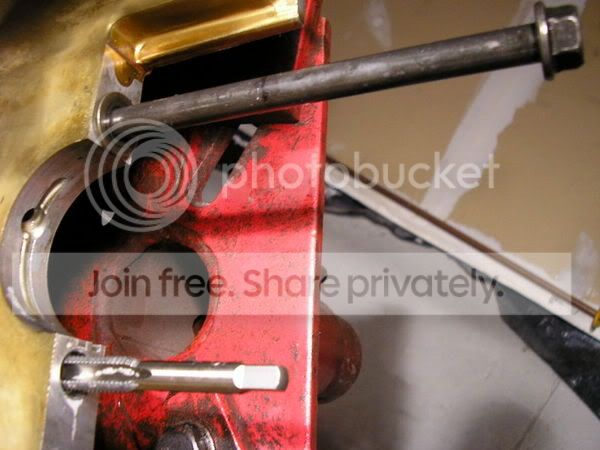
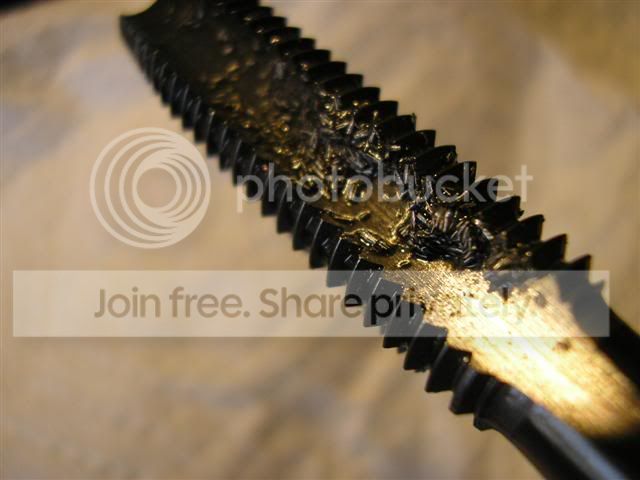
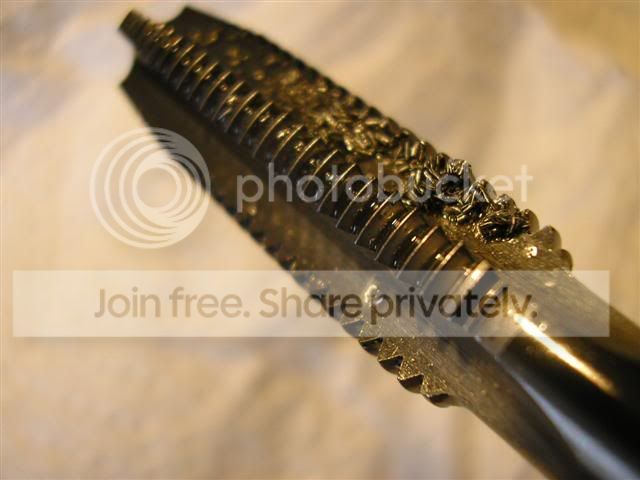
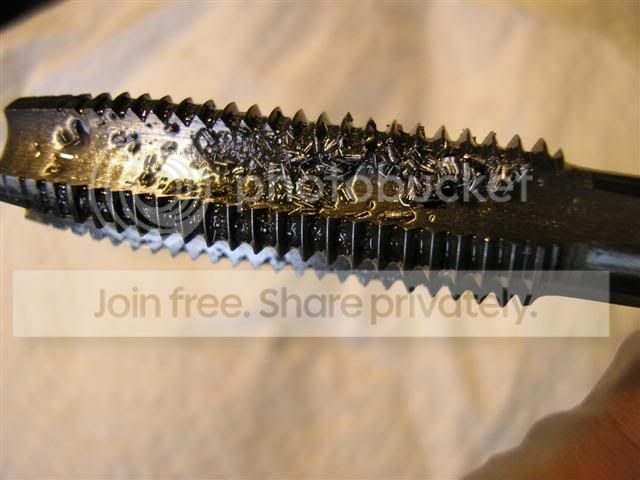
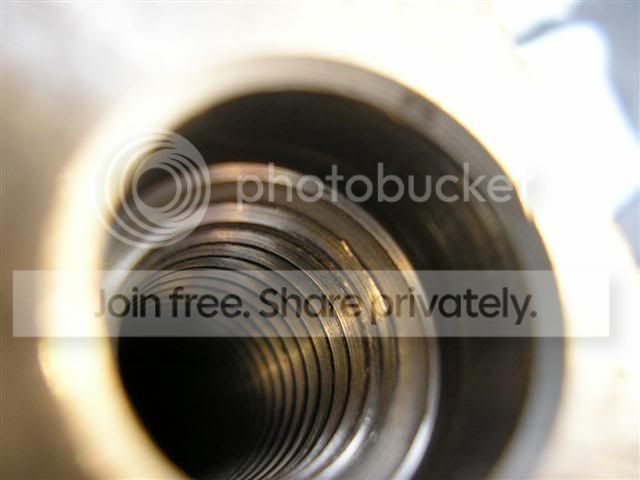
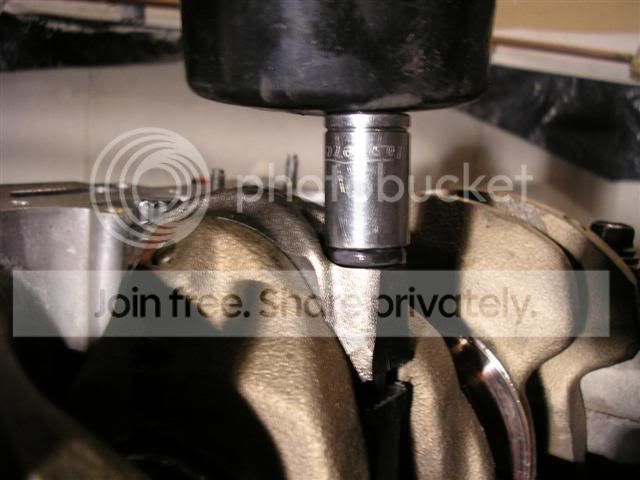
Chasing the threads of the head bolts hole
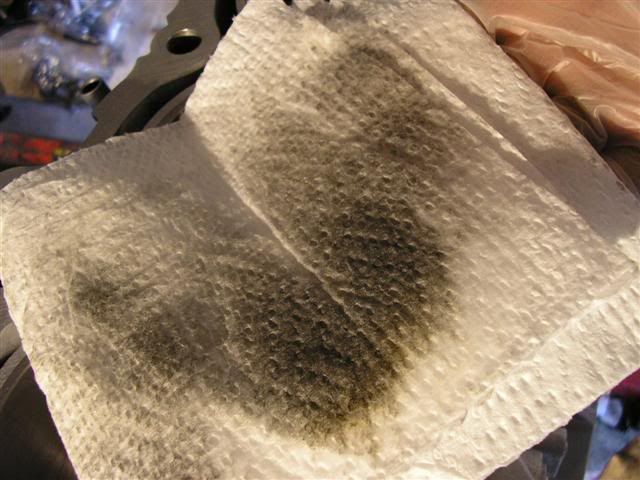
The shavings that came out of all the 10 head studs holes (sorry for the blurry pictures)
Onto the main bolt holes, it’s the same process
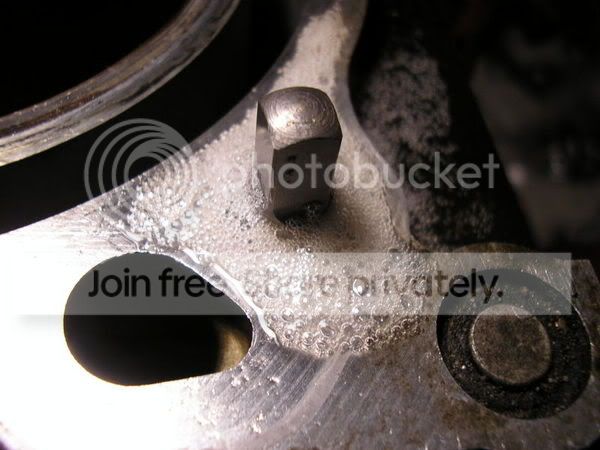
The results, this is what came out of each main bolt hole. Shocking isn’t it
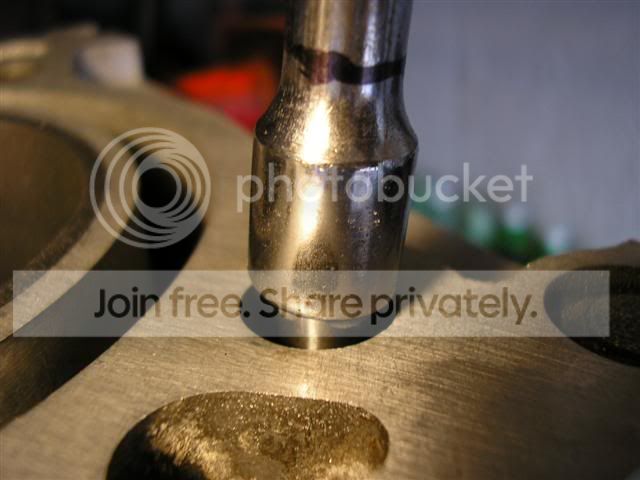
How the threads looked after, nice and clean
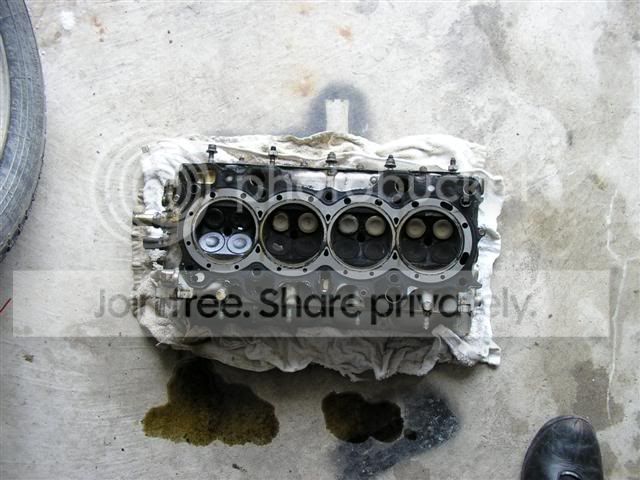
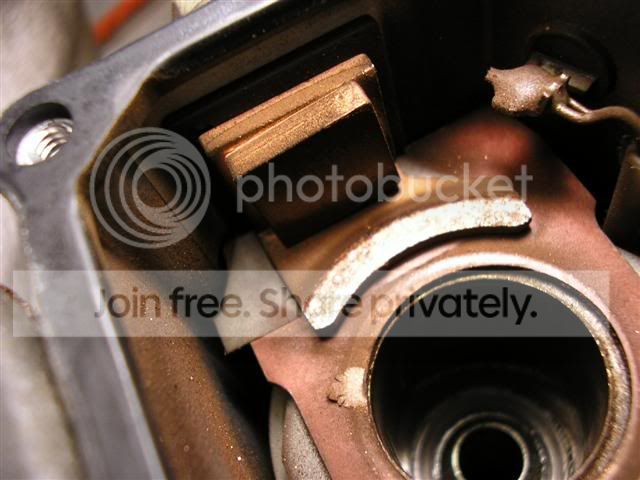
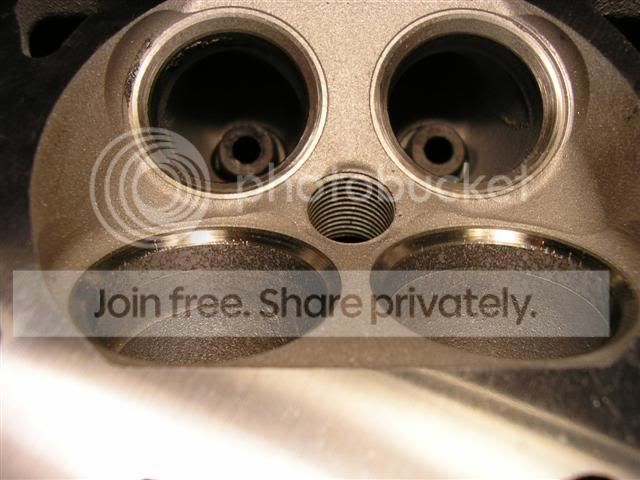
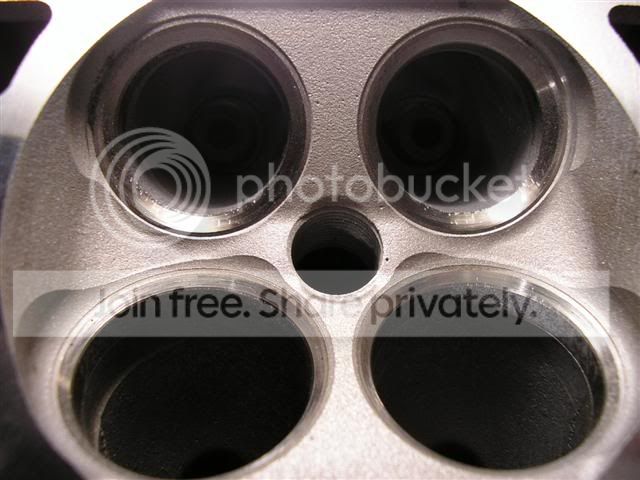
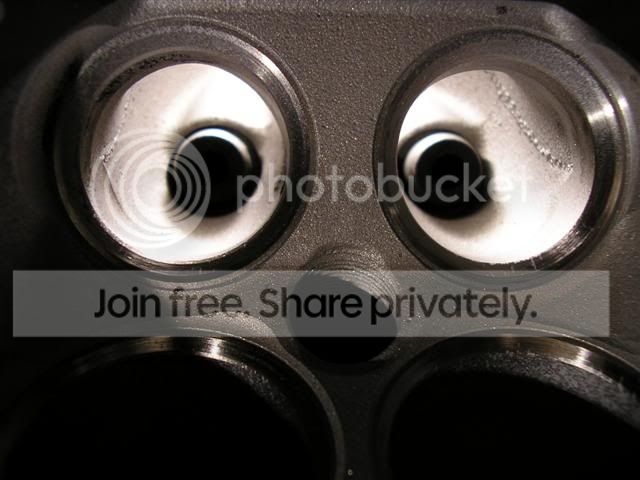
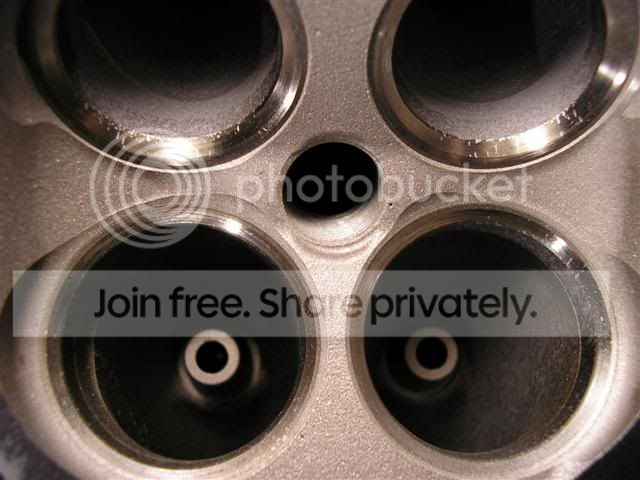
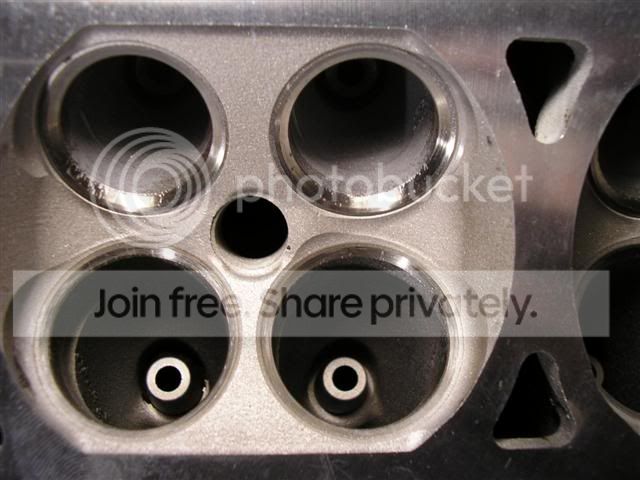
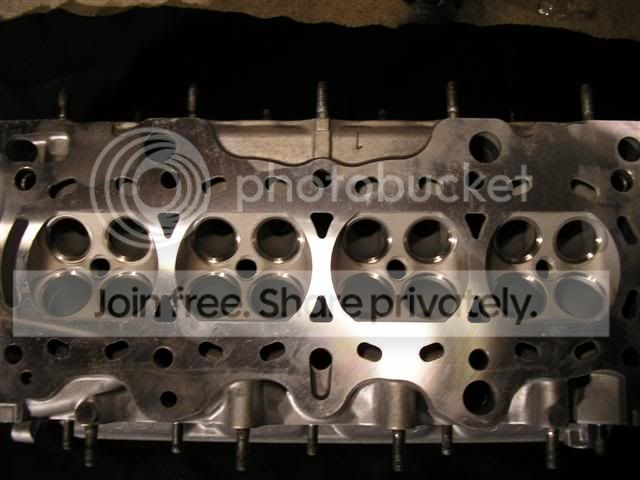
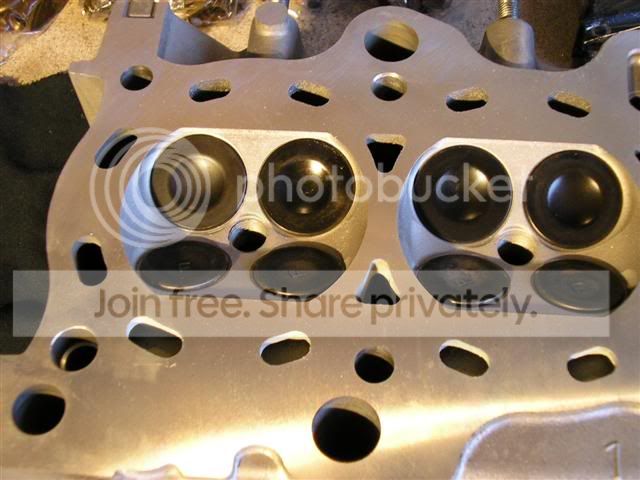
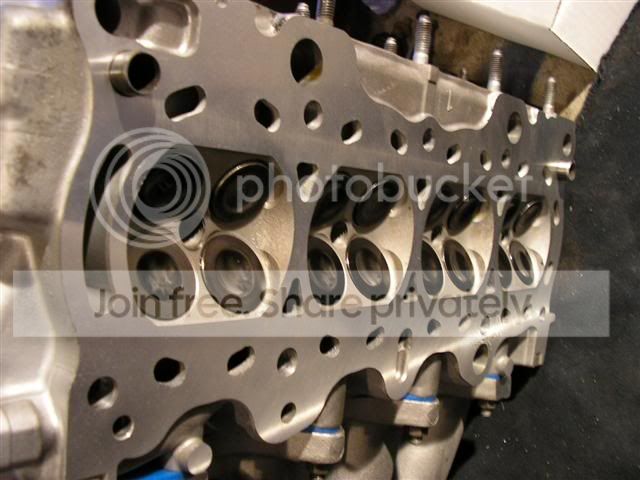
In the meantime the head was sent out to my local machine shop and this is how it looked when I got it back

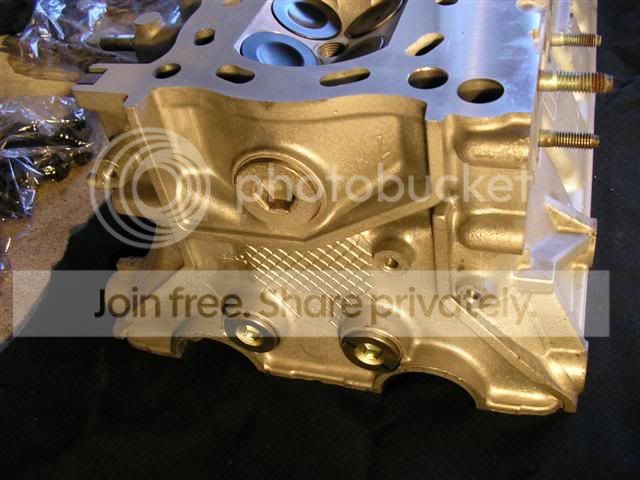
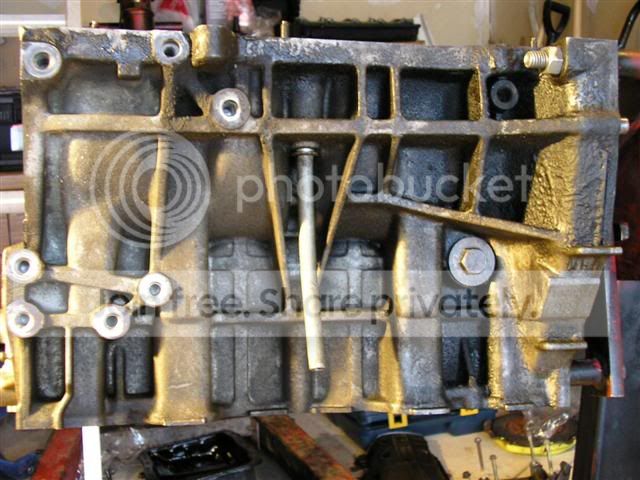
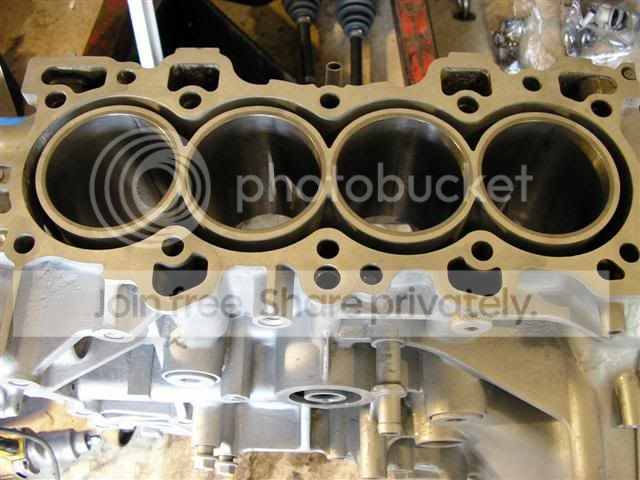
Next the block was sent off and this is how I received it back from the machine shop


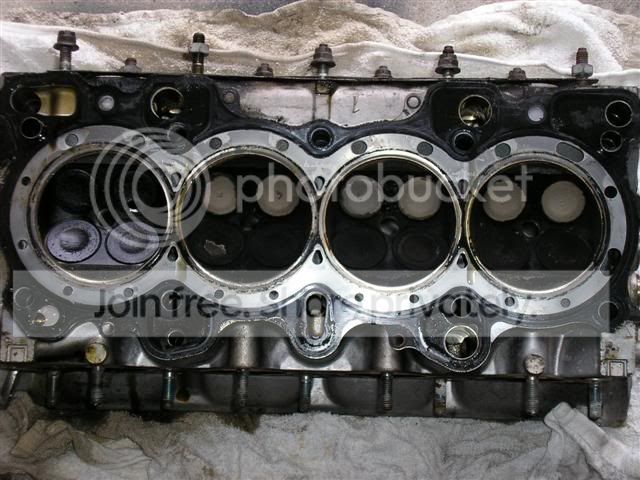
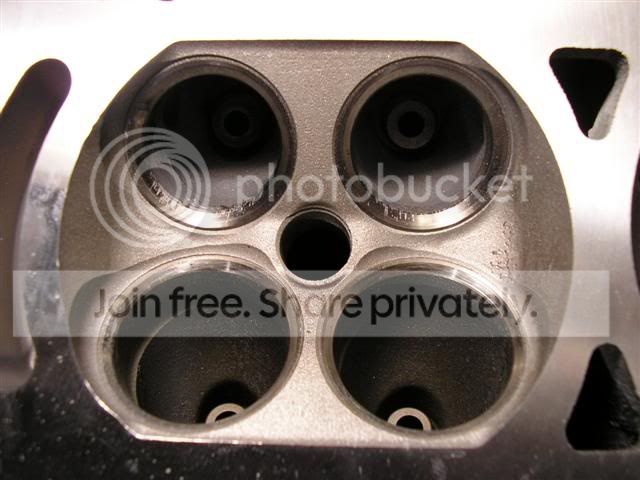
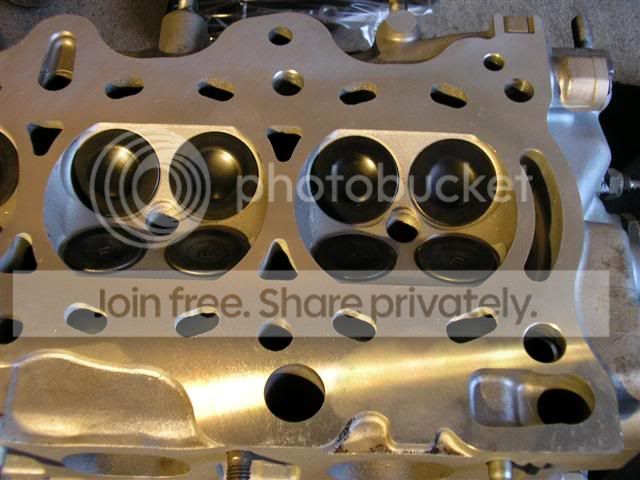
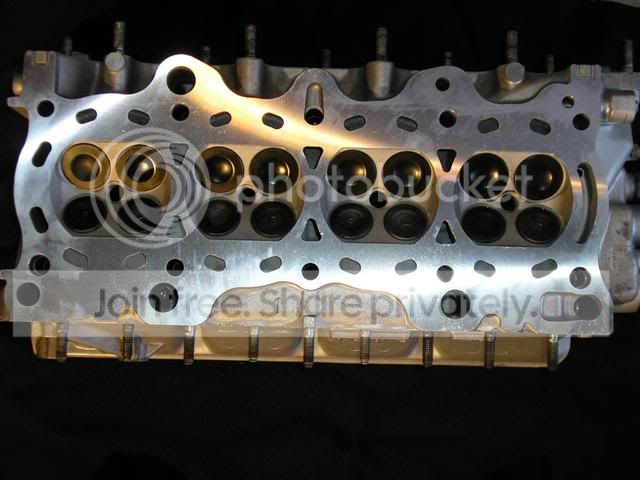
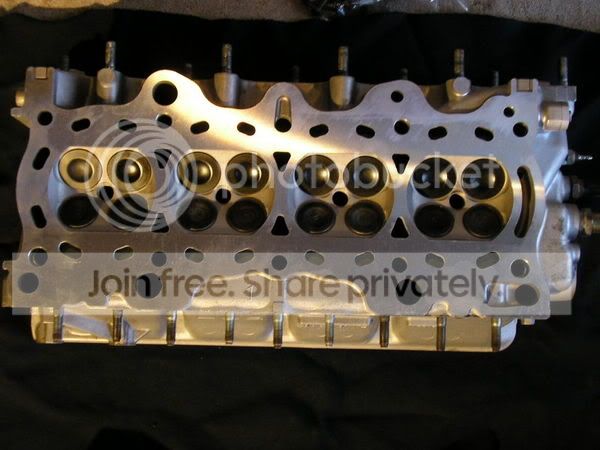
The heads done for now until I put it on the block.
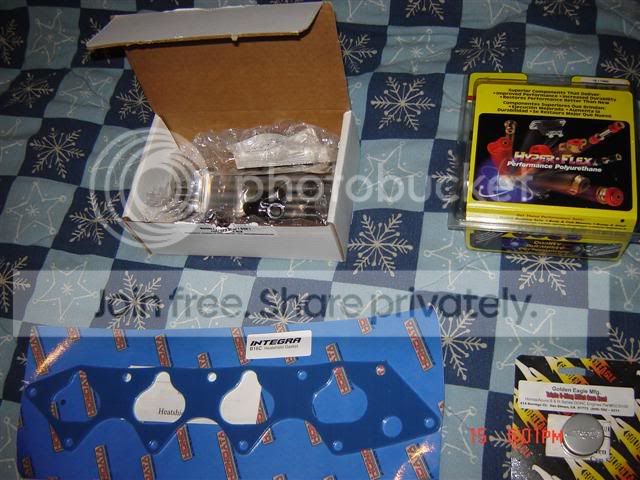
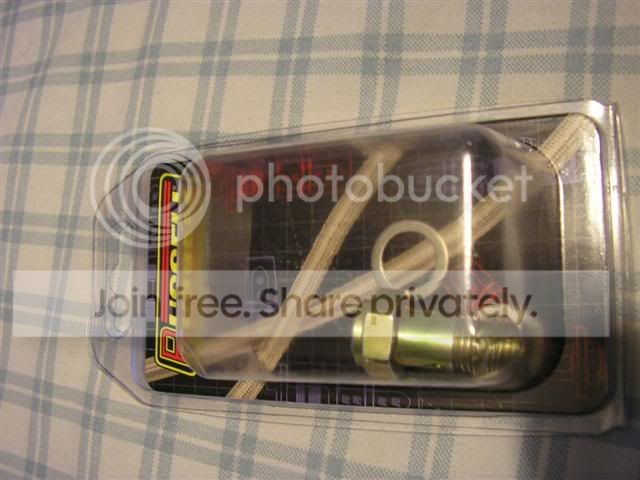
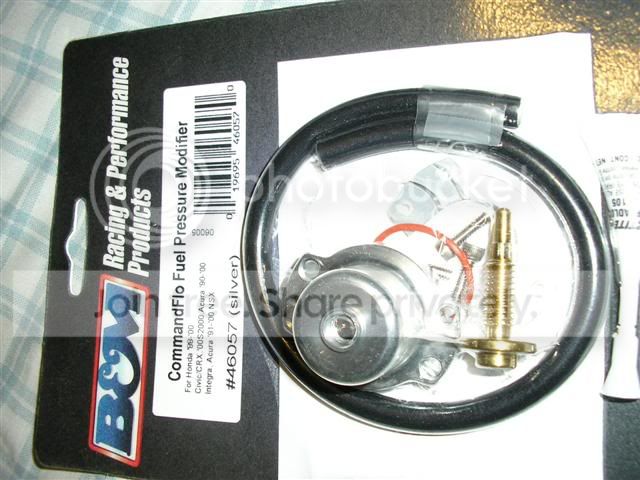
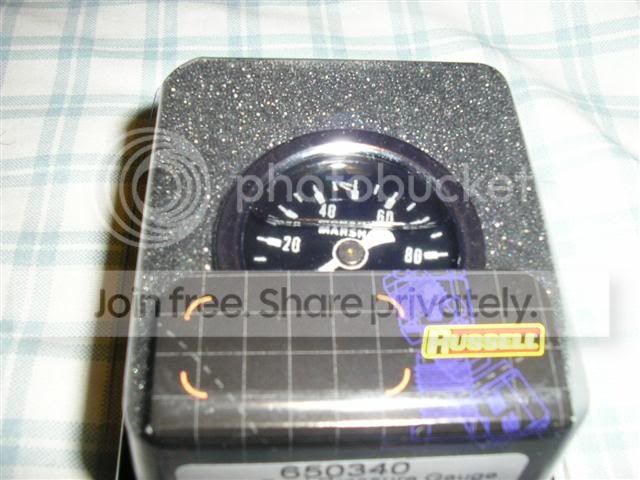
The parts I ordered have arrived, sweet.
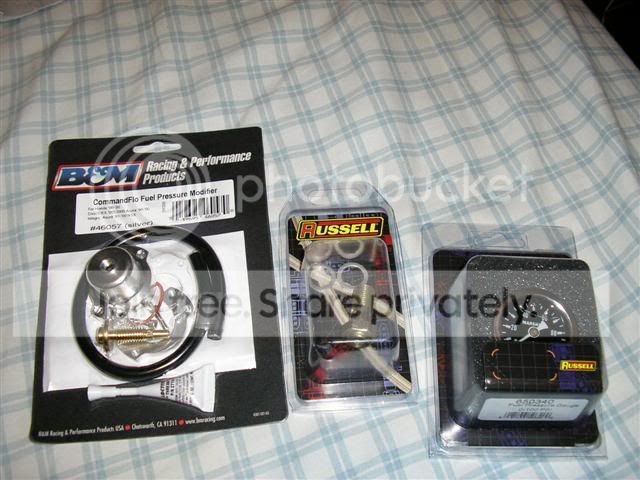
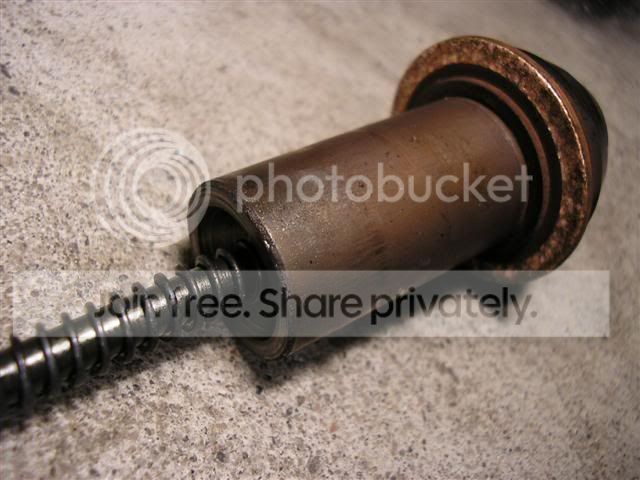
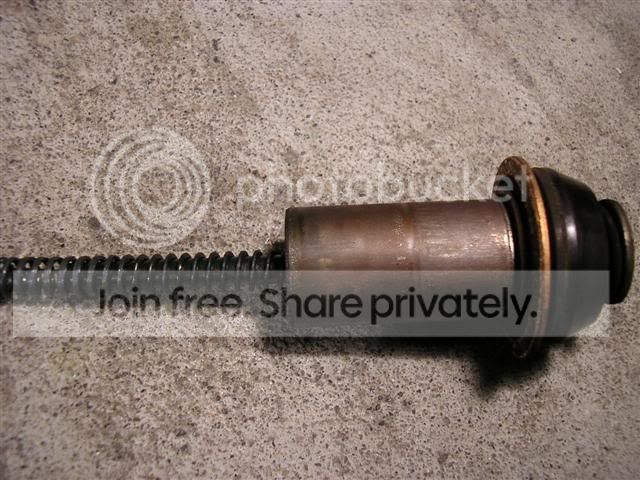
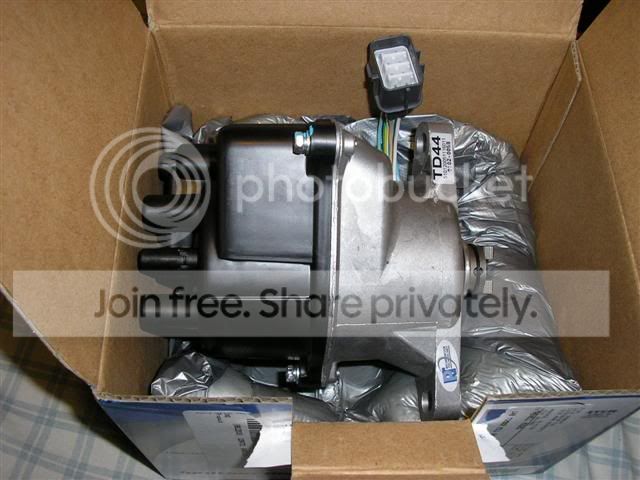
My replacement distributor king dizzy. My old one was on its way out. Gotta love 3 year warranties.
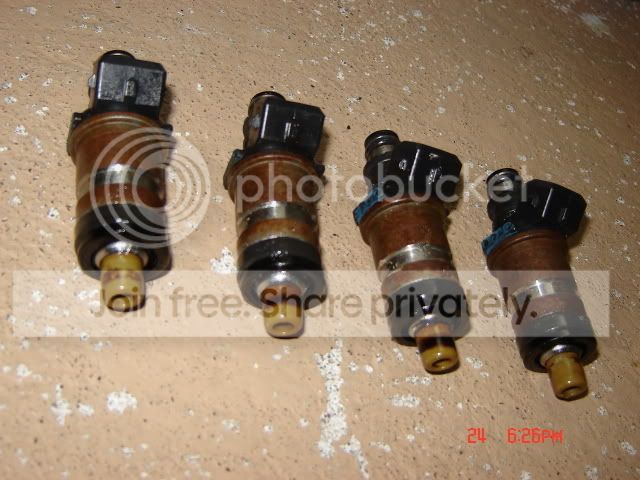
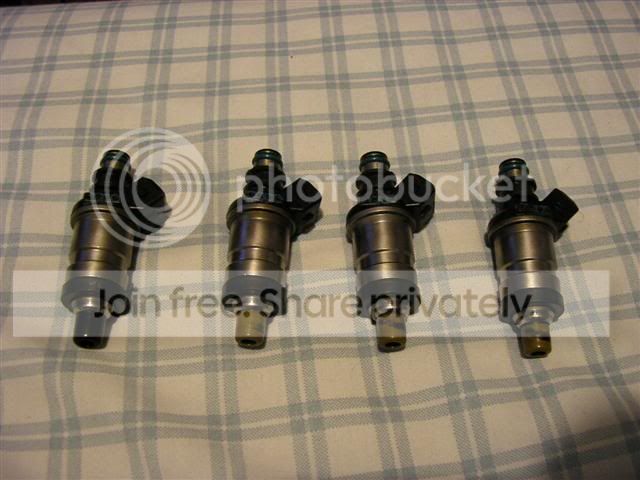
My injectors before
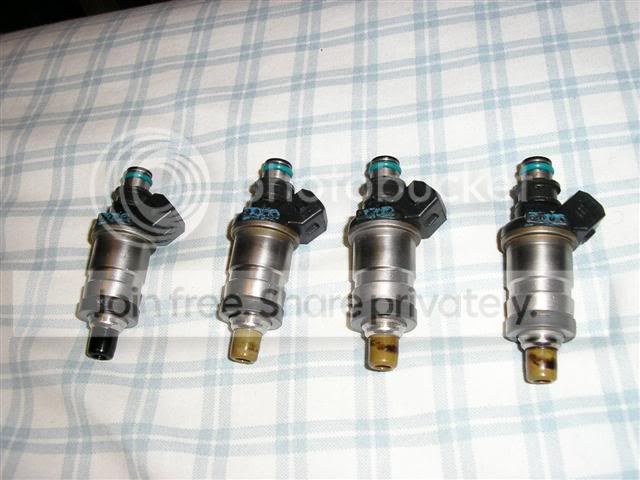
My injectors balanced and cleaned.
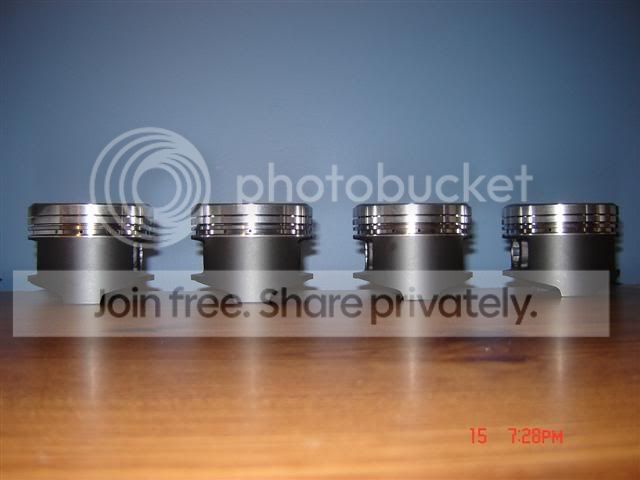
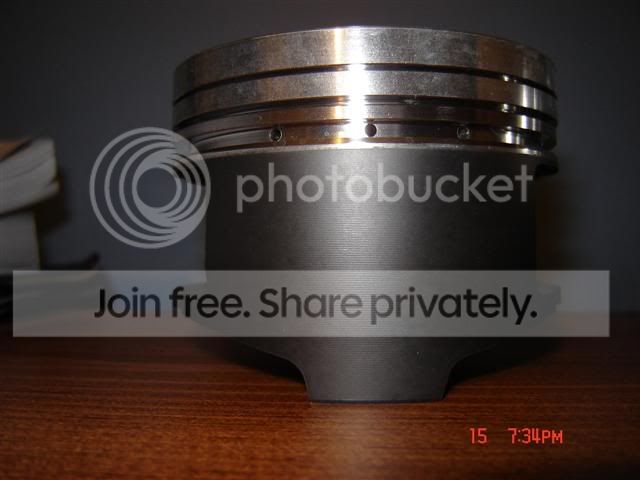
My new jdm itr pistons along with wrist pins and new OEM piston rings

My parts box

The shavings that came out of all the 10 head studs holes (sorry for the blurry pictures)
Onto the main bolt holes, it’s the same process
The results, this is what came out of each main bolt hole. Shocking isn’t it
How the threads looked after, nice and clean
In the meantime the head was sent out to my local machine shop and this is how it looked when I got it back
Next the block was sent off and this is how I received it back from the machine shop
The heads done for now until I put it on the block.
The parts I ordered have arrived, sweet.
My replacement distributor king dizzy. My old one was on its way out. Gotta love 3 year warranties.
My injectors before
My injectors balanced and cleaned.
My new jdm itr pistons along with wrist pins and new OEM piston rings
My parts box
Thread Starter
Honda-Tech Member
Joined: Dec 2005
Posts: 360
Likes: 8
From: Whitby, Ontario, Canada
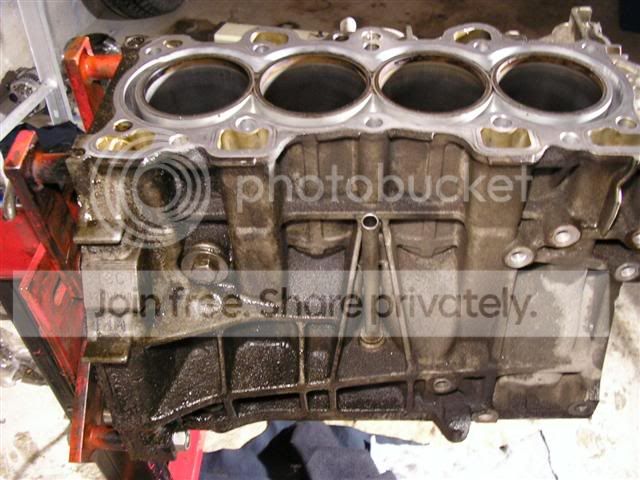
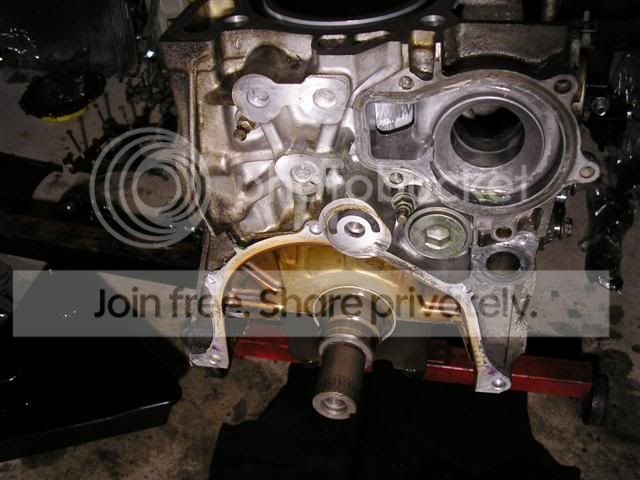
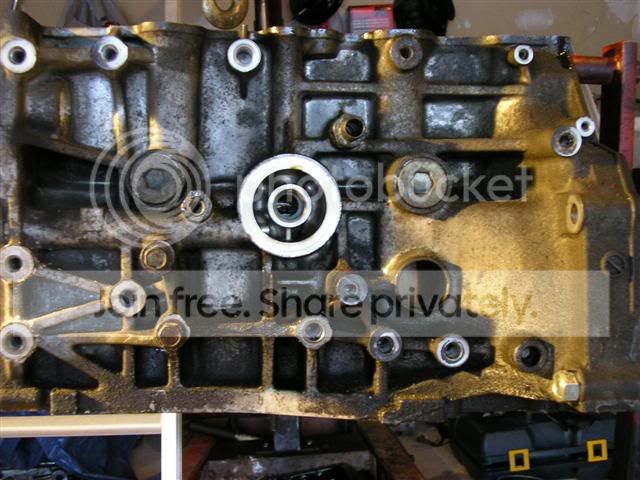
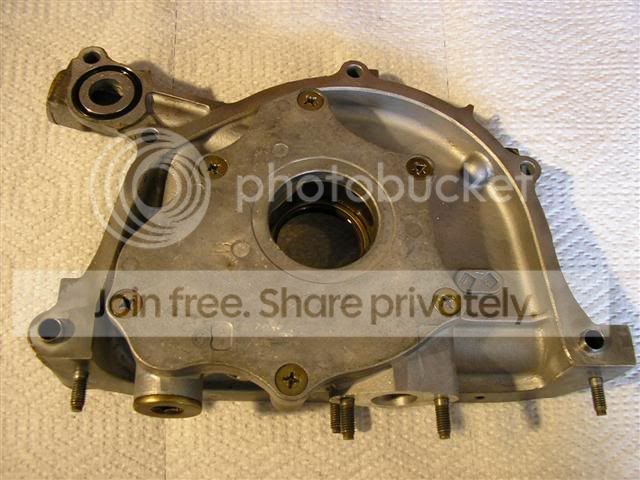
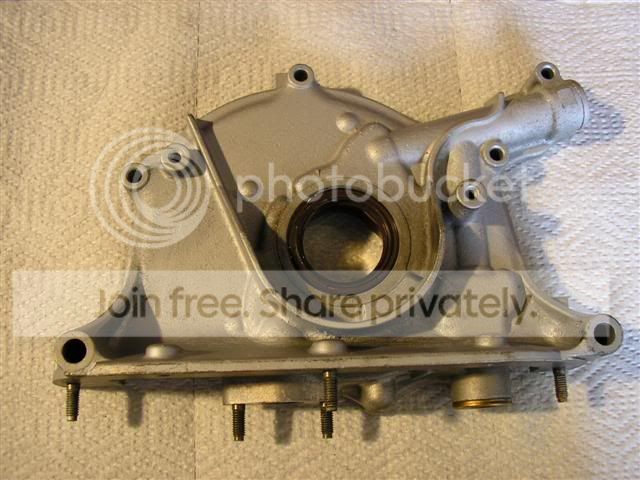
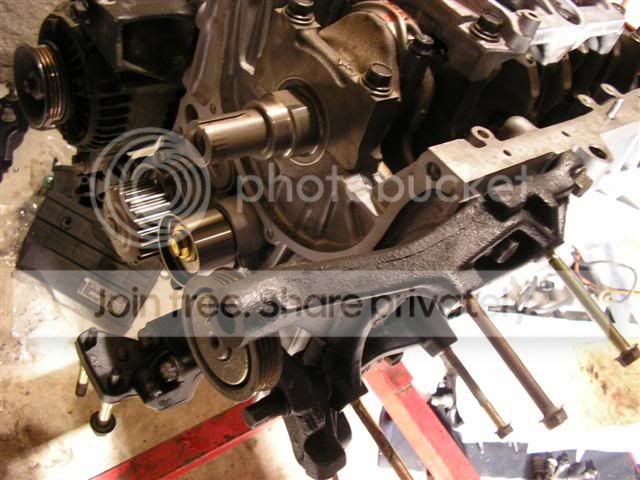
Time to put the block back together. How it looked when I got it from the machine shop along with the serviced oil pump and new rear main seal
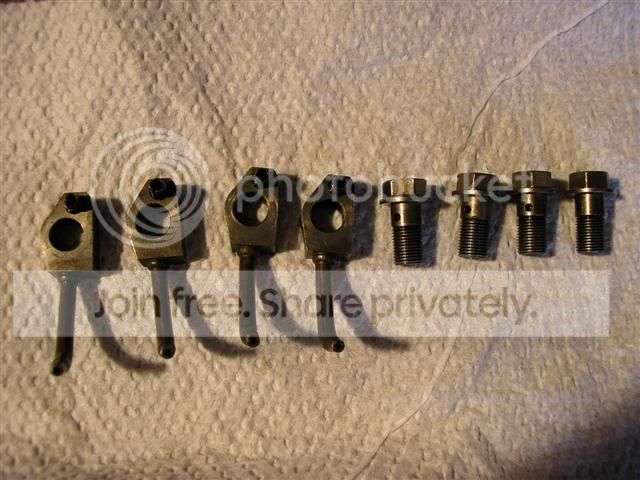
Installing the oil squirters
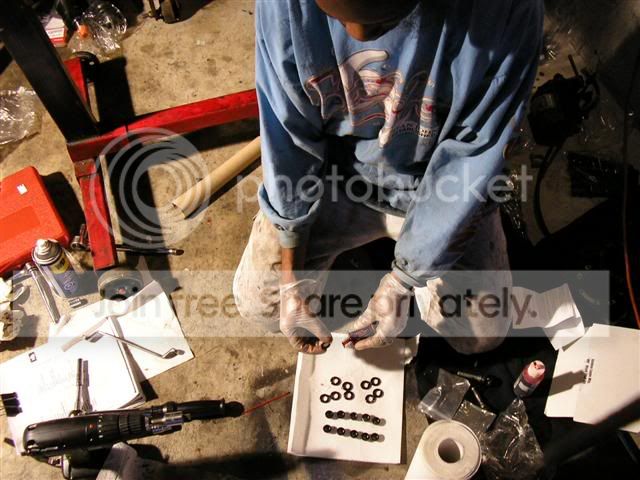
Cleaning up the main bores and bearings for plasitgauging
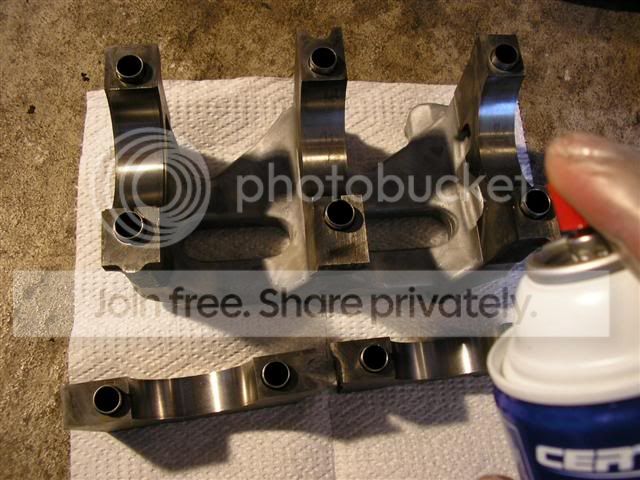
Bearings

Installed in the mains
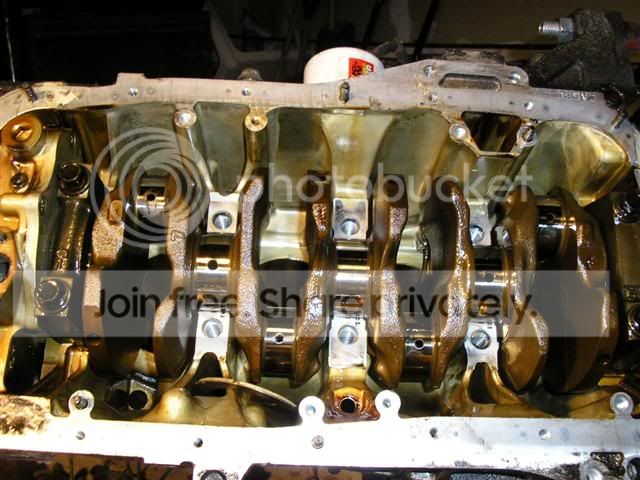
Bearings lubed up in preparation of the cleaned up and micropolished crank
Thrust washers are next
Installed
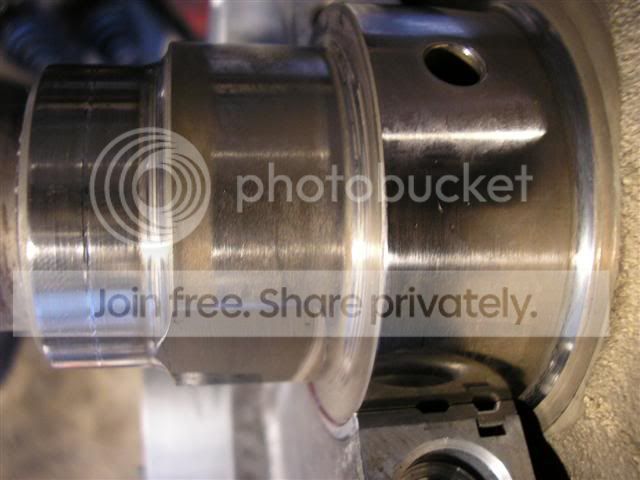
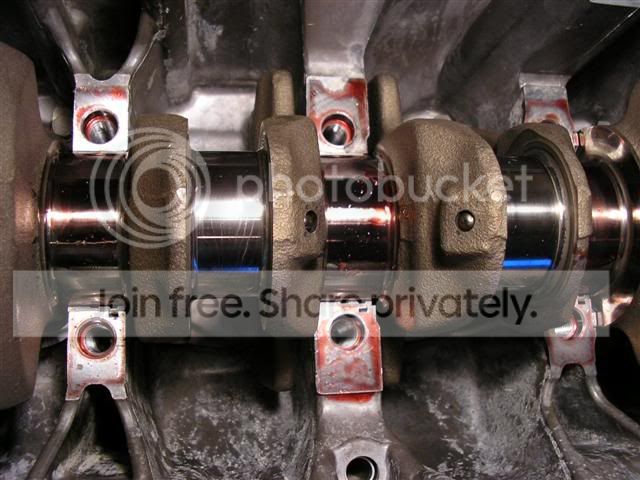
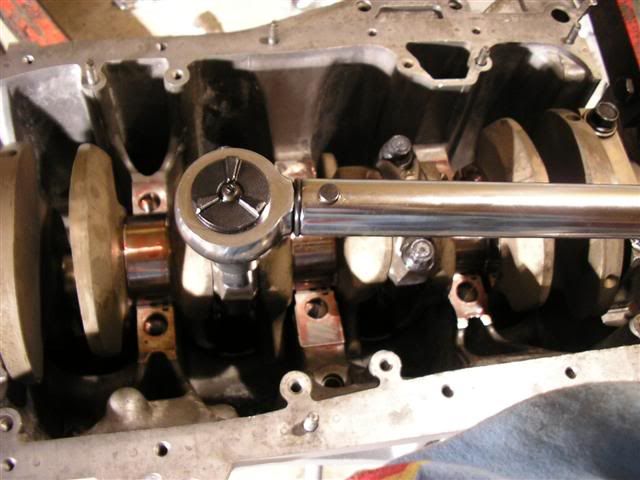
Crankshaft in place
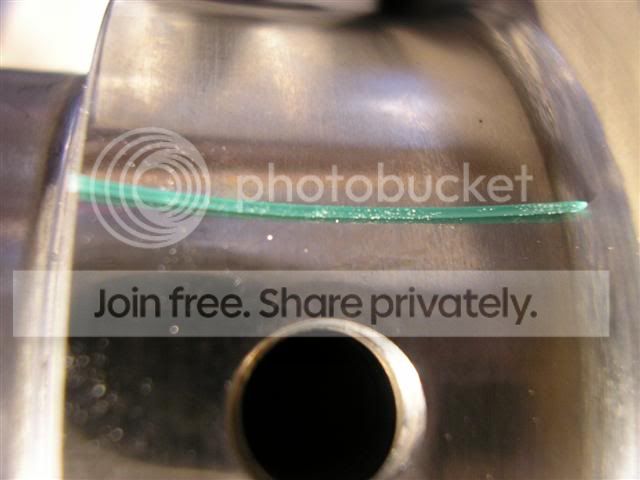
Plastigauging in process
After I finished plastigauging all the mains, they were cleaned up of any excess plastigauge and then lubed thoroughly with engine assembly lube as well as the girdle
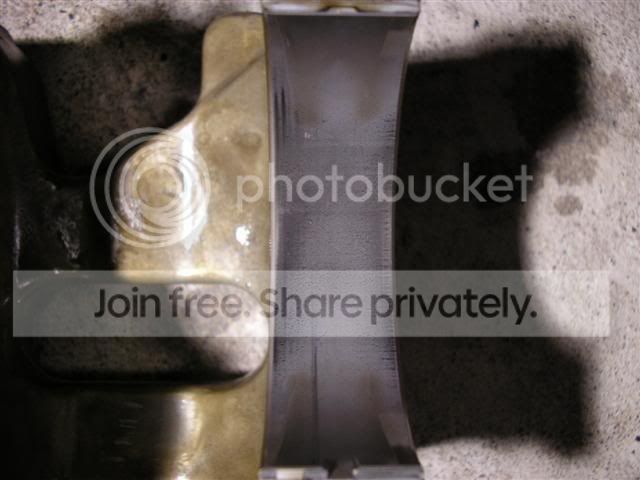
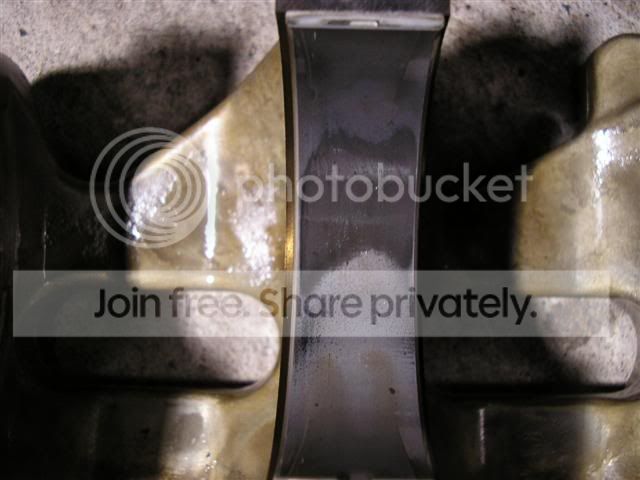
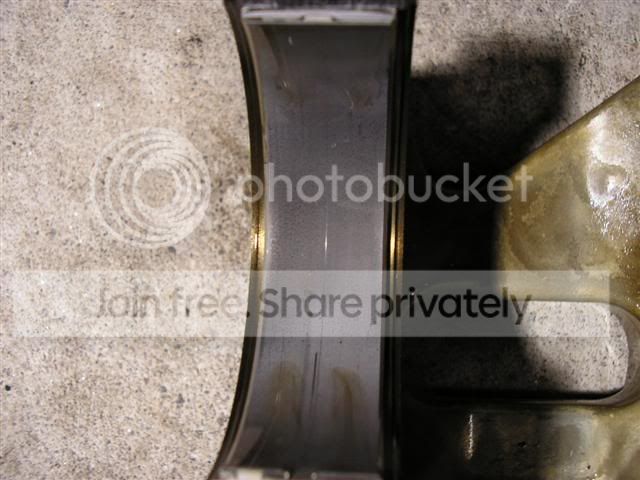
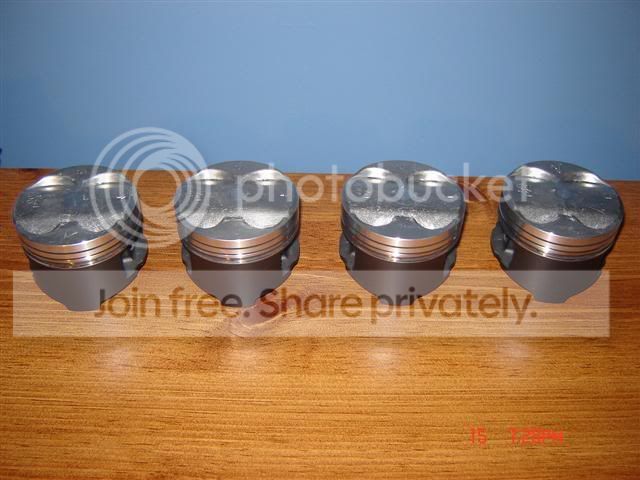
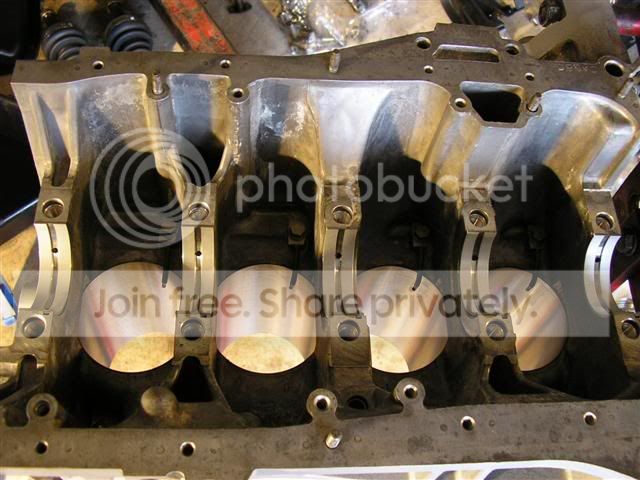
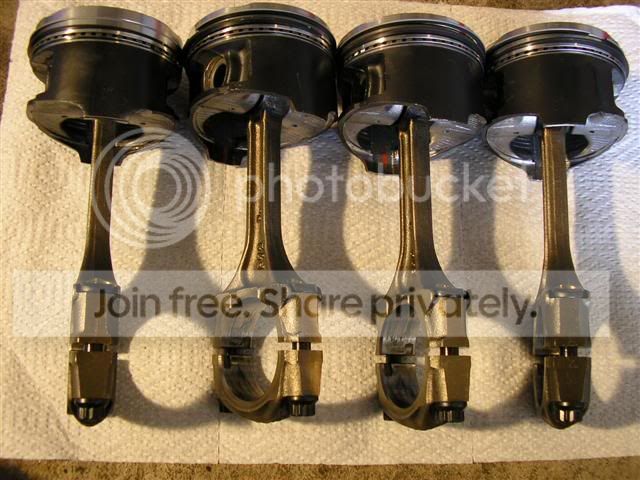
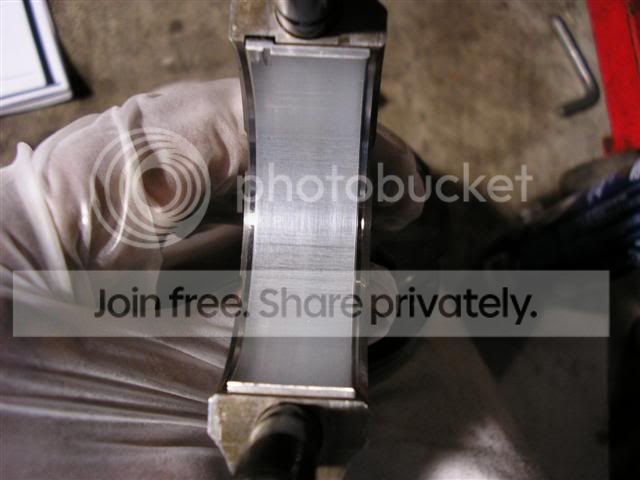
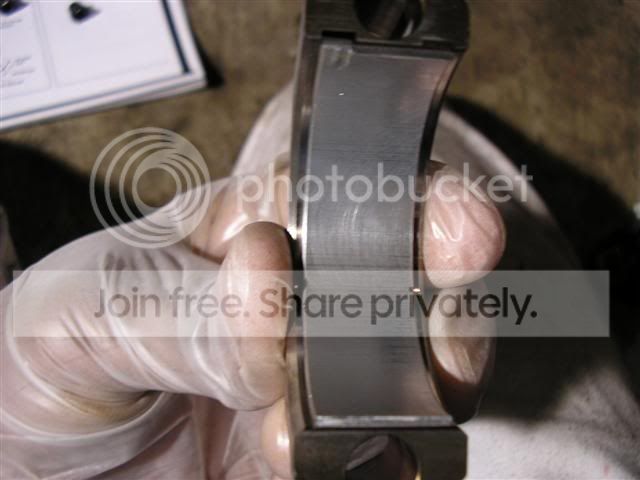
Since I had the machine shop install the new pistons on the connecting rods for me, along with installing the piston rings and checking there gap, its one step closer to final assembly. Here they are
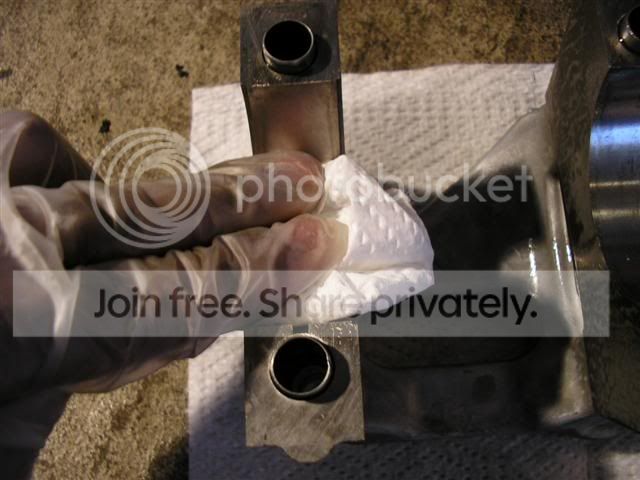
Cleaned up the surfaces in preparation of the bearings
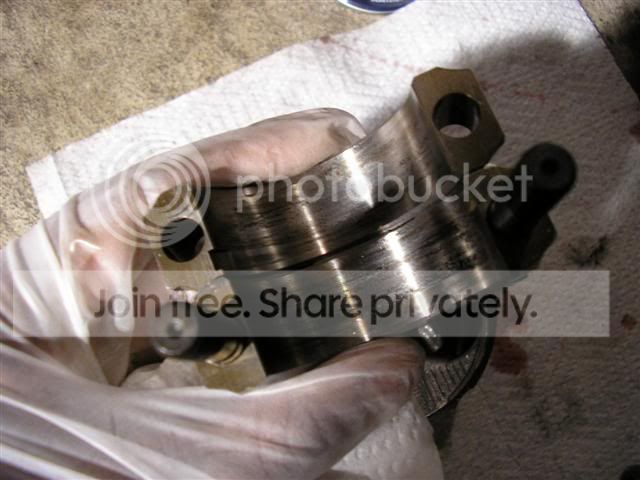
Then I needed to remove the cap to install the bearings
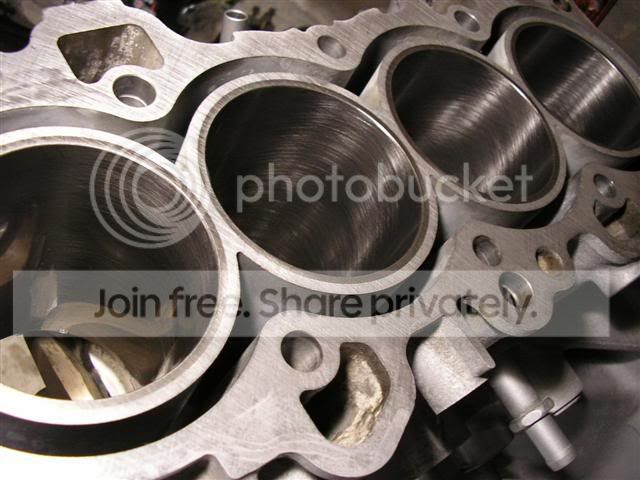
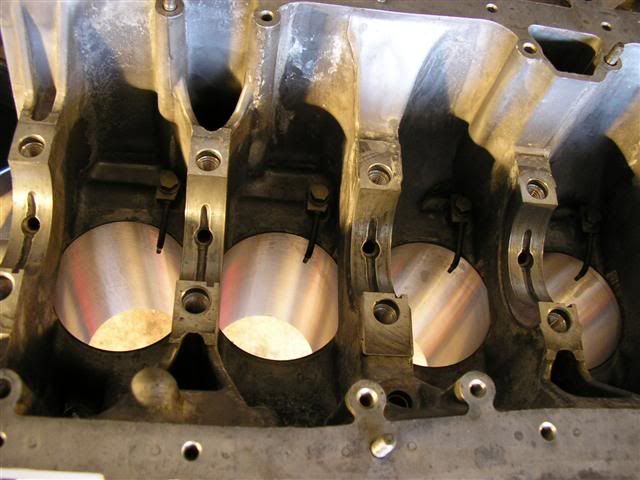
Now time to clean up the cylinders for the piston and rod assembly
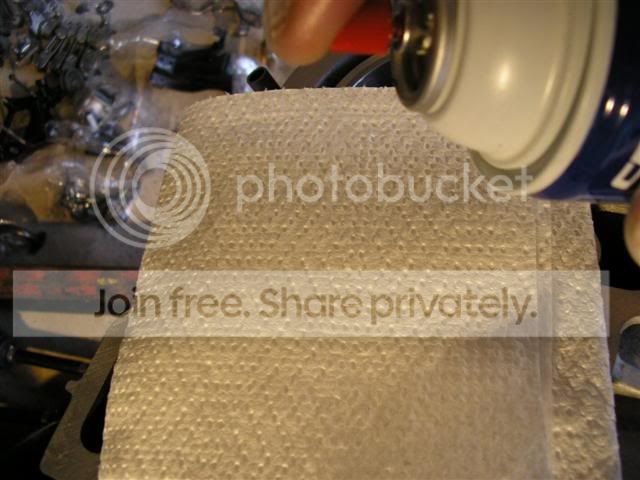

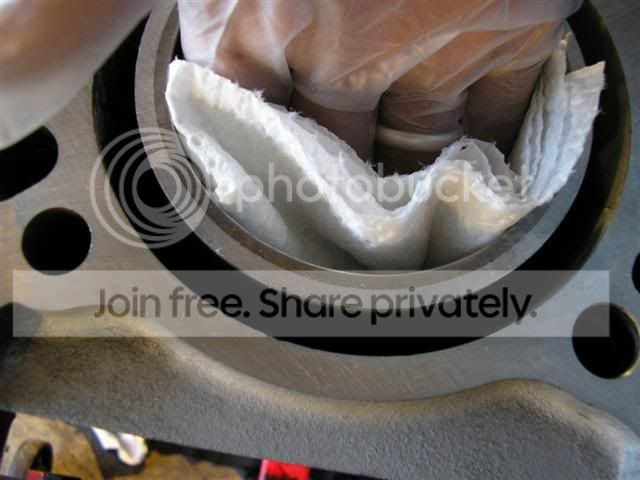
Then lube up the cylinder walls with WD40
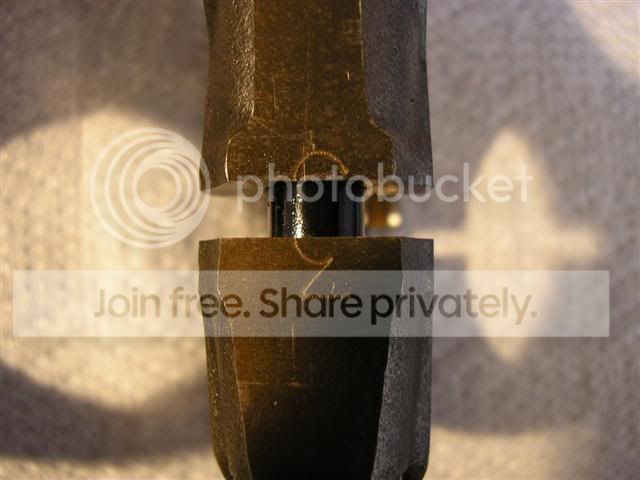
Piston ring compressor
Wiping WD40 on the piston ring compressor

Time to install the pistons, ensuring that all the piston rings are facing up and that the gaps are properly orientated

All installed
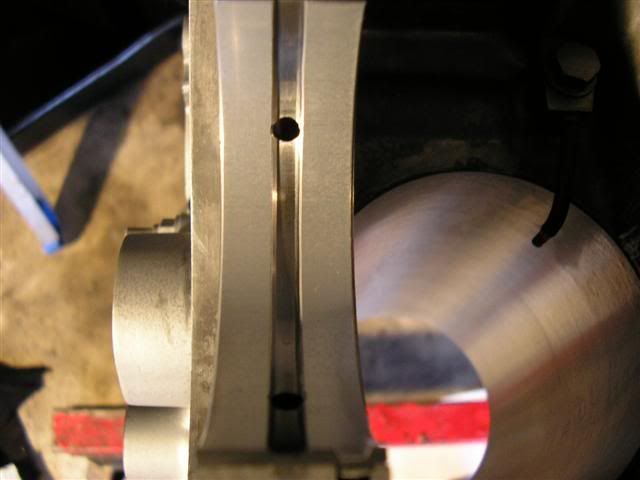
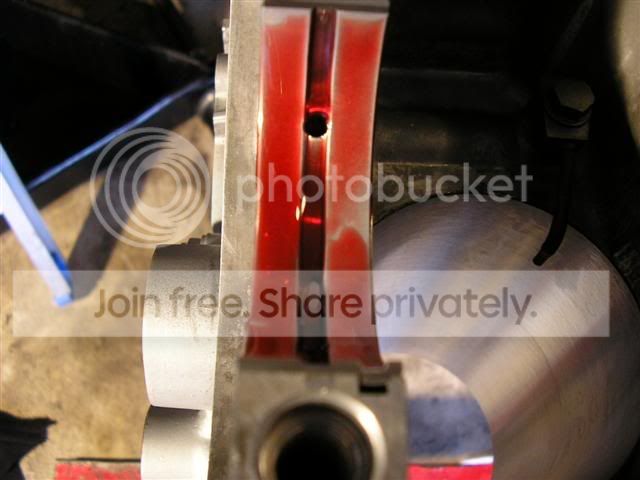
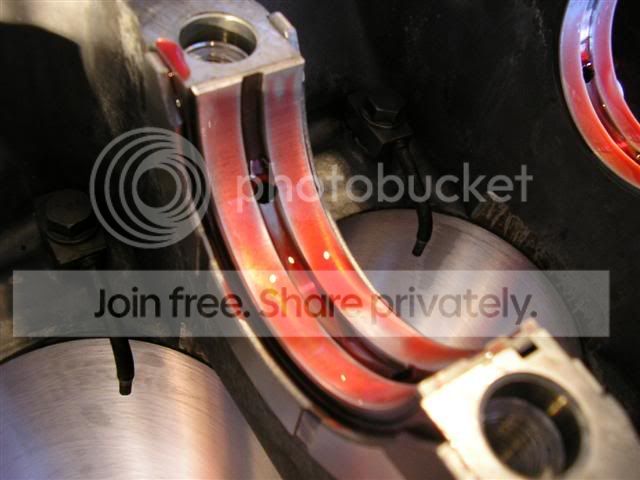
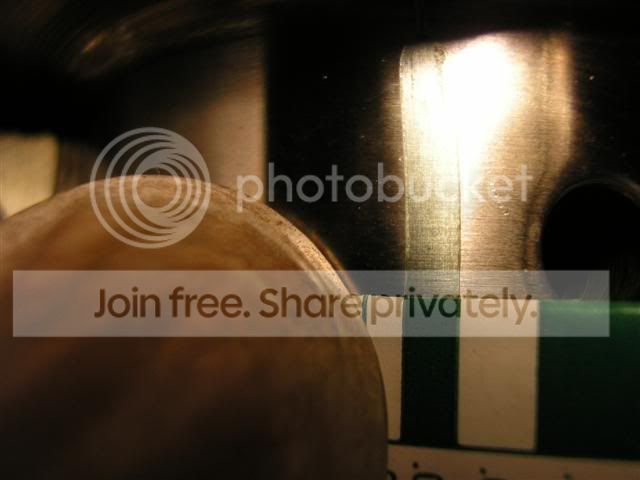
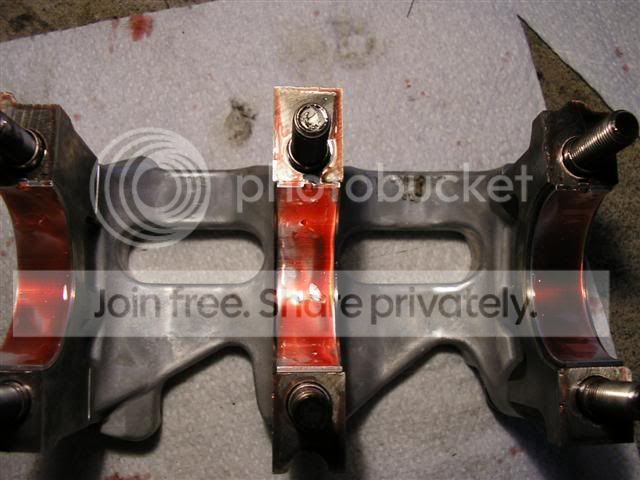
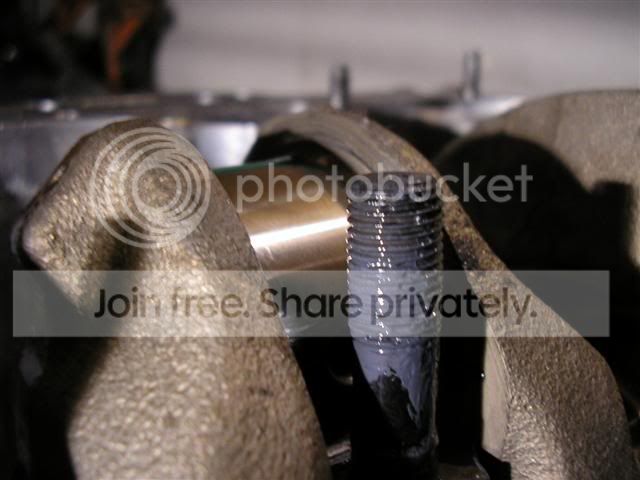
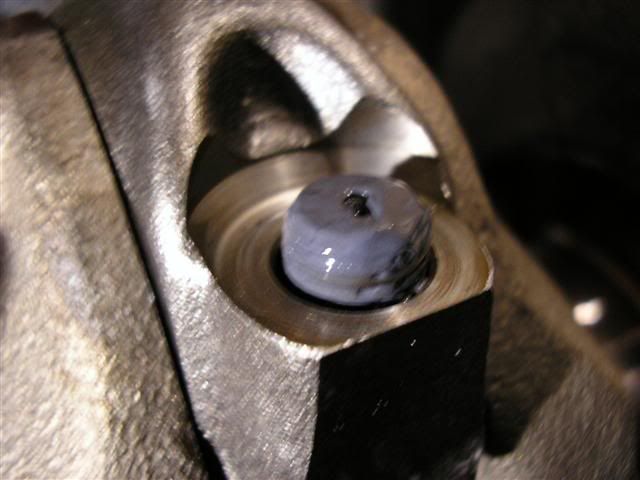
Then made sure to use the ARP assemble lube on the nuts and thread bolt end, to have the correct torque for the plastigauging. If you look carefully, you can see the plastigauge in the background
Rod cap on
Lubed up nut
Placed on the rod
Me torquing down the rod bolts to ARP specs
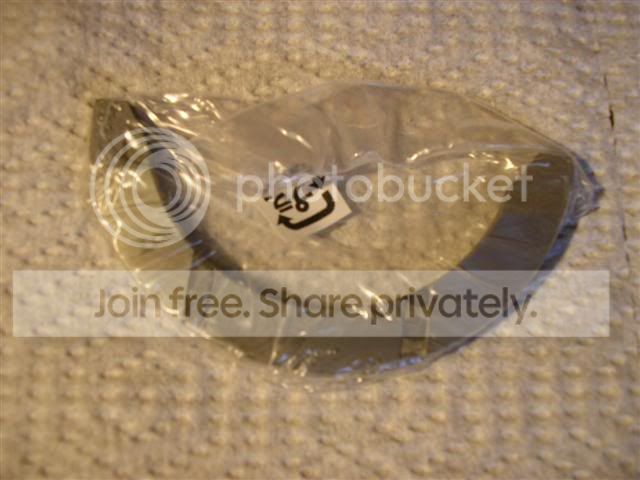
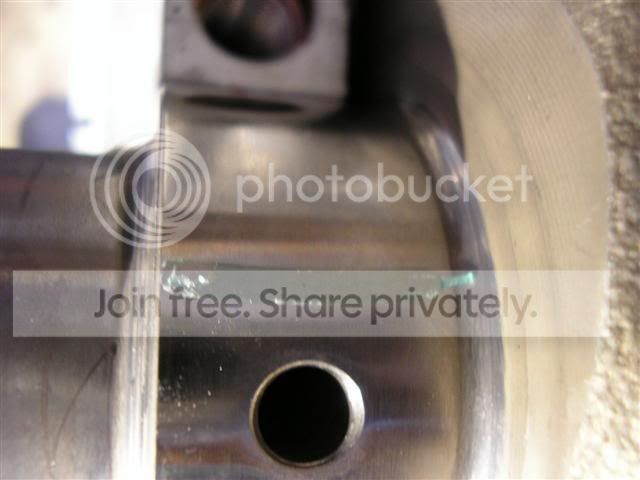
The best way I found to loosen the cap after plastigauging.

Installing the oil squirters
Cleaning up the main bores and bearings for plasitgauging
Bearings
Installed in the mains
Bearings lubed up in preparation of the cleaned up and micropolished crank
Thrust washers are next
Installed
Crankshaft in place
Plastigauging in process
After I finished plastigauging all the mains, they were cleaned up of any excess plastigauge and then lubed thoroughly with engine assembly lube as well as the girdle
Since I had the machine shop install the new pistons on the connecting rods for me, along with installing the piston rings and checking there gap, its one step closer to final assembly. Here they are
Cleaned up the surfaces in preparation of the bearings
Then I needed to remove the cap to install the bearings
Now time to clean up the cylinders for the piston and rod assembly
Then lube up the cylinder walls with WD40
Piston ring compressor
Wiping WD40 on the piston ring compressor
Time to install the pistons, ensuring that all the piston rings are facing up and that the gaps are properly orientated
All installed
Then made sure to use the ARP assemble lube on the nuts and thread bolt end, to have the correct torque for the plastigauging. If you look carefully, you can see the plastigauge in the background
Rod cap on
Lubed up nut
Placed on the rod
Me torquing down the rod bolts to ARP specs
The best way I found to loosen the cap after plastigauging.
Thread Starter
Honda-Tech Member
Joined: Dec 2005
Posts: 360
Likes: 8
From: Whitby, Ontario, Canada
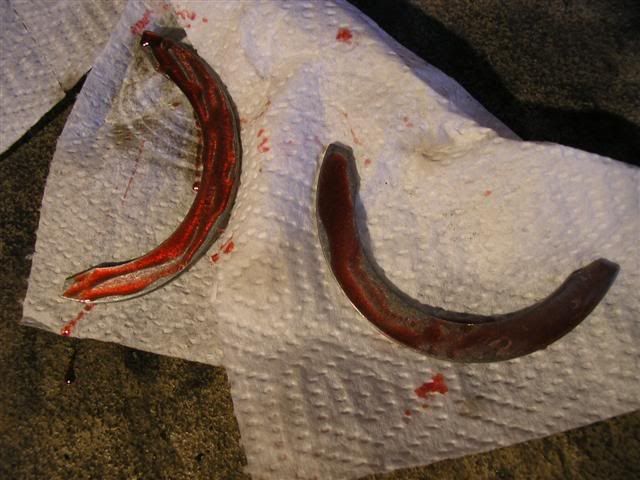
This is after I had got the cap loose
After finishing all the plastigauging for all the rods, I made sure to apply enough engine assembly lube to the journals
Connecting rod end play within stock specs
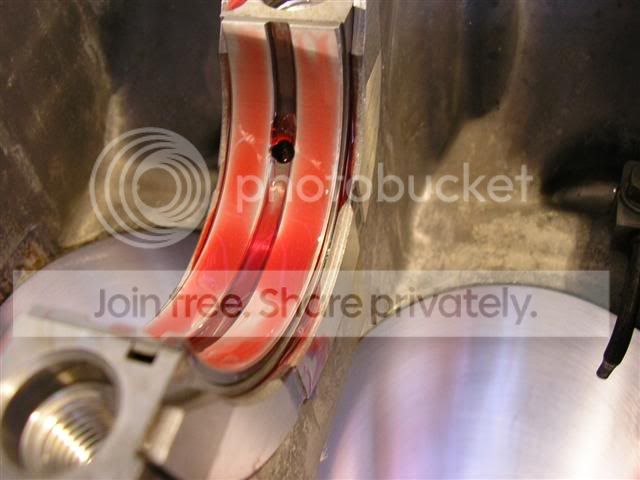
Finally I can move on to the rest of the engine block assembly. It took me about 3 hours to plastigauge all the bearings. Done twice, some three times for accuracy.
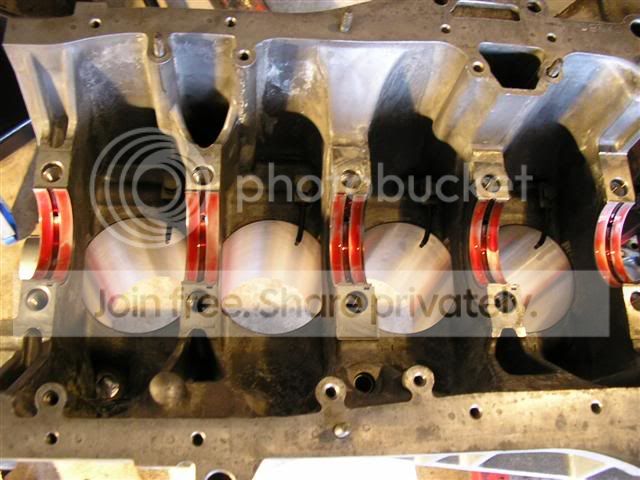
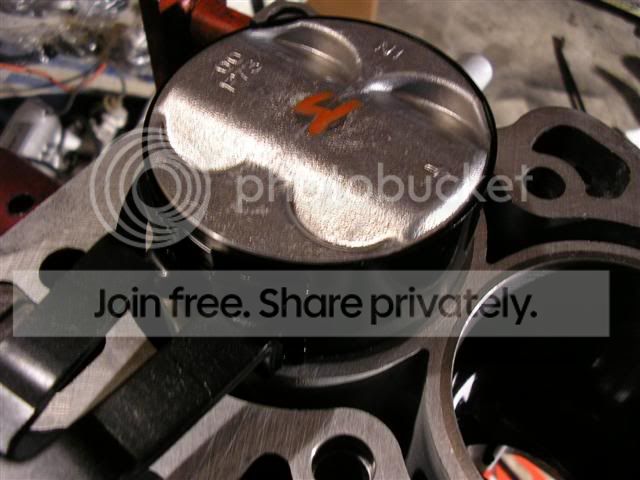
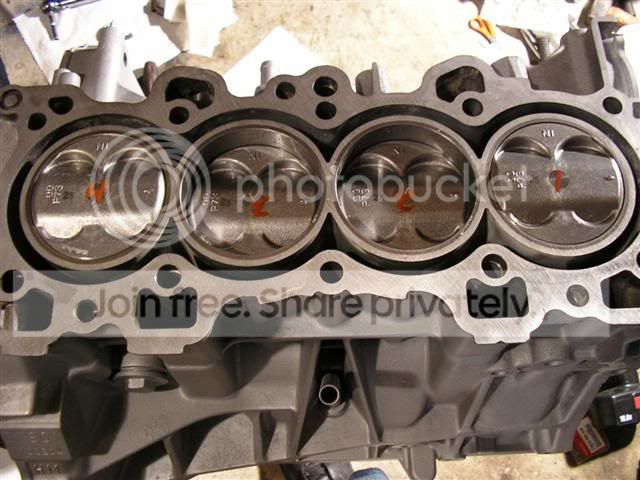
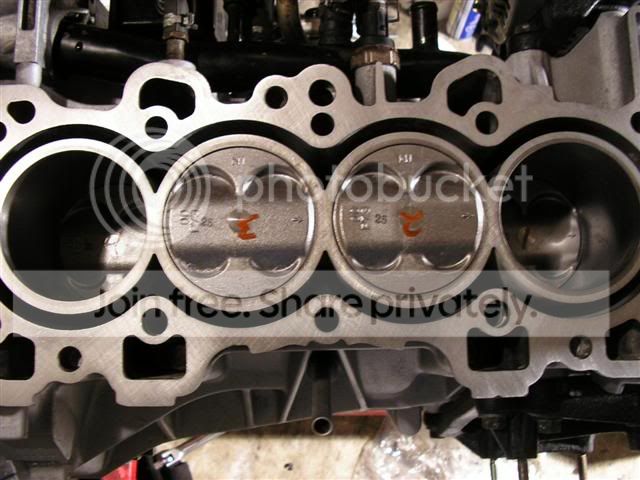
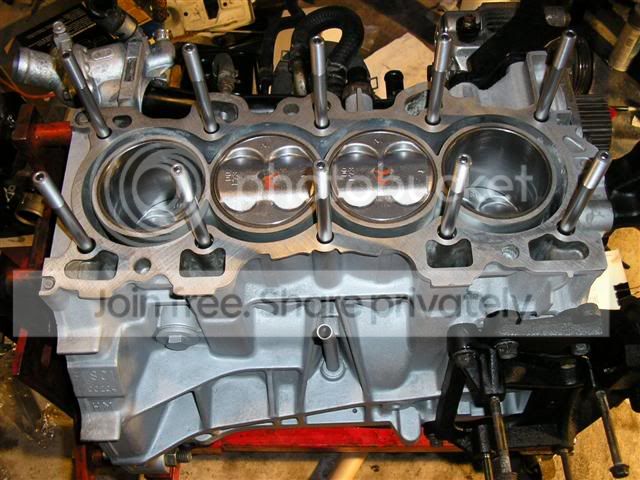
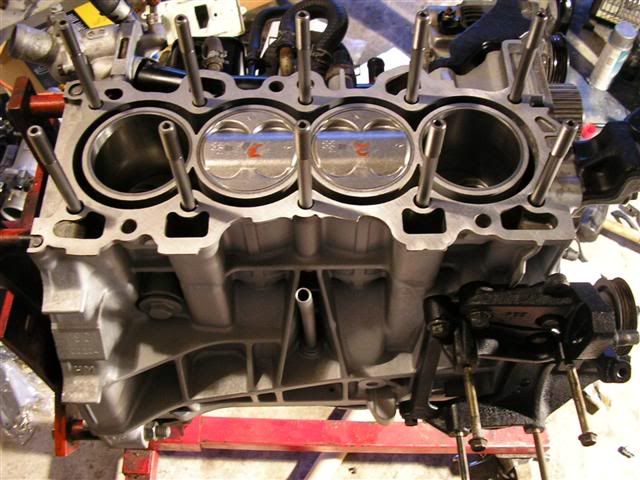
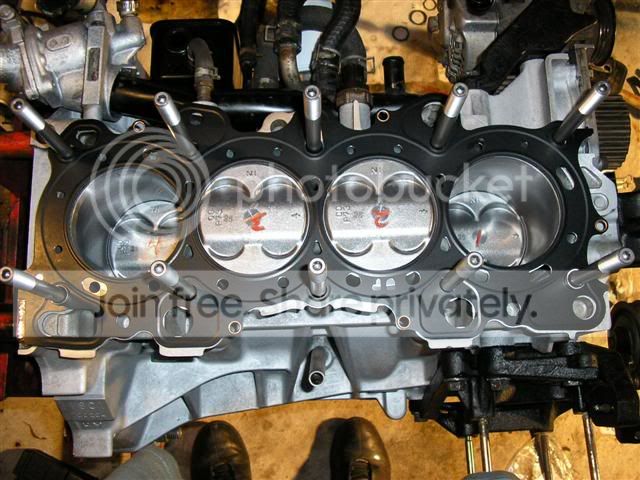
How the pistons should look within there respective cylinders now that they are torqued down properly
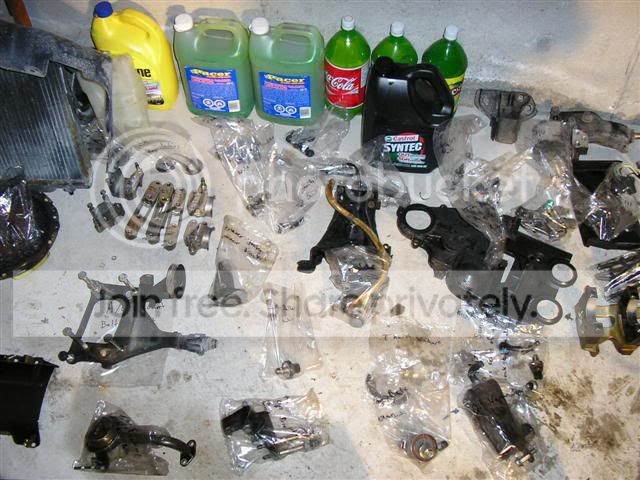
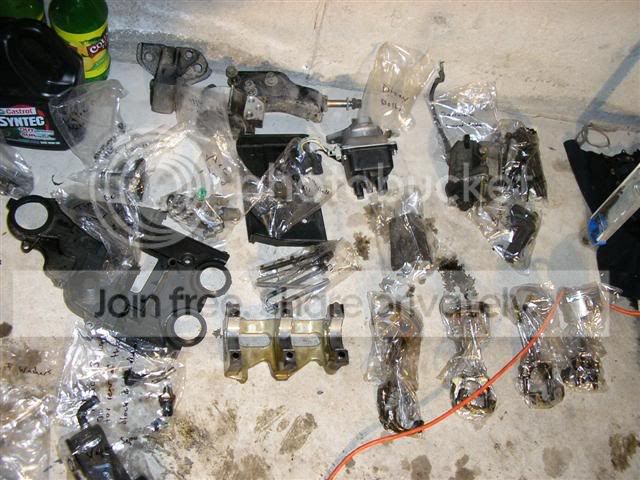
Now for the pictures of the other little/random things that go onto the block
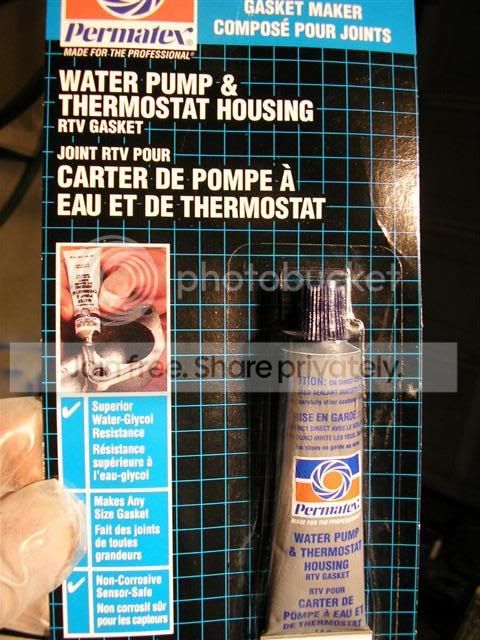
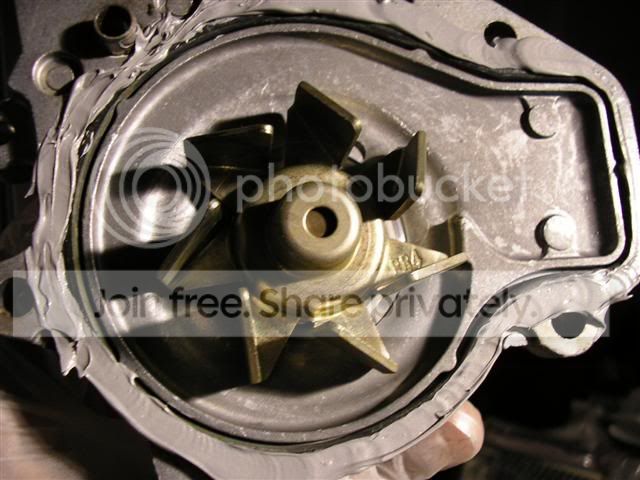

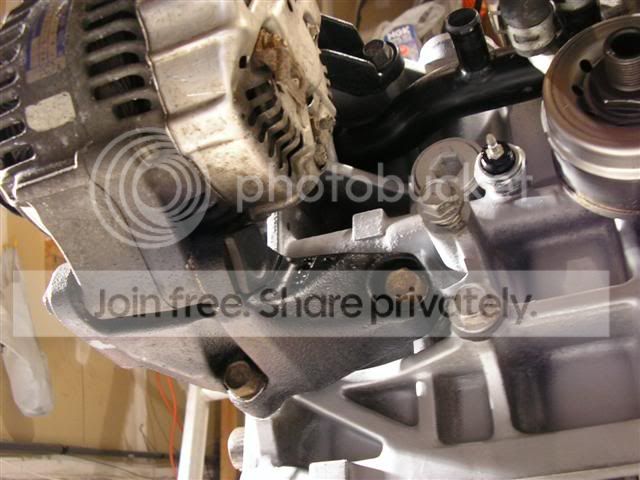
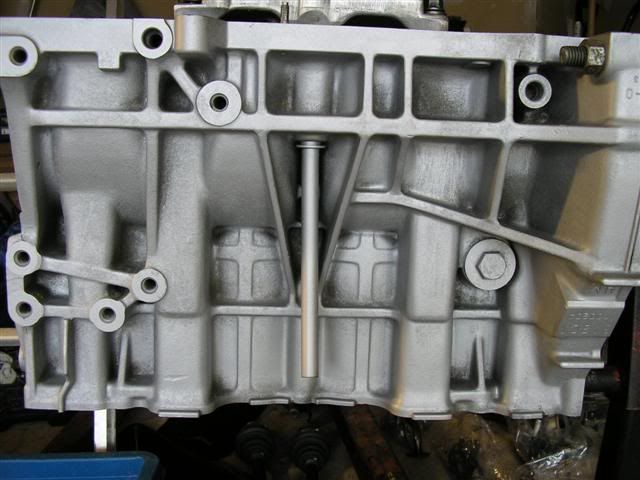
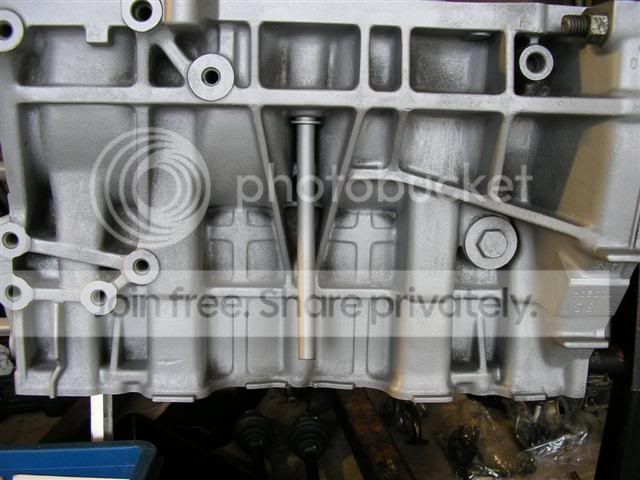
Now I move onto the oil pump, I prep the surface by cleaning it up then placing the high temp sealant around the matting surface.
***forgot to take a picture of that, my bad***
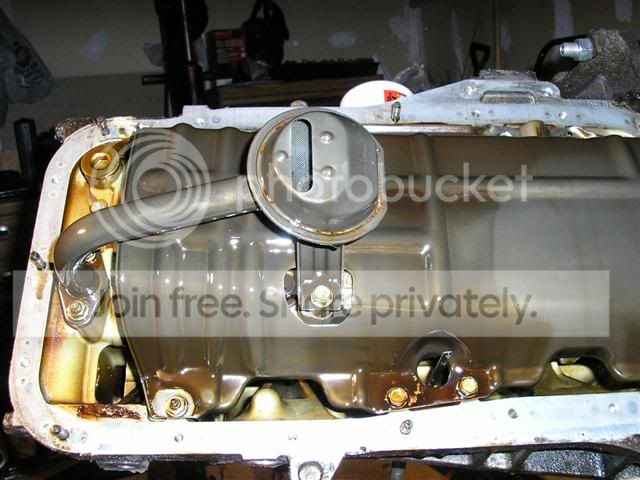
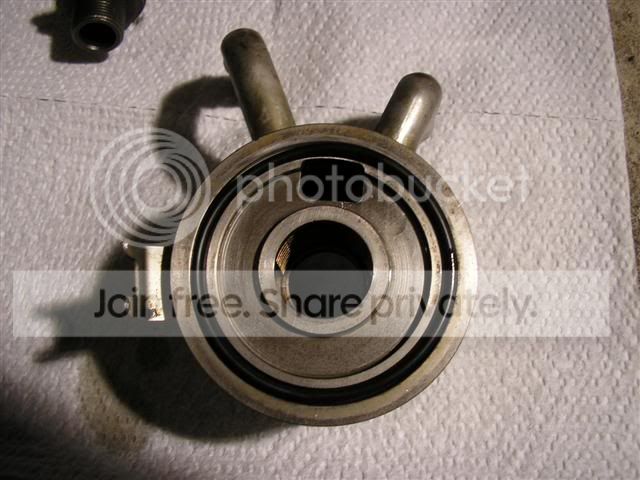
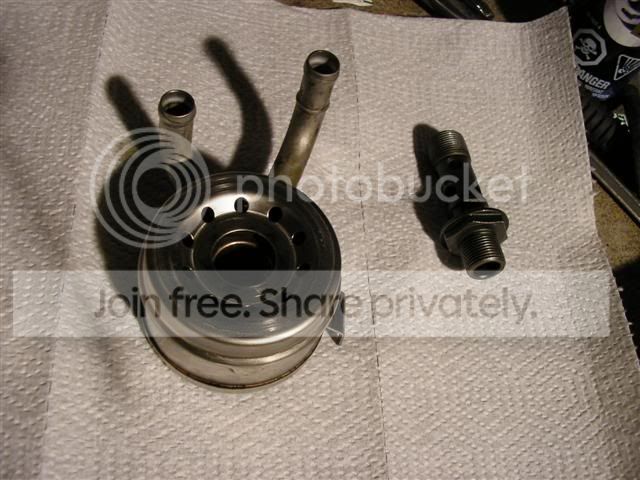
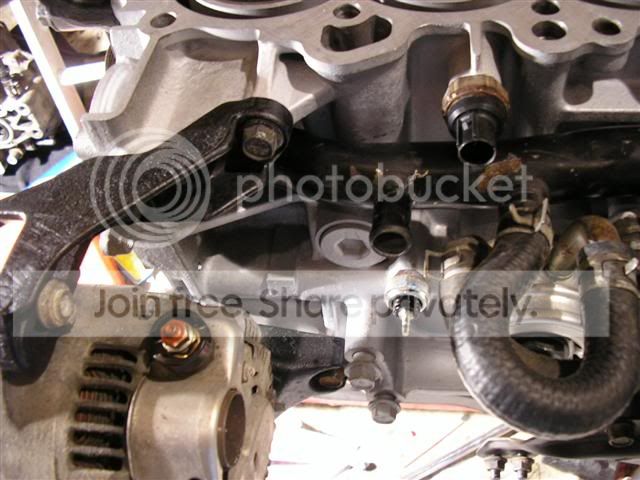
Oil Pump Installed along with a new oil pickup gasket
Oil pickup cleaned along with the bolts & nuts
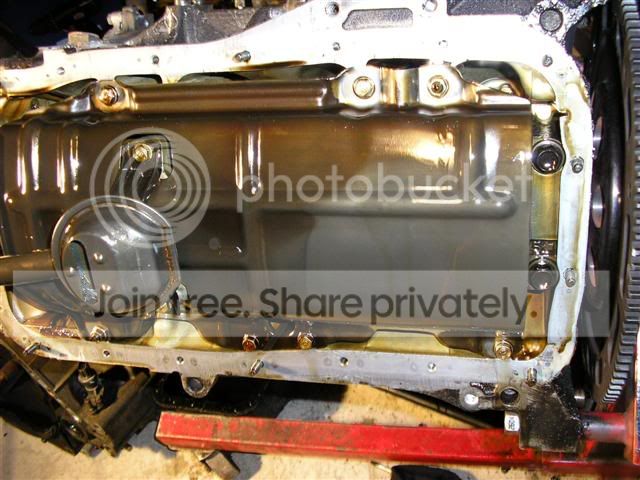
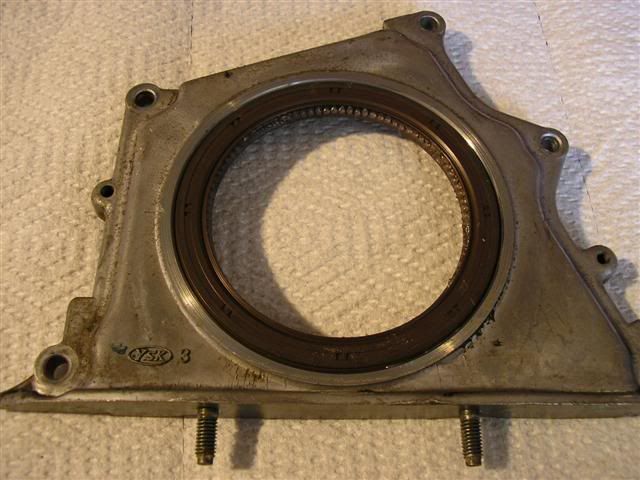
The same treatment is applied to the rear main seal
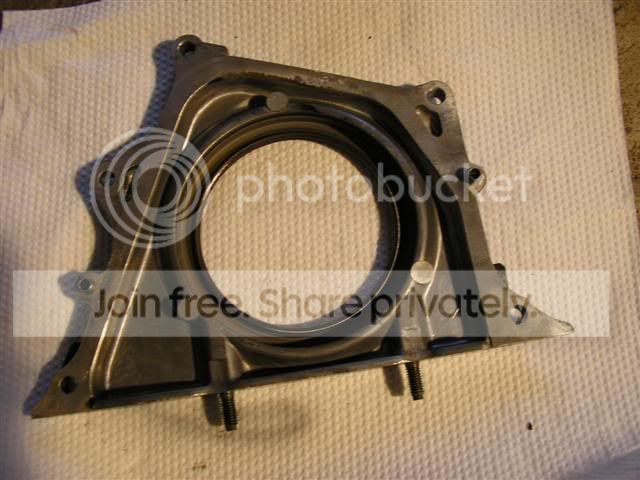

Rear main seal installed along with the new oil pan gasket and windage tray
Oil Pickup Installed
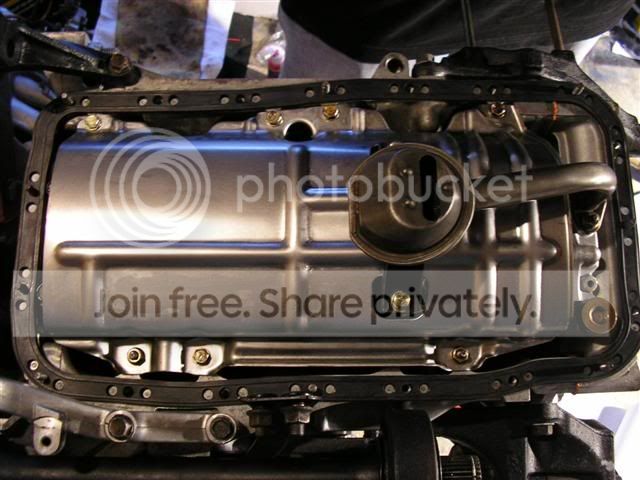
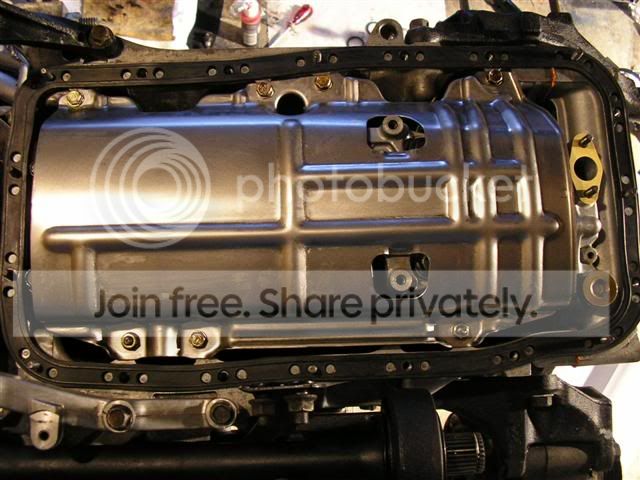
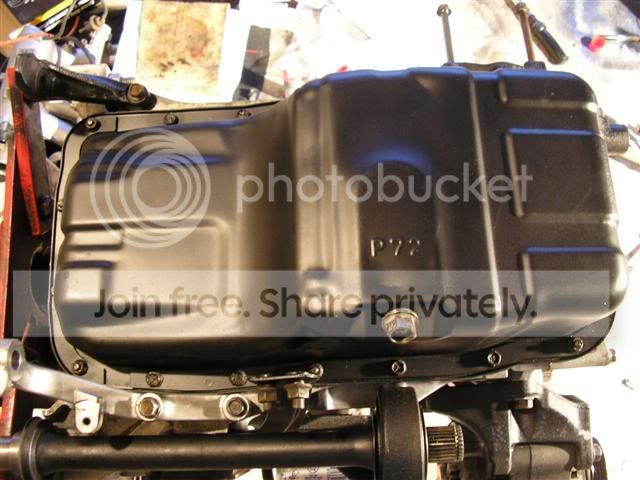
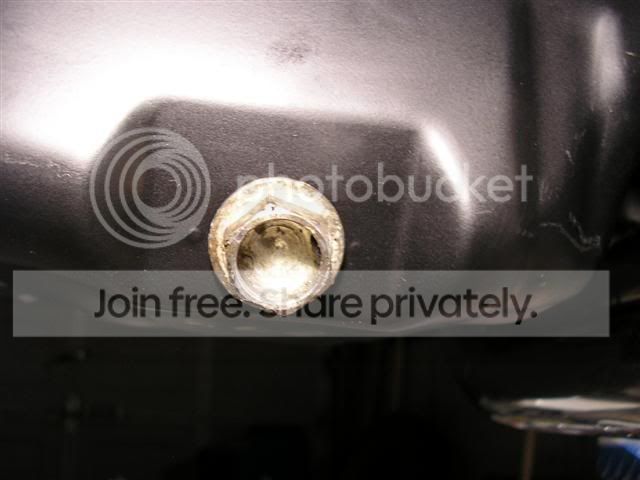
Oil Pan installed along with my magnetic Spoon drain bolt
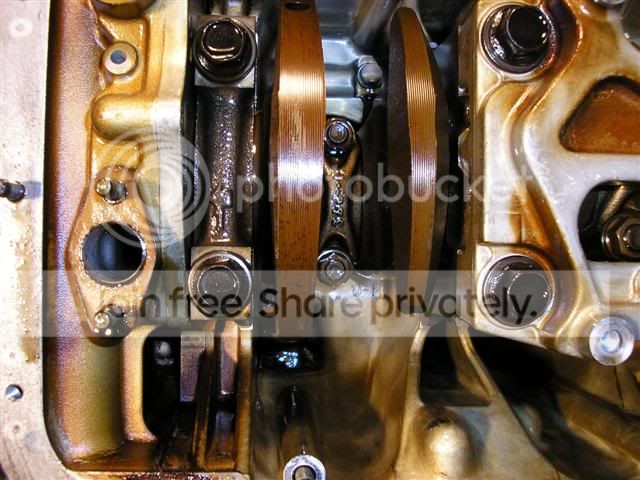
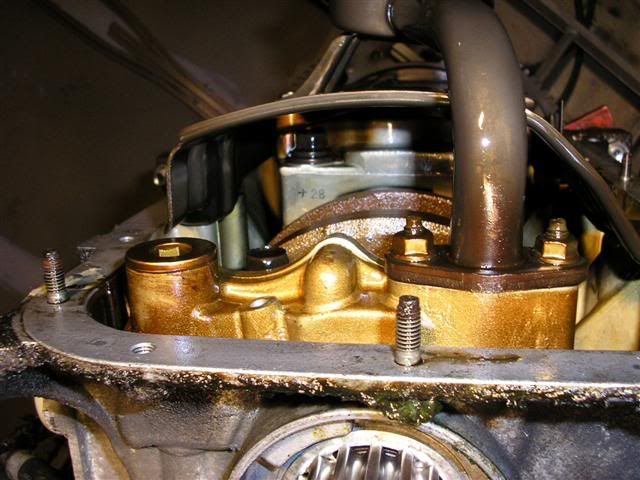
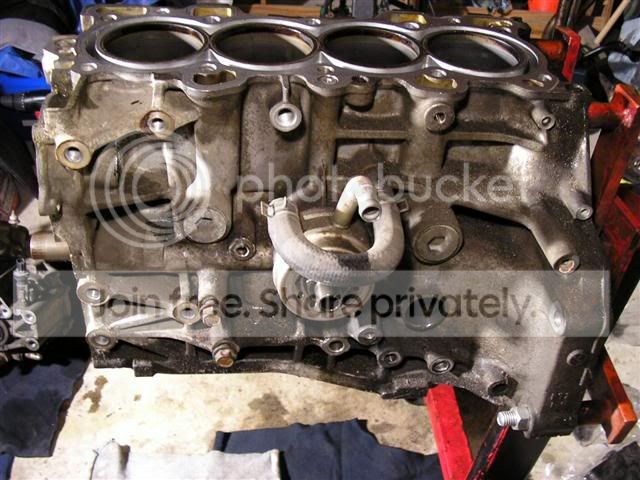
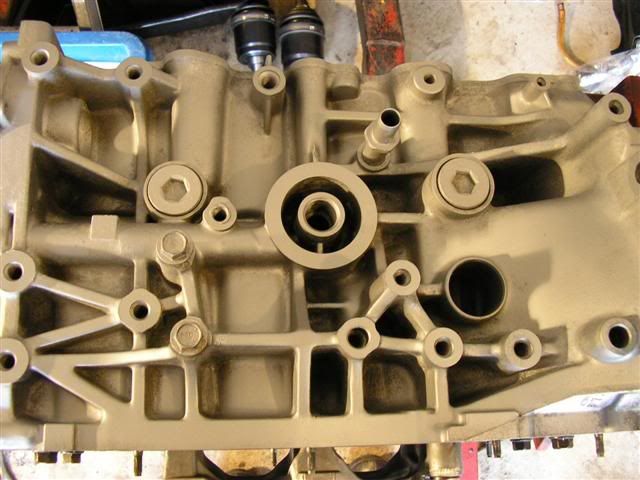
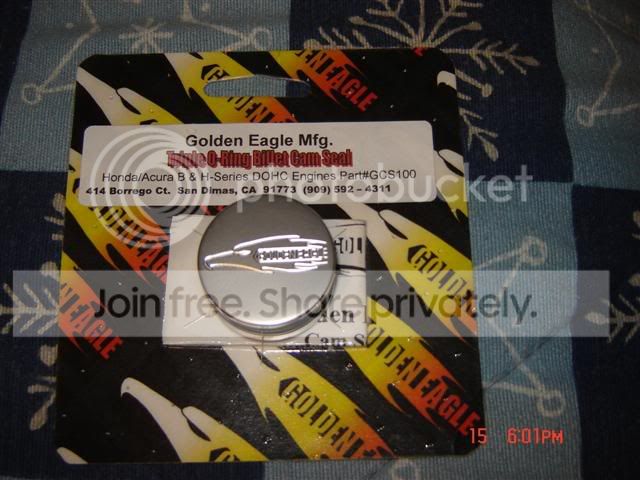
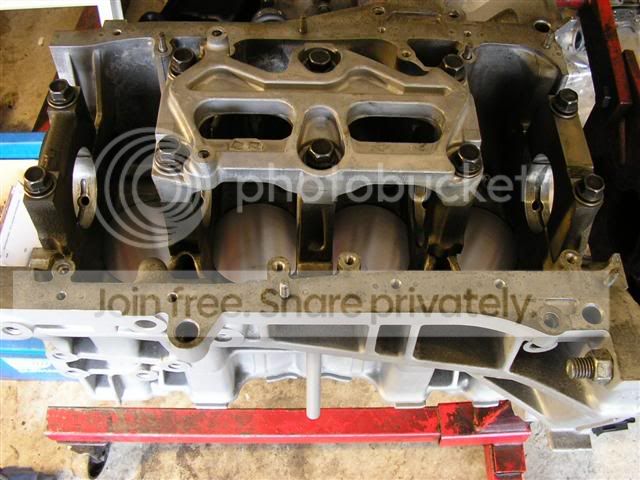
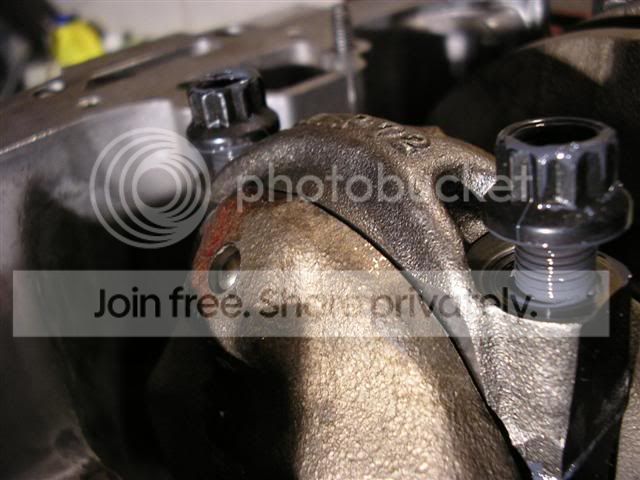
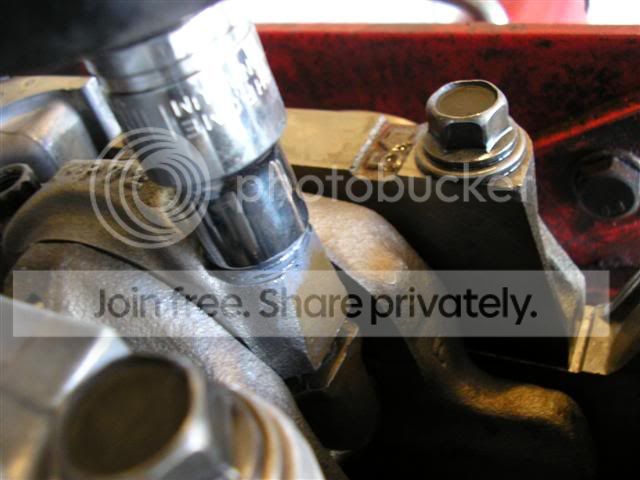
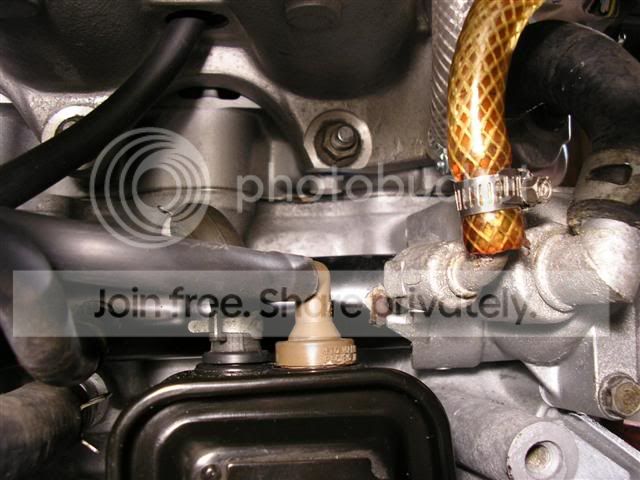
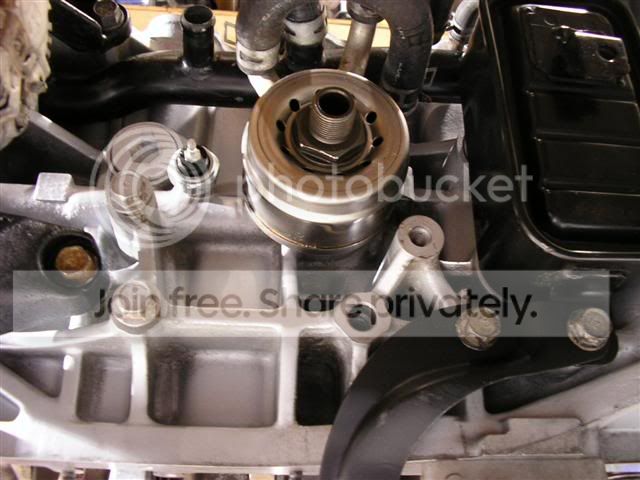
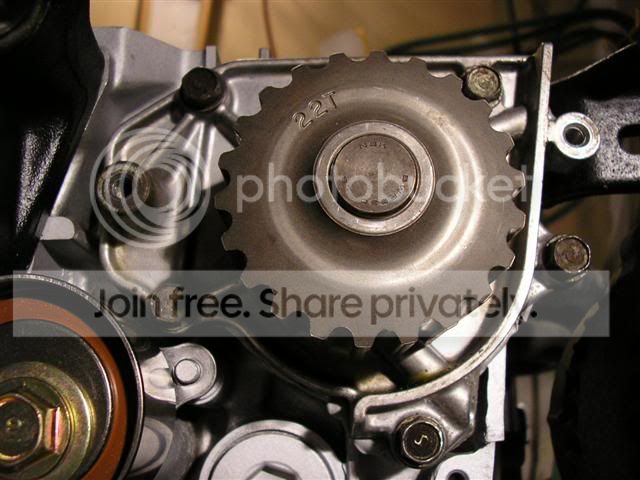
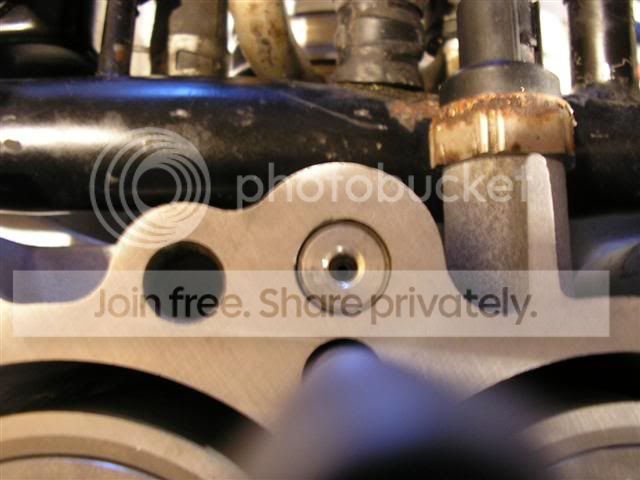
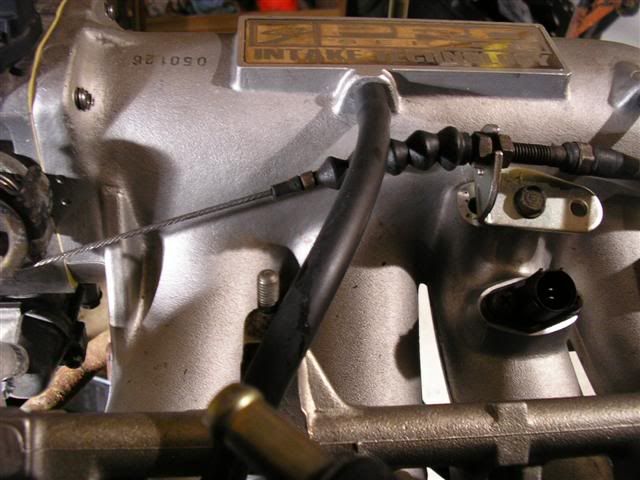
Onto the golden eagle head studs
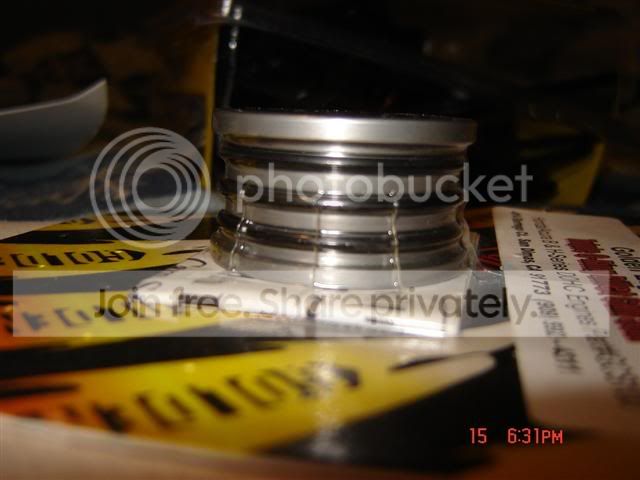
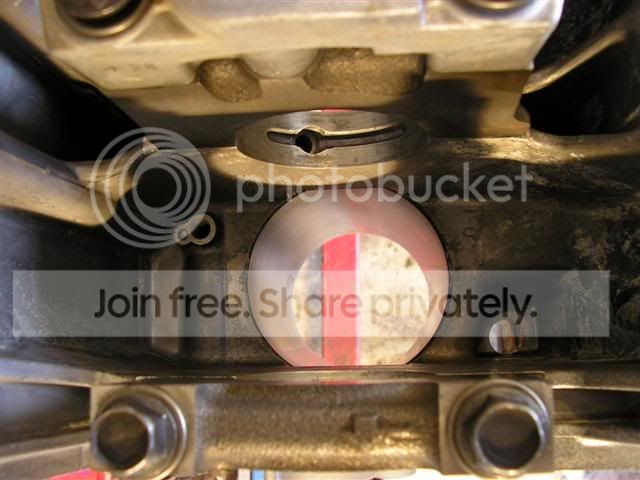
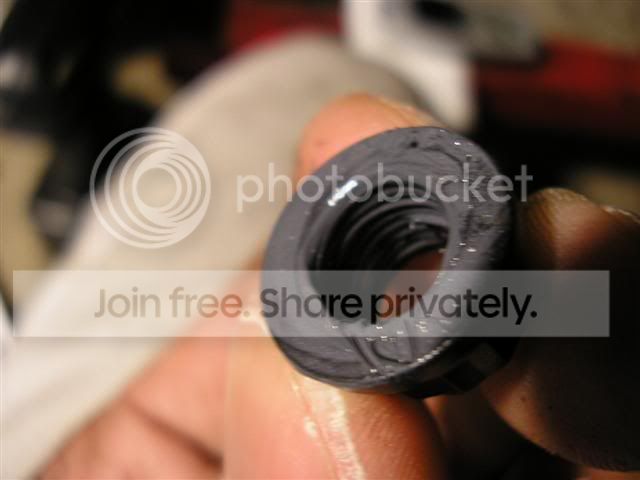
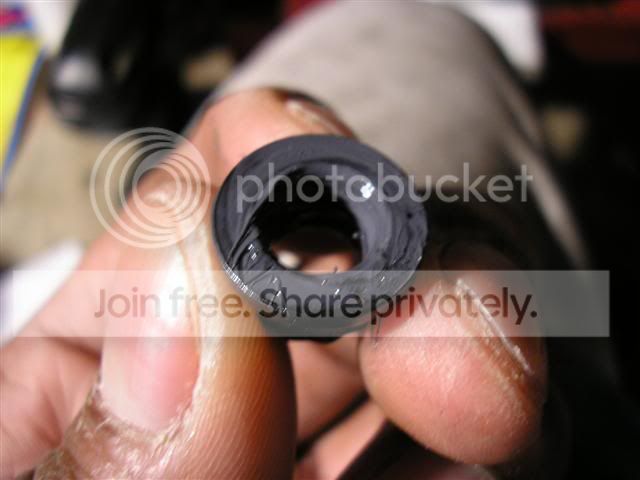
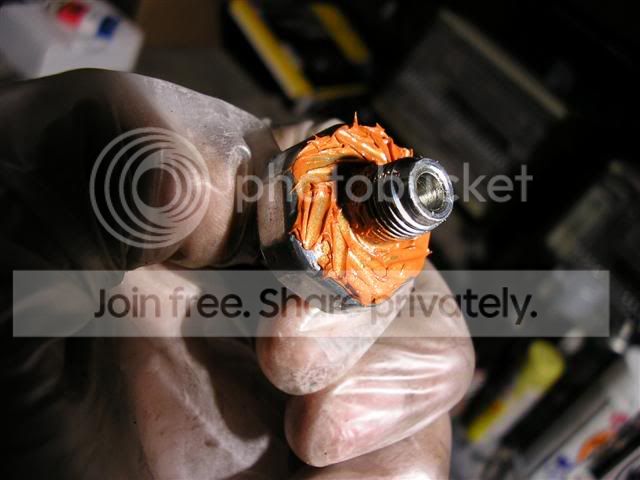
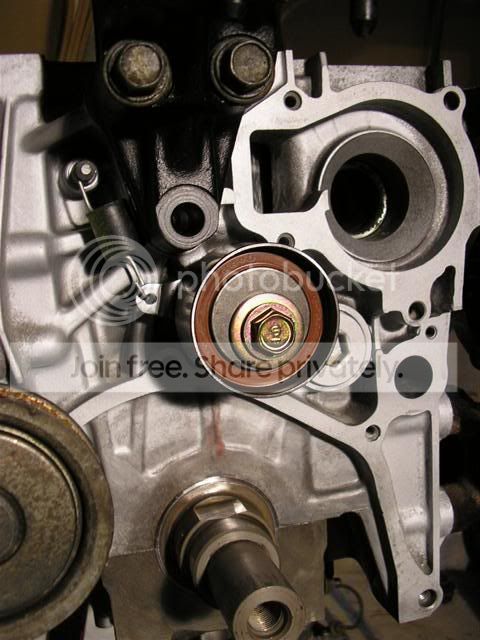
Gotta replace that o-ring on the oil orifice
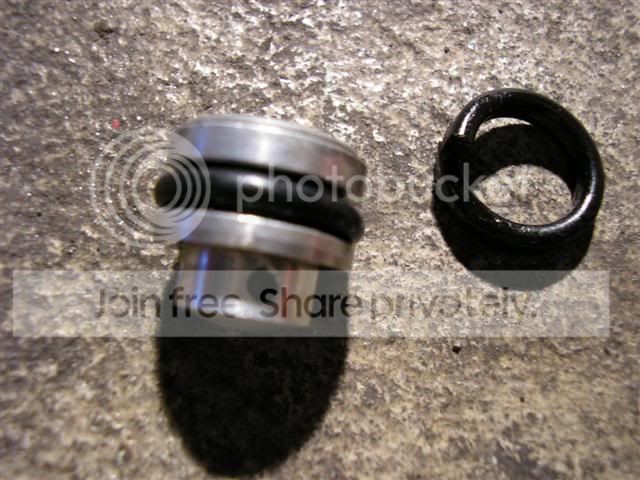
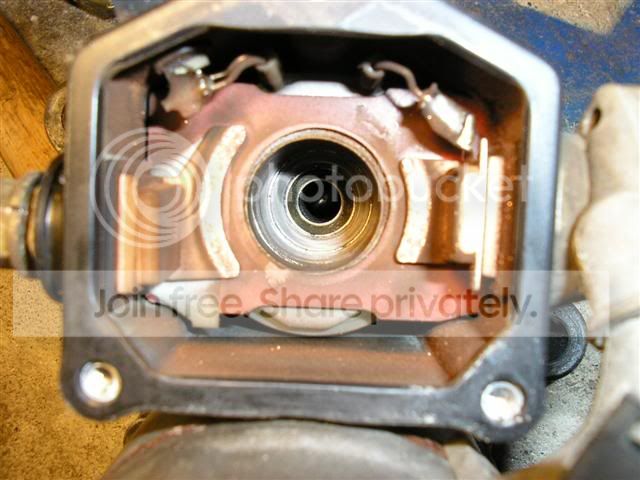
Oil Orifice installed
Next it’s time for the headgasket, only OEM for me
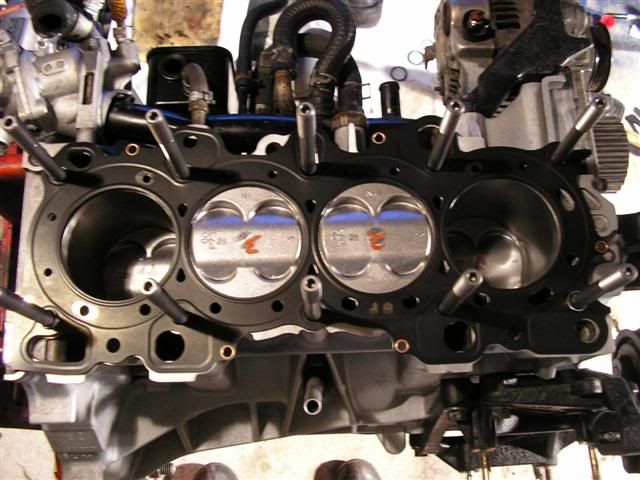
Yup it’s facing the right way
Time to put on the head
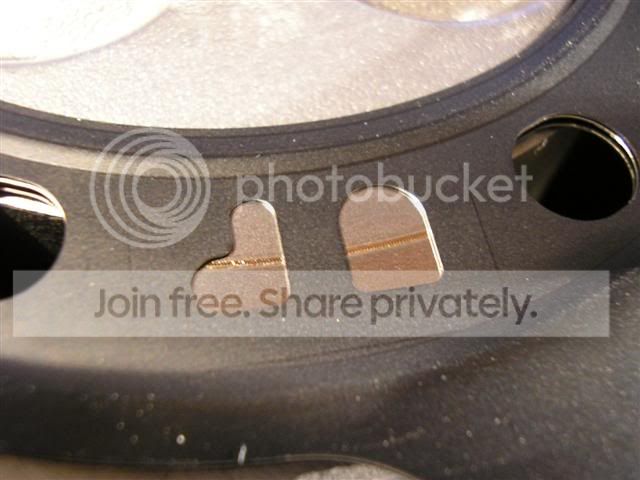
Don’t forget those dowel pins
Me lubing the **** out of the washers and nuts
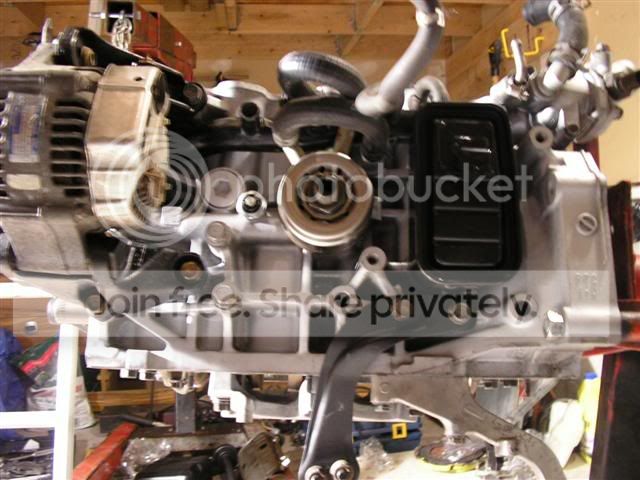
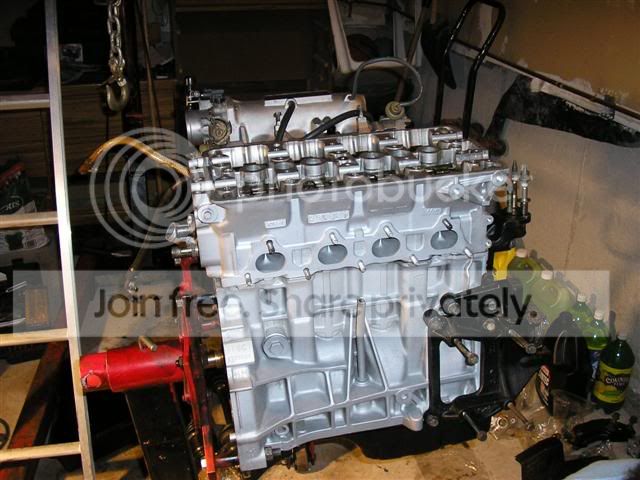
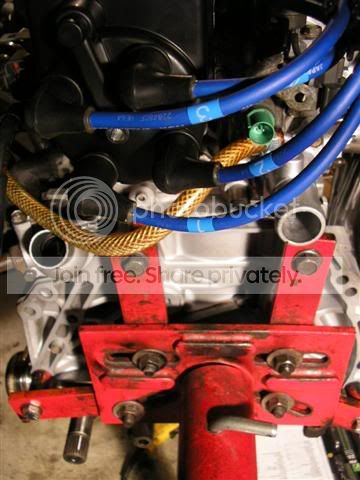
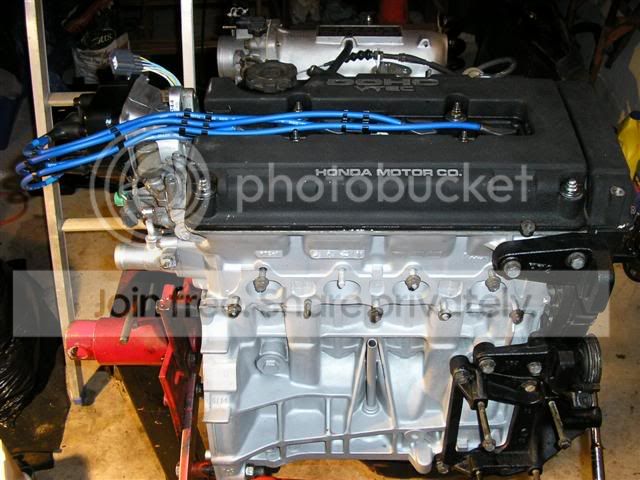
Head installed
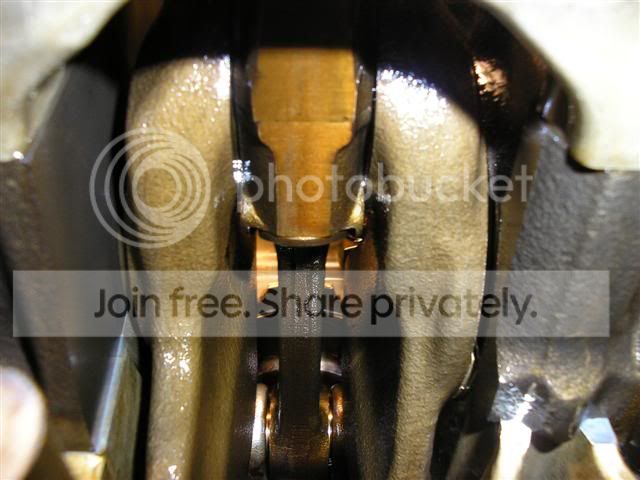
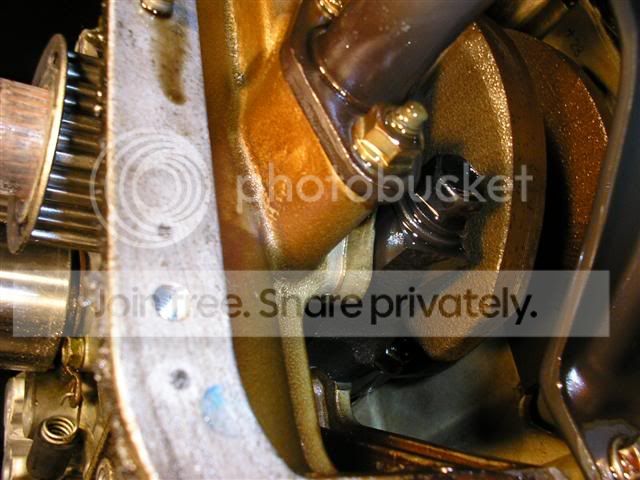
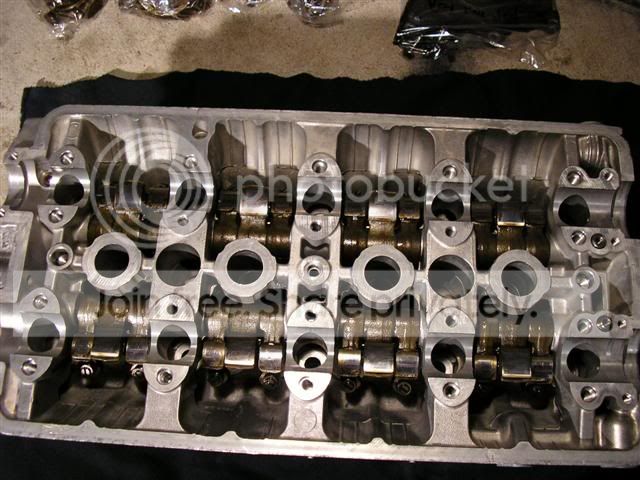
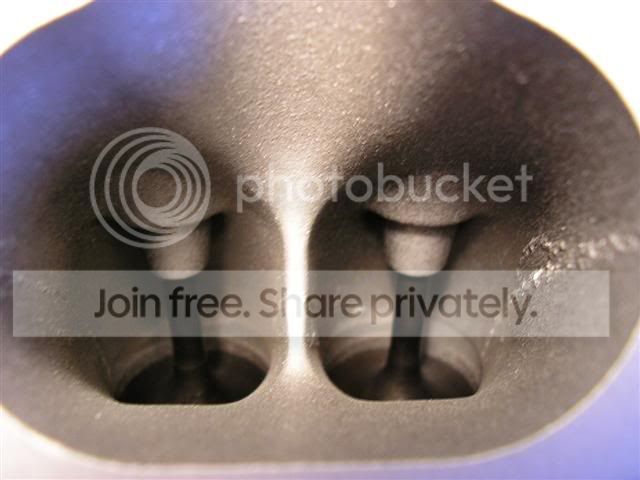
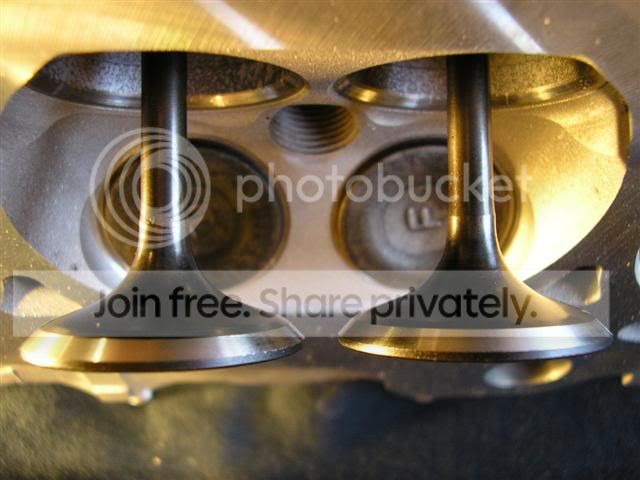
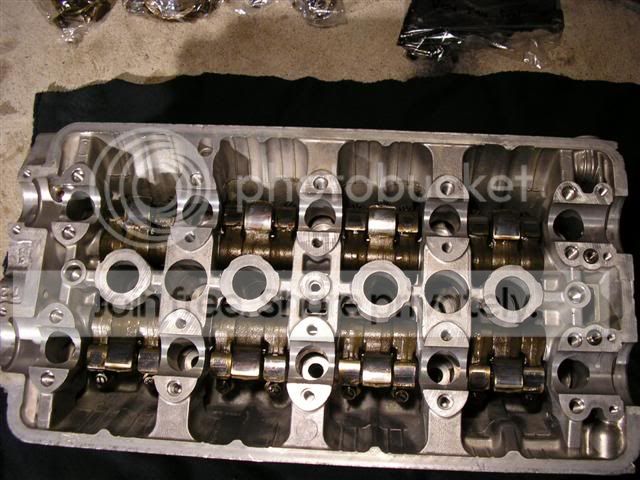
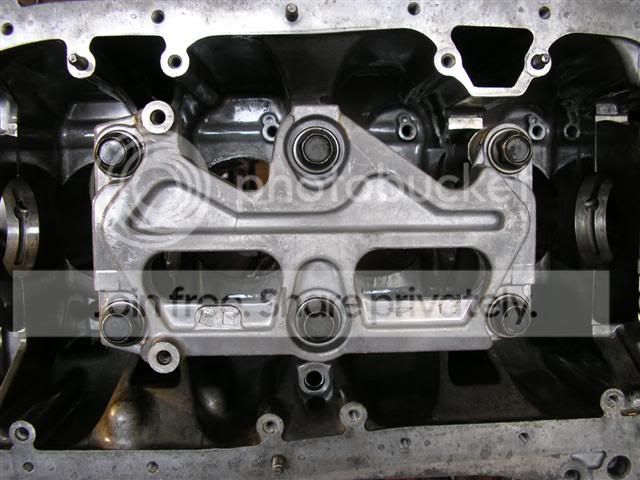
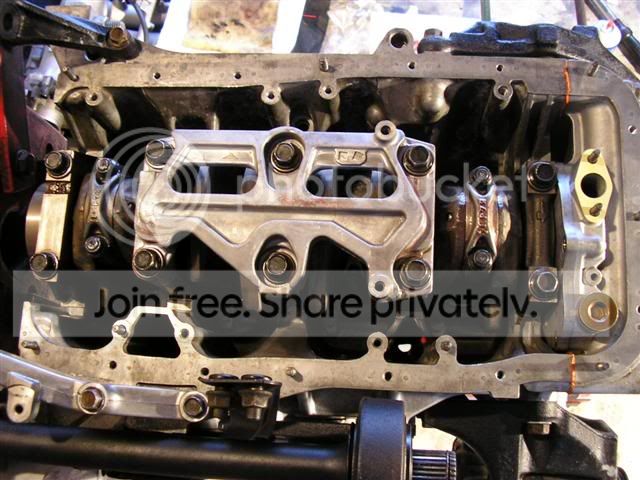
Time for the cams, lube up the cam journals
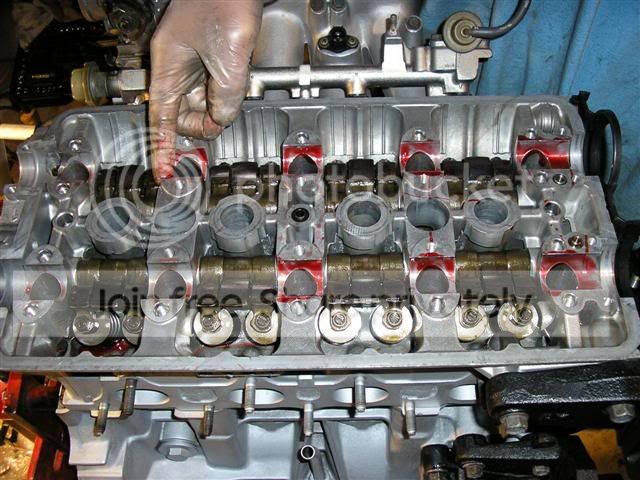
Same goes for the cams
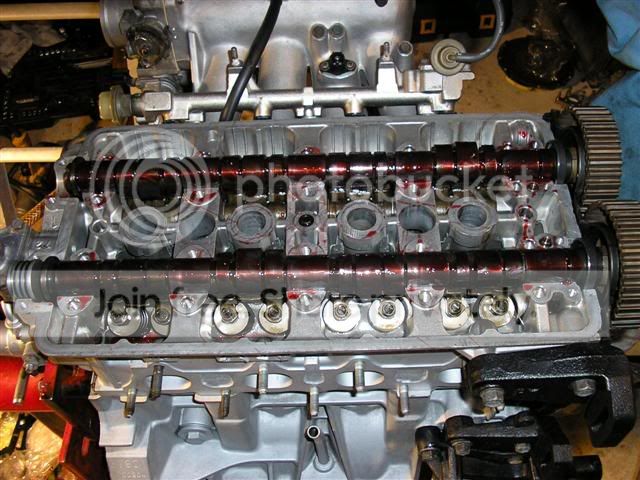
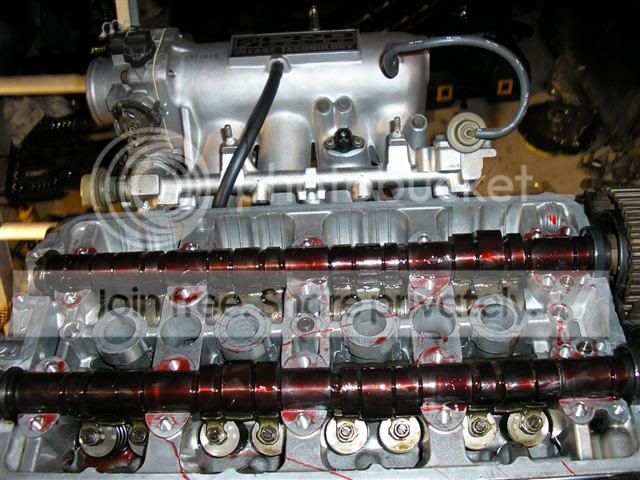
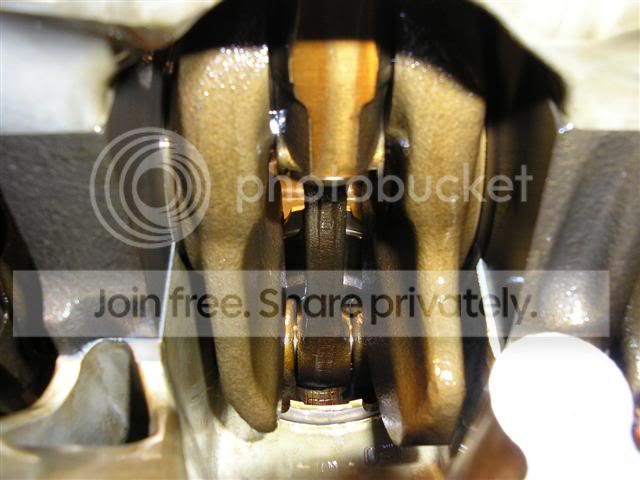
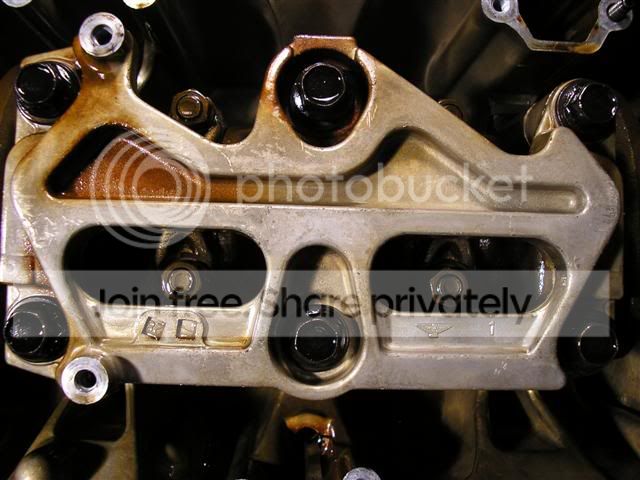
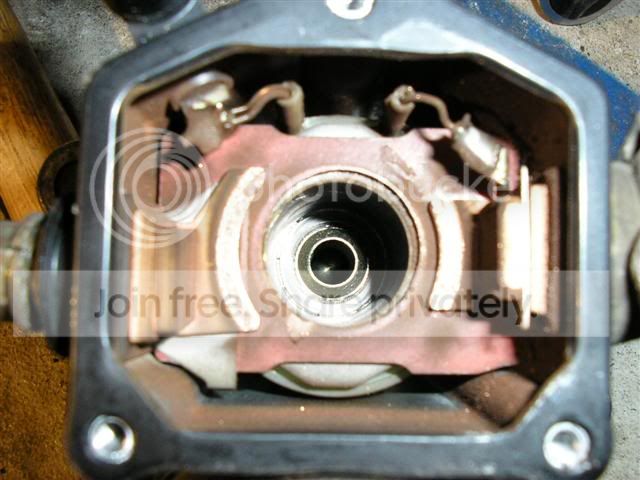
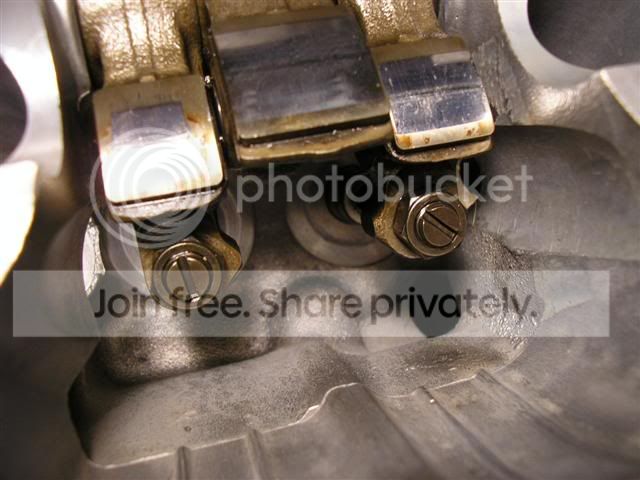
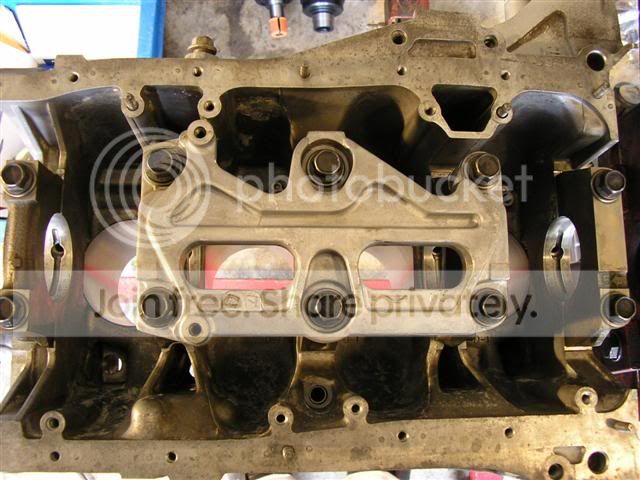
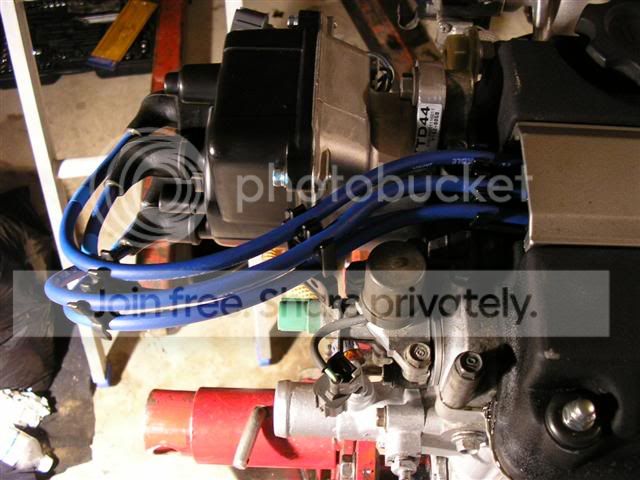
Installed the cam holders along with the cam holder plates (note the bolts to hold on the valve cover are on wrong, should be on the inner holes)
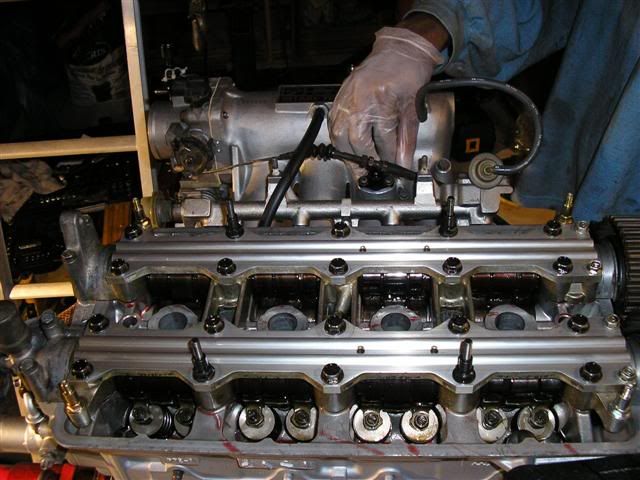
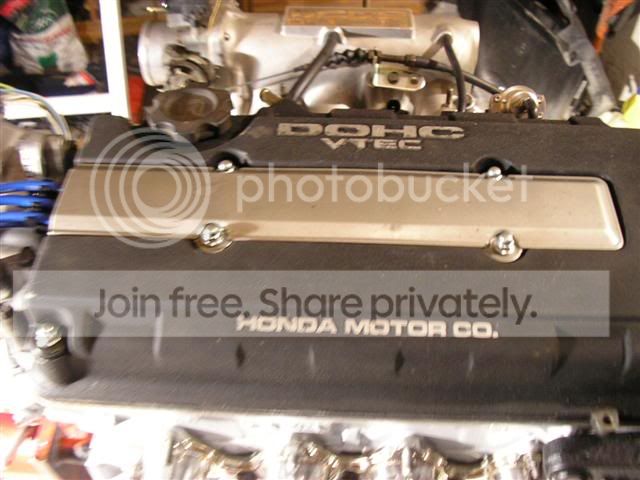
Valve cover put on
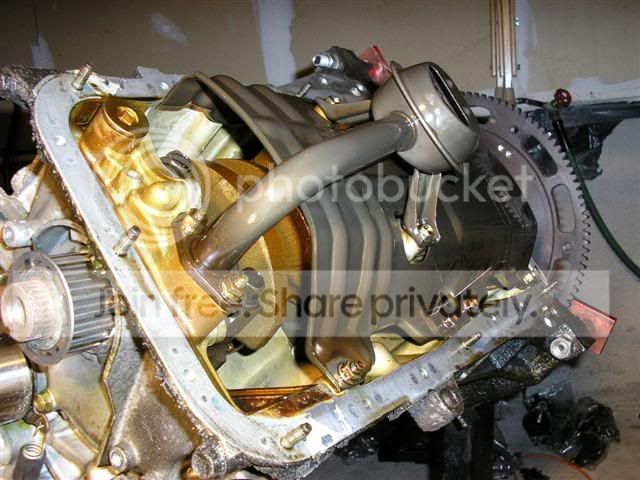
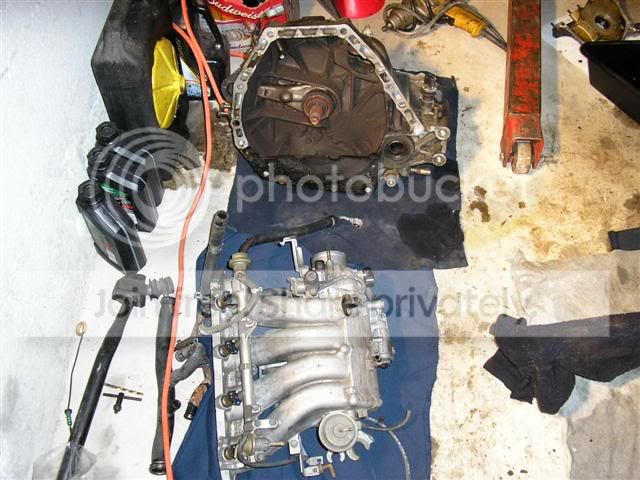
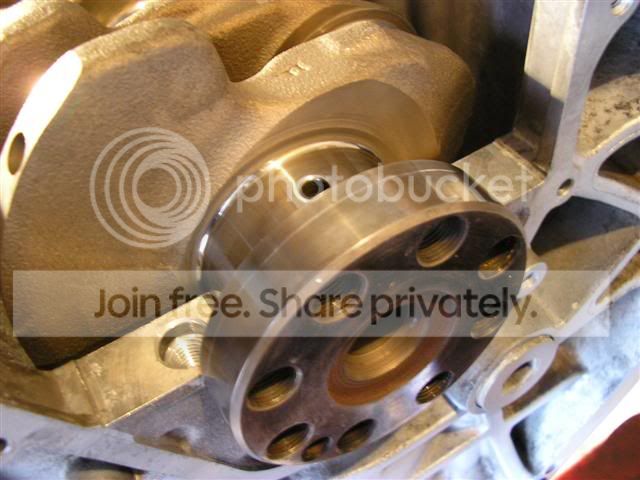
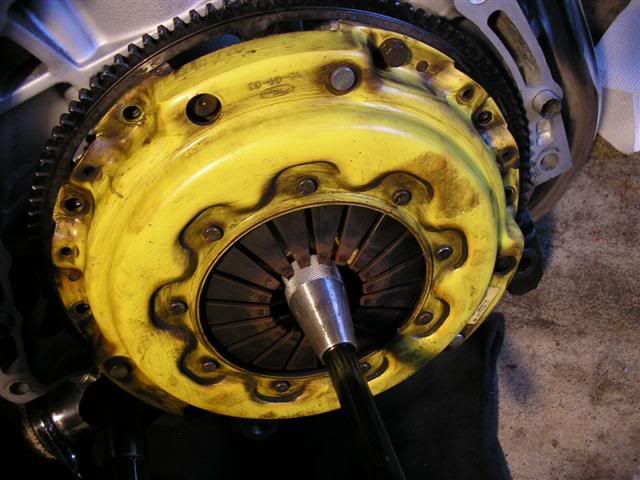
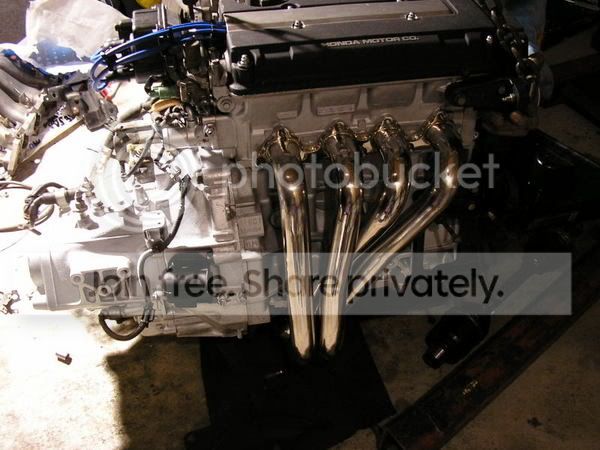
Flywheel Installed
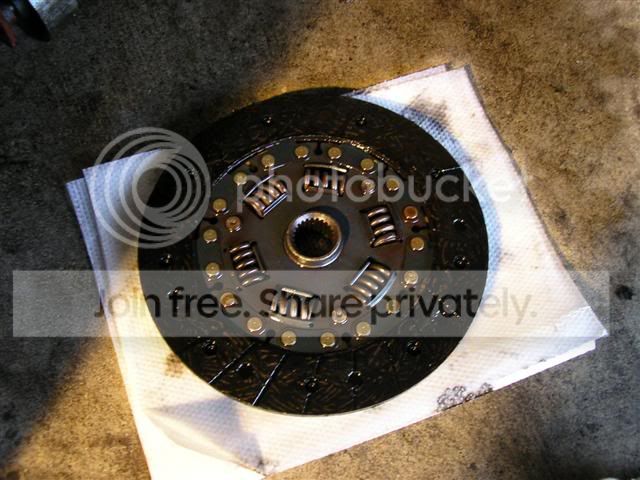
Pressure Plate and Clutch Disk Installed
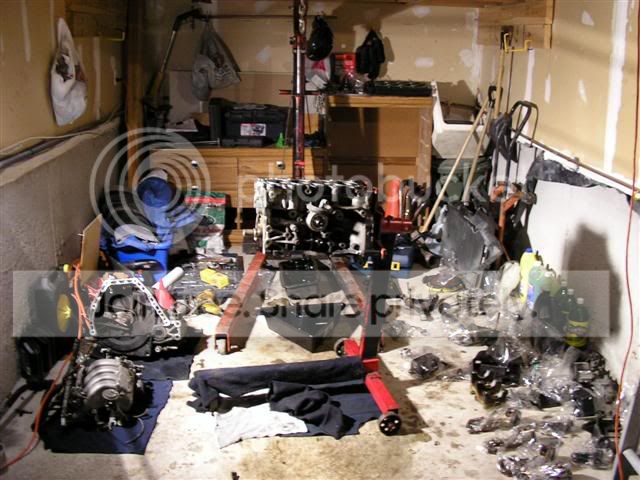
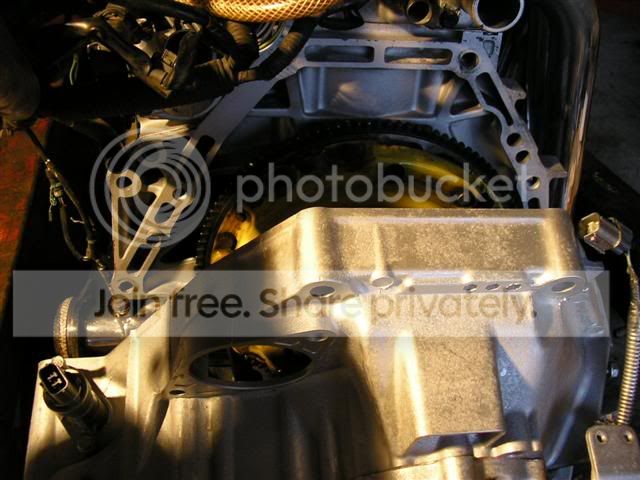
Putting the transmission back on the block by myself and trying to take the picture at the same time
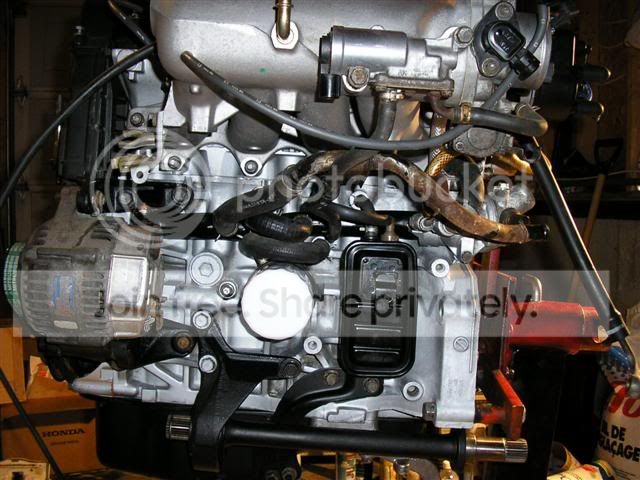
Practically done pictures

Other things I did while the engine was out
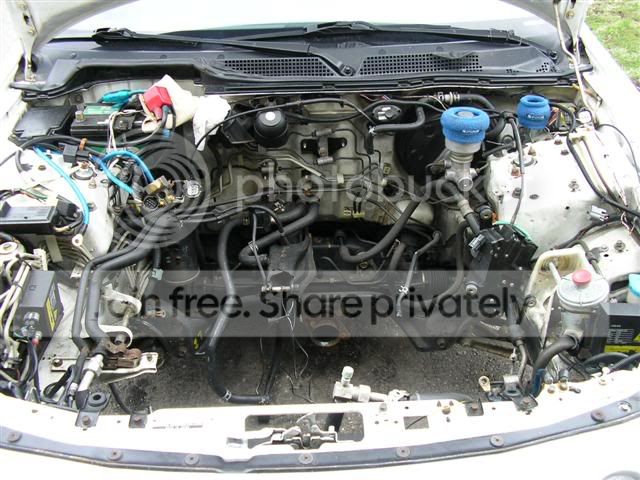
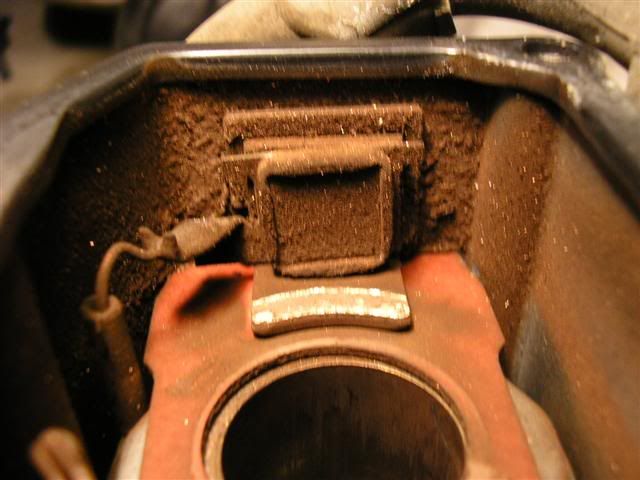
You didn’t think that I would leave the engine bay that dirty did you?
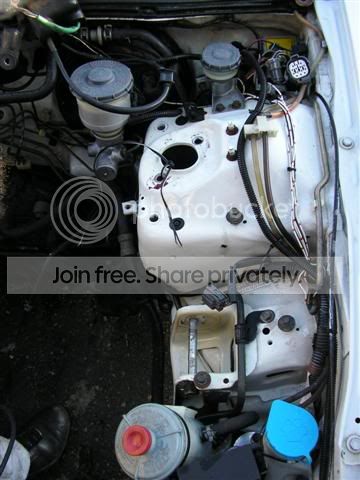
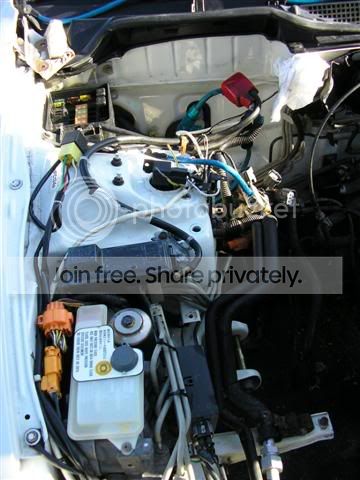
Picture in engine bay
***will put up when I get home from work***
After finishing all the plastigauging for all the rods, I made sure to apply enough engine assembly lube to the journals
Connecting rod end play within stock specs
Finally I can move on to the rest of the engine block assembly. It took me about 3 hours to plastigauge all the bearings. Done twice, some three times for accuracy.
How the pistons should look within there respective cylinders now that they are torqued down properly
Now for the pictures of the other little/random things that go onto the block
Now I move onto the oil pump, I prep the surface by cleaning it up then placing the high temp sealant around the matting surface.
***forgot to take a picture of that, my bad***
Oil Pump Installed along with a new oil pickup gasket
Oil pickup cleaned along with the bolts & nuts
The same treatment is applied to the rear main seal
Rear main seal installed along with the new oil pan gasket and windage tray
Oil Pickup Installed
Oil Pan installed along with my magnetic Spoon drain bolt
Onto the golden eagle head studs
Gotta replace that o-ring on the oil orifice
Oil Orifice installed
Next it’s time for the headgasket, only OEM for me
Yup it’s facing the right way
Time to put on the head
Don’t forget those dowel pins
Me lubing the **** out of the washers and nuts
Head installed
Time for the cams, lube up the cam journals
Same goes for the cams
Installed the cam holders along with the cam holder plates (note the bolts to hold on the valve cover are on wrong, should be on the inner holes)
Valve cover put on
Flywheel Installed
Pressure Plate and Clutch Disk Installed
Putting the transmission back on the block by myself and trying to take the picture at the same time
Practically done pictures
Other things I did while the engine was out
You didn’t think that I would leave the engine bay that dirty did you?
Picture in engine bay
***will put up when I get home from work***
Trending Topics
Honda-Tech Member
Joined: Nov 2005
Posts: 7,624
Likes: 0
From: Im at where im at like an a in a circle
Last edited by MasterShake; Apr 18, 2011 at 02:46 PM.
 pretty cool
I missed the boat

Joined: Aug 2002
Posts: 1,971
Likes: 0
From: PNW
This is an amazing thread  I can just imagine how much more time it must have taken to do the build when you have to stop every 5 minutes or so to take more pix! Excellent work, nice build and thank you very much
I can just imagine how much more time it must have taken to do the build when you have to stop every 5 minutes or so to take more pix! Excellent work, nice build and thank you very much
Honda-Tech Member
Joined: May 2003
Posts: 5,735
Likes: 0
From: Portland, Oregon
Nice work.
I wanted to do this when I built my last engine. But, I always get to concentrating on the build and forget about it. Plus, I don't want to pick up my camera when I have grease and engine lube on my hands.
Engine looks fresh!
I wanted to do this when I built my last engine. But, I always get to concentrating on the build and forget about it. Plus, I don't want to pick up my camera when I have grease and engine lube on my hands.
Engine looks fresh!
Honda-Tech Member
Joined: Dec 2003
Posts: 4,758
Likes: 0
From: Jersey y0, USA
wow you were real serious about the rebuild lol..mine seems thrown together after all the checking and plastigauging you did.
then again mines a couple hundred dollar z6 anyway.
then again mines a couple hundred dollar z6 anyway.
Honda-Tech Member
Joined: May 2004
Posts: 936
Likes: 0
From: Minnesota
god damn, so many photos. i love it though. nice buildd good thing i have cable internet. i wonder what happends to 56k if they came in here. lol