

My Engine bay shaving / FULL wire tuck thread

Thread Starter
Honda-Tech Member

Joined: Dec 2003
Posts: 2,885
Likes: 1
From: Cincinnati, Ohio, USA
<U>UPDATE PICS ON PAGE 5, 7, 12, 14, 18, 23, 25, 28 STILL UPDATING IMAGE SERVER, PICS WILL BE BACK UP SOON ON PAGE 1 and 5
NEW on 28</U>
So I have decided to take it upon myself and fully document this whole process. It started out like this:

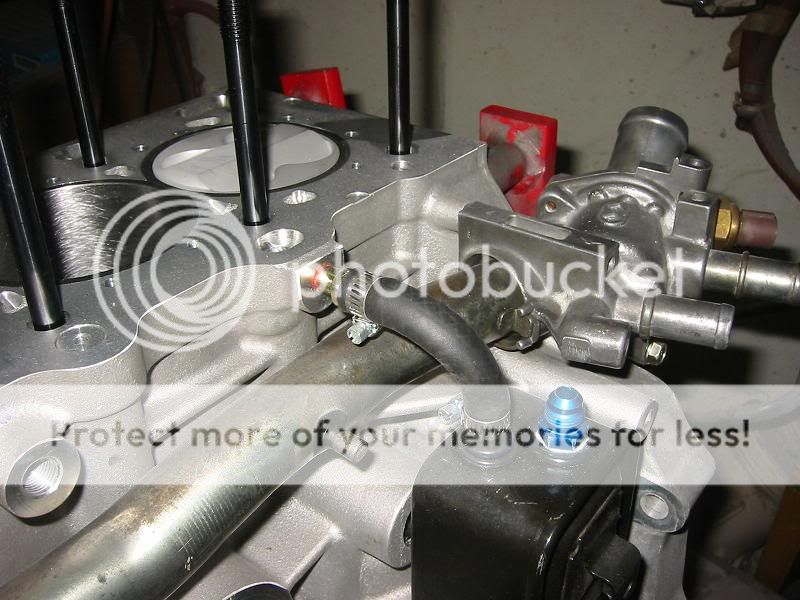
The old engine blew so I wanted to step it up and go all out. It had a slight wire tuck, but the fuse box and connectors were all still visable, I want the engine is floating effect. Here are a few pics of how it is going so far, the passenger side is almost done. I'm using MIL spec connectors for the engine bay to cabin wiring, no dangling wires, all clean and secure. Also, I'm in the progress of making a full custom engine harness using Raychem shrink and transitions, will be much cleaner. SO here are the pics with a couple of the engine build, more to be updated in a different engine build thread.


CORE SUPPORT NEXT...featuring JDM bling

Eagle lightweight crank, balanced rotating assembley
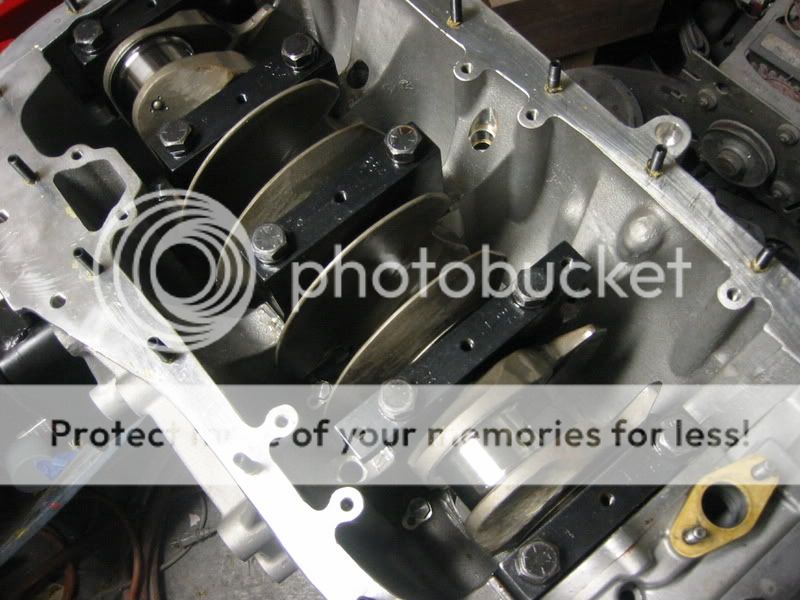
12.5:1 goodness, crankcase breather mod too (really around 12.9:1 with decking and milling now)
Modified by PandaHatch at 5:34 AM 3/29/2005
Modified by PandaHatch at 5:34 AM 3/29/2005 <U></U> <U></U>
Modified by PandaHatch at 5:35 AM 3/29/2005
Modified by PandaHatch at 6:35 AM 4/5/2005
Modified by PandaHatch at 8:13 AM 4/16/2005
Modified by PandaHatch at 6:47 AM 5/1/2005
Modified by PandaHatch at 6:19 AM 5/15/2005
Modified by PandaHatch at 6:19 AM 5/15/2005
Modified by PandaHatch at 3:20 AM 5/20/2005
Modified by PandaHatch at 9:34 AM 5/30/2005
NEW on 28</U>
So I have decided to take it upon myself and fully document this whole process. It started out like this:
The old engine blew so I wanted to step it up and go all out. It had a slight wire tuck, but the fuse box and connectors were all still visable, I want the engine is floating effect. Here are a few pics of how it is going so far, the passenger side is almost done. I'm using MIL spec connectors for the engine bay to cabin wiring, no dangling wires, all clean and secure. Also, I'm in the progress of making a full custom engine harness using Raychem shrink and transitions, will be much cleaner. SO here are the pics with a couple of the engine build, more to be updated in a different engine build thread.
CORE SUPPORT NEXT...featuring JDM bling
Eagle lightweight crank, balanced rotating assembley
12.5:1 goodness, crankcase breather mod too (really around 12.9:1 with decking and milling now)
Modified by PandaHatch at 5:34 AM 3/29/2005
Modified by PandaHatch at 5:34 AM 3/29/2005 <U></U> <U></U>
Modified by PandaHatch at 5:35 AM 3/29/2005
Modified by PandaHatch at 6:35 AM 4/5/2005
Modified by PandaHatch at 8:13 AM 4/16/2005
Modified by PandaHatch at 6:47 AM 5/1/2005
Modified by PandaHatch at 6:19 AM 5/15/2005
Modified by PandaHatch at 6:19 AM 5/15/2005
Modified by PandaHatch at 3:20 AM 5/20/2005
Modified by PandaHatch at 9:34 AM 5/30/2005
Honda-Tech Member
Joined: Sep 2001
Posts: 8,497
Likes: 0
From: home
damn, that **** is going to look dope. cant wait to see the numbers on that motor too. im in the process of putting mine back together as well 
Trial User
Joined: Nov 2003
Posts: 2,756
Likes: 0
From: DFdub, Tx
<TABLE WIDTH="90%" CELLSPACING=0 CELLPADDING=0 ALIGN=CENTER><TR><TD>Quote, originally posted by PandaHatch »</TD></TR><TR><TD CLASS="quote"></TD></TR></TABLE>
The whole wire tuck craze has been so nice lately.
</TD></TR></TABLE>The whole wire tuck craze has been so nice lately.

Thread Starter
Honda-Tech Member
Joined: Dec 2003
Posts: 2,885
Likes: 1
From: Cincinnati, Ohio, USA
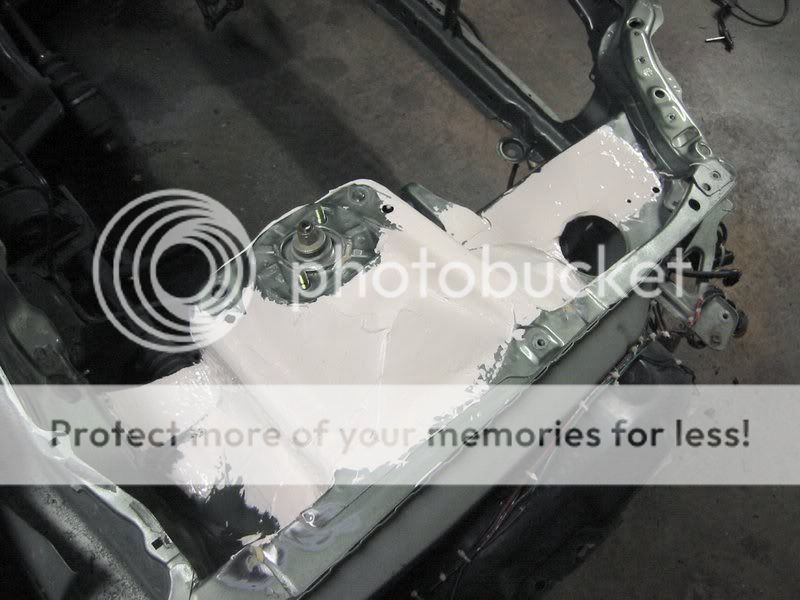
I have the whole interior hanress out of the car, the firewall inside is BARE. Soooo much fun...right. The outcome will be nice. I just wasn't satisfied with the everyday normal wiretuck, I like going overboard.
BTW, in case people were wondering, all the holes were filled with body panel adhedsive (dries like a rock) and the large holes were filled with metal (started doing bodywork before I ever touched a motor in my life..about 6 years ago)
BTW, in case people were wondering, all the holes were filled with body panel adhedsive (dries like a rock) and the large holes were filled with metal (started doing bodywork before I ever touched a motor in my life..about 6 years ago)
Trending Topics

Thread Starter
Honda-Tech Member
Joined: Dec 2003
Posts: 2,885
Likes: 1
From: Cincinnati, Ohio, USA
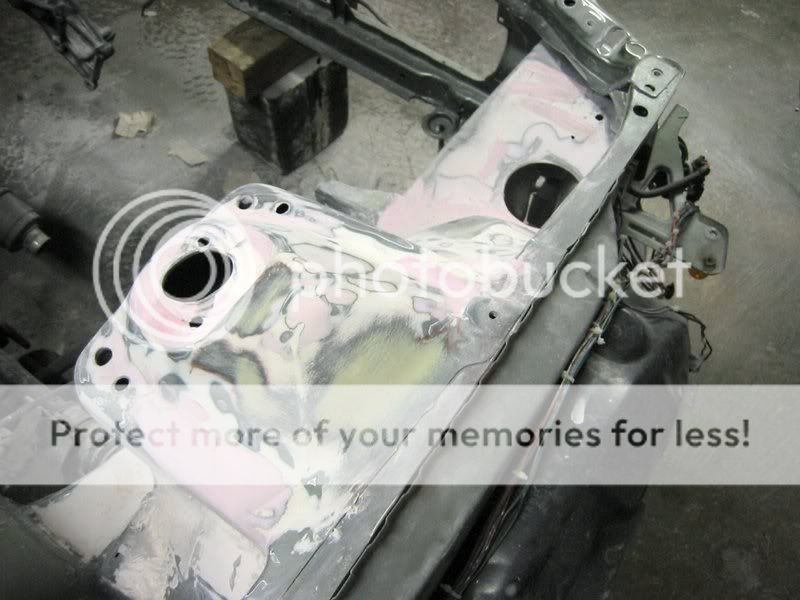
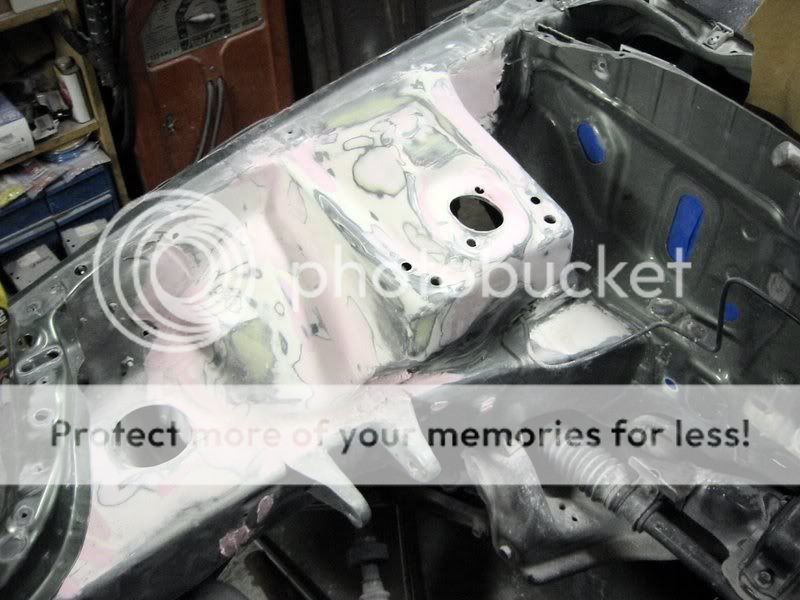
All holes are filled with body panel adhedsive (small ones, stuff dries like a rock) and if you can see the core support pics well, there is metal in the larger holes, most of the small holes also have metal in them from behind.

Honda-Tech Member
Joined: Feb 2002
Posts: 14,490
Likes: 0
From: just when you thought you were different, WA, NWforLIFE
<TABLE WIDTH="90%" CELLSPACING=0 CELLPADDING=0 ALIGN=CENTER><TR><TD>Quote, originally posted by Ekizzle »</TD></TR><TR><TD CLASS="quote">  </TD></TR></TABLE><TABLE WIDTH="90%" CELLSPACING=0 CELLPADDING=0 ALIGN=CENTER><TR><TD>Quote, originally posted by Ekizzle »</TD></TR><TR><TD CLASS="quote"> </TD></TR></TABLE><TABLE WIDTH="90%" CELLSPACING=0 CELLPADDING=0 ALIGN=CENTER><TR><TD>Quote, originally posted by Ekizzle »</TD></TR><TR><TD CLASS="quote"> </TD></TR></TABLE><TABLE WIDTH="90%" CELLSPACING=0 CELLPADDING=0 ALIGN=CENTER><TR><TD>Quote, originally posted by Ekizzle »</TD></TR><TR><TD CLASS="quote"> </TD></TR></TABLE>
</TD></TR></TABLE><TABLE WIDTH="90%" CELLSPACING=0 CELLPADDING=0 ALIGN=CENTER><TR><TD>Quote, originally posted by Ekizzle »</TD></TR><TR><TD CLASS="quote"> </TD></TR></TABLE><TABLE WIDTH="90%" CELLSPACING=0 CELLPADDING=0 ALIGN=CENTER><TR><TD>Quote, originally posted by Ekizzle »</TD></TR><TR><TD CLASS="quote"> </TD></TR></TABLE><TABLE WIDTH="90%" CELLSPACING=0 CELLPADDING=0 ALIGN=CENTER><TR><TD>Quote, originally posted by Ekizzle »</TD></TR><TR><TD CLASS="quote"> </TD></TR></TABLE>

Thread Starter
Honda-Tech Member
Joined: Dec 2003
Posts: 2,885
Likes: 1
From: Cincinnati, Ohio, USA
Ran out of supplies for today, hope to get some tomorrow morning before the paint shop closes so I have something to do on Easter, always rainging around here. Hope to have it all done and painted by the end of next week, that way I can get the harness back in and mounted up.