When you click on links to various merchants on this site and make a purchase, this can result in this site earning a commission. Affiliate programs and affiliations include, but are not limited to, the eBay Partner Network.
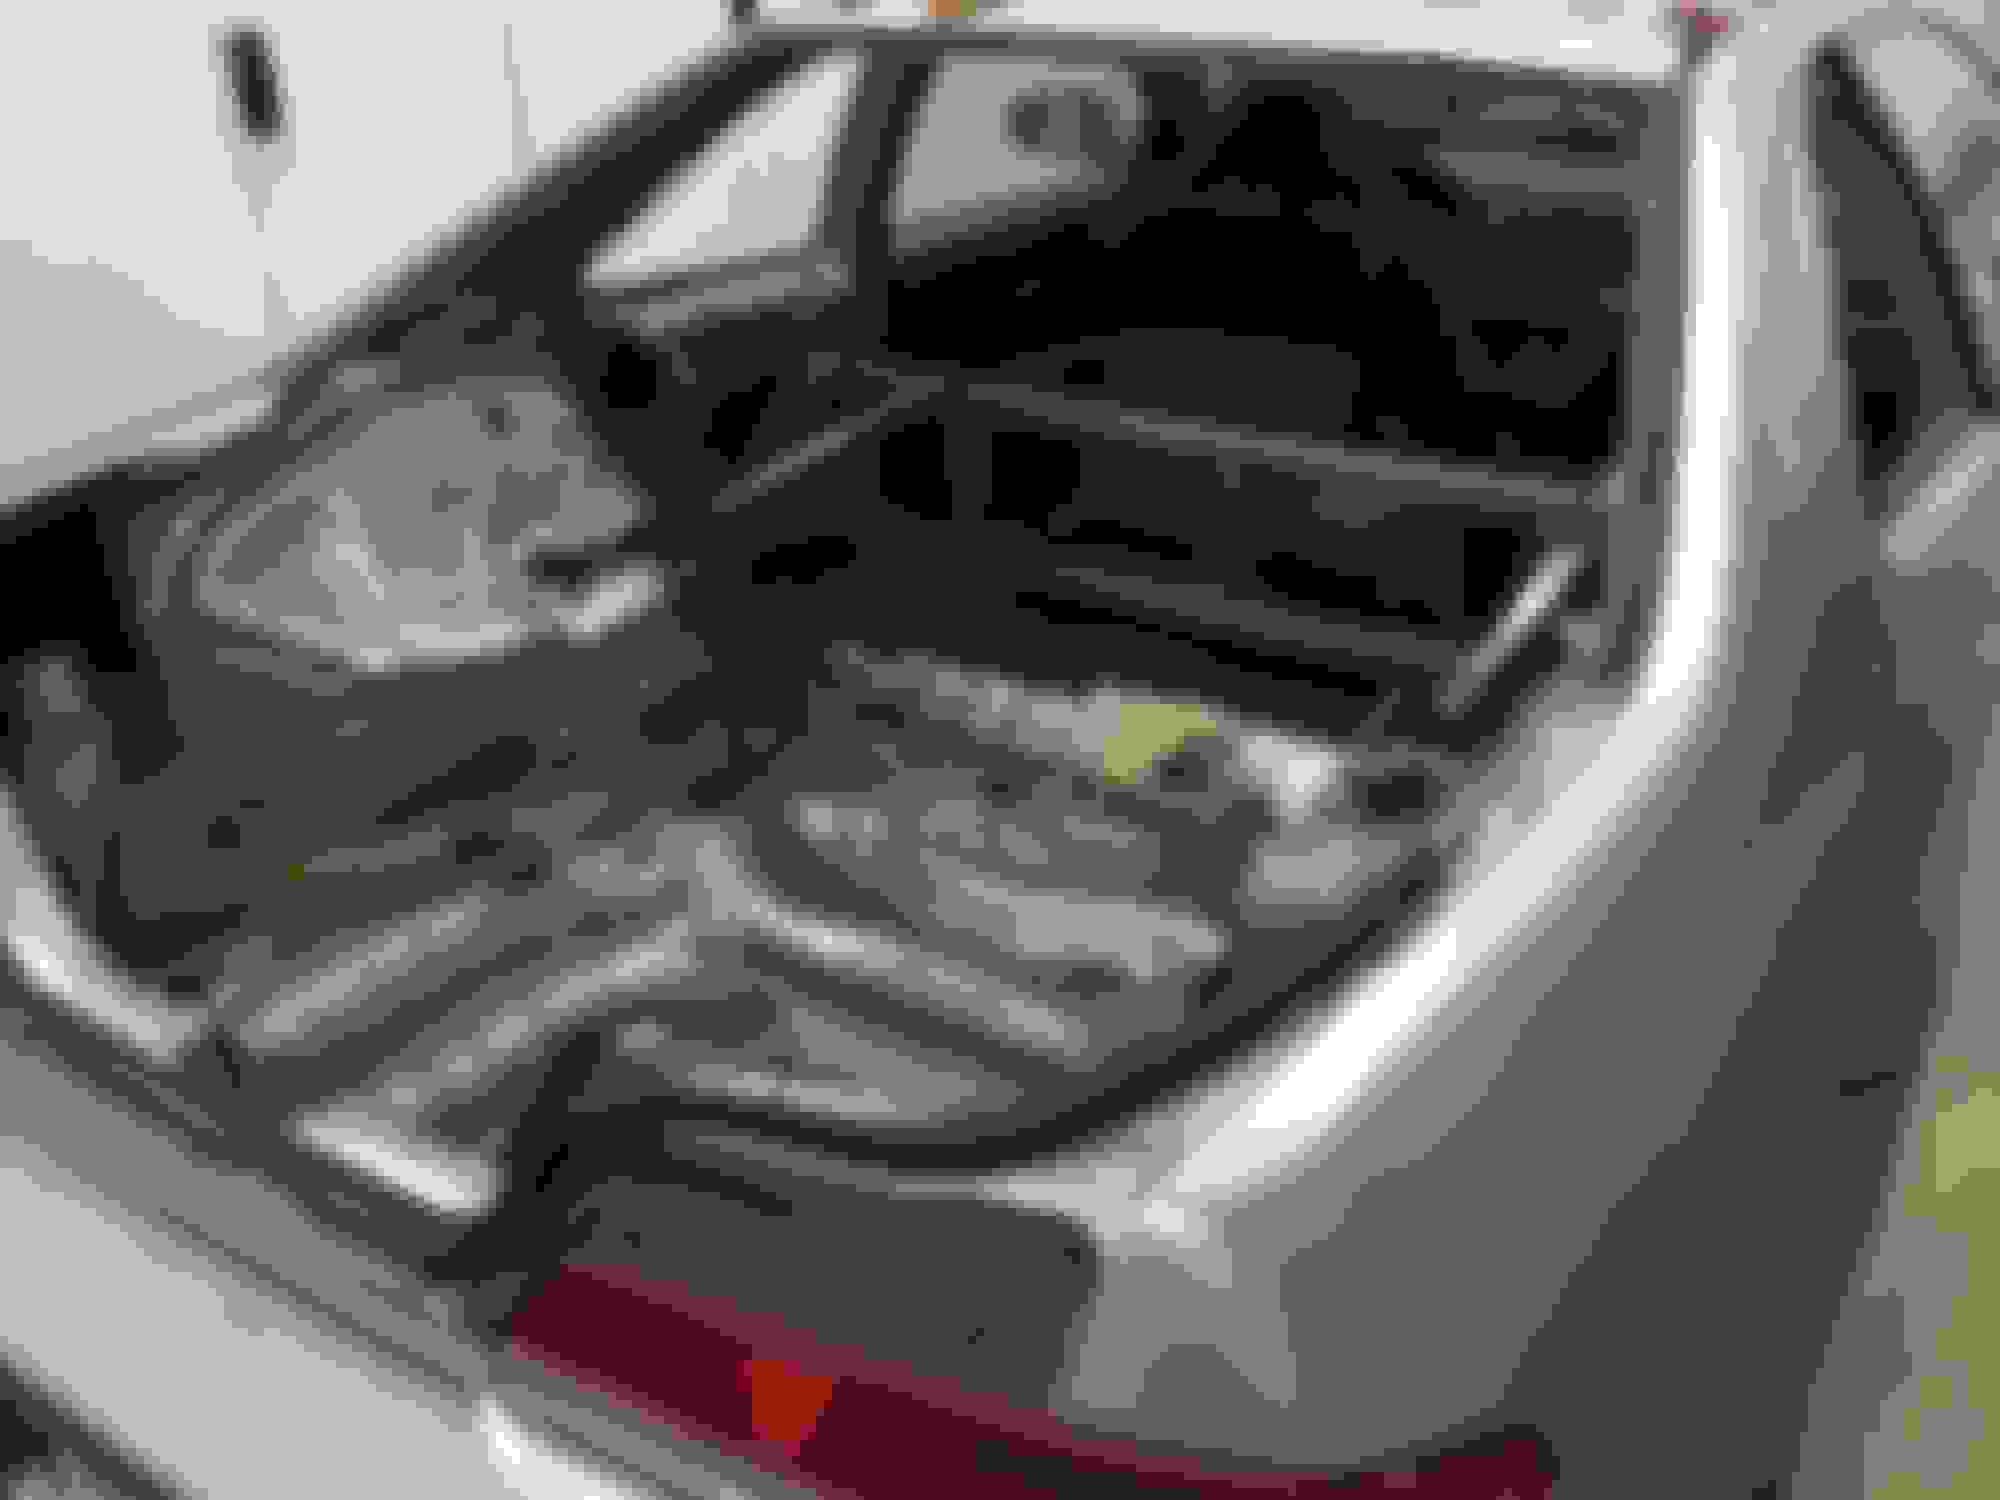
Right now it's just the primered sheetmetal that was under the trunk liner and rear seats, but I'll be laying up a fiberglass tub, with a floor reinforced with 80/20 extrusions and tread plate.
Before going into the build, quick recap of what was done to pass smog:
1. Cut off old gutted cat; installed new cat and O2 sensors
2. Installed stock exhaust manifold and downpipe
3. Replaced short ram intake with stock airbox
4. Replaced speed sensor (and checked speedo PCB for function)
Two more intermittent DTCs stayed off long enough for me to smog... was so happy when I passed (on my second try) that I let out a whoop in the waiting area
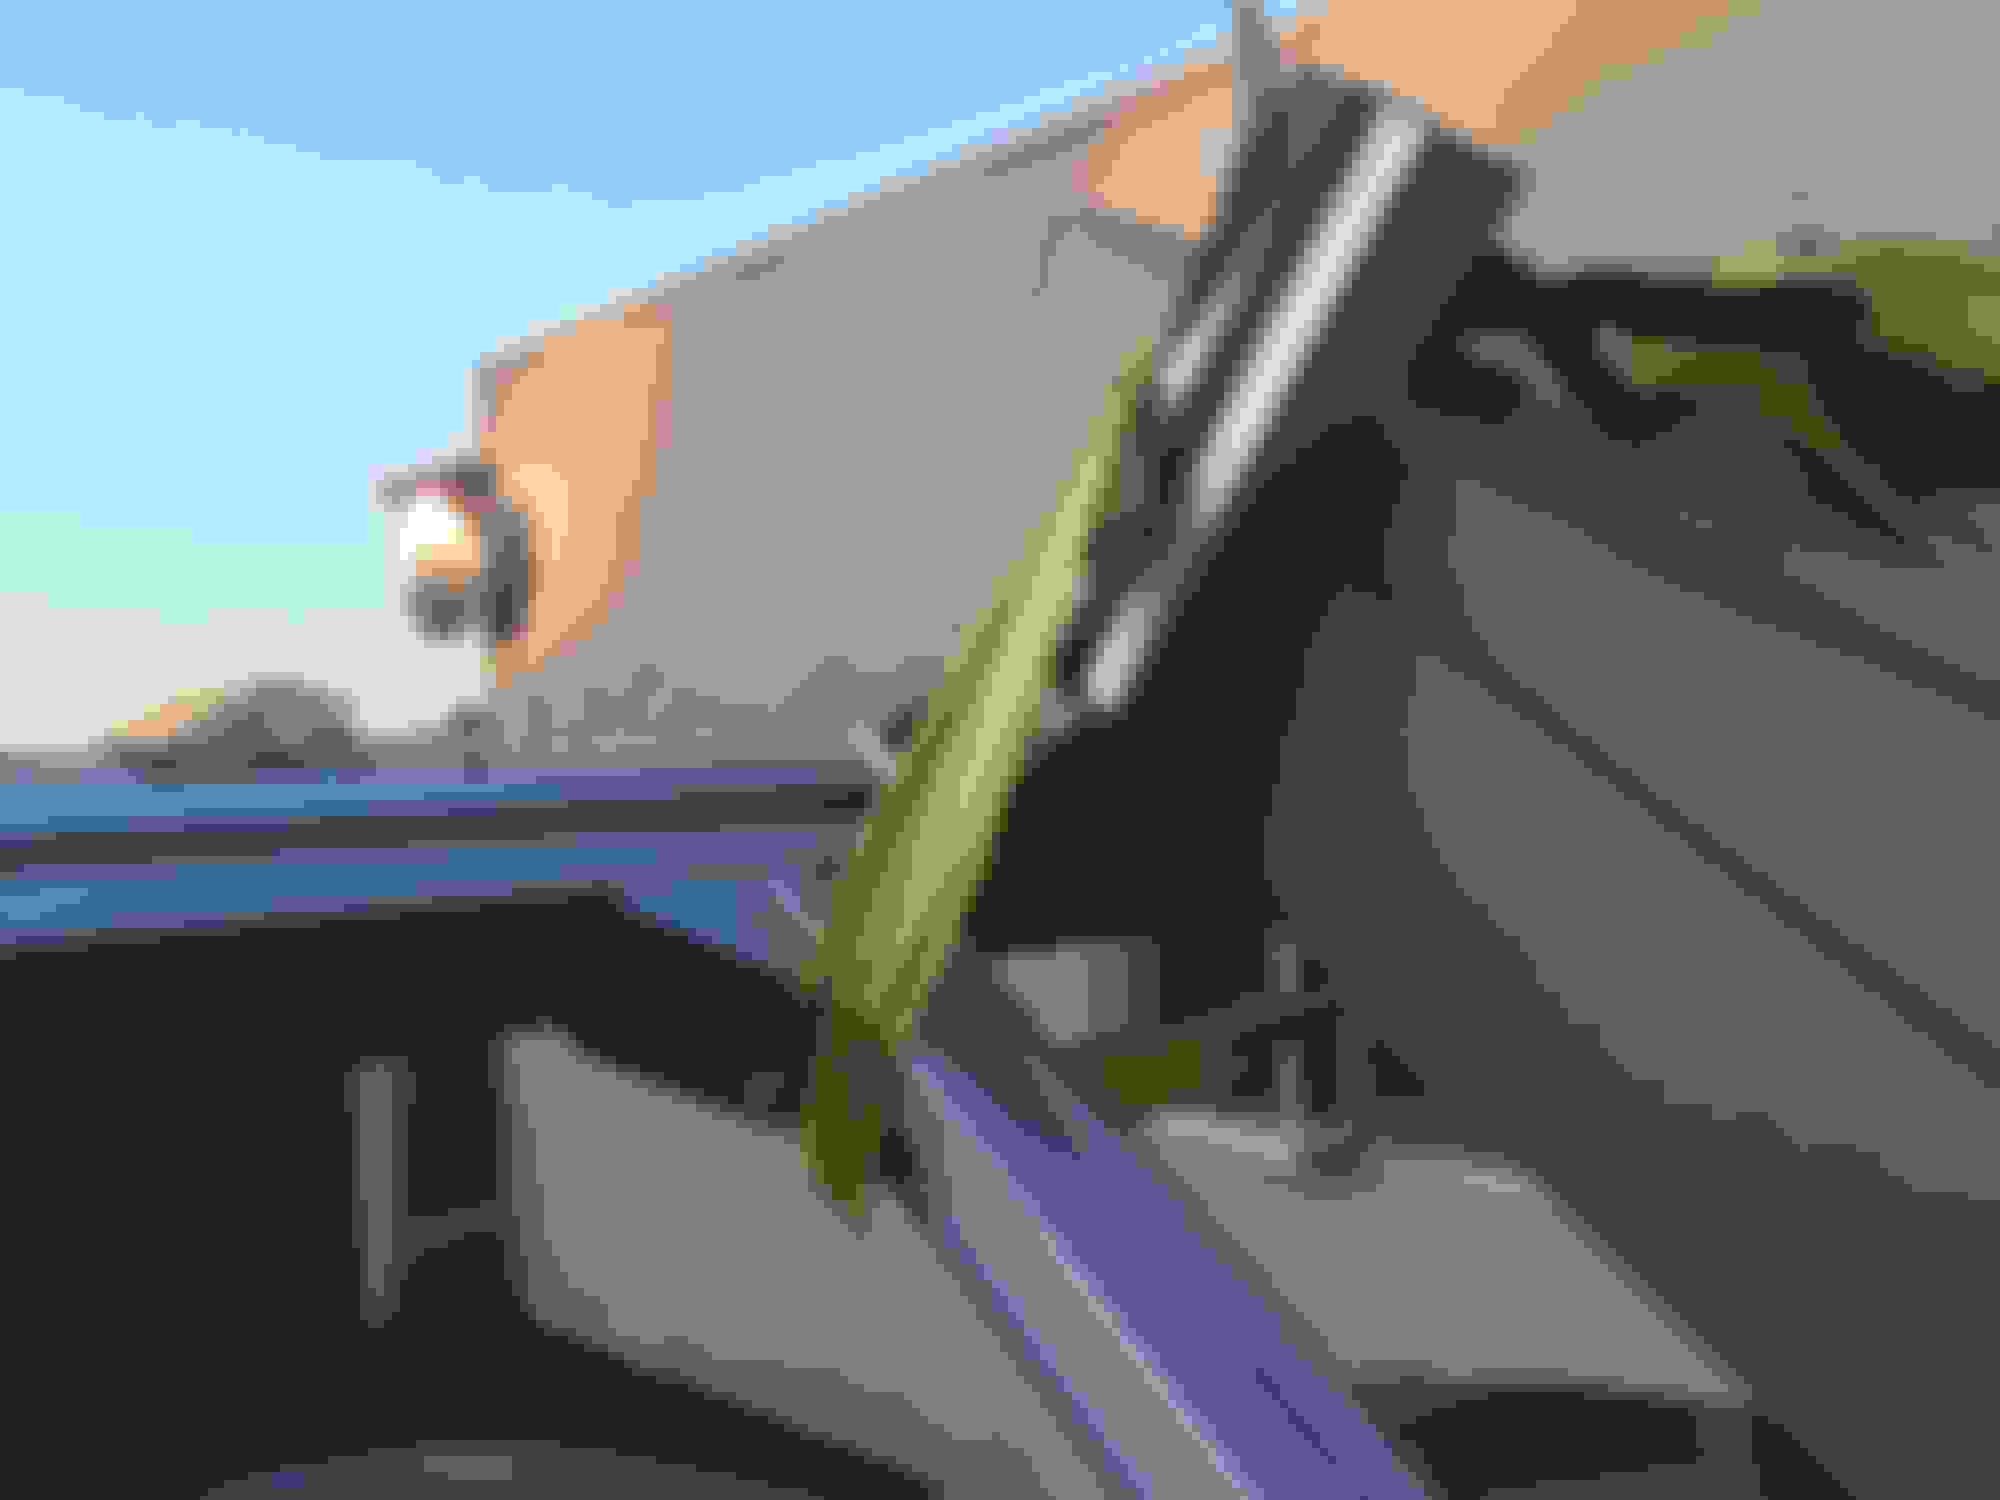
Before cutting anything off, I wanted to build additional structure to stiffen the body in torsion / buckling and double as a frame for the new rear bulkhead. After gutting the rear interior I used a 3-axis construction laser to mark the new rear bulkhead plane:
Fast forward to when the lower part of the brace was completed, after a full weekend of work:
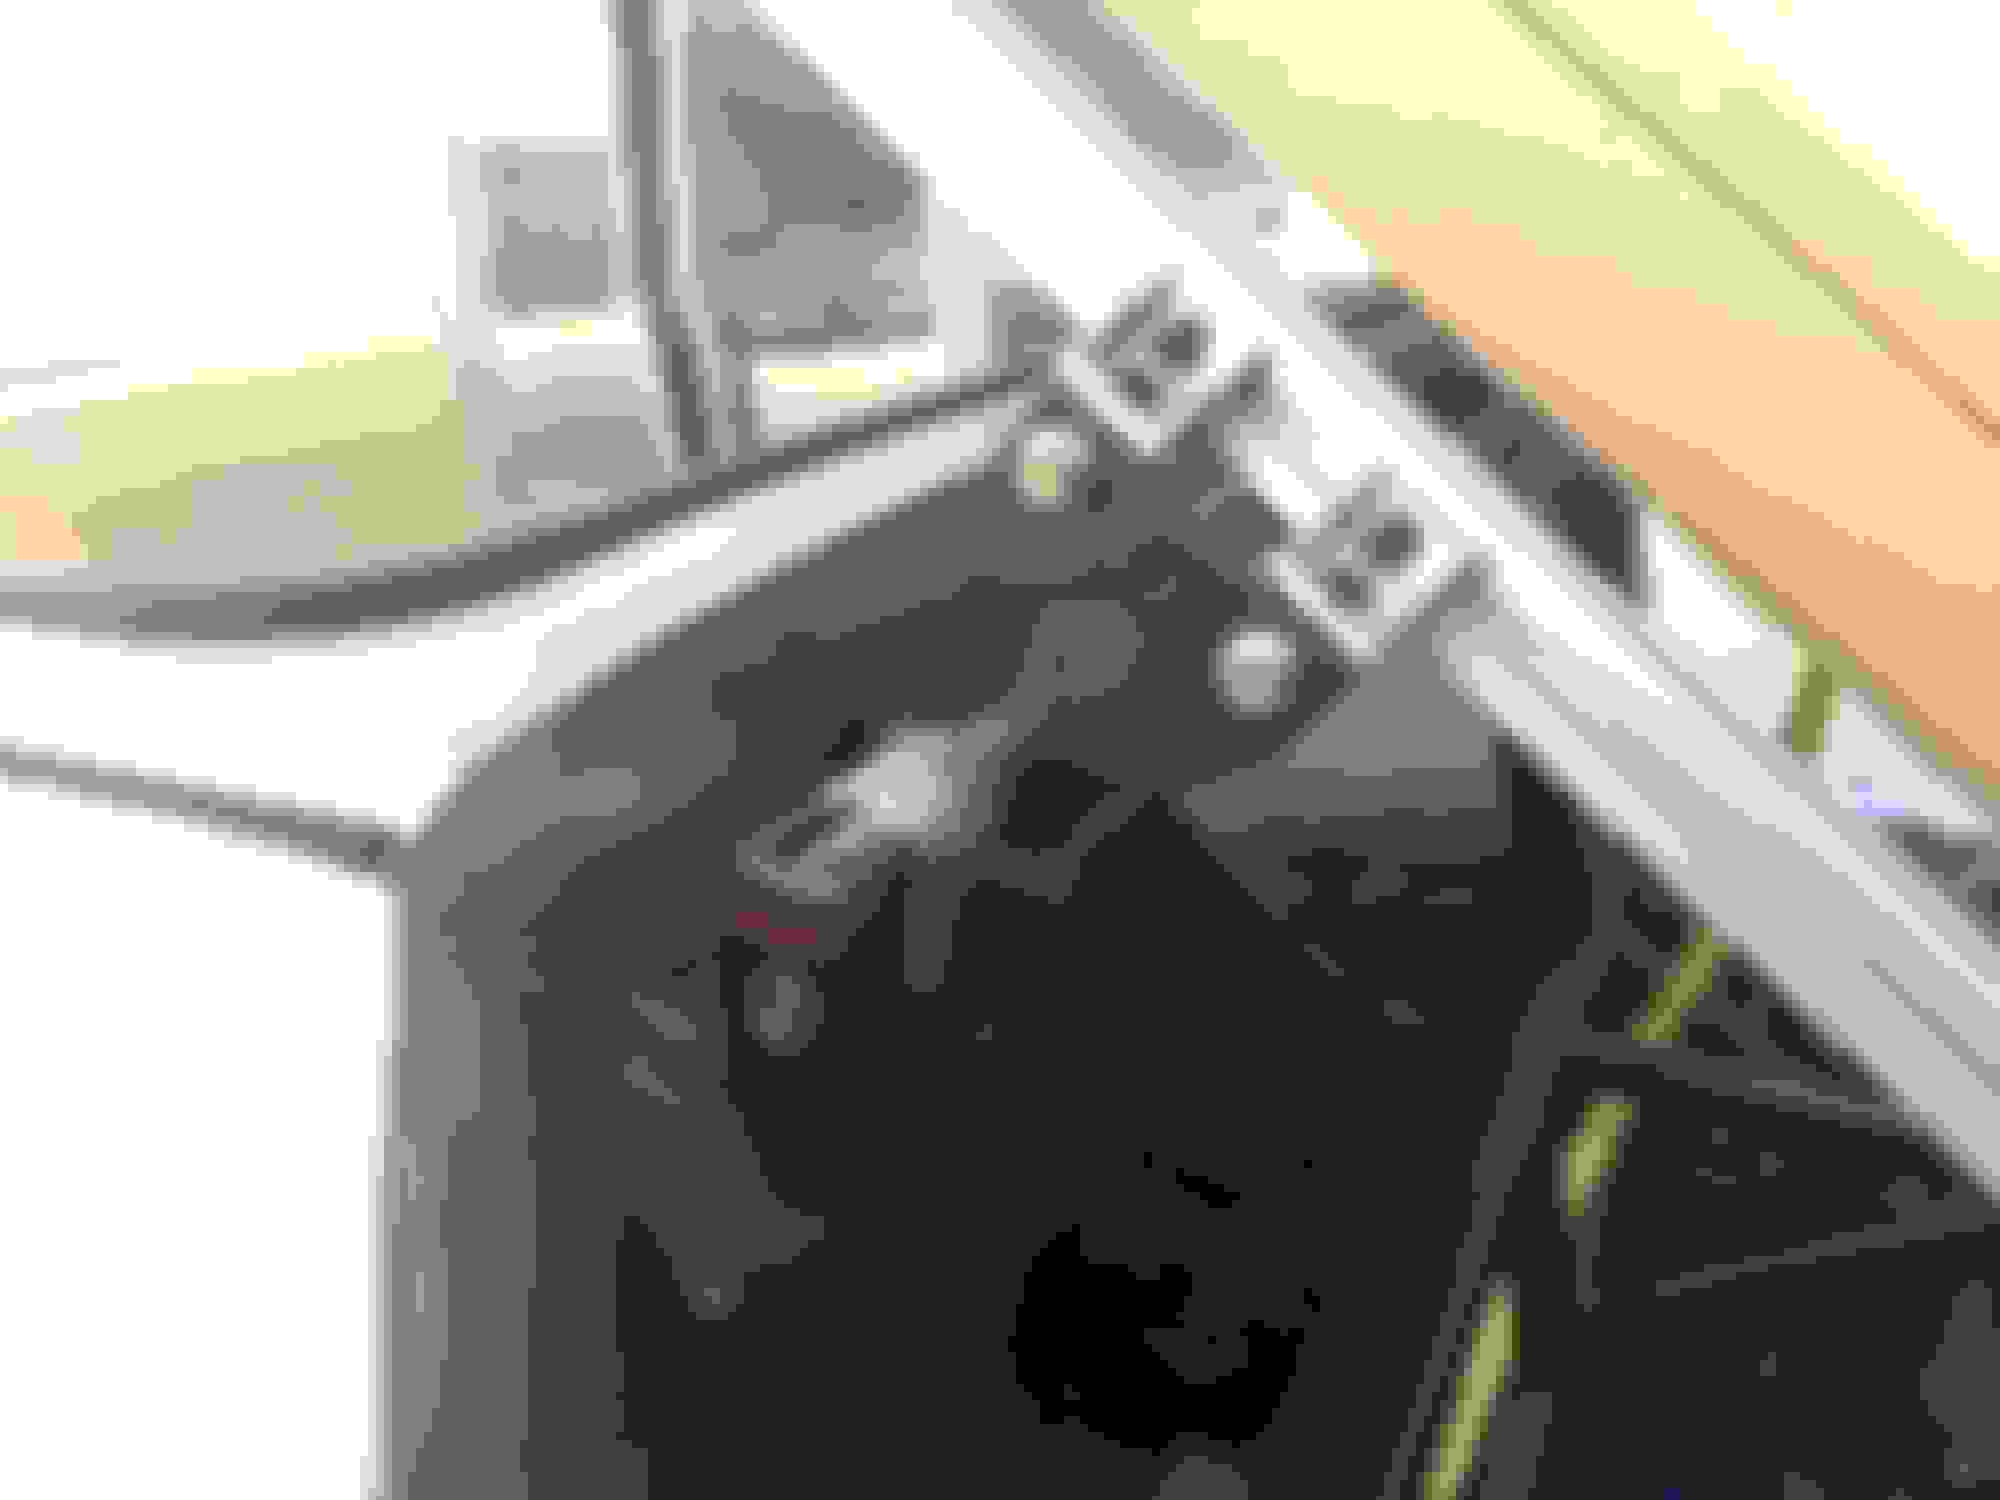
Close-up of the upper crossbeam weld - I welded to plates bolted to riv nuts installed into the body.
It was getting a little tight in there so it was time to remove the backlite and cut off the parcel shelf for better access. Shock tower mount plate was already completed in this picture:
Removing the quarter windows meant that the structural B-pillars under the glass were now exposed; time to make new exterior B-pillars. I decided to repurpose the original C-pillars since their lines are congruent with the rest of the body, and they're plenty wide so I had lots of material to work with.
After a lot of trial and error, cutting away at the sheetmetal bit by bit until it fit.
Now tacked to the body before being welded. The curvature of the panel also had to be increased by hand to match the front door.
Close up of the Z-shaped cut/weld at the top - this was necessary to blend in the creased part of the old C-pillar. A lot of sanding and bondo in the future...
Are you going to be leaving this car FWD or attempting an AWD conversion?
Thanks. I'm planning on leaving the drivetrain alone for this phase. A future phase might be to hybridize it (with a rear electric drivetrain) or go full electric, but either of those would be purely for the challenge since they would make the pickup less useful, either in terms of range or space taken up by batteries.
Not quite as difficult as the B-pillars, but closing off the rear bulkhead was pretty challenging, particularly getting the roof cut aligned. Used a construction laser to line up the cut from the inside, cutting the inner sheetmetal first, then the outer.
Welded fresh sheetmetal to close up the top part:
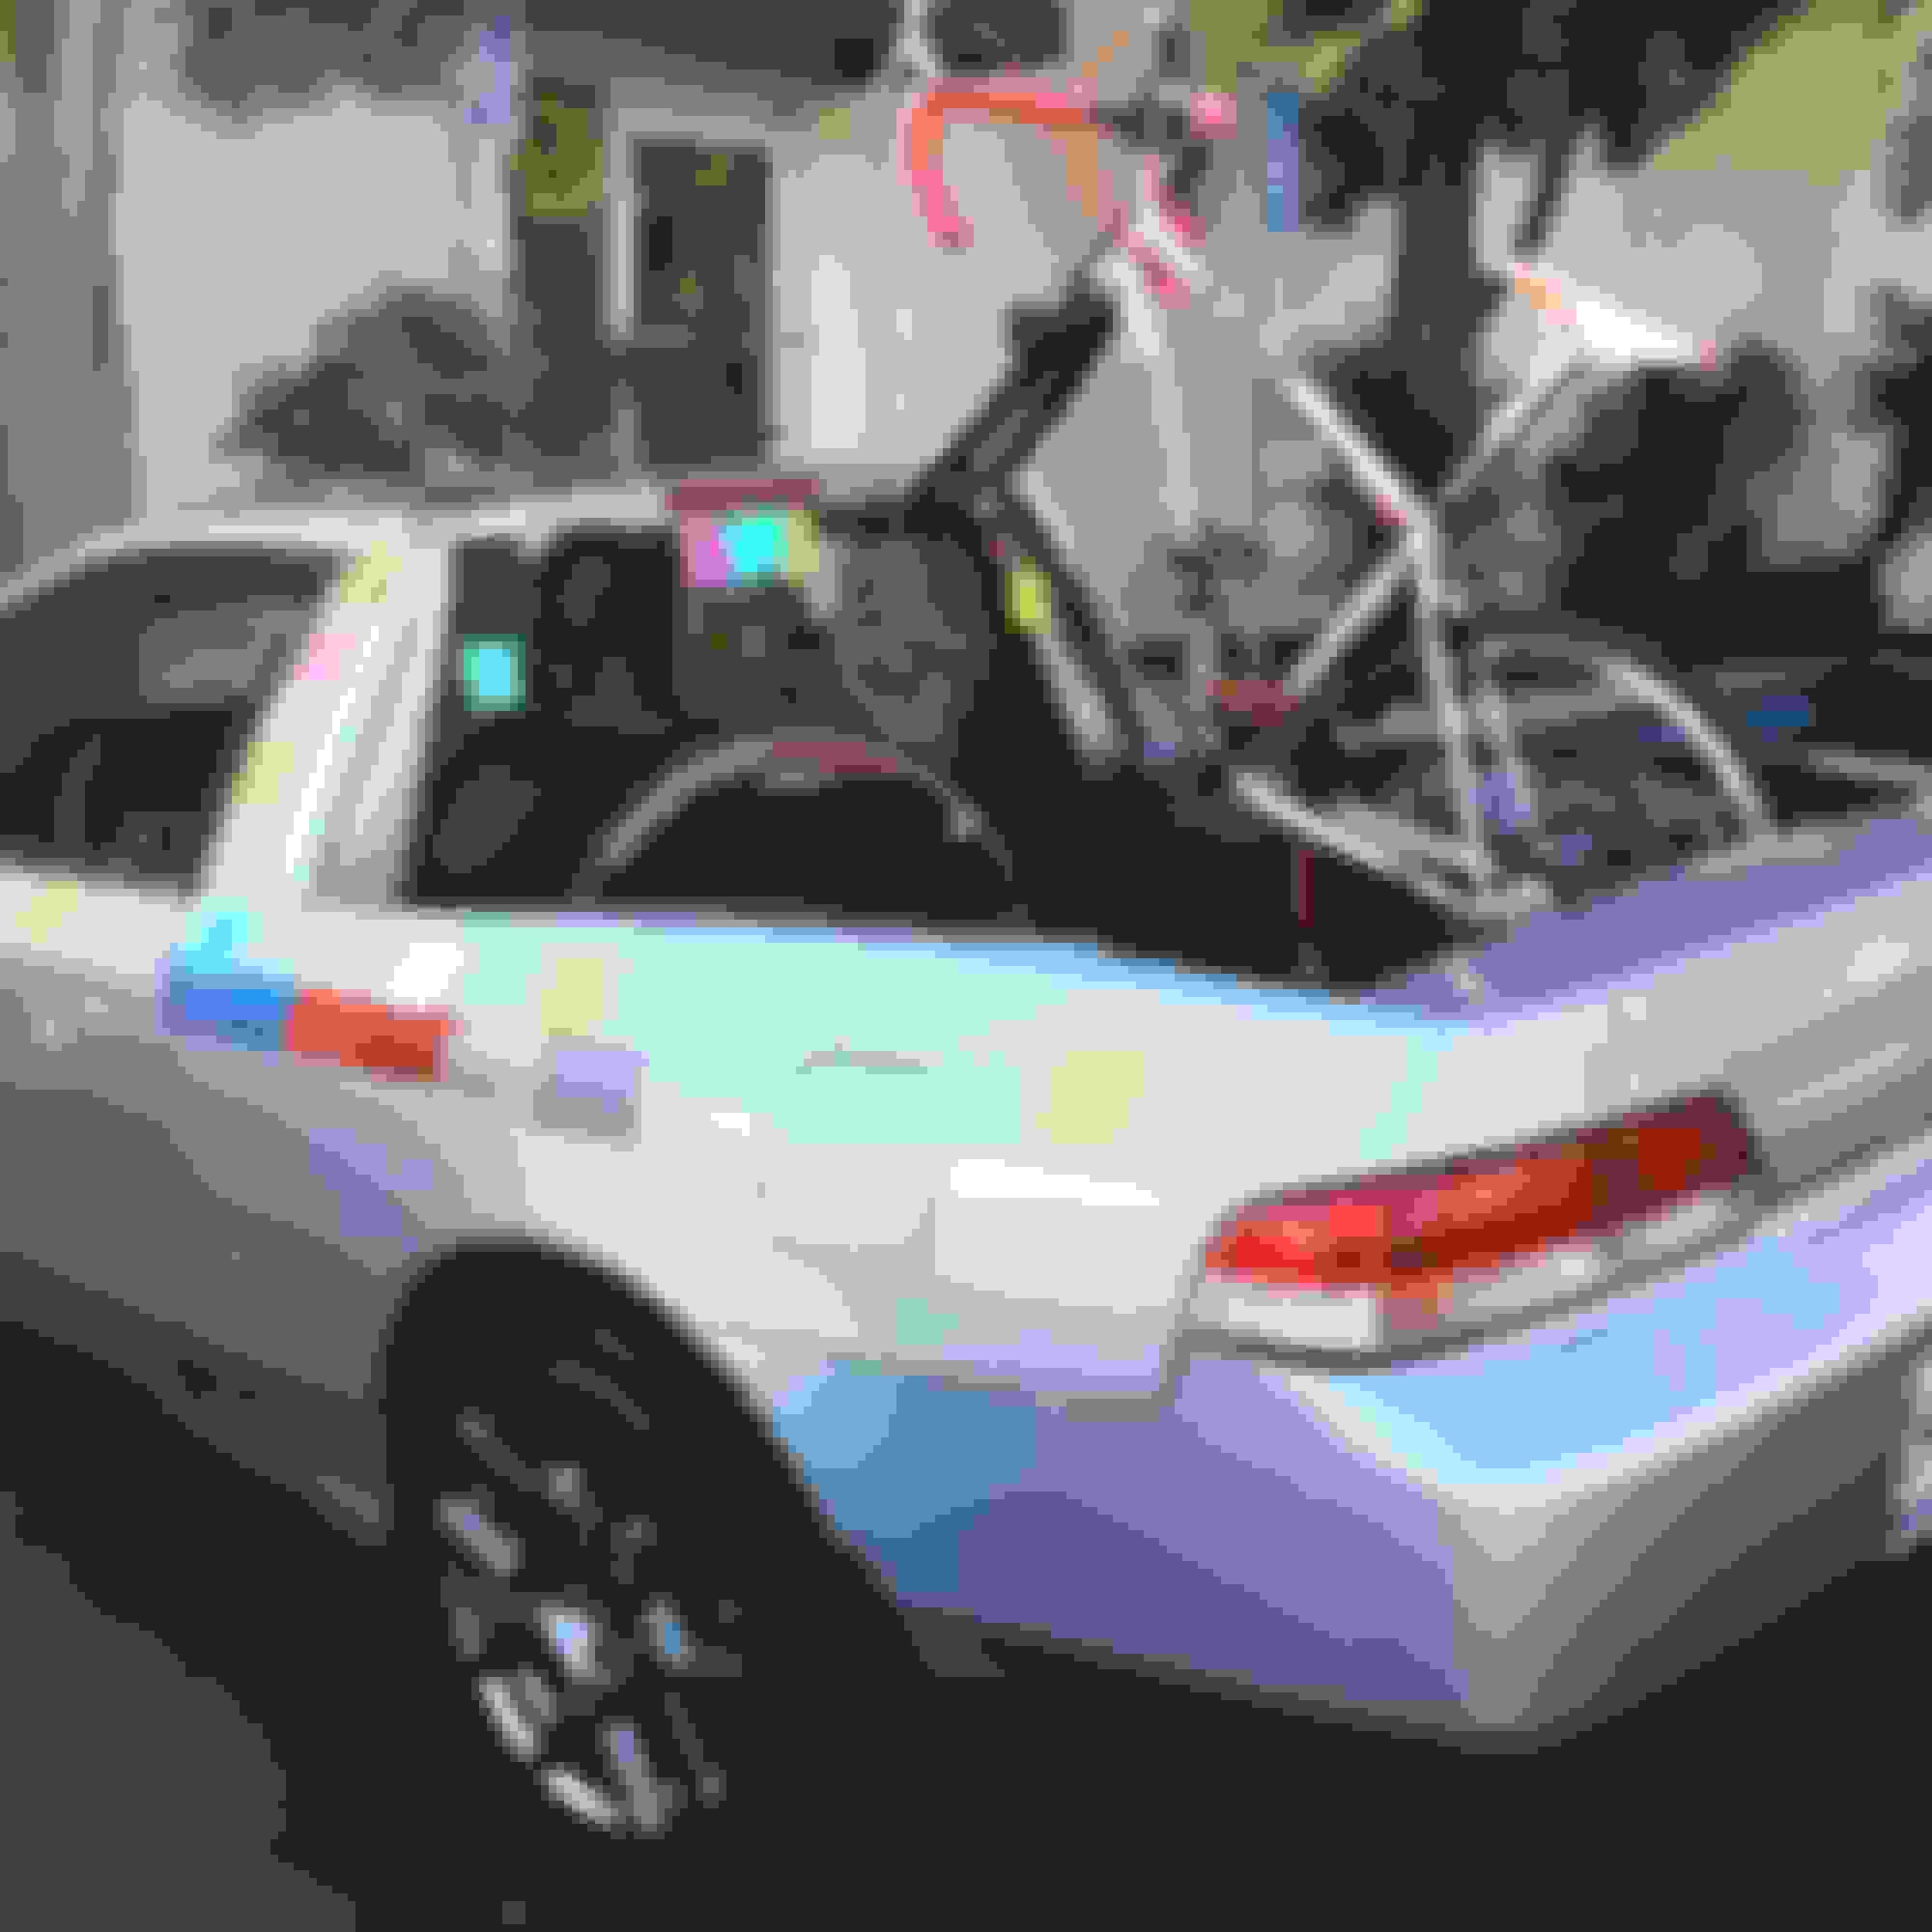
My giant bicycle light to help me stay somewhat legal... here you can see similar treatment for the areas outside the vertical brace members.
Then I closed off the inside of the B-pillars.
Bike fork mounts bolted through the upper crossmember:
This is pretty cool! How did you get the truck door to function?
Unfortunately a tailgate isn't on the cards, at least for now - the shortened trunklid will eventually be welded in place. I don't have the time to take on the additional custom work + body strengthening.
This doesn't convey the complexity of the process, but to make the final cuts on the fenders, I needed to make sure the cut was symmetric across both sides of the car. Using a construction laser, I painted the line across both sides of the inside of the car, and marked the line. After cutting through the inner layer of sheetmetal, I marked the outer layer, cut slits down into the metal to touch off on the line, and re-marked a smooth line from the outside to make the final cut.
It was then time to seal up the huge gaping hole left behind. First, a sliver of new sheetmetal to close up the area under where the quarter windows used to be:
Tacked, before the final weld:
Now a larger piece for the areas above the wheel arches:
Finally a small section at the end to link up the fender to the trimmed trunklid. Final weld not shown.
Sunroof kind of kills the idea of making a roof rack eh?
I saw a thread on J swapping a BB6...that would make this car fly!
The sunroof doesn't actually work (except by manually pulling the cables) but I didn't want a roof rack to mar the lines of the car. I thought briefly about a J but the car is so nose-heavy to begin with, if anything I'll probably go boosted way down the road. Or do a full electric swap.
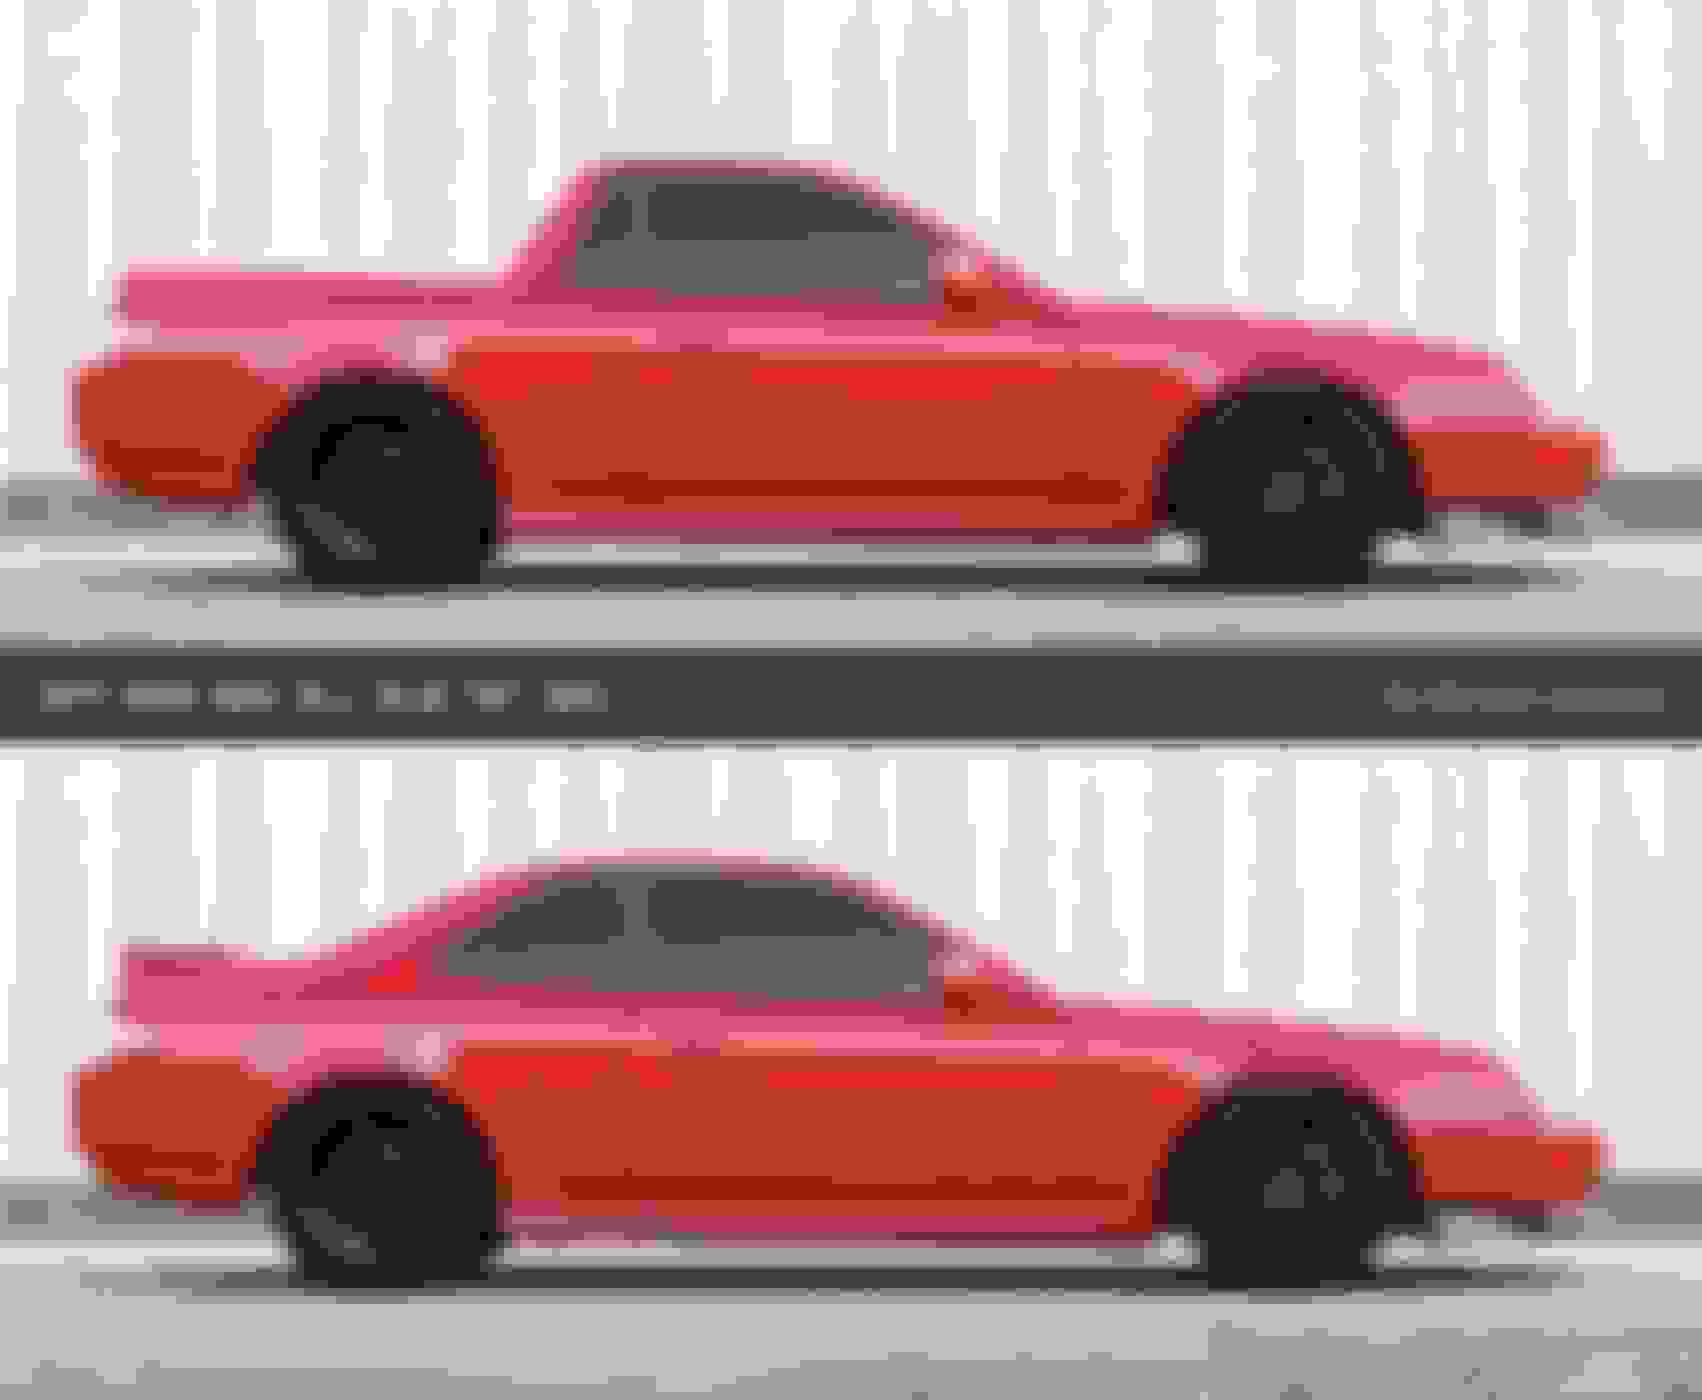
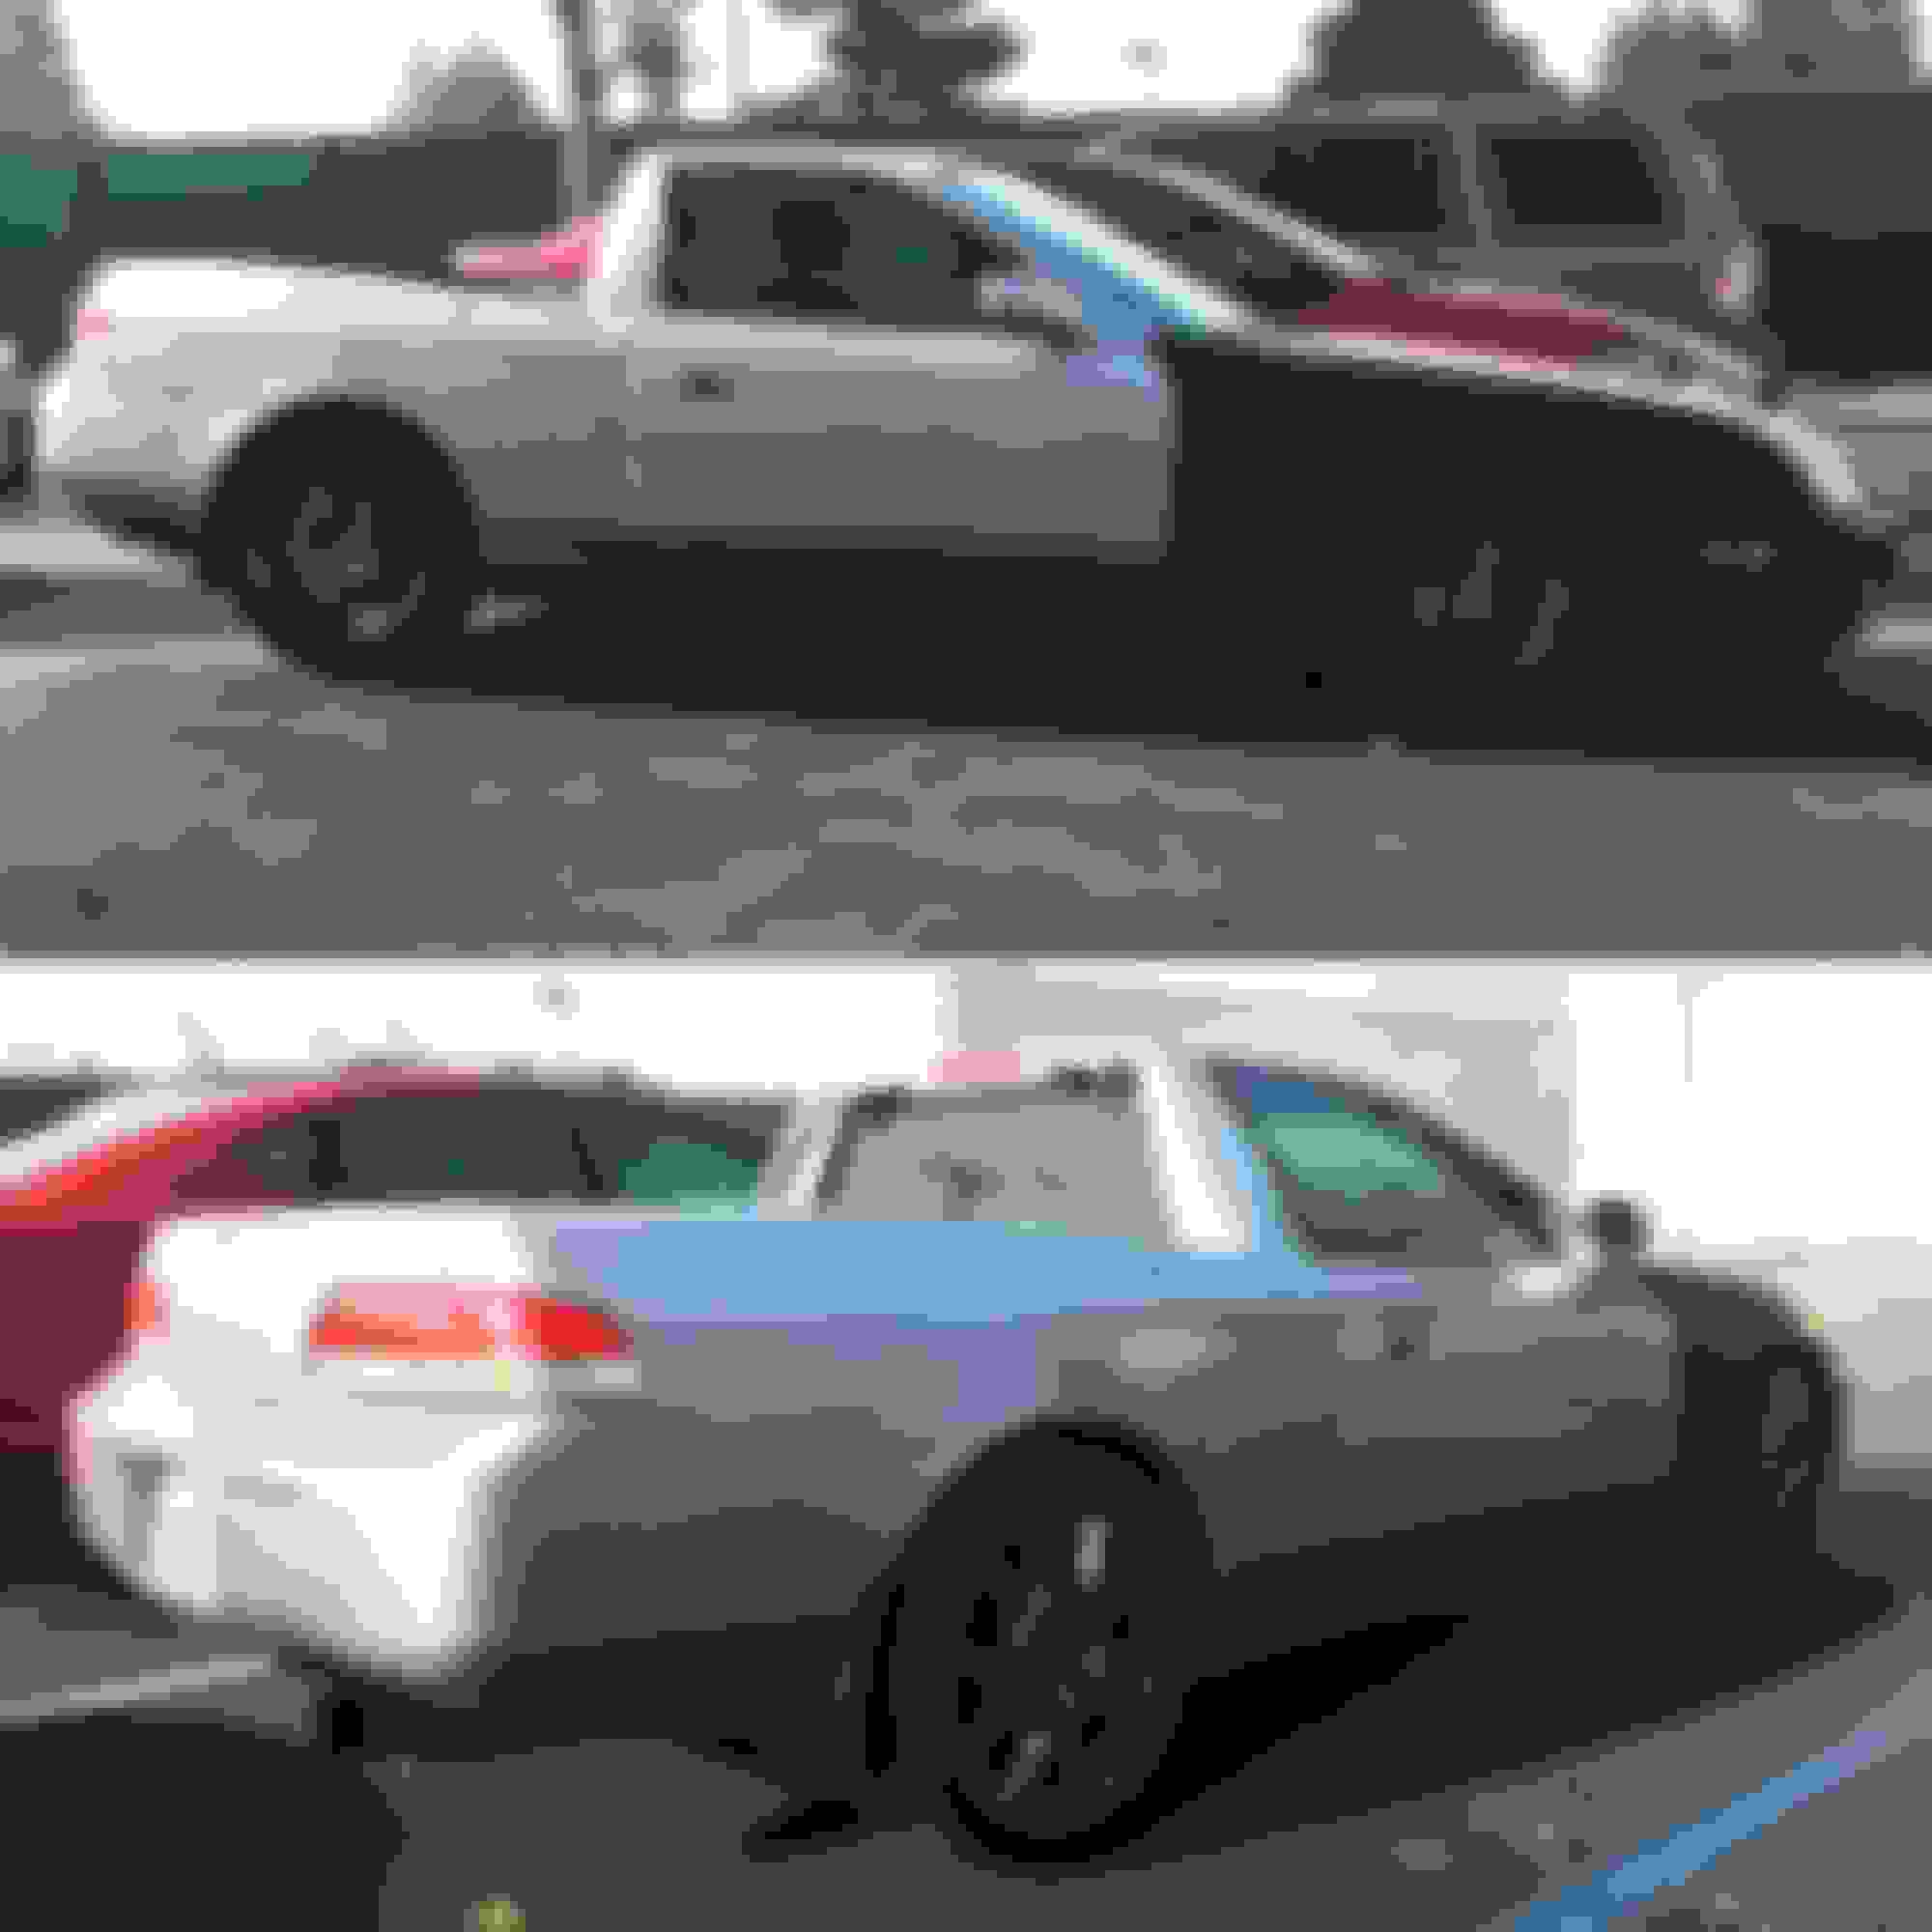
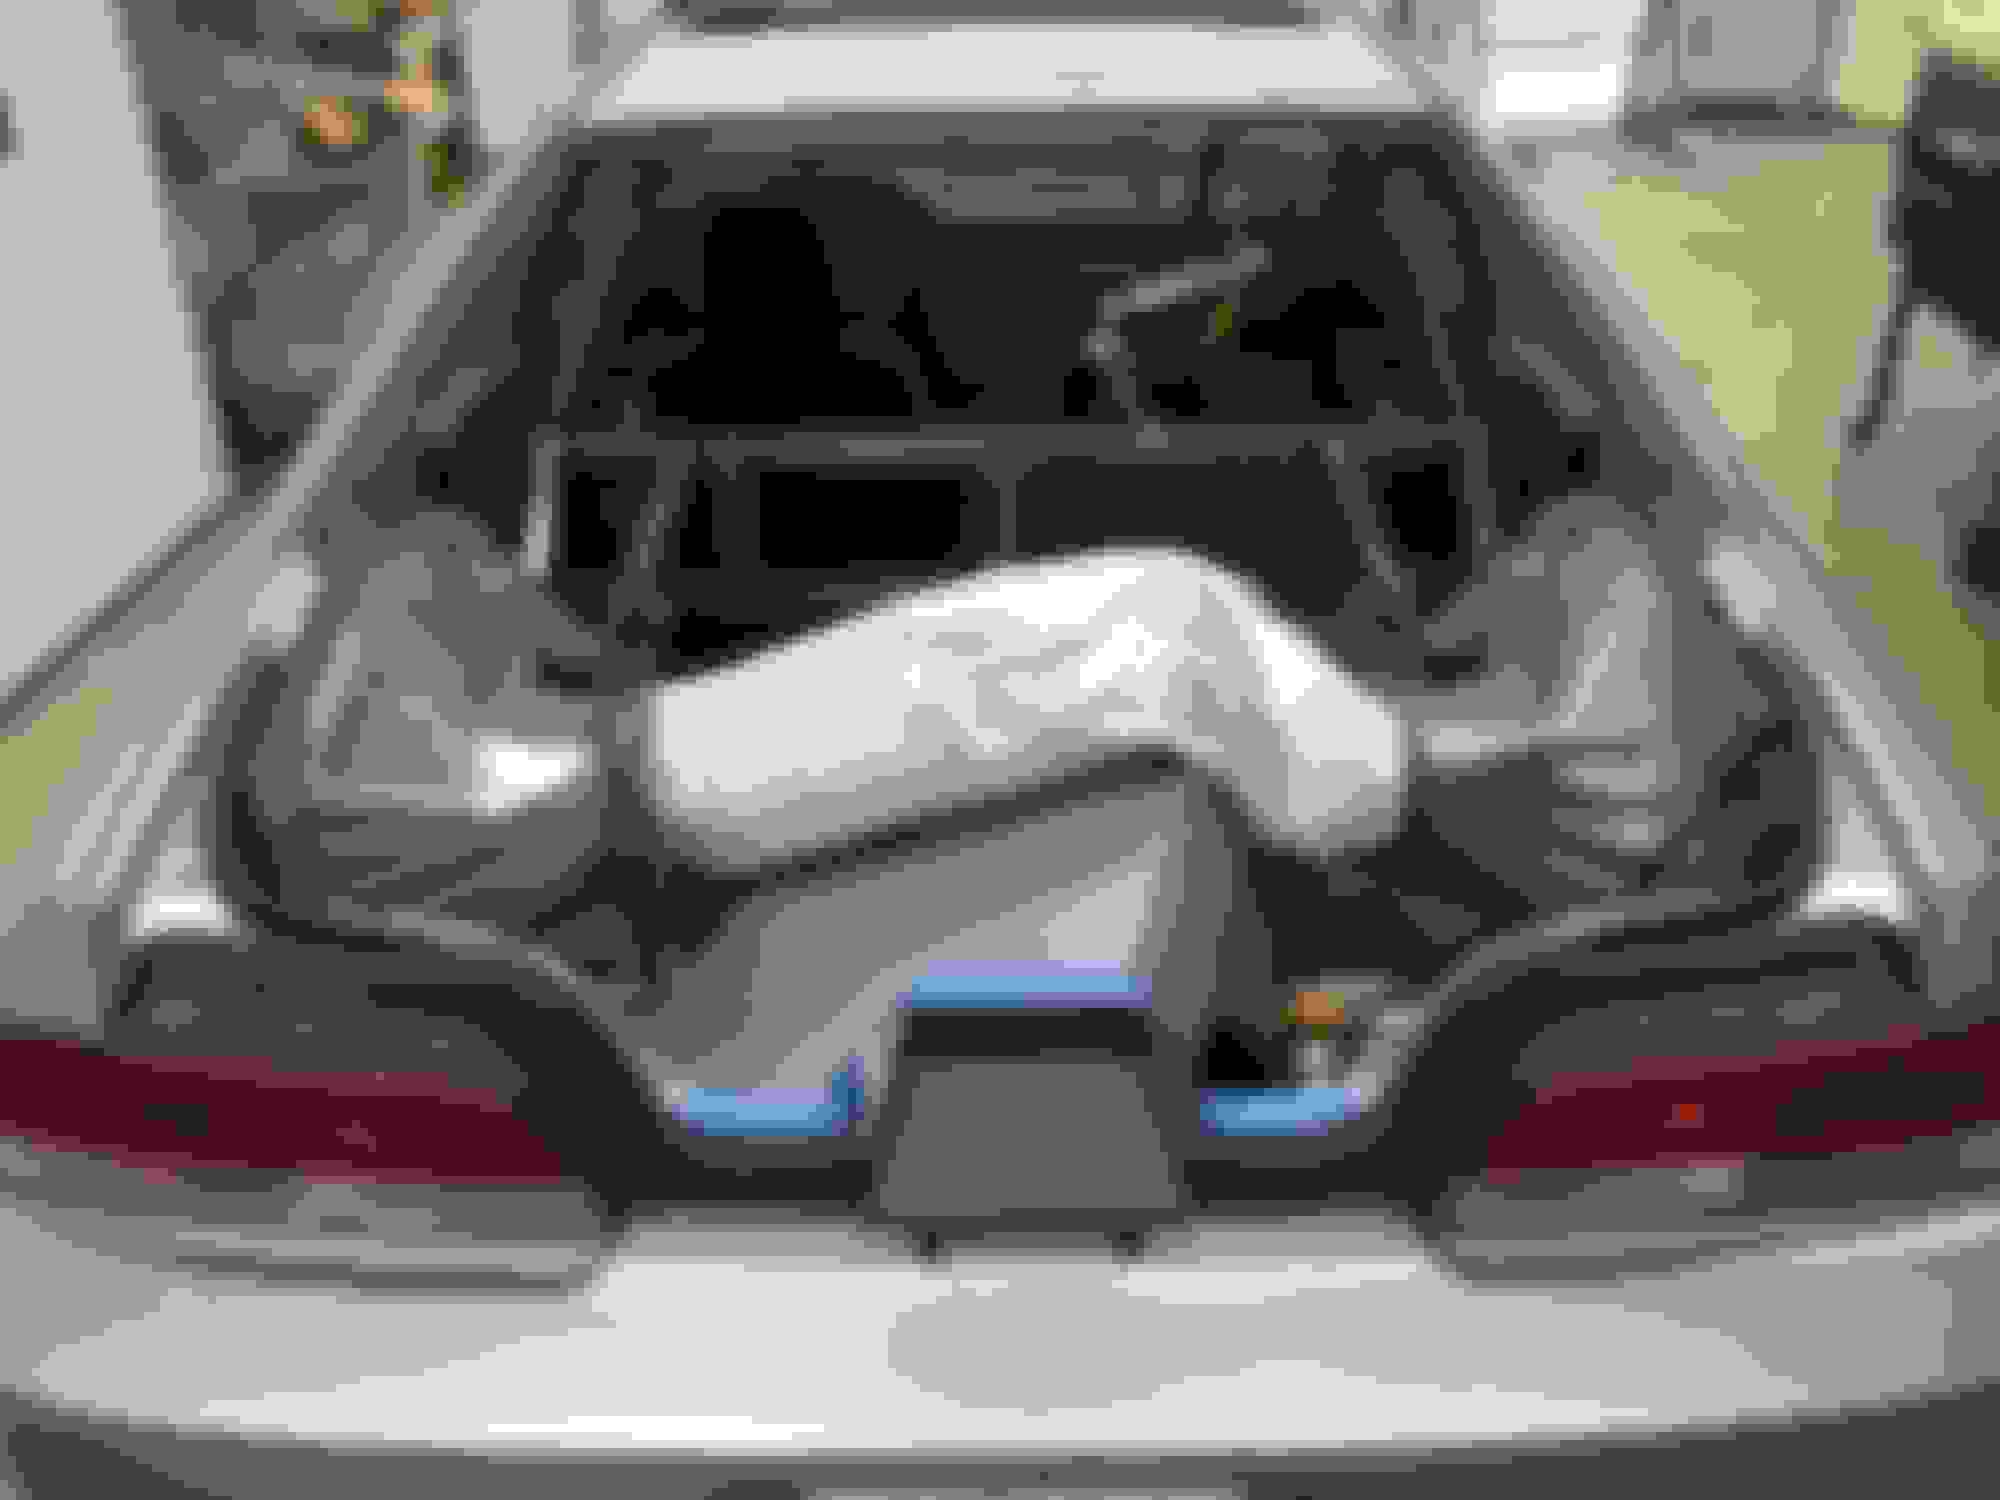
Decided to finally fix my weird "always-braking" stance... Bought Vogtland springs and Hawk performance pads and rotors, it was kinda fun doing hard stops to break-in the brakes...
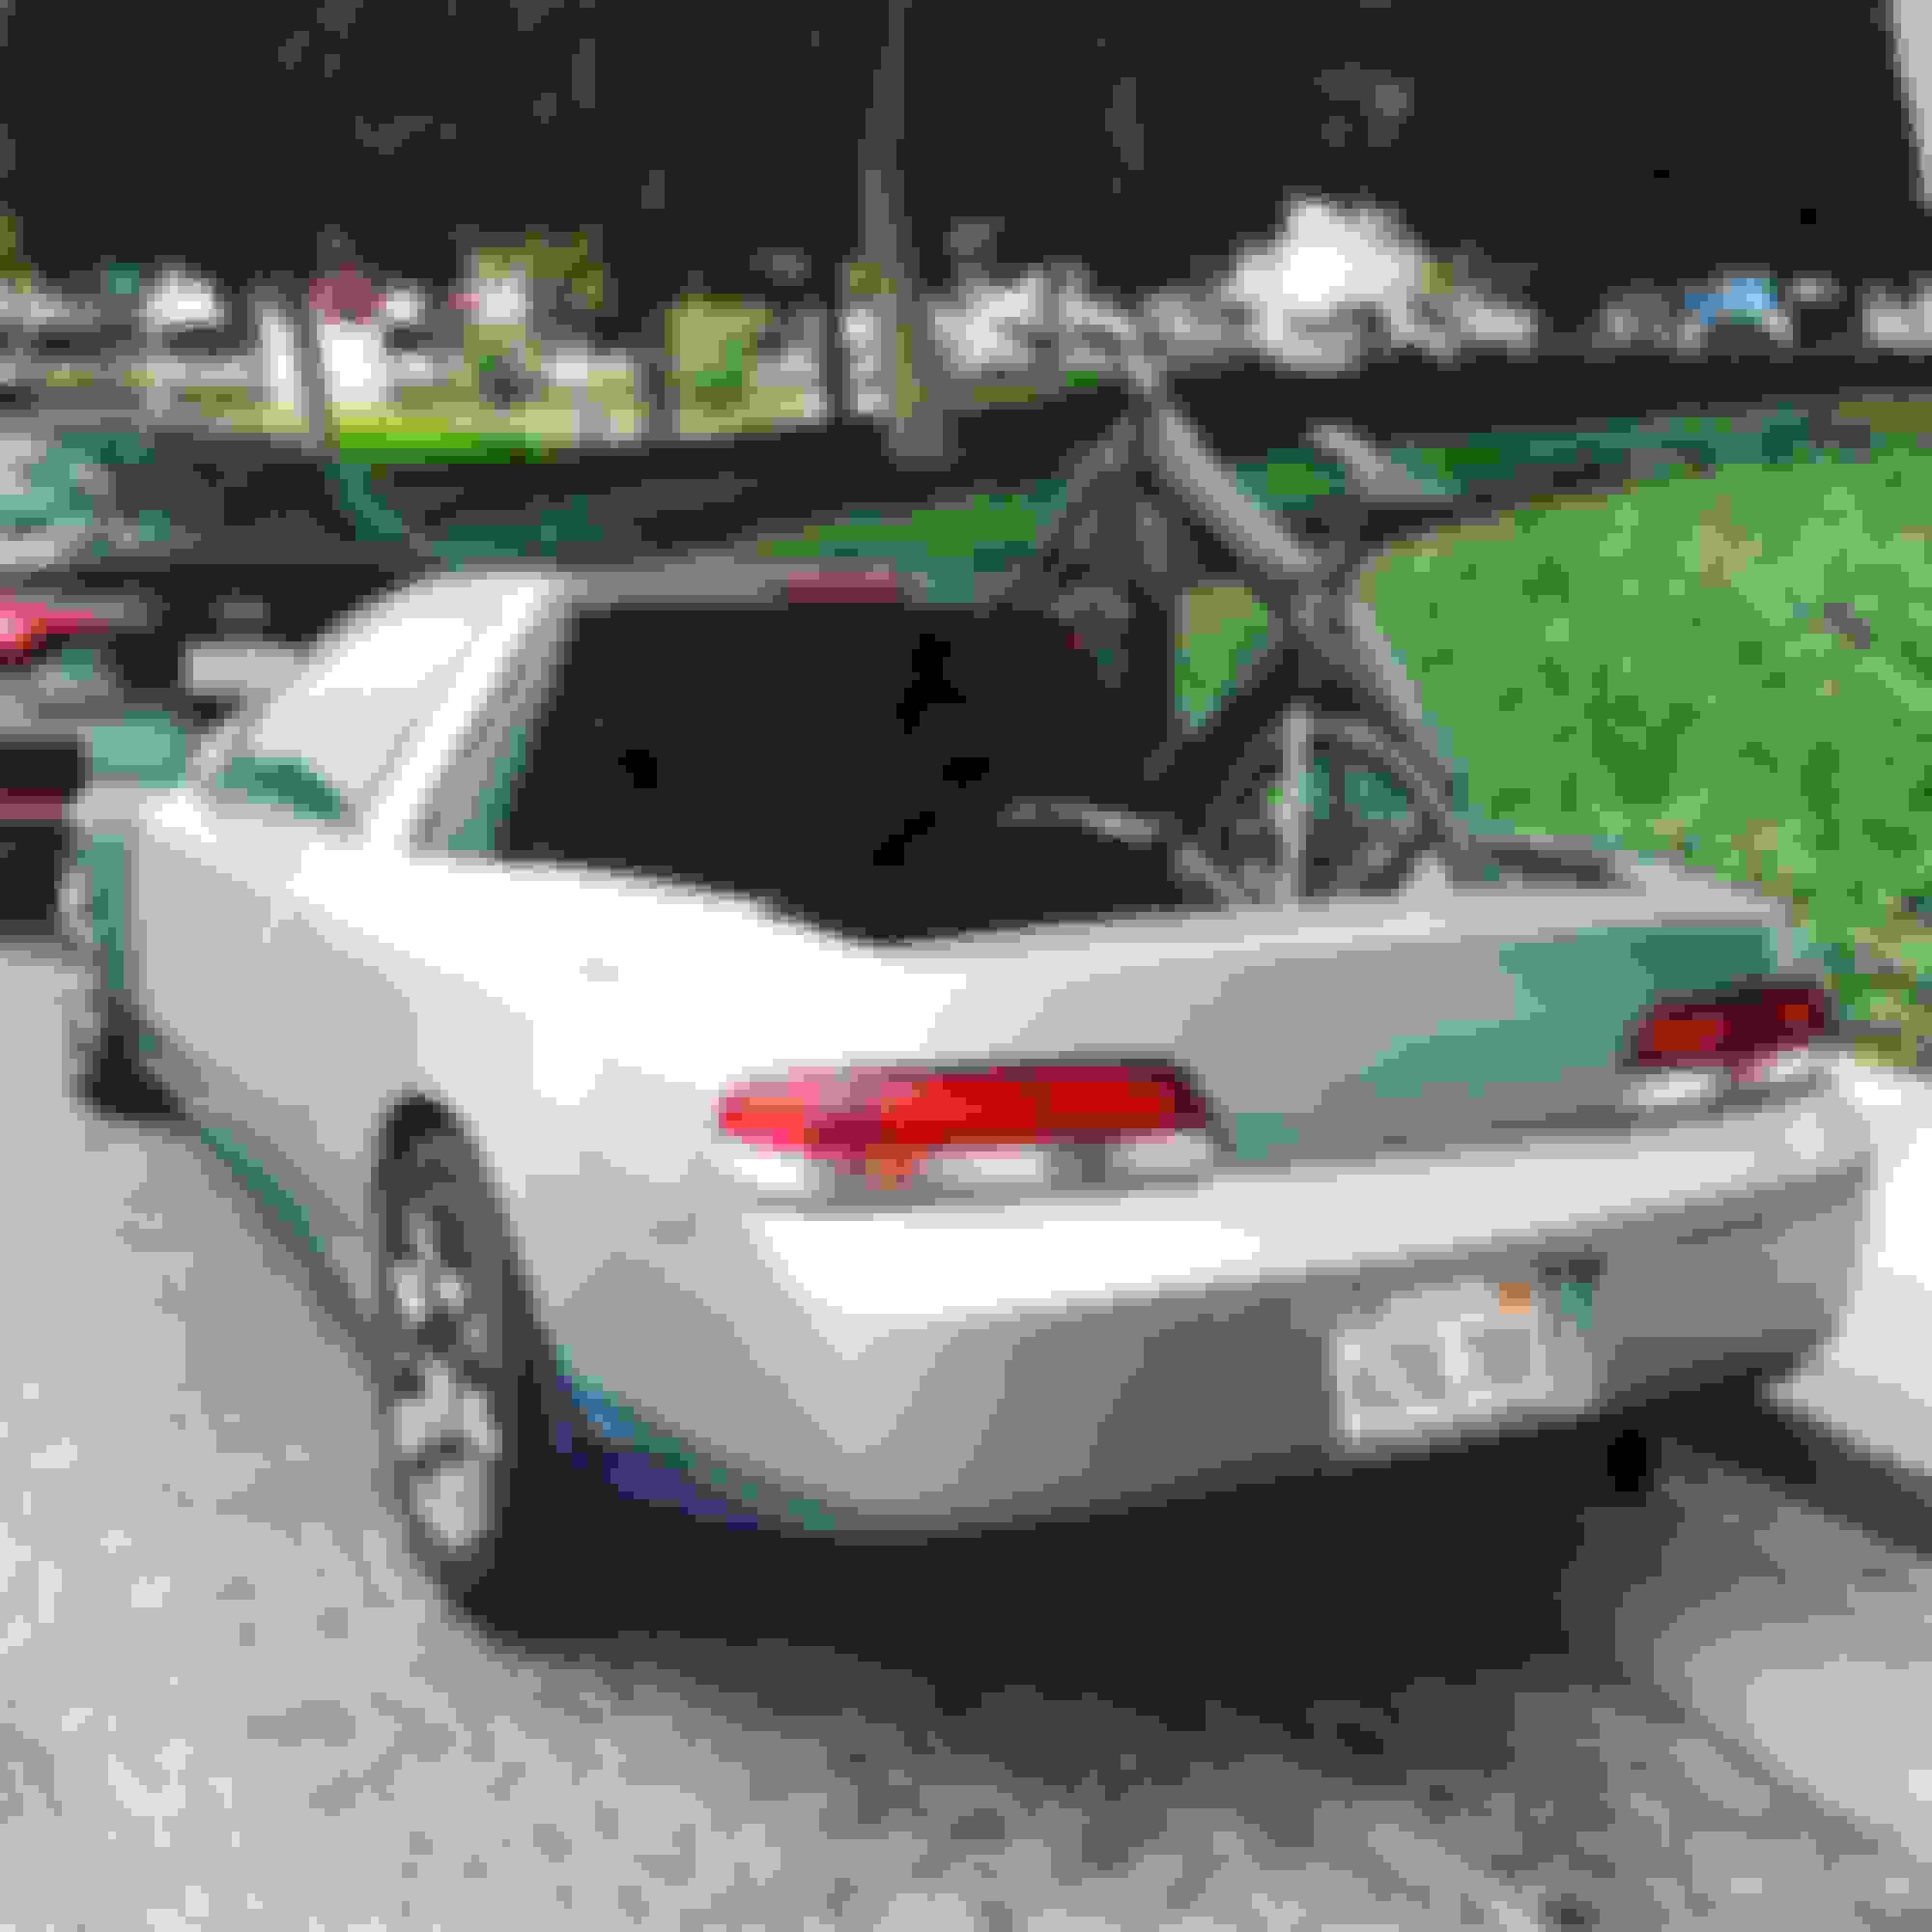
At the tire shop waiting for the rear tires to be changed. Don't think this look is going to catch on.
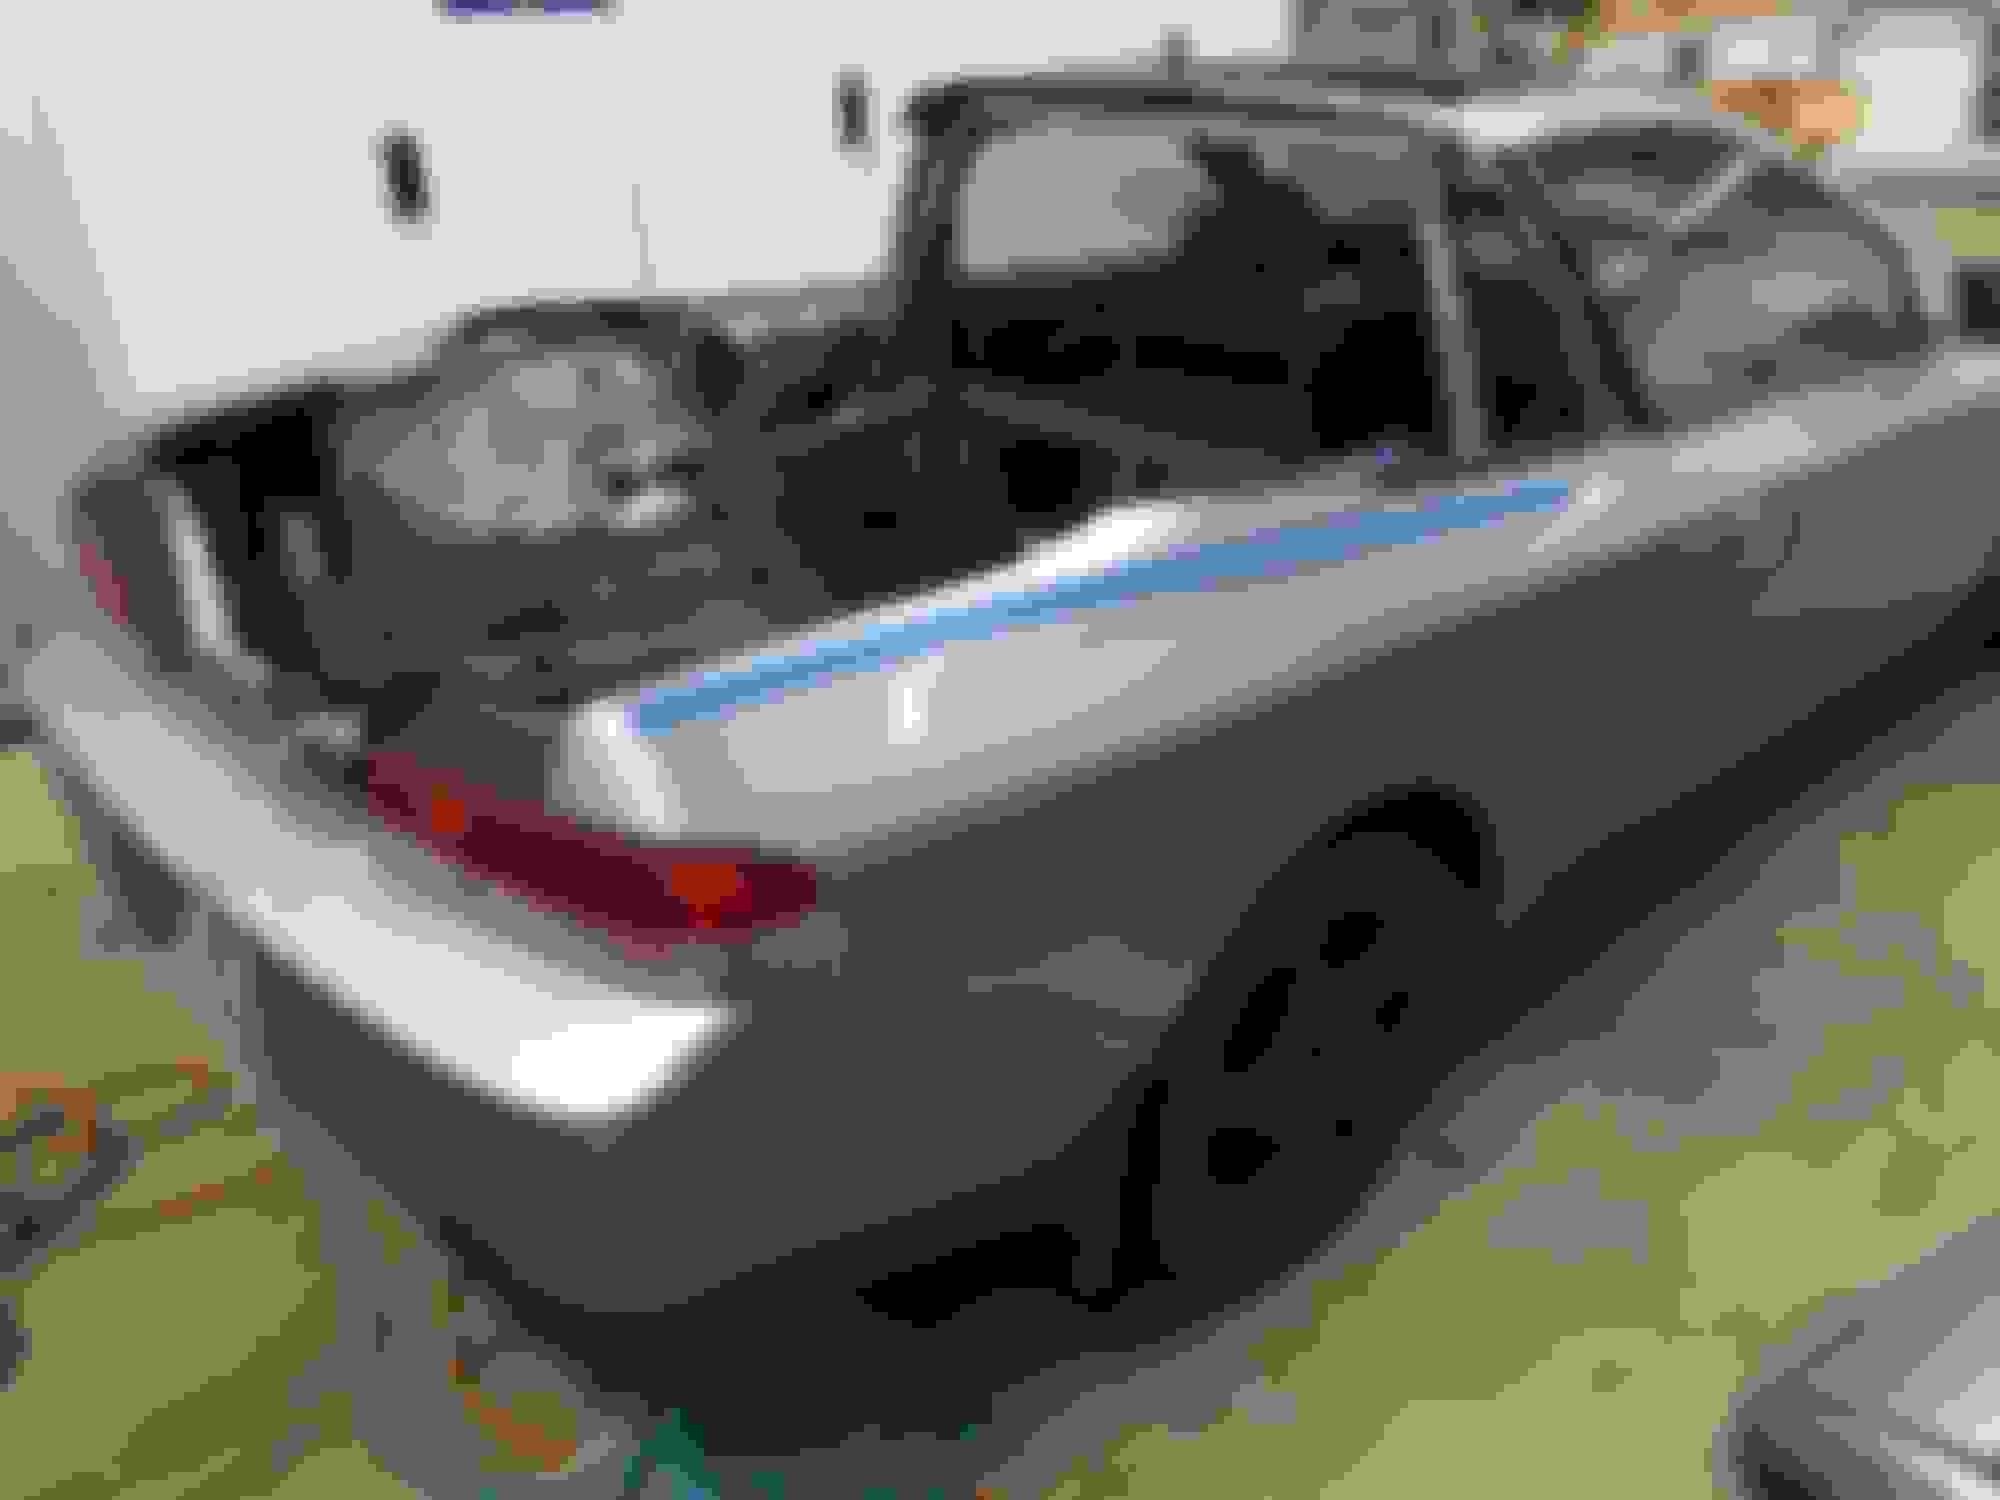
Stance and tires fixed! The Vogtlands raised the front ~3/4" and lowered the rear about the same. I'm baffled as to how the old springs, which were a complete set, could have resulted in such a weird rake before. I suspect they were springs for a different car with more even weight distribution that the previous owner slapped on indiscriminately.
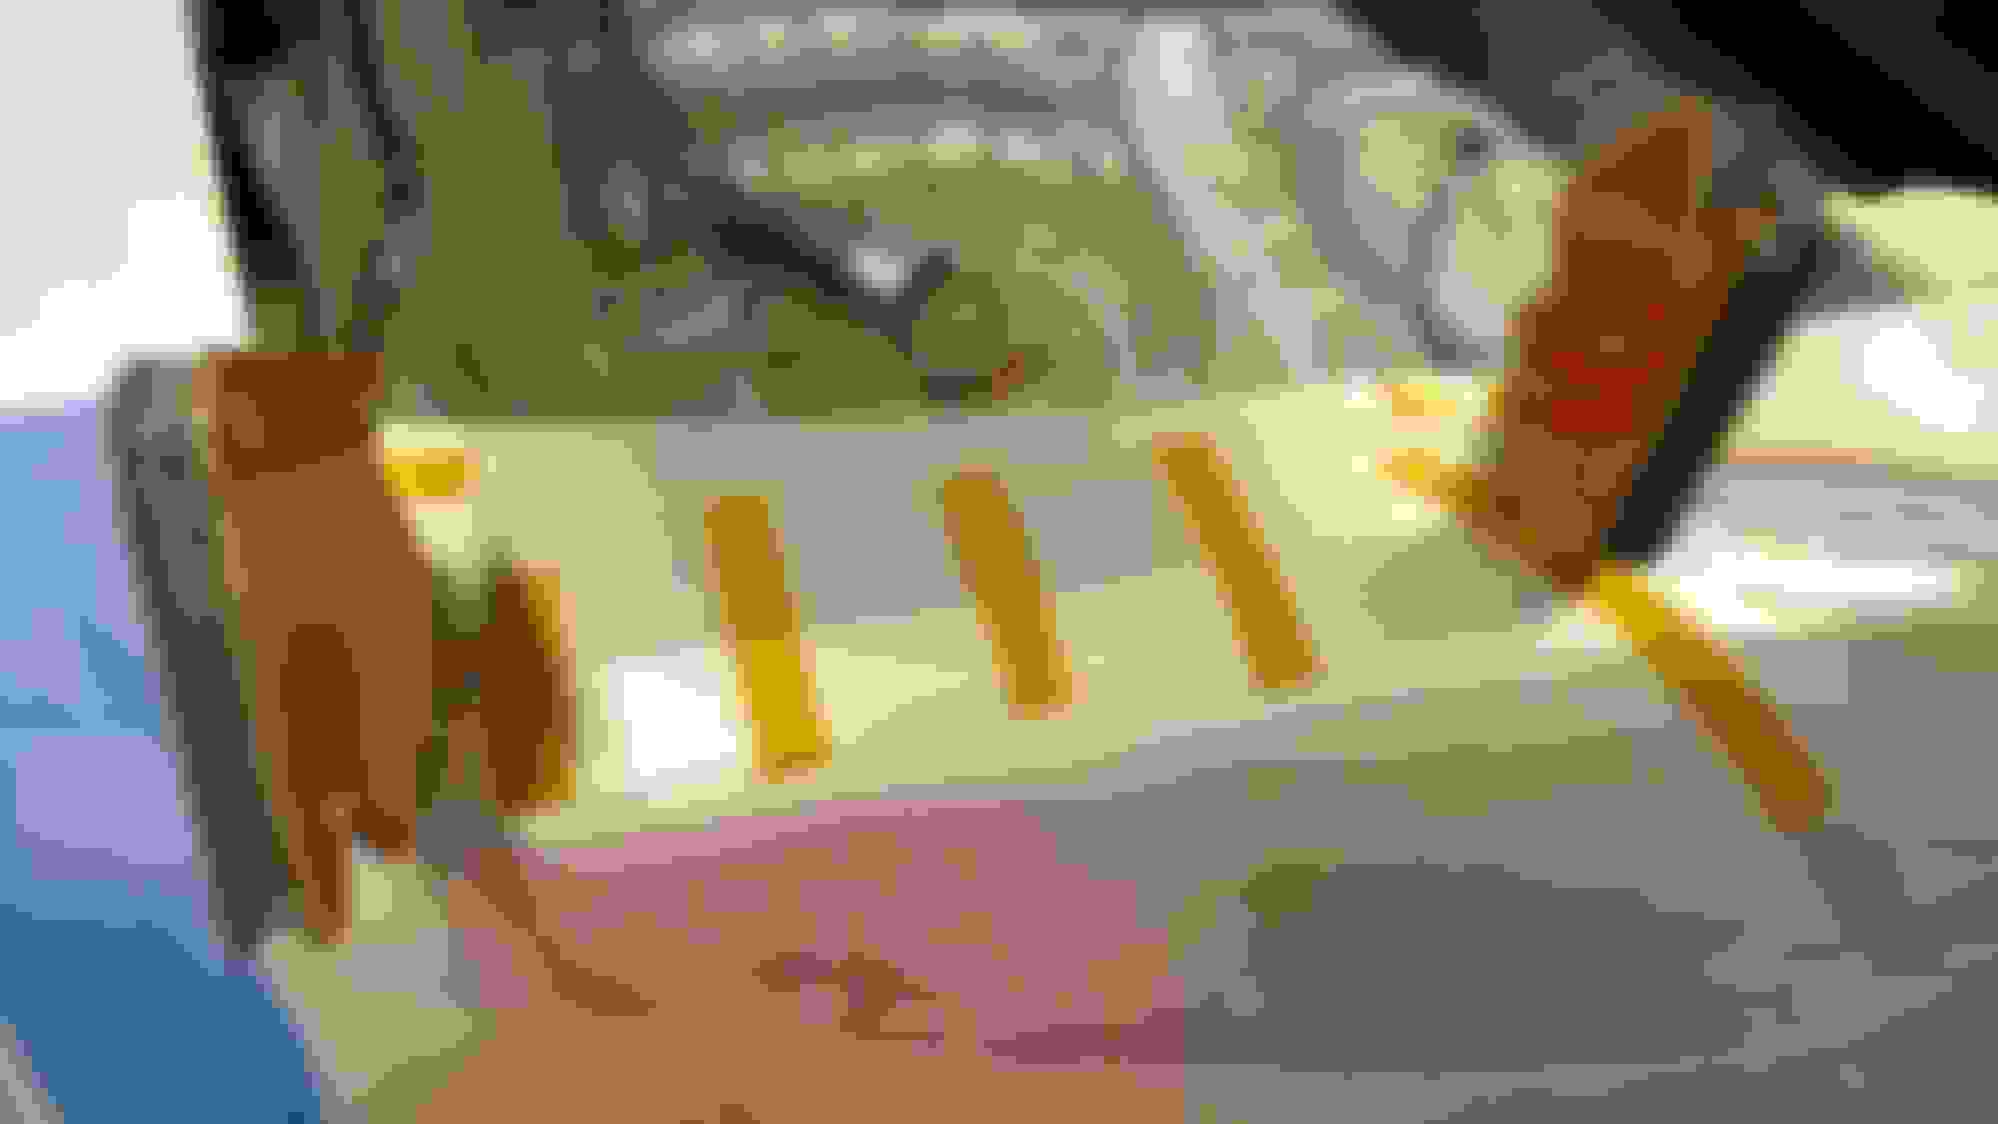
Also experimented with an old HD lip transferred from the UA7, think I'll save myself the $100 and scrape heartache of a PU lip. I'll have to redo the HD lip with a continuous run of tape after wrapping the bumper, and devise a way to hold the sides down - kinda weird how they flap up like that.


")