
Thread Starter
so 22 years after asking my dad to drive me to a CAN event in Houston and 5 shop installs over the years I decided to try my hand at an install. I'd say I've got about 35 actual work hours into it so far and maybe another 10 in planning and studying random topics.....I know things are taking me longer and I suppose in some cases way longer than it'd take an experienced person but I'm taking everything nice and slow so I don't really screw up something. Other than having to scrap version1 of front speaker baffles cause I made some mistakes in the locations I chose to drill out holes to mount the baffle along with mistakes with the jigsaw when trying to cut out the speaker hole I've managed to stay away from major issues.
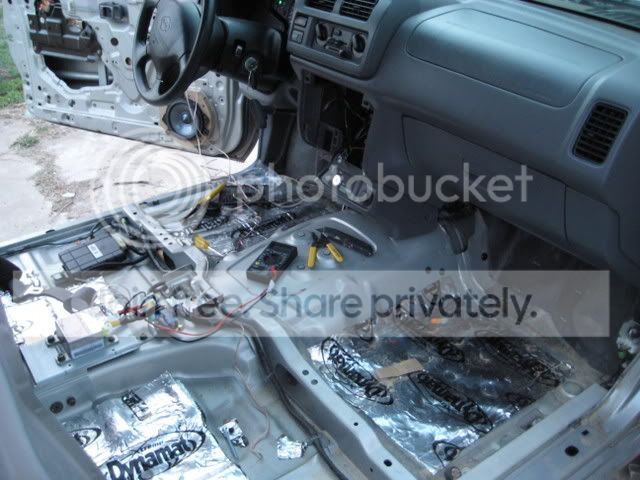
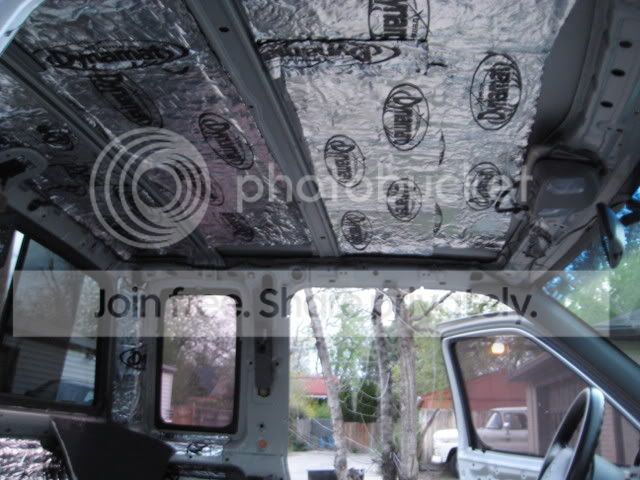
started by pretty much gutting the interior. Rattles absolutely annoy the hell out of me....most surfaces will have 3 layers of Dynamat applied.
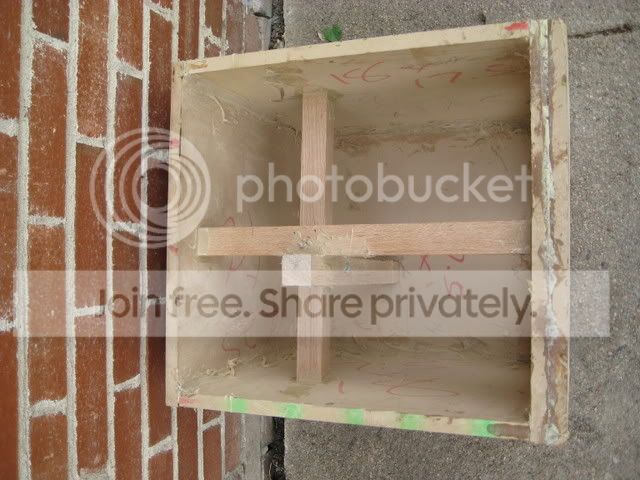
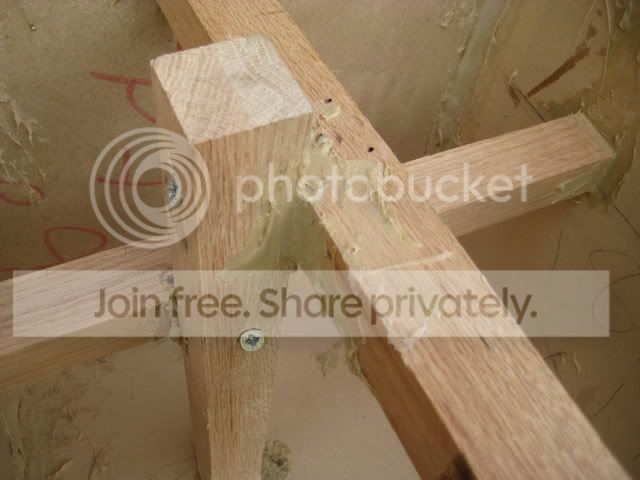
I built 2 of these for each amp and amp rack will end up looking kinda like a book shelf....each 'shelf' containing an amp will be mounted at....oh I don't know.....maybe a 45 degree angle facing forward. I'm using 1.5"x1.5" oak pieces for the frame. I painted the amp boards just to see if I should go for carpeting or paint but decided on carpet + with the intention that if I screwed up anything with the carpet and had a few small gaps they wouldn't be so noticeable if I painted them.


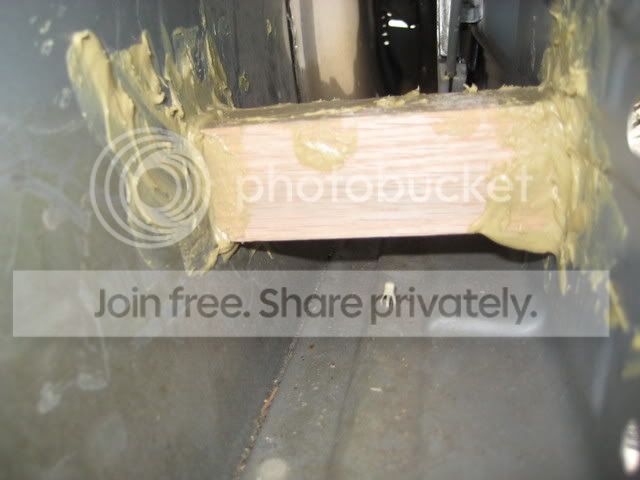
Sub box, baffles for front speakers and door braces. Door metal is so flimsy so I decided to take a few 1.5" square pieces of oak position them within the door using liquid nails. Sub box......yes, the joints and overall appearance leave a bit to be desired but structurally it's rock solid. All the crap spilling out of the edges is glue.....I used gorilla glue and didn't realize just how much it would spread and expand which is why I was left with my joints looking like crap. After learning how to apply glue...haha....didn't have these types of issues with my front baffles.
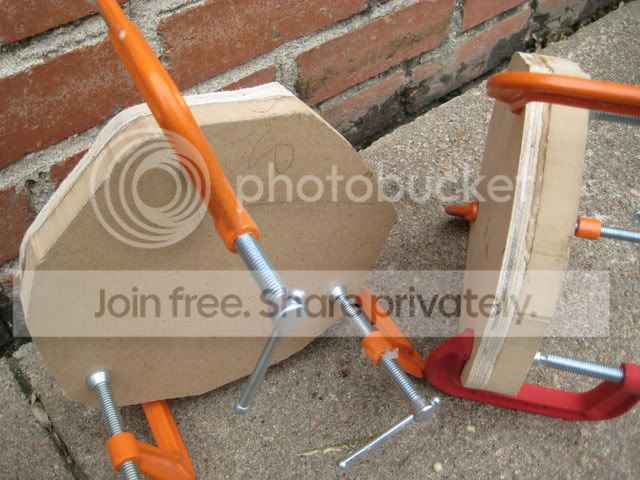
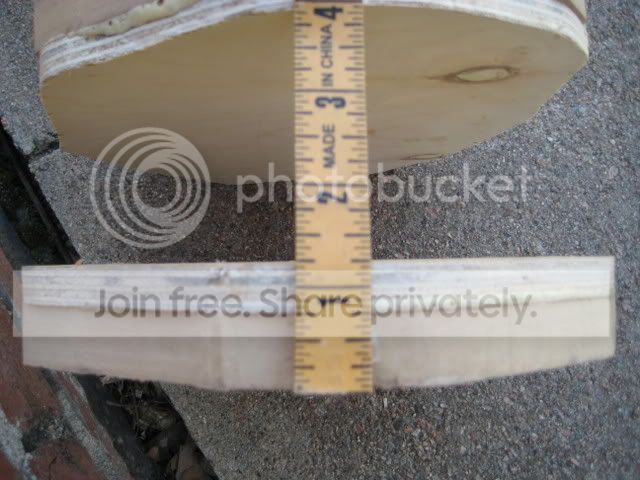
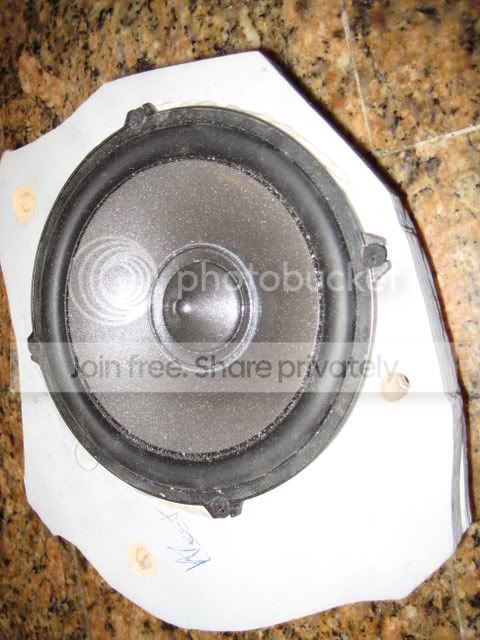

Door grilles......well, I just wasn't too excited about having midrange frequencies trying to pass through 1/16" plastic OEM grill covers whose solid surface area would probably cover up 1/3 of the entire speaker if the grille was compacted to the point no holes existed in the grille. I'm not quite sure how and if this will work but I've got about 6 pieces of thin plywood (but not plywood....can't remember exactly what it is) soaking in water in my bathtub. They've been in there about a day....I'm gonna give it another day or so and then hopefully have a piece of wood I can mold into a frame for a set of grilles. Glue that together, apply some acoustically transparent gray cloth to the frame and then glue the entire grille to the plastic housing. I bought a Dremel tool yesterday so I could make sure there's no jagged edges along the contour of my speaker grille.
And yesterday got head unit installed and powered up....that was pretty cool after spending 2 hours on the 'net and in the truck trying to figure why it wouldn't power up. Eventually realized the wiring diagram I d/l from the 'net was wrong
So far I'd say I'm pleased with how things are turning out....the thought actually crossed my mind the other day to ditch my CS degree and 11 years in software development and go apply for a junior level installer position and maybe work my way up. It's definitely been more fun than sitting indoors all day long staring at monitors and white boards.
started by pretty much gutting the interior. Rattles absolutely annoy the hell out of me....most surfaces will have 3 layers of Dynamat applied.
I built 2 of these for each amp and amp rack will end up looking kinda like a book shelf....each 'shelf' containing an amp will be mounted at....oh I don't know.....maybe a 45 degree angle facing forward. I'm using 1.5"x1.5" oak pieces for the frame. I painted the amp boards just to see if I should go for carpeting or paint but decided on carpet + with the intention that if I screwed up anything with the carpet and had a few small gaps they wouldn't be so noticeable if I painted them.
Sub box, baffles for front speakers and door braces. Door metal is so flimsy so I decided to take a few 1.5" square pieces of oak position them within the door using liquid nails. Sub box......yes, the joints and overall appearance leave a bit to be desired but structurally it's rock solid. All the crap spilling out of the edges is glue.....I used gorilla glue and didn't realize just how much it would spread and expand which is why I was left with my joints looking like crap. After learning how to apply glue...haha....didn't have these types of issues with my front baffles.
Door grilles......well, I just wasn't too excited about having midrange frequencies trying to pass through 1/16" plastic OEM grill covers whose solid surface area would probably cover up 1/3 of the entire speaker if the grille was compacted to the point no holes existed in the grille. I'm not quite sure how and if this will work but I've got about 6 pieces of thin plywood (but not plywood....can't remember exactly what it is) soaking in water in my bathtub. They've been in there about a day....I'm gonna give it another day or so and then hopefully have a piece of wood I can mold into a frame for a set of grilles. Glue that together, apply some acoustically transparent gray cloth to the frame and then glue the entire grille to the plastic housing. I bought a Dremel tool yesterday so I could make sure there's no jagged edges along the contour of my speaker grille.
And yesterday got head unit installed and powered up....that was pretty cool after spending 2 hours on the 'net and in the truck trying to figure why it wouldn't power up. Eventually realized the wiring diagram I d/l from the 'net was wrong
So far I'd say I'm pleased with how things are turning out....the thought actually crossed my mind the other day to ditch my CS degree and 11 years in software development and go apply for a junior level installer position and maybe work my way up. It's definitely been more fun than sitting indoors all day long staring at monitors and white boards.
Honda-Tech Member
sweet! in for progress pics. looks like you know what youre doing. eventually, id like to build a car for the sole purpose of car audio goodness. good luck with your install 
Honda-Tech Member
nissan-tech?