

Billboards Element...

Thread Starter
Honda-Tech Member
Joined: Mar 2007
Posts: 1,575
Likes: 0
From: Denver
i never update this sorry bout that: so here ya go...
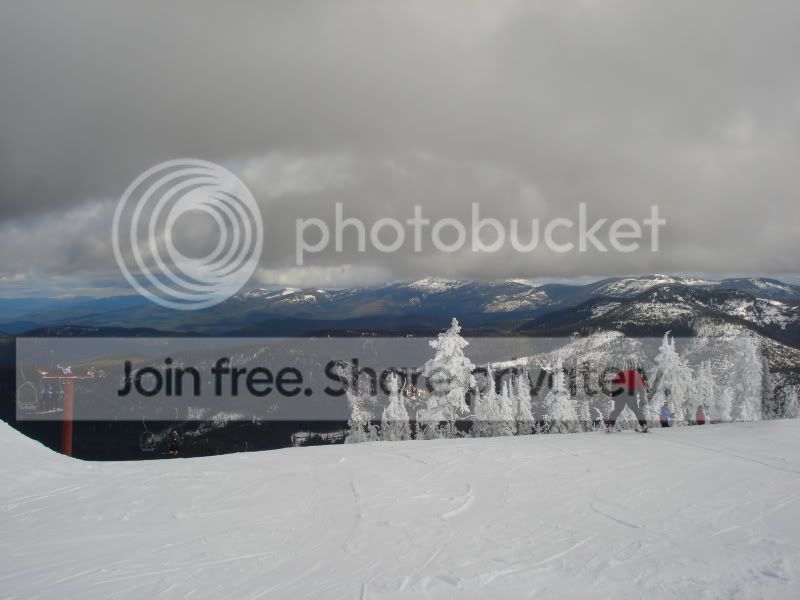
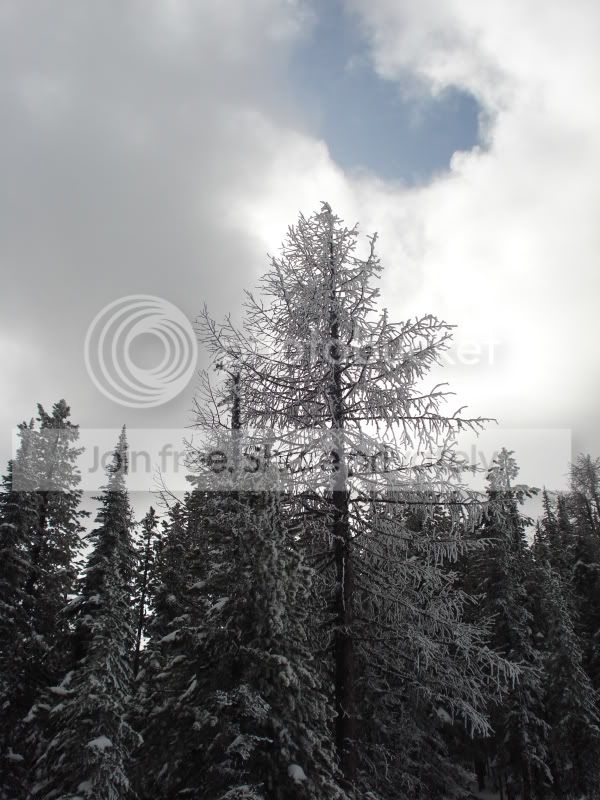
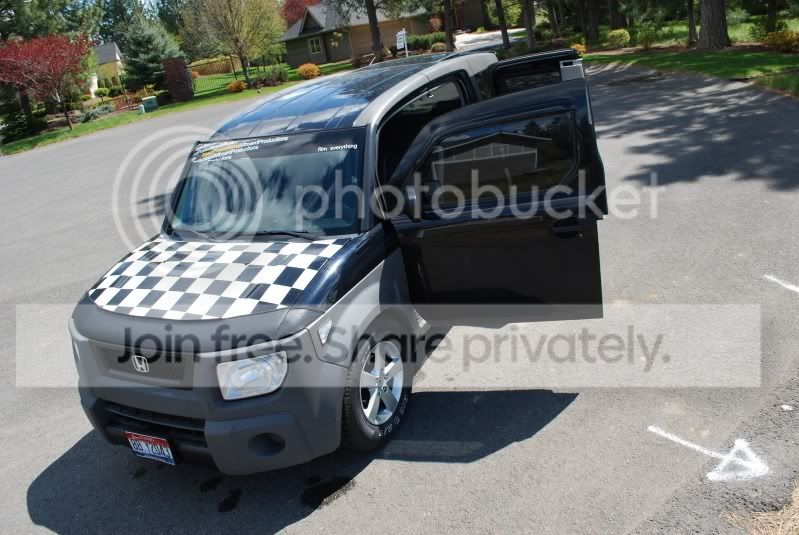
I moved to Washington for a job... drove the E, and have been putting absurds
amounts of miles on her......anyways the check engine light came on and had been
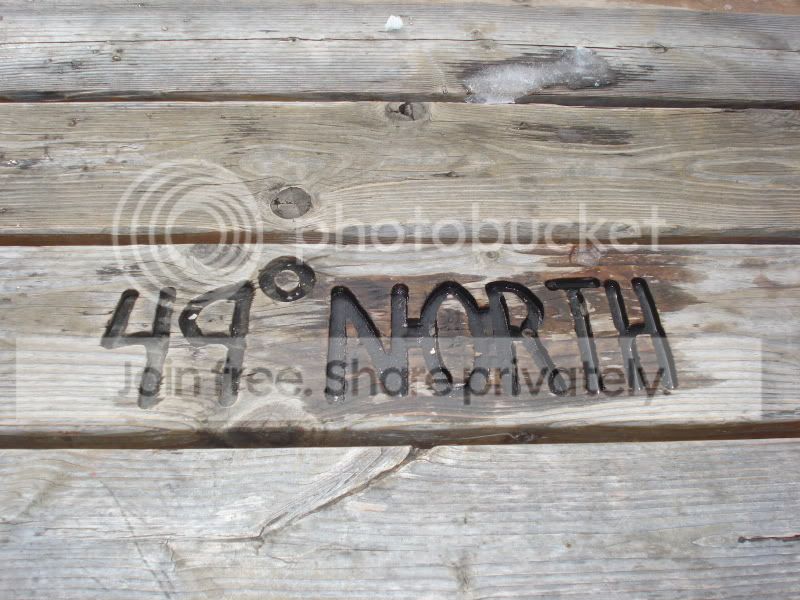
on for a while- but i still took the E up the moutains to go snowboarding.... lols

I moved to Washington for a job... drove the E, and have been putting absurds
amounts of miles on her......anyways the check engine light came on and had been
on for a while- but i still took the E up the moutains to go snowboarding.... lols
Last edited by billboard; Apr 25, 2010 at 05:11 AM.
Thread Starter
Honda-Tech Member
Joined: Mar 2007
Posts: 1,575
Likes: 0
From: Denver
anyways...
my e was having problems- running like ****; check engine light was on and its sorta stalled when coming to a stop---- anyways i just got it back the other day; which cost me a small fortune: $1346.43 to be exact... there was a valve leaking and it wasnt holding compression in cylinder 1- so something about having the head re-machined/rebuilt etc... which i was fine with because the honda dealer told me to buy a new engine and wanted to install it and charge me anywhere from $2900-5500...
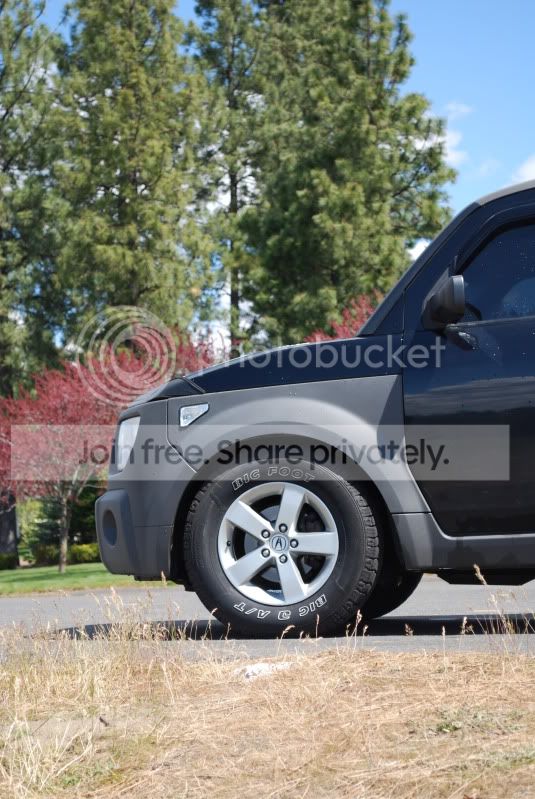
anyways i got these SI rims and wasnt 100% sure if they would fit over the brake pads but they did...
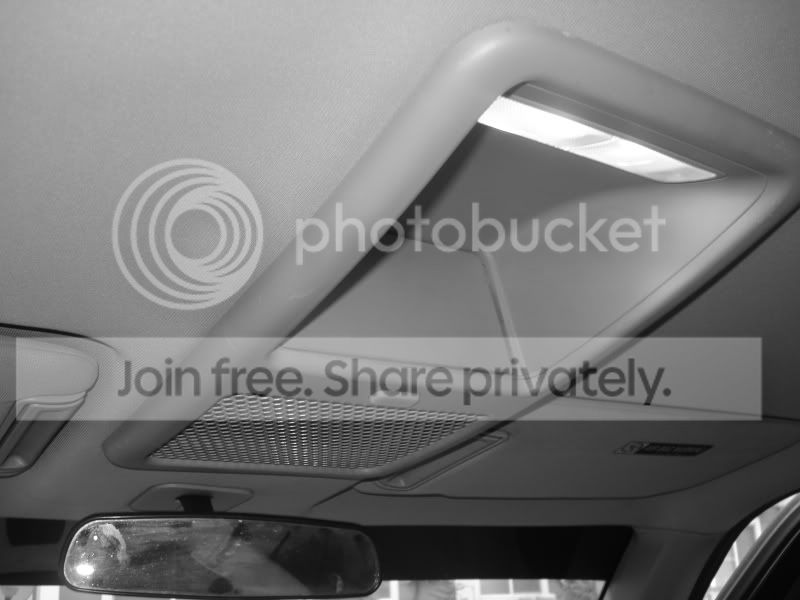
then i had this ceiling console i picked up from a junkyard for $17 dollars, so i tried installing it..... with some help from my friend and 3 trips to ace hardware (first trip i needed some wire for install; second trip i need some vampire wire clamps; third trip i needed some 5mm bolts)... anyways its installed and i am very happy with the results.......
followed the instructions someone made on elementownerclub.com


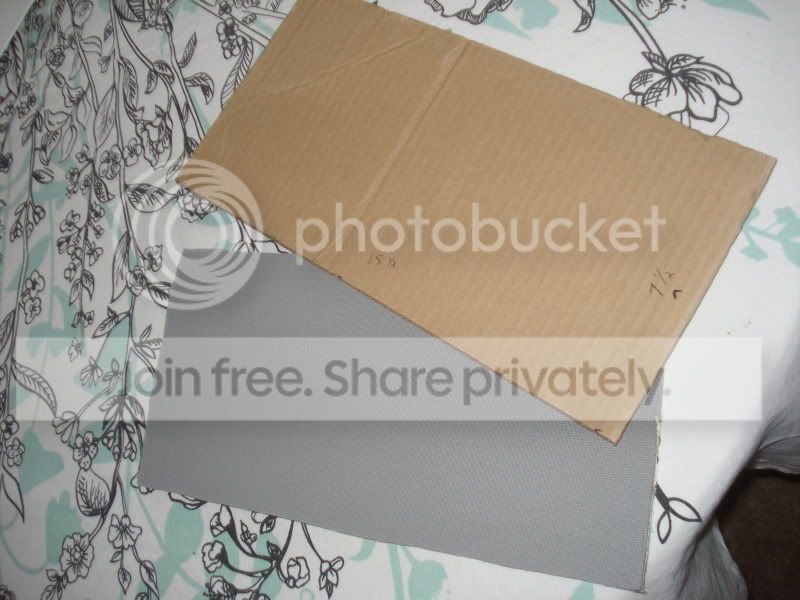
this is the scariest ****.... cutting a huge gaping vaginer in your headliner...
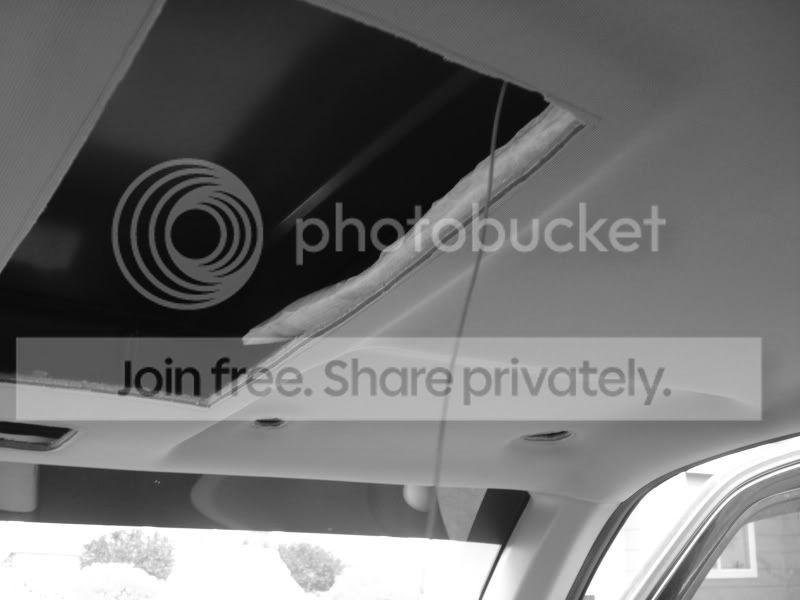
yadda yadda sorry no more step by step pics- just wanted it installed...


my e was having problems- running like ****; check engine light was on and its sorta stalled when coming to a stop---- anyways i just got it back the other day; which cost me a small fortune: $1346.43 to be exact... there was a valve leaking and it wasnt holding compression in cylinder 1- so something about having the head re-machined/rebuilt etc... which i was fine with because the honda dealer told me to buy a new engine and wanted to install it and charge me anywhere from $2900-5500...
anyways i got these SI rims and wasnt 100% sure if they would fit over the brake pads but they did...
then i had this ceiling console i picked up from a junkyard for $17 dollars, so i tried installing it..... with some help from my friend and 3 trips to ace hardware (first trip i needed some wire for install; second trip i need some vampire wire clamps; third trip i needed some 5mm bolts)... anyways its installed and i am very happy with the results.......
followed the instructions someone made on elementownerclub.com
this is the scariest ****.... cutting a huge gaping vaginer in your headliner...
yadda yadda sorry no more step by step pics- just wanted it installed...
Thread Starter
Honda-Tech Member
Joined: Mar 2007
Posts: 1,575
Likes: 0
From: Denver
thanks guise...
i has brazier....
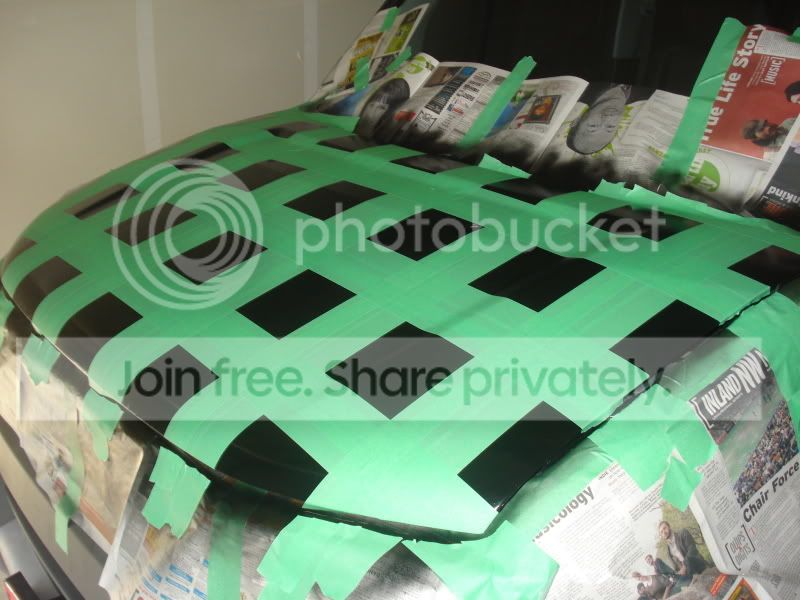
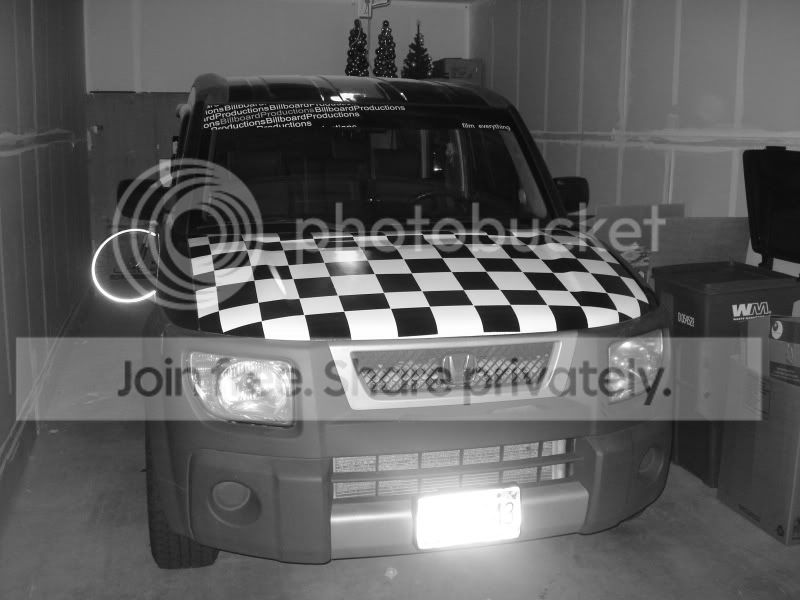
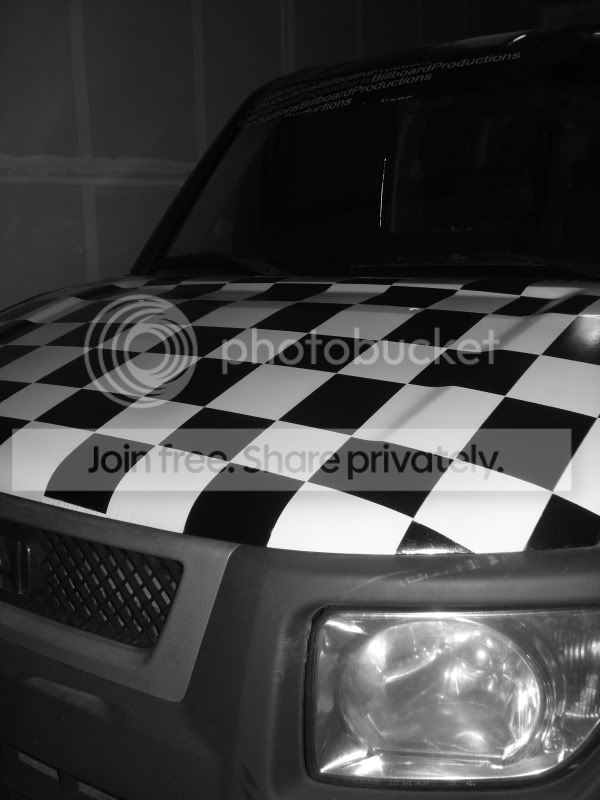
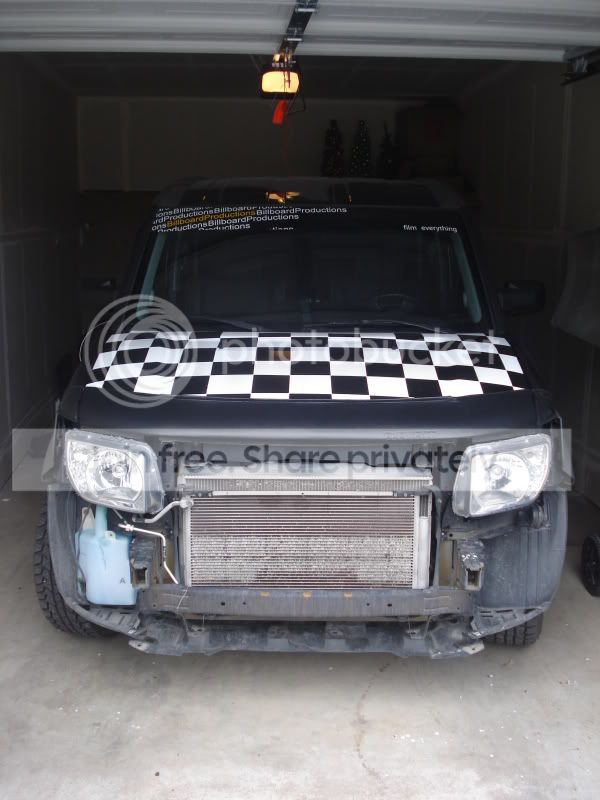
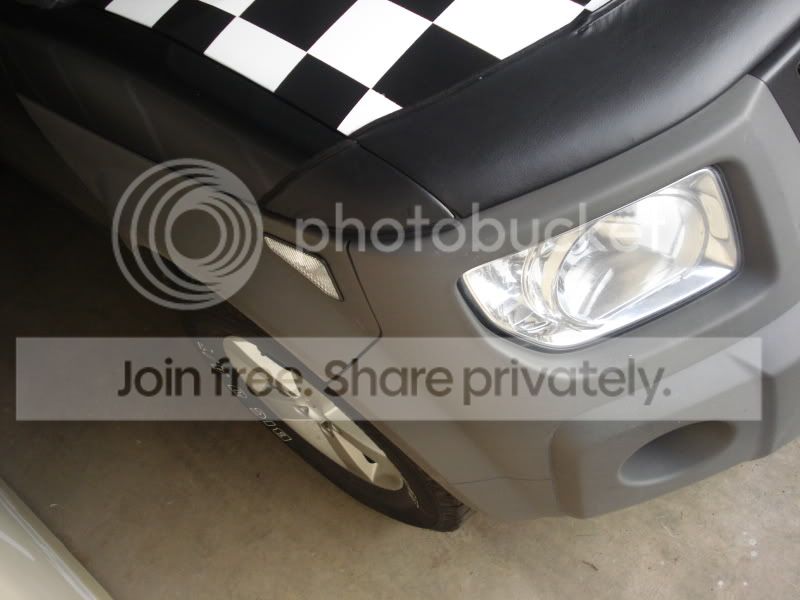
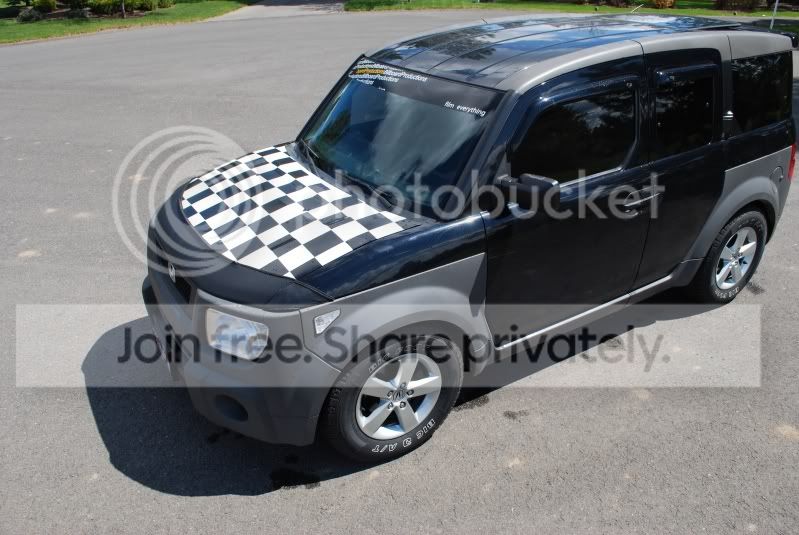
had to drill holes on the underside of hood because cf hood has no holes on the underside for the hooks latch in to---- i didnt take a pic but it was litterally just drilling 2 small holes...


and when installing this you sort of have to pry back the plastic fender a lil bit to slide
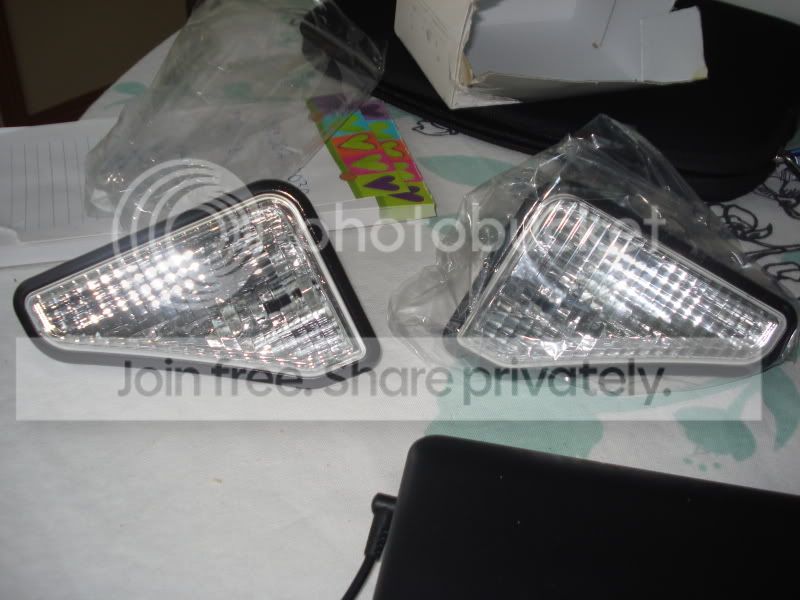
the tab under---- anyways when prying back i broke corner light....


betterish

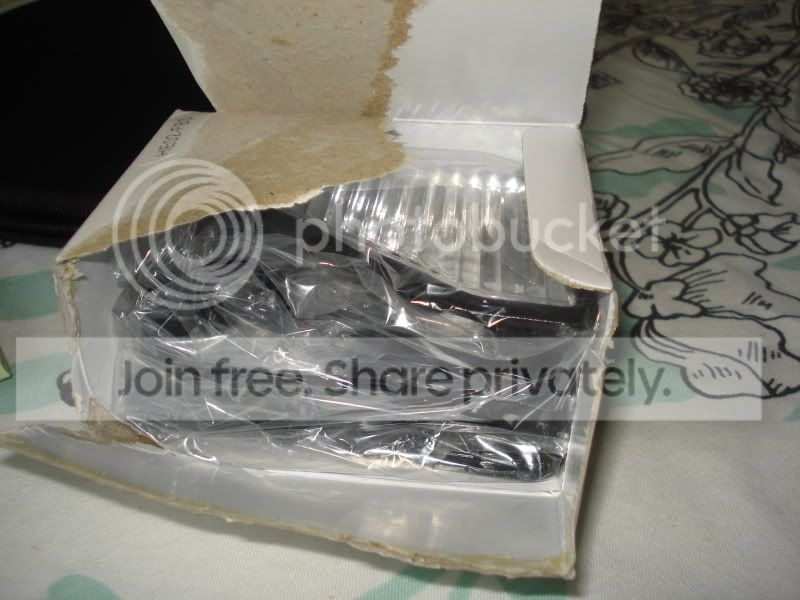
i think i will smoke these- that is until the clear ones i ordered arrive....
i has brazier....
had to drill holes on the underside of hood because cf hood has no holes on the underside for the hooks latch in to---- i didnt take a pic but it was litterally just drilling 2 small holes...
and when installing this you sort of have to pry back the plastic fender a lil bit to slide
the tab under---- anyways when prying back i broke corner light....
betterish
i think i will smoke these- that is until the clear ones i ordered arrive....
Thread Starter
Honda-Tech Member
Joined: Mar 2007
Posts: 1,575
Likes: 0
From: Denver

Honda-Tech Member
Joined: Sep 2009
Posts: 633
Likes: 0
From: TX
Have you ever tryed mountain boarding? I'm trying to find the closest thing to snow boarding with out snow.
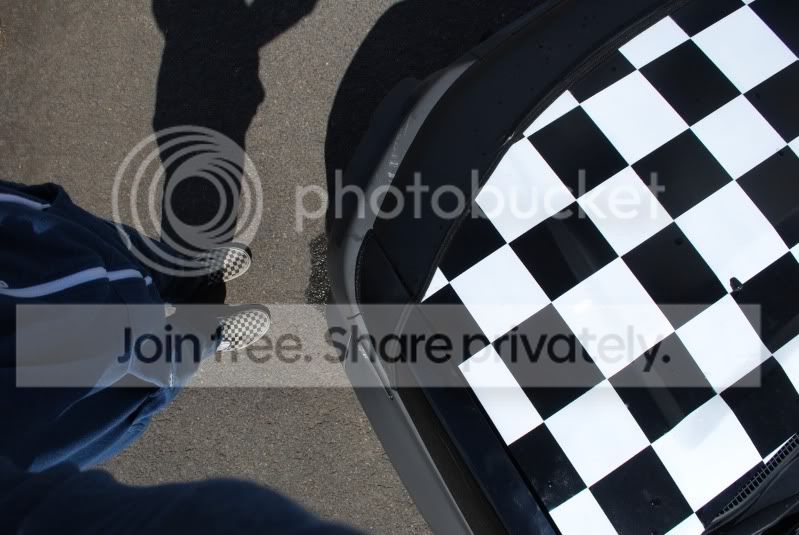
And bra looks pretty darn cool wih the checkard. I 2nd that rock crawler look! It would look mean then
And bra looks pretty darn cool wih the checkard. I 2nd that rock crawler look! It would look mean then
Thread Starter
Honda-Tech Member
Joined: Mar 2007
Posts: 1,575
Likes: 0
From: Denver
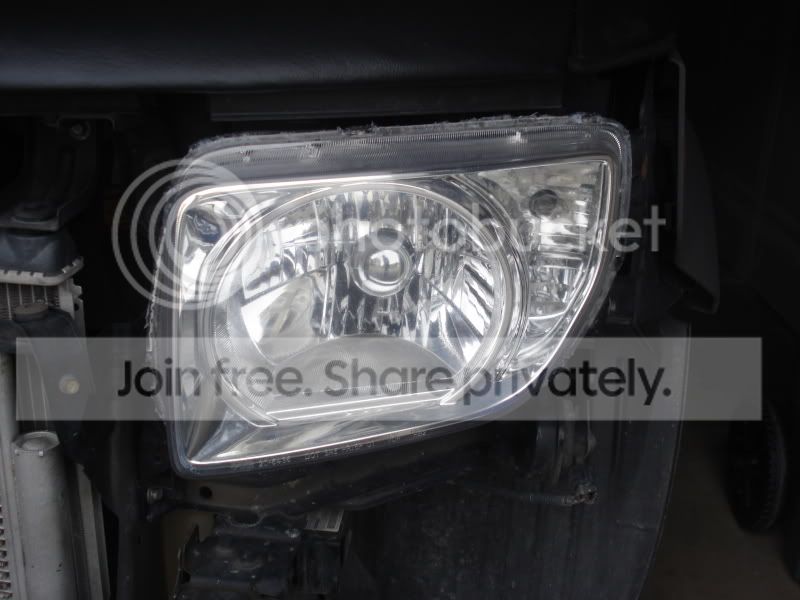
so i went to lower my car when i was like "hey i will do that headlight mod that looked super easy AND quick"....
take headlights off


drink some beer (i recommend 64 calorie miller; taste good and makes you feel like your basically working out "no, babe- this **** is only 64 calories; i can drink as many as i want")

200 degrees 7 min--- (i did 8 minutes; cause i like to live on the edge...)

cook that ****; get your gf's oven mitts or moms will work too (whom ever your living with)... pry headlight apart with flathead (you will end up throwing away a flat head screw driver at the end of this; its also best to choose some one elses screw driver that you dont care about)

this is the dirty rat bastid you wanted to get rid of...

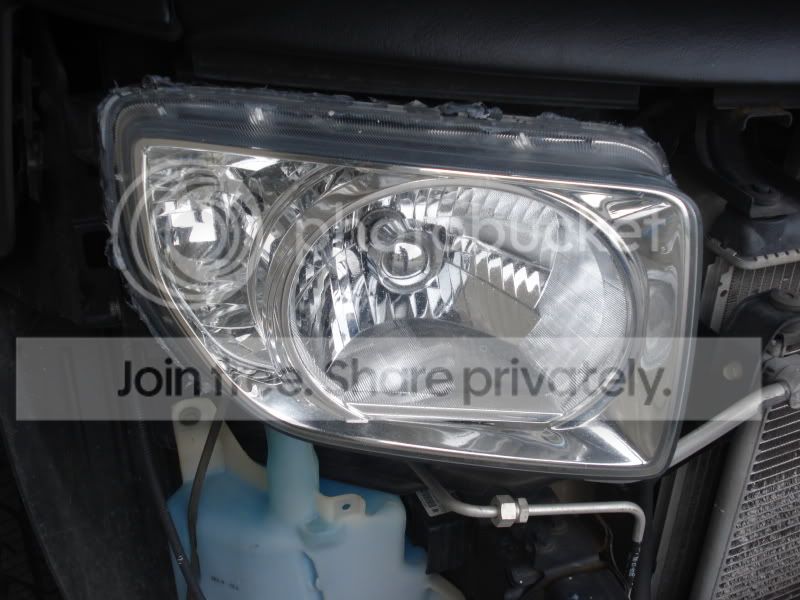
when i was about to put them back together i re-heated them in the oven to get the stick glue **** all sticky again; i did another generous 7 minutes in the oven...

get some caulk or automotive sealer or bath sealer or what evers you have and reseal around the headlight- you dont want moistier to get back in.... apply pressure when putting headlight back together.. depending on your weight dont stand on your headlight (again this is where 64 calorie beer really starts to pay off)

you will quickly become sick of applying pressure, or standing on your headlight; feel free to use gfs coffee table and couch...

thats it- now we wait; its not a fast mod; its not an easy mod like the interwebs would have you believe...
results tomorrow...
take headlights off
drink some beer (i recommend 64 calorie miller; taste good and makes you feel like your basically working out "no, babe- this **** is only 64 calories; i can drink as many as i want")
200 degrees 7 min--- (i did 8 minutes; cause i like to live on the edge...)
cook that ****; get your gf's oven mitts or moms will work too (whom ever your living with)... pry headlight apart with flathead (you will end up throwing away a flat head screw driver at the end of this; its also best to choose some one elses screw driver that you dont care about)
this is the dirty rat bastid you wanted to get rid of...
when i was about to put them back together i re-heated them in the oven to get the stick glue **** all sticky again; i did another generous 7 minutes in the oven...
get some caulk or automotive sealer or bath sealer or what evers you have and reseal around the headlight- you dont want moistier to get back in.... apply pressure when putting headlight back together.. depending on your weight dont stand on your headlight (again this is where 64 calorie beer really starts to pay off)
you will quickly become sick of applying pressure, or standing on your headlight; feel free to use gfs coffee table and couch...
thats it- now we wait; its not a fast mod; its not an easy mod like the interwebs would have you believe...
results tomorrow...
Thread Starter
Honda-Tech Member
Joined: Mar 2007
Posts: 1,575
Likes: 0
From: Denver
^ sorry i forgot to update
made a run to the store; got paint- a bulb for the amber fender cornerlight (clears should be arriving soon)- and some head light cleaner; as my headlights were kinda foggy and ugly...
this is the best paint for bumpers; plastics of anysort; whatever ya need (gives a semi gloss apperance without rattle-can persona.... lols) an oem look...
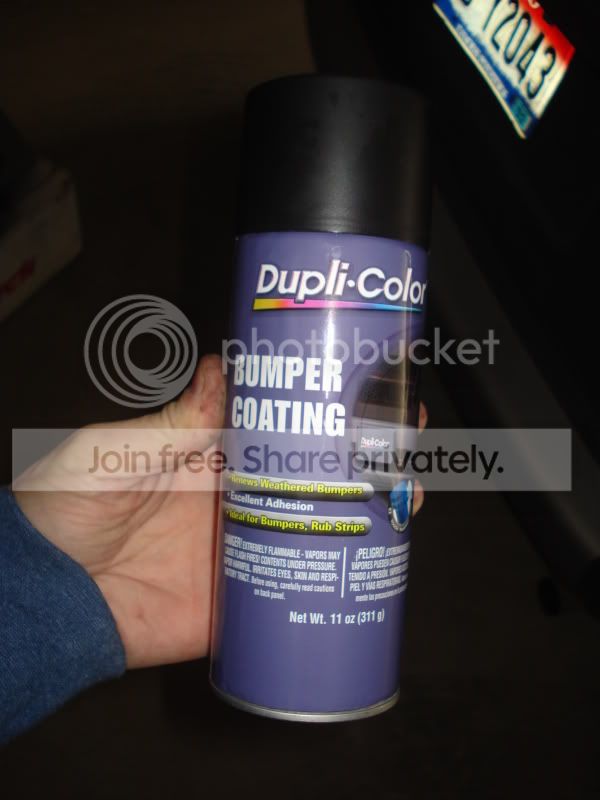
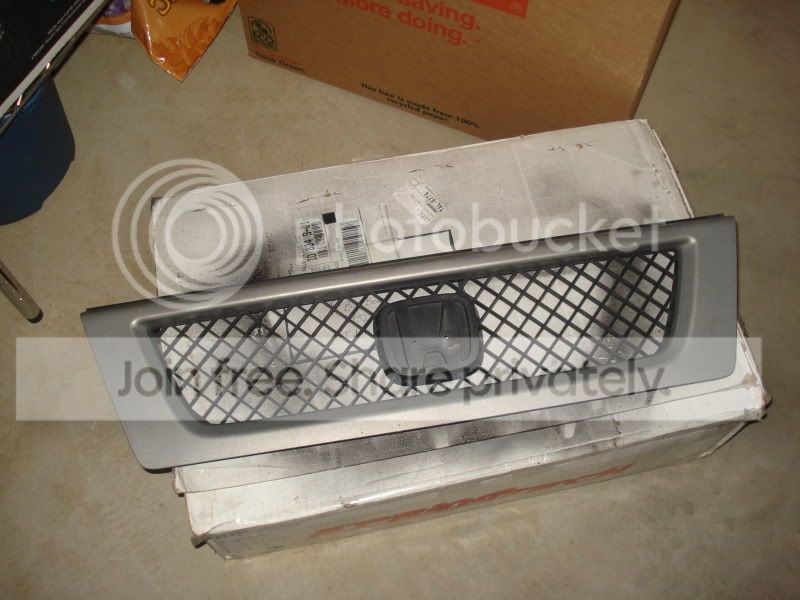
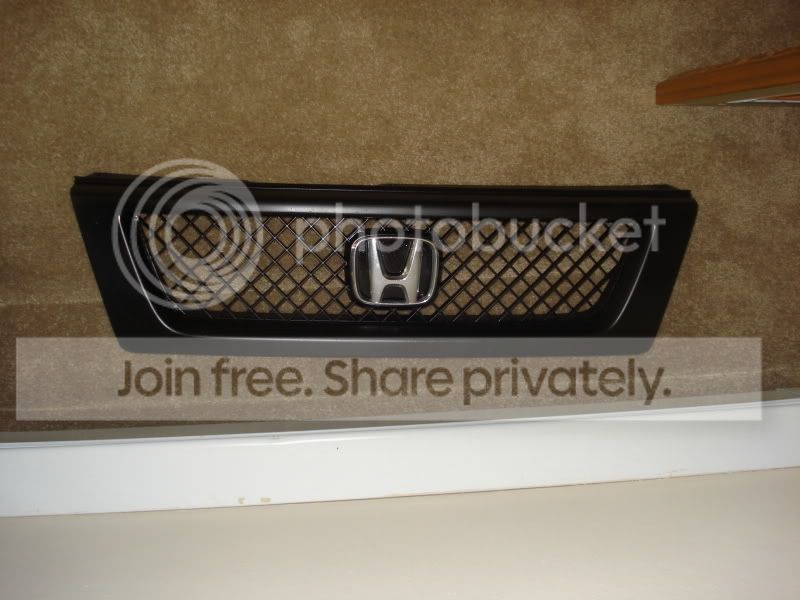
freshly sprayed...
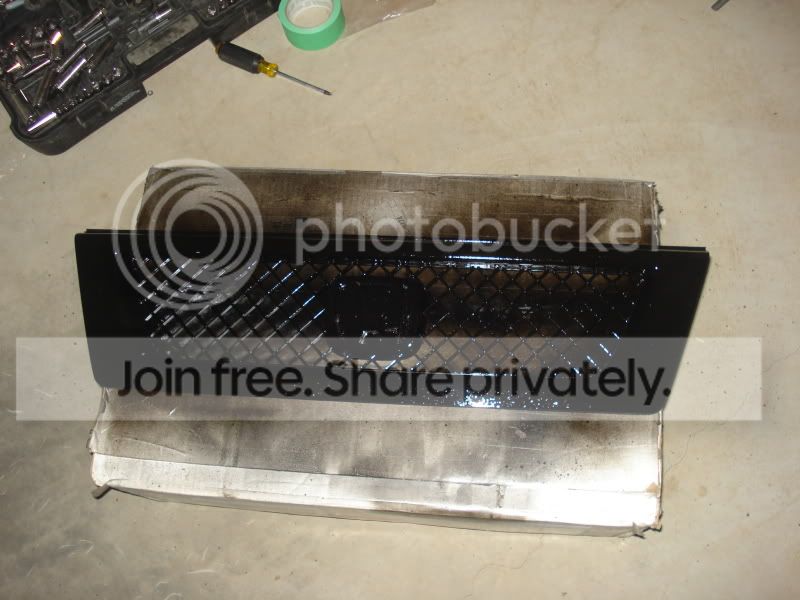
drying...
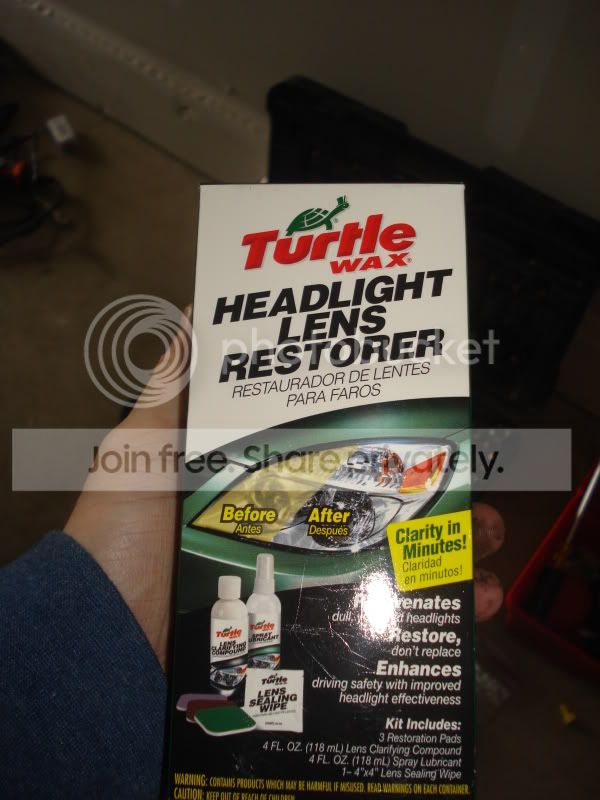
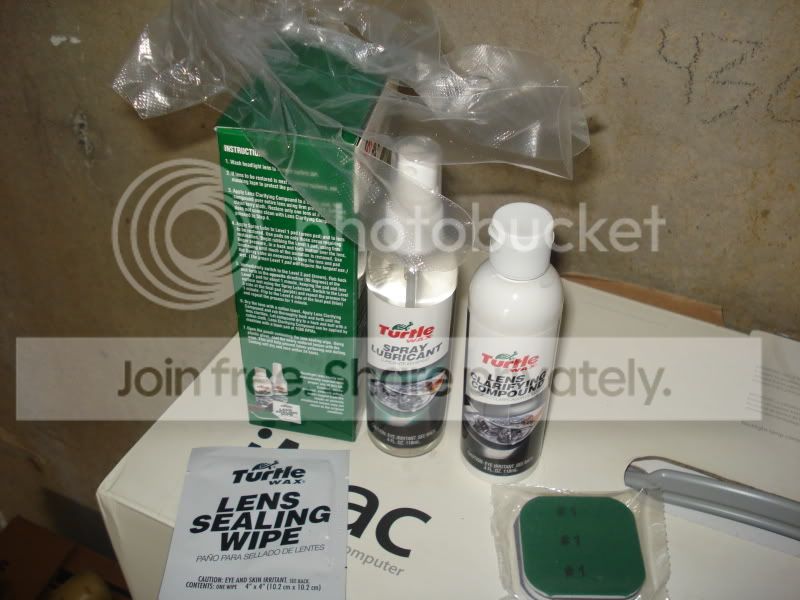
then i picked up this turd headlight cleaner $7.99... i was very skeptical it would work but was very pleased with the results....
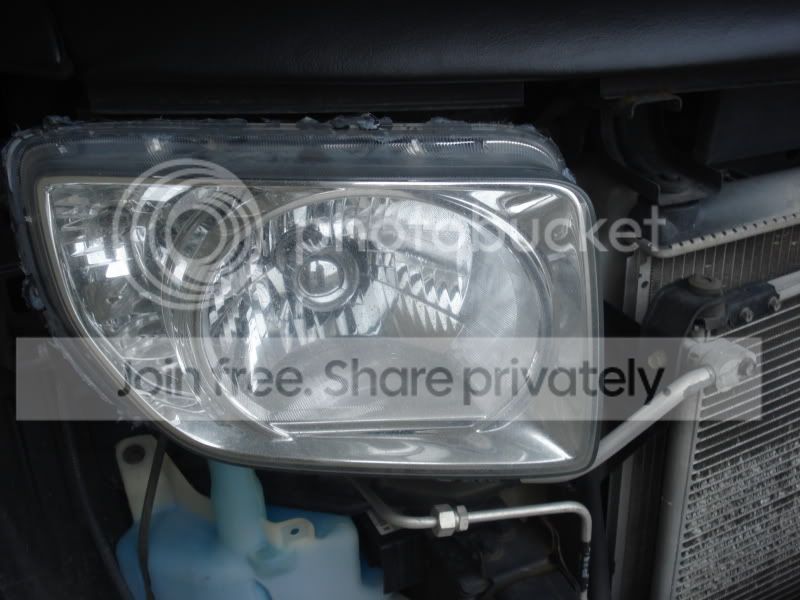
BEFORES:
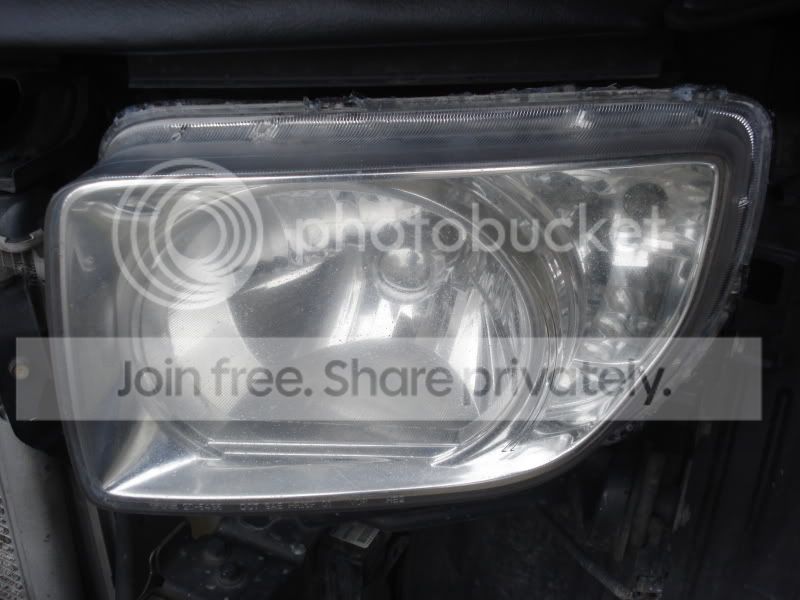
AFTERS: it may not show but befores really sucked and afters look awesome...
made a run to the store; got paint- a bulb for the amber fender cornerlight (clears should be arriving soon)- and some head light cleaner; as my headlights were kinda foggy and ugly...
this is the best paint for bumpers; plastics of anysort; whatever ya need (gives a semi gloss apperance without rattle-can persona.... lols) an oem look...
freshly sprayed...
drying...
then i picked up this turd headlight cleaner $7.99... i was very skeptical it would work but was very pleased with the results....
BEFORES:
AFTERS: it may not show but befores really sucked and afters look awesome...
Honda-Tech Member
Joined: Dec 2008
Posts: 466
Likes: 13
From: Mooresville, NC
This build is REALLY taking off of late! It's refreshing to step out of other builds were folks are laying down crazy money (which I don't have to spend on cars) and step into a build like this, where one can have a clean respectable ride on a budget.
Kudos to you sir!
Now, buy my wagon, lol!!
Kudos to you sir!
Now, buy my wagon, lol!!
Thread Starter
Honda-Tech Member
Joined: Mar 2007
Posts: 1,575
Likes: 0
From: Denver
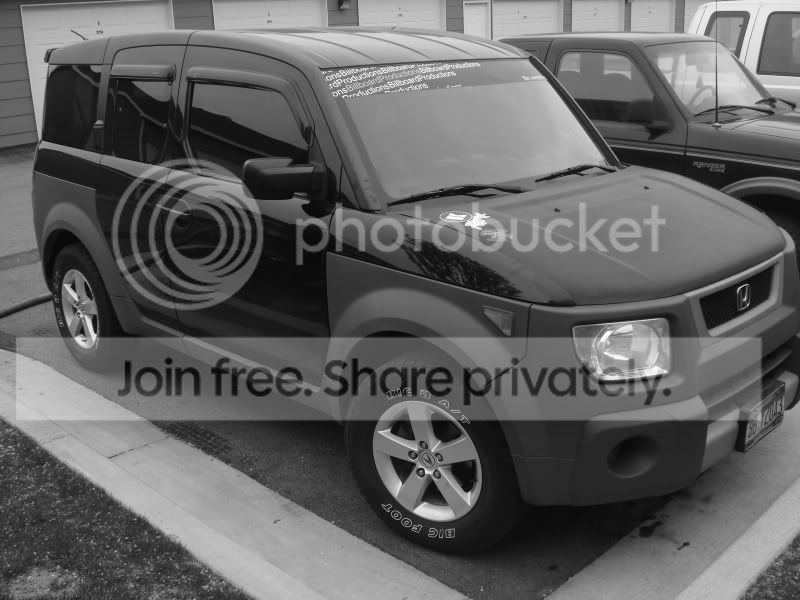
my friend and i finally got around to lowering the E; it was a pain in the ***
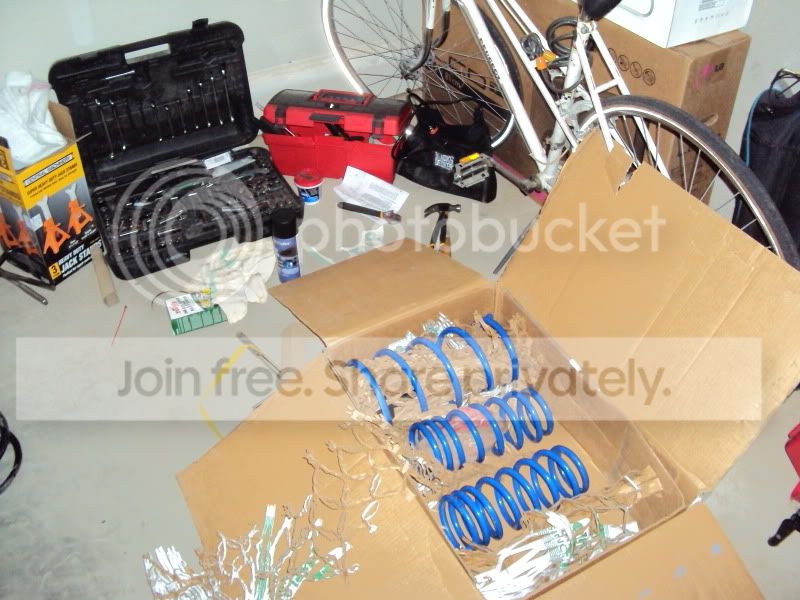
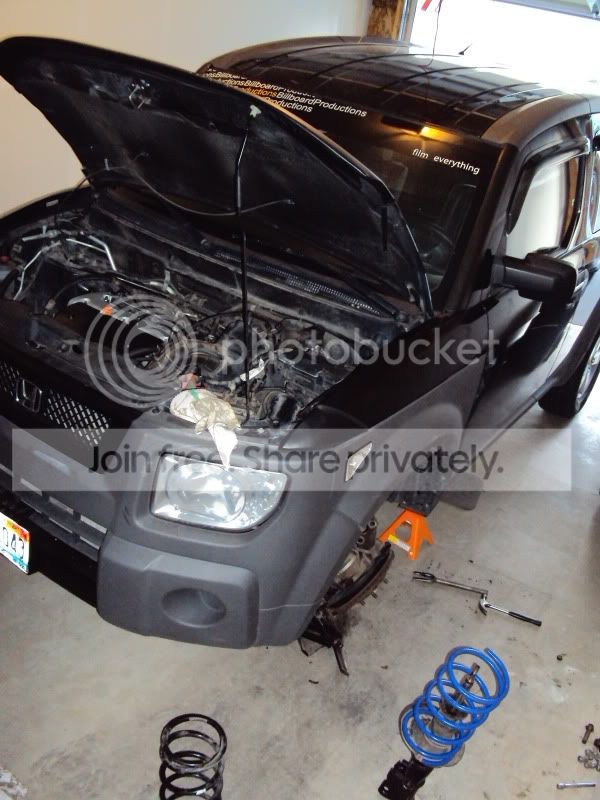

would like to go lower in the rear.... the ride is kind of rough as my tires may be a little large as they rub a dub dub on every bump in the road... imo it looks a bazillion times better...
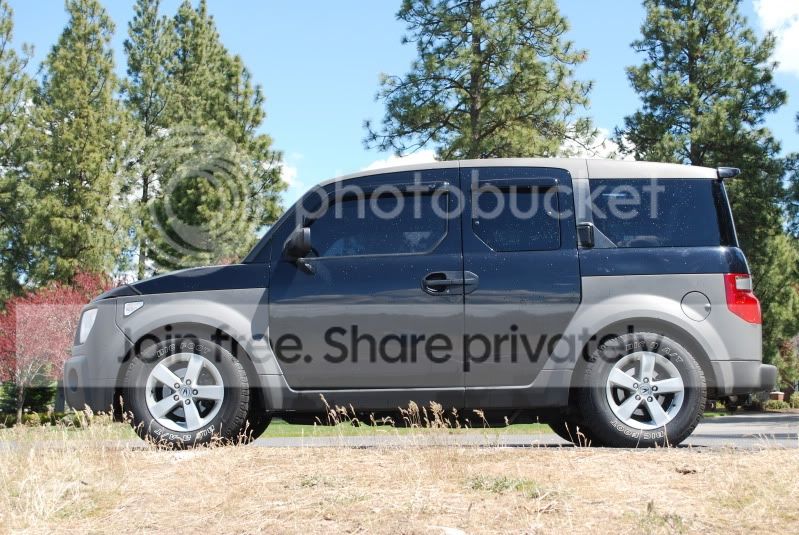
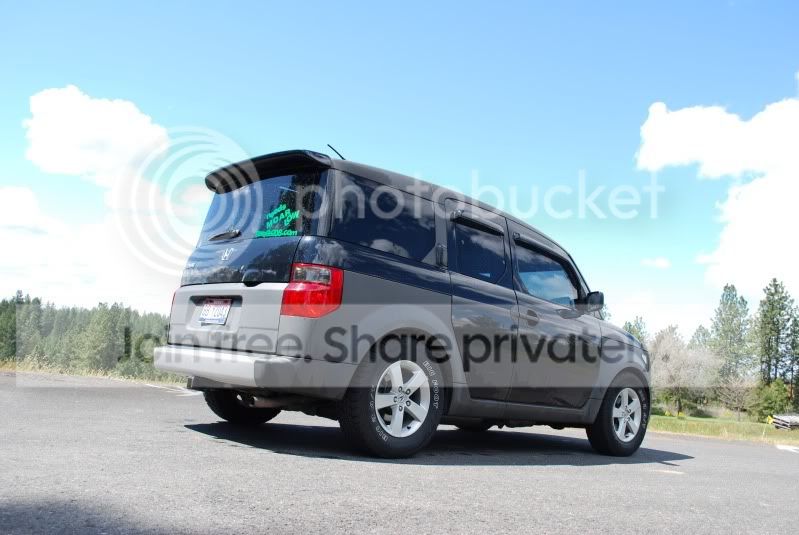
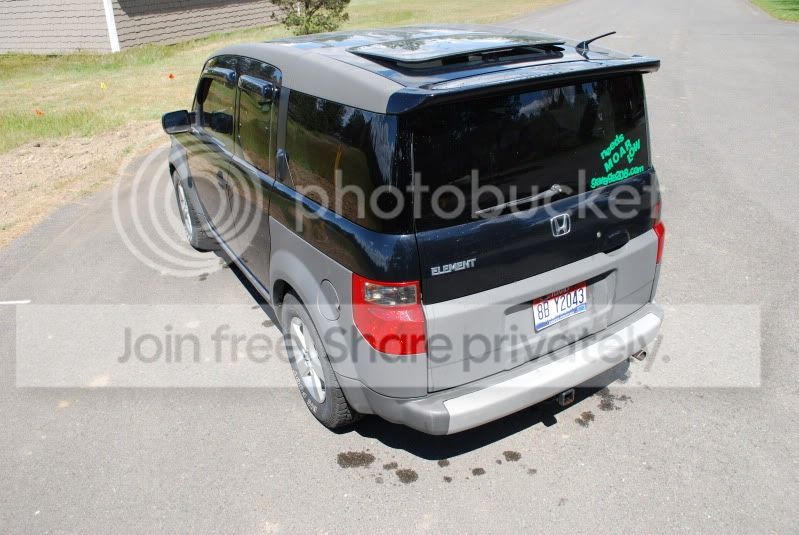
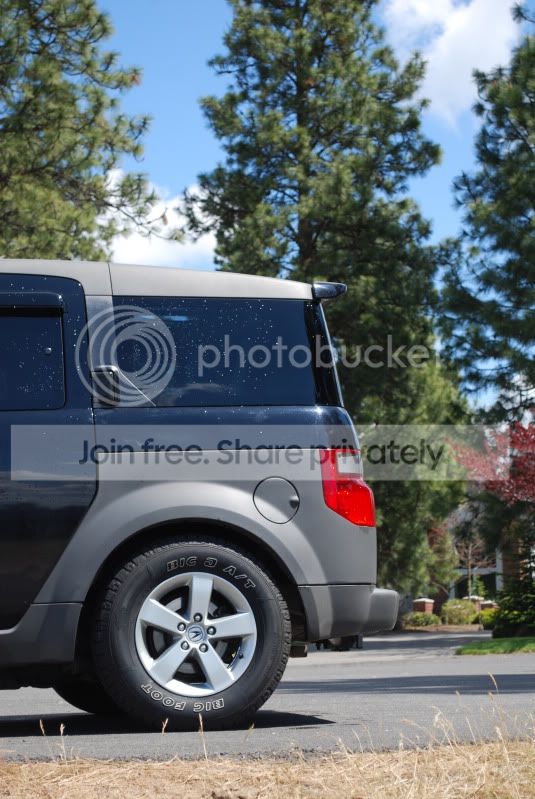

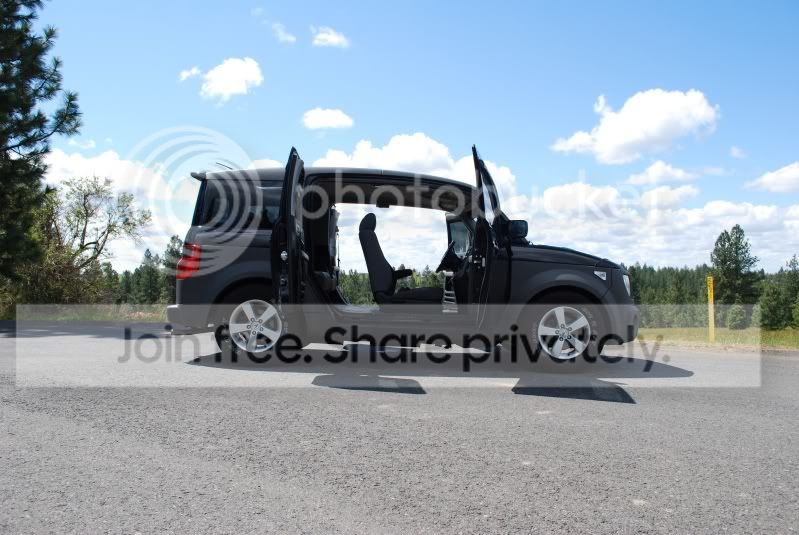


would like to go lower in the rear.... the ride is kind of rough as my tires may be a little large as they rub a dub dub on every bump in the road... imo it looks a bazillion times better...


Thread Starter
Honda-Tech Member
Joined: Mar 2007
Posts: 1,575
Likes: 0
From: Denver
treats in the mail...
arm rest for passenger side (a little tricky to install... will do this tomorrow)


also got this that i just need to get installed....

and a phreshhy for ya

arm rest for passenger side (a little tricky to install... will do this tomorrow)
also got this that i just need to get installed....
and a phreshhy for ya