
K-Swapping an EK Hatch, Step by Step!
Watch the journey of going from the old reliable B16B in this CTR replica to a crazy K20/K24 hybrid!
The K-swap infection continues! Nowadays it seems that everybody and anybody with a Honda chassis is looking to make the change to a K-motor. We can’t blame them. The power potential of these engines is undeniable and their reliability is renown across the automotive community. Not to mention, they have one of the largest aftermarket support systems for any engine, ever. So when the guys over at Gears and Gasoline were presented with the option, they had a decision to make.
Is it worth it to pull a fully functioning B16B out of their 1997 EK Hatch CTR replica just to follow the hype?
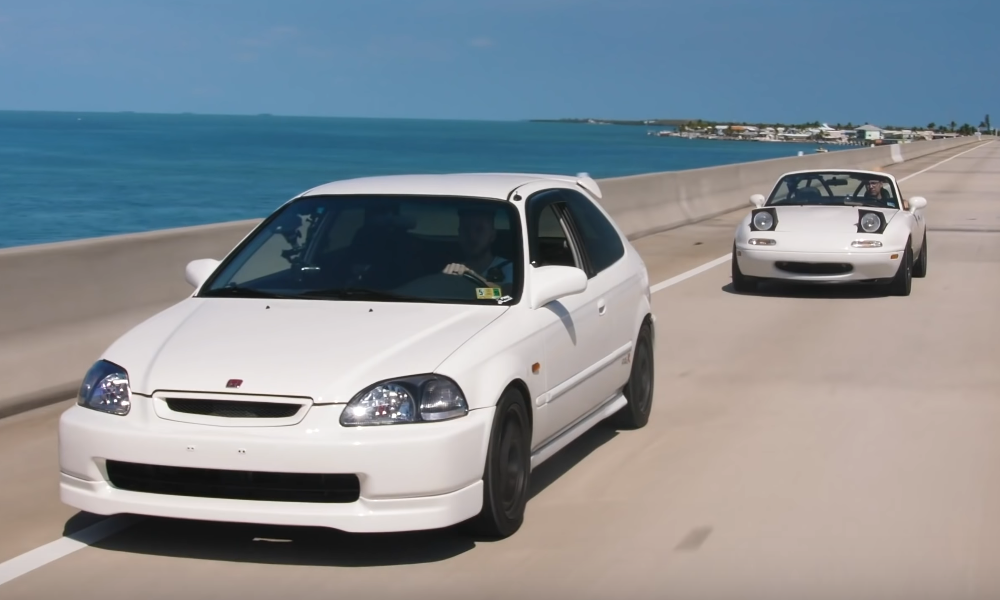
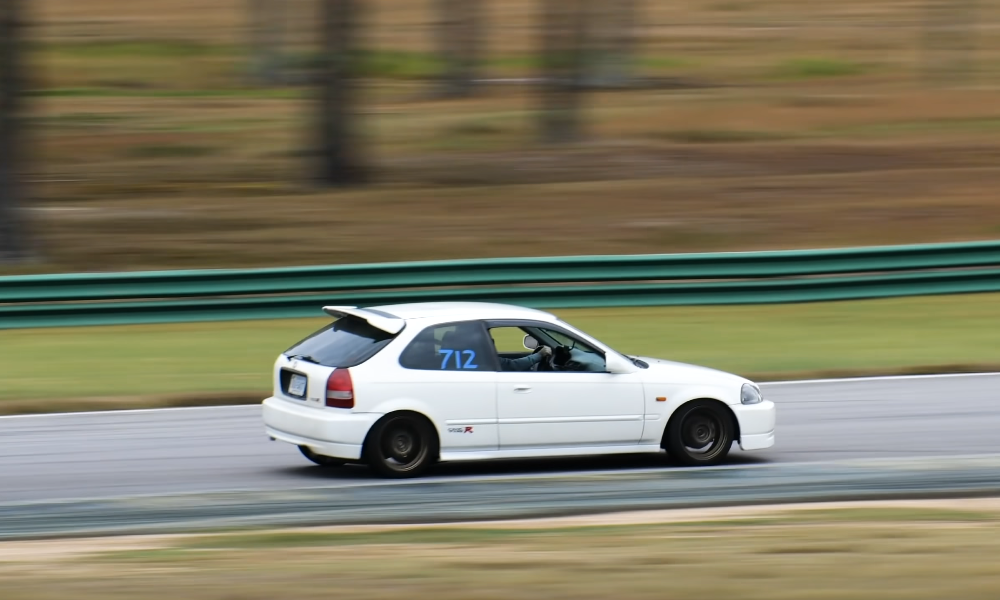
Well, according to them, the change was worth it. In order to understand why, we have to learn a bit more about the car itself. This CTR replica has been owned by Ben of Gears and Gasoline for around a year now. Since then, he has done ride trips from Florida to Nova Scotia, Canada in the car. He has brought the Civic to different race tracks across thousands of miles, including Gingerman Raceway, Toronto Motorsports Park, and Virginia International Raceway. While Ben states that the Civic in its B16-powered state is a lot of fun and works well, the team agreed that it was time to make a change. Thus, Ben let us know that “I’ve enjoyed it for a year, but its time to move on to something different.”

While the period-correct, high-revving nature of the B16B will definitely be missed, the team has big plans lined up for this upcoming build. This includes nearly doubling the power output thanks to the K20/K24 hybrid that will now grace the engine bay of this EK hatch. Ben’s goal with this new powerplant upgrade is a healthy 260 WHP without the help of forced induction. Thus, they are going to need the best K-engine they can get!
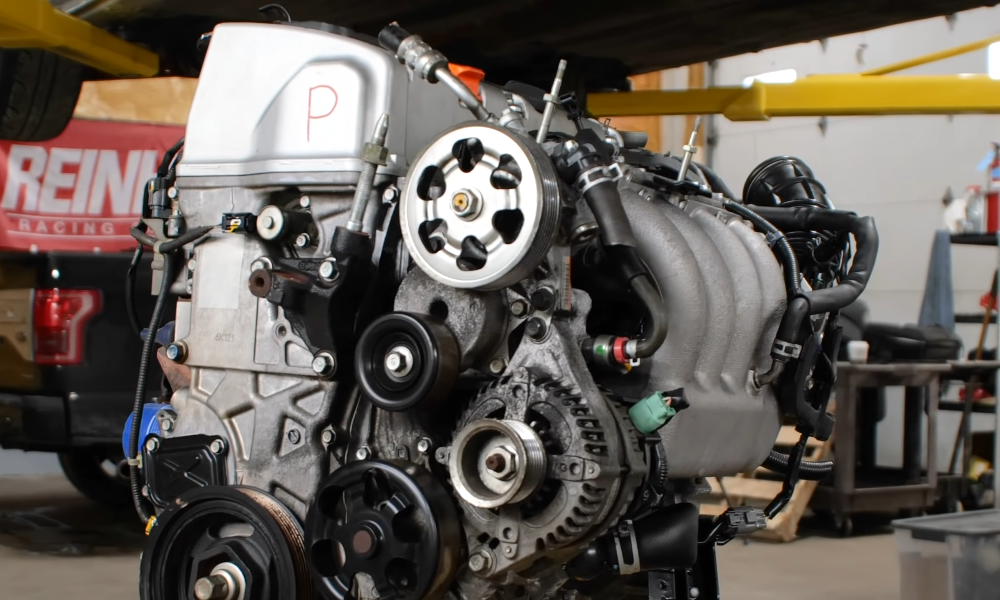
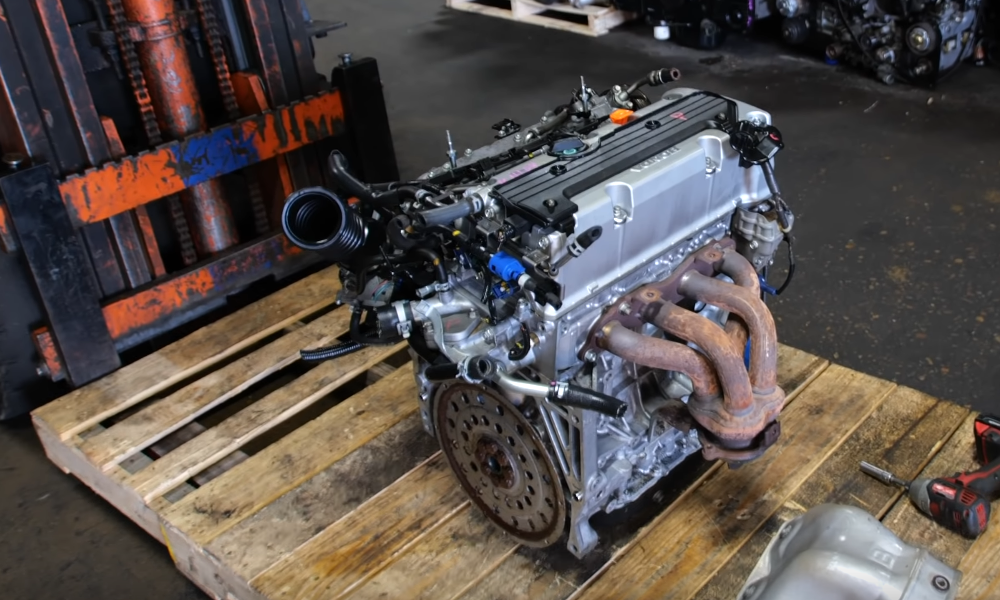
However, you can’t swap an engine without first removing the old one, so Ben begins the new build by doing just that. We will follow his process step by step as the swap begins. For those wondering, this K-series is provided by J-Spec Auto, based out of Virginia. It has been pulled from a JDM 2006 TSX and is a K24A2 with the desirable RBB2 head. However, since Ben plans on doing a hybrid K20 head build, the 3-lobe cam and bigger valves featured in this head aren’t necessary. The fact that the motor came out of an automatic transmission car is reassuring however, as it more likely it has not been abused. Regardless, these engines feature limited warranties for those in doubt.
Step 1: Remove Old Motor
Considering the simplicity and design of most Honda engines, removing the engine itself usually doesn’t incur too much headache. For those experienced with the chassis and engines, this removal can be done in an hour or two at most. Other than the infamous “f***ed” shifter pin that holds together the shift linkage, most of the uninstall is straight forward. This was Ben’s first time pulling a B-series out of a Civic and it only took him three-to-four hours.

Step 2: Buy a K-series
We previously mentioned that the team at Gears and Gasoline acquired their K24 from a known importer of JDM engines. It is best to check out the engine in person if you can. Having a warranty also can provide some comfort if buying from a seller you are unfamiliar with or if you don’t have the chance to see it in person. Ben drove two hours from his house to pick up his K-series, make sure you check your investments!
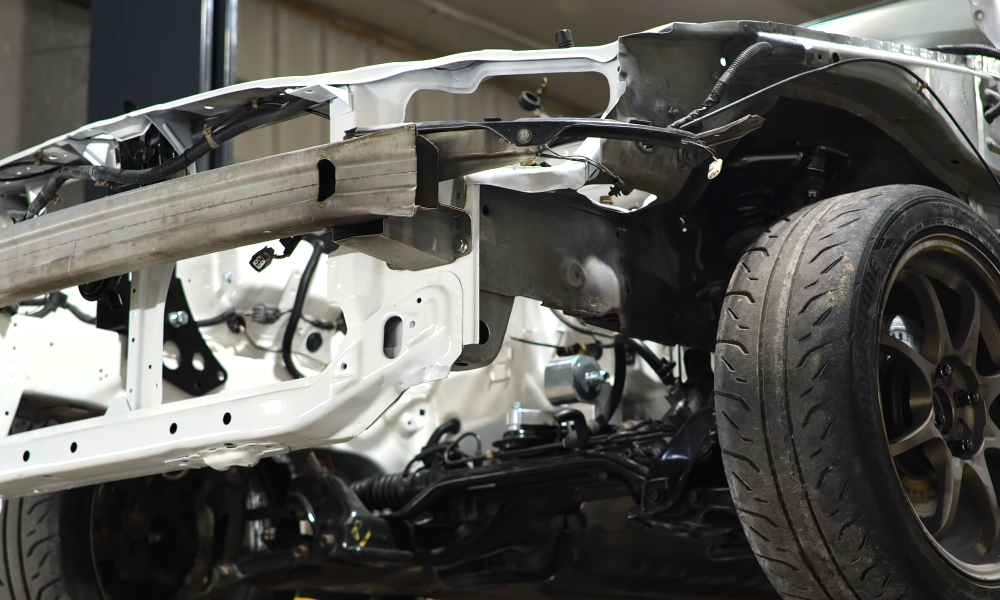
Step 3: Prep for the swap
Putting a K-series into an EK chassis is not exactly plug-and-play. All of the A/C components will need to be removed to fit a full-sized radiator, a necessity if you plan on tracking the car. Ben hopes to retain his A/C with an Integra condenser in front of the radiator, squeezing the last bit of space available in the front end. The team also replaced the EK front subframe with an Integra frame because it is better packaged, allowing extra clearance in the engine bay for the swap.
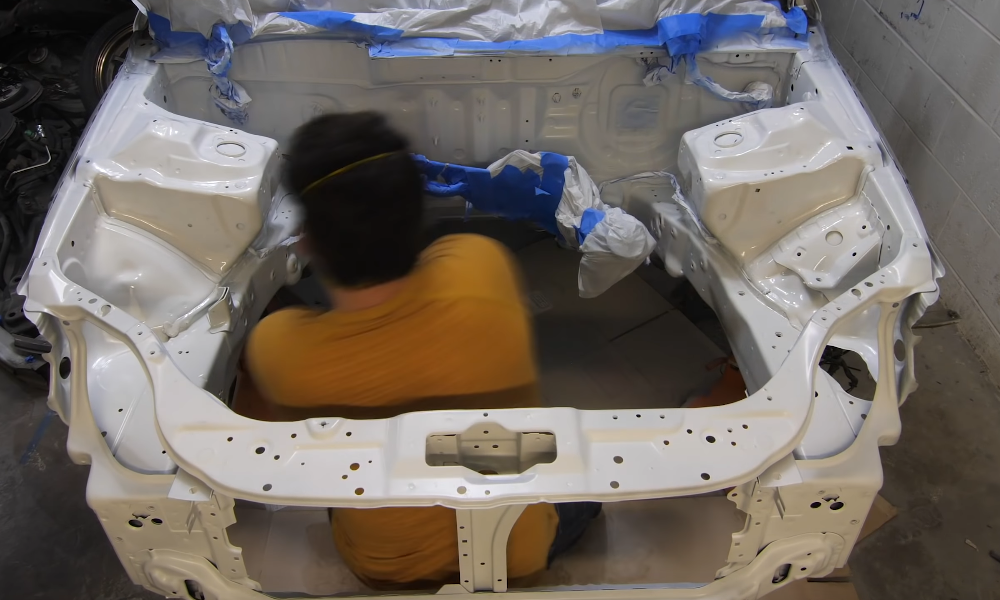
Step 4: Cleaning and More Prep!
This is a difficult one for a lot of us project builders. While the engine is out, is it worth it to clean the whole engine bay and remove all the accessories for paint? Well, Ben definitely thought it would be because he wanted to hold his build to a higher standard. Thus, he explains that although this process is grueling and long, the results speak for themselves. De-greasing the bay took several hours, sanding took just as long, and you have to add masking on top of that. In total, Ben states the prep for paint and painting took a total of 4 days work.
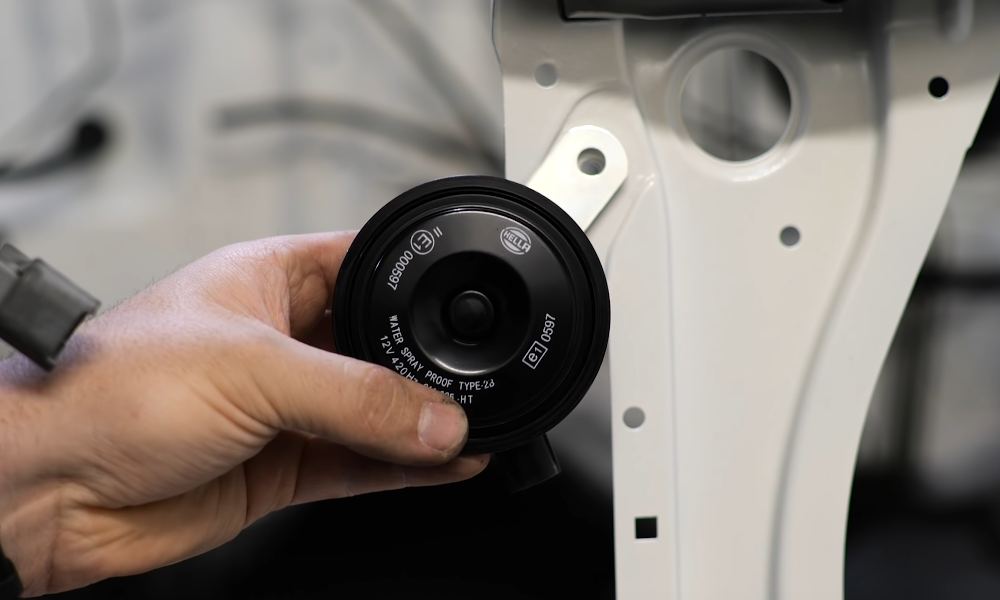
He then replaced as many old parts as possible. This included “$200 dollars worth of stainless steel hardware just so I didn’t have to wrestle and rusty bolts in the future.” Sometimes you got to think in the long run. If the parts weren’t replaced, they were cleaned and painted to keep up with the aesthetic. Can’t have a rusty old horn on an engine bay this clean can you?
Want to keep up with this build? Follow these guys on their YouTube channel. This is only the first episode!
You must be logged in to post a comment.