
New fab I'm working on, non-honda warning
 04-03-2008, 12:27 PM
#226
Honda-Tech Member
Thread Starter
Join Date: Oct 2006
Location: bend, or, usa
Posts: 278
Likes: 0
Received 0 Likes
on
0 Posts
Got a bunch of sites for ya:
http://www.clubchopper.com
http://www.chopperweb.com
http://www.650rider.com
http://xs650temp.proboards29.com/index.cgi
http://www.650motorcycles.com
http://www.jockeyjournal.com
that should get you started, a few of those aren't 650 specific, but there's lot of good tech on there, and most of them are 650 friendly.
thanks
Sky

 04-12-2008, 09:47 PM
#229
Honda-Tech Member
Thread Starter
Join Date: Oct 2006
Location: bend, or, usa
Posts: 278
Likes: 0
Received 0 Likes
on
0 Posts
Worked on it today a little bit.
Got my levers in, keeping with the theme, they're both from a Kawasaki ZX6R-
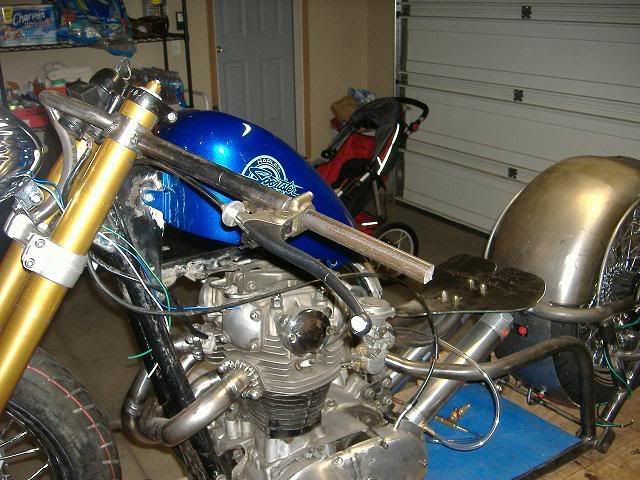
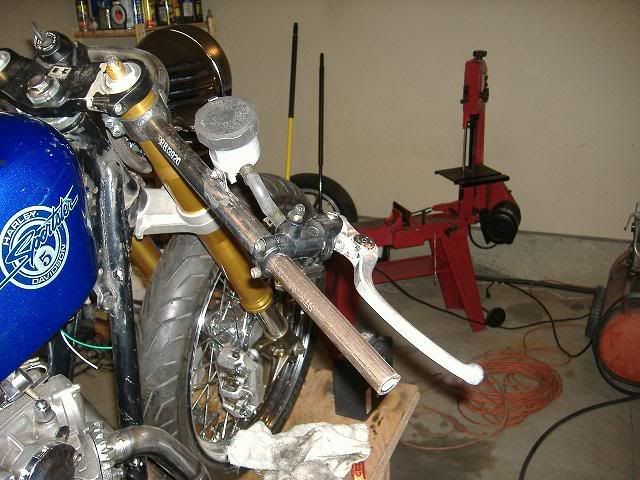
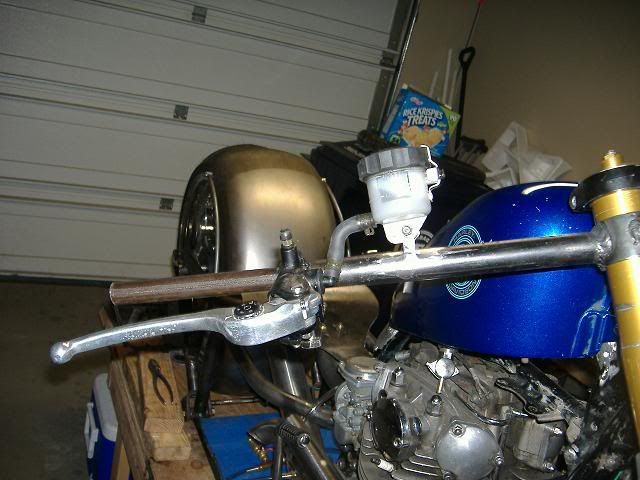
As you can see, I made a little tab and welded it to the bars to support the resevoir. Yes, it is low, the brake system will be bled first, then the contols will be installed.
Also, yes, the levers do stick out past the ends of the bars, this was on purpose. I'm replacing the stock levers with shorty style dirbike levers. Should look good.
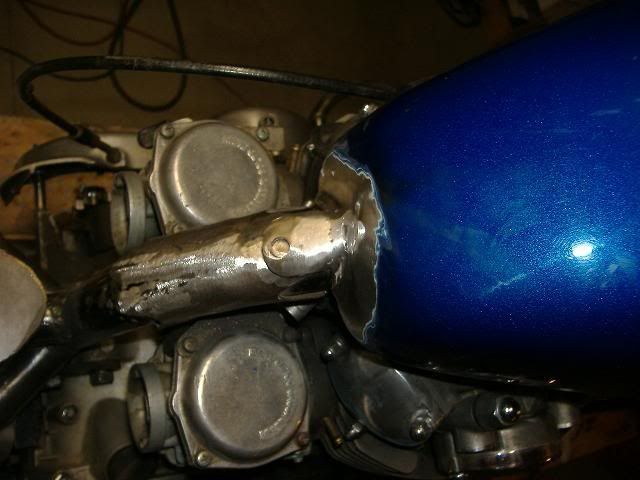
I also welded a tab to the rear of the gas tank, there will be a stud welded to the backbone that it will bolt to.
Finally got the holes drilled and the hardware installed for the rear fender struts, they look clean, and it's solid as a rock now.
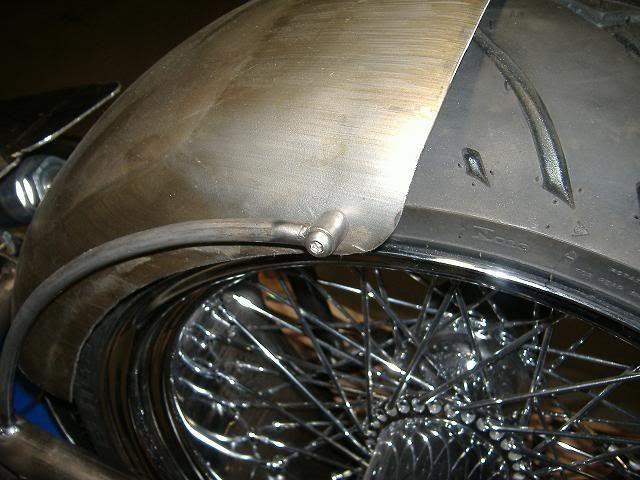
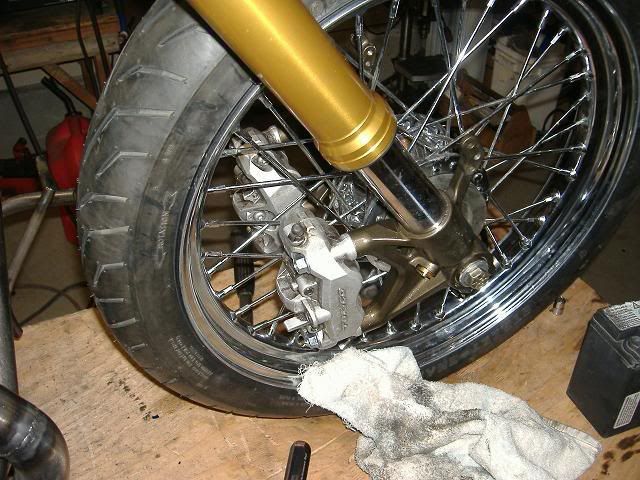
Also got my calipers in, I need to order the rotors so I can get the spacing correct.
I received my offset sprocket from Gary Poh- absolutely fantastic work!
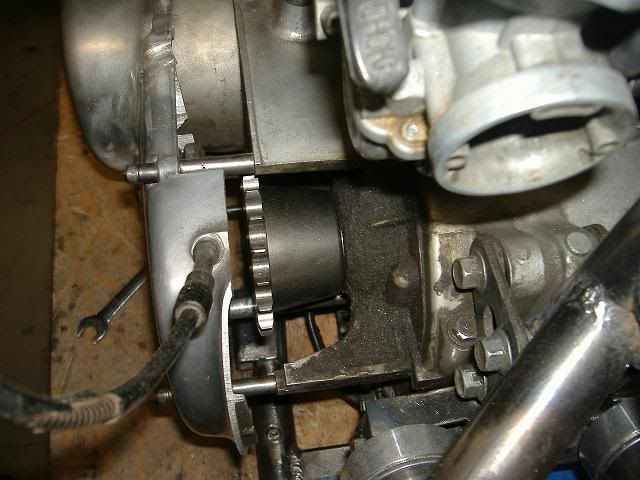
He also made the new extended clutch rod as well.
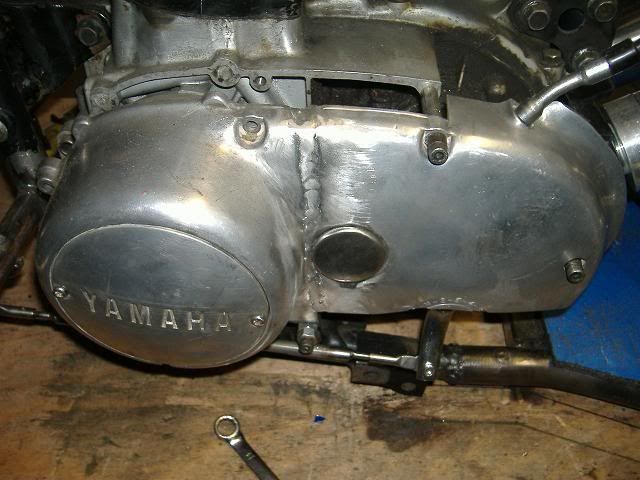
I don't think I ever posted it, but awhile back, because I knew the side cover would have to be offset so far, I cut the cover in half so the front would still sit flush. That was a poor idea :lol: there was not enough mounting points in the rear to support it when the clutch was used.
I'll probably get another case cover eventually, but I was intrigued. I hadn't yet welded aluminum, let alone cast aluminum, but I figured I'd give it a shot.
Let me tell you, welding that stuff is fascinating! The way it reacts and the technique you have to use. Absolutely fascinating! I did an OK job, and the clutch works like it's supposed to now, which makes me happy
Again I'll probably get another cover, cut it to fit. And I'm also going to try to weld in aluminum strips to cover the gaps. It may not look amazing, but I can't remember when I've been so excited about welding something
Also, I tried to set up the chain, WAY more slack than I was expecting. A tensioner setup is not going to get the job done. I'm going to have to run a jackshaft setup as close to the pivot point as possible. I have most all of the parts needed already, I just need to get the sprockets.
Thanks for looking guys!!!
Sky
Got my levers in, keeping with the theme, they're both from a Kawasaki ZX6R-
As you can see, I made a little tab and welded it to the bars to support the resevoir. Yes, it is low, the brake system will be bled first, then the contols will be installed.
Also, yes, the levers do stick out past the ends of the bars, this was on purpose. I'm replacing the stock levers with shorty style dirbike levers. Should look good.
I also welded a tab to the rear of the gas tank, there will be a stud welded to the backbone that it will bolt to.
Finally got the holes drilled and the hardware installed for the rear fender struts, they look clean, and it's solid as a rock now.
Also got my calipers in, I need to order the rotors so I can get the spacing correct.
I received my offset sprocket from Gary Poh- absolutely fantastic work!
He also made the new extended clutch rod as well.
I don't think I ever posted it, but awhile back, because I knew the side cover would have to be offset so far, I cut the cover in half so the front would still sit flush. That was a poor idea :lol: there was not enough mounting points in the rear to support it when the clutch was used.
I'll probably get another case cover eventually, but I was intrigued. I hadn't yet welded aluminum, let alone cast aluminum, but I figured I'd give it a shot.
Let me tell you, welding that stuff is fascinating! The way it reacts and the technique you have to use. Absolutely fascinating! I did an OK job, and the clutch works like it's supposed to now, which makes me happy
Again I'll probably get another cover, cut it to fit. And I'm also going to try to weld in aluminum strips to cover the gaps. It may not look amazing, but I can't remember when I've been so excited about welding something
Also, I tried to set up the chain, WAY more slack than I was expecting. A tensioner setup is not going to get the job done. I'm going to have to run a jackshaft setup as close to the pivot point as possible. I have most all of the parts needed already, I just need to get the sprockets.
Thanks for looking guys!!!
Sky
05-03-2008, 06:06 PM
#231
Honda-Tech Member
Thread Starter
Join Date: Oct 2006
Location: bend, or, usa
Posts: 278
Likes: 0
Received 0 Likes
on
0 Posts
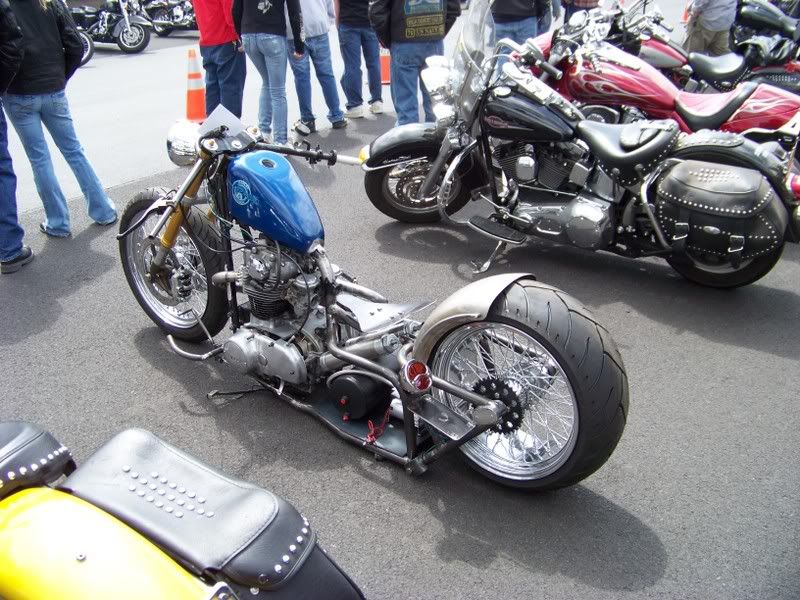
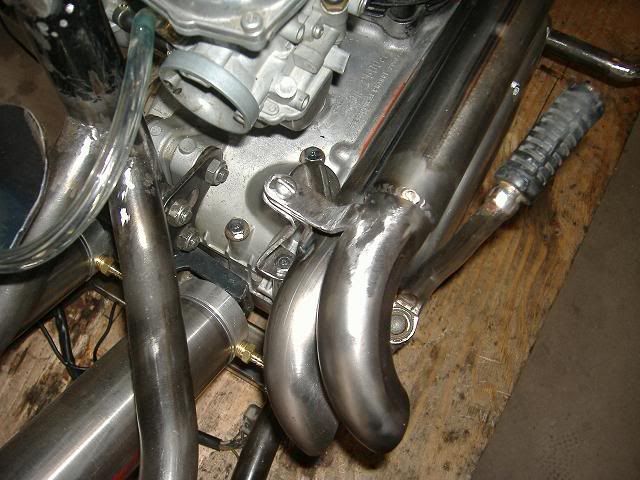
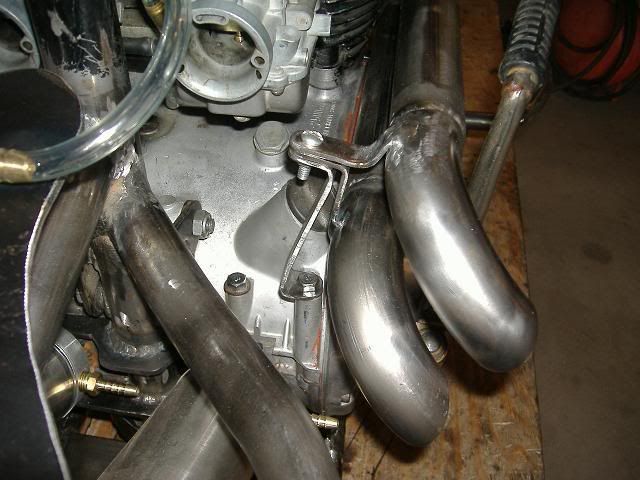
Haven't done a ton lately, tore the bike completely down so I could weld it all up. Welds turned out pretty nice this time. Quite happy with them.
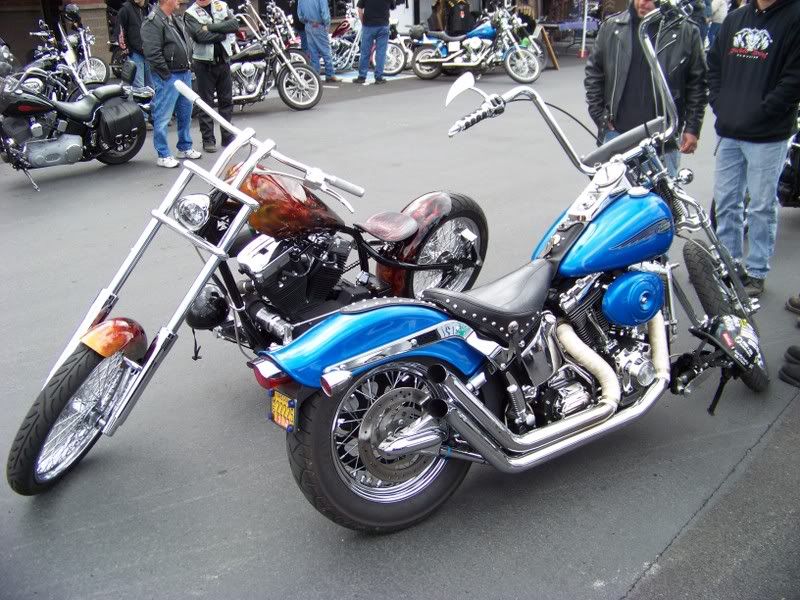
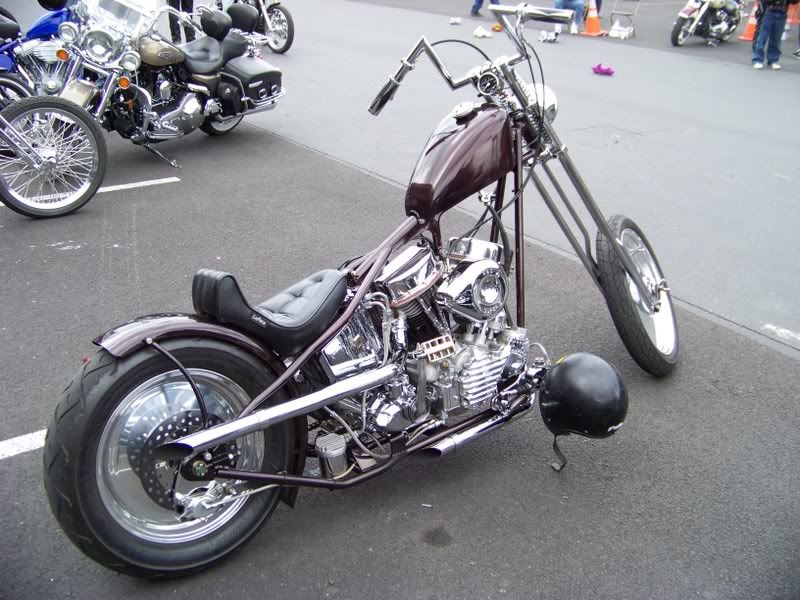
Finished the exhaust finally, put the bike back together and threw it on a trailer to take it down to a local show. It was really weird to see it outside my garage! Had a fun time, took a few pics:


the wife
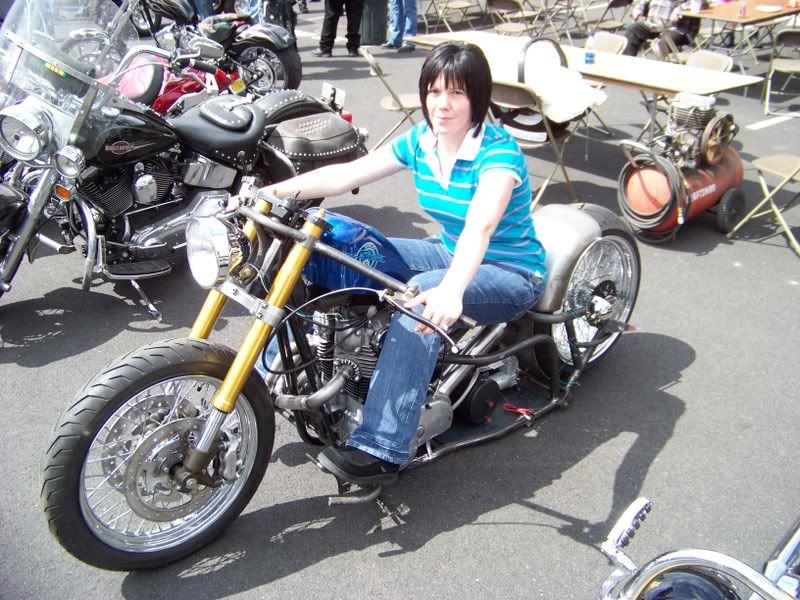
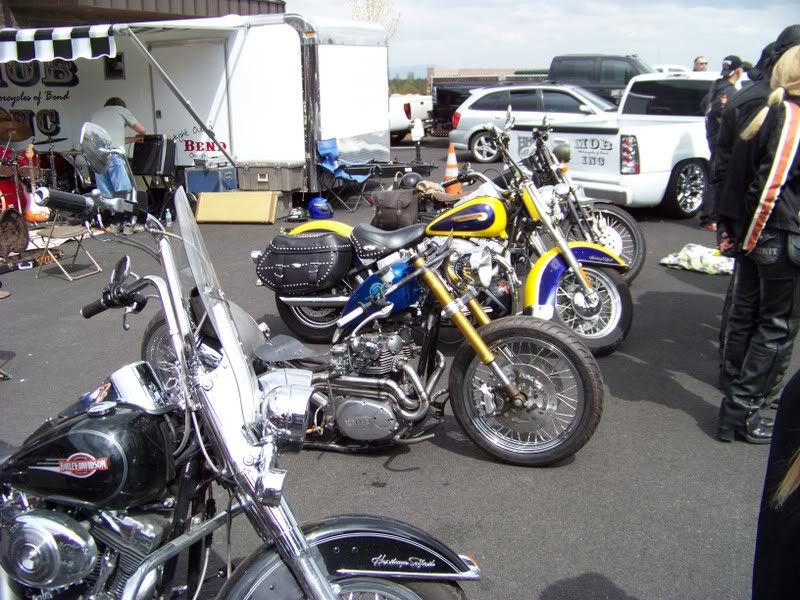
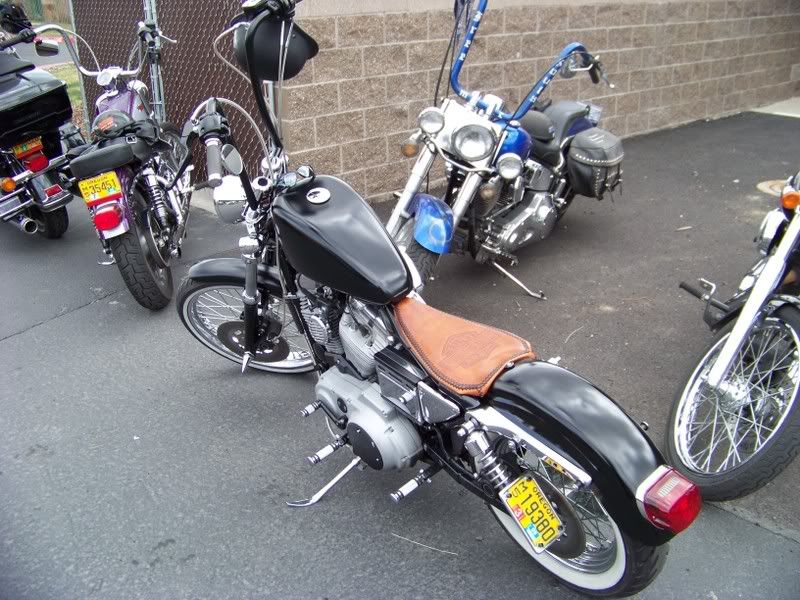
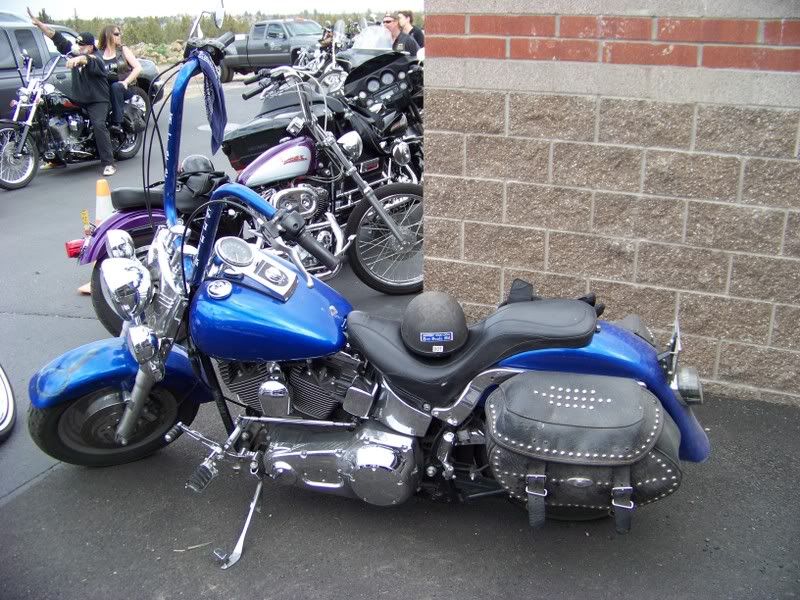
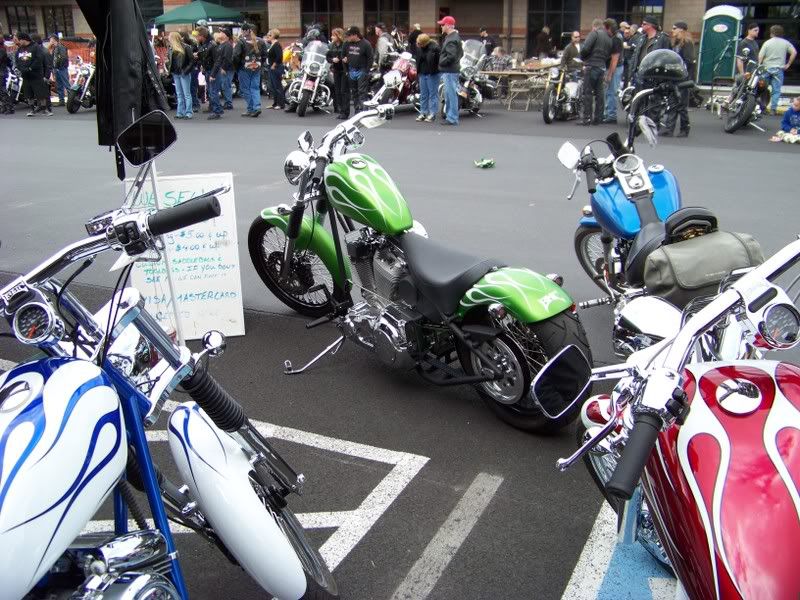
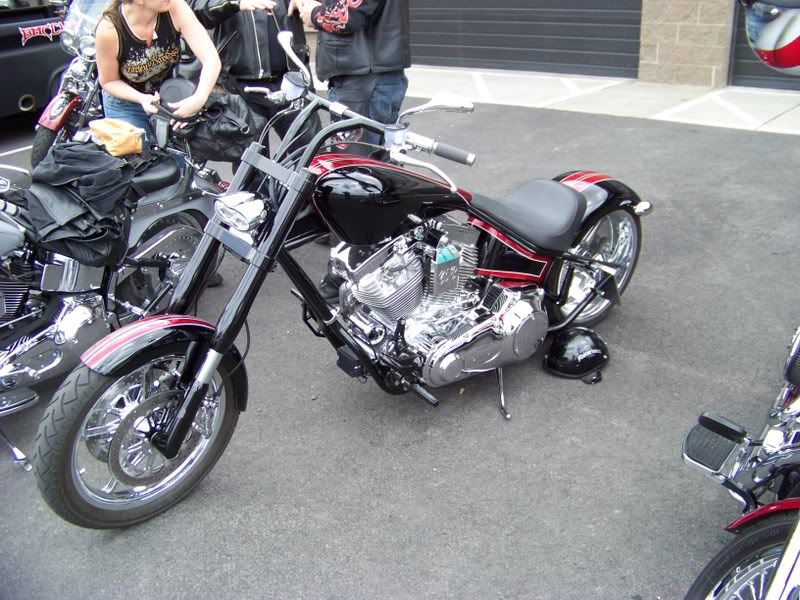
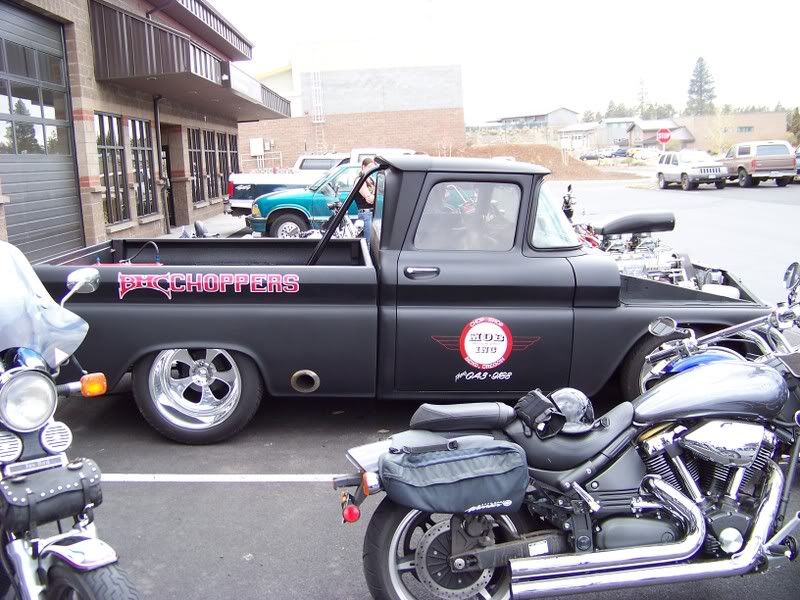
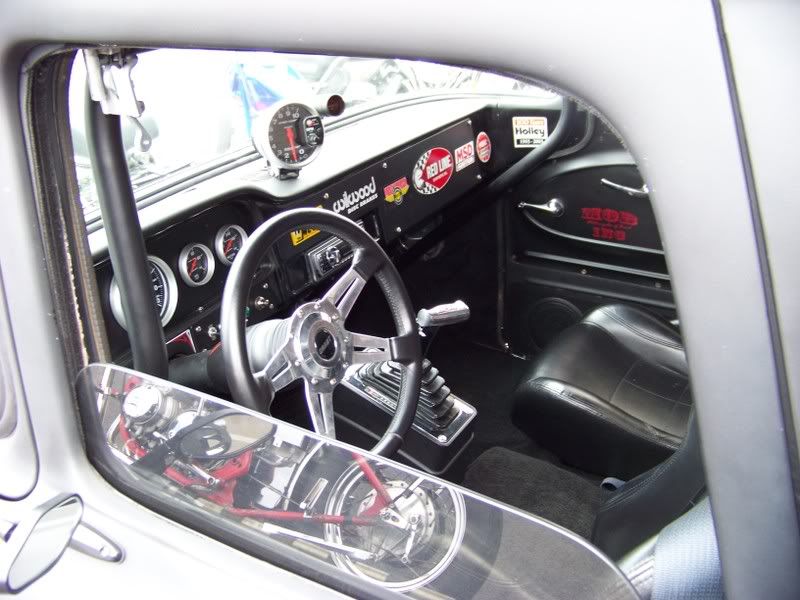
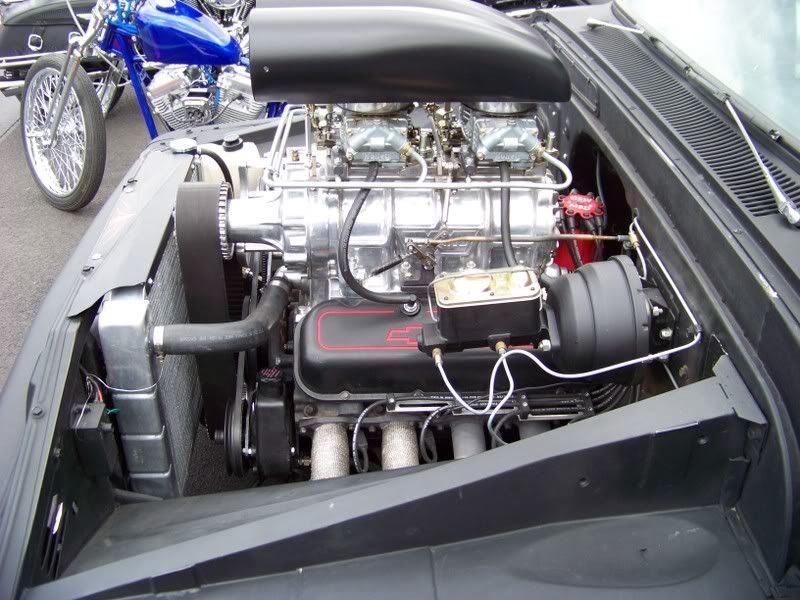
Enough of my bike, here's a few that I liked:
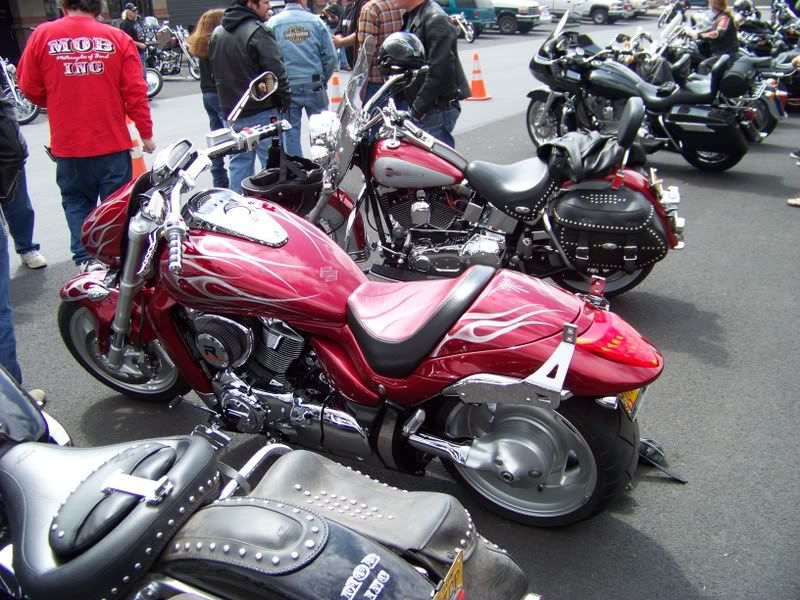
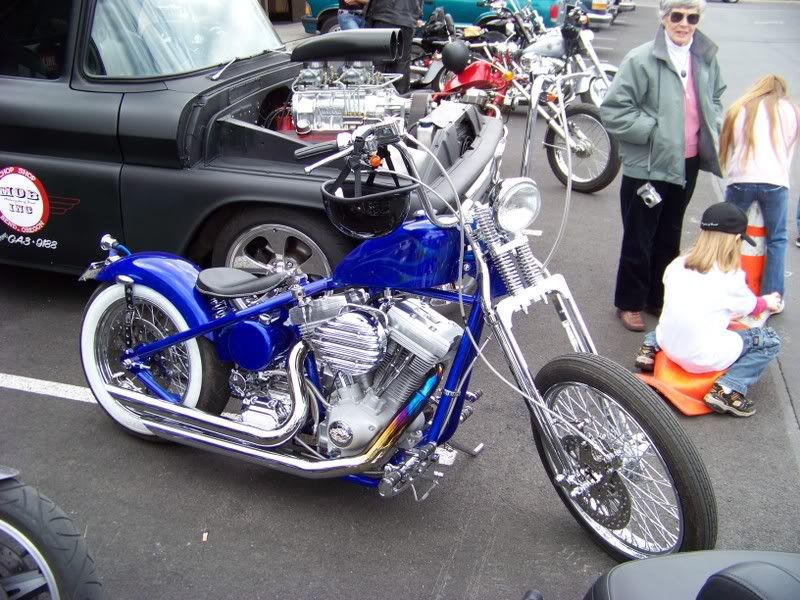
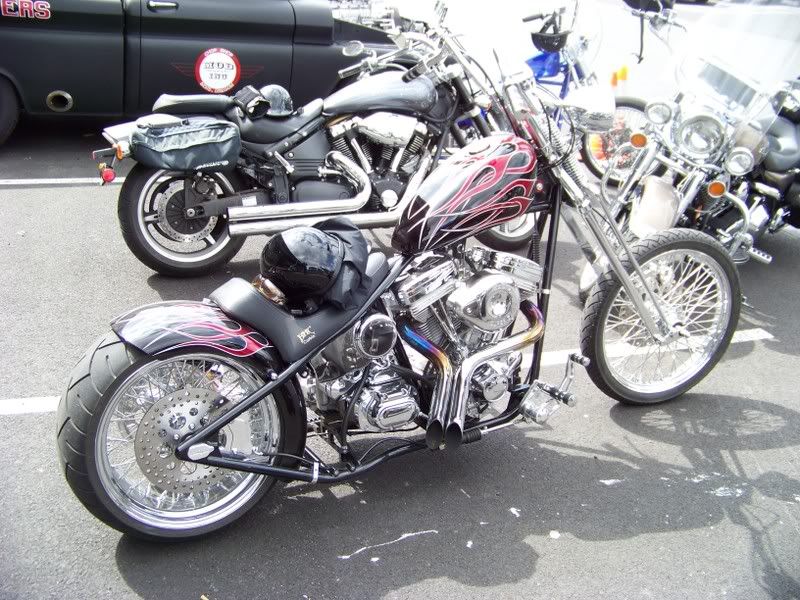
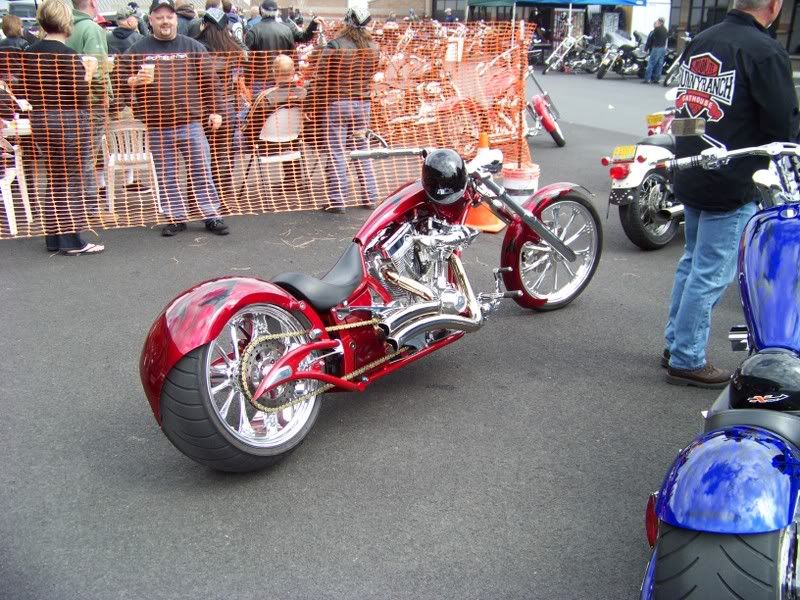
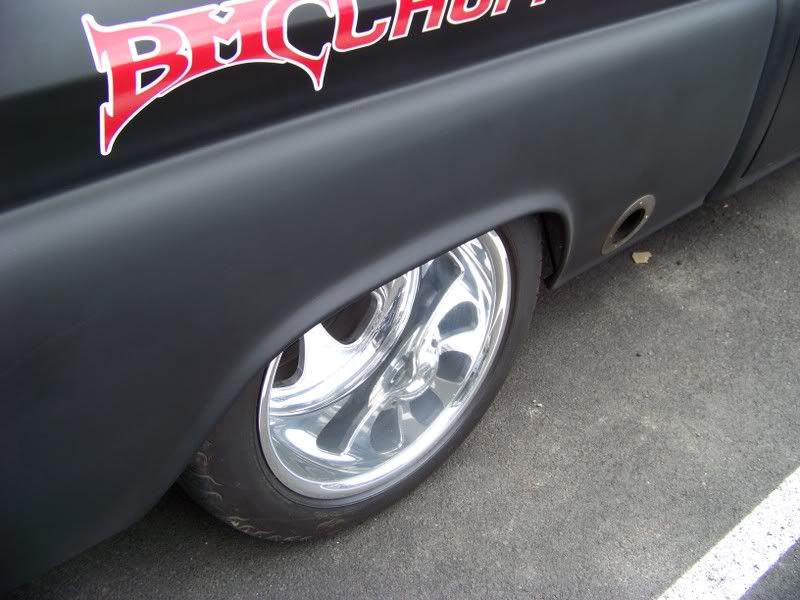
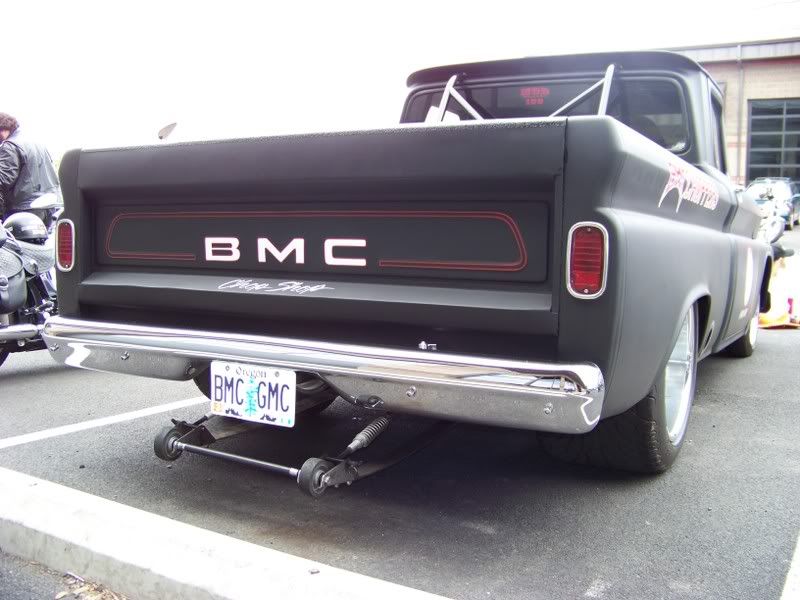
Check this truck out, I love this thing!
Thanks for looking!
Sky
Finished the exhaust finally, put the bike back together and threw it on a trailer to take it down to a local show. It was really weird to see it outside my garage! Had a fun time, took a few pics:
the wife
Enough of my bike, here's a few that I liked:
Check this truck out, I love this thing!
Thanks for looking!
Sky
05-03-2008, 06:32 PM
#232
Junior Member
Join Date: Mar 2004
Posts: 104
Likes: 0
Received 0 Likes
on
0 Posts
Looking good. I've been following this for a long time now and I like how things are coming out. It looks great. 
P.S. Tell the wife she looks pretty dang good for just having a kid
P.S. Tell the wife she looks pretty dang good for just having a kid
 05-18-2008, 02:53 PM
#237
Honda-Tech Member
Thread Starter
Join Date: Oct 2006
Location: bend, or, usa
Posts: 278
Likes: 0
Received 0 Likes
on
0 Posts
Ok, so I got a bunch of stuff from Mike's XS so I could try to get the motor running. My parents came up this weekend and I was really hoping to get it running with my dad here.
We hooked up the coils and points and condensers, rigged up some gas lines. and 6 kicks into it she fired right up! Sounds amazing, no problems at all.
Now she fires on the first kick every time. Here's the video to prove it!
http://www.youtube.com/watch?v=gXeLUeG2PD0
I'm really excited because I bought the bike as a non-runner so I never knew if it would run or not, and it does!
Hooray for me
Thanks
Sky
05-26-2008, 07:34 PM
#241
Honda-Tech Member
Thread Starter
Join Date: Oct 2006
Location: bend, or, usa
Posts: 278
Likes: 0
Received 0 Likes
on
0 Posts
Thanks for the comments guys!
Just a little bit of work today, fabbed up a mount for the rear of the exhaust, so it doesn't vibrate a ton and crack the welds. Not the prettiest thing I've made, but it tucks away pretty well and seems to function nicely.
Also, I think it's obvious but I'll say it anyway, the bolt that's there right now is just for mockup, the actual bolt will be stainless with a nylock nut.

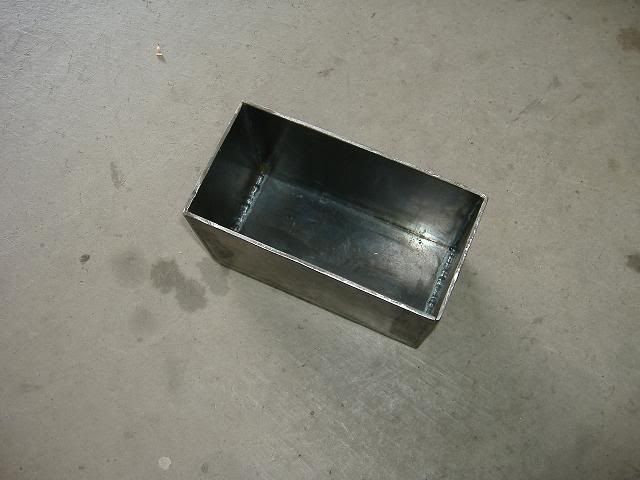
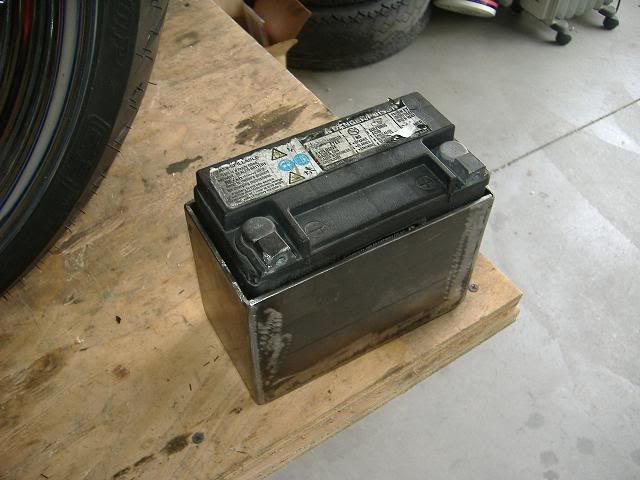
Also made the battery box, turned out really well! Fairly snug fit for the battery, but not so much that it can't breath or will get stuck. It always astounds me that making a rectangular box can take up so much time!

I've got my brake lines in the mail right now. As soon as my brother mails me up the spacers he made for my rotors, and I purcahse a set of brake pads, I'll be able to bleed the lines and my front brakes will be done!
I came up about 3 links short on my chain, so I'm trying to track down some more chain here locally. (anyone who has about a foot of 530 o-ring chain they don't need, send it my way!) Once I get that worked out, I can take the bike for a ride! The air system won't be done, the bike won't really be wired, but I'll at least be able to take it for a run around the block. Whoo-hoo!
Ah yes, almost forgot, I made the jackshaft pedestal a little while ago.
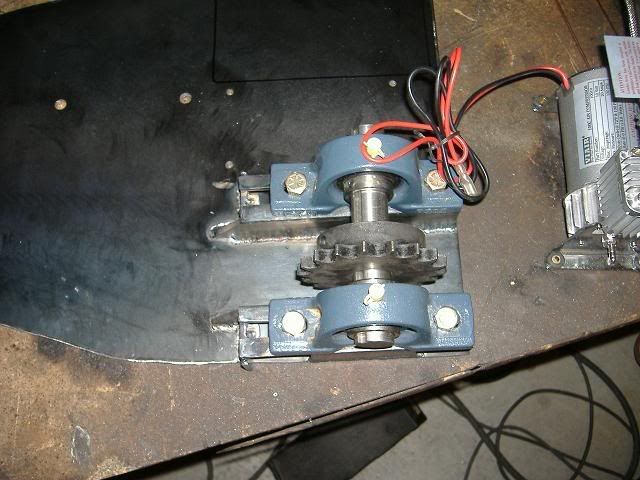
I don't have it in place in this picture, but you can see the nut welded to the backside for the bolt to go through that keeps the jackshaft assembly from sliding forward after the chain is tensioned.
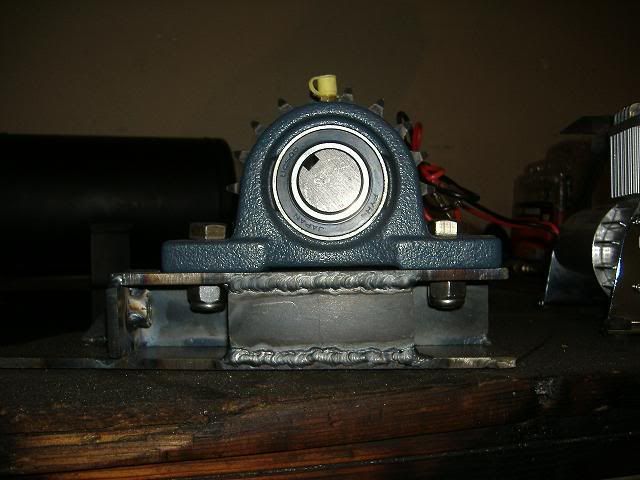
I was actually pretty happy with my welds on this as well.
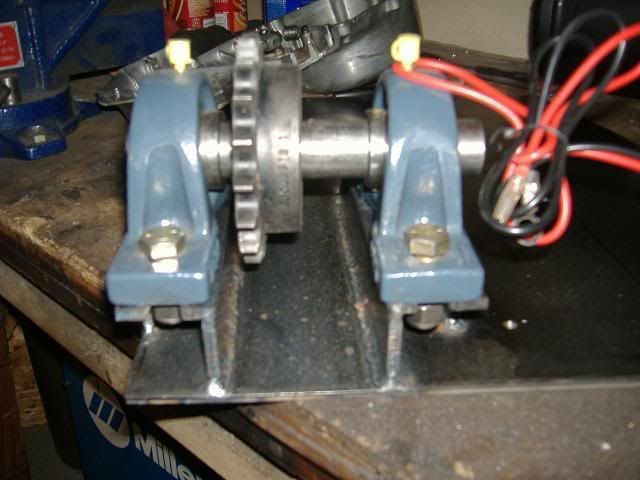
They're not that amazing yet, but little by little I get better.
Thanks for looking
Sky
Just a little bit of work today, fabbed up a mount for the rear of the exhaust, so it doesn't vibrate a ton and crack the welds. Not the prettiest thing I've made, but it tucks away pretty well and seems to function nicely.
Also, I think it's obvious but I'll say it anyway, the bolt that's there right now is just for mockup, the actual bolt will be stainless with a nylock nut.
Also made the battery box, turned out really well! Fairly snug fit for the battery, but not so much that it can't breath or will get stuck. It always astounds me that making a rectangular box can take up so much time!
I've got my brake lines in the mail right now. As soon as my brother mails me up the spacers he made for my rotors, and I purcahse a set of brake pads, I'll be able to bleed the lines and my front brakes will be done!
I came up about 3 links short on my chain, so I'm trying to track down some more chain here locally. (anyone who has about a foot of 530 o-ring chain they don't need, send it my way!) Once I get that worked out, I can take the bike for a ride! The air system won't be done, the bike won't really be wired, but I'll at least be able to take it for a run around the block. Whoo-hoo!
Ah yes, almost forgot, I made the jackshaft pedestal a little while ago.
I don't have it in place in this picture, but you can see the nut welded to the backside for the bolt to go through that keeps the jackshaft assembly from sliding forward after the chain is tensioned.
I was actually pretty happy with my welds on this as well.
They're not that amazing yet, but little by little I get better.
Thanks for looking
Sky
06-04-2008, 03:29 PM
#244
Honda-Tech Member
Thread Starter
Join Date: Oct 2006
Location: bend, or, usa
Posts: 278
Likes: 0
Received 0 Likes
on
0 Posts
Thanks guys, I should have some updates soon. It won't be done, but I'm looking to try to ride it not this weekend, but the next!
06-17-2008, 08:18 PM
#248
Honda-Tech Member
Thread Starter
Join Date: Oct 2006
Location: bend, or, usa
Posts: 278
Likes: 0
Received 0 Likes
on
0 Posts
Apparently photobucket is down- so if you're new to this thread, you won't be able to see the bike from where it started, but hopefully they'll get it back up soon.
Anyway- to preface this video, obviously the bike isn't actually done, really it's just together enough to ride down the street. Barely
It's running strictly off of a bad mockup battery in this vid, that's why it starts cutting out on the return trip, I knew I only had a limited run
On thursday I'll finish up the charging stuff and hopefully ride it a tad further.
Also, the air system isn't in place, just a valve.
But it was fun!!!
Check it:
http://www.youtube.com/watch?v=6KIxjwQyOw4
Thanks for watching.
Sky